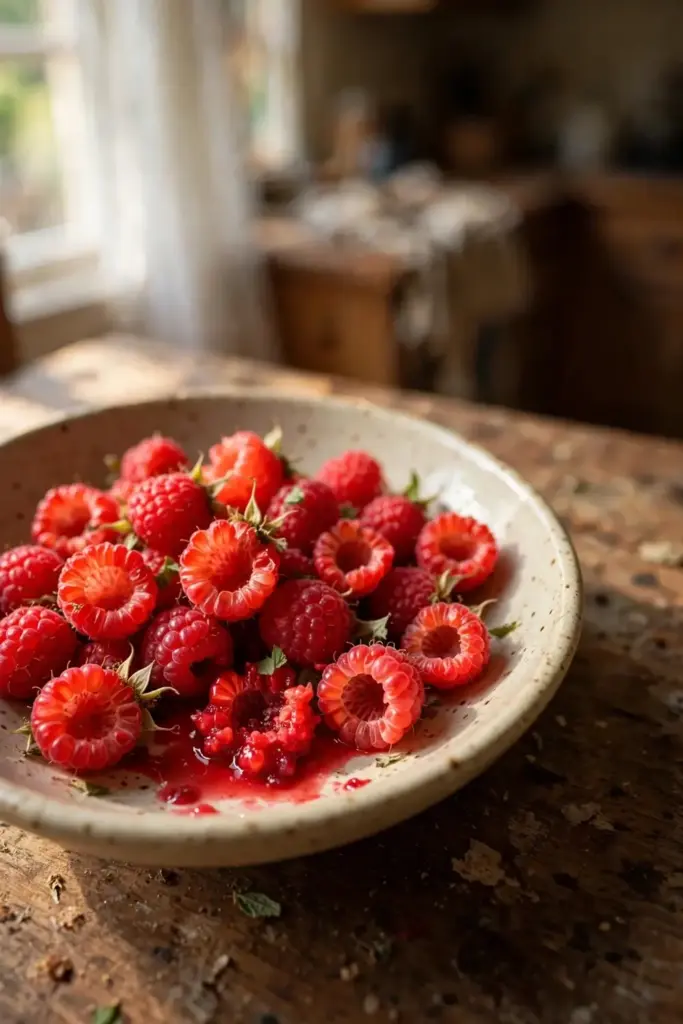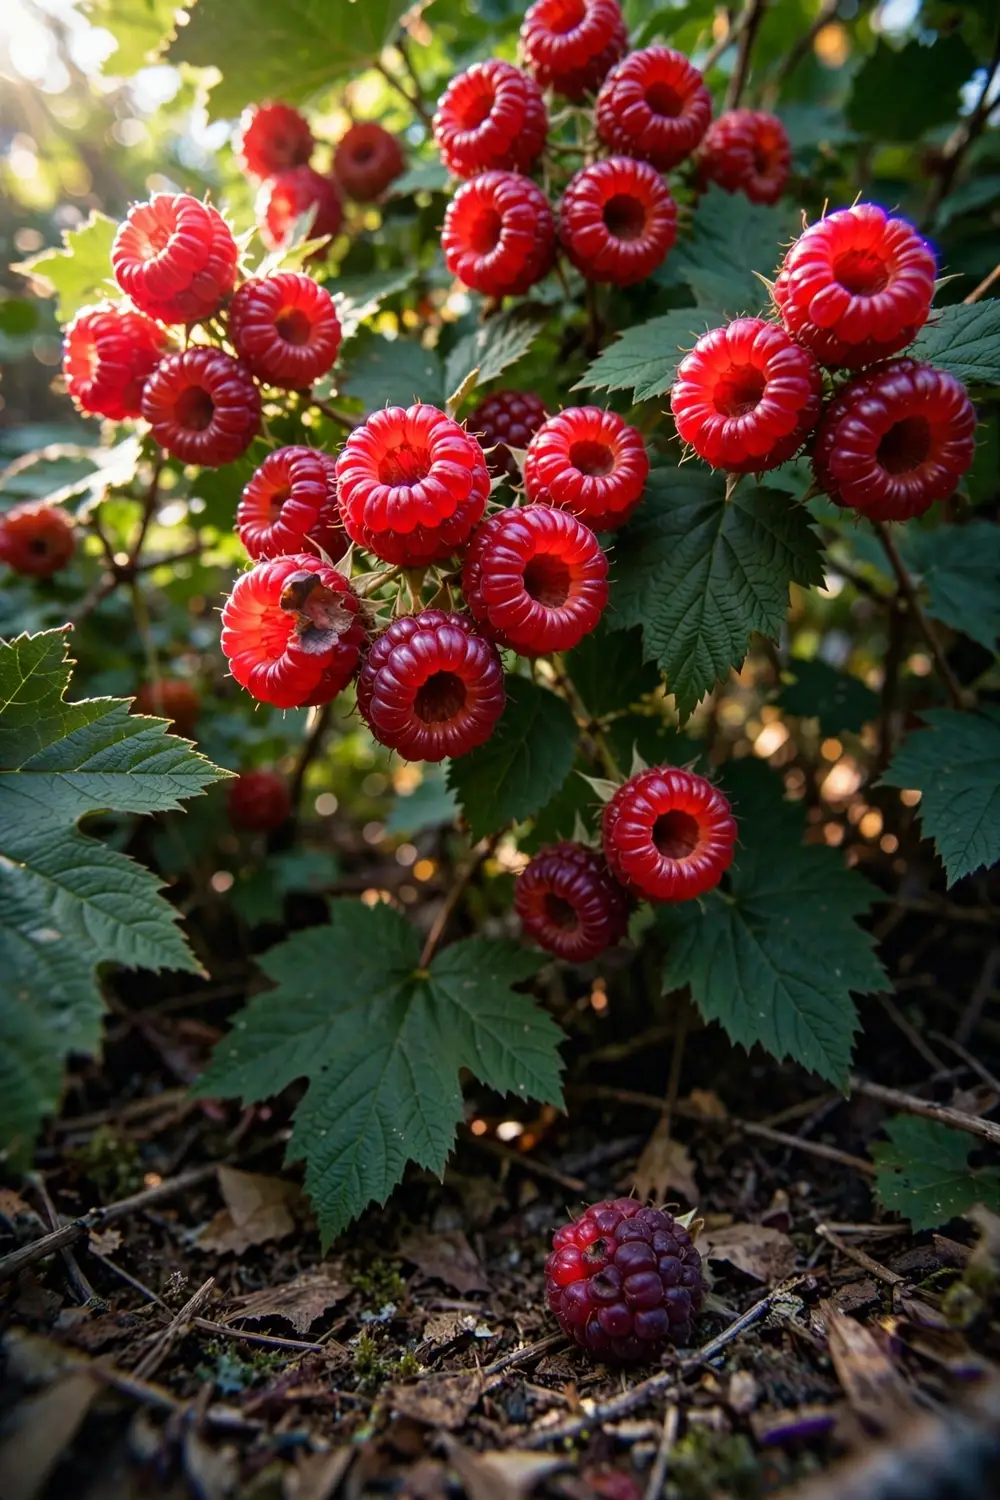

You can grow thimbleberries from seed, cuttings, or rhizome division, and an established plant fruits in about one year. Thimbleberry (Rubus parviflorus) is a thornless, thicket-forming native shrub of western North America, and its berries taste better homegrown because they are too delicate for store shelves. This article maps the full route: 90 to 120 days of cold stratification for seeds, the three propagation paths, the shade-loving site they want, root-barrier containment for their rhizomes, and a mid-summer harvest you eat or jam the same day.
The berries collapse within hours of picking, so nobody ships them and almost nobody sells them. I have learned that a basket of thimbleberries turns to juice by evening, which is exactly why they belong in a home garden rather than a grocery cart. The shrub suits the awkward wet, shady edge of your yard where raspberries sulk, and it tolerates neglect once it settles in. For more plants that crop in the shade, see fruit trees and bushes that fruit in shade.
A practical note on naming before you shop: the accepted Latin name is Rubus parviflorus. One Pinterest info card labels the plant Rubus rosaefolius, but that is a different species, and mixing the names up sends you to the wrong nursery stock.
Thimbleberry at a Glance
| Trait | Detail |
|---|---|
| Latin name | Rubus parviflorus (rose family) |
| Growth habit | Deciduous, thornless shrub; thicket-forming via rhizomes |
| Mature size | 3 to 8 ft tall depending on region |
| Hardiness | Zones 3 to 8 (some sources stretch to 10; see zone note below) |
| Light | Partial to full shade; fruit set drops in deep shade |
| Soil | Moist, fertile, well-drained; sandy loam, slightly acidic |
| Propagation | Rhizome division, cuttings, or seed |
| Time to fruit | About 1 year from divisions; 2 to 3 years from seed |
| Harvest window | Mid to late summer |
| Fruit | Bright red aggregate, about 1/2 in across, hollow like a thimble |
1. Start Seeds With a 90-Day Cold Rest
Thimbleberry seed needs cold stratification of 90 to 120 days at 33 to 38 degrees Fahrenheit before it germinates. The seeds carry a double dormancy: one cold season wakes part of the batch, and many will not emerge until the following spring. Skipping the cold treatment leaves you with bare trays.
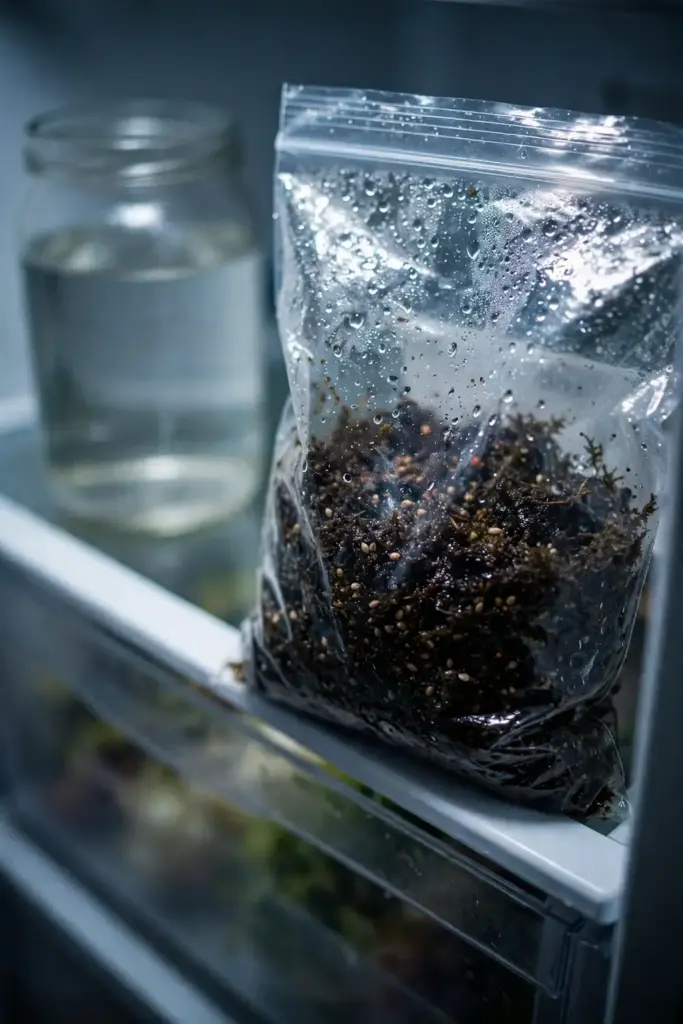
OIKOS Tree Crops, a nursery that grows this species from seed, gives the inside method as one week in moist peat at room temperature followed by 90 to 120 days in the refrigerator at 33 to 38 degrees Fahrenheit. Seeds normally do not sprout inside the fridge. After the cold period, move them to a tray, cover them lightly, and water so the top never dries out.
Buy fresh seed from a native-plant supplier and stratify it in your own fridge rather than hoping for outdoor weathering. The outdoor method works, but OIKOS notes that most outdoor-sown seed waits until the second year. Controlled stratification in the fridge compresses that wait into one winter.
2. Germinate Seeds in 4 to 8 Weeks
After stratification, thimbleberry seeds take 4 to 8 weeks to emerge at room temperature. Expect uneven germination. Some seedlings pop in a week after watering in; others arrive weeks later. A commercial seed supplier lists this window on its thimbleberry seed planting guide, which also gives sowing depth at one quarter inch in moist, rich soil.
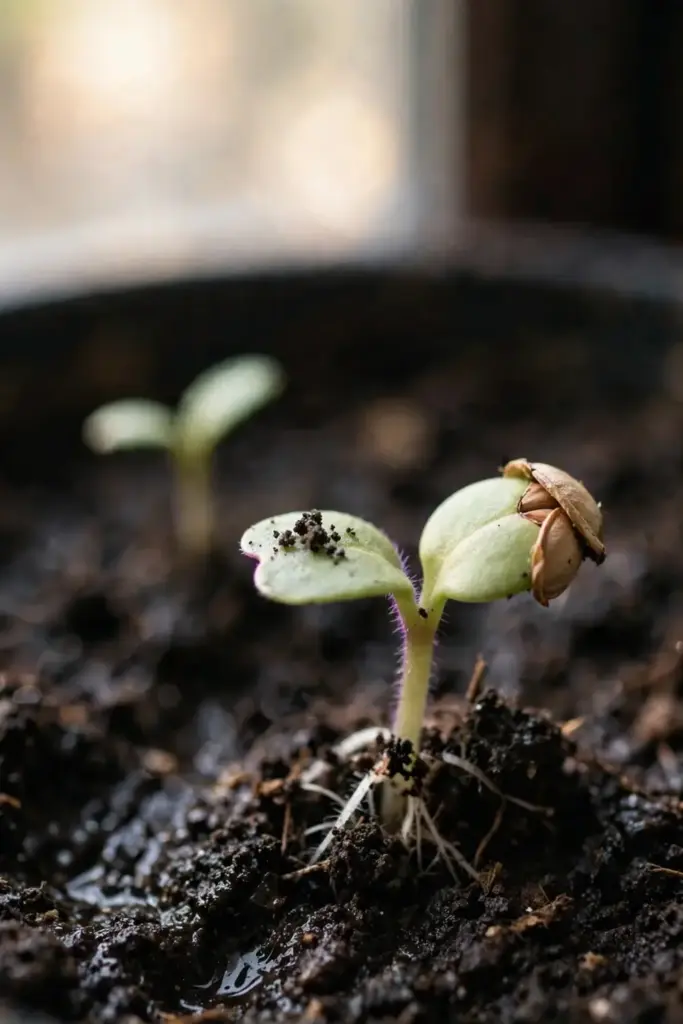
| Step | Action | Time |
|---|---|---|
| 1 | Mix seeds into moist peat moss or sand | Day 0 |
| 2 | Hold at room temperature in a sealed bag | 1 week |
| 3 | Move the bag to the refrigerator at 33 to 38 F | 90 to 120 days |
| 4 | Sow 1/4 in deep in moist, rich soil | Day of removal |
| 5 | Keep evenly moist at room temperature | 4 to 8 weeks |
Sow in pots rather than open flats so each seedling keeps its own root run. Catch them early for transplanting: OIKOS advises potting seedlings on before they form their first true leaves, because the young roots stunt when disturbed later. A light dusting of sand over the seedbed helps hold moisture without crusting.
3. Raise Seedlings in Bright Shade
Seedlings want bright shade, not a sunny windowsill. Direct sun cooks young leaves, and the plants evolved under forest canopies. Give them dappled light or morning sun with afternoon shade, and hold the soil evenly moist at all times. If the surface dries to a crust, germination stalls and young roots desiccate.
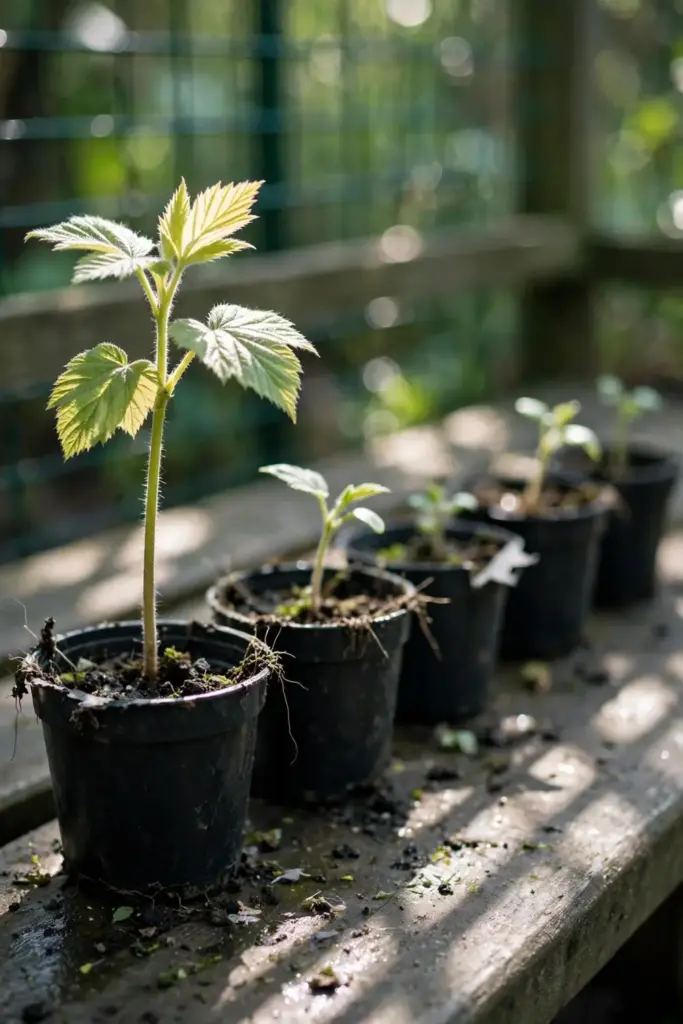
Feed nothing at first. Fresh seed-starting mix carries enough nutrition for the first month of growth. When seedlings reach 3 to 4 inches tall and show their first true leaves, pot them up into 4-inch pots and begin a half-strength liquid fertilizer every two weeks. Weak, stretched seedlings usually mean too little light; move them closer to the light source rather than feeding more. For the general seedling routine, the seed starting guide walks through hardening off before anything moves outside.
4. Compare the Three Propagation Paths Honestly
Seed is the slowest route and rhizome division is the fastest. Botanical references describe thimbleberry as propagating most successfully from dormant rhizome segments, with seeds and stem cuttings as the alternatives. A garden writer calls rhizome division the easiest method outright. Choose the path that matches your patience and your source material.
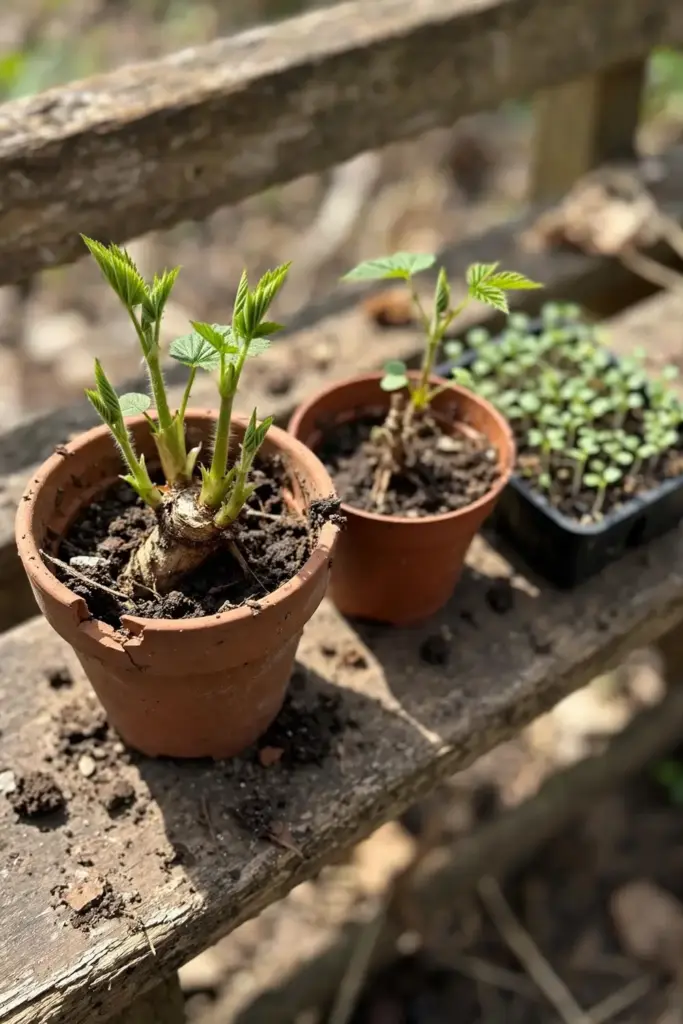
| Path | Time to Fruit | Effort | Notes |
|---|---|---|---|
| Rhizome division | About 1 year | Low | Dig dormant rhizome segments with buds in early spring or fall; plant 2 in deep |
| Stem cuttings | 1 to 2 years | Medium | Semi-hardwood cuttings in summer with rooting hormone; keep humid |
| Seed | 2 to 3 years | High | 90 to 120 days stratification; uneven germination; double dormancy |
Divisions win on speed because they start as established plants with stored energy. Cuttings sit in the middle: they root fairly well under humidity but take a season to build a root system. Seed gives you quantity for a naturalized patch, but the stratification calendar plus the two-year dormancy tail makes it the slowest path to jam.
Match the method to the job. Restoring a forest edge or planting a wildlife hedge favors cheap seed in quantity. A single garden clump favors one division from a nursery or a neighbor’s thicket. When buying, verify the label reads Rubus parviflorus and not Rubus rosaefolius.
5. Choose the Coolest, Shadiest Edge of the Yard
Thimbleberry evolved as a forest-edge shrub, so it tolerates shade that raspberries would reject. Plant it on the north or east side of a fence, under high deciduous canopy, or along a moist ditch. Full sun works only if the soil stays constantly moist; leaves scorch when sun and dry air combine.
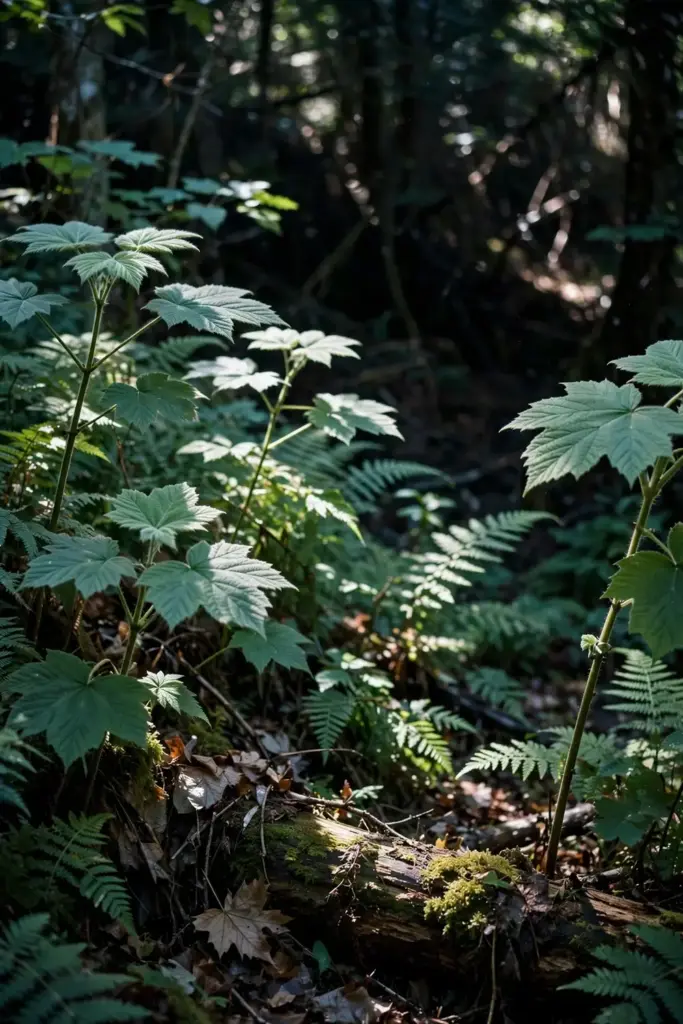
Expect less fruit in deep shade. A native nursery reports that the shrub grows from full sun to full shade, but full shade reduces fruit set. The sweet spot is partial shade with a few hours of direct morning light. Under that light, canes stay upright and the big white flowers pollinate well.
Cooler climates suit it best. The plant’s native range runs from Alaska down through the Rockies to New Mexico, and a Michigan nursery notes its strain struggles to fruit in the warmer lower part of the state. In hot-summer regions, shade becomes mandatory rather than optional.
6. Check Your Zone Before You Plant
Thimbleberry is hardy in zones 3 to 8. OIKOS Tree Crops lists its thimbleberry strain for zones 3 to 8, and that figure matches the plant’s northern and mountain range. Some sources stretch the top end to zone 10, but that warmer rating likely reflects sheltered coastal plantings rather than reliable fruiting in heat.
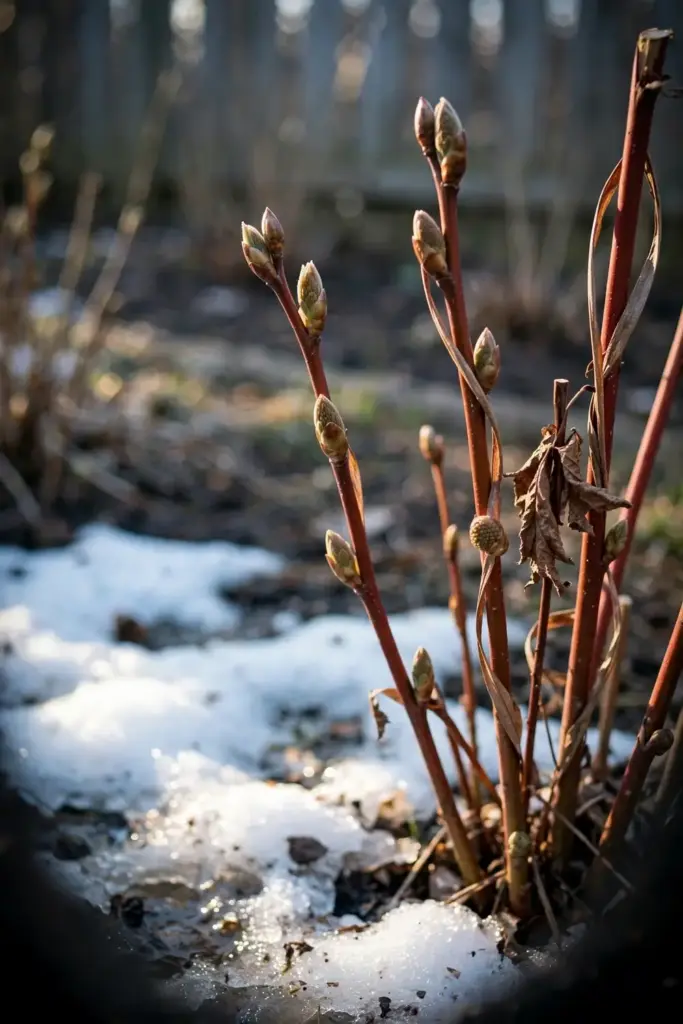
The practical reading: zones 3 to 7 are safe, zone 8 works with shade and moisture, and beyond that you are experimenting. Gardeners asking about zone 5 specifically can relax; the shrub handles zone 5 winters easily. Hot, dry zones are the real risk. If your summers bake and your shade is thin, pick a cooler microclimate near a downspout or a shaded wall.
7. Prepare Moist, Fertile Soil With Good Drainage
Thimbleberry prefers moist, fertile soils with good drainage. A native-plant nursery’s thimbleberry profile calls the plant adaptable but names those conditions as the preference, and adds that it tolerates loam, sand, clay, or rocky soil as long as moisture holds without waterlogging. The wild plant favors open, moist sites and does not tolerate standing water.
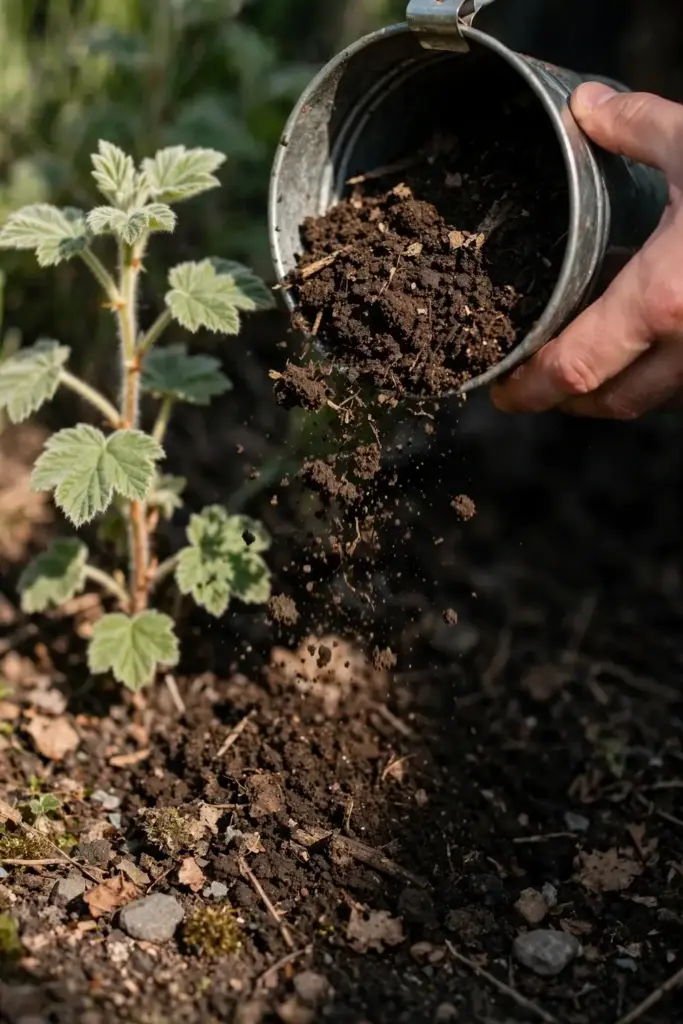
Work 2 to 3 inches of compost into the top 8 inches of the planting area before you plant. The shrub evolved in forest duff, so it responds well to organic matter and leaf mulch rather than chemical fertilizer. Sandy loam that is slightly acidic gives the best balance of moisture retention and drainage. If your soil is heavy clay, plant on a slight mound so winter water never pools around the crown. The soil health and pest resistance guide covers the compost-first approach that suits woodland natives.
8. Plant Container Stock in Spring
Plant nursery-grown container stock in spring after the last frost. Bare-root or potted plants from a native nursery establish far more reliably than wild-dug clumps, which resent root disturbance. Set each plant at the same depth it grew in the pot.
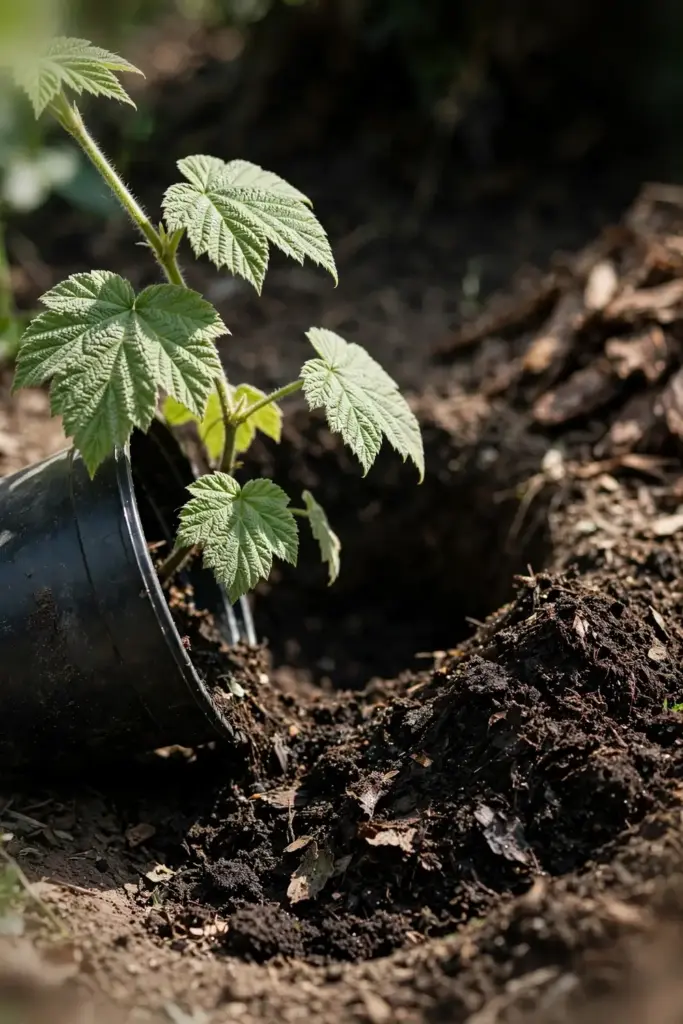
Space plants 3 to 5 feet apart. They will fill the gaps by rhizome within two to three seasons, so closer spacing wastes plants and wider spacing leaves a sparse first year. Dig the hole twice as wide as the pot and no deeper, set the plant, backfill with the amended soil, and water deeply. Mulch 3 inches deep with shredded bark or leaf litter, keeping the mulch a few inches from the stems.
Transplant seedlings after their first true leaves harden off. Move them on a cloudy day, water immediately, and shade them for the first week if the sun is strong. Expect them to sulk for a week or two; new leaf growth is the sign they took.
9. Water to Match the Forest Floor
Keep the soil evenly moist through the growing season. The shrub’s forest-floor habitat never truly dries out, and a seed supplier’s thimbleberry guide instructs growers to keep the soil evenly moist and never let it dry out completely. In shade, rainfall plus mulch may cover most of the need; in sun, you water.
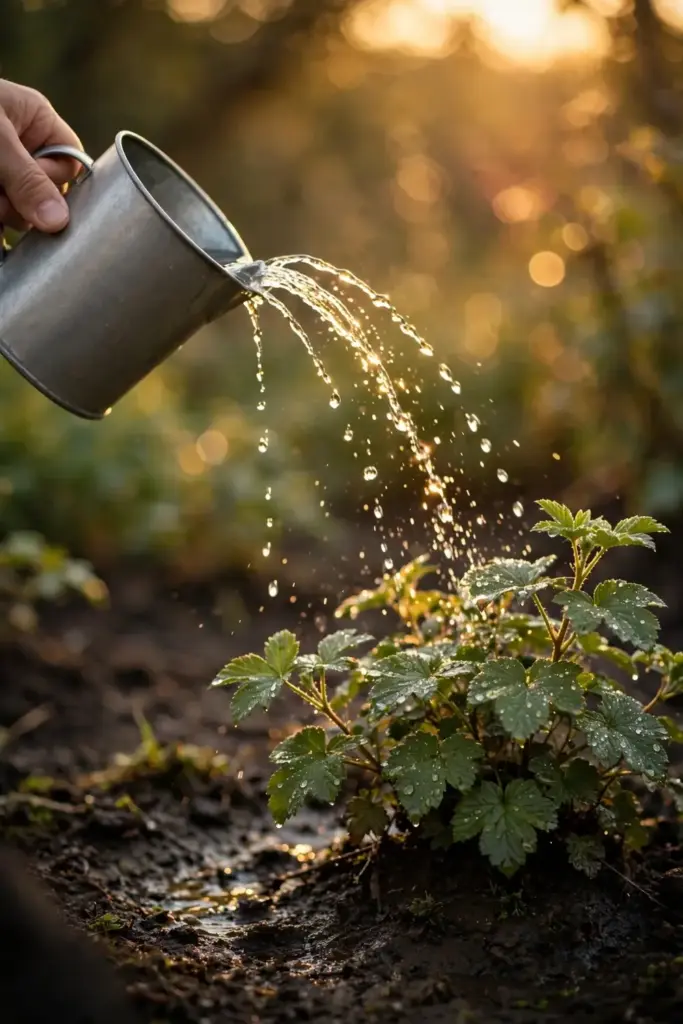
Deep watering once or twice a week beats daily sprinkles. Soak the root zone to 6 inches, then let the top inch dry slightly before watering again. Container plants dry out faster and need checking every day or two in summer heat. Drought stress shows as brown leaf edges and dropped flowers, which means a smaller berry crop.
Cut back in winter. Dormant canes need only enough water to keep the roots from desiccating, so ease off once the leaves drop and the ground cools.
10. Feed Lightly With Compost
Thimbleberry is a light feeder that prefers compost over synthetic fertilizer. Top-dress with 1 to 2 inches of compost each spring and let the rain work it in. The forest-duff diet matches how the plant feeds in the wild, and heavy nitrogen pushes leafy growth at the expense of fruit.
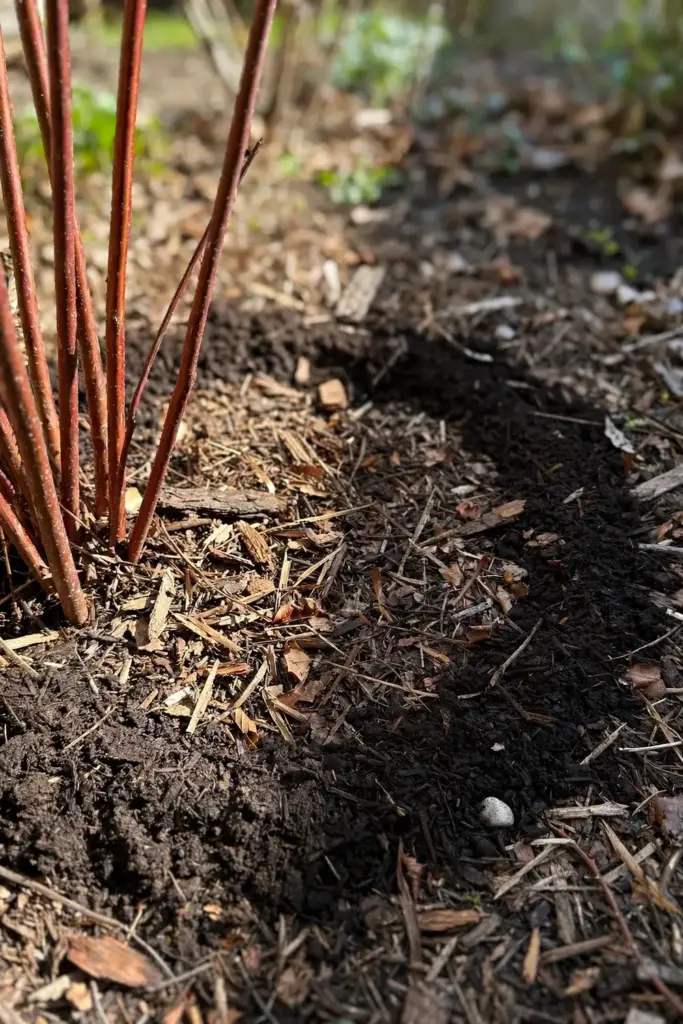
Skip the granular fertilizer habit you might use on raspberries. Woodland natives evolved in lean conditions and respond poorly to salt-based feeds, which can burn the shallow roots. If a soil test shows a real deficiency, a single application of a balanced organic fertilizer in spring is enough for the year. Mulched leaves each fall return most of what the plant needs.
11. Prune Old Canes After Fruiting
Cut out spent canes right after the summer harvest. Like raspberries, thimbleberry fruits on canes that then decline, and removing them opens light and air for the new growth coming up from the rhizomes. Cut the finished canes at ground level and compost or chip them.
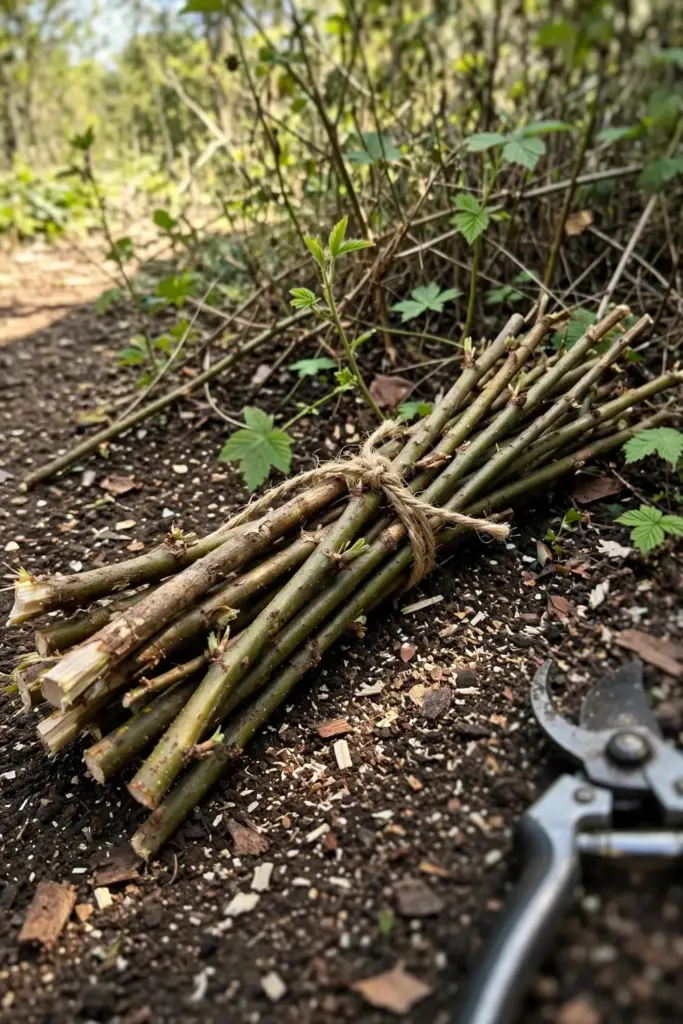
Thin crowded thickets in late winter while the plants are dormant. Remove the weakest canes and any that cross and rub, leaving the strongest 6 to 8 per clump. A nursery seed guide instructs growers to prune back old canes after fruiting to encourage new growth, and that simple annual cut keeps the patch productive instead of tangled. The spring pruning techniques guide covers the dormant-season cuts in detail.
12. Answer the Invasive Question Honestly
Thimbleberry is native, but it spreads aggressively through underground rhizomes. Search engines ask whether it is invasive twice over, and the honest answer splits by context: in its native western range it is a valued pioneer plant, while in a small garden it behaves like an invader and takes over beds. One nursery reports that its customers use thimbleberry to outcompete goutweed, which tells you how assertive the rhizomes are.
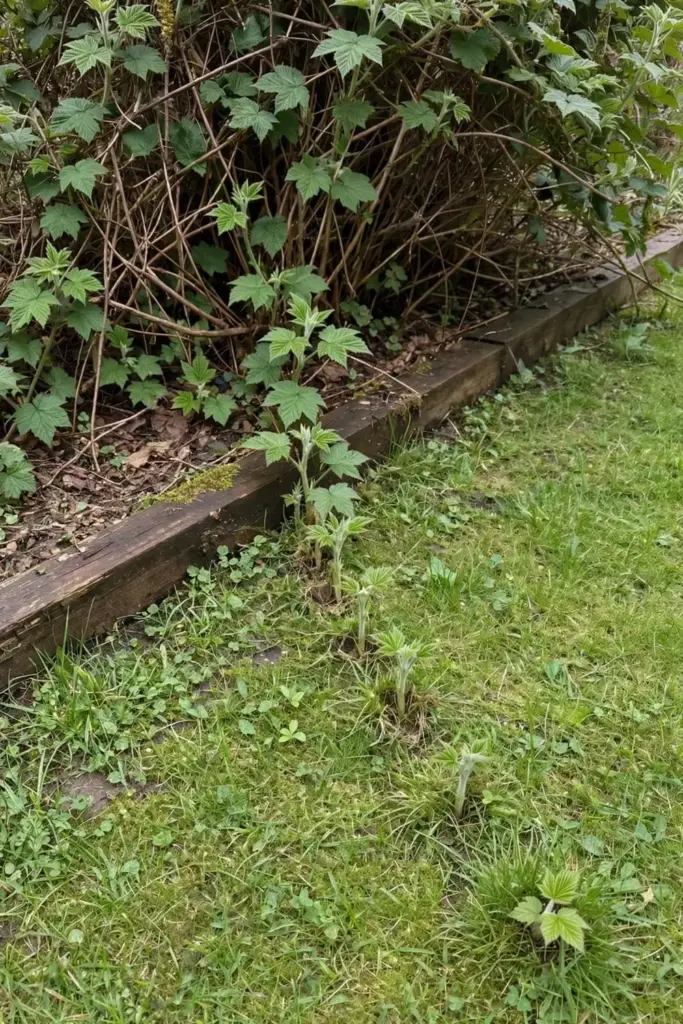
Do not plant it in a mixed perennial bed. Give it its own bounded zone, an edge-of-woods site, or a large container. In restoration plantings and wildlife hedges, the spreading is the point: the plant stabilizes slopes and fills gaps fast. Match the plant to the space and the reputation stays fair.
13. Set a Root Barrier When You Plant
A root barrier is the cheapest insurance against a thimbleberry takeover. Install 18 to 24 inch deep HDPE barrier around the planting zone at the same time you plant, leaving 2 inches above the soil line. Rhizomes travel in the top foot of soil, so a 2-foot barrier intercepts them.
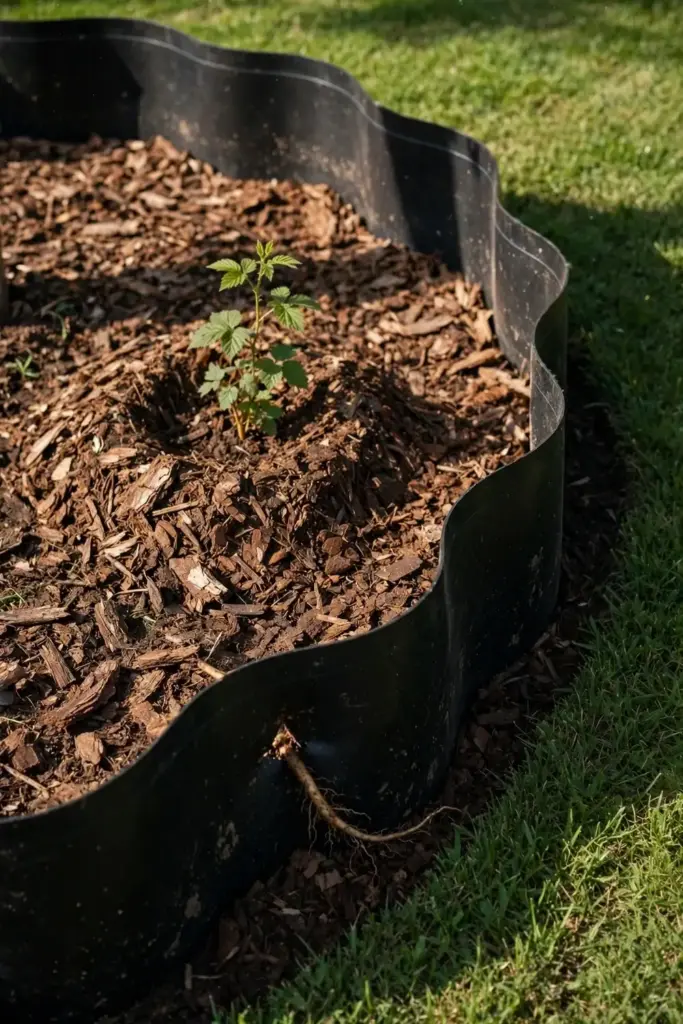
Alternatively, plant in a bottomless raised bed or a large buried pot. Sinking a 15-gallon pot with the bottom cut out gives the roots depth while the walls contain the spread. Check the barrier line once a year and cut any rhizomes that escape over the top or around the ends. Escaped runners pull easily when young; ignore them for a season and they root into the lawn.
Mow the perimeter. A monthly mow around the thicket in summer keeps stray suckers from establishing in the grass, and it costs nothing beyond the time you already spend mowing.
14. Know the Gall and Aphid Lookouts
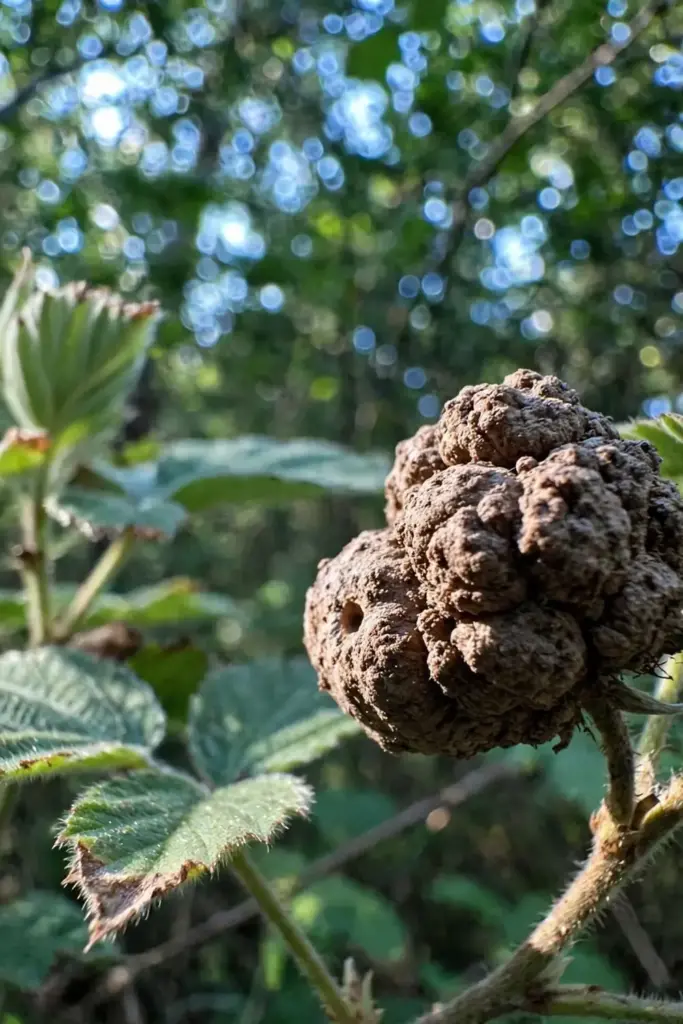
Thimbleberry carries few serious pests, but three gall-makers target it. The thimbleberry gallmaker wasp swells stems into large galls, a Masonaphis aphid galls the leaves, and a Dasineura midge galls the leaf petioles. These look alarming but rarely harm an established plant; prune out badly galled stems and destroy them.
Black-tailed deer browse the young leaves and stems in the plant’s native range. If deer visit your yard, fence young plants until they are established. Birds and bears eat the fruit, which is a feature in a wildlife garden and a reason to net the patch if you want the berries for yourself.
Diseases are minor. Good air circulation from annual thinning prevents most fungal issues, and the plant’s native vigor handles the rest. Avoid overhead watering late in the day.
15. Tell Thimbleberry, Salmonberry, and Raspberry Apart
All three are Rubus cousins, but they differ in thorns, fruit, and behavior. This matters at the nursery, where labels sometimes blur, and in the garden, where the three need different space.
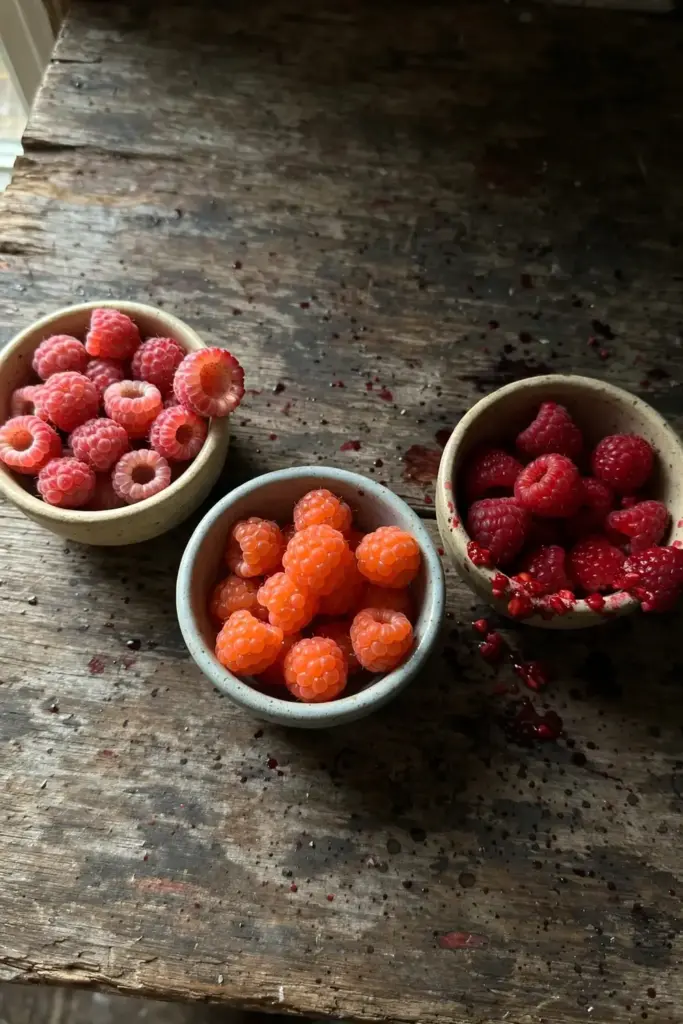
| Trait | Thimbleberry | Salmonberry | Raspberry |
|---|---|---|---|
| Latin name | R. parviflorus | R. spectabilis | R. idaeus / hybrids |
| Thorns | None | Yes | Usually yes |
| Fruit color | Bright red | Salmon orange to red | Red, black, gold |
| Fruit shape | Hollow, thimble-like | Raspberry-like | Raspberry-like |
| Storage | Hours; eat or jam same day | A day or two | A few days |
| Spread | Rhizomes; aggressive | Rhizomes; aggressive | Suckers; moderate |
| Shade tolerance | High | High | Low to moderate |
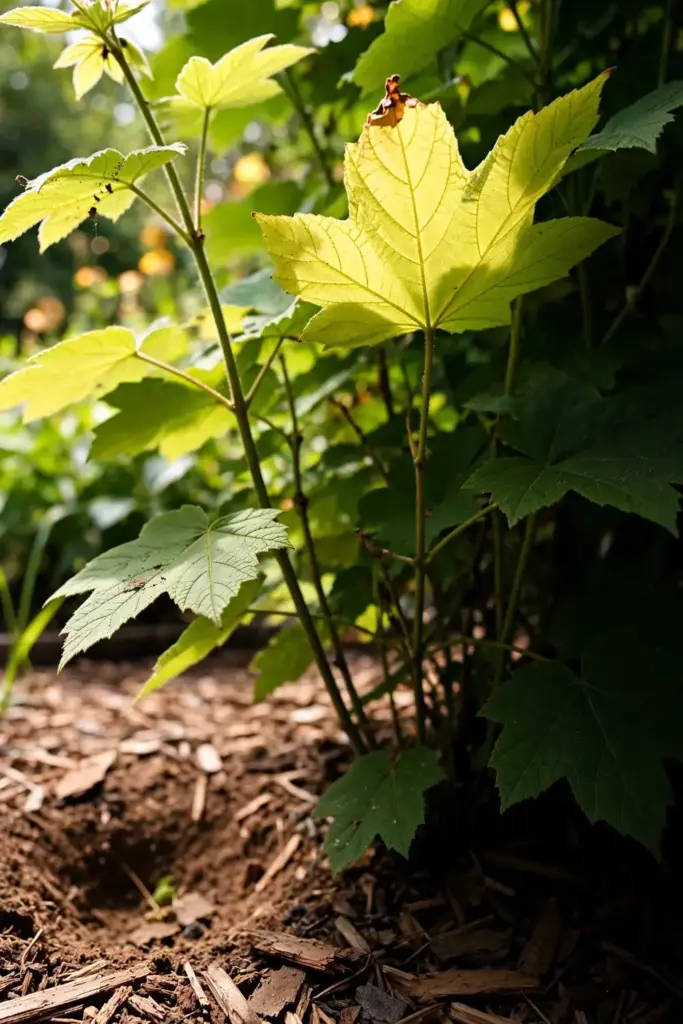
The thornless canes are the fastest field mark. If the cane has no prickles and the leaf is maple-shaped and velvety, you are looking at thimbleberry. Salmonberry fruit leans orange and ripens earlier in many areas; raspberries need more sun and carry thorns on most varieties.
16. Count the Wildlife That Thanks You
Thimbleberry feeds more than the gardener. Its flowers rank as special value to native bees, honeybees, and bumblebees, and it serves as a larval host and nectar source for the yellow-banded sphinx moth. Birds and bears eat the fruit, and deer browse the young growth.
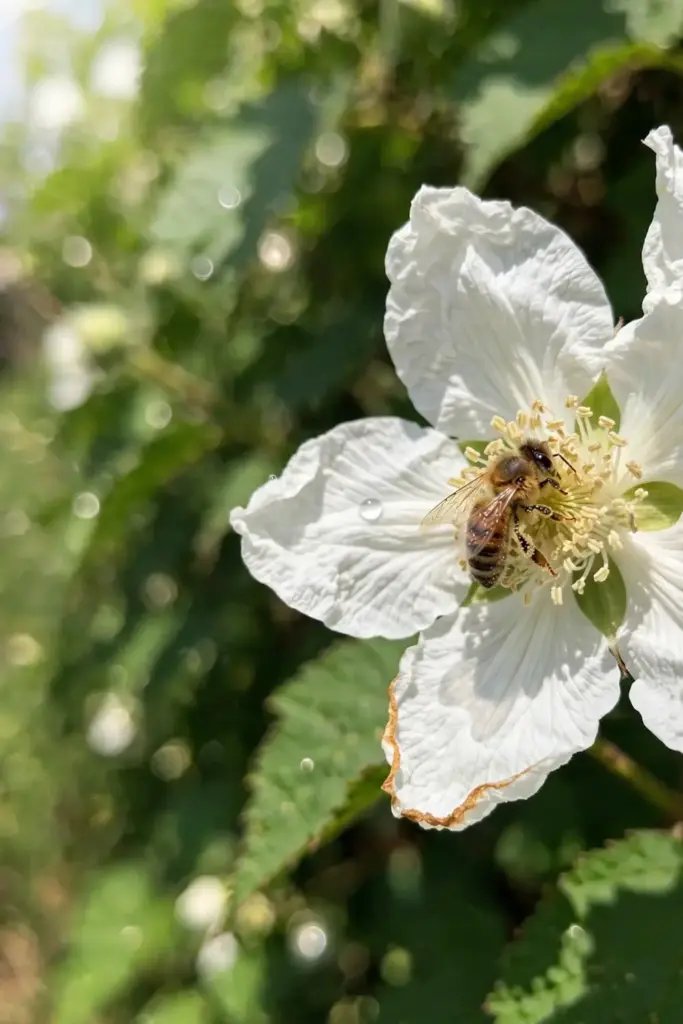
Plant it at the back of a wildlife garden where the thicket habit becomes shelter. A 6-foot-wide band of thimbleberry along a fence line offers nesting cover for songbirds and a summer food source in one planting. The big white flowers open in early summer when pollinators are building their colonies, so the bloom timing matters as much as the fruit.
Let some fruit stand. Leaving the far side of the thicket unpicked feeds the birds that will return next year to eat the pests. A wildlife planting and a harvest planting can be the same patch with a simple rule: pick the near side, leave the far side.
17. Try a Pot Before Committing a Bed
A large pot works as a trial run before you give thimbleberry garden space. Use a 15-gallon container or larger, fill it with a compost-rich potting mix, and plant one division per pot. The pot contains the rhizomes completely, which solves the spread problem by design.
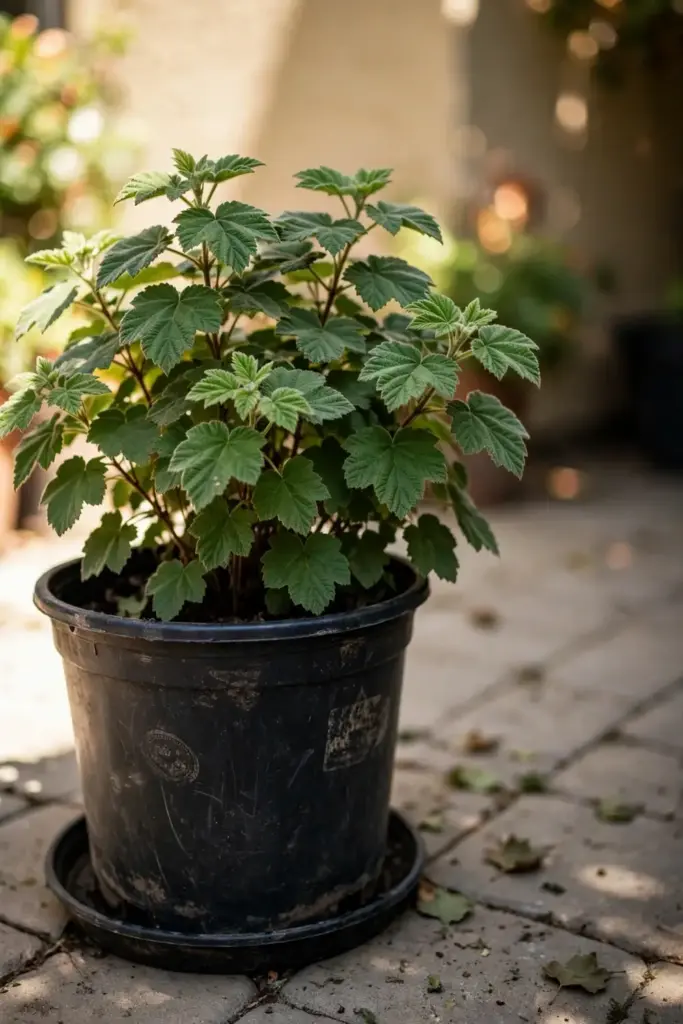
Expect a smaller plant and a lighter crop. Container thimbleberries reach 3 to 4 feet instead of 6, and they need daily watering in summer heat because pots dry fast. Feed with compost top-dressing in spring and a half-strength liquid feed monthly through summer. Overwinter the pot in place in zones 5 and warmer; in colder zones, heel the pot into a sheltered spot or mulch heavily around it.
Move to the ground when you are ready. A pot-grown plant that fruited well for two seasons has proven the variety suits your site, and planting the whole root ball out in spring gives you a head start on a bed.
18. Pick Berries at Peak Red in Mid-Summer
Harvest thimbleberries when they turn fully bright red, typically mid to late summer. Ripe berries pull off the core with a gentle tug and leave the hollow thimble shape that gives the plant its name. Underripe berries stay pale and taste sharply tart; overripe ones crush in your fingers.
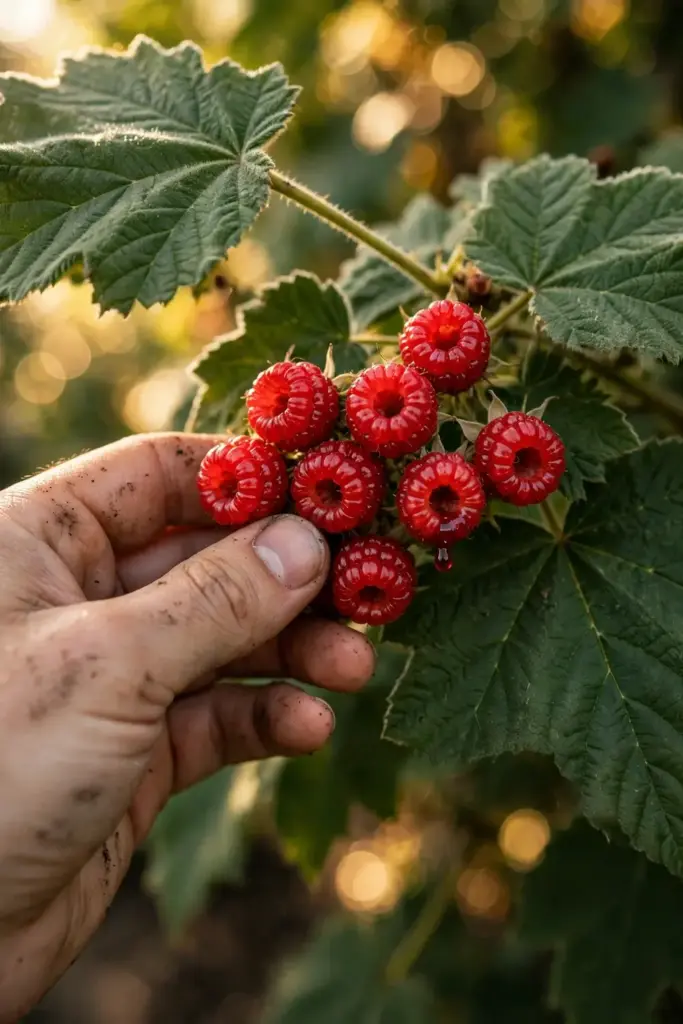
Pick in the cool of the morning and handle the berries as little as possible. The fruit is an aggregate of drupelets around a central core, and it bruises the moment you squeeze it. A shallow basket or a wide bowl beats a deep bucket, because the weight of the upper berries crushes the lower ones.
Plan the use before you pick. Because the berries collapse within hours, pick only what you will eat, jam, or freeze that day. A daily 10-minute pick through the season beats one big harvest that turns to mush.
19. Turn the Harvest Into Jam and Tea
Jam is the classic use, and thimbleberry makes an excellent one. The berries are shorter, wider, softer, and more tart than raspberries, which gives jam a bright flavor and a natural set. Cook the day’s pick with sugar and a squeeze of lemon; the high pectin in the slightly underripe berries helps it gel.
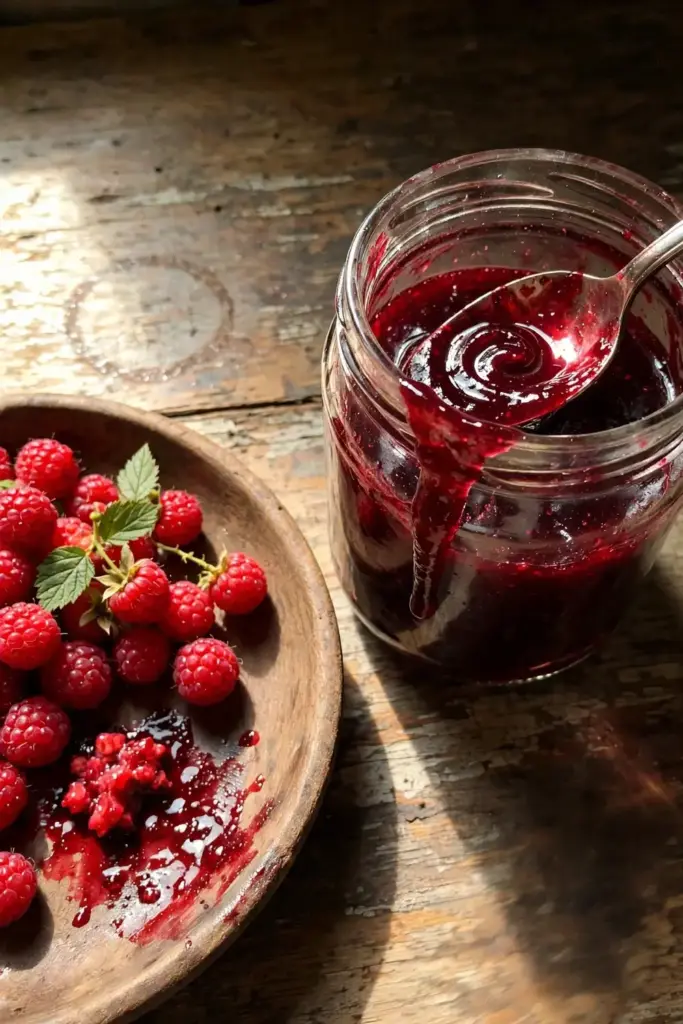
Freeze what you cannot use fresh. Spread berries in a single layer on a tray, freeze until firm, then bag them. Frozen berries go straight into smoothies, sauces, and baking without thawing. The delicate texture that ruins fresh storage does not matter once the berries hit a hot pan.
Use the leaves for tea, a traditional preparation. Dried thimbleberry leaves brew into a mild herbal tea. Harvest a few leaves per stem in summer, dry them out of direct sun, and store in a sealed jar. This is a folk use, not medicine; enjoy it as tea and make no health claims beyond flavor.
20. Fix “No Fruit” and Leggy Canes
No fruit on an established plant usually means too much shade or too little water. Fruit set drops in deep shade, so thin overhead branches or move divisions to a spot with morning sun. Drought during bloom causes flower drop; keep the soil evenly moist from bud break through harvest.
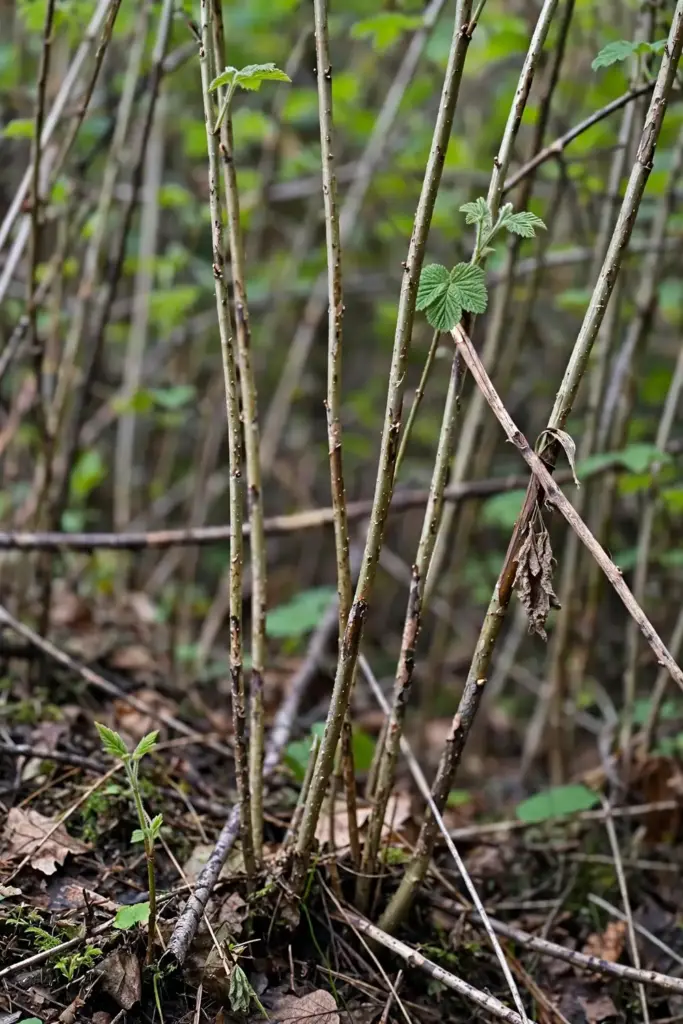
Leggy canes with sparse leaves signal overcrowding. Thin the thicket in late winter, cutting the weakest canes at ground level and leaving the strongest. Air and light reach the remaining canes, and the next season’s growth comes in thicker.
Slow establishment is normal from seed. Seedlings spend their first year building roots, and the double dormancy means some seed waits a full extra year. Divisions skip this wait. If a seed bed looks dead after one season, wait another spring before writing it off.
Frequently Asked Questions
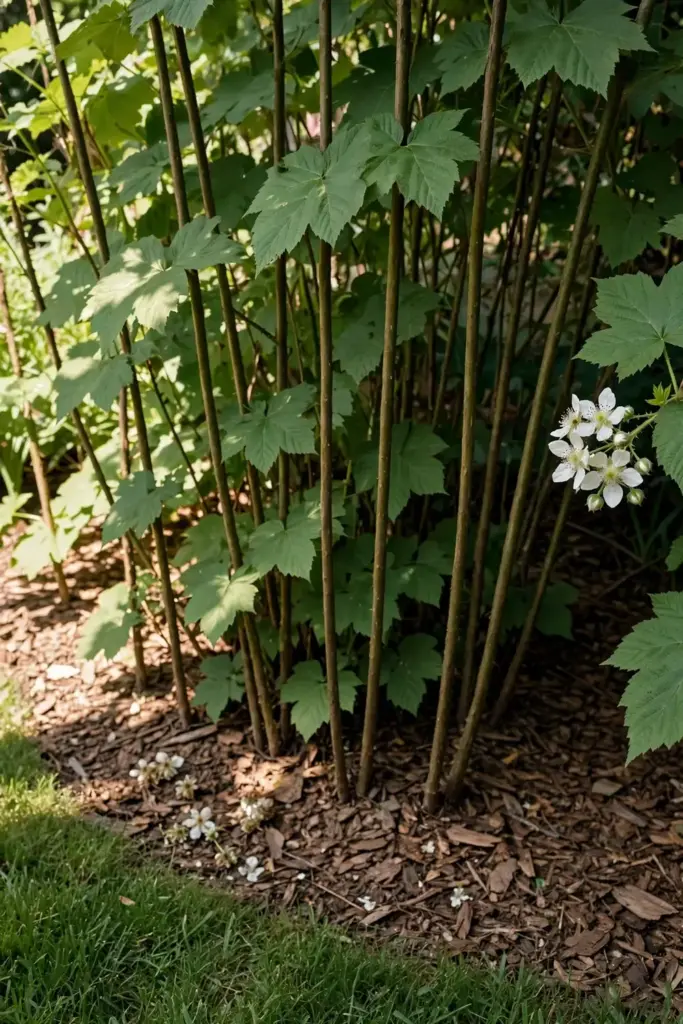
A rhizome division fruits in about one year, since it starts as an established plant with stored energy. Cuttings take one to two years to build a root system and fruit. Seed is the slowest route: after 90 to 120 days of cold stratification and 4 to 8 weeks of germination, seedlings need two to three years before their first real crop, and some seed waits out a second winter before sprouting at all.
Yes, through underground rhizomes. Once established, the plant clones outward and forms dense thickets, which is why nurseries warn gardeners to site it carefully. In its native range this colonizing habit stabilizes slopes and fills forest gaps. In a small garden it behaves aggressively, so install an 18 to 24 inch root barrier at planting time or confine it to a bottomless raised bed.
Thimbleberry is native to western North America, so it is not invasive in the ecological sense within its range. It is, however, an aggressive spreader in gardens anywhere it grows well. Gardeners outside its native range should treat it with the same caution as any vigorous native: give it a bounded zone, watch the runners, and never plant it in a mixed perennial bed where it will swallow its neighbors.
Yes, in a 15-gallon container or larger with compost-rich potting mix. One division per pot gives a 3 to 4 foot plant with a modest crop, and the pot contains the rhizomes completely. Water daily in summer heat and feed monthly through the growing season. A pot also works as a trial: two fruiting seasons prove the plant suits your site before you commit garden space.
Yes, and fresh eating is the best use. Ripe berries taste like a softer, tarter raspberry with a delicate perfume. Eat them the day you pick them, because they collapse within hours and never survive shipping. That fragility is exactly why thimbleberries taste better homegrown than anything you could buy. Pick in the morning, eat or process the same day.
Thimbleberry (Rubus parviflorus) has no thorns, maple-shaped velvety leaves, and bright red hollow fruit shaped like a thimble. Salmonberry (Rubus spectabilis) has thorny canes and salmon-orange to red fruit. Both spread by rhizomes and tolerate shade, but thimbleberry is the easier harvest thanks to its thornless canes, while salmonberry ripens earlier in many Pacific Northwest gardens.
Eat Them Within the Day
Thimbleberry rewards the gardener who picks daily and eats immediately. Start with a division for fruit in the first year, give the plant a shady moist edge, contain the rhizomes with a barrier, and harvest every morning through the summer. The berries will never see a store shelf, which makes them entirely yours.