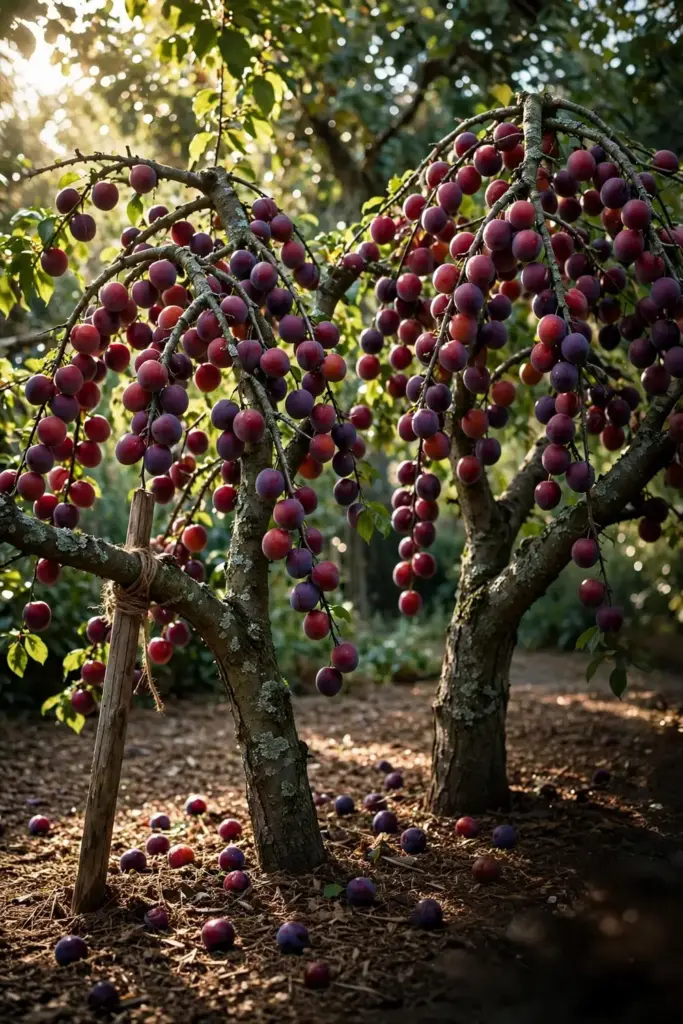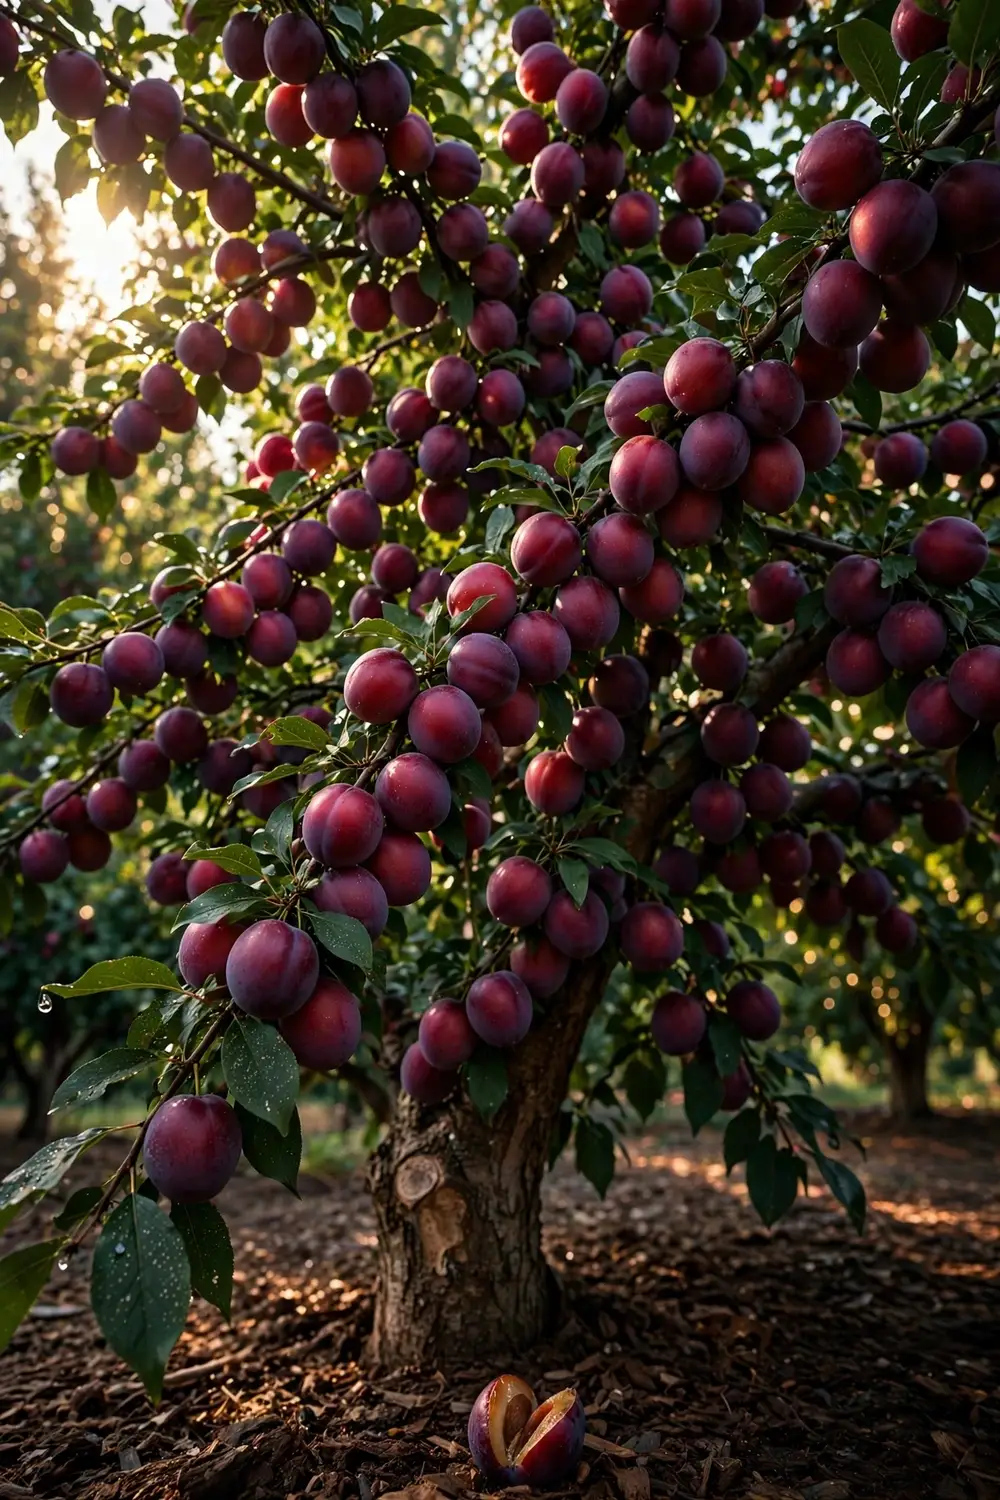

You can grow a plumcot from a grafted nursery tree in USDA zones 5 to 9 and expect the first real harvest in 2 to 4 years, if you plant two compatible trees close together and give them 500 to 800 chill hours below 45°F. The trees are half plum and half apricot, they flower early, and they fruit on wood that responds well to the same care you give a Japanese plum. A pluot is a later-generation hybrid that leans mostly plum, while a plumcot is the half-and-half original that Luther Burbank named.
| Term | Parentage | Who named it | What it tastes like |
|---|---|---|---|
| Plumcot | Half Japanese plum, half apricot | Luther Burbank | Apricot perfume with plum juiciness |
| Pluot | About three-quarters plum, one-quarter apricot | Floyd Zaiger | Plum-forward, often sweeter |
| Aprium | About three-quarters apricot, one-quarter plum | Floyd Zaiger | Apricot-forward, dense flesh |
I have learned that the two-tree rule is the part most growers get wrong. A lone plumcot blooms beautifully in spring and then sets almost nothing, which is exactly the disappointment the pollination section below prevents. Once you know which hybrid you are holding and you give it a pollination partner, growing plumcots is barely harder than growing a plum tree from a fresh seed, and the fruit it gives you exists nowhere in a grocery bin.
Plumcot at a Glance
| Spec | Detail |
|---|---|
| Botanical name | Prunus salicina x Prunus armeniaca (Japanese plum x apricot) |
| Common names | Plumcot, sometimes apriplum |
| Zones | 5 to 9; plumcot-specific guides cite 6 to 9 |
| Chill hours | 500 to 800 hours below 45°F |
| Tree size | 10 to 20 feet, depending on variety and rootstock |
| Soil | Well drained, pH 6.0 to 7.0 |
| Light | Full sun, 6 to 8 hours |
| Pollination | Mostly not self-fertile; needs a pollination partner |
| Years to fruit | 2 to 4 from a grafted tree |
| Harvest | Late summer to early fall |
The hybrid is an interspecific cross between the Japanese plum Prunus salicina and the apricot Prunus armeniaca, a combination confirmed in breeding literature that studies plumcot as the direct cross of those two species. Later breeders crossed the plumcot back to plum to make pluots and back to apricot to make apriums, which is why the three names get tangled on store tags. When a nursery sells you a “plumcot,” check the tag. When it sells you a “pluot,” you are buying a mostly-plum descendant, and its chill and pollination needs can differ.
1. Tell a Plumcot from a Pluot and an Aprium
The confusion starts here. A pluot is the better-known hybrid, so the two names get swapped. Own the distinction before you plant anything.
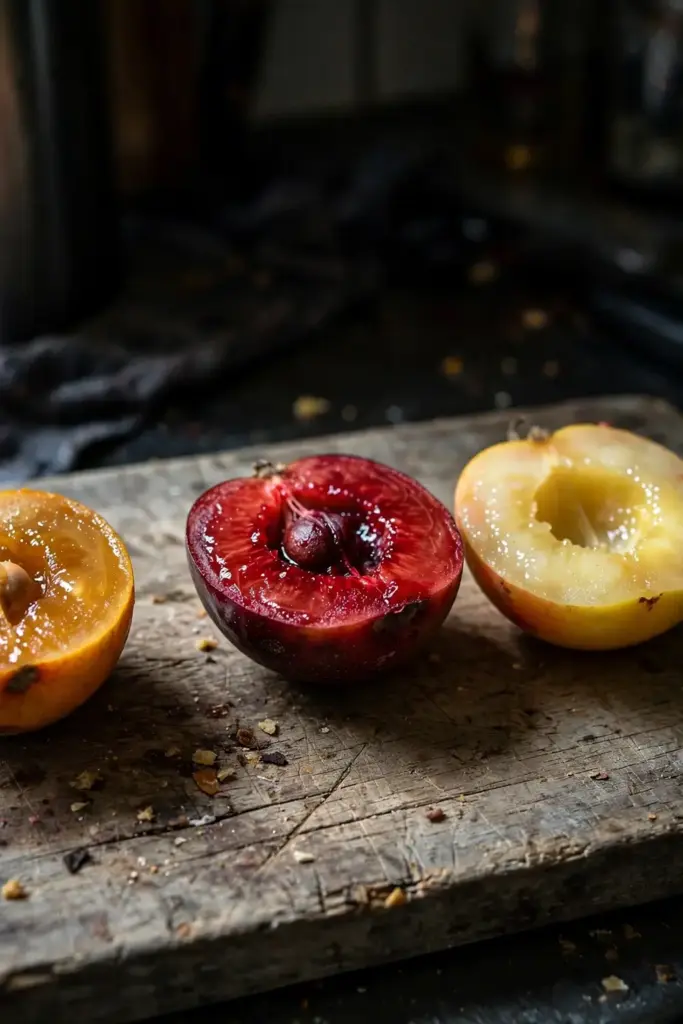
A plumcot is the simplest cross: an even split of Japanese plum and apricot, named by Burbank, and propagated asexually by grafting or budding because seedlings do not come true. A pluot is a later-generation hybrid that is mostly plum, developed by Floyd Zaiger in the late 20th century. An aprium is the mirror image: mostly apricot, developed by Zaiger as well, and it behaves like an apricot in the orchard, ripening early in the season. The practical difference for you is this. The plumcot wants a partner to set fruit and wants real winter chill. The pluot is the fruit you will most often find in a store, and its tree care is nearly identical to plum care.
2. Check the Specs Before You Plant
Read the table above like a checklist. If your winter never delivers 500 hours below 45°F, most plumcot varieties will bloom unevenly and set poorly. If your yard holds water after rain, fix the drainage or pick a different crop. Plumcots tolerate poor soil as long as it drains, but they do not tolerate wet feet.
3. Give the Tree 500 to 800 Chill Hours Below 45°F
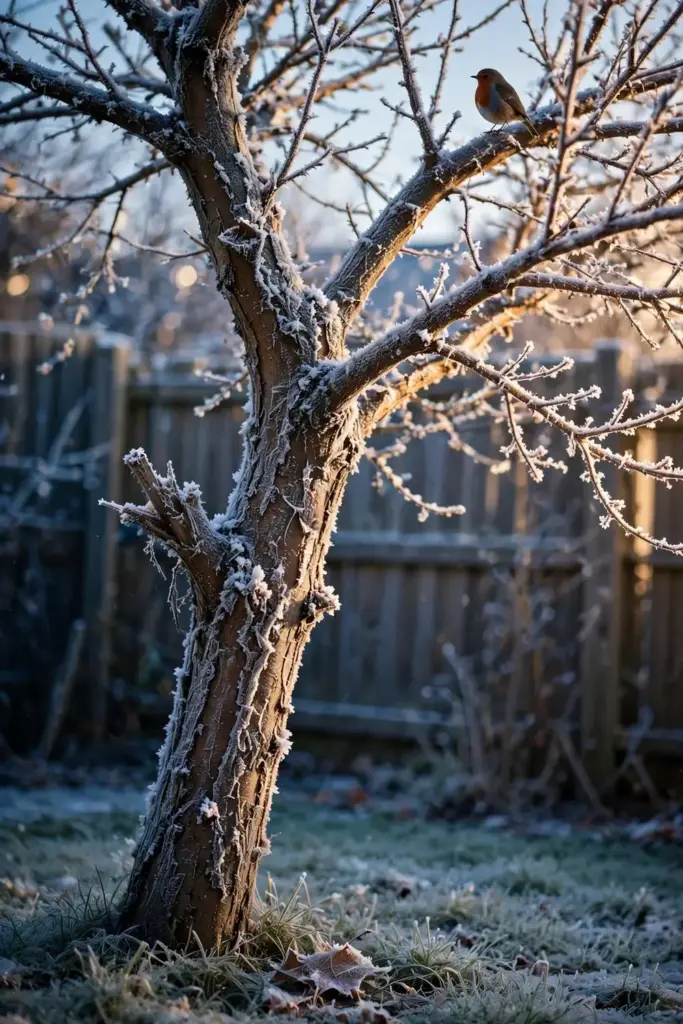
Chill hours are the gatekeeper number for this fruit. Copilot’s growing summary puts the requirement at 500 to 800 or more hours below 45°F, which is why the reliable zones run 5 through 9. Gardening Know How places plumcot trees specifically in zones 6 through 9, so if you sit in zone 5, pick a variety with a published low chill number and protect the flowers from late frosts. Some Zaiger releases need far less. Flavorella, a plumcot, carries a 250-hour chill rating according to nursery specifications, which opens the tree to warm-winter regions.
Southern California growers succeed with these hybrids by choosing low-chill releases and planting on sites where cold air drains away, a pattern the gregalder pollinizer guide documents for San Diego-area orchards. If your climate mirrors the mildest winter pockets, Sunset climate-zone guidance warns that winter cold can fall short of proper dormancy there, so treat a plumcot as a zone-6-plus tree unless the tag proves otherwise. Compare the chill math honestly against nectarine chill hours and disease pressure if you already grow stone fruit; the logic is identical.
4. Pick a Variety for Your Chill and Your Taste
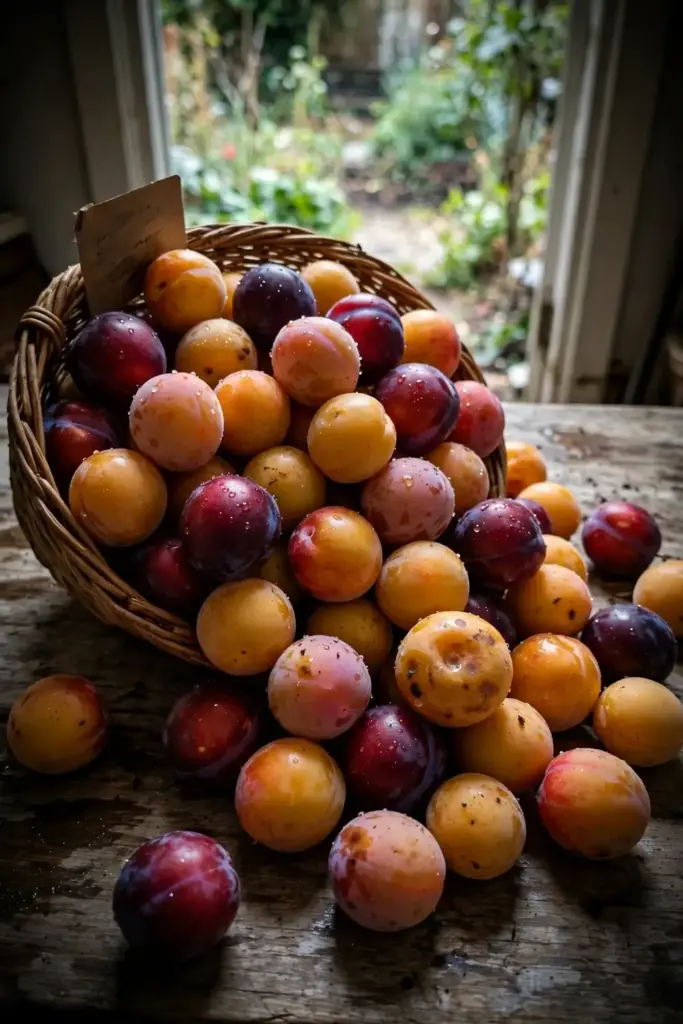
Nurseries sell cultivars, not generic “plumcot trees,” and the cultivar decides flavor, chill, and harvest timing.
| Variety | Type | Notes |
|---|---|---|
| Flavor King | Pluot | Red-purple skin, red flesh, very sweet |
| Flavor Queen | Pluot | Light green to yellow, very juicy |
| Splash | Pluot | Yellow with red spots, sweet |
| Spring Satin | Plumcot | Early, dark skin, plum-apricot blend |
| Tropical Plumcot | Plumcot | Low-chill option for warm zones |
| Plum Parfait | Plumcot | Released 1976, apricot-like with red blush |
| Flavorella | Plumcot | 250 chill hours, needs a pollenizer |
Family Tree Farms and other hybrid specialists sell several of these, and their variety charts are the most reliable place to match a cultivar to your chill hours. Buy two different cultivars that bloom at the same time. The pair is the point, and the next pollination section explains why.
5. Cold-Stratify the Pit for 8 to 12 Weeks
Seed is the gamble route, and this section is for the curious. Plum pits need cold stratification to wake up. Place clean, dry pits in barely damp sand or vermiculite inside a sealed bag, then refrigerate at 34 to 40°F for 8 to 12 weeks. Check the bag every two weeks and discard anything that molds.
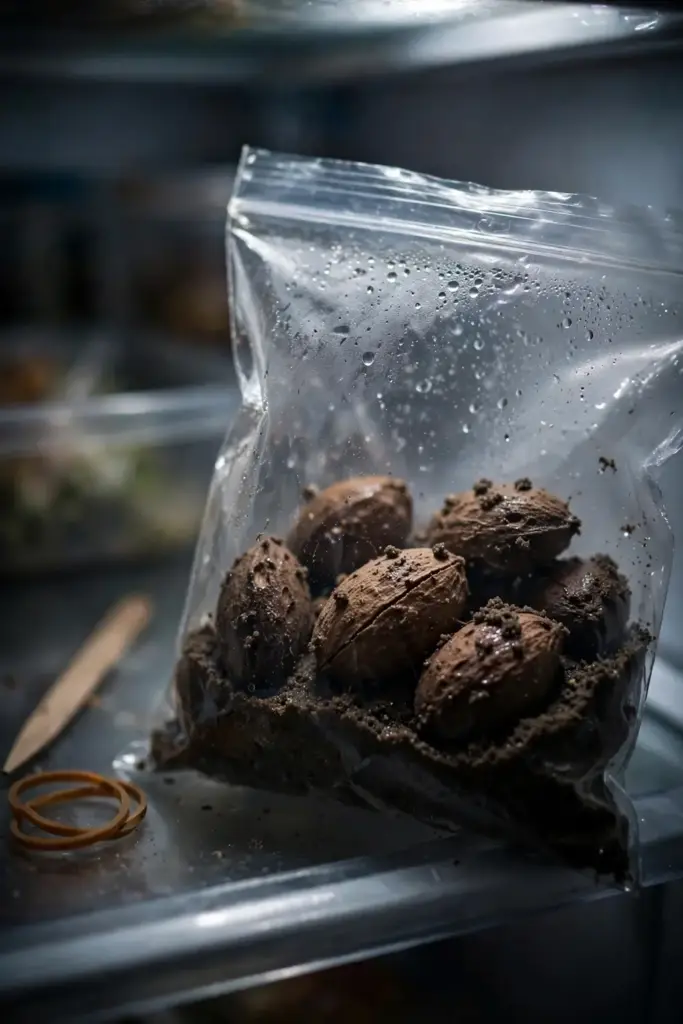
Stratification mimics winter. Without it, germination is erratic and weak. Stone-fruit pits contain compounds that suppress sprouting until cold has done its work, so do not skip the fridge step. If you want the full technique with container sizes and soil mixes, the seed starting guide covers the mechanics that apply to any large seed you start indoors.
6. Germinate the Pit Without Rotting It
After stratification, plant the pit about 3 inches deep in a deep pot of loose potting mix. Keep the mix moist but never soggy. Expect a sprout in roughly three weeks in warm spring conditions, though some pits take longer and some never wake up. Warmth matters more than light at this stage. A spot at 65 to 75°F with indirect light is ideal.
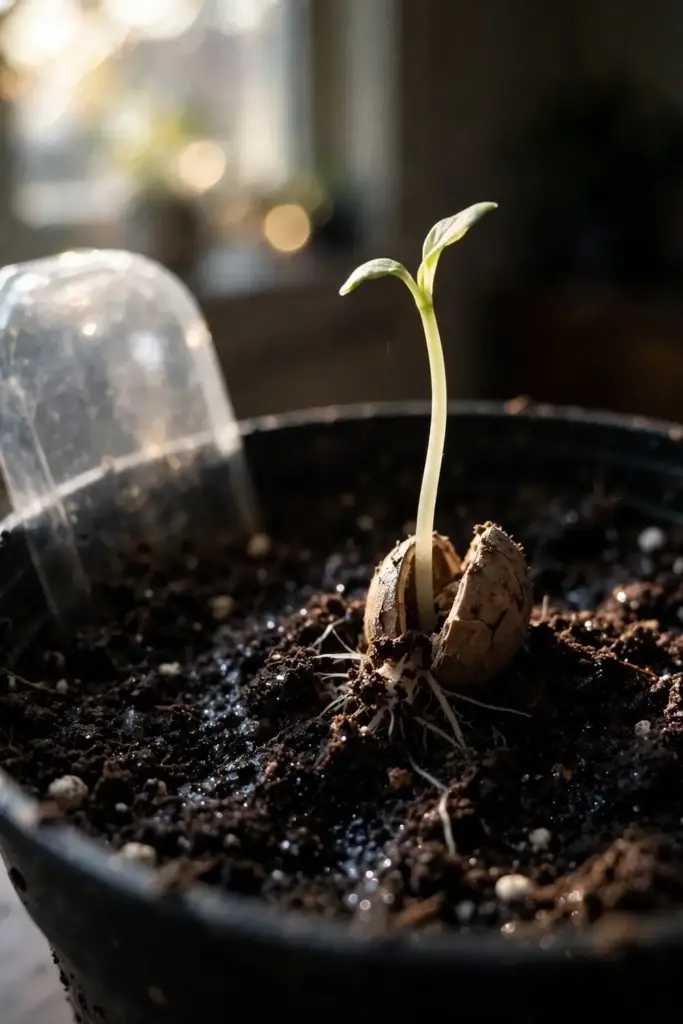
Rot is the main killer. Water from the bottom or mist the surface lightly, and make sure the pot drains freely. A pit sitting in wet soil is a pit that composts itself.
7. Raise the Seedling Through Year One
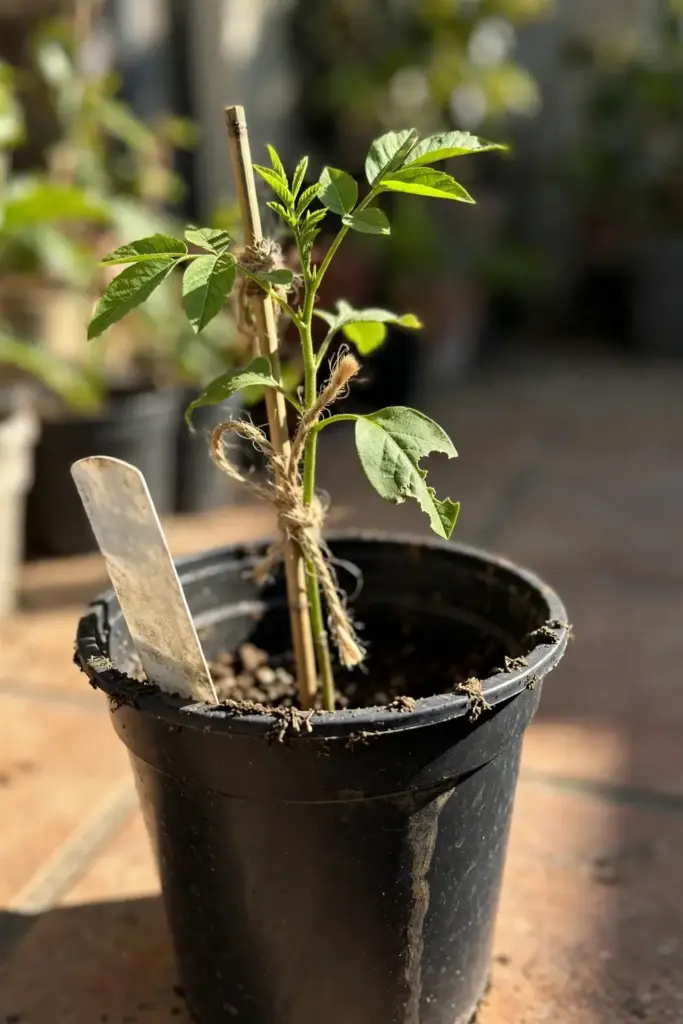
Give the seedling full sun as soon as it has true leaves, water when the top inch of mix dries, and do not fertilize for the first month. By midsummer it should be a whip a foot or two tall. Plant it in the ground in fall or the following spring, and protect it from lawnmower and string-trimmer damage with a simple guard. The seedling is a science project at this stage, not a fruit tree. It will not taste like its parent.
8. Accept the Genetic Lottery of Seed
Here is the honesty the r/FruitTree growers repeat every season: a plumcot pit does not grow into a plumcot tree. The fruit is a hybrid, so the seedling shuffles the genetics and produces something unpredictable. It may be small, sour, late, or all three. Nurseries propagate every named variety by grafting or budding for exactly this reason. Wikipedia’s pluot entry states it plainly: the plumcot tree is propagated asexually, primarily by grafting or budding.
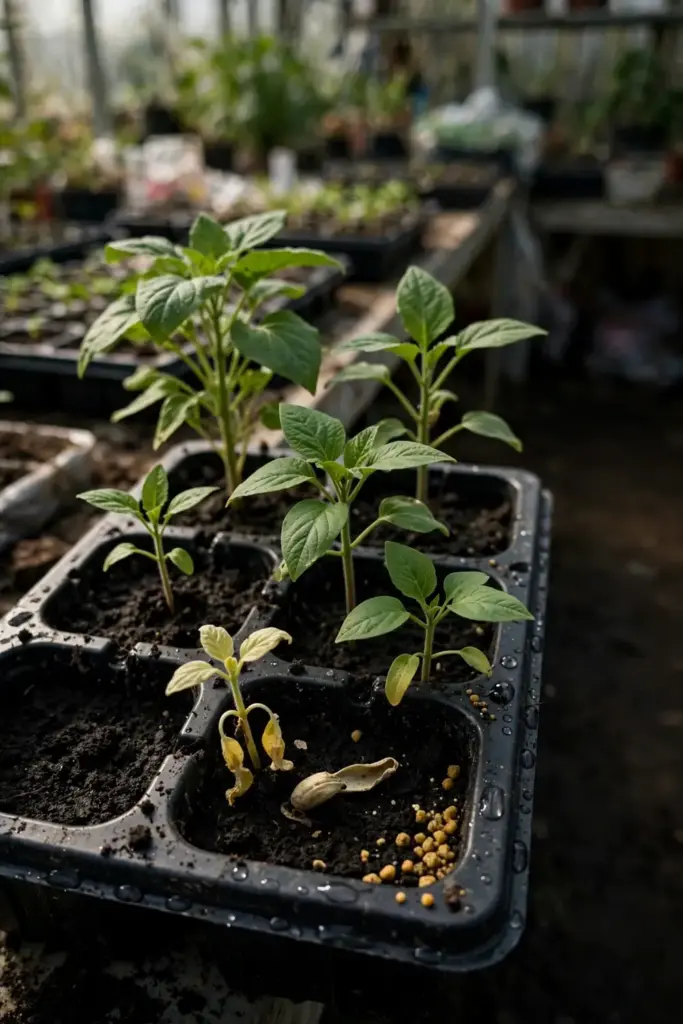
Plant a pit for fun, for rootstock, or for the experiment. If you want Flavor King fruit, buy a grafted Flavor King. There is no shortcut through the seed that lands on the named variety.
9. Compare Grafted Trees Against Seedlings
| Route | Years to first fruit | Fruit quality | Cost |
|---|---|---|---|
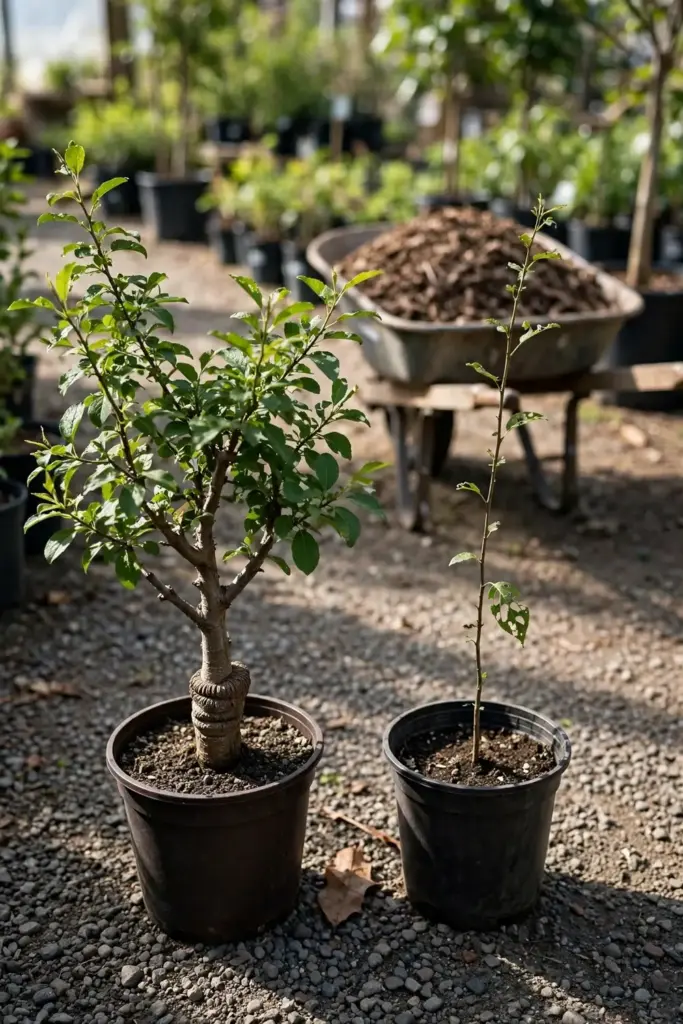
| Grafted nursery tree | 2 to 4 | Identical to the named variety | Higher upfront |
| Seedling from a pit | 4 to 7 or more | Unpredictable, often inferior | Nearly free |
The 2-to-4-year figure comes from grower summaries that put grafted trees at fruiting in about 2 years on the optimistic end and 3 to 4 years in panel guidance. Seedlings take several years longer and then surprise you. This is why every serious planting starts with a grafted tree, and why the pollination section below assumes you bought one.
10. Plant a Pollination Pair, Not a Solo Tree
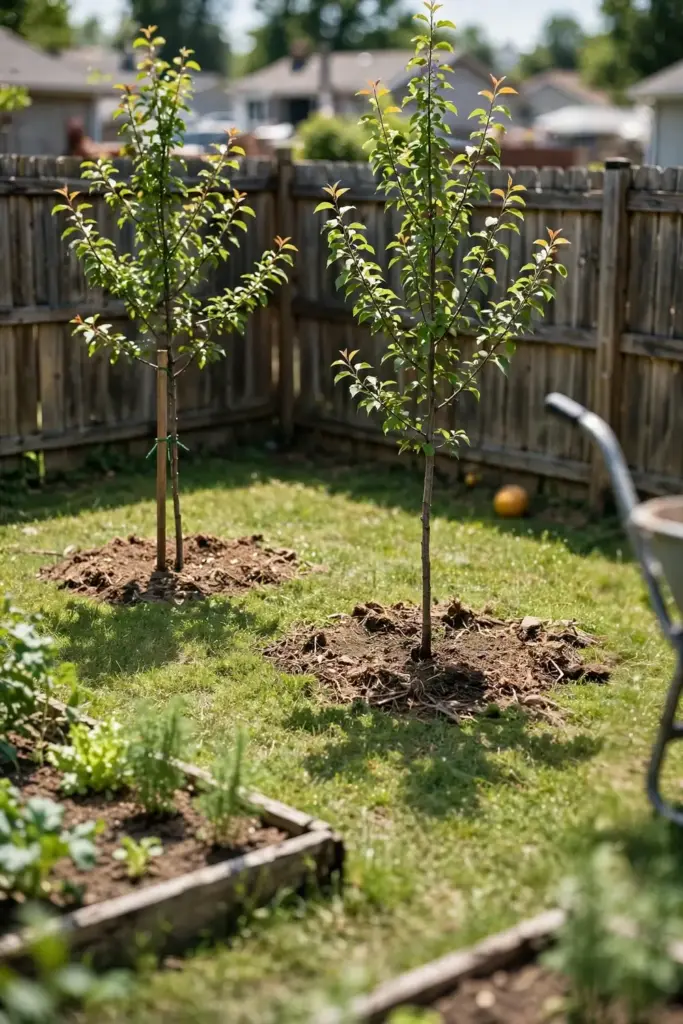
Most plumcots and pluots are not self-fertile. They need a second compatible tree blooming at the same time, usually a Japanese plum or another overlapping plumcot or pluot. Burpee’s pluot guide states it directly: pluots need another variety for cross pollination, and you can use another pluot or a Japanese plum as the pollinator. Plant the two trees within 50 feet of each other so bees can work both.
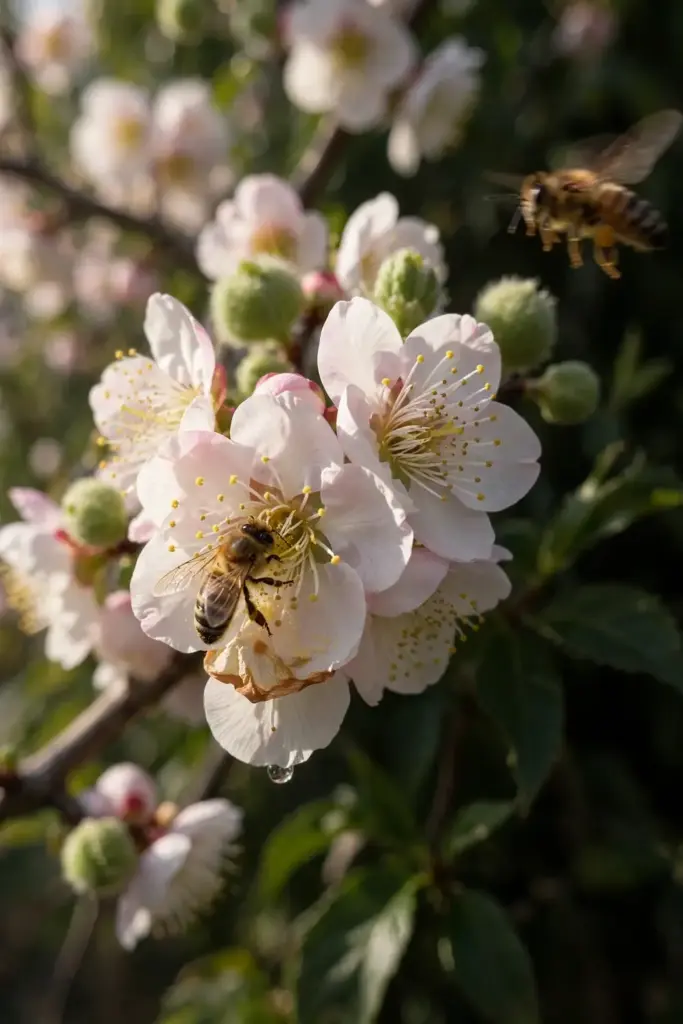
Breeding research on plumcot cultivars found that fruit set from plumcot crossed with plum or with itself was low, while coplanting with apricot as a pollinizer was necessary for stable fruit set in the studied cultivars. Your nursery tree may behave differently from those research cultivars, so follow the tag: if it says “needs pollinizer,” believe it.
Bloom timing decides whether the pair actually works. Two varieties with the same chill requirement usually flower together, but a high-chill plum next to a low-chill plumcot can miss by two weeks, and the bees cannot fix that. Ask the nursery for the bloom window, not just the chill hours. Early-flowering varieties also need bee activity, so avoid spraying insecticides during bloom and leave dandelions and other early flowers standing nearby. The bees that visit those weeds will visit your trees. In a rainy spring, when bees stay home, a soft brush run gently across open blossoms on a dry afternoon can move pollen by hand. It is slow work on a big tree, but on two young trees it takes minutes and it teaches you what the flowers look like when they are receptive. Two trees planted 15 feet apart, blooming together, will outproduce a lone tree by an order of magnitude. This is the single most important planting decision in the whole article.
11. Choose a Site with Full Sun and Air Movement
Pick a spot with 6 to 8 hours of direct sun, good air circulation, and soil that drains within a day of rain. Avoid low spots where frost settles, because plumcot flowers open early and late frosts kill blossoms. Groworganic’s pluot planting guidance stresses air movement, drainage, and no low spots for the same reason. Slope is your friend. Cold air flows downhill, so a gentle slope buys you several degrees of frost protection on a bad spring night.
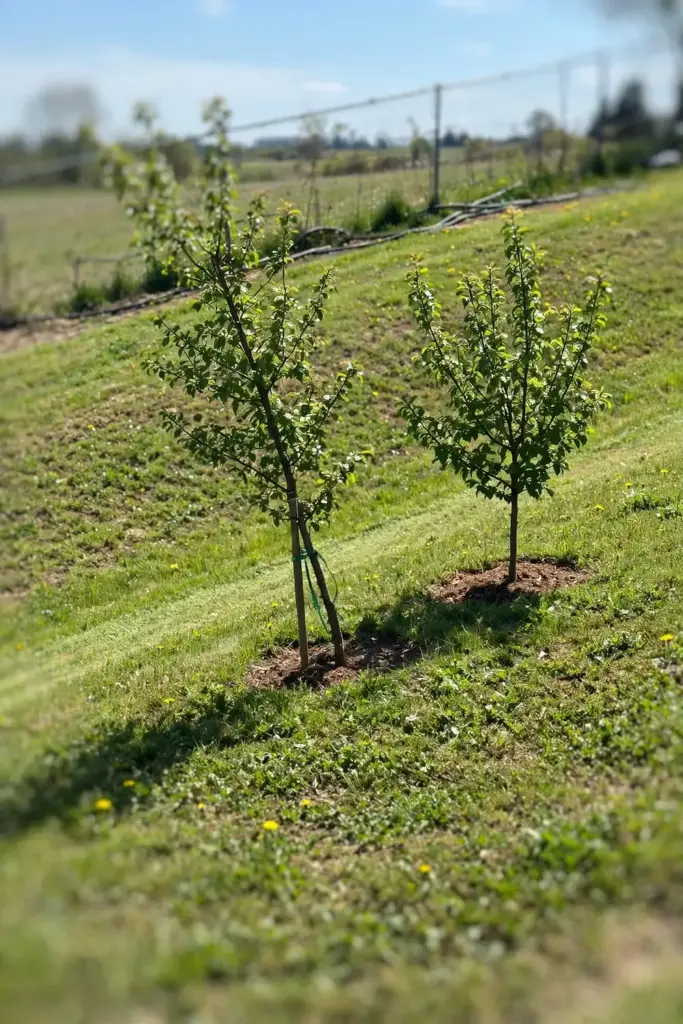
Keep the tree away from the root zone of black walnut trees, which release compounds hostile to many fruit trees, and avoid heavy clay or pure sand unless you amend generously with organic matter.
12. Set the Graft Union 2 Inches Above the Soil
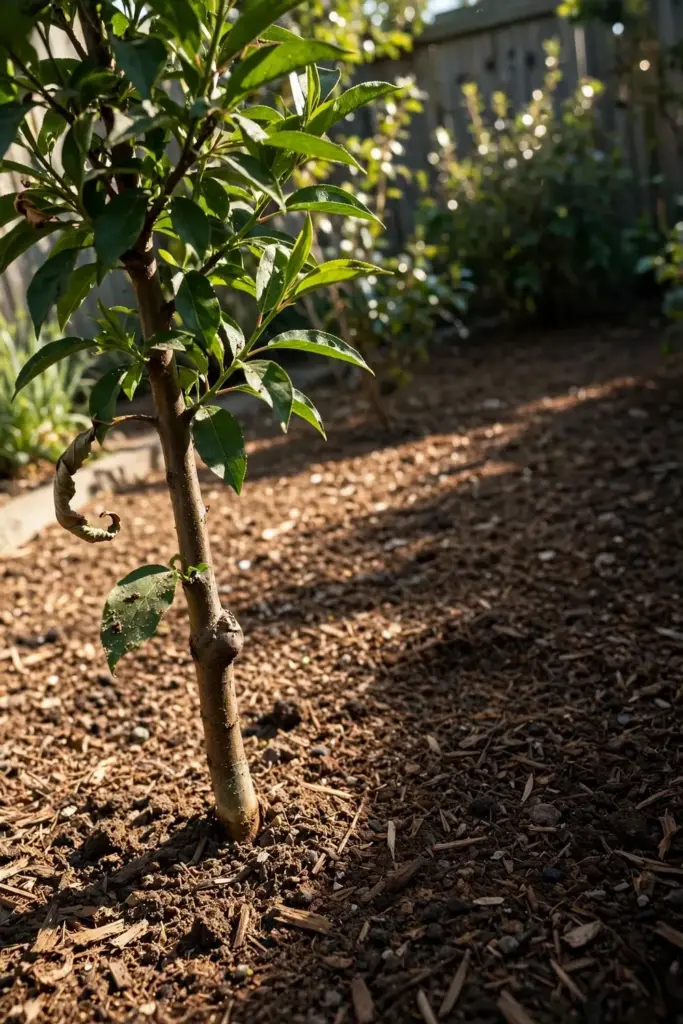
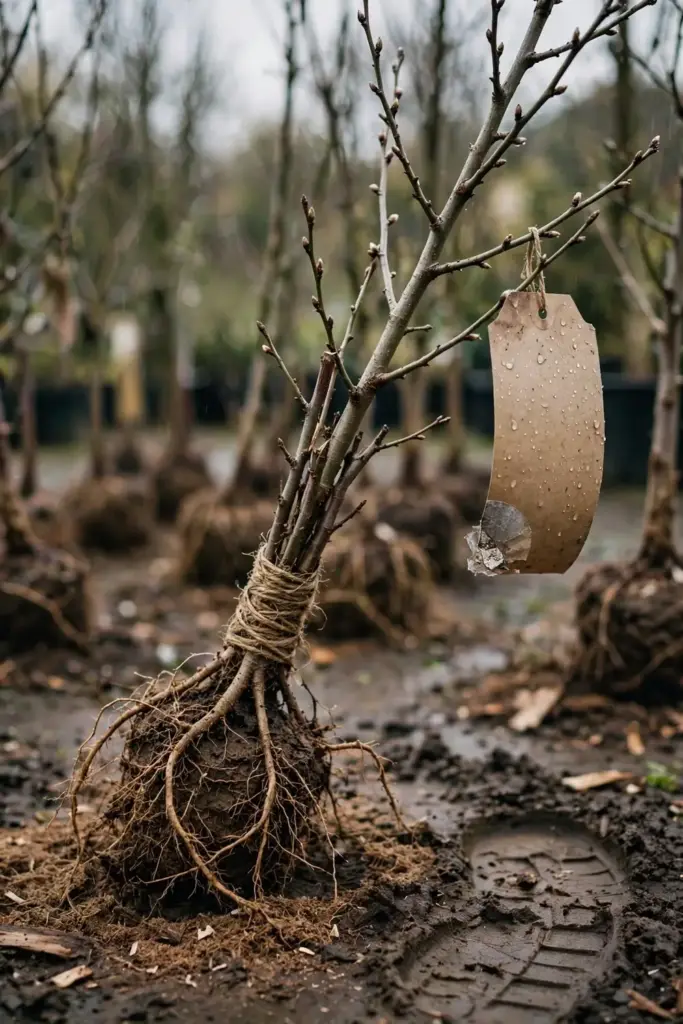
Plant bare-root trees in late winter or spring as soon as the soil can be worked. Soak the roots in water for 1 to 2 hours before planting, then dig a hole at least 18 inches deep and wide, large enough to hold the roots without bending them. Set the tree so the bud or graft union sits 2 inches above the soil level after the soil settles, then backfill in layers and tamp gently to remove air pockets. Water immediately to saturate the whole root zone.
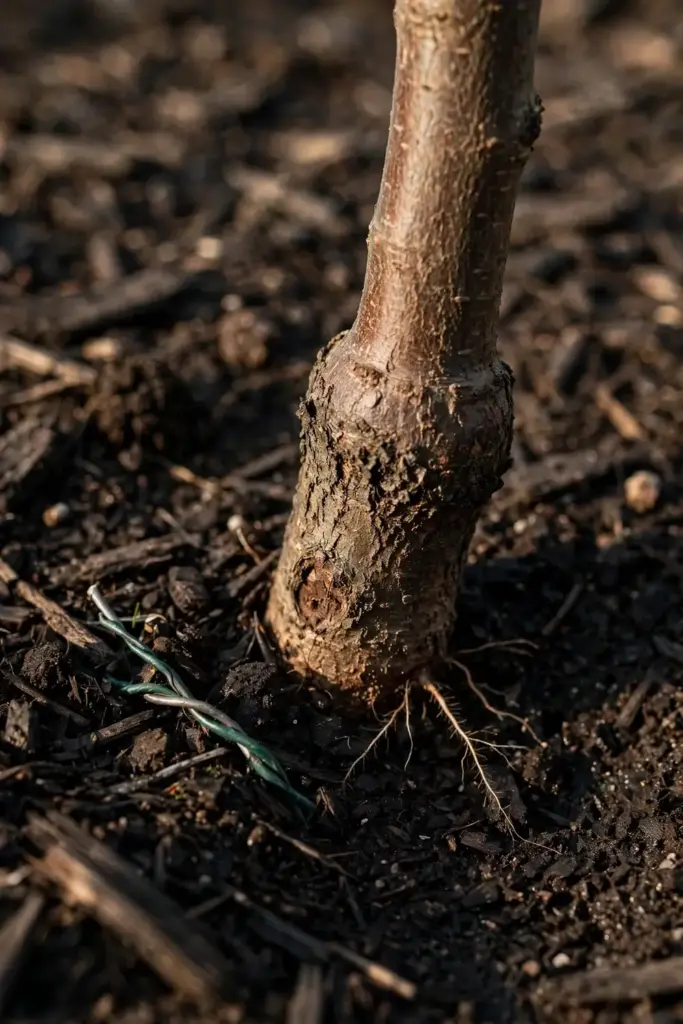
Space standard trees 15 to 20 feet apart. Burpee’s spacing guidance runs 12 to 18 feet, so use the wider end on vigorous rootstocks and the tighter end on dwarfing ones. Do not add raw fertilizer or manure to the planting hole. Overfeeding kills young trees faster than hunger does. Cut the new tree back to about 30 inches tall at planting, per Burpee’s bare-root planting instructions, and trim side branches to 3 or 4 buds to balance the top with the disturbed roots. Building the planting bed on living soil health principles, organic matter, mulch, and minimal disturbance, gives the roots the biology they need from day one.
13. Water Deeply and Consistently the First Two Years
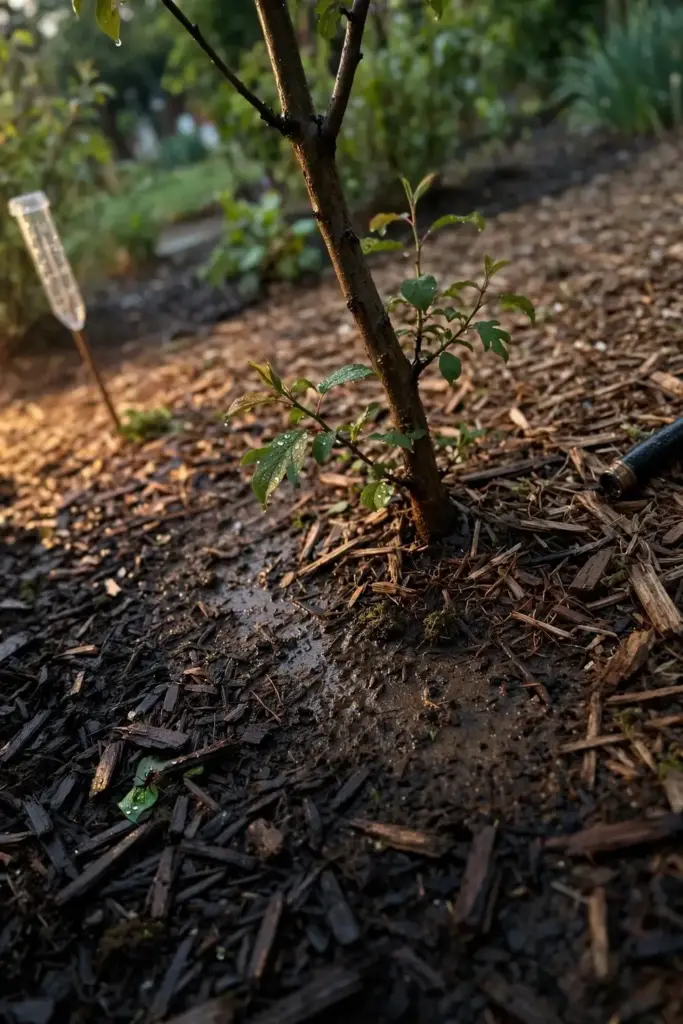
Young trees need steady moisture while roots establish. Water slowly and deeply after planting, then keep the root zone evenly moist through the first two growing seasons. Once established, plumcots handle normal rainfall with supplemental deep watering during dry spells. Mulch with 3 to 4 inches of wood chips, kept a few inches from the trunk, to hold moisture and suppress weeds. Inconsistent water during fruit swell causes small fruit and drop, so the weeks after bloom are the ones to watch.
14. Feed with Balanced 10-10-10 After Year One
Hold the fertilizer in the planting year. Starting in the second spring, apply a balanced fertilizer in late winter or early spring and again in late spring or early summer. The plumcot feeding schedule starts at one-half pound of 8-8-8 or 10-10-10 per feeding and increases gradually each year, reaching 1 to 1.5 pounds per feeding at maturity. Spread it over the root zone, not against the trunk.
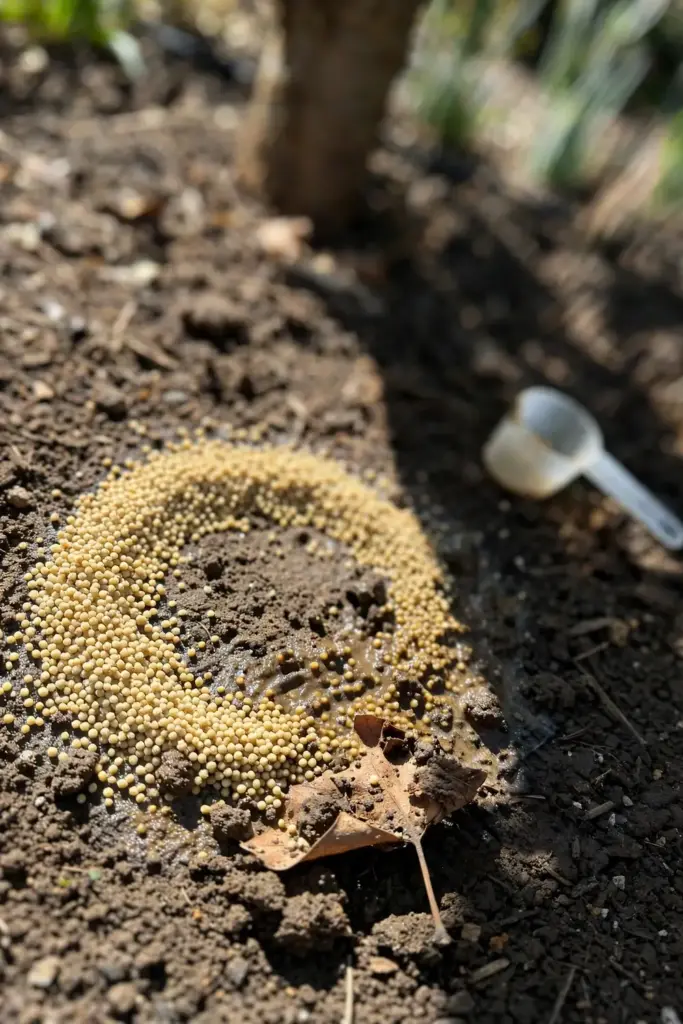
Plumcots also benefit from an annual zinc foliar spray, per the same guidance. Watch the leaves: pale new growth with green veins points at micronutrient shortage, while scorched leaf edges point at overfeeding. When in doubt, feed less. A slightly hungry tree fruits better than a burned one.
15. Prune an Open Vase Every Year
Proper pruning leads to better fruit and fewer disease problems. Start while the tree is young. The plumcot pruning guidance recommends limiting the structure to five or six main branches coming off the central stem, spaced evenly around the tree and at least 6 inches apart. Do the main pruning in spring just before the flower buds open. Remove diseased, broken, and weak branches any time, strip suckers from the base as soon as they appear, and take out any branch that crosses and rubs another. Branches that grow straight up instead of outward at an angle go too.
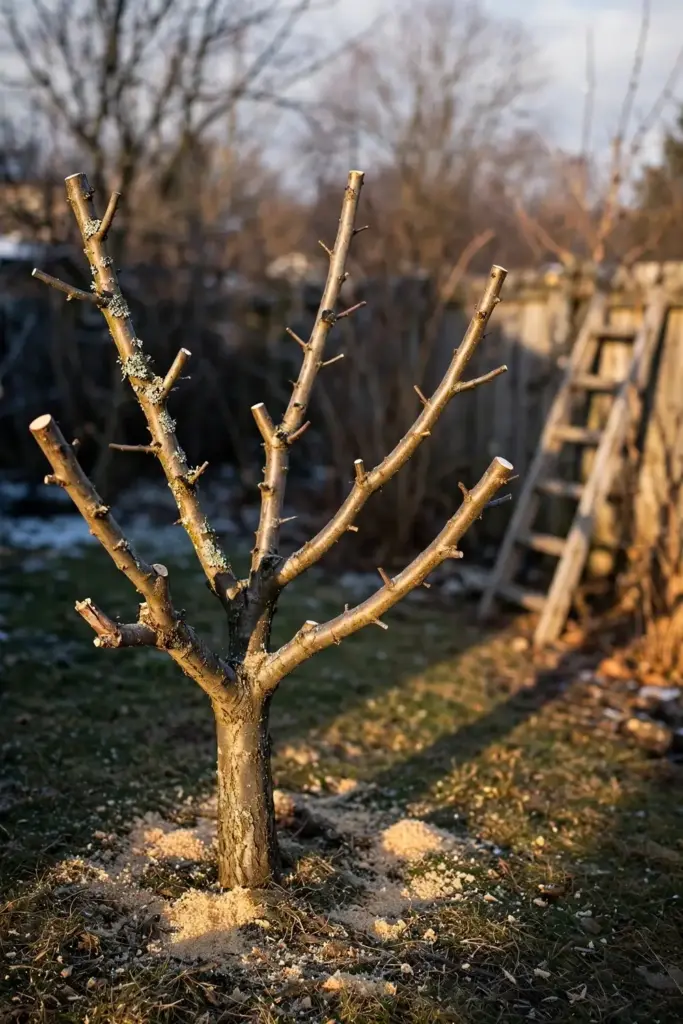
Thin the fruit on heavily laden branches. Fewer fruits per branch means larger, sweeter fruit and branches that do not snap under the load. The spring pruning techniques guide covers the timing and tool hygiene that keep these cuts clean.
16. Watch for Brown Rot, Aphids, and Bacterial Canker
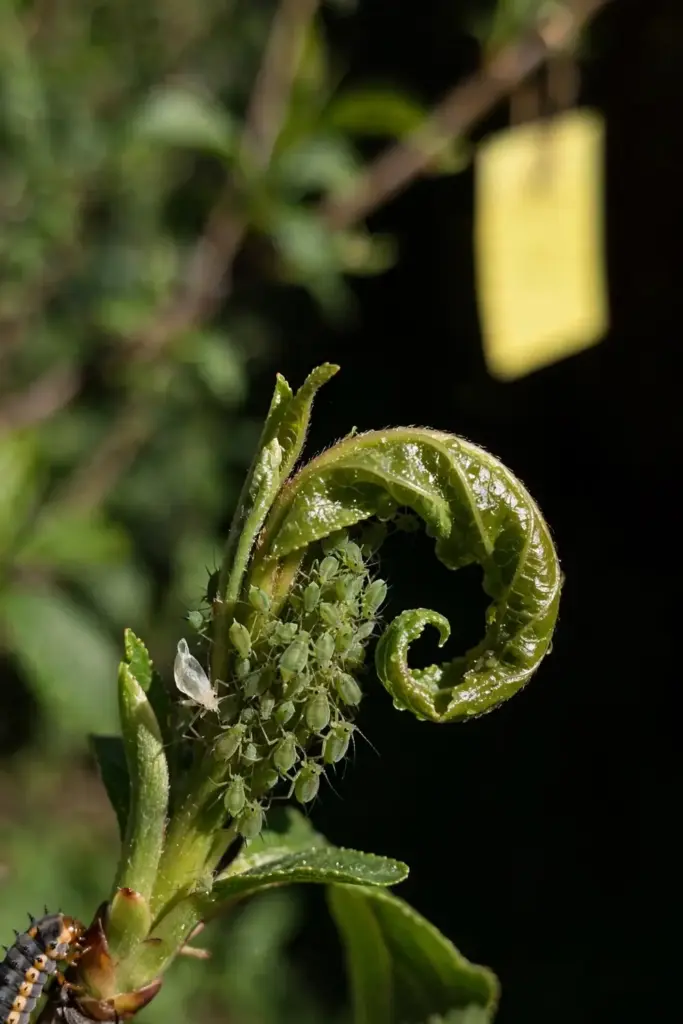
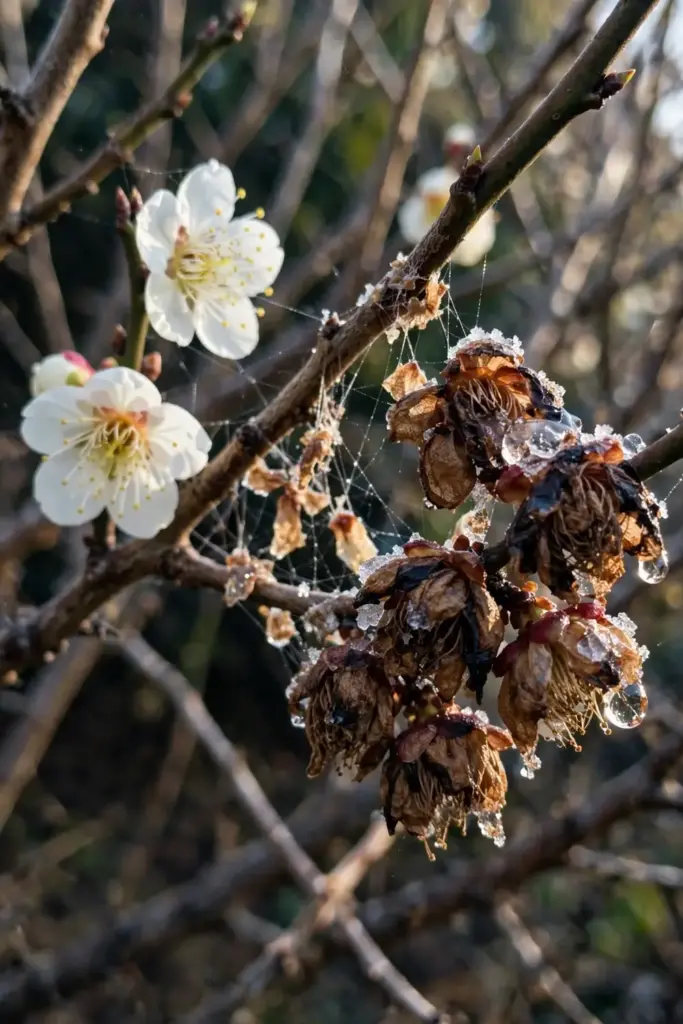
Plumcots share the pest and disease profile of plums and apricots. Brown rot attacks blossoms and ripening fruit in wet springs; it starts as brown spots that spread fast in humidity and leaves mummified fruit hanging on the branches. Strip those mummies in winter, because they carry the fungus into the next season. Aphids cluster on new growth and excrete honeydew that grows sooty mold. A strong jet of water knocks most of them off, and ladybugs finish the job if you have not sprayed broad insecticides.
Bacterial canker shows as gummy, water-soaked cankers on branches and trunks, and Burpee’s pluot disease guide recommends cutting out diseased wood and contacting the local cooperative extension for recommendations. Canker-hit wood also becomes more susceptible to brown rot, so the two problems travel together. Cool, wet weather after blooming is the danger window. Good air movement, open pruning, and prompt removal of mummified fruit break most disease cycles. Copper sprays in late fall can help in canker-prone regions, but check your local extension guidance before buying anything. Spray only when you can name the target. A calendar spray program is how beginners create resistant pests.
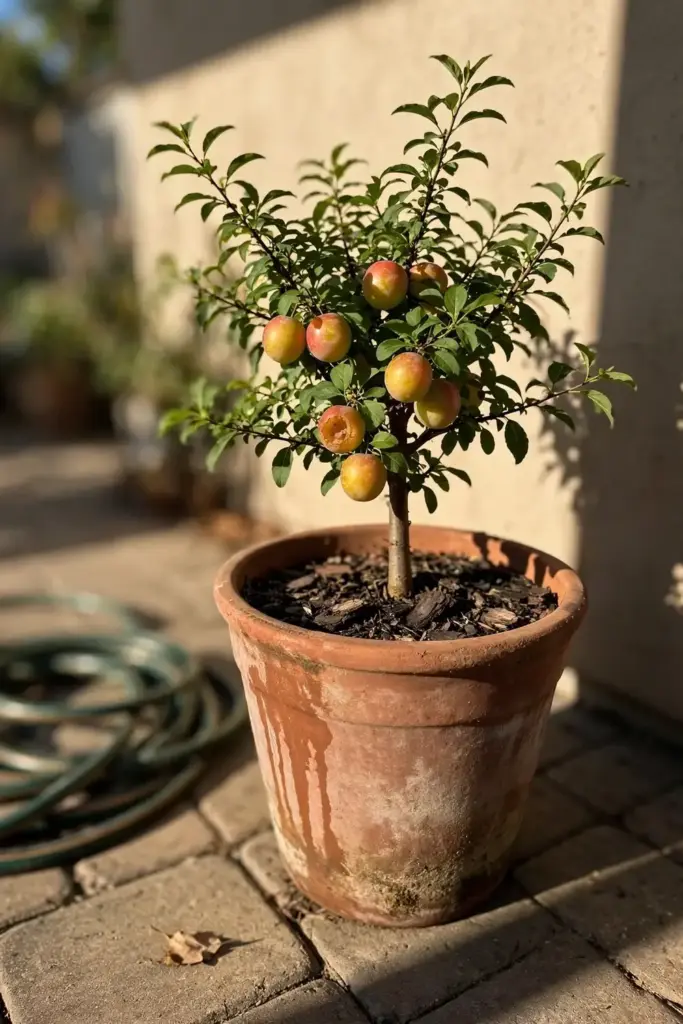
17. Try a Container Only on Dwarf Rootstock
A 15-to-20-foot tree outgrows a pot within a few seasons. A dwarf plumcot on dwarfing rootstock, on the other hand, can fruit in a large container for several years. Use the biggest pot you can move, at least 20 gallons, with excellent drainage. Container trees need water daily in summer heat and fertilizer more often than in-ground trees because nutrients wash out. Move the pot to a sheltered spot for hard freezes. Treat the container as a holding strategy or a small-space compromise, not as the tree’s permanent home.
18. Harvest Late Summer When the Fruit Gives
Plumcots ripen in late summer to early fall, depending on variety. The fruit is ready when the skin colors fully and the flesh gives slightly under gentle thumb pressure. Watch for the background color shifting from green to its mature tone, which is a better signal than blush. Taste one before picking the branch. Unlike some fruits, pluots and plumcots do not ripen much after picking, so timing the harvest is the skill. An underripe plumcot is tart and firm. An overripe one turns mushy within days. The window between the two is about a week, sometimes less in heat.
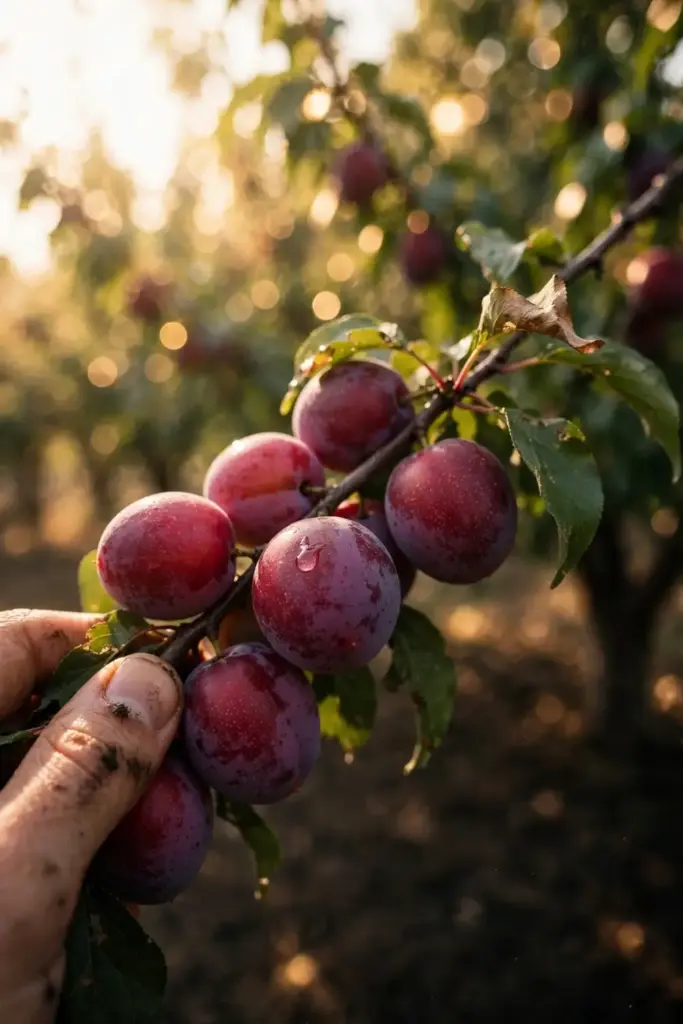
Pick in the cool of the morning, handle gently to avoid bruising, and refrigerate what you cannot eat fresh. Birds learn the harvest date before you do. Net the tree or pick slightly early and let the last day of ripening happen on the counter. And yes, you can eat the skin. It is thin and plum-like, and much of the aroma lives in it.
19. Cook and Store the Harvest
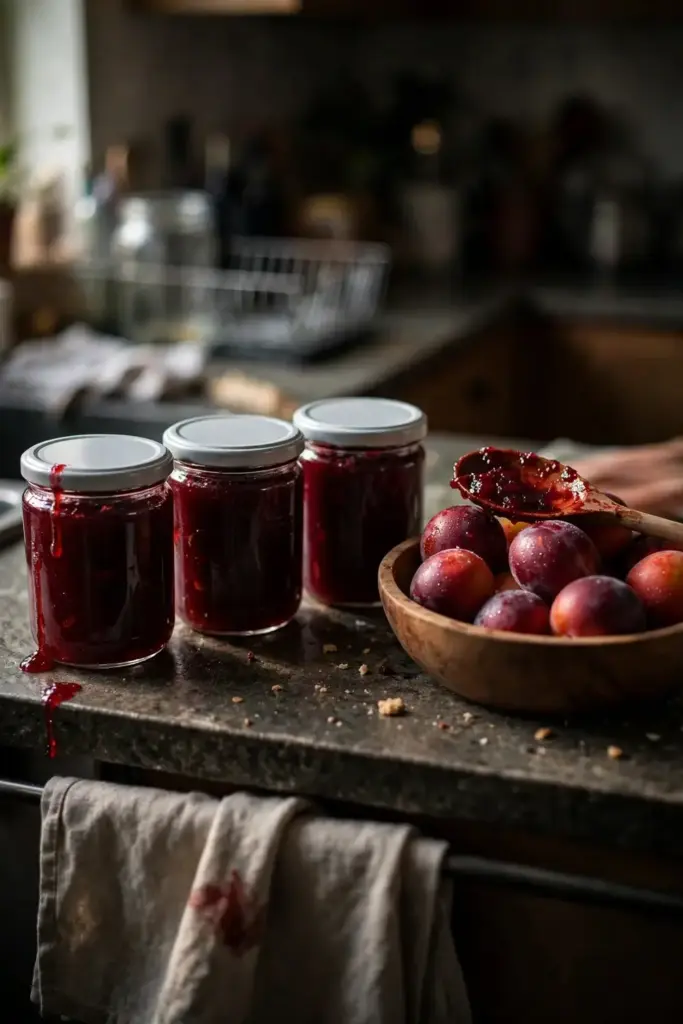
Fresh eating is the main event, but a heavy year gives you options. Plumcots make excellent jam, sauce, and dried fruit, and their perfume survives cooking better than plain plum does. Store fresh fruit in the refrigerator for 1 to 2 weeks. For longer keeping, freeze halves on a tray before bagging, or dry slices at 135°F until leathery. A tree that bends under its crop in a good year is a preserving project, so plan the jars before the harvest.
20. Decide If a Plumcot Fits Your Garden
Are plumcots easy to grow? They are moderate. The tree itself is vigorous and the care mirrors plum care, which most gardeners manage fine. The difficulty concentrates in two decisions: chill hours and pollination. Get 500-plus chill hours below 45°F and plant a compatible pair within 50 feet, and the tree mostly takes care of itself. Miss either one and you get blossoms without fruit, which is the most common complaint in grower forums. If you can check both boxes, a plumcot is one of the highest-flavor-per-square-foot trees you can plant.
21. Fix the Five Most Common Failures
Blossoms but no fruit almost always means a missing or mismatched pollinizer, or a late frost that killed the flowers. Check the pair first. Fruit drops in June when the tree sets more than it can carry. Thin harder next spring, because a tree that keeps every fruitlet makes small ones. Small sour fruit points at too much crop, too little sun, or picking too early. Gummy cankers on branches mean bacterial canker. Prune out the diseased wood well below the damage and disinfect between cuts. A tree that leafs out but never blooms is usually short on chill hours, which means the variety and the climate were mismatched from the start.
Frequently Asked Questions
They are moderately easy. The tree grows vigorously and the care mirrors plum care: sun, drainage, annual pruning, balanced fertilizer. The two hard parts are giving it 500 to 800 chill hours below 45°F and planting a compatible pollination partner within 50 feet. Get those right and the tree is low maintenance. Miss them and you get flowers with no fruit.
Usually yes. Most plumcots and pluots are not self-fertile, so a lone tree blooms and sets little or nothing. Plant a second compatible tree, a Japanese plum or another overlapping plumcot or pluot, within 50 feet so bees can cross-pollinate. Two trees blooming together will outproduce a single tree dramatically, which makes the pair the single most important planting decision.
Yes. The skin is thin and plum-like, and much of the fruit’s perfume lives in it. Wash the fruit well, especially if you sprayed during the season, and eat it fresh out of hand. The skin also holds the color, so leaving it on keeps jams and sauces vivid.
A plumcot is the original even-split cross of Japanese plum and apricot, named by Luther Burbank. A pluot is a later-generation hybrid that is mostly plum, developed by Floyd Zaiger, and an aprium is the mirror image at mostly apricot. Pluots dominate store shelves, so the names get swapped, but the trees have slightly different chill and pollination needs.
A grafted nursery tree typically fruits in 2 to 4 years, with the optimistic end around 2 years and panel guidance at 3 to 4 years. A seedling grown from a pit takes 4 to 7 years or more, and the fruit will not match the parent because the hybrid genetics reshuffle. If you want named-variety fruit on a schedule, buy the grafted tree.
Only as a compromise. A dwarf plumcot on dwarfing rootstock can fruit in a 20-gallon or larger container for several years, but standard trees reach 15 to 20 feet and need the ground. Container trees need daily summer water and more frequent feeding, plus winter shelter in cold zones. Treat the pot as a small-space strategy, not a permanent home.
Start With a Grafted Tree and a Pollination Partner
Buy a grafted tree of a named variety, plant a compatible partner within 50 feet, give them sun and 500-plus chill hours, and prune an open vase every spring. The seed route is a fun experiment that teaches you stratification, but the grafted pair is what fills the bowl. Four years from planting, you will be thinning fruit off branches that bend under it, which is the exact problem every plumcot grower wants.