
Shatavari is a two-year promise. You sow the seed this season, and the tuberous roots you are growing for will not be ready to lift for 12 to 24 months. Every step before that is preparation for a harvest you cannot see.
If you want to learn how to grow shatavari from India at home, start with that timeline. This is a climbing perennial, not a vegetable bed annual. It needs a trellis, a deep home for its roots, and a patience most garden crops never ask for. The reward is a root that has been grown, traded, and studied in Ayurveda for centuries, and that is now harder to find wild than ever.
Shatavari is Asparagus racemosus, a cousin of the asparagus you eat, but the family resemblance ends at the foliage. Garden asparagus gives you spears. Shatavari gives you a bundle of tuberous roots up to a meter long, about a hundred of them on a mature plant. Grow the wrong species and you will wait two years for a harvest that never was yours to claim.
1. What Shatavari Actually Is: A Root Crop, Not a Vegetable
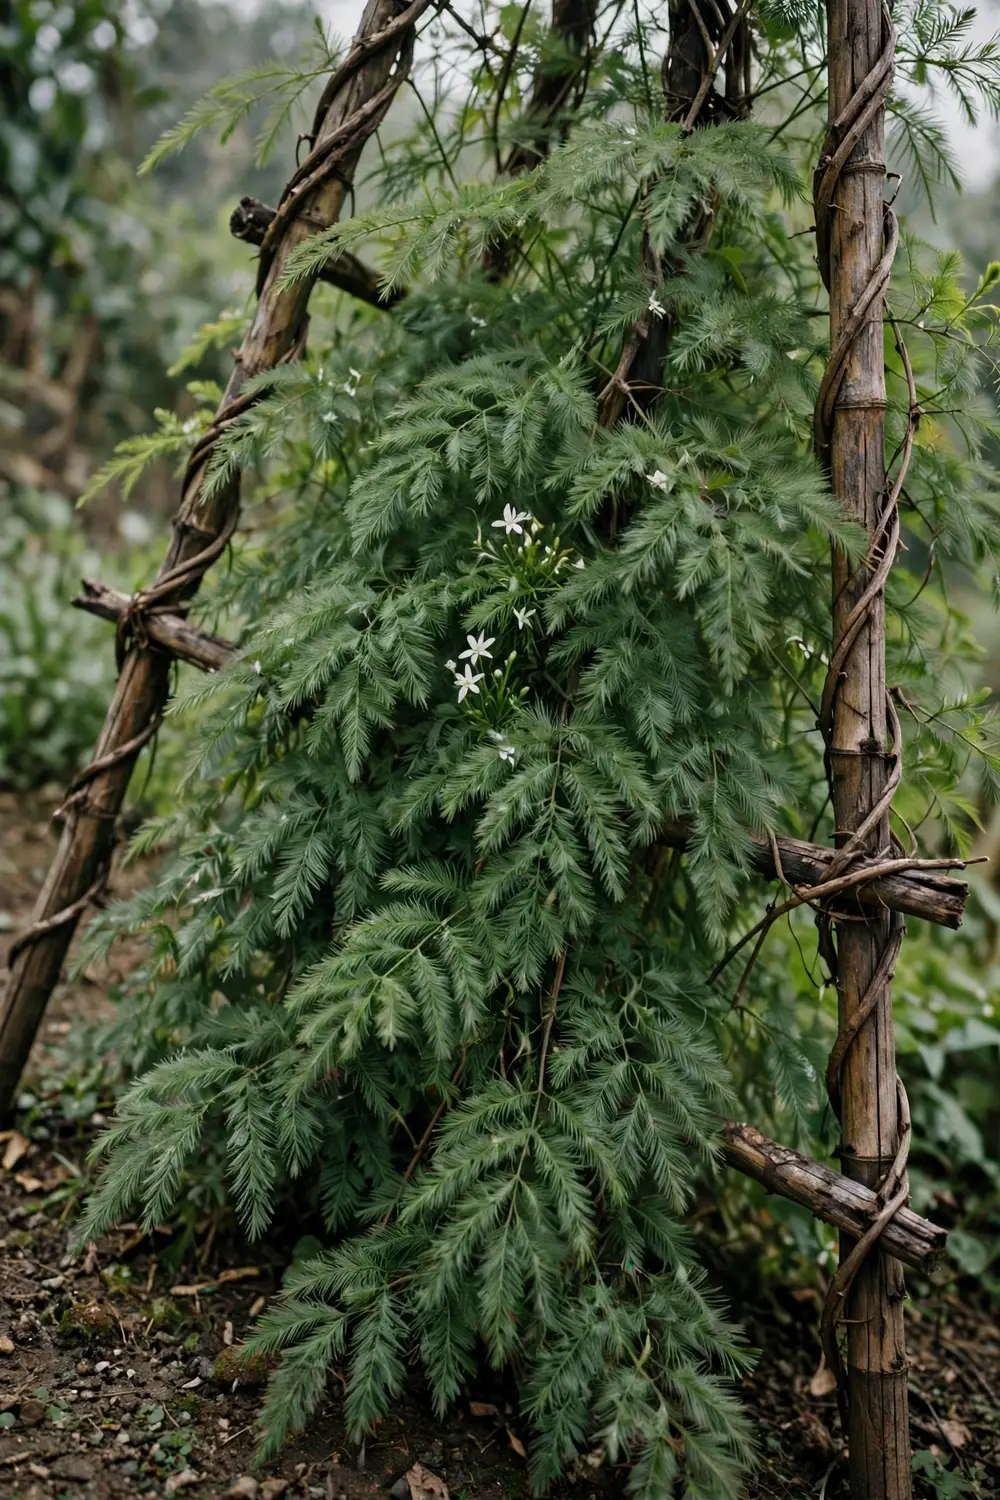
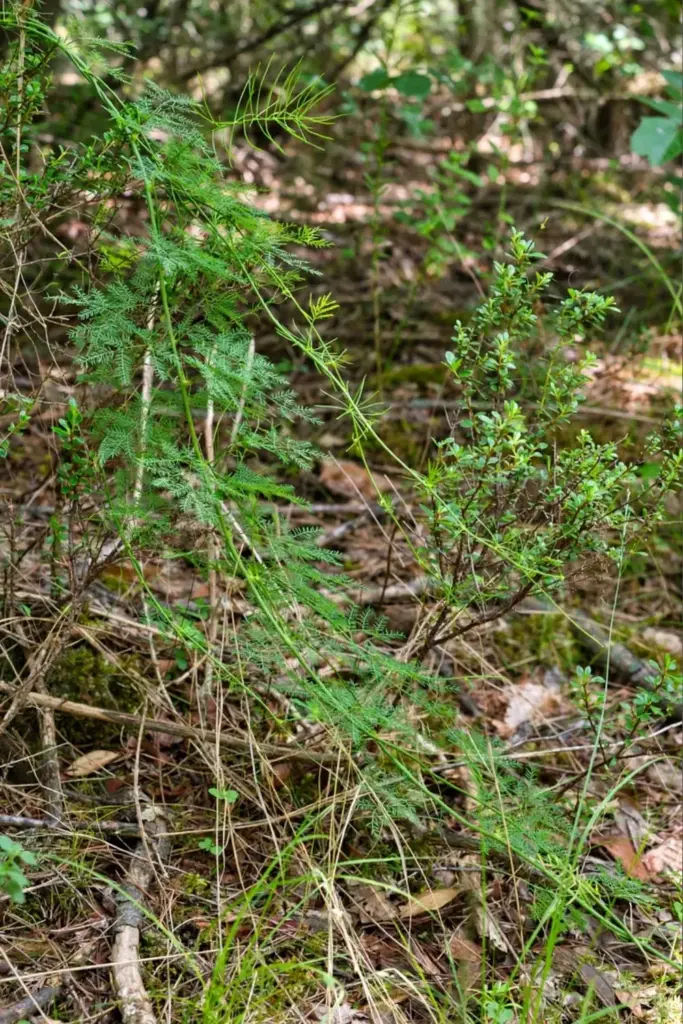
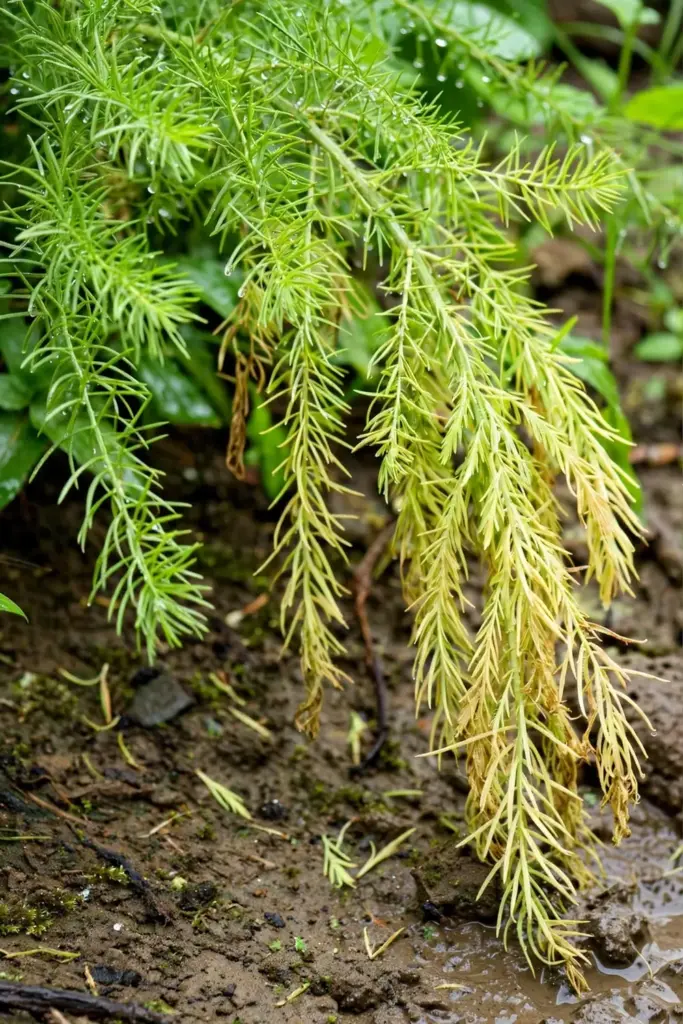
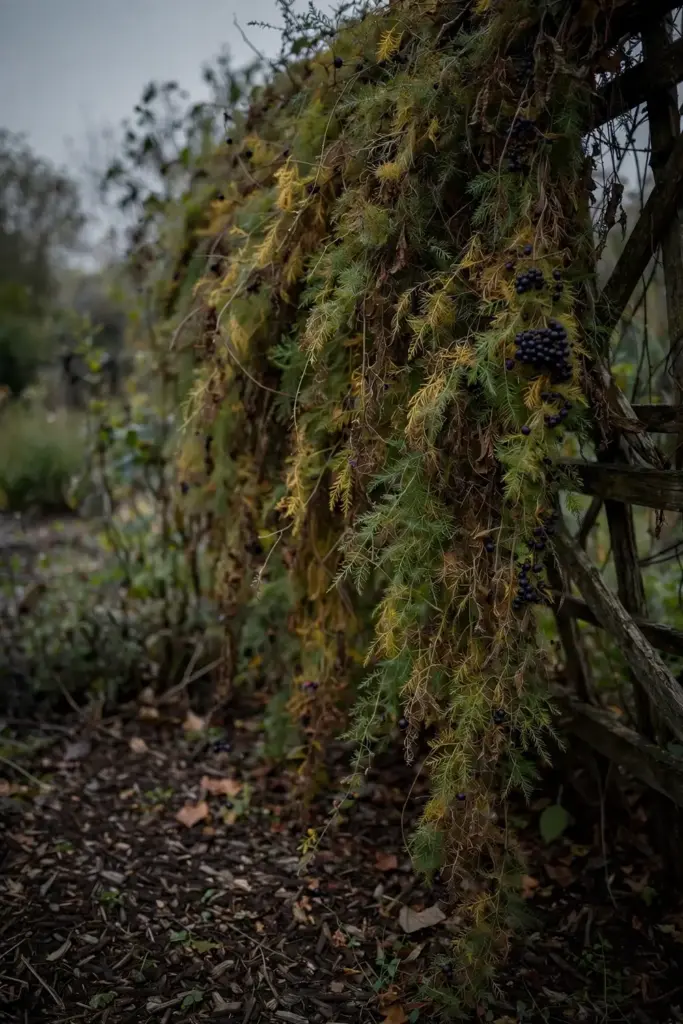
Shatavari is a climbing perennial in the Asparagaceae family, native to India, Nepal, and China. In its native range it grows in tropical and subtropical zones from the foothills of the Himalayas east of Kashmir through Southeast Asia, and it is found at elevations up to 1,200 meters. The plant climbs 1 to 3 meters on a support, with fine pine-needle-like cladodes, tiny white flowers in summer, and purple-black berries in autumn.
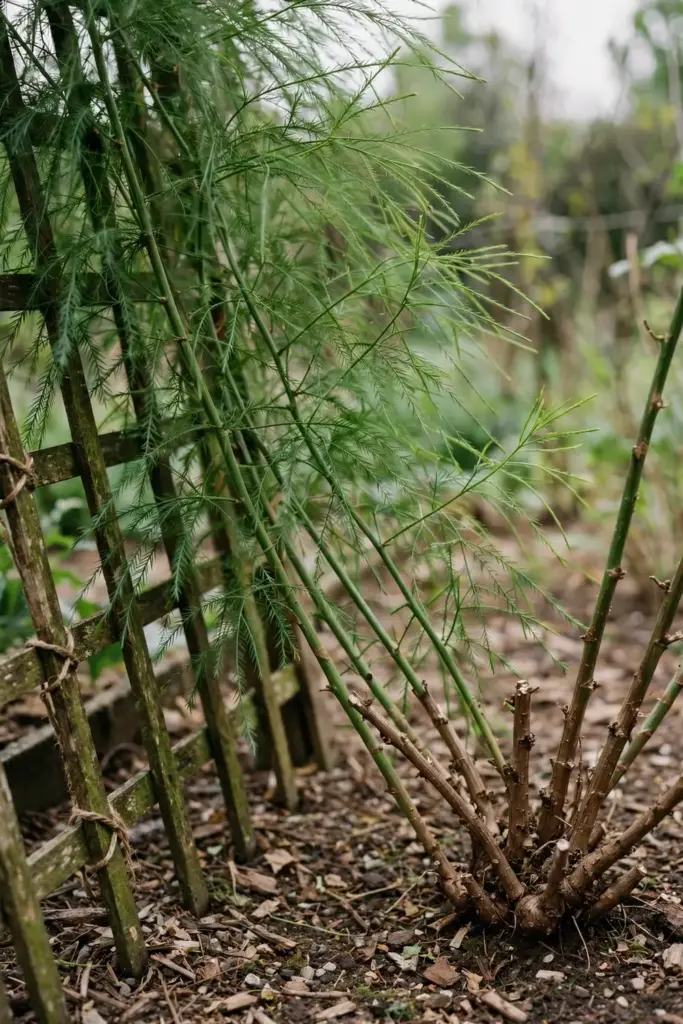
The prized part is underground. The plant develops a crown of spindle-shaped tuberous roots, each up to about a meter long, and a mature plant can carry roughly a hundred of them. This is the part Ayurveda calls the “queen of herbs.” The young shoots are edible too, cooked like a vegetable, but in home growing the shoots are a side note. The roots are the crop, and roots take time.
Shatavari lives a long time. Two decades in one spot is a documented lifespan for an established crown. That lifespan changes the economics of growing it. A slow first two years is fine when the plant will keep producing for decades.
2. Shatavari vs Garden Asparagus vs Asparagus Ferns: Know What You Are Growing
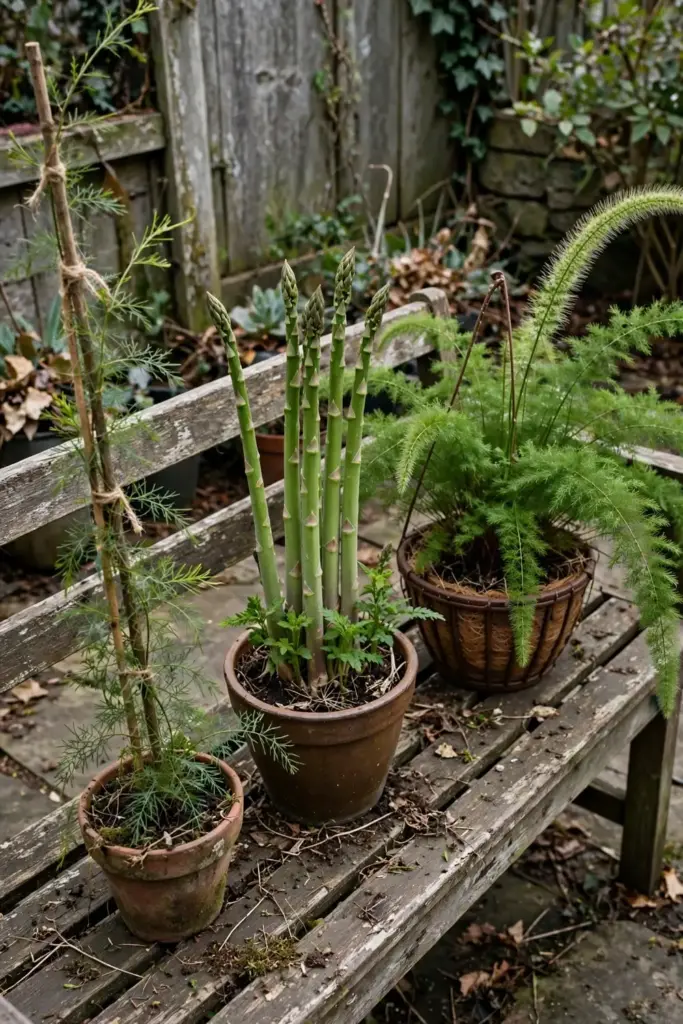
Three different plants share the “asparagus” name, and the nursery trade does not always keep them straight. Get the species wrong and the disappointment arrives years later. This is the single most useful check before you buy anything.
| Trait | Shatavari (A. racemosus) | Garden asparagus (A. officinalis) | Asparagus ferns (A. setaceus, A. densiflorus) |
|---|---|---|---|
| What you harvest | Tuberous roots (Ayurvedic herb) | Edible spears (vegetable) | Nothing; ornamental foliage |
| Growth habit | Climbing vine, 1-3 m on a support | Upright crown of spears | Arching or foxtail foliage, ornamental |
| Time to harvest | 12-24 months from seed | 2-3 years from crown | N/A |
| Flower color | White | Yellow-green | White or pale pink |
| Berry color | Purple-black | Red | Red or purple |
| Zone reality | Zones 8-11 outdoors; container elsewhere | Zones 4-8 | Mostly houseplants |
Garden asparagus guides dominate the generic search results, and several of them rank for shatavari queries. They are not your article. If a guide talks about spears, it is A. officinalis. If it shows a foxtail-shaped plant in a hanging basket, it is ornamental. If it talks about soaking seeds, a trellis, and digging roots in year two, you are in the right place.
3. Seeds or a Division: Which Start Is Right for You
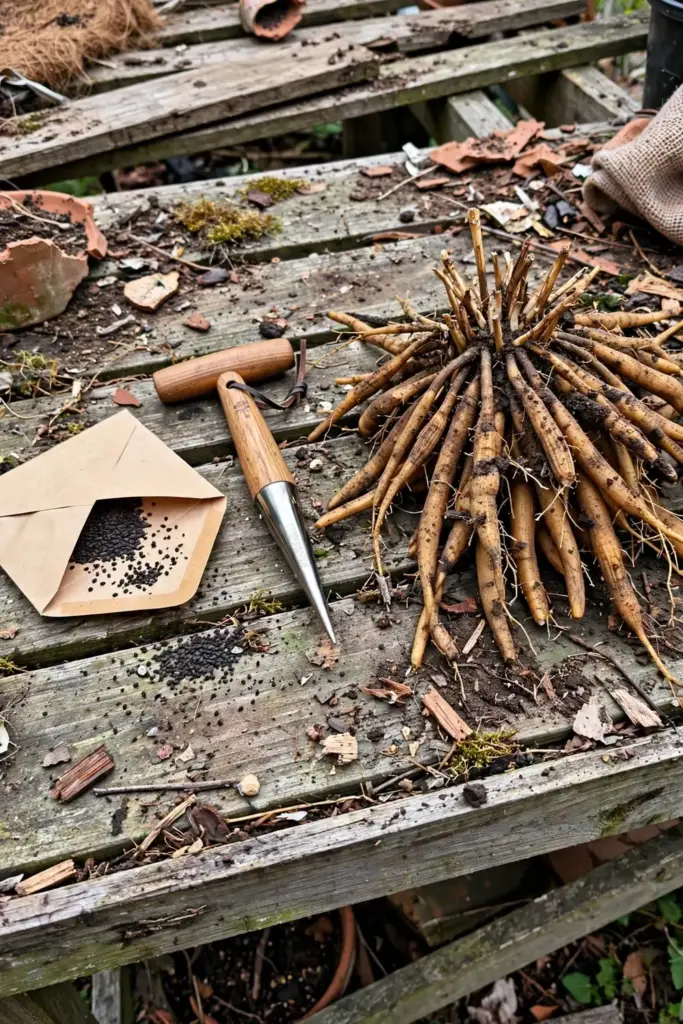
Two ways to start a shatavari plant. Seeds are cheaper and easier to find. Root division is faster and true to the parent. Here is how they compare.
| Factor | Seeds | Root division |
|---|---|---|
| Cost | Low; packets are widely available | Higher; you need an existing plant |
| Time to root harvest | 12-24 months | Often 12 months or less |
| Genetic variation | Present; some plants outperform others | None; identical to parent |
| Availability | Online seed sellers and nurseries | Only if you or someone you know grows it |
| Best for | First-time growers, small experiments | Expanding an existing planting |
Buy seed from a seller that names the species: Asparagus racemosus. Packets labeled only “wild asparagus” or “satavar” are usually the right plant, but check the Latin name before you pay. Seed from the spice or supplement aisle is not a good idea here. Medicinal-root processors do not sell seed, and anything labeled as processed root will never germinate.
Sow seed as fresh as you can get it. Ripe seed germinates fastest. Older seed still comes up, only slower and more unevenly.
4. Sowing Shatavari Seeds: The 24-Hour Soak and What Comes After
Sow in spring, when nights stay reliably above 60°F. In most of the United States that means March through May, depending on your zone. Indian growers traditionally sow in April and May on raised nursery beds, then move the seedlings out at the onset of the monsoon.
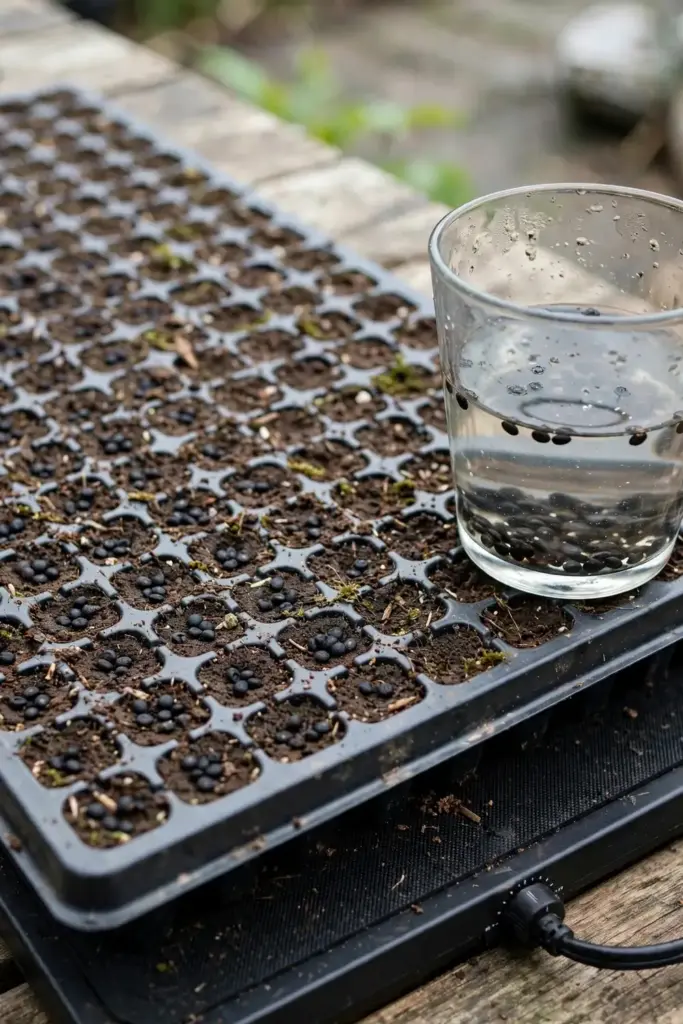
Soak the seeds for 24 hours in room-temperature water first. This is the step that separates fast, even germination from a tray that sits empty for weeks. Some traditional growers soak seed in cow urine for 24 hours as a treatment; if you go that route, use it as a soak before sowing, the same way. Do not use sulfuric acid or other chemical scarification at home. It is used in commercial labs for stubborn seed, and it is dangerous in a kitchen.
Sow the seeds shallow, 2 to 3 millimeters deep, in a light seed-starting mix. Cover with fine vermiculite or sifted compost, water gently, and keep the tray at 77 to 86°F. A heat mat earns its place here. Germination runs 8 to 15 days under good conditions, 1 to 4 weeks at around 82°F in home setups according to seed sellers, and the plants database notes it usually takes 3 to 6 weeks at 77°F. A few seeds may take much longer. If a tray looks dead after a month, keep it warm and wait before you declare it a failure. Our own seed-starting guide covers the tray, dome, and light setup that gives you the best odds in those first weeks.
| Step | Action | Time |
|---|---|---|
| 1 | Soak seeds in room-temperature water | 24 hours |
| 2 | Sow 2-3 mm deep in moist seed mix | Same day |
| 3 | Hold at 77-86°F with a heat mat | 1-4 weeks |
| 4 | Transplant to individual pots when handleable | At first true foliage |
| 5 | Grow on until seedlings are stocky | 60 days or more |
5. Raising Seedlings Until They Are Ready
Shatavari seedlings are slow and unglamorous. They put up thread-thin stems with needle foliage and spend their first weeks building the root system you cannot see. Give them bright light, warmth, and patience.
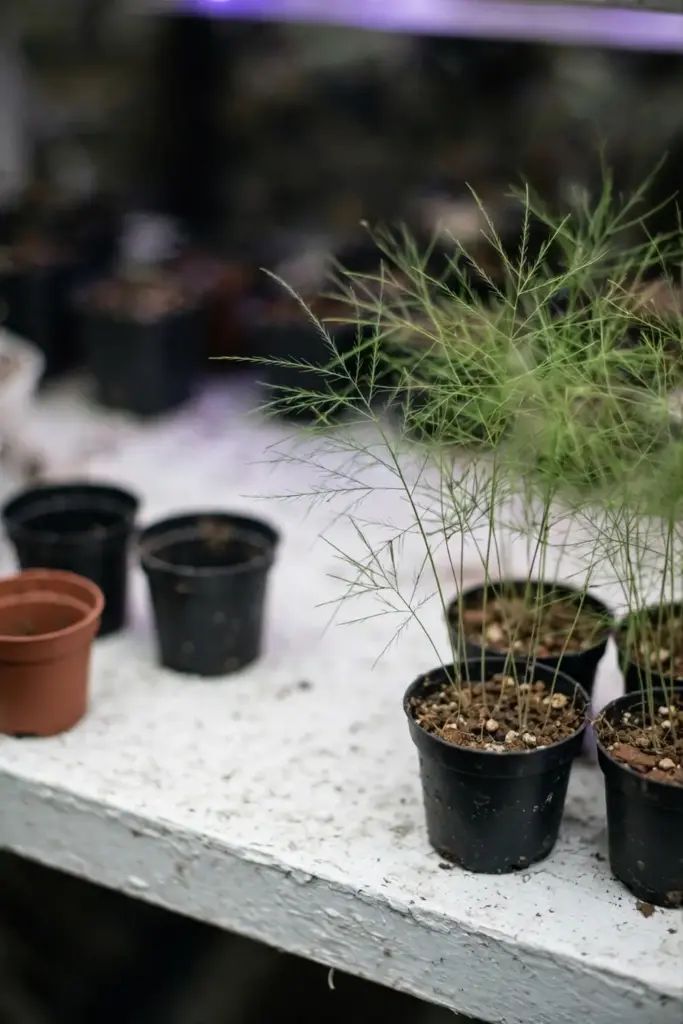
Start them under lights or in a bright windowsill after germination. The seedlings want steady warmth, 70 to 80°F, and evenly moist soil. When they are large enough to handle, prick them out into individual pots, 4-inch pots are fine for the first move. Grow them on in a sunny position until they are stocky, with visible cladodes and a firm root ball. Indian nursery practice aims for 60-day-old seedlings before transplanting, and that is a good benchmark at home too.
Do not rush this stage. Seedlings that go into the ground too early, too small, or in cool soil sit and sulk. Two extra weeks in the pot is cheap insurance.
6. Transplanting: Timing, Spacing, and the First Monsoon Rule
Move seedlings out when night temperatures hold above 60°F and the soil has warmed. In the tropics and subtropics this lines up with the start of the rains. In temperate zones, treat shatavari like a tomato: out after the last frost, into warm soil, with support already in place.
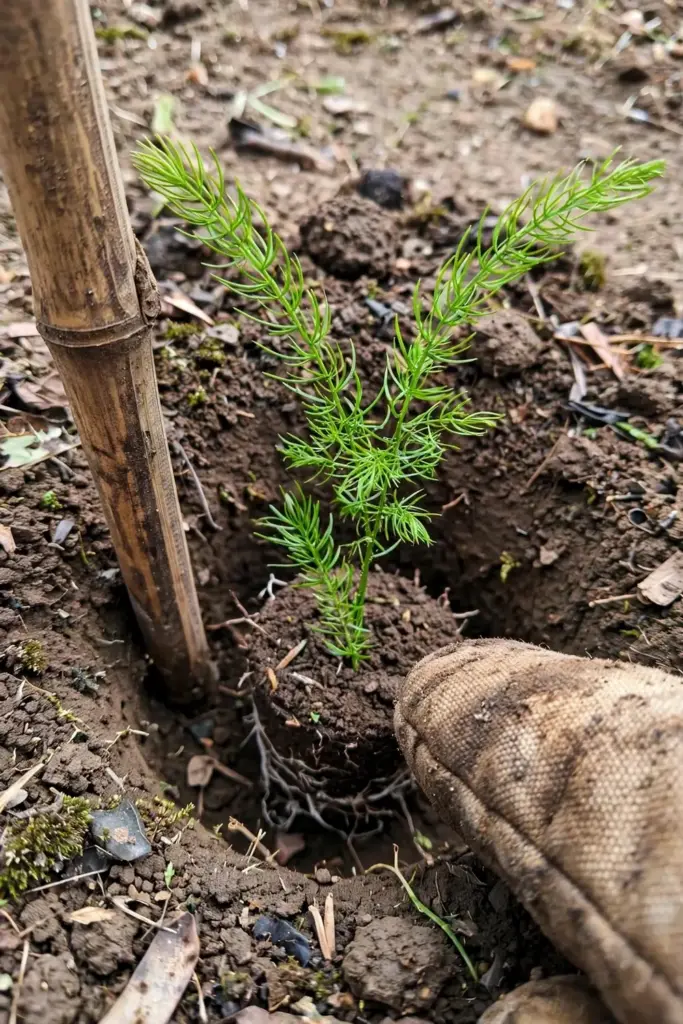
Spacing depends on your ambitions. Home growers do well at 2 by 2 feet per plant, which gives each crown room for its root bundle. Commercial plantings in India use 60 by 60 centimeters in field beds, or 5 by 1.5 feet in some state guidelines. Wider spacing means bigger root bundles per plant. Crowded plants compete, and the roots pay the price.
Dig a hole deep enough that the root ball sits at the same level it grew in the pot. Backfill, water in, and set the stake or trellis at planting time. Driving a stake later will spear the tuberous roots you are growing for. This is the one planting mistake you cannot undo.
7. Give It Something to Climb: Trellis, Stakes, and Training
Shatavari is a climber. Left alone it sprawls along the ground, tangles, and rots where the stems touch wet soil. Give it something vertical from day one.
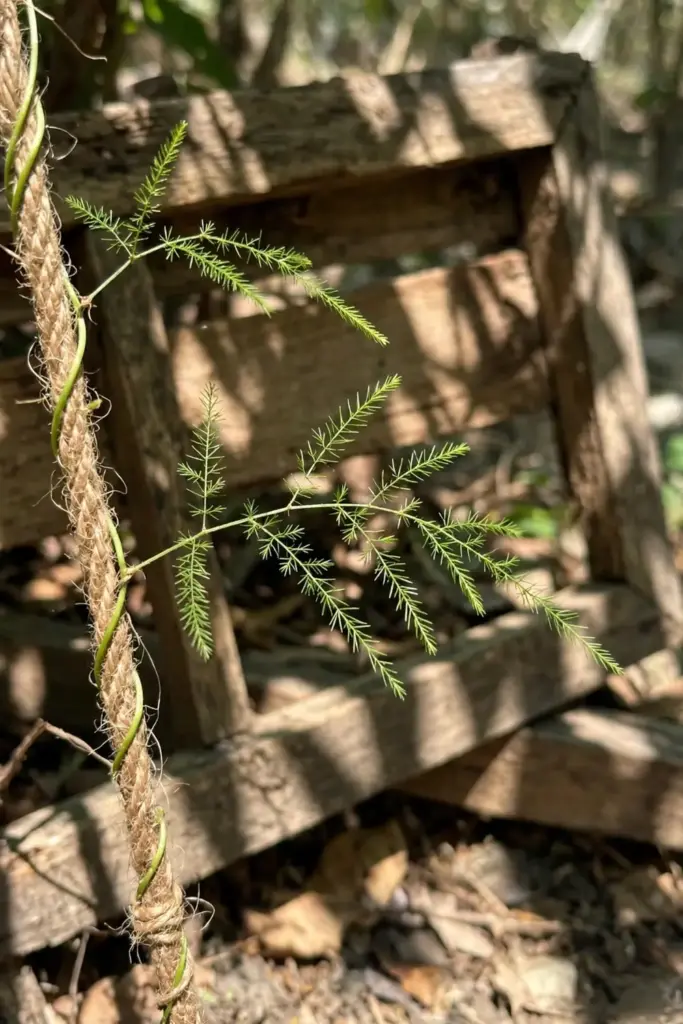
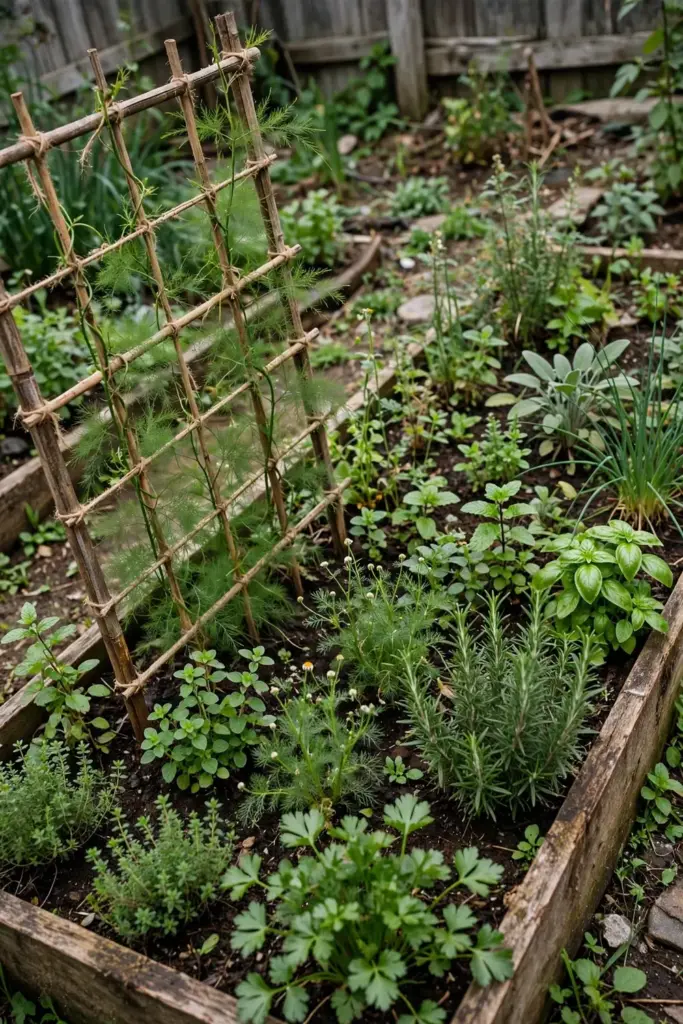
A simple setup works: two sturdy stakes per plant with twine strung between them, or a section of trellis netting on a frame. Commercial growers use bamboo stakes about a foot and a half tall per plant, with rows trained along wires. At home, a 6-foot trellis panel gives the vine room to show what it can do.
Train the young stems onto the support by hand for the first few weeks. Once they find the twine, they climb on their own. Keep mulch a few inches back from the stems so air moves freely around the crown.
8. The Container Method: Growing Shatavari in Pots
Shatavari does grow in pots, and this is the lane that makes it possible outside zones 8 through 11. The container is not a compromise here. It is the strategy for anyone with a cold winter.
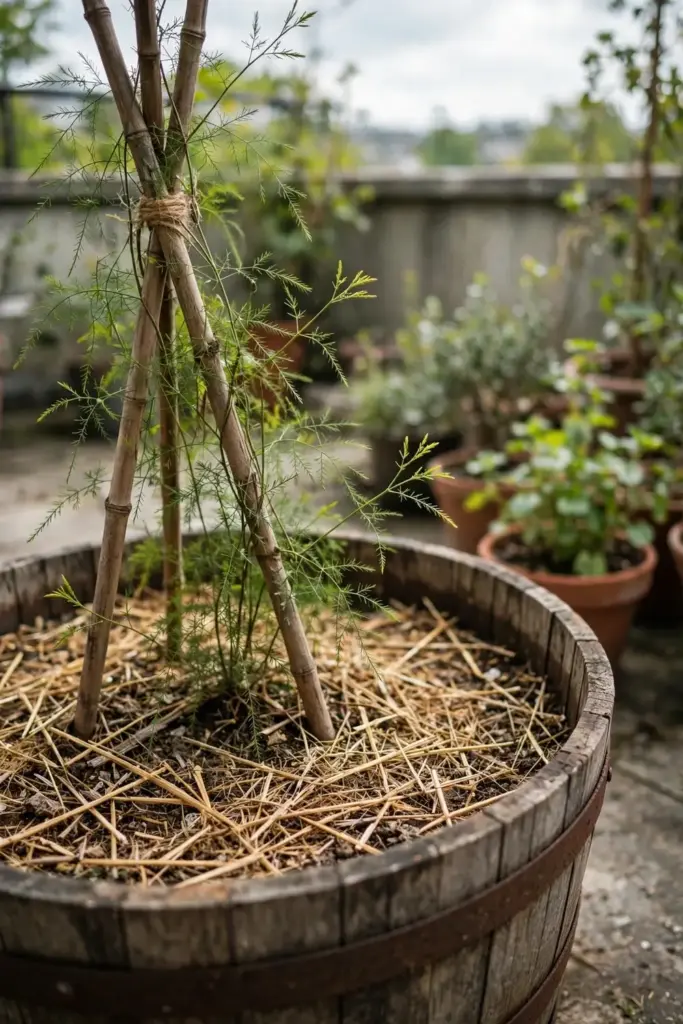
Use a deep container. The tuberous roots run long, and a shallow pot stunts the exact part you want. A 15-gallon pot, or a half-barrel, is the minimum for a plant you intend to harvest from. Nursery sellers are explicit about this: deep containers, good drainage, and room for the root system. Terraces and balconies work. Small windowsill pots do not.
Fill with a loose, rich mix. Two parts good potting soil, one part compost, one part coarse perlite or pumice. Drainage holes are non-negotiable. Water until it runs from the bottom, then let the top inch dry before watering again. Container plants need feeding more often than in-ground ones. A balanced organic fertilizer every 4 to 6 weeks through the growing season keeps the foliage deep green, which is the sign the roots are being fed.
Plan on overwintering container plants indoors. This is where learning how to grow shatavari from India indoors becomes practical: bring the pot inside before the first frost, give it the brightest window or a grow light, cut watering back, and let it rest. It will look tired. That is normal dormancy behavior, not failure. If you already grow tender herbs under lights, the same setup serves shatavari.
9. Soil: Drainage Decides Everything
Shatavari is adaptable about soil texture and fussy about one thing: drainage. Sandy loam to clay loam works. Waterlogged soil kills it. The tuberous roots rot in standing water, and root rot is the fastest way to lose a two-year investment.
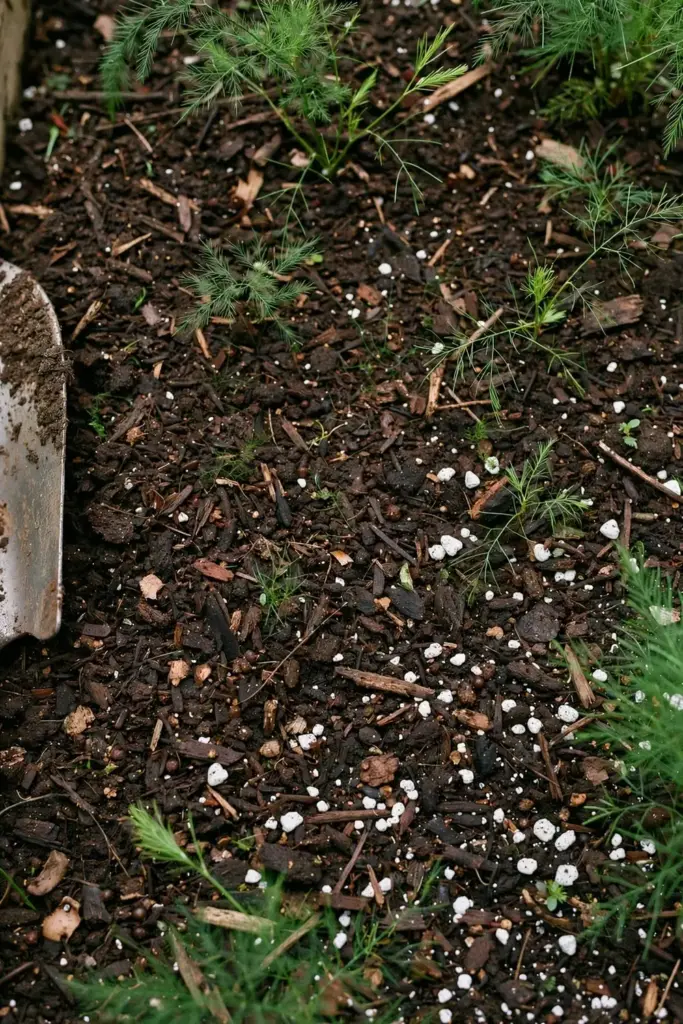
Aim for a pH between 6.0 and 8.0. Rich, organic soil produces bigger roots. Before planting, work in several inches of compost. Mulch the surface with straw or leaf mold to keep the soil cool and the moisture even, but keep the mulch a few inches back from the stems.
Our soil health guide lays out the compost-and-mulch foundation that carries heavy-feeding perennials through multi-year plantings, and the same foundation serves shatavari. Build the soil once. The plant stays for decades.
10. Watering: Wet Feet Rot the Prize
Water deeply and then let the soil dry between waterings. Shatavari tolerates dry spells once established, and it needs a distinct dry season to flourish. What it does not tolerate is soggy ground around the crown.
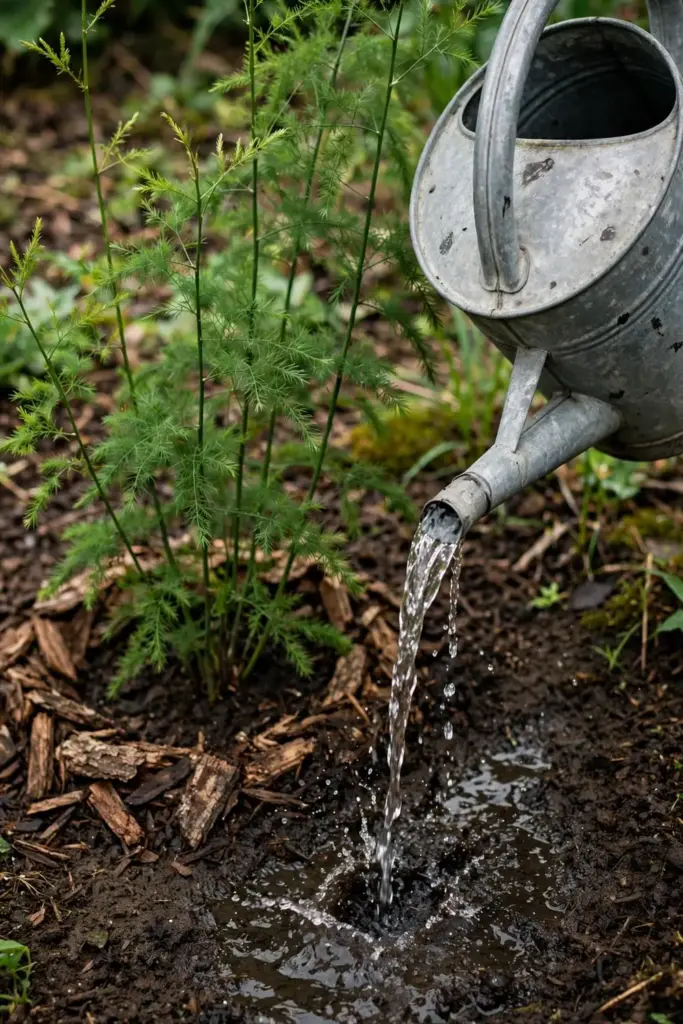
In the ground, water once or twice a week in dry weather, less once the plant is established. In containers, water when the top inch of mix is dry. In winter, indoors or out, cut watering to a minimum. The plant rests. Roots in cold, wet soil rot.
Yellow foliage is the classic overwatering signal. Nursery growers flag it as the first sign of too much water. If the cladodes yellow and the soil is wet, stop watering and improve drainage before you do anything else.
11. Feeding and Mulching Through the Dry Season
Feed lightly and regularly. Shatavari feeds lightly. A plant building a hundred tuberous roots still appreciates steady nutrition. Compost at planting, a top-dressing of compost each spring, and a balanced organic fertilizer every 4 to 6 weeks in the growing season is plenty.
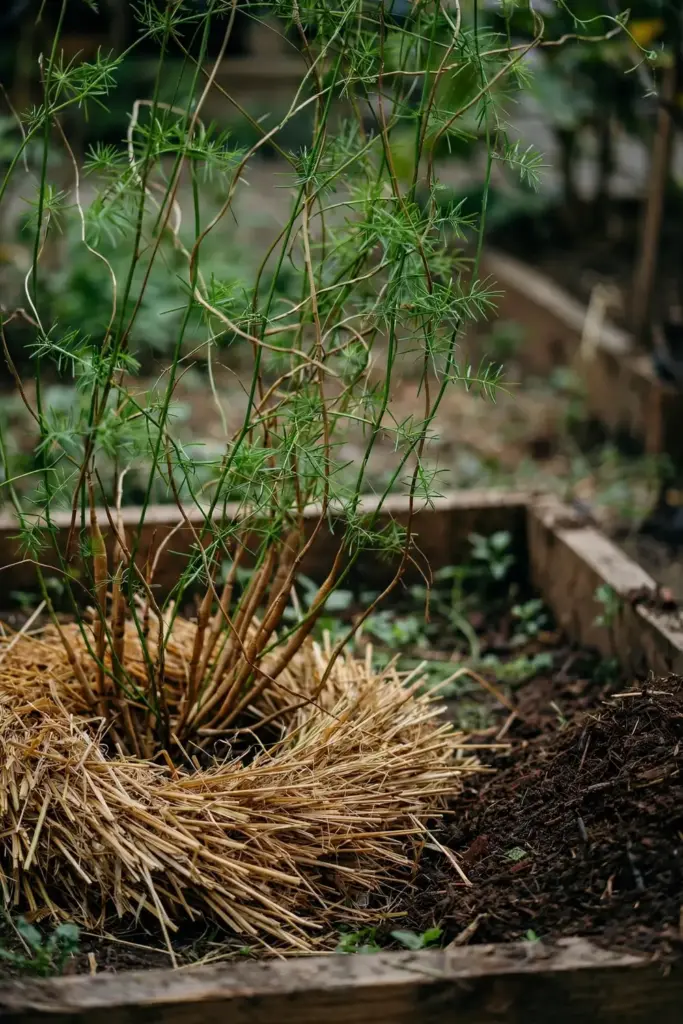
Mulch matters more than fertilizer. A 2- to 3-inch layer of straw, leaf mold, or bark chips keeps the root zone cool, holds moisture, and suppresses weeds. Replenish it as it breaks down. The mulch also protects the crown from frost in marginal zones. Pile it a little deeper around the base before winter in zone 8, the way you would for any tender perennial.
Skip fresh manure against the crown. It burns young roots and invites problems. Composted manure, aged at least six months, is safe.
12. Pruning a Climber That Never Stops
Shatavari grows all season, and an unmanaged vine turns into a wall of foliage that shades its own lower stems and invites disease. Prune with a purpose.
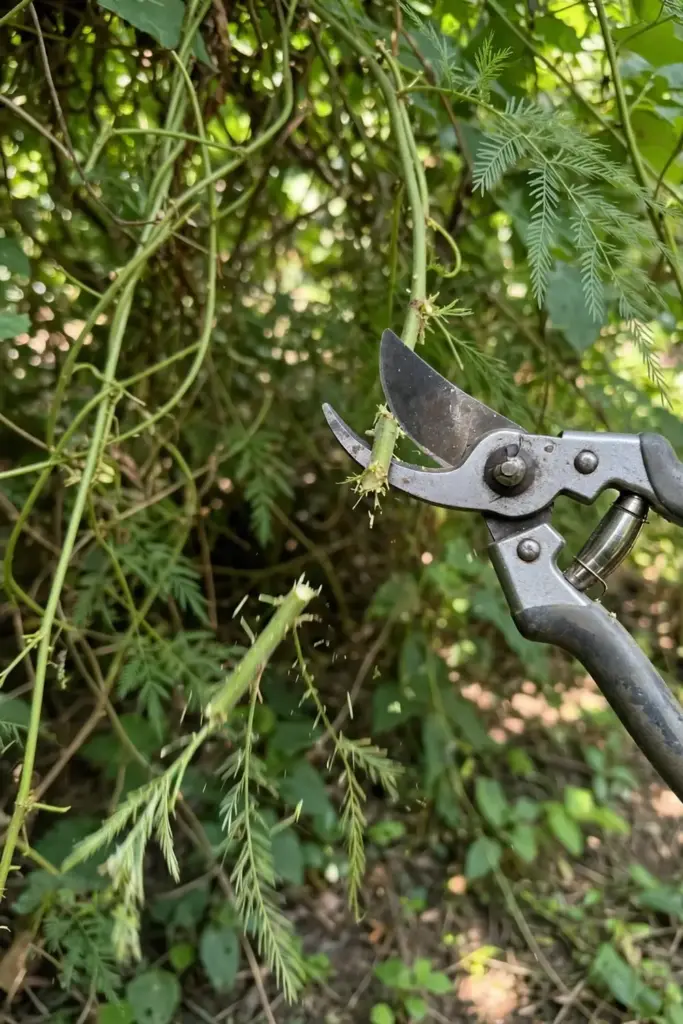
Cut back dead or yellowing stems at the end of the growing season. In late autumn, after the tops begin to pale, you can cut the vines back to a few inches above the crown. This is also the traditional signal that the roots below are approaching harvest readiness. During the season, thin congested growth to let air and light into the middle of the plant.
Never strip the plant bare in its first year. The foliage feeds the roots. Every leaf you remove is energy the tuberous roots will never get. Prune for airflow, not for tidiness.
13. Overwintering: What Cold Does to Shatavari
Shatavari handles light frost and dies back in cold. The roots survive underground in zones 8 and warmer, usually with a thick mulch blanket over the crown. Below that, the plant needs shelter.
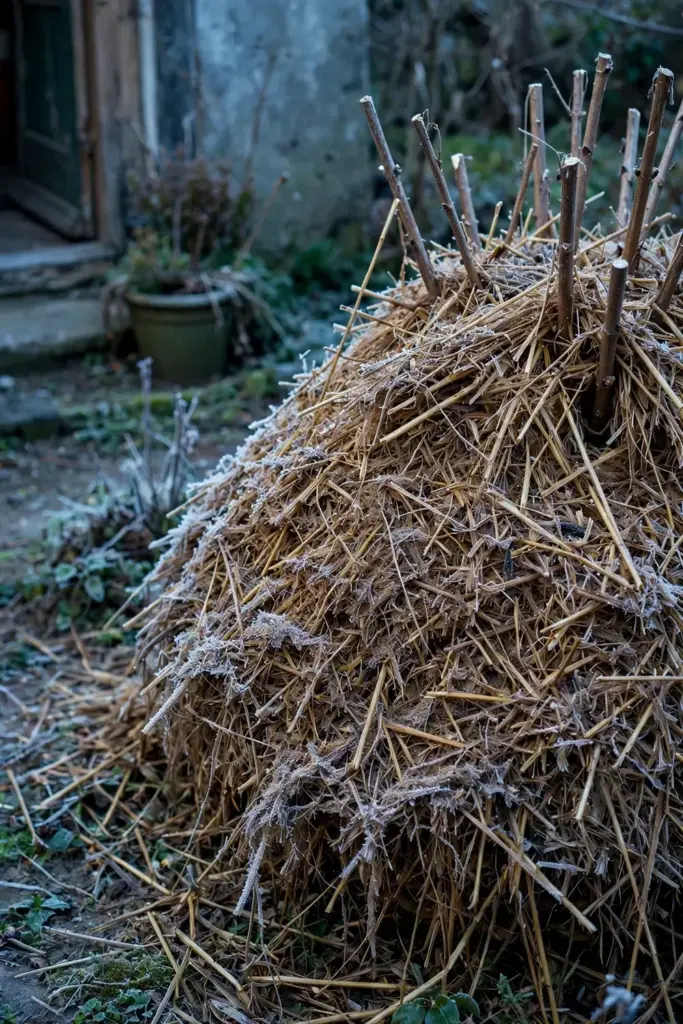
Zone 7 gardeners get away with deep mulch and a protected microclimate, a south-facing wall helps. Zone 6 and colder, grow in containers and bring the pots inside before the first hard frost. The plant goes semi-dormant indoors. Bright light, cool room temperatures of 50 to 60°F, and minimal water until spring. New growth in spring is your signal to resume feeding and move the pot back out after the frost date.
Our fall herb planting guide covers the timing mindset for moving tender perennials under cover, and the same calendar discipline applies here. The plant that survives winter intact is the plant that bulks roots next season.
14. Pests and Diseases: The Honest Short List
Shatavari suffers few pests. That is one of its quiet virtues. The problems are few and mostly water-related.
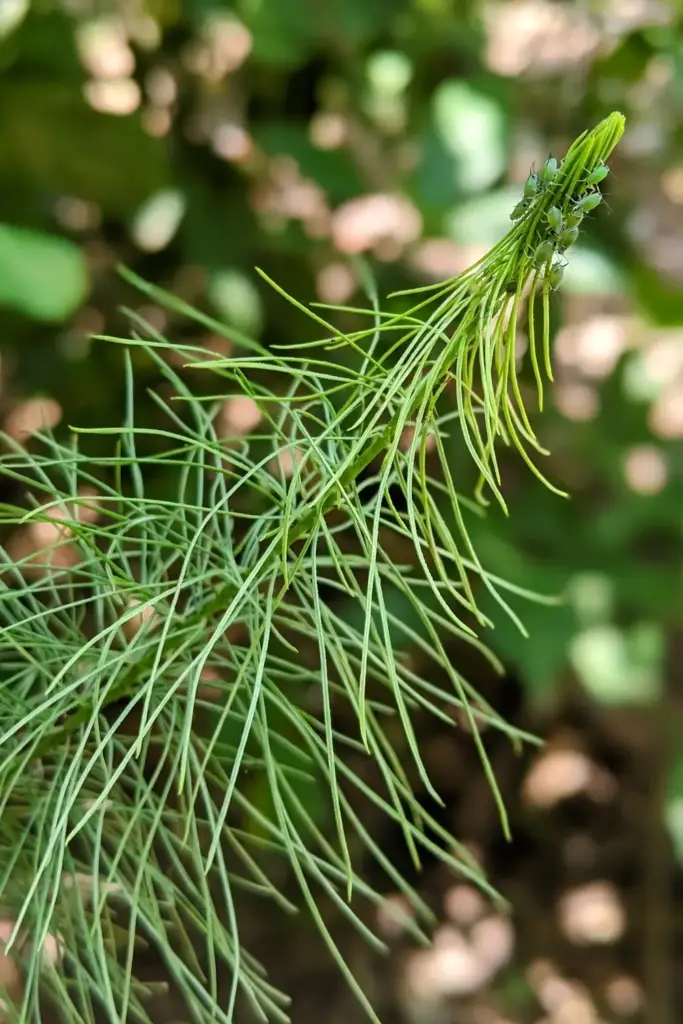
Root rot is the big one, caused by waterlogged soil or overwatering. Prevention is the whole treatment: drainage, raised beds in heavy soil, and restraint with the hose. Aphids sometimes colonize the tender new growth in spring. A strong jet of water dislodges them, and neem oil handles persistent cases. Spider mites can appear on stressed indoor plants in winter. Raise the humidity and the mites usually fade.
Fungal leaf spots show up in humid, crowded plantings. Thin the vines for airflow, water at the base, and remove affected foliage. None of these problems is exotic. They are the standard issues of any perennial vine, and standard organic practice handles them.
15. The Root Harvest: When the Wait Ends
This is the harvest everything has been building toward, and the timeline is the thing to get right. Agricultural sources put root maturity at 12 to 18 months from planting, with harvest in November and December when the tops turn pale yellow. Seed sellers, describing home-scale plants, say about 24 months. The honest answer is 18 to 24 months for most home growers, with warmer climates landing closer to 18.
Do not harvest in the first year. The plant is still building its crown, and an early dig gives you thin, disappointing roots and a weakened plant. Let it establish for a season or two. The plant can live two decades, so the first harvest is the beginning, not the end.
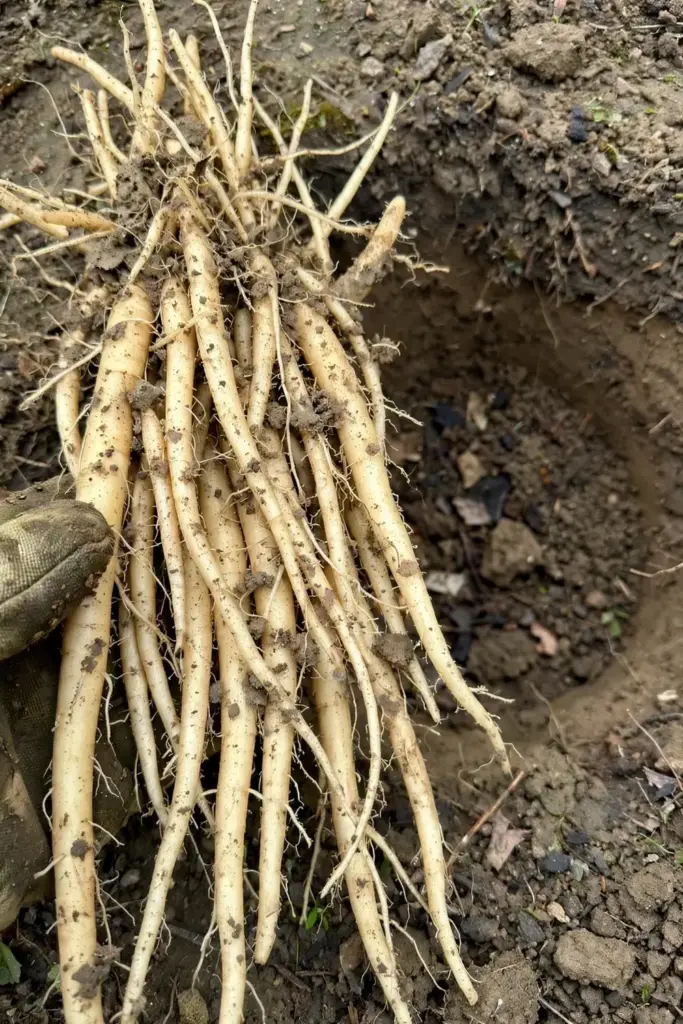
To harvest, cut back the vines and dig carefully around the crown with a fork, starting well outside the plant to avoid spearing the tubers. Lift the whole bundle, shake off the soil, and select the thick, fleshy roots. You can harvest a portion and leave the crown to regrow, or lift the whole plant and divide the crown for new plantings. Root division after harvest is the fastest way to expand.
A single plant yields 500 to 600 grams of fresh root at the 18-month mark in good conditions. Fresh roots are mostly water. Peeling and drying removes 90 percent of the weight, so set your expectations by the dried weight, not the fresh.
16. Processing and Drying: From Fresh Root to Powder
Wash the harvested roots thoroughly. Peel off the thin outer skin with a knife or vegetable peeler. The peeled roots are the part used in traditional preparations.
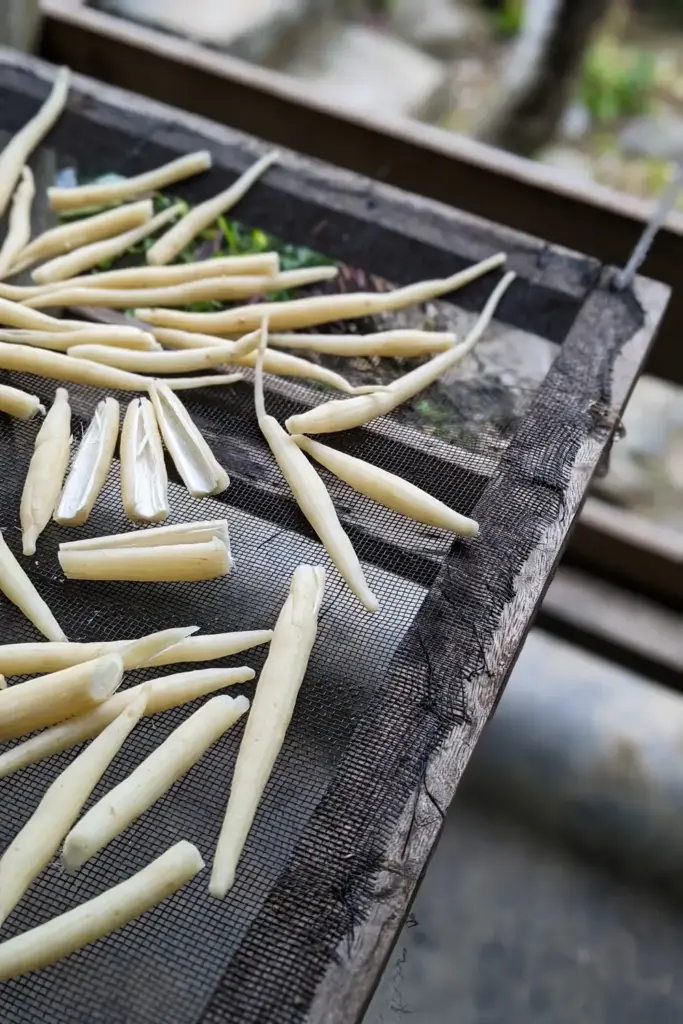
Cut thick roots lengthwise so they dry evenly. Spread the pieces on screens or trays in a warm, airy spot out of direct sun. A dehydrator set to 95 to 115°F works well and keeps the color clean. Turn the pieces daily. They are done when they snap instead of bending, usually in 3 to 7 days depending on thickness and humidity.
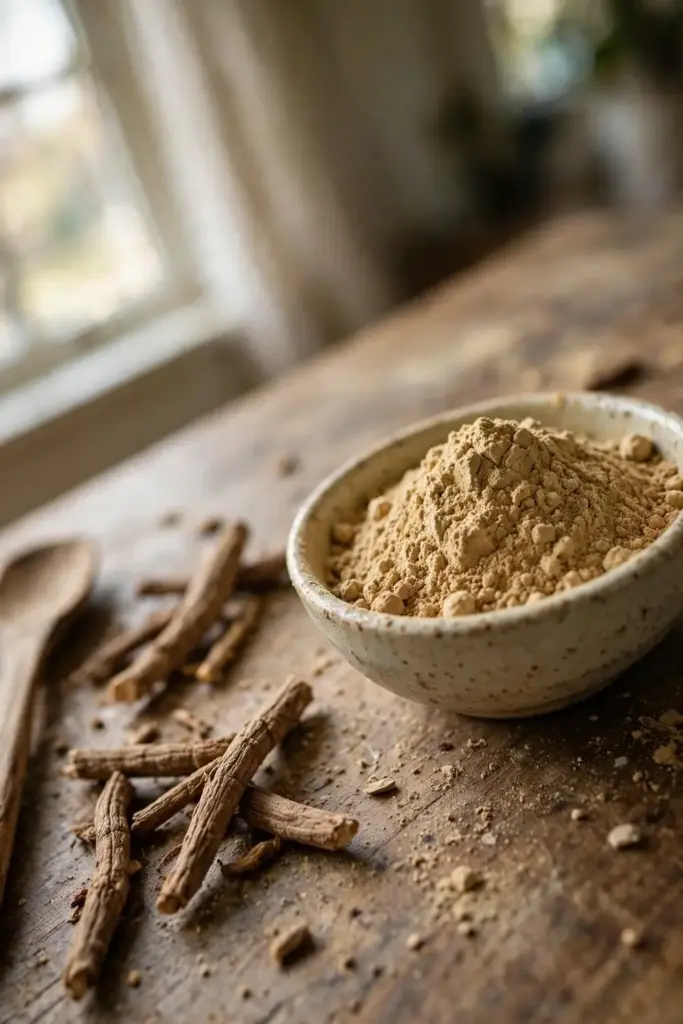
Store dried pieces whole in airtight jars, away from light. Grind only what you need. Whole dried root keeps its quality far longer than pre-ground powder, and you can grind small batches in a spice grinder as needed. Properly dried and stored, the root keeps for a year or more.
17. How Shatavari Is Used: The Ayurvedic Context, Kept Conservative
Shatavari is a cornerstone herb of Ayurveda, traditionally valued as a rejuvenative tonic, particularly for women’s reproductive health, lactation support, and hormonal balance. It is also used traditionally for digestive complaints and as a general adaptogen. The roots are consumed as powder stirred into warm milk or water, as a tea, or in capsules.
This is traditional-use framing, not medical advice. The scientific research base for shatavari is still developing, and no home grower should treat a garden root as a medicine. If you are pregnant, nursing, managing a health condition, or taking medication, talk to a clinician before using shatavari or any herbal preparation. Grow it as a garden plant first. Decide about use with professional guidance.
The young shoots are a separate matter. They are edible, cooked like asparagus, and a pleasant spring bonus from an established plant. Harvest a few, never all. The roots are the main crop, and the shoots feed them.
18. Why Growing Your Own Matters: The Conservation Angle
Shatavari has a conservation problem. In parts of its native range it is considered endangered, driven by destructive wild harvesting of the roots, habitat loss, and high demand from the herbal trade. Every wild plant dug for its roots is a plant that took years to grow and will not be replaced quickly.
Cultivation is the responsible answer. Home growers are a small part of that, but the principle scales. A plant you grow from seed is a plant nobody dug out of a forest. Buy seed from cultivated sources, not wild-collected stock, and you close the loop. The nursery trade in India is explicit about this: cultivated supply chains are how the species survives the demand for it.
This is also the reason to divide and share. A mature crown gives you divisions. Give them to other gardeners. Every new cultivated plant is one more reason the wild ones can stay in the ground.
19. Seven Mistakes That Waste Years
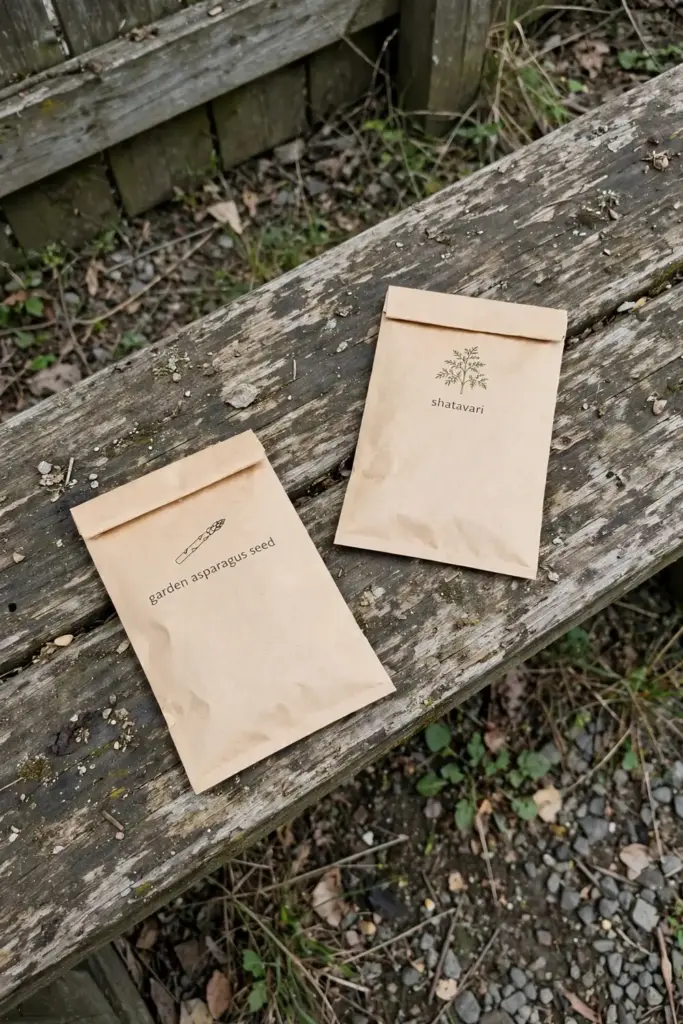
- Buying the wrong species. If the packet says A. officinalis or shows spears, it is garden asparagus. Check the Latin name.
- Sowing too deep. Keep seed 2 to 3 millimeters under the surface, since an inch of cover buries it.
- Skipping the soak. Unsoaked seed germinates slowly and unevenly. The 24-hour soak is the cheapest insurance in the whole process.
- No support. An unsupported vine sprawls, rots at the soil line, and underperforms. Stake at planting time.
- Waterlogged soil. The number one killer. If your soil holds water, plant on a mound or in a raised bed.
- Harvesting in year one. Thin roots, weakened plant, wasted effort. Wait for the tops to pale in the second autumn.
- Expecting medicine. Shatavari is a garden plant with a traditional-use history. It is not a treatment, and no harvest changes that.
20. Troubleshooting: Read the Plant
Seeds not germinating after a month. Check the temperature first. Below 70°F, shatavari seed sits. A heat mat set to 80°F fixes most slow trays. Old seed is the other cause. Buy fresh seed from a named species source.
Seedlings damping off. Too wet, too cool, too crowded. Thin to one seedling per cell, improve airflow, and water from below. Sterile seed-starting mix, not garden soil, for the tray stage.
Vine growing but no vigor. Usually a feeding or light problem. Top-dress with compost, check that the plant gets at least half a day of sun, and make sure the pot is not root-bound. In the ground, check drainage. A plant sitting in wet soil looks hungry no matter how much you feed it.
Tops yellowing in summer. Overwatering is the usual suspect. Let the soil dry out between waterings. If the whole plant yellows in autumn, that is the natural signal of root maturity, not a problem. Time your harvest to it.
No flowers, no berries. Young plants often skip flowering. So do stressed ones. A well-fed second-year plant in good light usually blooms. Berries are ornamental at home scale. Letting them ripen does not hurt the roots, and the seed inside gives you next year’s sowing.
Roots thin at harvest. Harvested too early, or the plant was crowded, shaded, or underfed. Give the crown another season. Shatavari rewards patience more than intervention.
21. Frequently Asked Questions
Plan on 18 to 24 months from sowing to a worthwhile root harvest. Agricultural sources cite 12 to 18 months in warm climates with good care, while home seed sellers say about 24 months. Germination itself takes 1 to 4 weeks at 77 to 86°F. The plant then spends its first full season building the crown, and the tuberous roots bulk in the second year.
No. Shatavari is Asparagus racemosus and garden asparagus is Asparagus officinalis. They are cousins in the same genus but different plants with different harvests. Garden asparagus gives you edible spears. Shatavari gives you tuberous medicinal roots. They are not interchangeable, and guides about spears do not apply to shatavari.
Yes, and pots are the best option outside zones 8 to 11. Use a deep container, at least 15 gallons, because the tuberous roots run long. Fill it with a loose, rich, well-drained mix, give the vine a trellis, and bring the pot indoors before the first frost. Container plants need feeding every 4 to 6 weeks in the growing season.
Harvest in the second autumn or winter, 18 to 24 months after sowing, when the tops turn pale yellow and begin to die back. That color change is the traditional signal that the roots have matured. Do not harvest in the first year. Dig carefully with a fork, starting well outside the crown to avoid spearing the tubers.
Yes, it is a long-lived perennial climber. An established crown can live two decades in one spot, producing new vines each season. In zones 8 to 11 it overwinters outdoors under mulch. In colder zones it overwinters as a container plant brought indoors. The first two years are the investment. Everything after is return.
In Ayurveda, shatavari is traditionally used as a rejuvenative tonic, particularly for women’s reproductive health, lactation support, and hormonal balance, and as a general adaptogen. The tuberous roots are dried, powdered, and taken in warm milk or water. This is traditional-use context, not medical advice. Consult a clinician before using any herbal preparation.
22. Where to Go From Here
Shatavari rewards the gardener who thinks in years. Sow it this spring, trellis it this summer, mulch it this winter, and dig the first roots when the tops pale in the second autumn. That is the whole method. Everything else is care along the way.
If you want to keep learning how to grow shatavari from India in your own climate, the next step is seed. Buy it fresh, name the species on the packet, soak it for 24 hours, and give it warmth. The plant does the rest on a timeline older than any garden calendar. You just have to be there when the roots are ready.