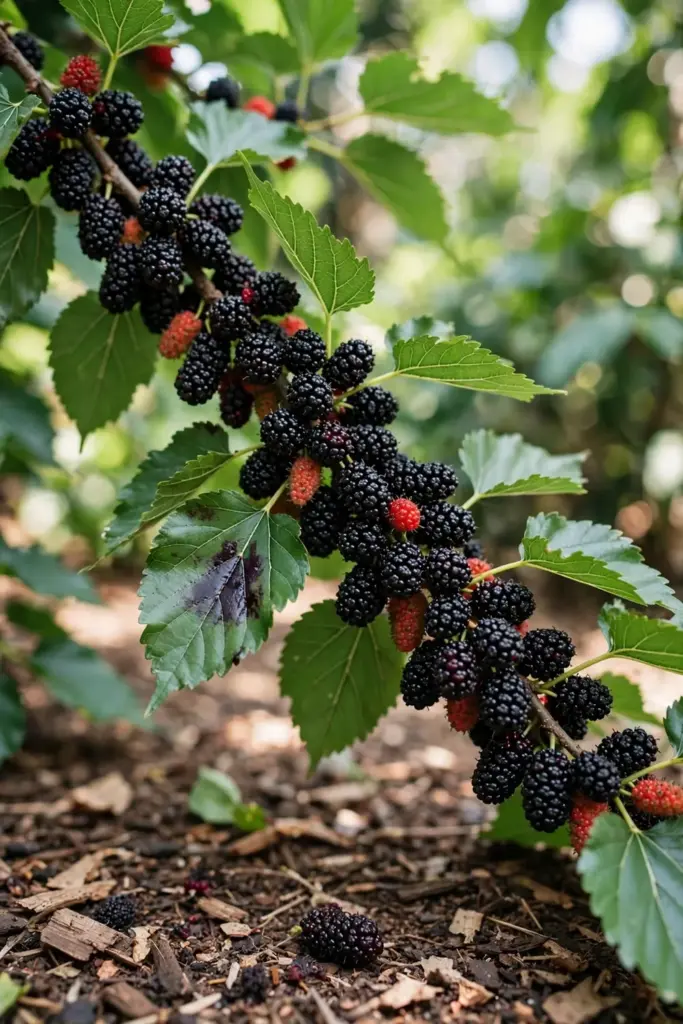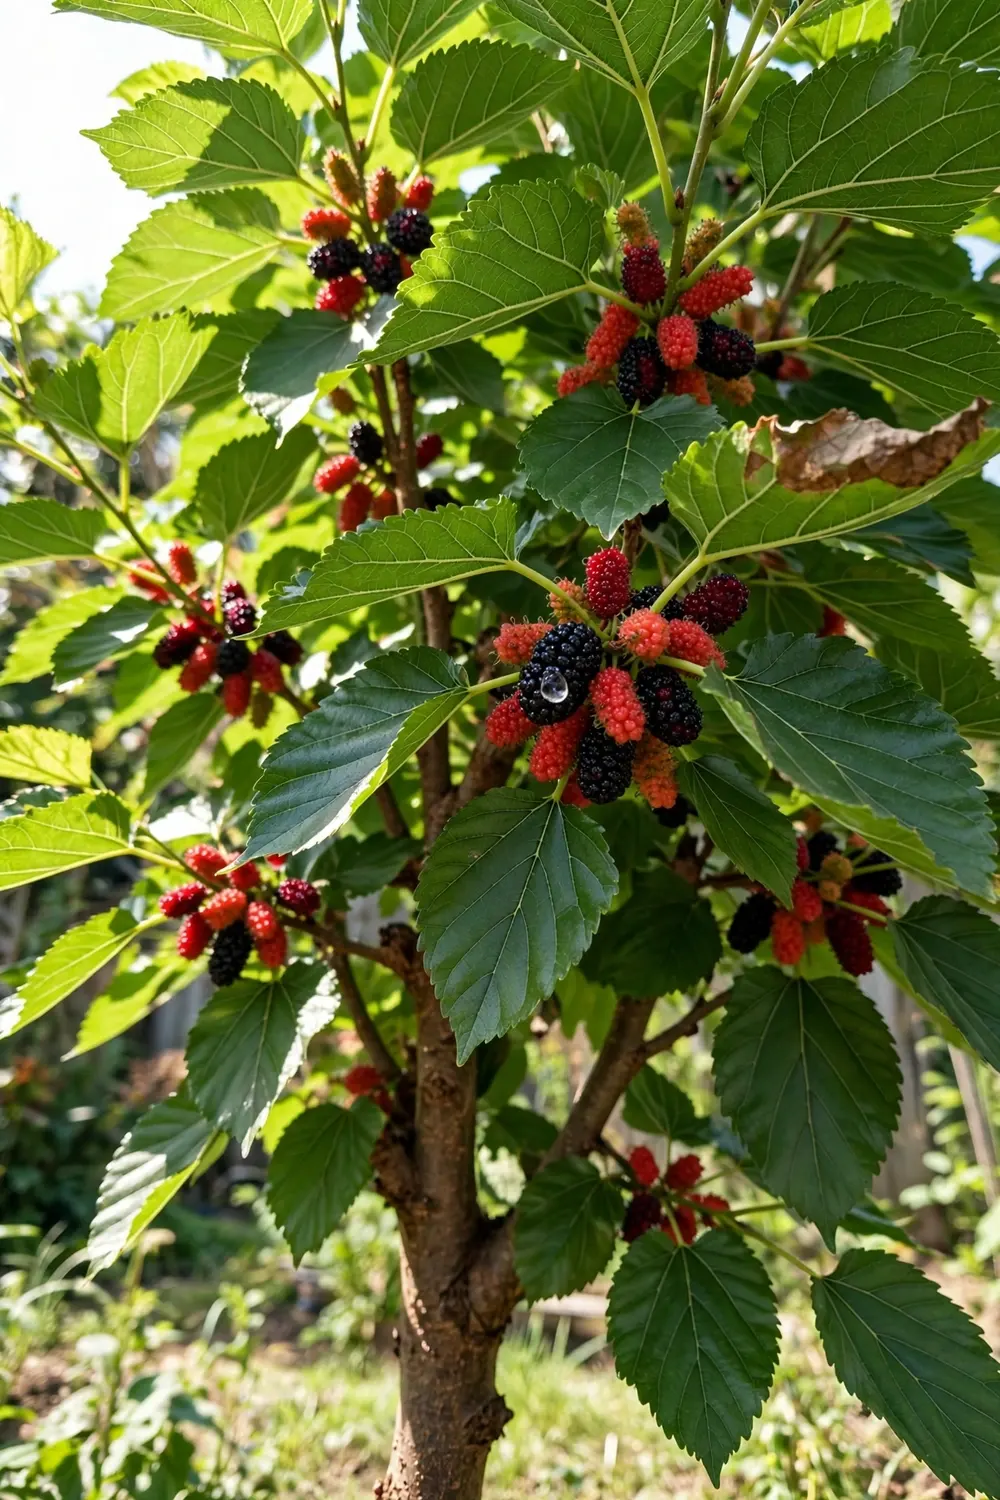

Take a 10 to 12 inch hardwood cutting in late winter or an 8 inch softwood cutting in early summer, and you can root a new mulberry tree in 4 to 8 weeks. That is how to grow mulberry from cuttings: the right wood, rooting hormone, steady humidity, and a calendar you do not rush. The rest of this page is 20 moves, from choosing the species to the first real harvest.
I have learned that the species choice matters more than the rooting technique, because a black mulberry cutting can do everything right and still sit for months. White mulberry roots the easiest of the three common species, red mulberry sits in the middle, and black mulberry roots noticeably harder and grows slower. Start with the table below, pick your species with open eyes, then cut.
Pick the Right Mulberry Species Before You Cut
The three mulberries sold in nurseries behave like different plants at the rooting bench. A Turkish university trial found white mulberry hardwood cuttings rooted at 55.6 percent while black mulberry managed only 42.9 percent under identical conditions, and concluded plainly that black mulberry rooting runs lower than white across every treatment in the published rooting study. Red mulberry (Morus rubra) falls between the two and carries the extra virtue of being native to eastern North America.
| Species | Common name | Rooting ease | Growth habit | Fruit | Regional caution |
|---|---|---|---|---|---|
| Morus alba | White mulberry | Easiest, about 56 percent from hardwood | Fast, reaches 30 to 50 feet | White to pinkish, mild and sweet | Invasive in parts of the eastern and midwestern US; check local lists before planting |
| Morus rubra | Red mulberry | Moderate | Medium, 35 to 60 feet | Dark red to black, rich flavor | Native; the responsible choice where white mulberry invades |
| Morus nigra | Black mulberry | Hardest, about 43 percent from hardwood | Slow, stays smaller for years | Near-black, intense flavor | Rarely invasive; patience required at every stage |
White mulberry is the beginner cutting because it forgives mistakes, which is why most guides to how to grow mulberry from cuttings start there. The NC State Extension plant profile describes it as a fast-growing tree tolerant of a wide range of soils, which matches exactly what you want in a first propagation project. Black mulberry rewards patience with the best-tasting fruit of the three, but expect slower rooting and slower early growth. If your state lists white mulberry as invasive, choose red mulberry or a named dwarf cultivar and skip the guilt.
Gather Your Tools and Rooting Supplies
You need six things: sharp bypass pruners, a clean knife, rooting hormone powder or gel, a well-drained potting mix with added sand or grit, small pots no bigger than 5 inches across, and a clear plastic bag or humidity dome. Disinfect the pruners with rubbing alcohol between trees. Dull blades crush stems, and crushed stems rot instead of rooting.
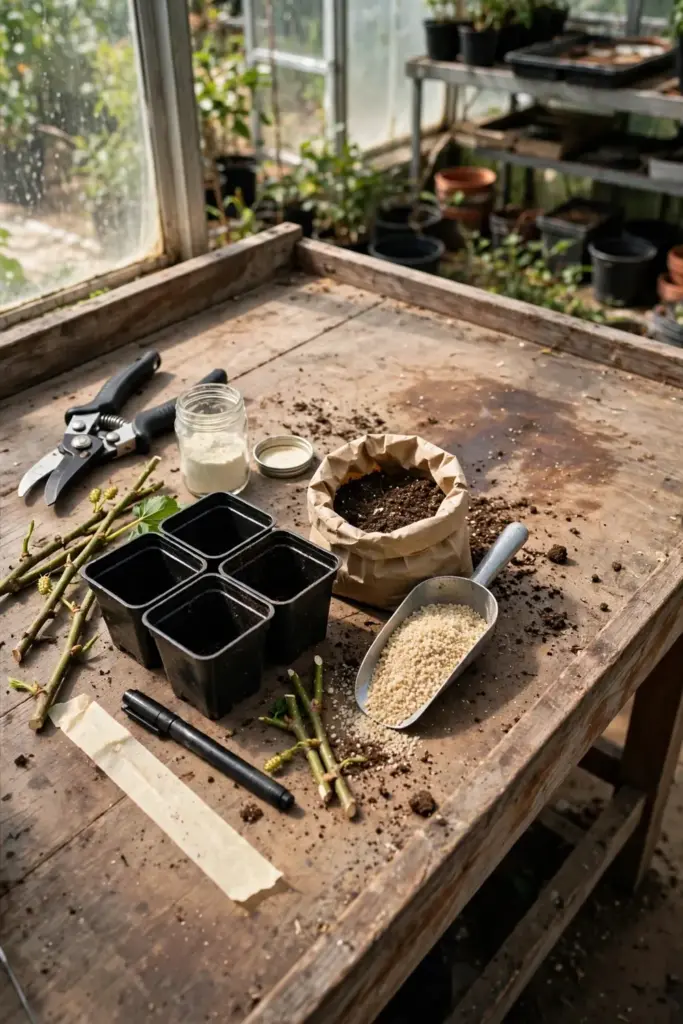
Mix your own rooting medium from equal parts potting soil and coarse sand or perlite. Skip garden soil entirely; it compacts in small pots and holds the exact kind of stagnant moisture that rots cuttings. For hormone, a standard IBA powder from the garden center handles white and red mulberry, while black mulberry deserves the highest-concentration IBA gel you can buy. A heat mat set to the low 70s Fahrenheit sits under the “nice to have” column for alba and under “nearly mandatory” for nigra.
Label everything before you start cutting. A strip of masking tape on each pot with the species, cultivar, and date beats trying to remember which pot was which in April. Mulberry cuttings of different species look identical once the leaves drop, and an unlabeled black mulberry batch mistaken for white will confuse your timeline completely.
Take Hardwood Cuttings in Late Winter
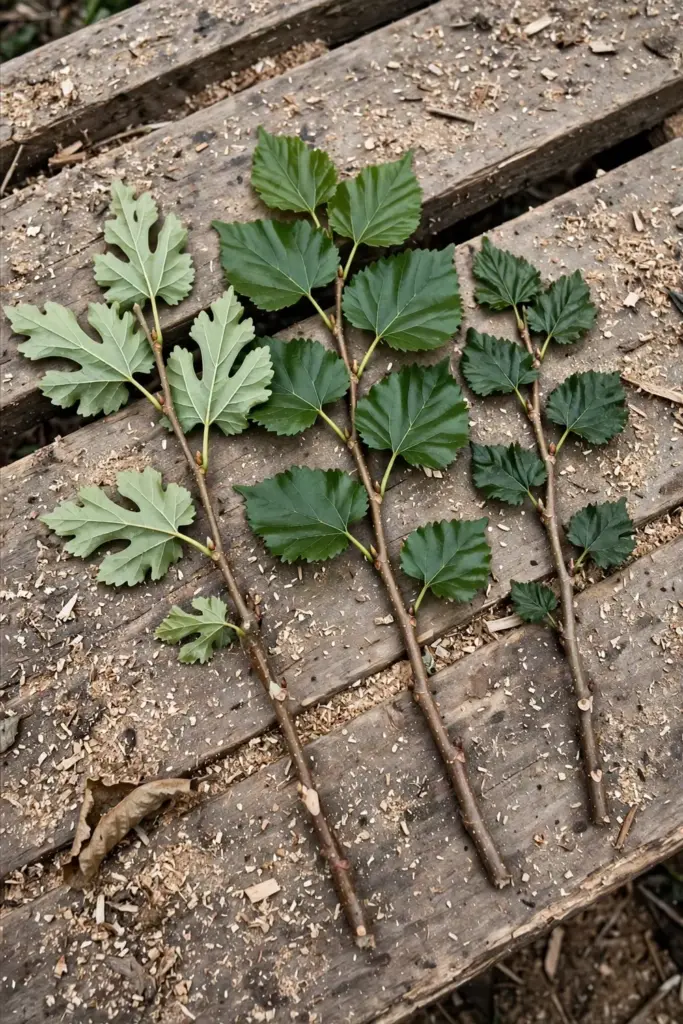
Cut hardwood while the tree is fully dormant, after leaf drop and before buds swell. Choose straight, healthy one-year-old wood about the thickness of a pencil. Cut 10 to 12 inch sections, making the bottom cut just below a leaf node and the top cut just above one, so each cutting carries at least three nodes, following the standard cutting method described by Homes and Gardens. Strip the entire stem of any remaining foliage. Dormant wood has no leaves to support, which is exactly why it survives weeks with no roots.
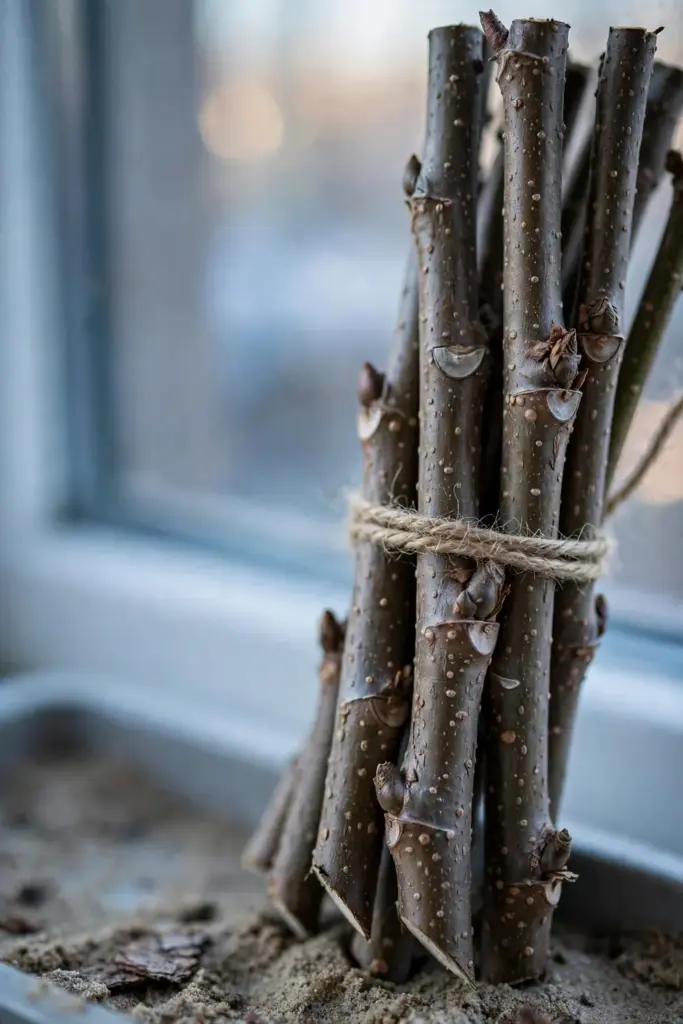
Timing shifts with your climate. In zone 7 and warmer, late January into February works; in zone 5 and 6, wait until March when the worst cold has passed but buds still sleep. Choose the parent tree as carefully as the cutting itself. Take wood only from a healthy tree with fruit you have actually tasted, because the cutting clones every trait, including flavor and productivity. A female tree with heavy crops beats a mystery tree every time. Avoid trees with cankered bark or heavy scale infestations, since cuttings carry the parent’s problems along with its genes.
Bundle the cuttings with the bottom ends aligned, label the cultivar, and keep them cool and slightly damp until planting day. A plastic bag in an unheated garage works. Do not let them freeze solid or dry out.
Take Softwood Cuttings in Early Summer
Take softwood when new growth is firm enough to snap rather than bend, usually June into July. The USDA Forest Service woody plant manual names June and July as the optimum months and reports that mid-July cuttings treated with 8,000 ppm IBA in talc and stuck into sand rooted at 100 percent in 3 weeks. Cut 8 inch stems in the cool of the morning, strip all but two small leaves at the tip, and get them into mix within the hour. Softwood wilts fast, so carry a bucket of water and stand the cuttings in it while you work.
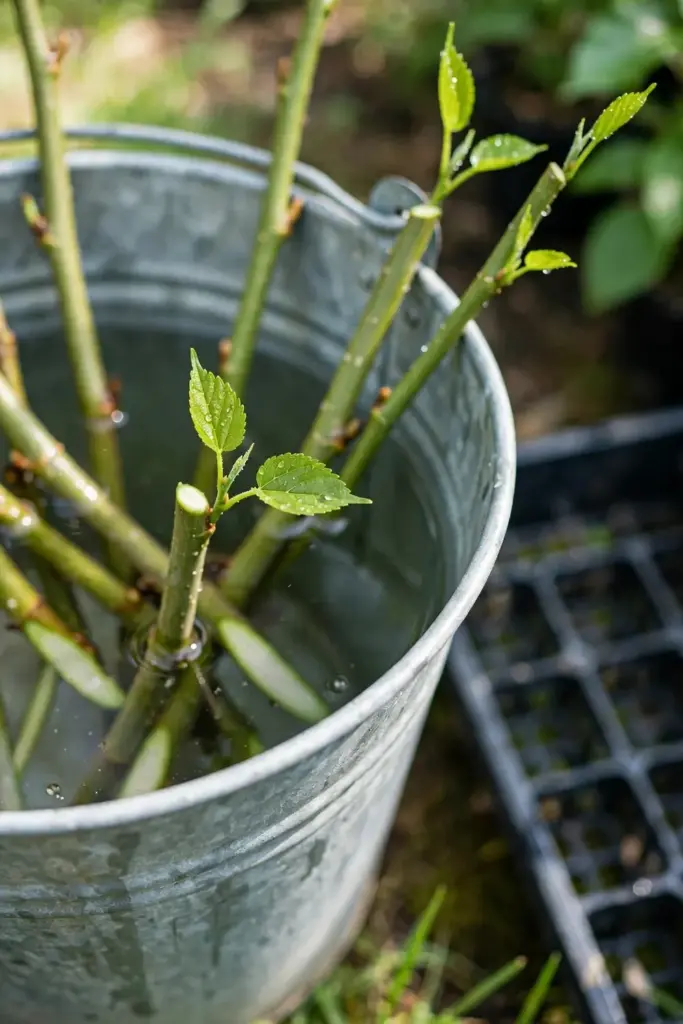
The two retained leaves are the engine of the whole operation, photosynthesizing just enough to feed root initiation. If they wilt flat within hours, your humidity is too low; tent the pot immediately. Softwood cuttings demand attention for the first two weeks, then settle into the same waiting game as hardwood.
Once softwood cuttings root, harden them off before treating them like established plants. Crack the humidity cover open a little more each day over a week, letting the leaves adjust to ambient air. A cutting moved straight from a humid tent to dry indoor air can collapse in a day. After a week of ventilation, remove the cover entirely and grow the new plant in bright indirect light until it pushes strong new growth.
Root Mulberry Cuttings in Water
Yes, you can root mulberry cuttings in water. It is the best way to watch the process happen. Use a clean jar, submerge the bottom two nodes, and change the water every two to three days to keep it oxygenated. Keep the jar in bright indirect light. Full sun cooks the water and the stem, so a north-facing windowsill beats a south-facing one. Roots usually show in 3 to 6 weeks.
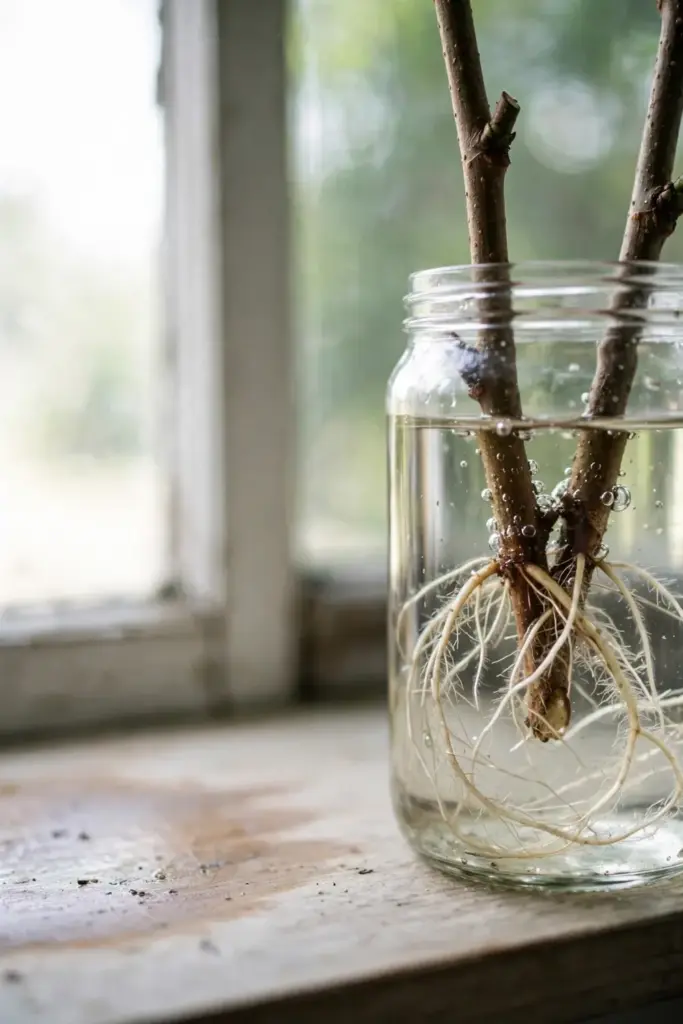
Transplant the moment roots reach about 2 inches long, because water roots are brittle and adapt poorly if left too long. Move the cutting into damp potting mix, keep it humid under a bag for the first week, and it continues as a normal soil plant. Expect a sulk: the first week in soil always looks worse than the last week in water, then new growth resumes. White mulberry handles this transition best; black mulberry sulks longer.
Root Cuttings in Soil Mix
Soil rooting gives the strongest plants. Dip the bottom inch of each cutting in rooting hormone, then bury about half the cutting’s length in the mix, firming gently so no air pockets surround the stem, as described in the Homes and Gardens step-by-step cutting guide. Water once, cover with a clear bag propped off the leaves, and set the pot in a cool, partly shaded spot. Check moisture weekly and mist if the mix surface dries. Hardwood cuttings root in 4 to 8 weeks; softwood is faster in warm weather.
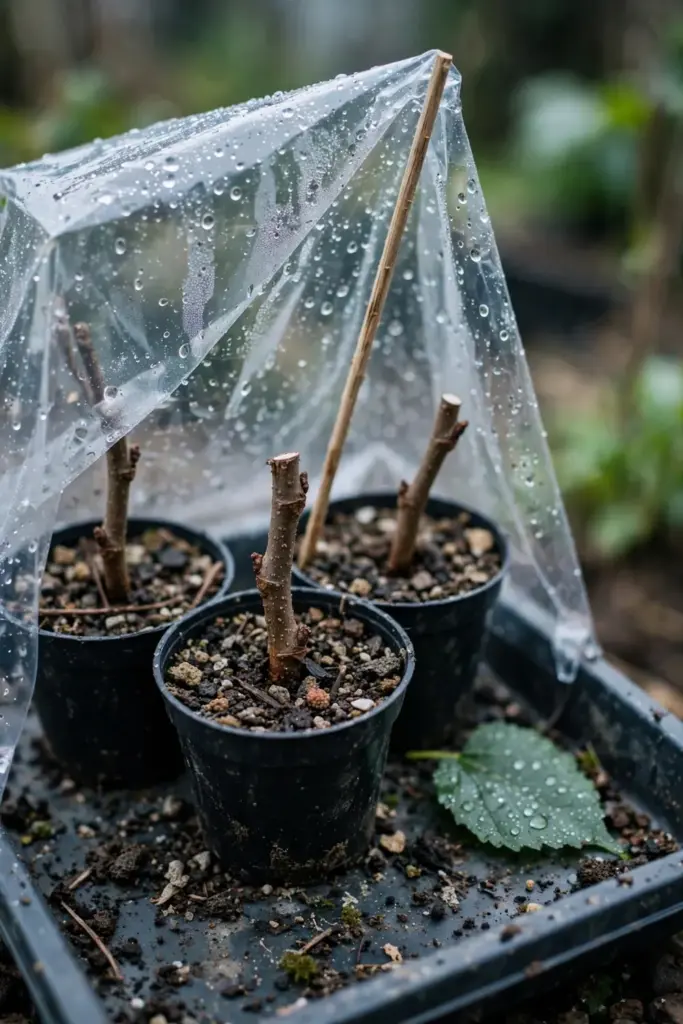
The tug test tells the truth: gentle resistance means roots, while a cutting that slides out freely needs more time. Never yank a cutting fully out to look; the inspection destroys exactly what you are checking for. If a cutting shows no resistance at week 8, give it two more weeks before composting it, because cool spring weather slows everything down.
Bottom heat changes the math. A propagation mat holding the mix near 75°F can cut hardwood rooting time by a third, and for black mulberry it is the difference between a batch that roots and one that sits. Keep the tops cool and the bottoms warm: heat at the base drives root initiation while cool air up top slows moisture loss from the buds. Without a mat, the top of a refrigerator or above a water heater gives a few free degrees.
Use Rooting Hormone the Right Way
Rooting hormone is optional for white mulberry and close to mandatory for black. Dip only the bottom inch, tap off the excess, and never double-dip a used cutting back into the jar, which contaminates the whole supply. The trial cited in the USDA Forest Service manual used 8,000 ppm IBA in talc on softwood with complete success in 3 weeks. Home powders are weaker, which is fine for alba and rubra. For nigra, buy the highest-concentration IBA gel you can find and accept that some cuttings still fail. Hormone speeds rooting; it does not rescue dead wood.
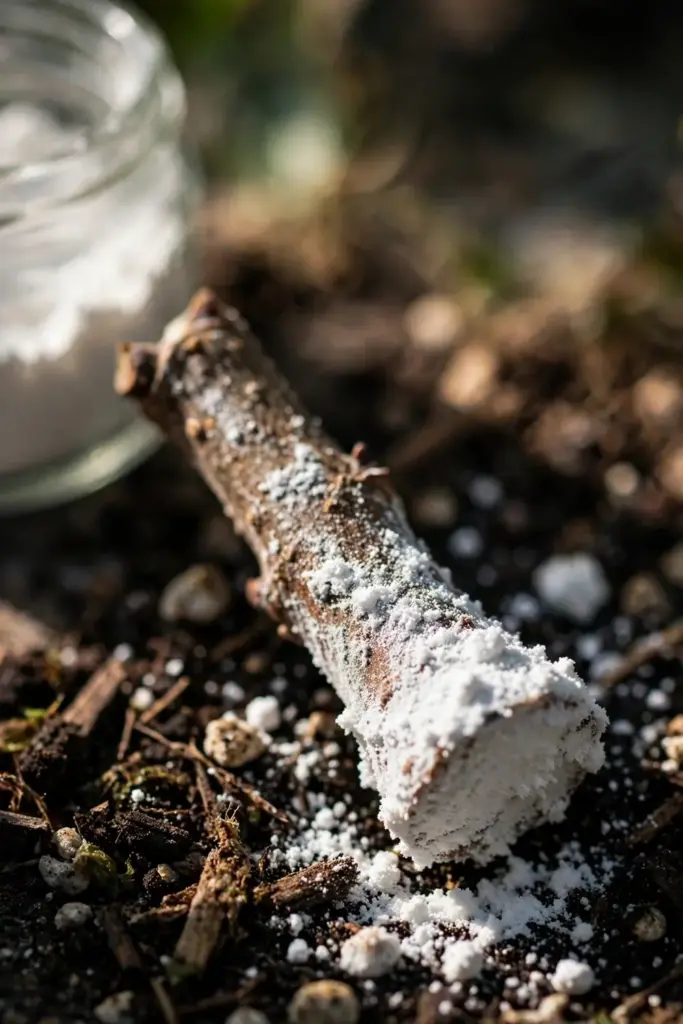
Give Cuttings the 4 to 8 Week Rooting Window
Mark the calendar on planting day and do not disturb the cuttings for a full month. Buds swelling and tiny leaves emerging are good signs but not proof, since stored energy can push growth with zero roots underneath. Wait for the tug test or visible roots at the drainage holes before declaring victory.
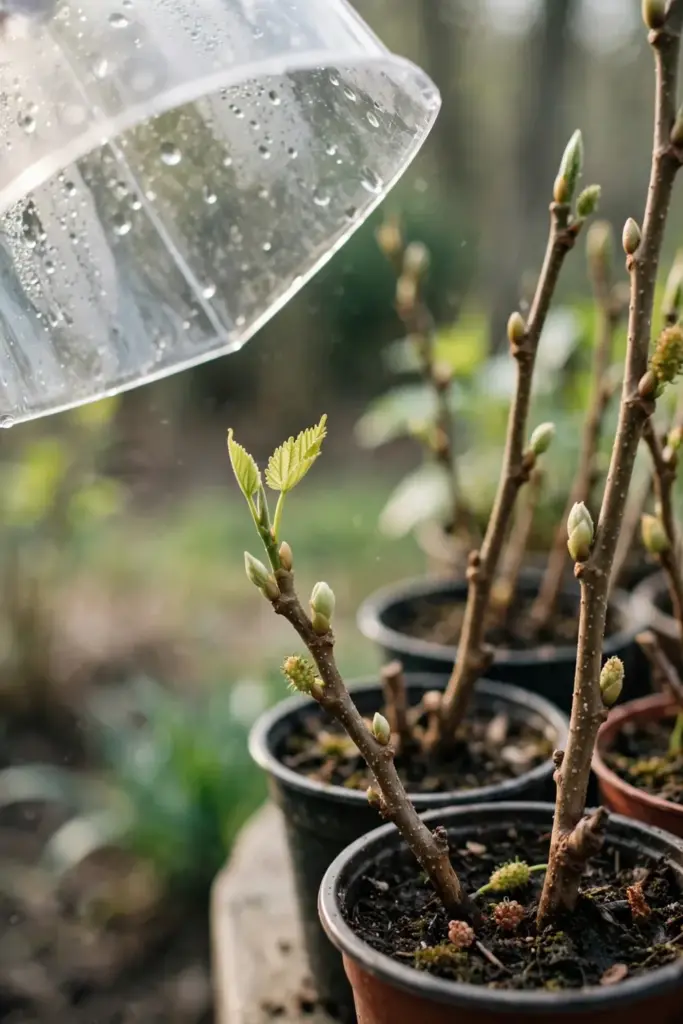
Most failures happen because the grower checked too early, broke the fragile new roots, and replanted a cutting that never recovered. Patience is the entire technique. If you must look, lift the whole root ball gently from a flexible nursery pot instead of pulling the stem.
Black mulberry gets its own timeline. Where white mulberry roots in a month, nigra can take 10 to 12 weeks and still fail half the time. This is normal for the species, not a sign you did something wrong. Start nigra cuttings a month earlier than alba, keep them warmer, and root twice as many as you want. The ones that make it become the toughest trees in the garden.
Plant Rooted Cuttings in the Ground
Plant out when roots fill the pot and new growth looks sturdy, usually late spring for hardwood cuttings started in winter. Choose full sun and deep, well-drained soil, and space standard trees 20 to 30 feet apart. Dig the hole twice as wide as the root ball and no deeper, set the cutting at its original soil depth, and water deeply. Mulch 3 inches deep but keep mulch off the stem. Stake only if wind rocks the plant; a tree that sways slightly builds a stronger trunk.
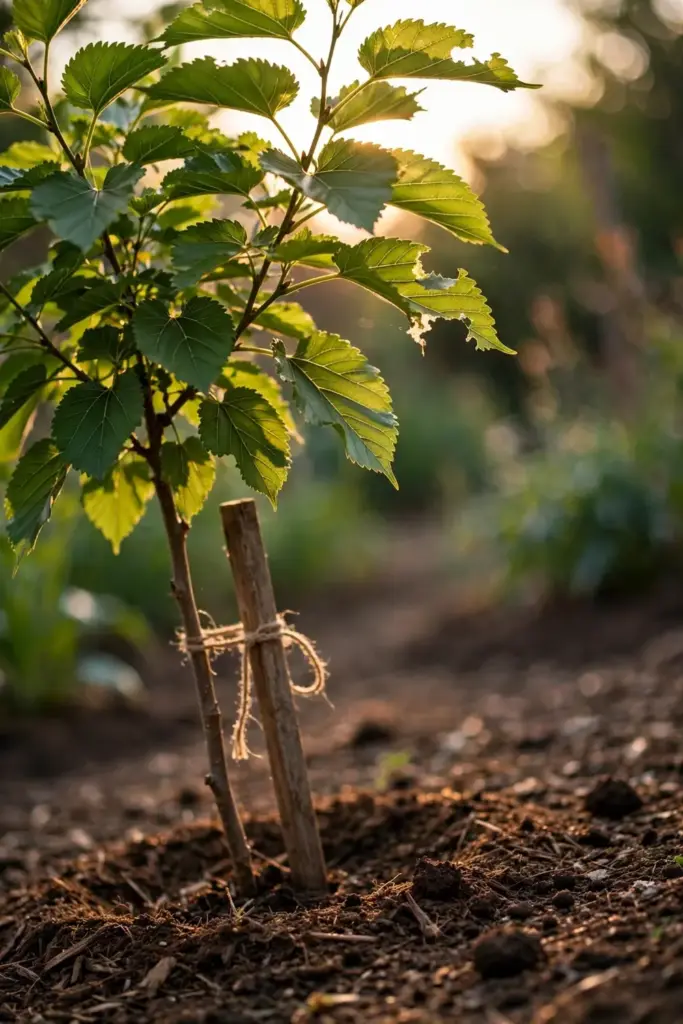
The first summer in the ground decides the tree’s future. Water deeply once a week through the first dry season, and do not expect fruit yet; the tree is building the root system that will carry decades of crops. In year two, ease off the coddling. Deep, infrequent watering trains roots downward, and a tree that never learns to search for water stays shallow and needy. Top-dress with compost each spring instead of reaching for synthetic fertilizer. A cutting planted this year is a tree for your children, which is the whole point.
Grow a Dwarf Mulberry in a Pot Instead
No yard is no excuse. Dwarf cultivars like Gerardi, Thai Dwarf, and Dwarf Everbearing stay compact enough for containers and fruit young, which makes them the shortcut this method was made for. Use a 20 to 25 gallon pot with drainage holes and a gritty, free-draining mix. The fall planter ideas guide covers styling large pots if you want the tree to earn its place on the patio.
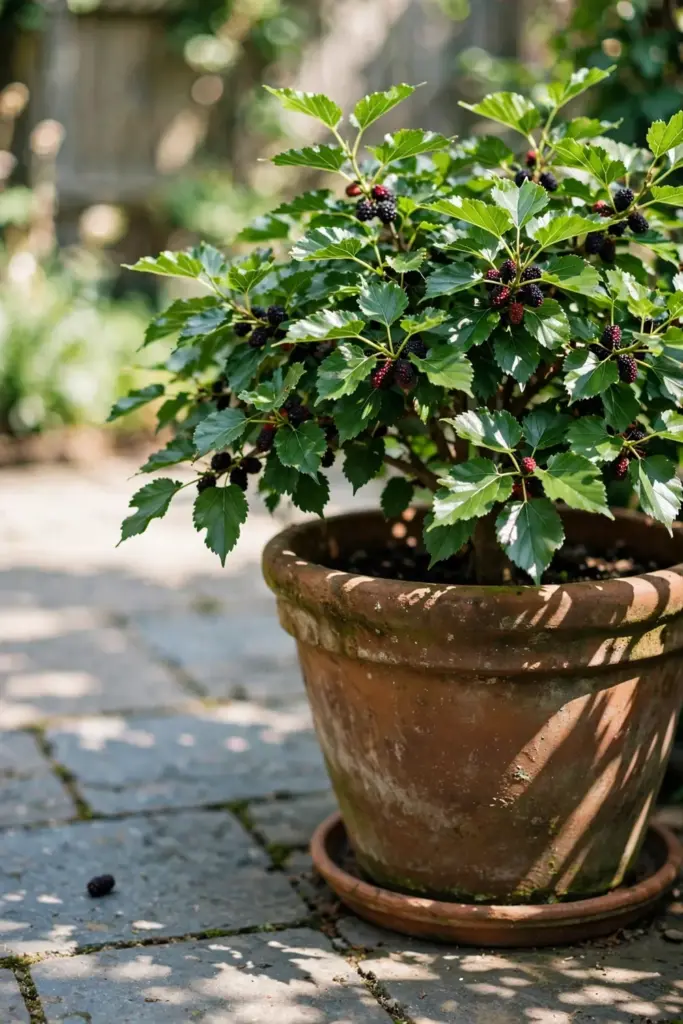
Potted dwarfs need more water and more feeding than in-ground trees, but they also fruit sooner and stay where you put them. Overwinter the pot in an unheated garage or against a sheltered wall in zone 6 and colder, watering just enough to keep the roots from desiccating. In zone 7 and warmer, the pot can stay outside year-round with mulch mounded around it.
Water New Mulberries on a Strict Schedule
Water deeply once or twice a week in the first growing season, letting the top 2 inches dry between waterings. Cuttings have small root systems and no drought tolerance yet. Newly transplanted trees wilt on hot afternoons even in moist soil; that is transplant shock, not thirst, and extra water will not fix it. Shade the plant for a few days instead.
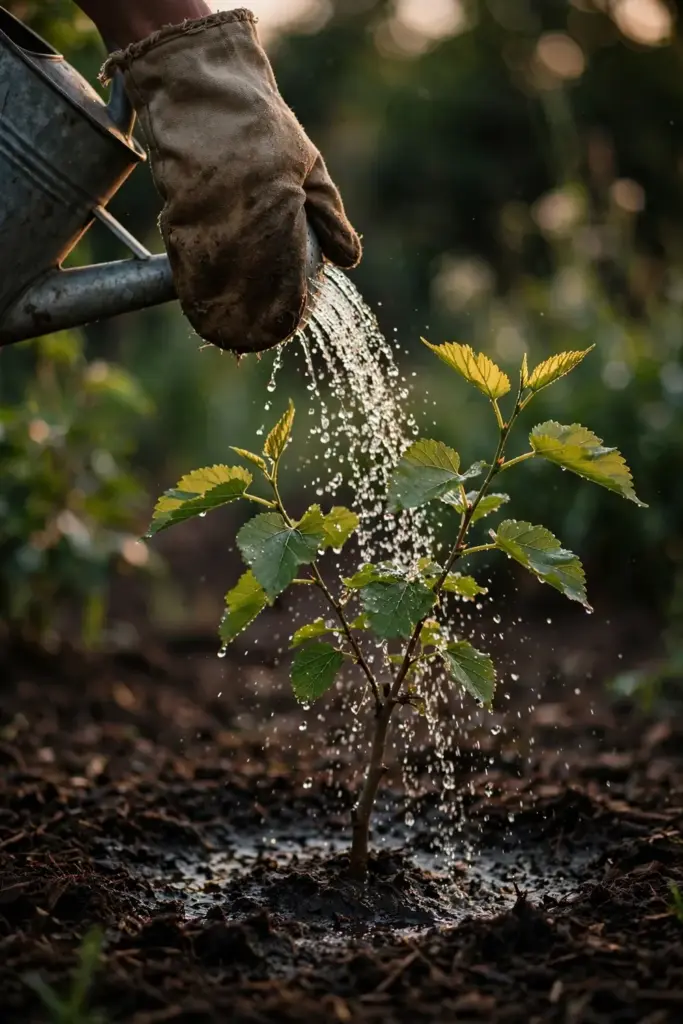
Cut back in fall as leaves drop, and water potted dwarfs through winter only enough to keep the mix from going bone dry. Overwatering kills more young mulberries than drought, because soggy mix rots the very roots you worked to grow.
Feed Young Trees Lightly in Year One
Hold the fertilizer until you see active new growth, then feed lightly. A balanced slow-release fertilizer in spring is enough for year one. Heavy nitrogen pushes soft growth that winter kills, and a cutting-grown tree has no reserves to waste on a flush it cannot harden off.
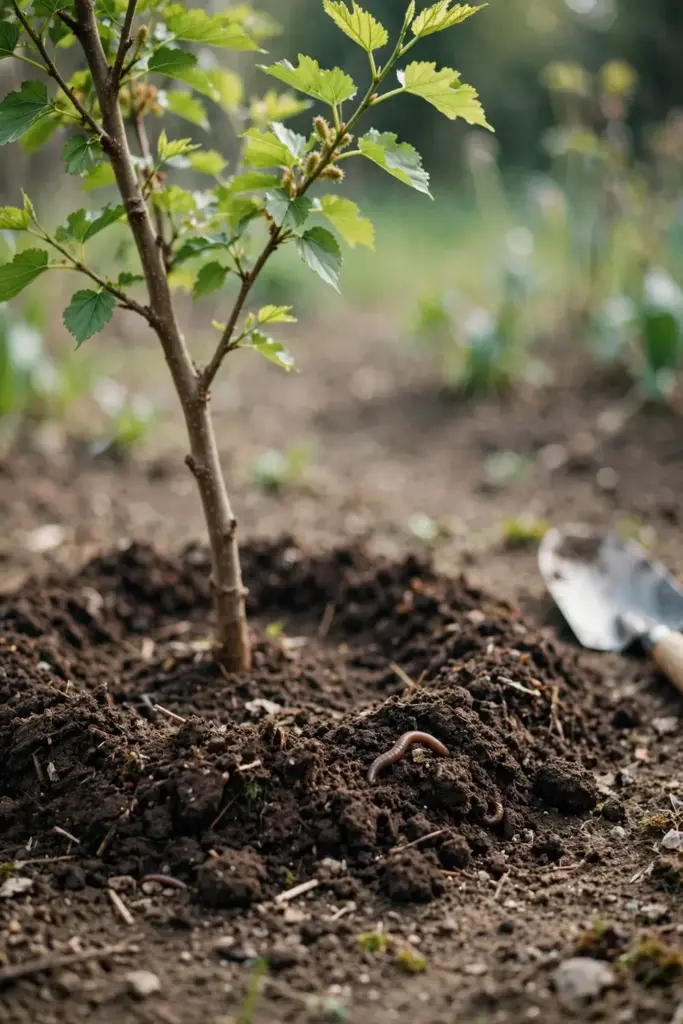
In-ground trees on decent soil need little beyond compost; potted dwarfs need monthly feeding through summer because every watering leaches nutrients out the drainage holes. Yellowing older leaves in midsummer usually mean hunger, not disease. A light feeding greens them up within two weeks.
Skip the fertilizer entirely after midsummer. Late feeding pushes tender growth that the first frost blackens, and the tree wastes energy it should be storing in its roots. The feeding year ends when the growth does. Compost in fall is always safe, since it releases slowly and feeds the soil rather than forcing the tree.
Prune for Shape in the First Three Years
Prune in late winter while dormant. Remove crossing branches, open the center for light, and keep the canopy low enough to harvest without a ladder. Mulberries bleed sap when pruned in spring, so timing matters. The spring pruning techniques guide walks through clean-cut basics that apply to any young fruit tree.
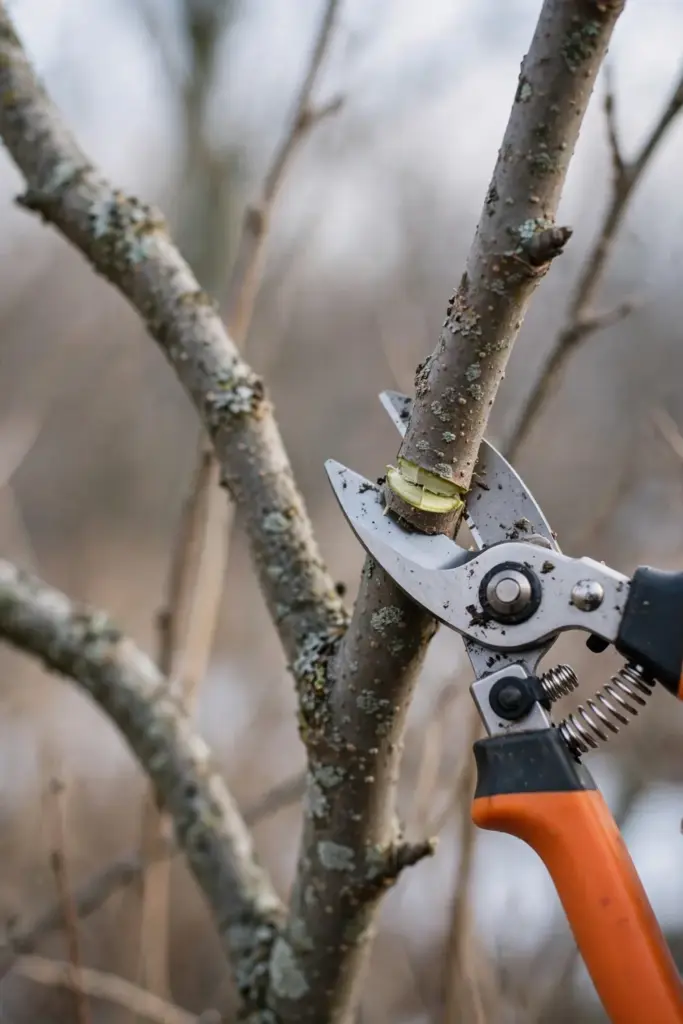
Fruit forms on new growth, so a hard winter prune does not cost you the crop the way it would on some other fruits. Train the young tree to three or four main scaffold limbs in the first two years and the structure will carry itself afterward. Neglected mulberries still fruit, just out of reach.
Watch for These Pests and Diseases
Mulberries are tough, but three problems show up. Bacterial canker can threaten young trees, especially in the southern plains; plant in clean soil and avoid wounding the bark. Fungal leaf spot from Cercospora and bacterial leaf spot cause cosmetic damage that rarely needs treatment; rake fallen leaves to break the cycle. Birds are the real harvest competitor, and netting is the only control that actually works.
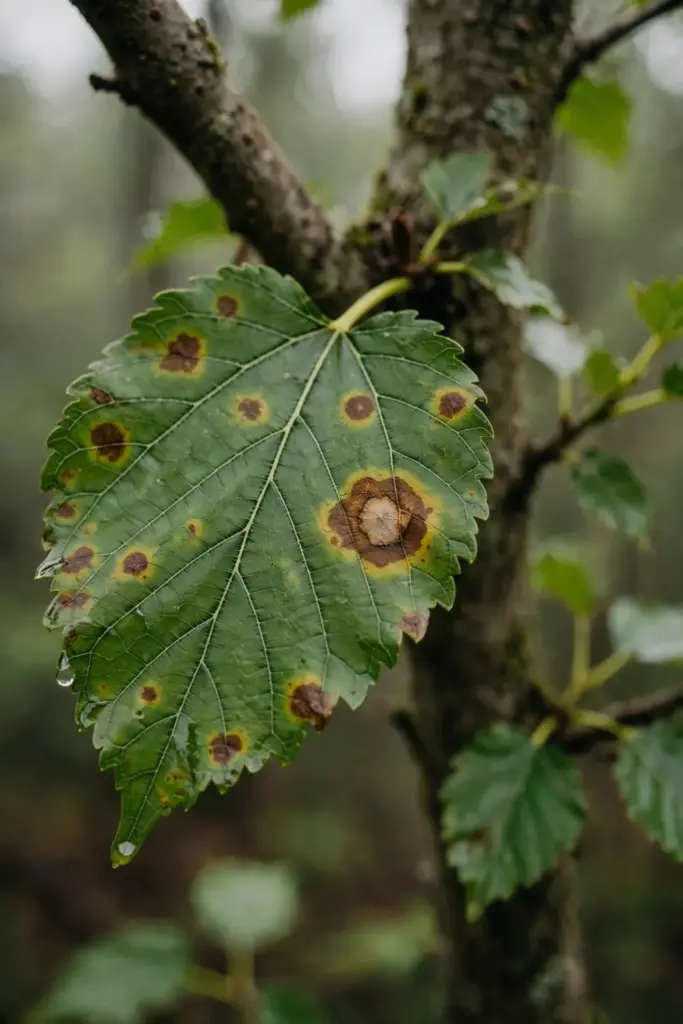
Spray nothing on a tree whose fruit and leaves you plan to eat unless you have identified the exact problem first. Most leaf spots look alarming and do nothing. A tree that loses some leaves in August and leafs out fine in spring was never in danger.
Net the tree two weeks before the first berries color, not after the birds find them. Once a mockingbird maps your tree, it returns daily and brings friends. Drape the net to the ground and weight the edges, because birds walk under loose netting without embarrassment. For a potted dwarf, a tomato cage wrapped in netting does the job in ten minutes.
Know the Honest Fruiting Timeline
A rooted cutting is a clone of its parent, so it fruits on the parent’s schedule, not a seedling’s. GrowVeg’s mulberry guide notes that seedlings can take 10 years to start bearing, while grafted plants of superior cultivars produce in less than half that time. Your cutting sits in the fast lane: expect the first year building roots, the second building wood, and the first real crop in year 3 to 4.
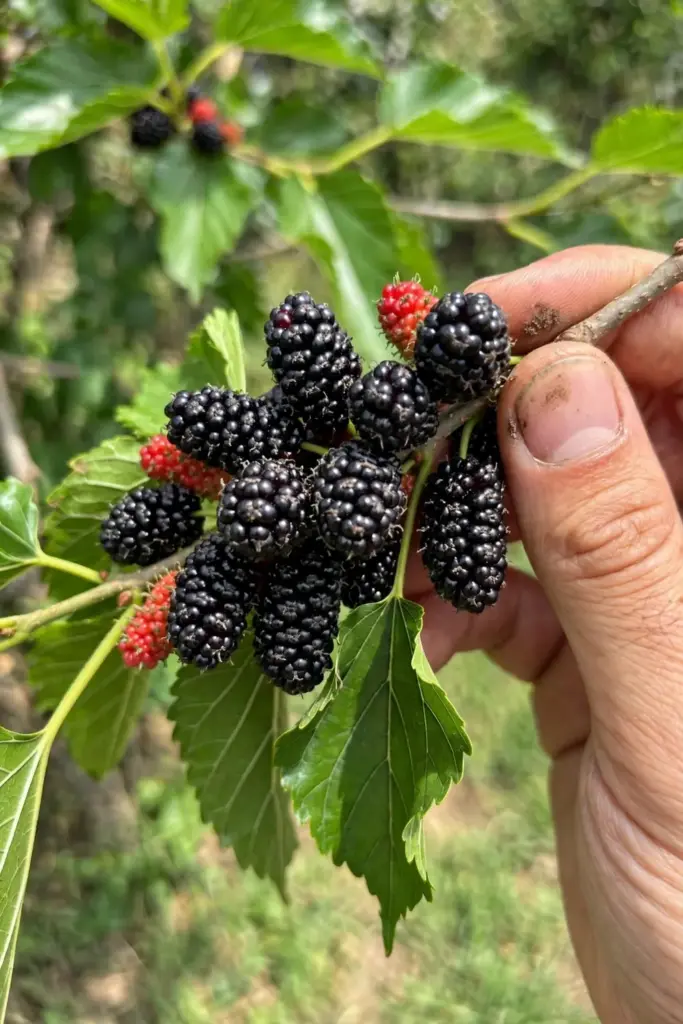
Black mulberry runs slower at every stage, so add a year to those estimates for nigra. Anyone promising fruit in the first year is selling you something. The wait is the price of a tree that can outlive you.
Make Mulberry Leaf Tea from Your Tree
Mulberry leaves have a long history as tea in China, where the tree has been cultivated for thousands of years. Pick young, unsprayed leaves in late spring, dry them in shade with good airflow until crisp, and steep a teaspoon per cup. The flavor is mild and grassy.

Harvest leaves lightly in the tree’s first two years; the young tree needs its canopy more than you need tea. From year three on, take a handful per branch without stripping any shoot bare. Dry the leaves in a single layer on a screen in shade with moving air, turning once a day until they crumble. A dehydrator at its lowest setting works in humid climates where air-drying invites mold. Store the crisp leaves in a sealed jar away from light, and they keep their character for a year.
This is a traditional use, not a health claim, and leaves from trees treated with pesticides should never be used for tea. Your cutting project earns a second harvest long before the first fruit ripens.
Avoid These 6 Cutting Mistakes
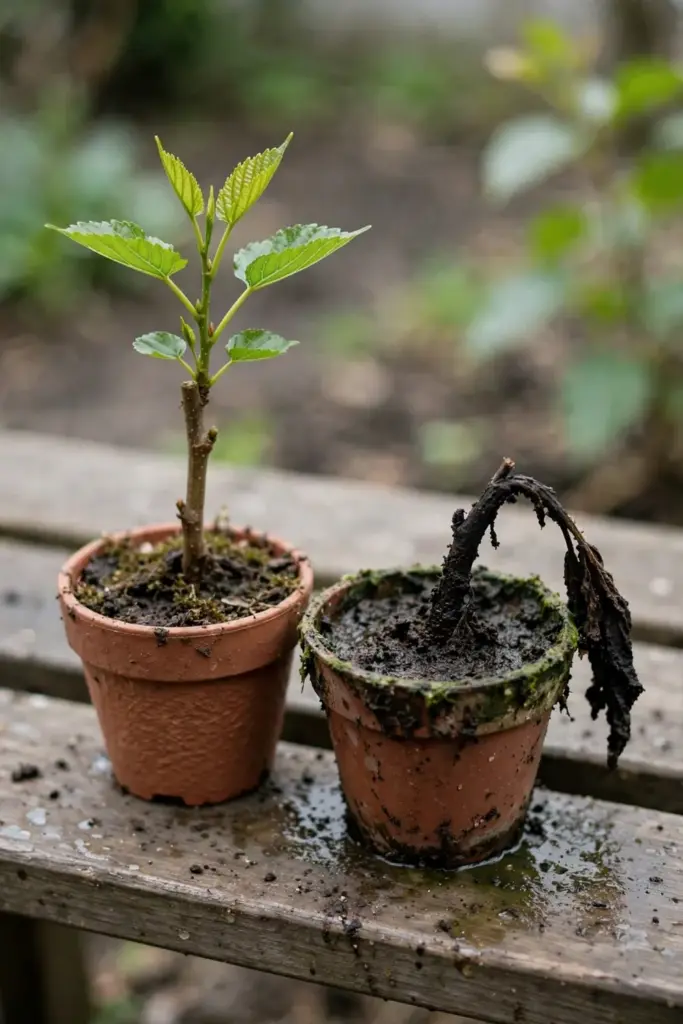
- Taking cuttings from weak or diseased wood is the most common failure. Use vigorous one-year-old growth from a healthy tree, and the cutting starts life with full energy reserves.
- Planting upside down. Buds point up. If you cannot tell which end is which on a straight hardwood section, lay the cutting flat and let it sort itself out.
- Skipping the callus step on large hardwood wastes thick, valuable wood. Let large cuttings dry a day before planting so the wound seals.
- Checking roots too early destroys them. Every inspection breaks new roots, so wait the full month and trust the process.
- Using garden soil in pots invites rot. It compacts, holds water, and suffocates cuttings. Use potting mix with grit instead.
- Rooting black mulberry like white mulberry sets you up for disappointment. Nigra needs hormone, bottom heat, and lower expectations from the start.
Troubleshoot Rooting Failures
Cuttings that leaf out then collapse usually rooted poorly and exhausted their stored energy. Start fresh with firmer wood and bottom heat rather than nursing a doomed cutting. Mold on the stem means too much moisture and too little air; improve drainage, vent the humidity cover daily, and space cuttings apart so leaves never touch.
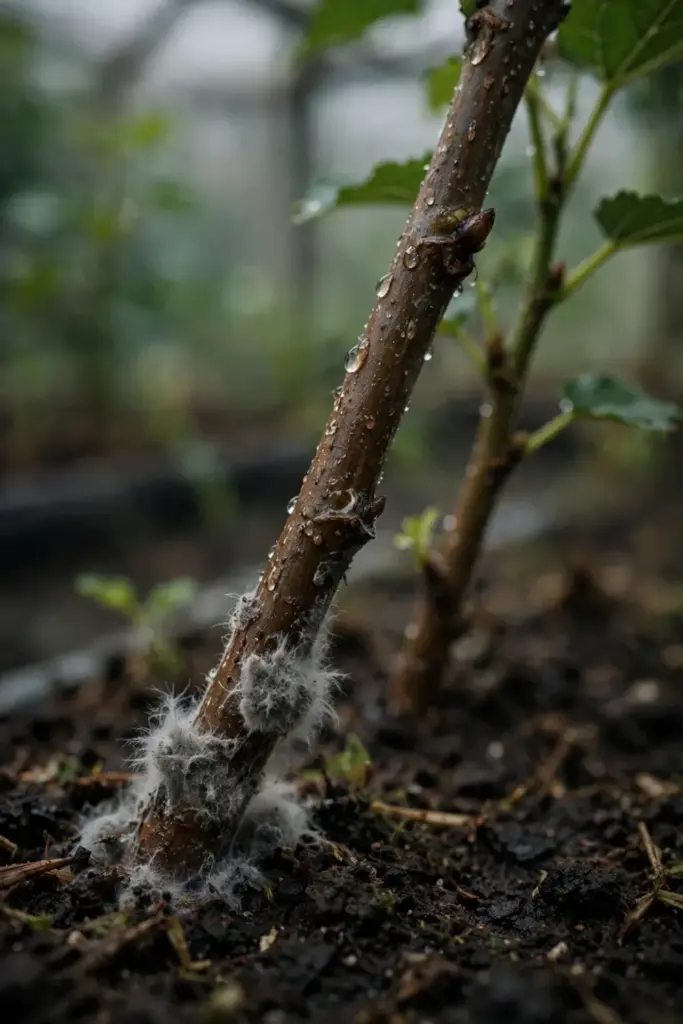
No action after 10 weeks means the cutting is dead. Compost it and try again with fresh material, because one failed batch teaches more than any guide. White mulberry gives you plenty of second chances, and each round sharpens your eye for good wood.
Frequently Asked Questions
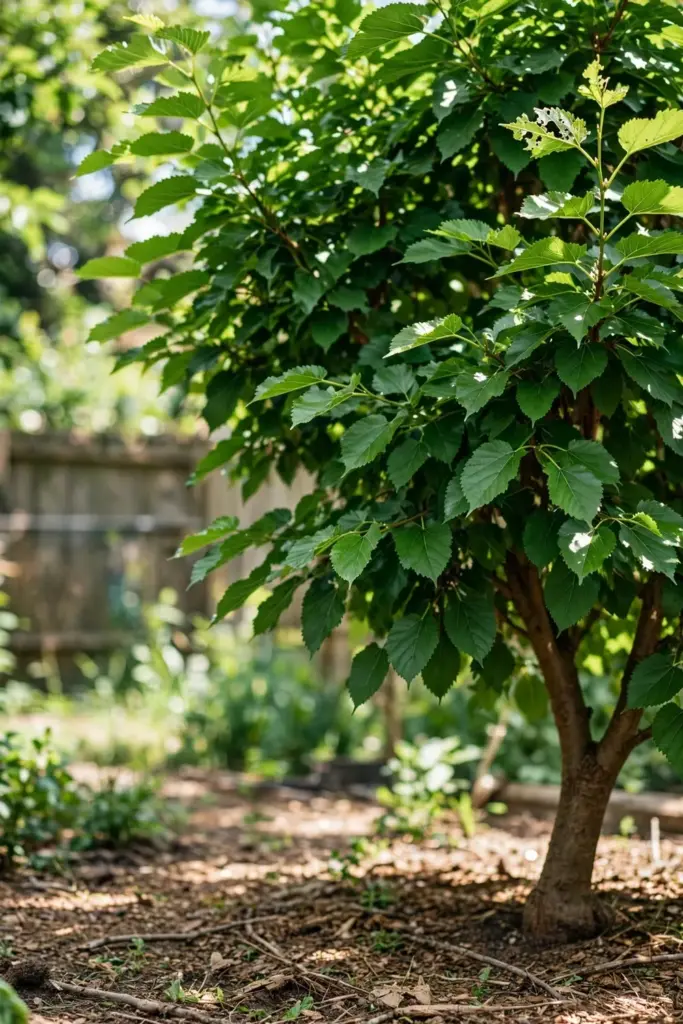
Yes. Submerge the bottom two nodes in a clean jar, change the water every two to three days, and keep the jar in bright indirect light. Roots appear in 3 to 6 weeks. Transplant into potting mix when roots reach about 2 inches, then keep the new plant humid under a bag for the first week while soil roots develop.
Hardwood cuttings root in 4 to 8 weeks in cool conditions, while softwood cuttings in June or July can root in as little as 3 weeks with rooting hormone and bottom heat. Do not trust early leaf growth as proof of roots. Use the gentle tug test or wait for roots to show at the drainage holes before transplanting.
A Turkish university trial put black mulberry hardwood rooting at 42.9 percent against 55.6 percent for white mulberry under identical conditions, and found black lower across every treatment in the published study. It roots slower, grows slower, and demands higher-concentration rooting hormone plus bottom heat. Take twice as many cuttings as you need and treat every rooted one as a win.
In parts of the eastern and midwestern United States, yes. White mulberry naturalizes aggressively and hybridizes with the native red mulberry, which is why several states list it as invasive. Check your state invasive plant list before planting, and where it is a problem, grow red mulberry or a sterile dwarf cultivar instead. The Iowa State Extension invasive alternatives guide names suitable native replacements.
Mulberry trees can be male, female, or both, and only female wood sets fruit. A cutting clones its parent exactly, so take cuttings from a female tree with fruit you like if fruit is the goal. Male trees still work for leaf tea and shade. If your cutting came from an unknown tree, you will find out its sex when it first flowers in a few years.
For white mulberry in mild climates, often yes. Push a 10 to 12 inch hardwood cutting two-thirds deep into damp soil in late winter and many will root where they stand. It is the lowest-effort method and the least controlled: no humidity control, no hormone, and total exposure to weather. Pots give higher success rates, especially for red and black mulberry.
Where to Go From Here
Root one white mulberry cutting this winter and you will have a free tree by spring. Learning how to grow mulberry from cuttings is the cheapest way to fill an orchard row or share trees with neighbors. Once it starts fruiting a few years down the line, the mulberry fruit growing guide picks up where propagation leaves off, with the full routine for big harvests. This article owns the cutting bench; that one owns the orchard. Between the two, the only thing left to buy is the pot.