
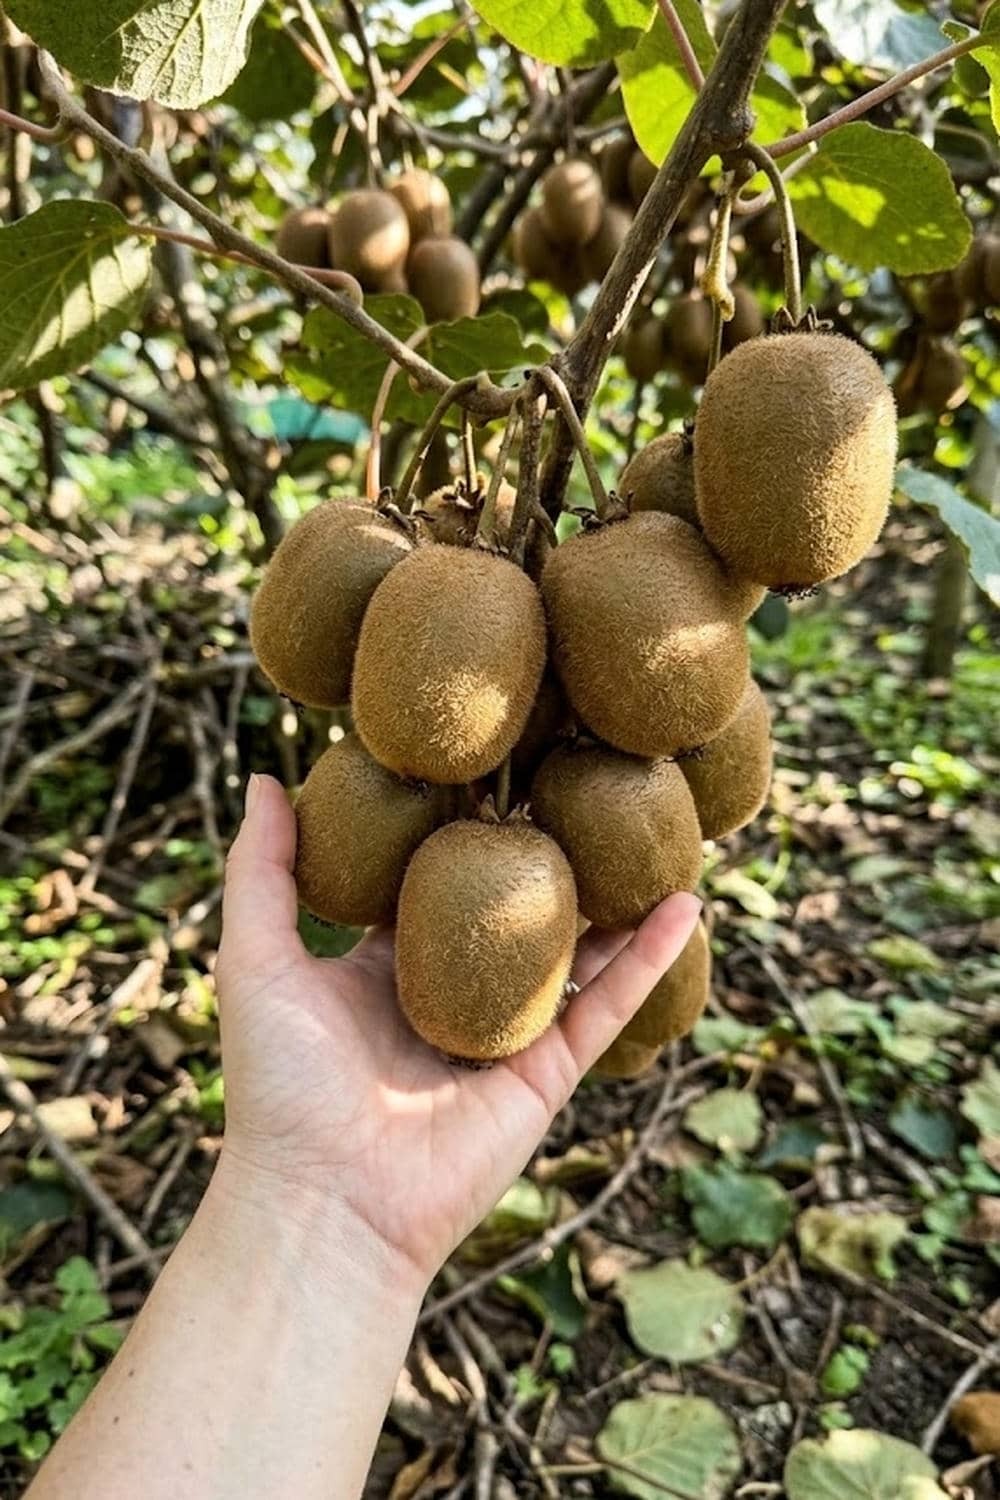

Managing a full-time job while trying to cultivate a lush, productive garden can feel like an uphill battle. You’ve likely seen those vibrant, fuzzy fruits in the store and wondered if your own backyard could ever produce something so exotic. Prevention of common planting errors is the first step toward success. If you are tired of looking at empty trellises or yellowing leaves, this guide provides the exact management and care strategies needed to turn your garden into a high-yield kiwi oasis. Learning how to grow kiwi fruit doesn’t have to be a guessing game; it’s about applying the right horticultural logic to your unique space.
Decoding the Kiwi Gender Mystery: Why You Need a Pair
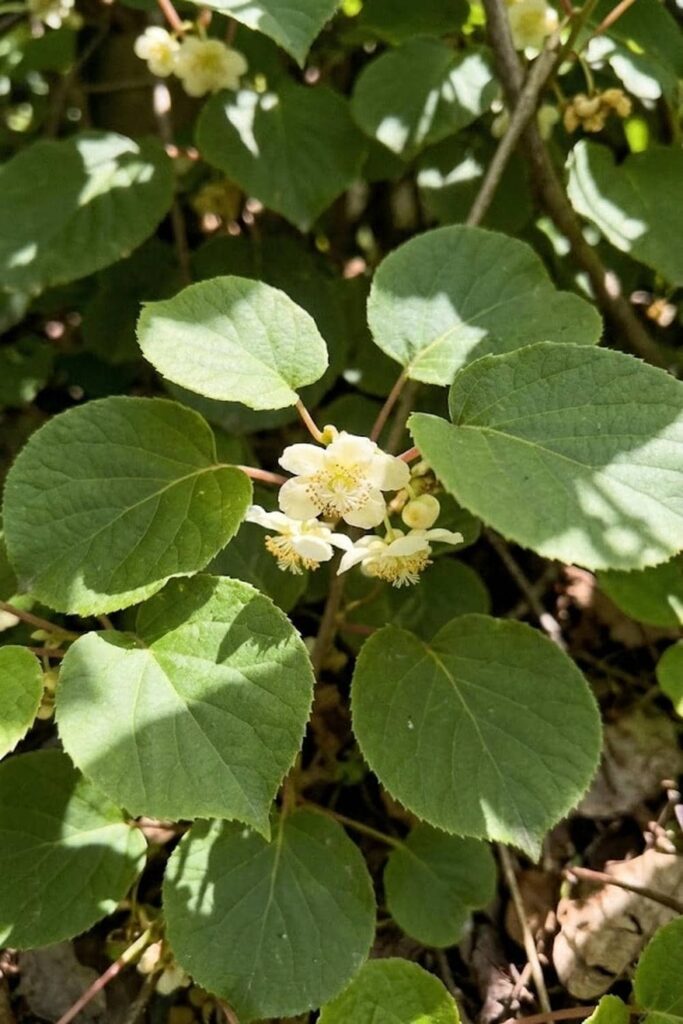
I remember the frustration of my first kiwi planting; I set out a beautiful vine, cared for it intensely for three years, and received zero fruit. I had no idea that most kiwi plants are dioecious, meaning they have distinct male and female individuals. If you want to harvest fruit, you absolutely must have at least one female plant for fruit production and one male plant to provide the pollen. Without the male, your female flowers will simply drop, and your dreams of backyard pavlova will vanish.
The problem for busy gardeners is space and cost. You don’t want to plant an orchard. Luckily, you only need one male to pollinate multiple females.
Male vs. Female Kiwi Plant Characteristics
| Feature | Male Kiwi Plant (Actinidia) | Female Kiwi Plant (Actinidia) |
| Primary Role | Provides pollen; does not bear fruit. | Bears fruit; requires pollination. |
| Flower Appearance | Large clusters of flowers with numerous central, pollen-laden stamens. No central pistil. | Flowers usually appear individually or in small groups. Feature a prominent white, well-developed central pistil (looks like a miniature starburst) surrounded by sterile stamens. |
| Required Ratio | One male can pollinate up to 8 surrounding females. | Must be within 50 feet of a compatible male. |
If you are severely limited on space, I have successfully grown self-fertile varieties like ‘Jenny’ or ‘Issai’. While they don’t strictly need a partner, their yield and fruit size always improve with cross-pollination. This is a crucial management insight for maximizing your harvest. If you have the space, a true male/female pair is always the superior route.
Selecting the Right Variety: Fuzzy vs. Hardy Kiwi Adaptability
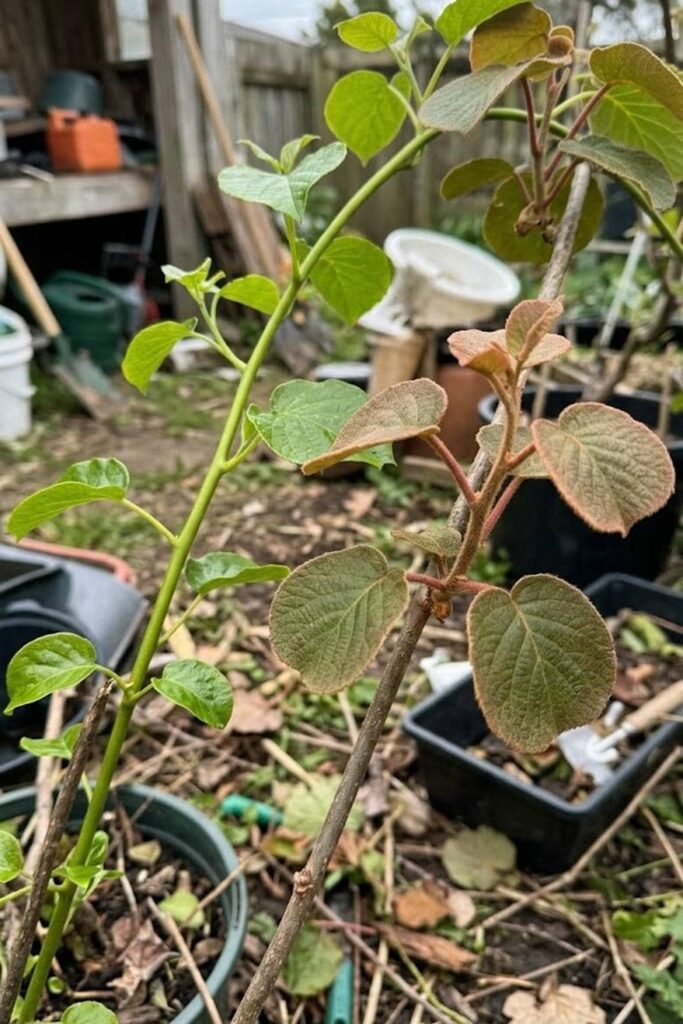
Once you’ve accepted the gender requirement, you must choose the species that matches your climate. I learned the hard way that a standard “Hayward” fuzzy kiwi simply will not survive a harsh Zone 5 winter. Most people don’t realize there is a massive difference between the standard fuzzy kiwi (Actinidia deliciosa) and the hardy kiwi (Actinidia arguta).
The standard fuzzy kiwi is what you’re used to seeing in the supermarket. It produces large, brown, fuzzy fruit with emerald-green flesh. However, these vines are sensitive to severe cold and thrive best in USDA zones 7 through 9. If you live in a colder region, protection from winter kill is almost impossible without a greenhouse.
Hardy kiwi, or “kiwiberry,” is the gardener’s answer to cold climates. These vines are incredibly resilient, with some varieties surviving temperatures down to -25°F (-32°C). They thrive in zones 4 through 7. Hardy kiwis produce smaller, grape-sized fruit with smooth, hairless skin. You can eat them whole, right off the vine. While the fuzzy kiwi may have that classic look, the hardy kiwi offers significant management advantages for northern gardeners, as you won’t be constantly worrying about overwintering your vines. I find the hardy kiwi flavor to be even sweeter and more complex than its fuzzy cousin.
Soil Management: Achieving the Perfect 5.5 to 6.5 pH Balance
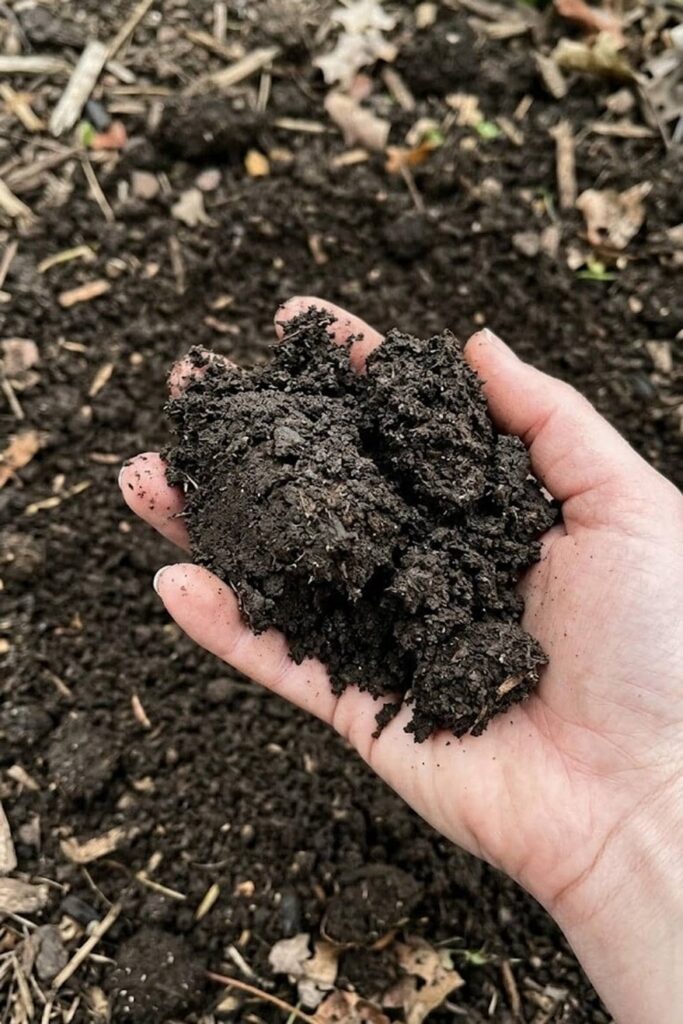
You can buy the perfect plants for your climate, but if you drop them into the wrong soil, they will stagnate. In my experience, proper soil structure is the absolute foundation for learning how to grow kiwi fruit successfully. Kiwi vines are vigorous growers, but their root systems are surprisingly delicate and susceptible to rot. They demand soil that is rich in organic matter, deeply fertile, and—most importantly—exceptionally well-draining. They cannot tolerate “wet feet.” If your garden has heavy clay that holds water, you must plant in raised beds or significantly amend the area with compost.
Beyond structure, kiwis have very specific pH requirements. They thrive in slightly acidic soil, ideally between 5.5 and 6.5 pH. If your soil is too alkaline (above 7.0), the vines will struggle to absorb essential nutrients, particularly iron. This leads to iron chlorosis, where the leaves turn a sickly yellow while the veins remain green. I always recommend testing your soil pH before you plant. If your pH is high, you can lower it by incorporating elemental sulfur or organic amendments like peat moss, though the latter must be used sustainably. Consistent pH management is easier than trying to fix a deficiency once the vine is mature.
Sun Protection: Mapping the Ideal 8-Hour Sunlight Location
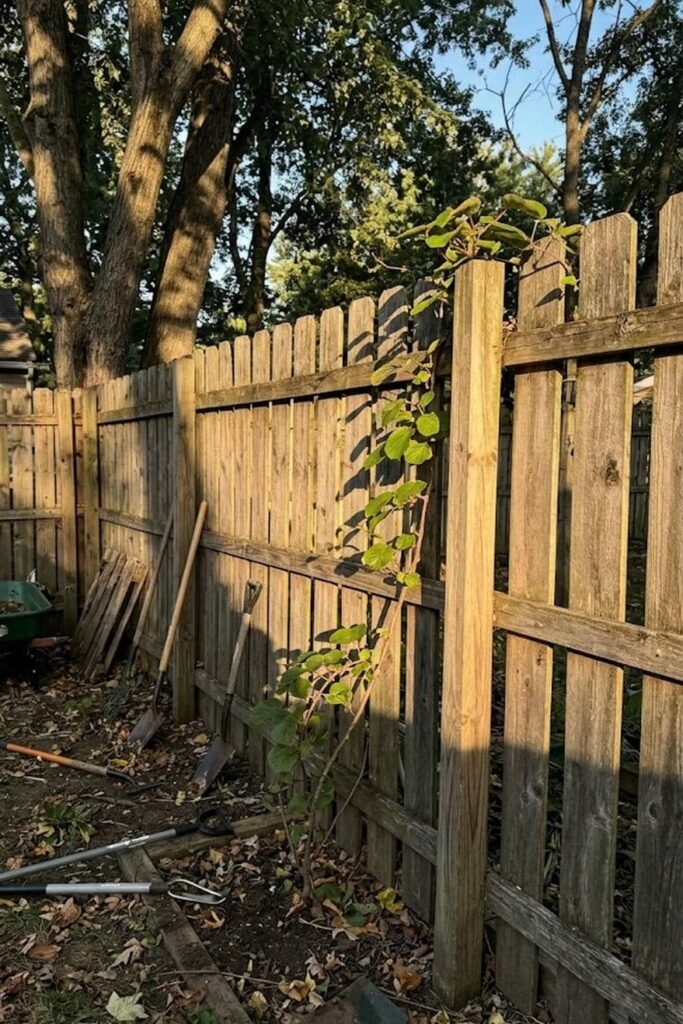
I used to think that ‘full sun’ meant the hottest, most exposed spot in the garden. For many plants, that’s true, but kiwi vines are slightly more nuanced. While they absolutely require full sun—ideally at least 8 hours of direct light per day—to maximize fruit production and trigger robust growth, their leaves and ripening fruit can actually suffer from intense, scorching afternoon heat, especially in warmer zones (zones 8-9). This is where strategic placement provides crucial protection.
The ideal location is one that receives blazing morning sun but perhaps gets some dappled shade or relief during the absolute hottest part of the afternoon. In my garden, I have successfully planted them on the east-facing side of a sturdy pergola. This ensures they soak up the powerful morning rays but are shielded when the sun is at its western peak. Proper site selection prevents leaf scorch, which can stress the vine and reduce yields. For professional care, think about where the sun hits your property throughout the day and place your vines where they get the light they need without being totally fried.
Structural Care: Building a Heavy-Duty T-Bar Trellis System
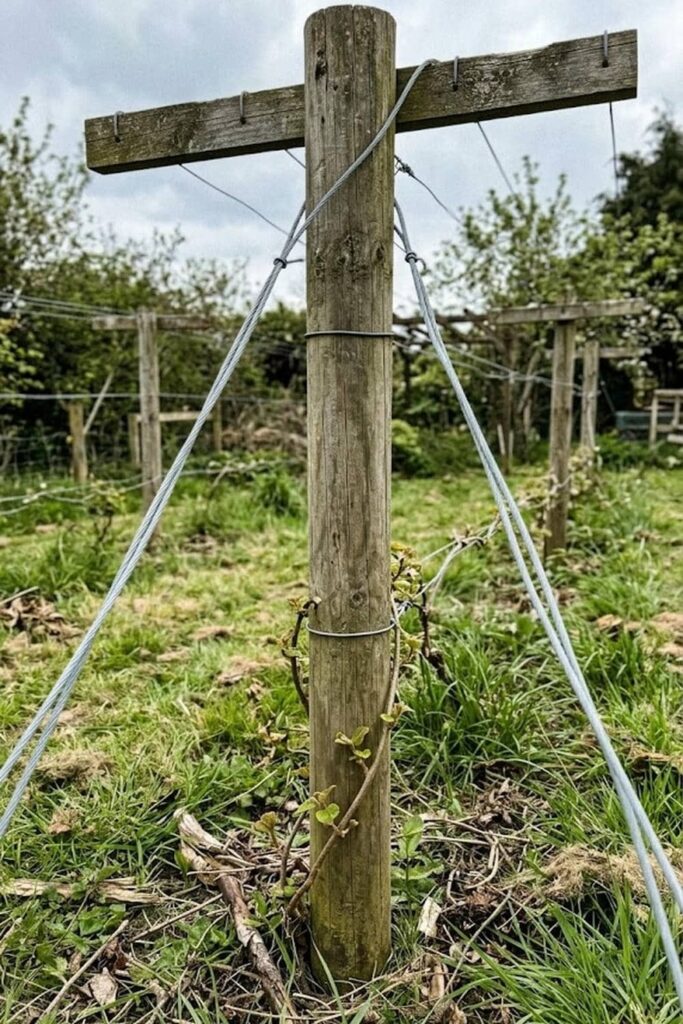
I cannot stress this enough: do not underestimate the weight of a mature kiwi vine. In my first attempts, I thought a standard vinyl garden trellis would suffice. Within two years, the vigorous, woody vines had completely crushed it. If you are serious about long-term management, you must build a robust, heavy-duty support system. A mature kiwi vine can easily weigh several hundred pounds, especially when loaded with fruit and soaked with rain.
The professional standard is a T-bar trellis system. This structure involves setting 4×4 or 6×6 pressure-treated wooden posts at least 3 feet deep into the ground, often set in concrete. A horizontal cross-arm (the “T”) is bolted to the top of the post, usually around 6 feet high. High-tensile galvanized wire is then strung tightly between the T-bars. This setup allows you to train the main trunk up the vertical post and the fruiting arms (laterals) along the horizontal wires. This configuration provides necessary protection for the vine against wind and ensures you have easy access for pruning and harvesting. If you plan correctly, this structure will last as long as the vine itself, which can be over 50 years.
Planting Prevention: Avoiding the Common Root Rot Pitfall
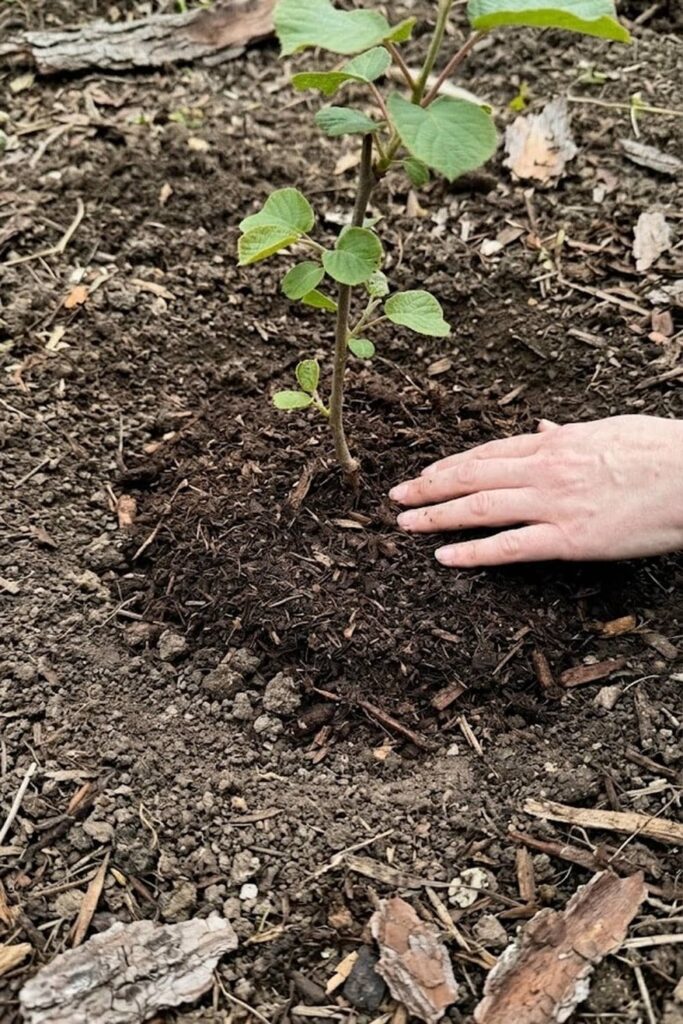
You have your sturdy trellis and perfectly amended soil; now comes the critical moment of planting. I’ve seen countless gardeners—myself included—make the fatal error of planting kiwi vines too deeply. The crown of the plant, where the stem meets the roots, is incredibly sensitive to moisture. If you bury it, you are practically inviting Phytophthora root rot, a deadly fungal disease. Effective disease prevention starts the moment the vine touches the soil.
Always plant your kiwi vines at the same depth they were in their nursery pot, or even slightly higher. I like to create a small, gentle mound of soil and plant the vine centered on it; this encourages water to drain away from the crown. After backfilling with soil and before watering, add a thick layer of organic mulch, like shredded bark or compost. Crucially, keep the mulch a few inches away from the stem itself to maintain air circulation and provide further protection against rot. As you balance garden tasks with your full-time job, getting this right the first time saves you from the heartache of replacing a dead vine later.
Irrigation Control: Maintaining Consistent Moisture without Sogginess
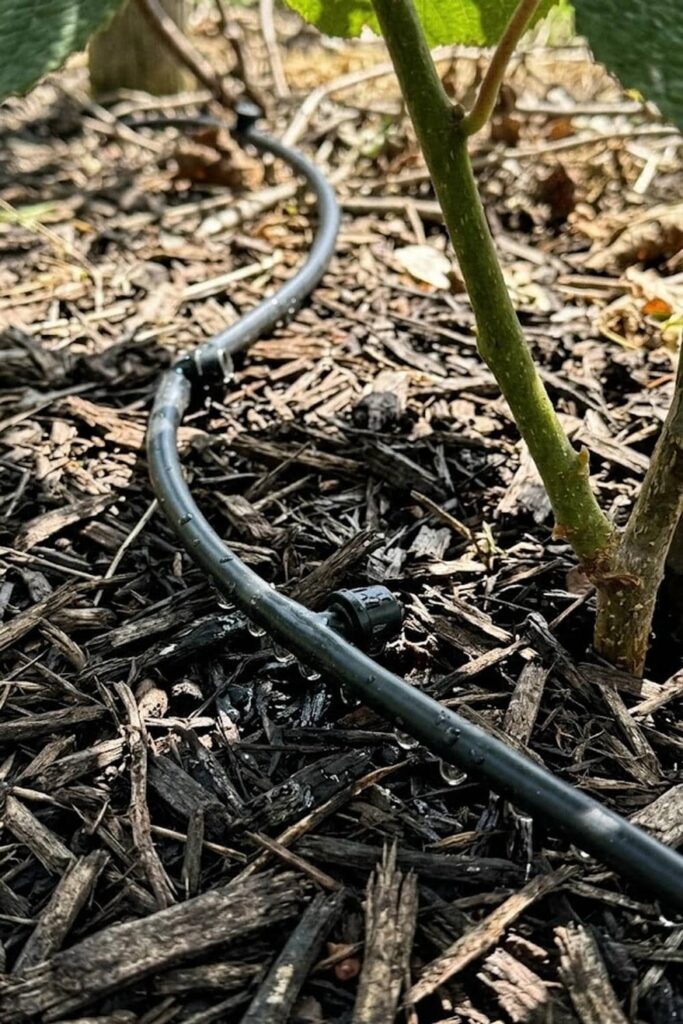
Once planted, the hydration needs of kiwi vines require a steady management hand. I find they have one of the most demanding watering schedules of any fruit vine. Because they grow so vigorously and have large leaves, they transpire a massive amount of water. If they experience drought stress, especially during flowering or fruit set, they will drop their crop or produce stunted, flavorless fruit. The key isn’t massive, infrequent waterings; it’s consistent, deep moisture.
To balance this with a busy work schedule, I highly recommend installing a simple drip irrigation system connected to a timer. This ensures the vines get a regular, slow application of water directly to the root zone, which is crucial for efficient resource care. Your goal is soil that is consistently moist, like a wrung-out sponge, but never saturated or soggy. In heavy clay, this means shorter, more frequent watering cycles. In sandy soil, it means longer cycles. Mulching—as I mentioned before—is essential for moisture retention, as it reduces evaporation by up to 70%.
Nitrogen Management: The Seasonal Fertilizer Schedule
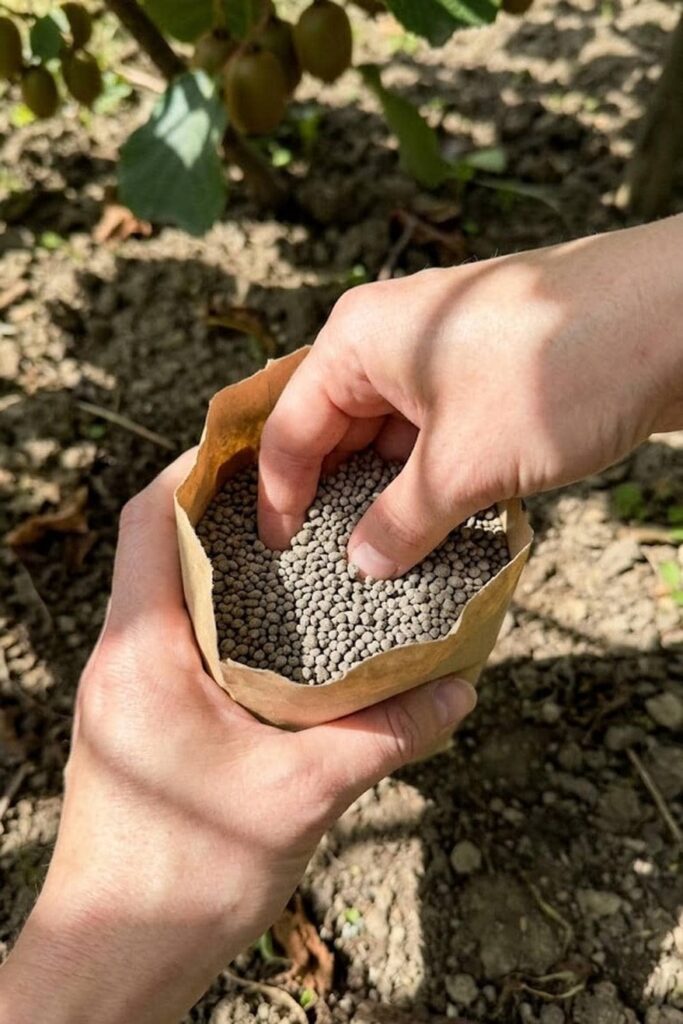
I once over-fertilized my young kiwi vines in an attempt to make them grow faster, and all I got was a tangled mess of non-fruiting leaves and a vine that was too “soft” to survive the winter. Kiwi vines do have a high care requirement for nutrients, but their appetite, especially for nitrogen, must be carefully managed. Excessive nitrogen in the late season encourages rapid, weak growth that is highly susceptible to frost damage. You must provide the right fertilizer at the right time.
Sample Seasonal Kiwi Fertilizing Plan (Young Vines: Years 1-3)
| Timing | Fertilizer Type | Application Goal |
| Early Spring (as buds swell) | Balanced organic (e.g., 10-10-10) OR high-nitrogen (e.g., blood meal) | Fuel initial vigorous spring growth and vine establishment. |
| Late Spring (post-flowering) | Balanced organic or compost tea | Support early fruit development (if applicable) and continue strong vegetative growth. |
| Mid-Summer (July) | LIGHT application of balanced organic; avoid high-nitrogen | Final nutrient boost for the season without pushing too much new growth. STOP all nitrogen fertilization after this. |
| Fall | OPTIONAL: Compost mulch or potassium-rich amendment (e.g., greensand) | Focus on root development and hardening off woody stems for winter protection. Avoid all nitrogen. |
For mature, heavy-fruiting vines, I increase the overall amount of fertilizer but maintain the core principle: heavy feeding in the spring and early summer, and zero nitrogen after July. If you manage this schedule, your vines will have the energy to produce massive crops while building the woody structure needed for long-term health.
Winter Pruning Techniques for Maximum Fruiting Laterals
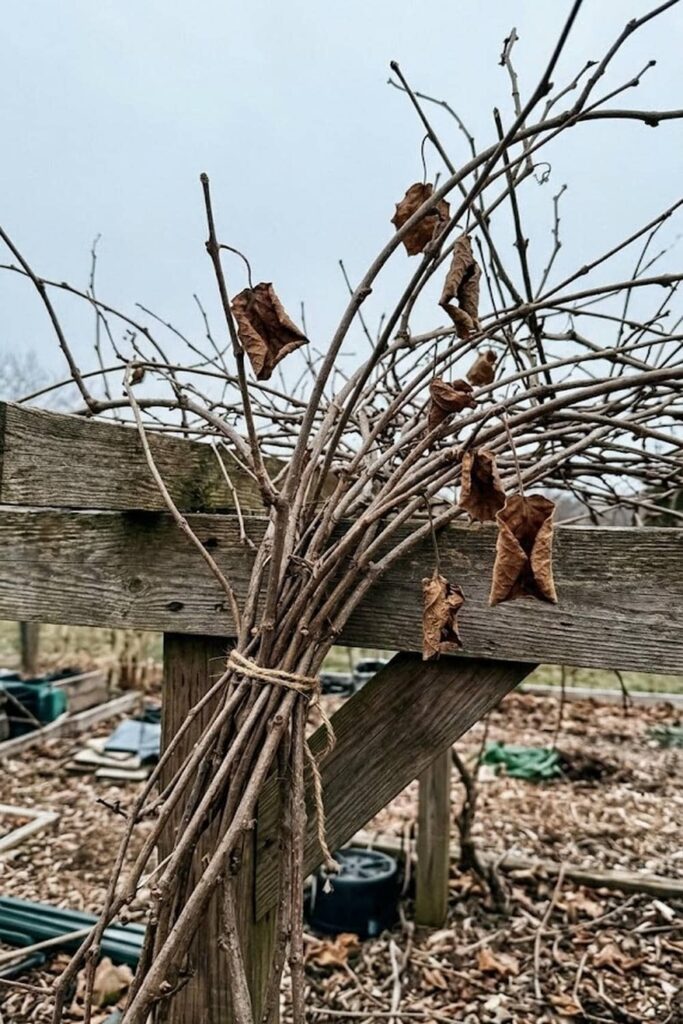
Pruning can be intimidating, but when it comes to maximizing your kiwi harvest, it is the most essential skill you can master. In my experience, understanding where the fruit grows is key. Kiwis only bear fruit on current-season growth that emerges from one-year-old wood (canes that grew the previous summer). If you don’t prune, you will have a dense, tangling mess of old wood with very little new fruiting growth. Proper winter management is non-negotiable.
Perform your main pruning in late winter (usually January or February), while the vine is fully dormant. If you wait until spring, the vine will “bleed” sap profusely when cut, which can stress the plant and invite disease. Your goals are to maintain the vine’s structure on the trellis and to select the best one-year-old canes to become next season’s fruiting laterals. You should remove about 70% of the previous year’s growth. This radical reduction feels wrong, but it focuses the vine’s energy on producing fewer, but much larger, high-quality fruits. Think of it as investing your limited garden time (while working full-time) in the highest-yield activity.
Summer Thinning: Why Canopy Management Matters
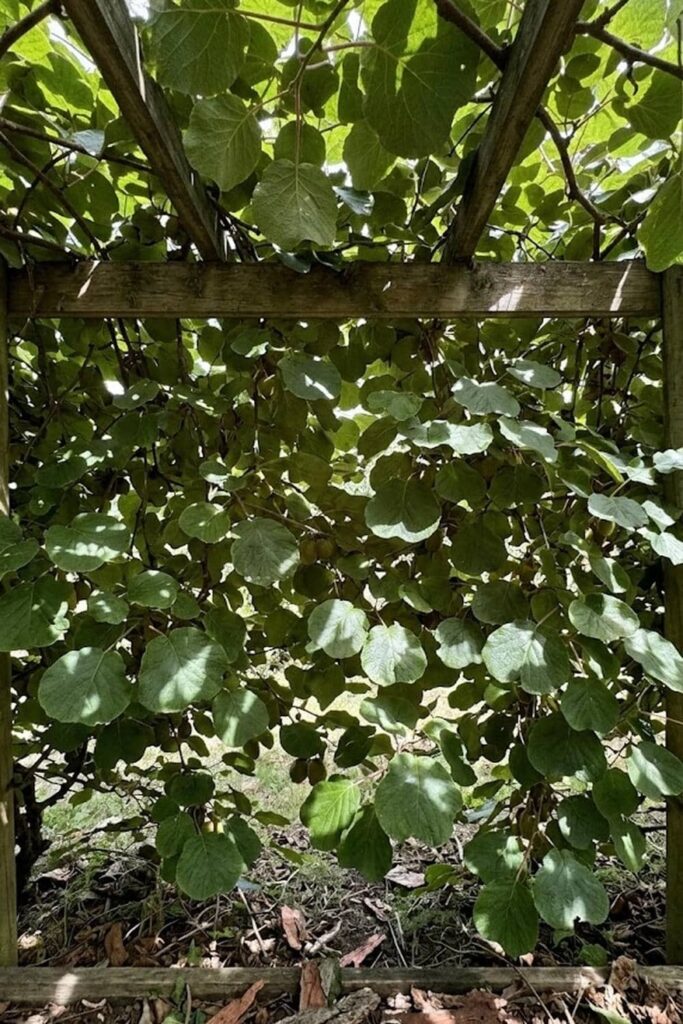
If winter pruning focuses on the vine’s architecture, summer pruning is all about managing the “solar factory” of the leaves. Kiwi vines grow with incredible speed during the summer, creating a dense, overwhelming canopy that can quickly shade out the developing fruit. If the ripening kiwis don’t receive adequate sunlight, they will remain small, have poor color, and fail to develop their signature tangy-sweet flavor. Effective summer management provides crucial protection against poor fruit quality.
Throughout the growing season, my main job is to keep the canopy “open” and manageable. I focus on removing any non-fruiting shoots that are growing vigorously and shading the fruit. I also pinch back the fruiting laterals themselves, usually 4 to 6 leaves past the last developing fruit. This logic directs the vine’s energy into fruit ripening rather than excessive leaf production. Regular summer thinning also improves air circulation through the canopy, which helps in the prevention of fungal diseases like botrytis (gray mold). For me, a few hours spent on canopy care during the summer is the difference between a mediocre harvest and a massive backyard success.
Frost Protection: Saving Sensitive Spring Shoots
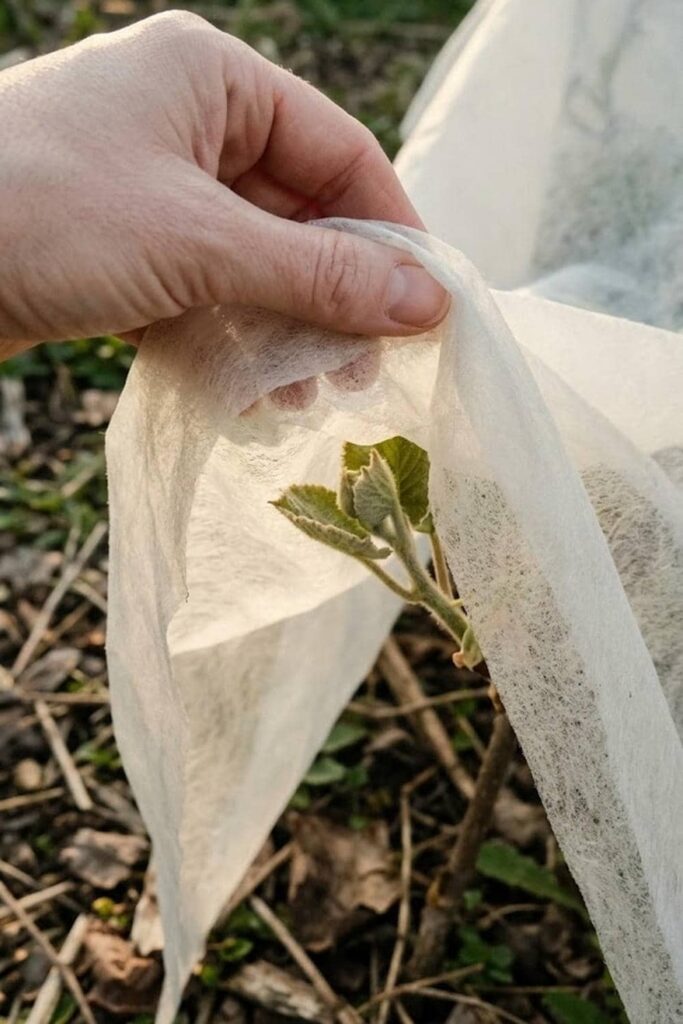
I have experienced the heartbreak of a perfect spring day turning into a devastating night. Just as your kiwi vines are bursting with tender new leaves and crucial flower buds, a late spring frost can arrive and destroy the entire season’s potential in hours. While the woody vines themselves are hardy, the new growth is exceptionally sensitive. Effective protection during this vulnerable window is one of the most critical aspects of successful management.
You must be vigilant. When a frost warning is issued, you need a solid plan. For me, this means having stacks of old sheets, burlap, or dedicated horticultural fleece ready to go. I gently drape these over the vines before sunset to trap the ground’s remaining heat, ensuring the covers don’t actually touch the sensitive buds, as this can transfer the cold. This simple act of seasonal care provides a vital barrier against the freezing air. It’s a stressful time, balancing this level of plant protection with your full-time job, but the effort is rewarded when you see those flowers open and turn into fruit.
Pest Control: Organic Solutions for Leaf-Eating Insects
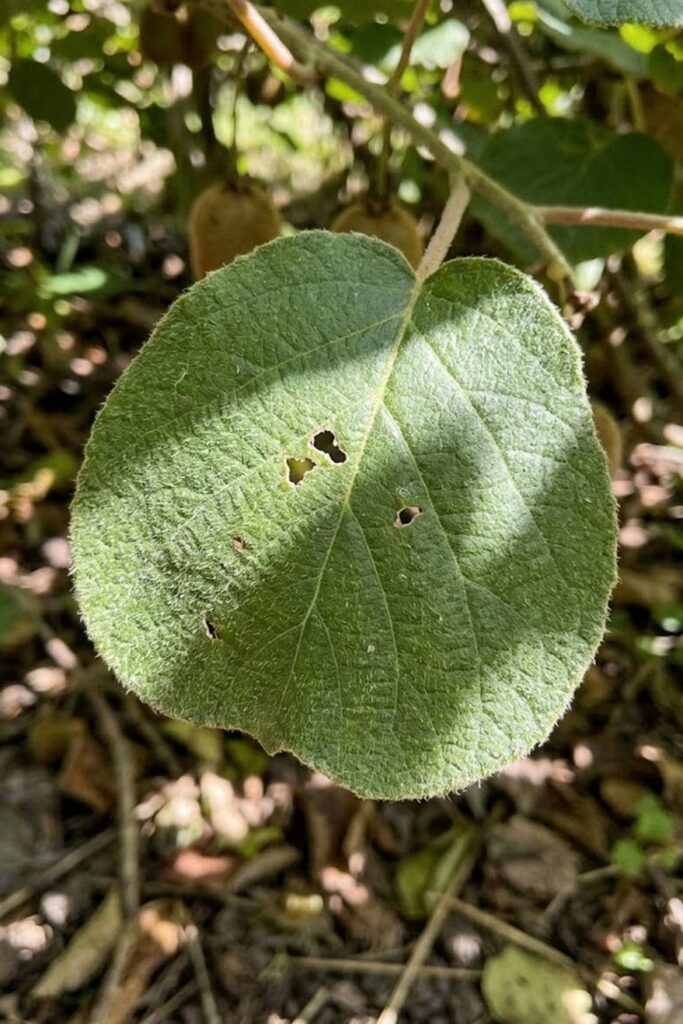
I once noticed the beautiful, velvety leaves of my kiwi vine covered in small, systematic holes. It was a clear sign of leaf-eating insects. While kiwi vines are generally robust, they can be targeted by Japanese beetles, spider mites, and even caterpillars. Left unchecked, a severe infestation can defoliate a young vine, impacting its overall health and reducing fruit production. Effective prevention and control are essential for long-term management.
My first line of care is always organic and non-toxic. I recommend starting with a strong blast of water from the hose. This can physically dislodge spider mites and many smaller insects, providing immediate relief and protection without chemicals. For Japanese beetles, I find that a pheromone trap set far away from the vines can attract them elsewhere. If that doesn’t work, a simple insecticidal soap or a neem oil spray, applied in the evening to protect beneficial bees, can provide effective control. It’s a relatable struggle, protecting your garden from relentless pests, but quick, decisive action is the key.
Pollination Success: Managing the 1:8 Male-to-Female Ratio
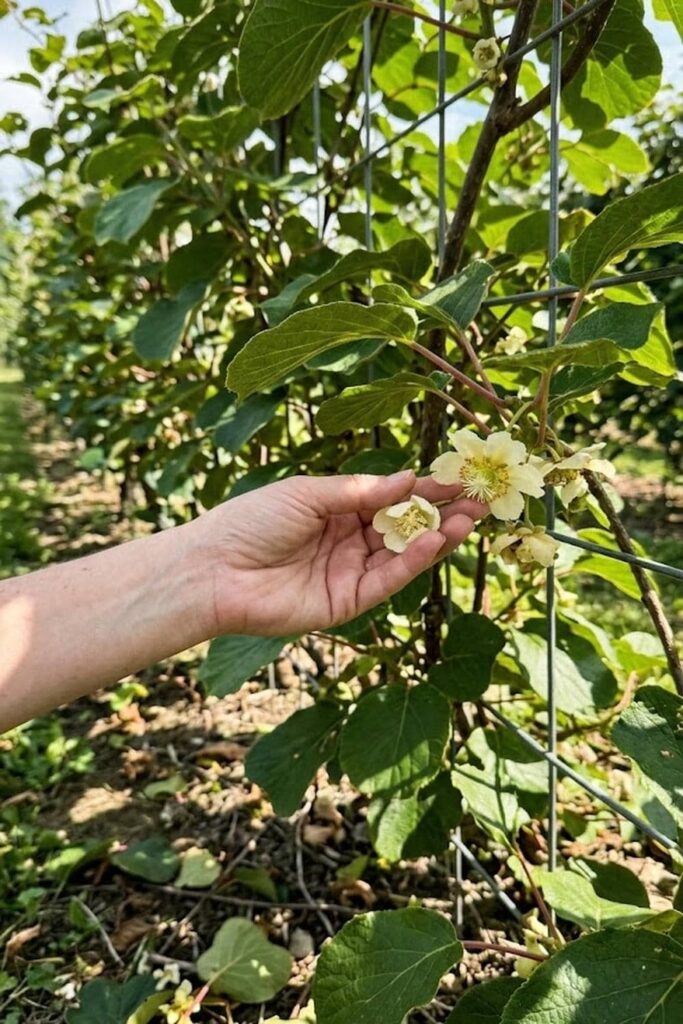
You’ve done everything right: chosen the right variety, built a sturdy trellis, and provided perfect care, yet still, zero fruit. The most common reason for this failure is simple: your female flowers were not successfully pollinated. As I’ve explained, proper pollination is the only way to get a harvest from your female plants. This is not a task you can leave entirely to chance. It requires a dedicated management strategy to guarantee success.
Key Factors in Successfully Managing Kiwi Pollination
- Proper Male-to-Female Ratio: I recommend the professional standard of one male for every eight females. This optimization provides the necessary volume of pollen while maximizing your productive female vine space.
- Distance: Ensure your male plant is positioned within 50 feet of all its female partners. The shorter the distance, the more likely wind or bees will transfer the pollen effectively. I like to plant my male right in the middle of a row of females.
- Active Bee Population: Pollination is primarily performed by bees. Do everything you can to create a bee-friendly garden. Avoid all pesticides during the bloom period.
- Hand-Pollination as a Backup: If bee activity is low, you can manually take a freshly opened male flower and gently brush it against the center of the open female flowers. This labor-intensive task offers powerful protection against crop failure and is a relatable strategy for the determined, busy gardener.
If you apply these simple logic points to your pollination management, you will virtually guarantee that your vines go from beautiful foliage to heavy, productive fruit producers. It’s a satisfying feeling, seeing that professional strategy yield real results.
Troubleshooting Growth: Identifying Iron Chlorosis in Leaves
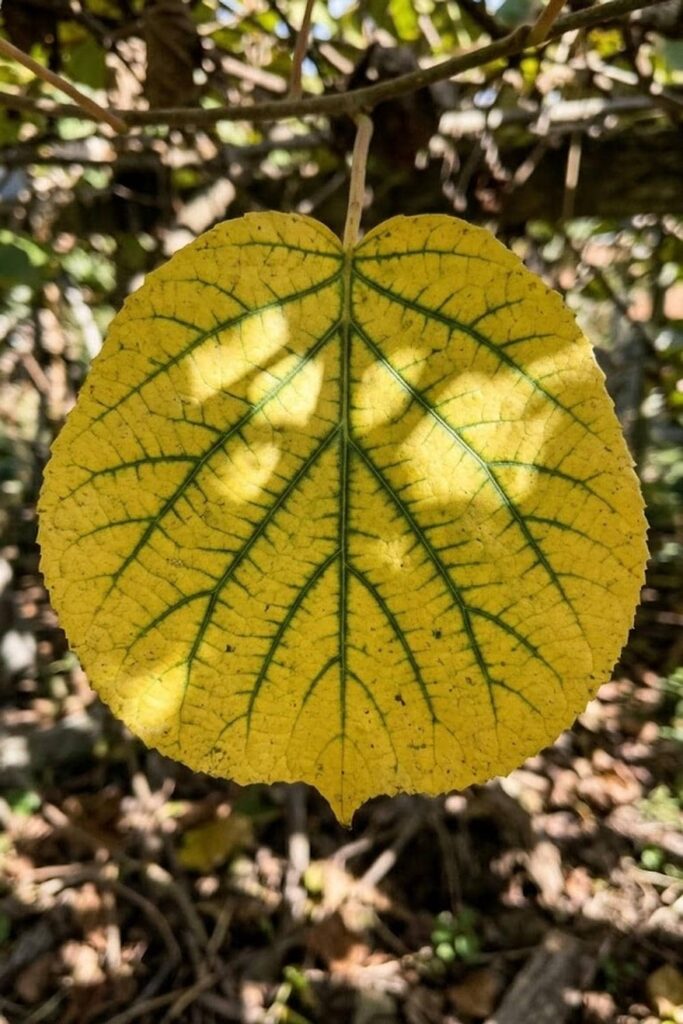
I remember the panic I felt when the leaves of my once-vibrant kiwi vine began turning a sickly, pale yellow while the veins remained a sharp, dark green. This condition is a classic symptom of iron chlorosis, a very common and relatable nutritional deficiency in kiwi plants. Most people don’t realize that it’s rarely a lack of iron in the soil, but rather the vine’s inability to absorb it. This usually happens when the soil pH is too alkaline (above 7.0), locking up the iron and preventing crucial nutrient care.
If you see these symptoms, don’t just dump iron fertilizer on the soil; that’s only a temporary fix. You must address the root cause for effective long-term management. This means lowering the soil pH. I recommend applying elemental sulfur or a granular, iron-rich, acidic fertilizer to the root zone. Consistent soil pH care prevents this condition from recurring. In the meantime, applying a foliarspray of chelated iron directly to the leaves provides immediate protection and can turn them green again quickly, helping the vine regain its energy for fruit production. Mastering this simple troubleshooting logic is a fundamental skill for any kiwi gardener.
The Wait for Fruit: Managing Expectations for Years 3 to 5
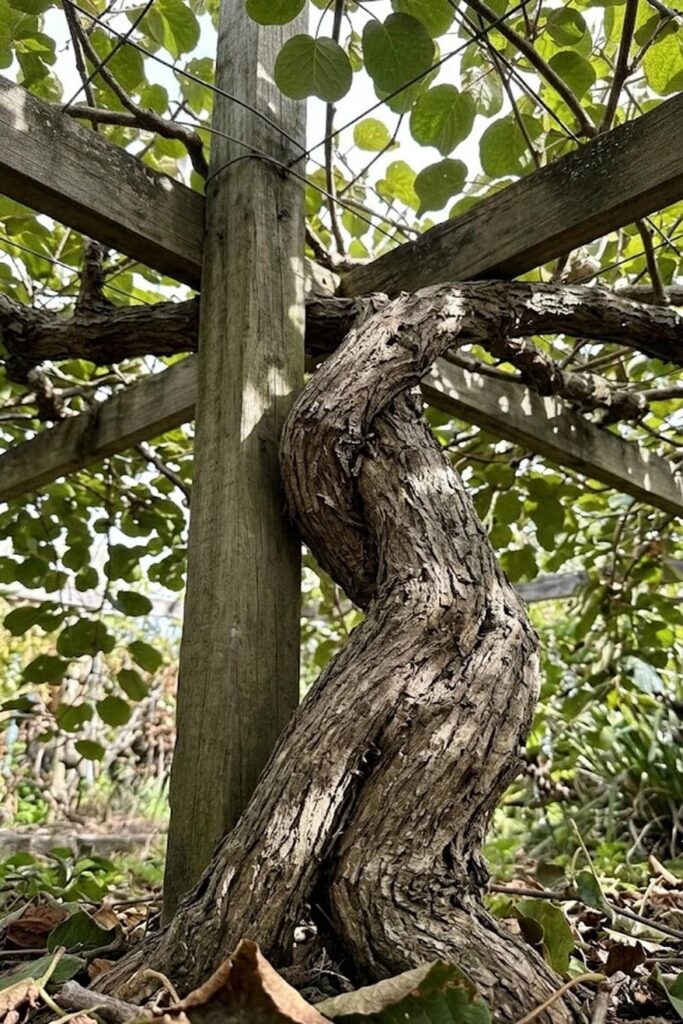
I know the feeling: you have invested hours of care, perfectly pruned your vines, and protected them from frost, yet here you are in year two with zero fruit. I understand the impatience. But in my experience, cultivating a healthy kiwi vine is not a sprint; it’s a marathon. You must have realistic expectations for when you will see your first significant harvest. Managing this timeline is a crucial part of long-term management.
While some determined vines might produce a few teasing berries in their second year, you should not expect a real crop until year three at the earliest, and more commonly year four or five. The vine spends its first few years focusing all its energy on establishing a robust root system and its permanent woody structure. For effective plant care, you must support this foundational growth. Don’t be discouraged by the wait. The silver lining is that once your vines begin producing, their output increases dramatically each year. A single, mature fuzzy kiwi vine can yield over 200 pounds of fruit, providing incredible protection against expensive store-bought kiwis and a satisfying return on your multi-year investment. Patience, in this case, is not just a virtue; it’s a required skill for this relatable garden struggle.
Harvest Indicators: Using the “Refractometer” or Snap Test
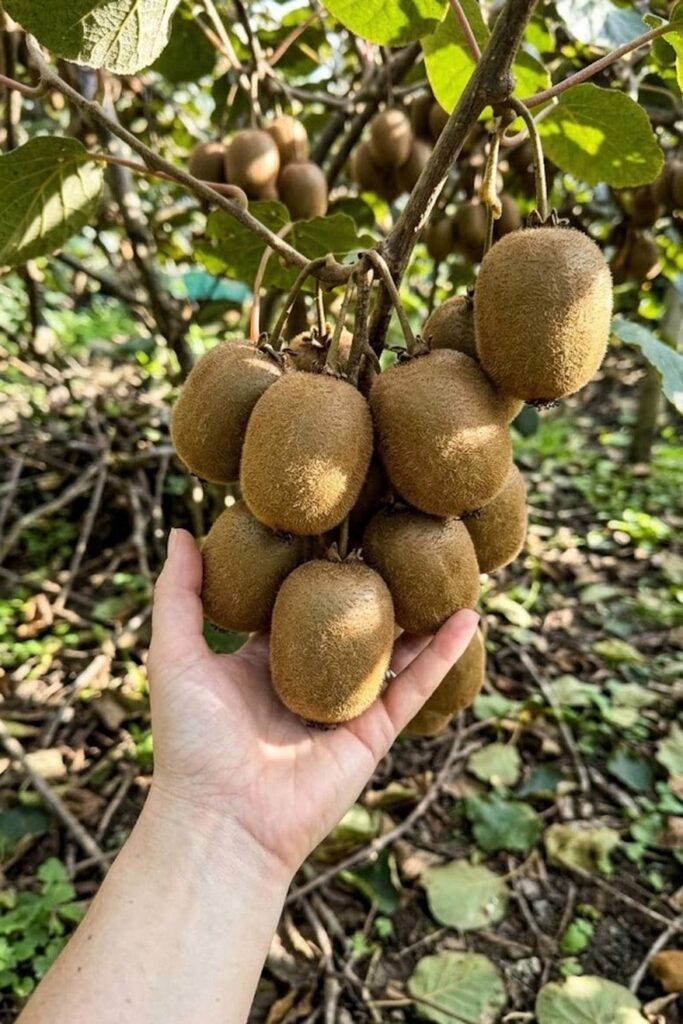
I once picked my entire harvest too early, and those kiwis remained rock-hard and sour for months. Most people don’t realize that kiwis are climacteric fruits, meaning they reach full maturity on the vine but only soften and develop their true flavor after they are harvested. Knowing when to pick is the final critical step in successful kiwi management. This is where professional-grade care prevents a waste of your years of effort.
For hardy kiwis, I find the “snap test” to be incredibly reliable. You gently bend the fruit; if it snaps cleanly away from the stem without tearing the skin, it’s mature and ready for harvest. For fuzzy kiwis, I recommend using a tool called a refractometer. This simple device measures the sugar content (Brix) of the fruit juice. I always wait until my fuzzy kiwis hit at least 6.2% Brix. If you harvest below this point, they will never ripen properly. For the relatable struggle of balancing a busy work schedule with a precision harvest, the refractometer provides invaluable protection for your entire crop’s quality, ensuring you only pick at the perfect moment for the ultimate backyard flavor.
Post-Harvest Care: Prepping Your Vines for Next Season
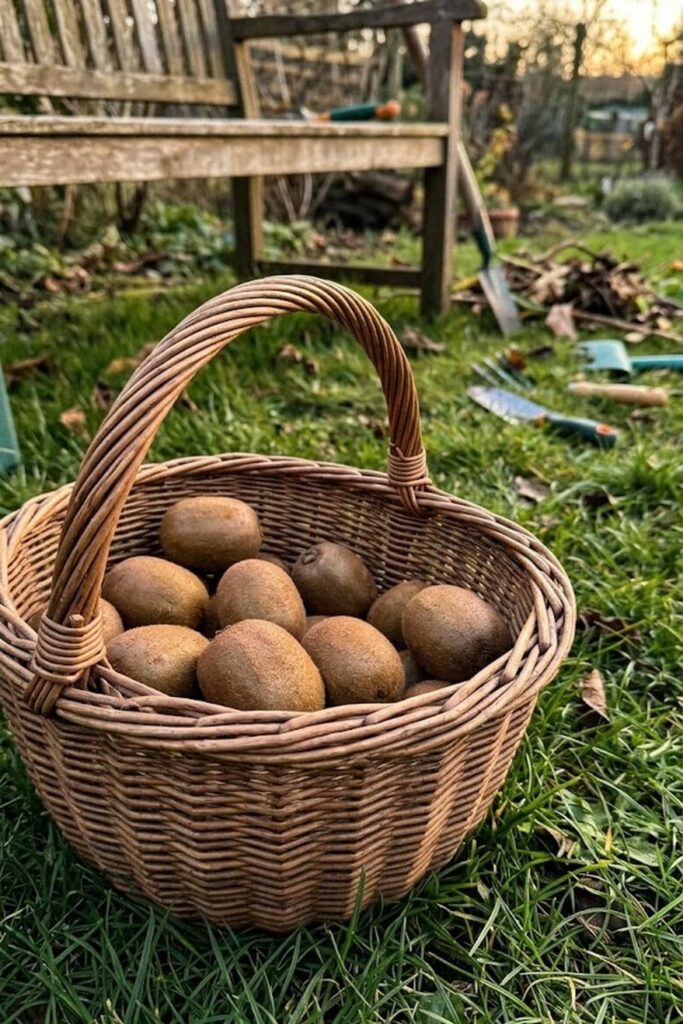
You’ve picked your final cluster of kiwis, but your work isn’t finished. The period immediately following the harvest is crucial for prepping your vines for a successful, high-yield next season. I find that many gardeners overlook this, which leads to weaker vines and smaller future crops. Effective post-harvest management provides vital protection and sets the stage for continuous success.
My first task is to perform a thorough clean-up. I remove any dried, remaining leaves and especially all “mummified” fruits from the vines and the ground. These act as significant disease vectors and overwintering sites for pests like spider mites, which can create a frustrating relatable struggle in the spring. Removing them is essential for disease prevention. I also recommend adding a final layer of organic compost to the root zone, providing a subtle nutrient boost and supporting mycorrhizal health through the winter. This last act of seasonal care, while balancing your full-time job, simplifies your work next year and ensures your vines remain healthy and productive for decades to come.
Frequently Asked Questions (FAQ)
How to grow kiwi fruit from store-bought seeds at home?
Answer: While possible, I do not recommend it. I’ve tried this patience-testing method. First, you have a 50% chance of getting only male plants, which bear zero fruit. Second, seed-grown plants can take up to seven years to produce. Third, the fruit quality will likely be inferior to the parent. For reliable care and professional management, investing in a grafted named cultivar from a nursery provides necessary protection for your time and guarantees the fruit quality you desire.
Do I need a male and female kiwi plant to get fruit?
Answer: Yes, you absolutely do. As I’ve covered, most kiwi vines are dioecious, meaning separate male and female plants. You must manage this requirement by planting one male plant within 50 feet of up to eight female plants. If you are extremely limited on space, I have successfully grown self-fertile varieties like ‘Jenny’ or ‘Issai’ which don’t technically need a partner, though their production will always be higher and fruit size better with a male nearby for pollination.
How many years does it take for a kiwi tree to bear fruit?
Answer: Typically 3 to 5 years. This is a fundamental timeline you must manage. In year one, the vine established its root system. In year two, you focus on building its woody structure. By year three, you might see your first flowers and light fruit set. Don’t be discouraged by this relatable garden struggle; the massive, high-yield harvests from year five onward are well worth the wait. Proper care and winter management during these early years provide vital protection for this future production.
Can I grow kiwi fruit in a pot?
Answer: Yes, you can. In my experience, you can grow them in large containers if you choose the right variety and provide intensive management. A 30L (8-gallon) pot is the absolute minimum, and larger is always better. You must manage root care by providing exceptionally well-draining potting mix and monitoring hydration constantly, as pots dry out quickly. I find that self-fertile hardy kiwis are the best choice for container care, providing necessary protection for your limited space.
What is the best climate for growing hardy kiwi vines?
Answer: Hardy kiwi vines thrive in USDA Zones 4 through 7. While fuzzy kiwis (Actinidia deliciosa) need the milder winters of Zones 7-9, hardy kiwis are remarkably cold-tolerant, with some varieties surviving temperatures down to -25°F (-32°C). This adaptability provides significant protection against winter kill, making management easier for northern gardeners. As a busy professional, choosing the right plant for your zone is the single most important act of care you can perform.








