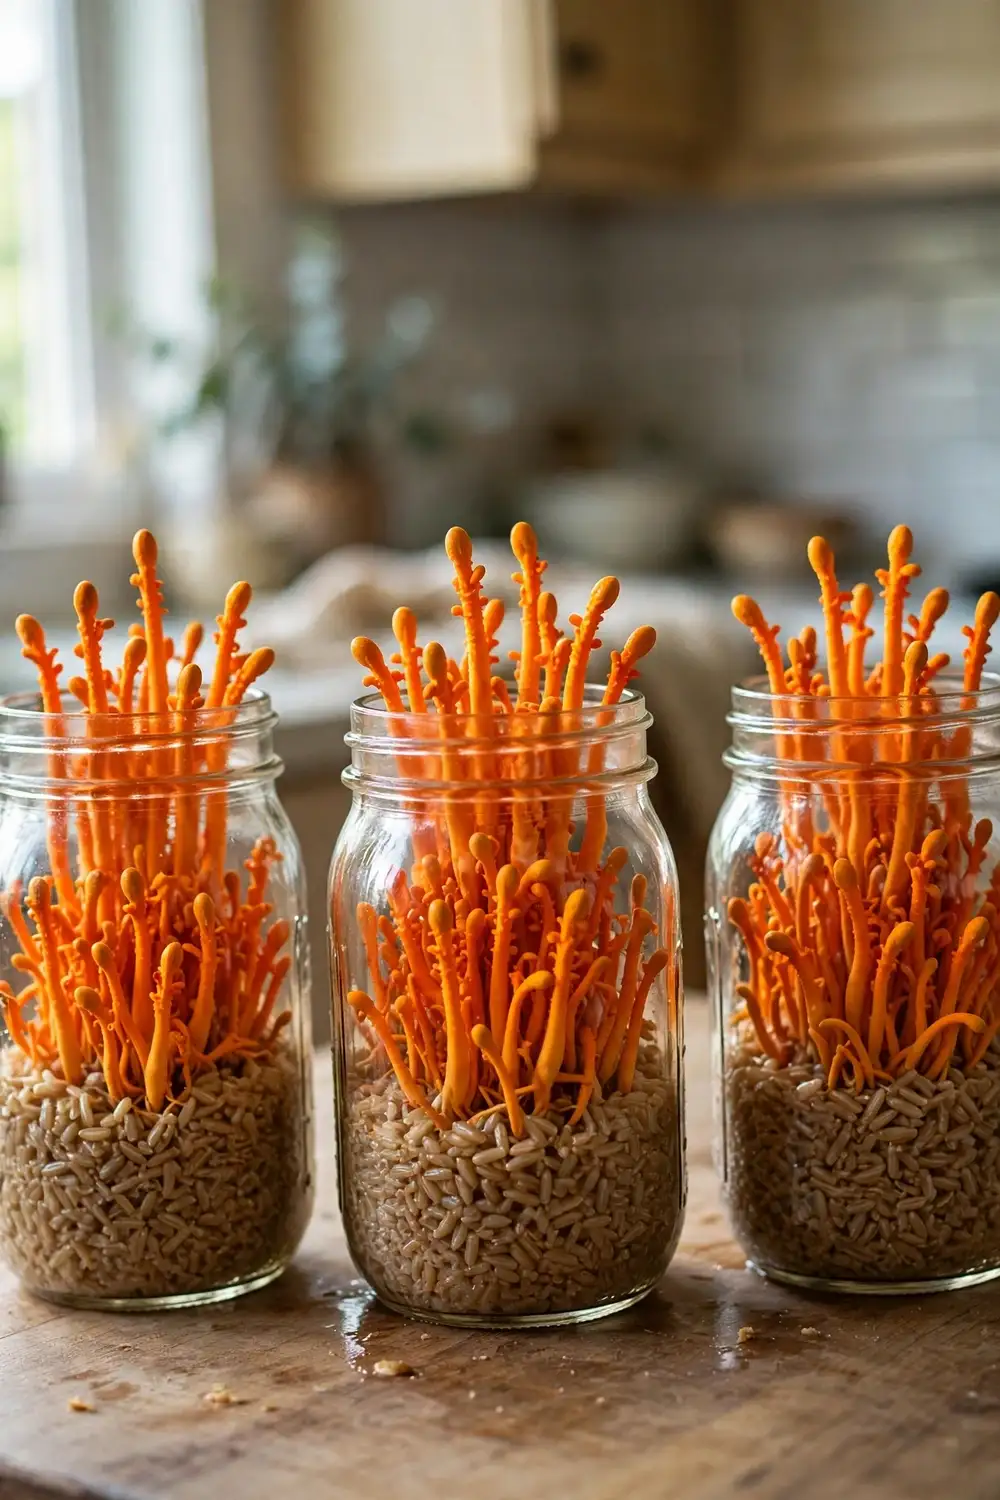

Grow cordyceps at home in 60 to 75 days. Grow Cordyceps militaris on brown rice in sealed pint jars, not the famous caterpillar fungus, which needs a living ghost moth caterpillar and Himalayan altitude. Nobody fruits that on a kitchen counter. The method is closer to home brewing than to gardening.
This guide walks through the full jar method for how to grow cordyceps at home: the brown rice substrate recipe, sterilization, inoculation with liquid culture, colonization in the dark, and the light-and-cool-air trigger that produces bright orange fruiting bodies. Every number comes from published cultivation guides and a peer-reviewed paper. The hard part is sterile technique, not the fungus. Contamination, not the recipe, is what ruins most first batches.
1. Which Cordyceps You Can Actually Grow at Home
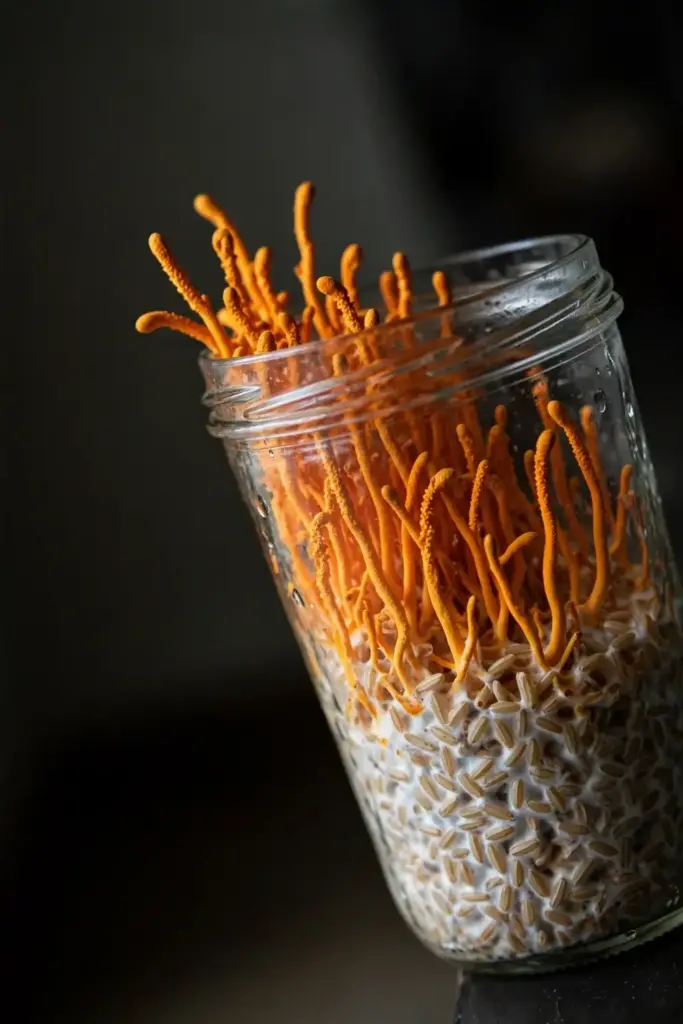
Cordyceps is two very different organisms wearing one famous name. Wild Ophiocordyceps sinensis parasitizes a living caterpillar at altitudes above 3,000 meters, then pushes a stalk out of the insect’s head. It has never been fruited reliably on an artificial substrate, and wild specimens can sell for over $20,000 per kilogram. Cordyceps militaris also parasitizes insects in the wild, but it fruits readily on cooked grain. Every home cultivation guide on the internet targets militaris, even when the title just says “cordyceps.” Know which one you are growing before you buy anything.
| Ophiocordyceps sinensis (wild dong chong xia cao) | Cordyceps militaris (what you grow) | |
|---|---|---|
| Host | Ghost moth caterpillar, living | Grain substrate at home; insects in the wild |
| Home cultivation | Not realistic | Brown rice in pint jars |
| Fruiting body color | Dark brown stalk from a mummified caterpillar | Bright orange clubs |
| Price pressure | Over $20,000/kg wild | A bag of rice and a culture syringe |
| What the guides mean by “cordyceps” | Almost never | Almost always |
Buy liquid culture labeled Cordyceps militaris from a reputable mycology supplier. Spore syringes exist, but liquid culture colonizes faster and carries less contamination risk. A single 10cc syringe inoculates roughly three to four pint jars. Store the syringe in the refrigerator until use, and let it come to room temperature before inoculation day; cold culture shocked into warm jars can stall for days. Check the supplier’s reviews for contamination complaints before ordering; a dirty culture wastes two months no matter how good your technique is.
2. How Long a Cordyceps Jar Takes, Start to Finish
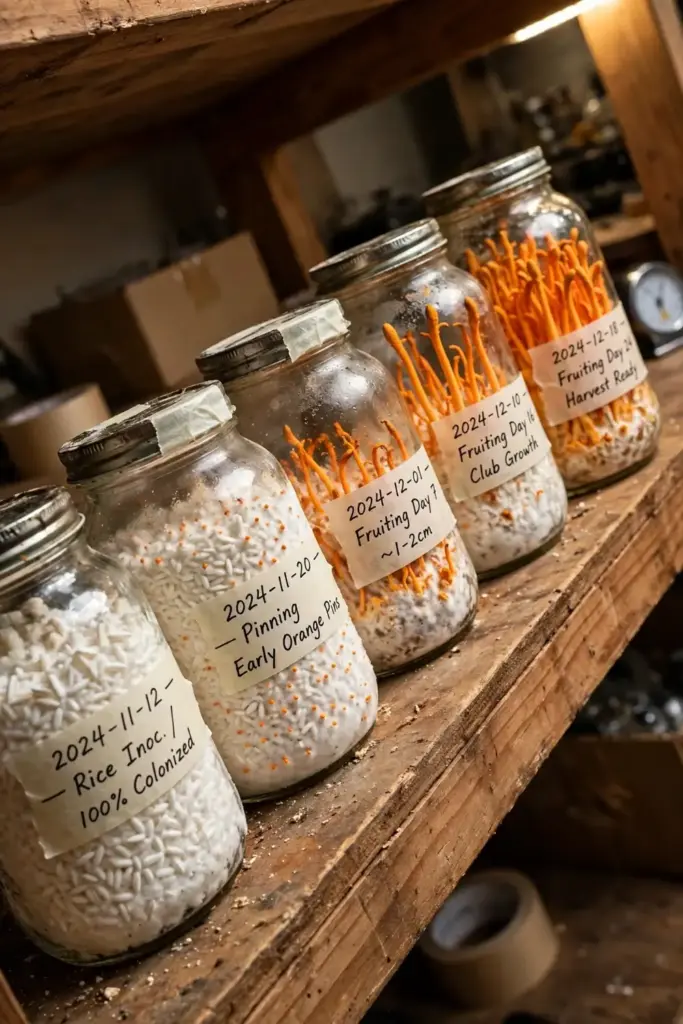
From inoculation to harvest, plan on 60 to 75 days. That is the number every major cultivation guide converges on, and it breaks into two phases with different demands.
| Phase | Days | Conditions |
|---|---|---|
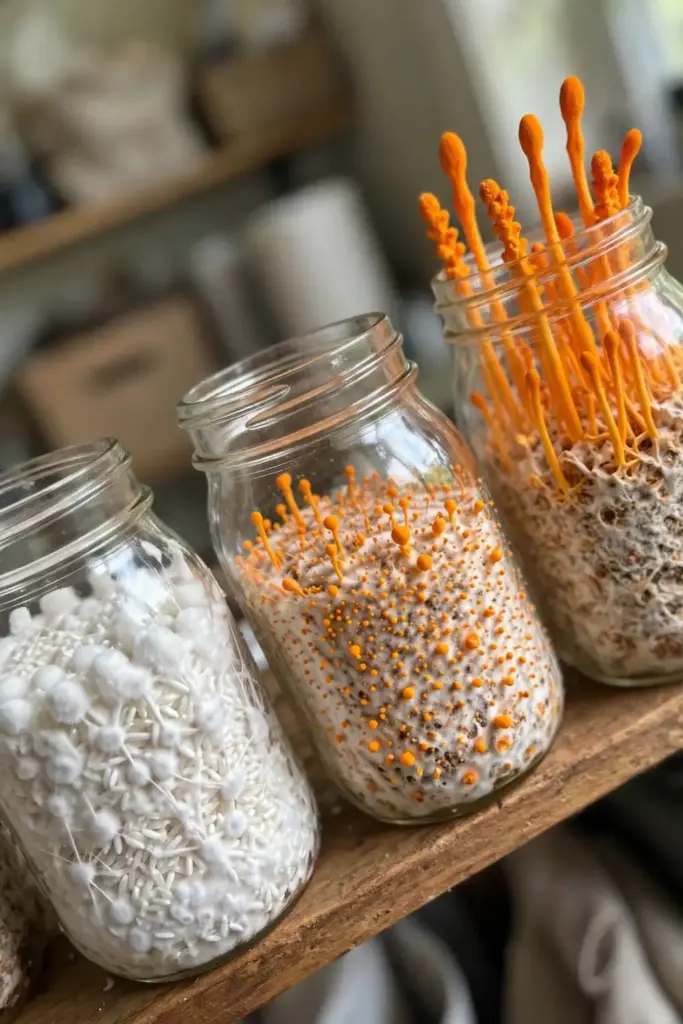
| Colonization | 14 to 21 | Dark, 68 to 75°F, jars sealed |
| Fruiting | 35 to 55 | 12 hours light daily, 60 to 65°F, 80 to 90% humidity |
| Total | 60 to 75 |
The colonization phase needs nothing from you except patience and a stable temperature. The fruiting phase needs daily attention to light, air, and humidity. Rushing either phase produces thin, pale growth instead of dense orange clubs. Write the inoculation date on every jar; without dates, you will convince yourself a stalled jar “just needs one more week” for a month. A jar that shows no mycelium at all after 21 days at the right temperature was almost certainly inoculated with dead culture or contaminated at injection; start a fresh jar rather than waiting.
3. Decide First: Grow Kit or DIY Jars
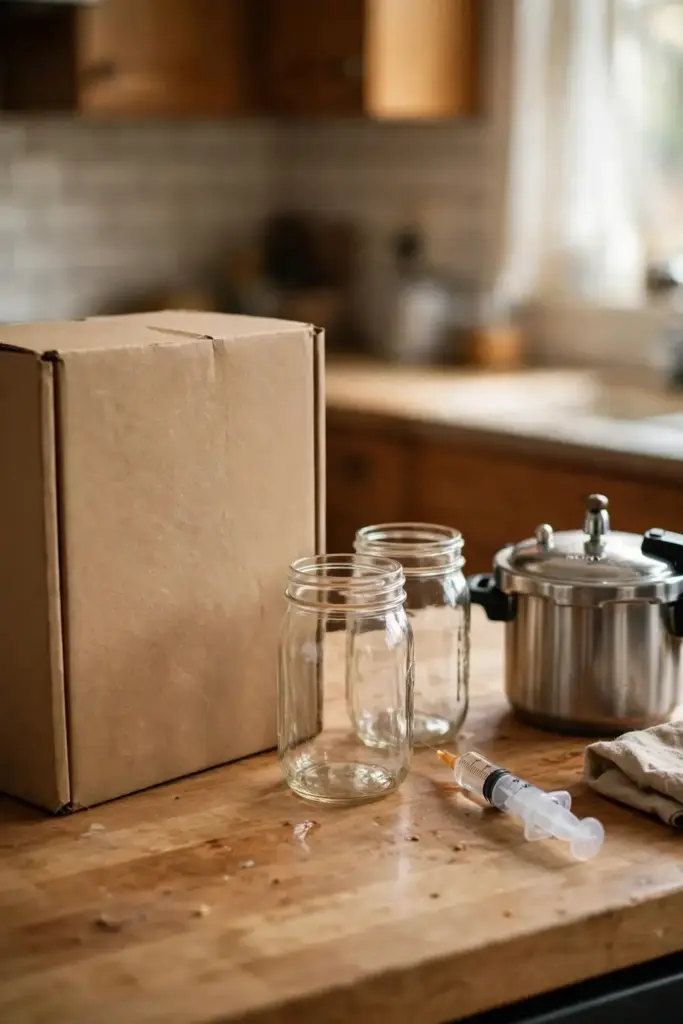
You can buy a cordyceps grow kit or assemble the setup yourself. Kits bundle liquid culture, pre-sterilized substrate jars, and instructions. DIY means buying the culture separately and preparing your own rice jars. Both work. The choice comes down to cost, control, and how much you enjoy the process.
| Grow kit | DIY jars | |
|---|---|---|
| Upfront cost | Higher per jar | Lower per jar after the first round |
| Equipment needed | Minimal | Pressure cooker, jars, filter material |
| Sterilization | Done for you | You do it (15 psi, 90 minutes) |
| Learning | Less | You learn the full method |
| Best for | First attempt, one round | Repeat growers, multiple jars |
If you have never grown any mushroom, a kit removes the sterilization variable so you can focus on fruiting conditions. If you already own a pressure cooker, DIY costs a fraction per jar and this guide gives you the full recipe. Either way, the biology is identical, and learning how to grow cordyceps at home in jars teaches skills that transfer to every other cultivated fungus.
4. Everything You Need Before You Start
Gather everything before the first jar is filled. Mid-process shopping trips are how contamination happens.
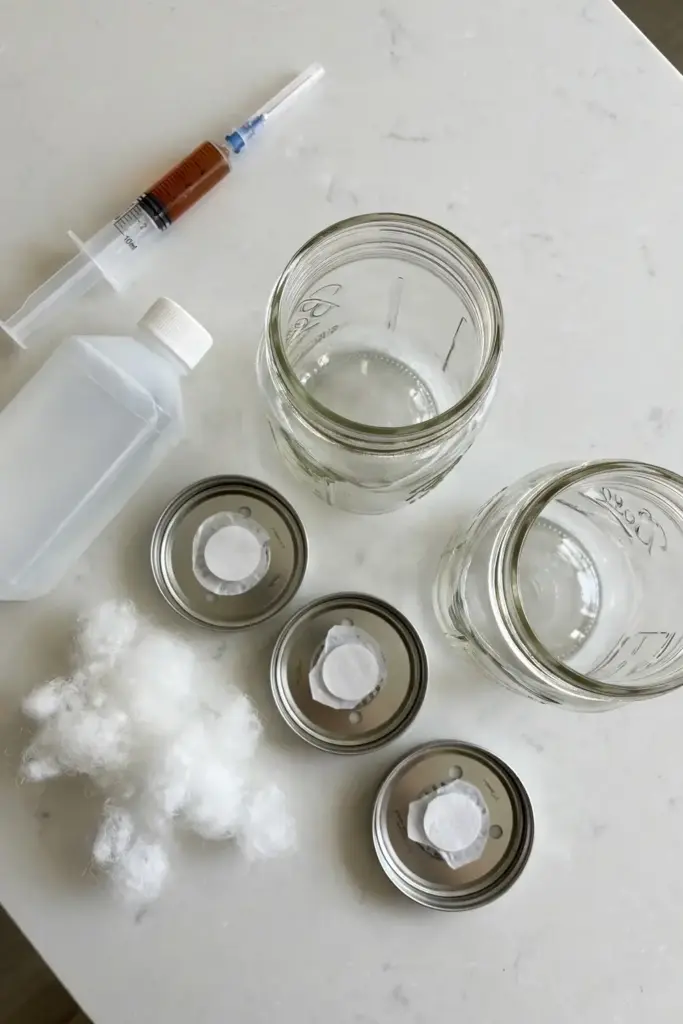
- Wide-mouth pint mason jars with lids
- Brown rice (not instant, not parboiled)
- Light malt extract, nutritional yeast, and dextrose for the nutrient broth
- A pressure cooker that reaches 15 psi
- Polyester fiberfill or filter patch lids for gas exchange
- Cordyceps militaris liquid culture syringe
- 70% isopropyl alcohol, paper towels, nitrile gloves
- A still-air box or, better, a laminar flow hood for inoculation
- A thermometer and a small LED light on a timer
- A fruiting chamber: a clear storage tote or small grow tent with a humidity source
The still-air box deserves emphasis. Inoculation is the single most contamination-prone step, and still air (no drafts, no fans running, surfaces wiped with alcohol) is the cheapest real upgrade you can make. A flow hood is better but costs hundreds of dollars. Most home growers succeed with a well-made still-air box and careful technique.
Build the still-air box from a clear storage tote with arm holes cut in one side, the edges smoothed with tape, and the interior wiped with 70% isopropyl alcohol before every session. Work with your arms inside the box and all tools already in place. The box does not sterilize anything; it keeps airborne spores from drifting onto your open jars during the minute they are exposed. That one minute is when most contamination happens, so treat the box as mandatory equipment, not an optional accessory. A tote with a snap-on lid doubles as a storage container for your jars between sessions. That one minute is when most contamination happens, so treat the box as mandatory equipment, not an optional accessory.
5. The Brown Rice Substrate Recipe That Works
Cordyceps militaris fruits directly from colonized grain. There is no spawning to bulk substrate and no casing layer, which makes the whole grow a single-container process from injection to harvest. Brown rice is the standard because it is cheap, sterilizes evenly, and produces consistent fruiting.
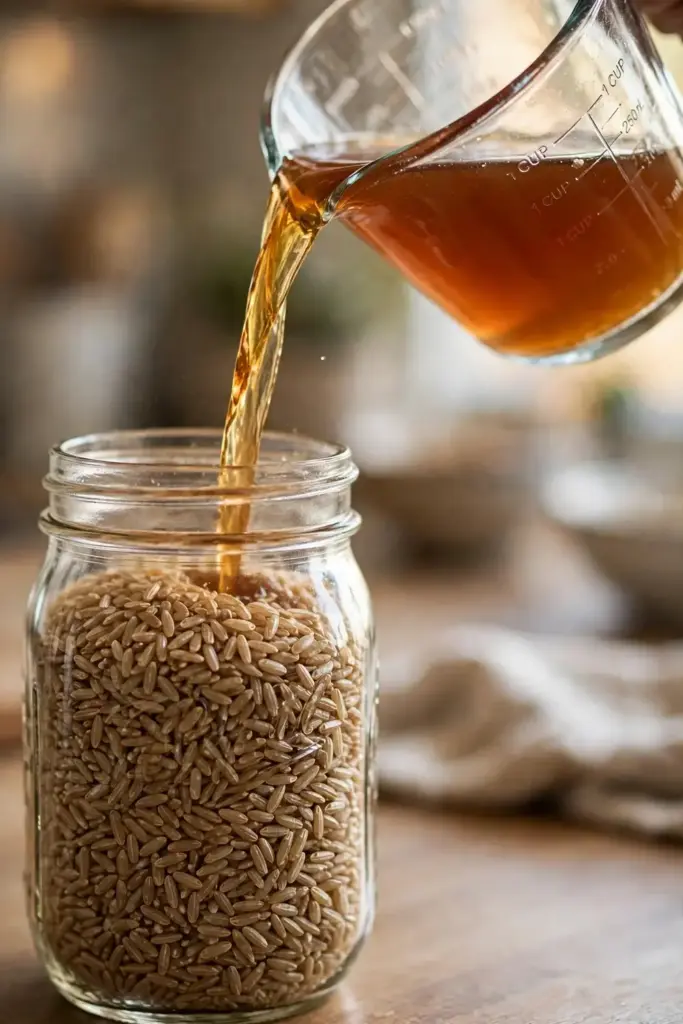
Per pint jar, use 28 to 35 grams of dry brown rice and 46 to 60 milliliters of nutrient broth. A widely used broth combines, per 500 milliliters of water: 1 tablespoon light malt extract, 1 tablespoon nutritional yeast, and optional dextrose or coconut water for extra sugars. Mix the dry ingredients into the water, pour the measured broth over the rice in each jar, and let the rice hydrate for a few hours so it absorbs evenly.
The truleaf cultivation guide specifies 45 grams of brown rice with 80 milliliters of nutrient solution per jar, sterilized at 15 psi for 120 minutes, then inoculated with 2cc of liquid culture. The zamnesia method uses 28 grams of rice with 46 milliliters of broth per jar and a 45 to 90 minute sterilization at 10 psi. Both converge on the same ratio: roughly 1 to 1.6 parts broth to rice by weight. Pick one recipe and run all your jars on it so results are comparable.
6. Sterilize the Jars Without Ruining the Rice
Sterilization is the step that separates cordyceps from easier mushrooms. Rice is a rich medium, and any mold spore that survives will outrun the cordyceps mycelium. Drill or punch a small hole in each lid and plug it with polyester fiberfill or a filter patch for gas exchange, then cover lids loosely with foil to keep drips out.
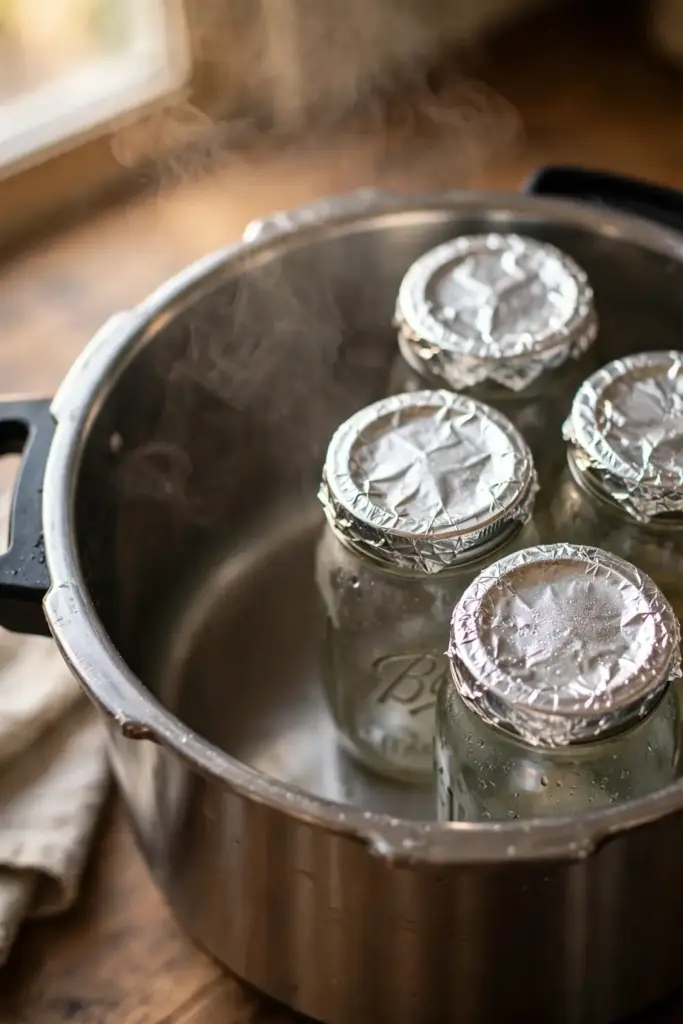
Load the jars into the pressure cooker and sterilize at 15 psi for 90 to 120 minutes. Ninety minutes is the common home standard; 120 minutes is the conservative choice the truleaf guide uses for larger batches. Do not start the timer until the cooker actually reaches 15 psi; the heat-up time does not count. If your cooker only reaches 10 psi, extend the time toward the 120-minute end, as the zamnesia method does, but understand that 15 psi is the standard for a reason. Let the cooker cool and depressurize on its own, then let the jars cool to room temperature overnight before inoculation. Inoculating warm jars kills the culture.
7. Inoculate With Liquid Culture, Cleanly
Work in still air. Wipe every surface, the jar lids, and your gloved hands with 70% isopropyl alcohol, the same disinfectant the zamnesia cultivation walkthrough uses throughout its inoculation steps. Flame-sterilize the syringe needle until it glows, let it cool for a few seconds, then push it through the filter plug and inject 2 to 3 milliliters of liquid culture per pint jar. Flame the needle again between jars.
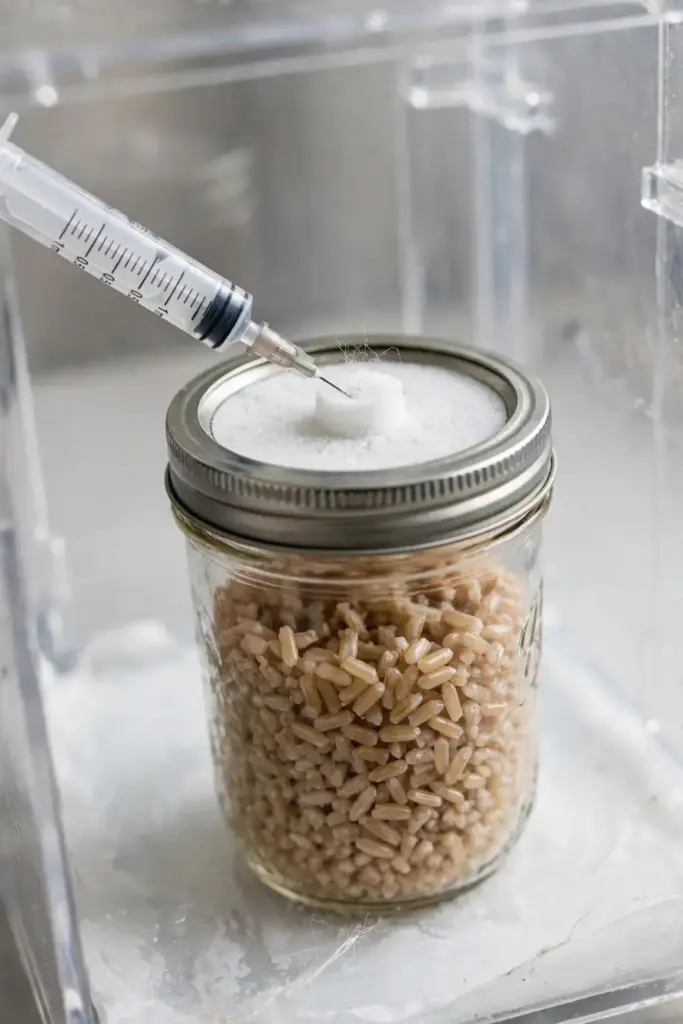
Seal the jars and give each a gentle shake to distribute the culture through the rice. Label every jar with the date and the culture source. Then leave them alone in the dark. Opening jars to “check” during colonization is the most common way beginners introduce contamination.
If you are inoculating more than six jars in one session, re-flame the needle every two jars rather than every jar, and wipe the injection ports with alcohol between jars. Work steadily, not quickly. Rushing the inoculation step to save ten minutes routinely costs growers entire batches to contamination that shows up two weeks later, long after the cause is forgotten.
8. Colonize in the Dark: 2 to 3 Weeks
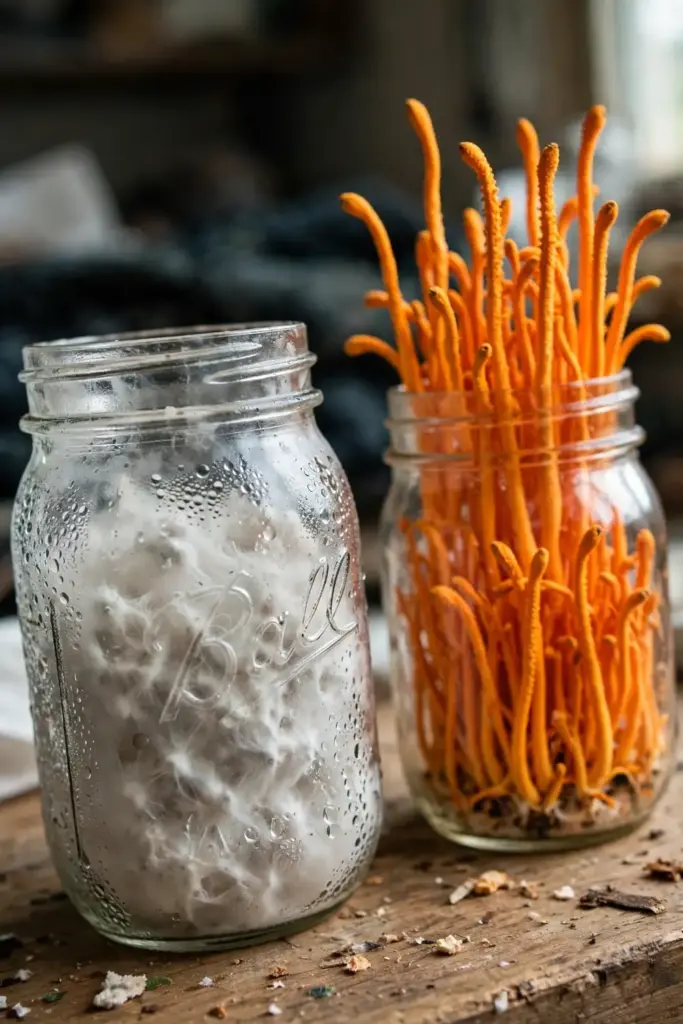
Place the inoculated jars in a dark spot at 68 to 75°F. Within 10 to 14 days you should see white to pale orange mycelium spreading through the rice. Full colonization takes 14 to 21 days. The rice should look evenly coated, with no loose dry grains and no patches of green, black, or pink.
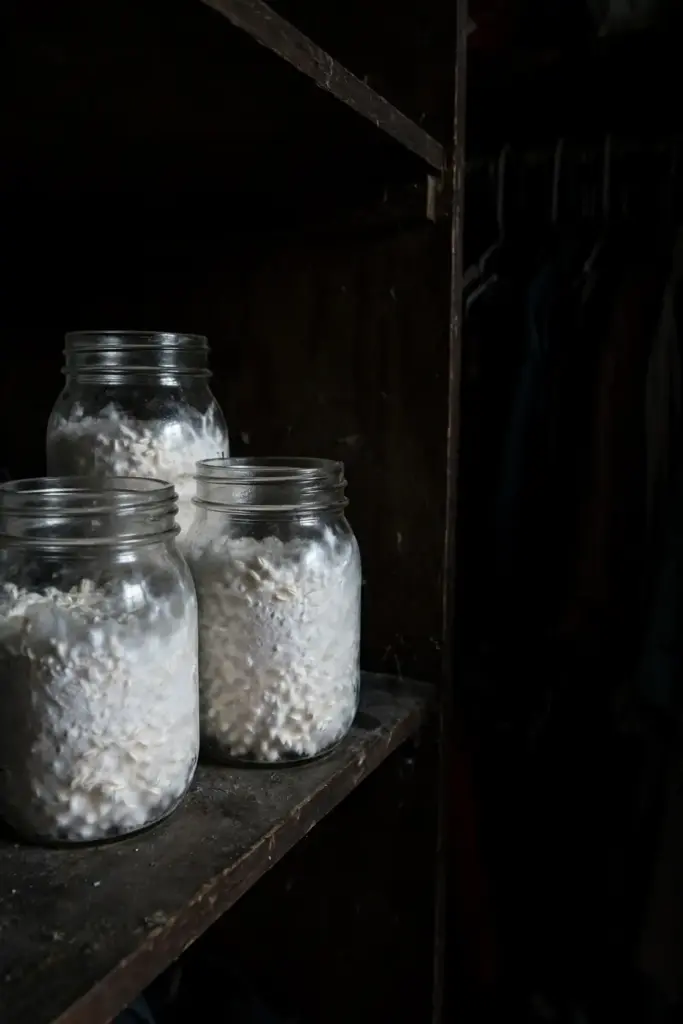
Darkness matters during this phase. Cordyceps mycelium colonizes in the dark and only needs light later to fruit and develop its orange pigment. Light during colonization does not help and can trigger premature, weak pinning. A closet, a cabinet, or jars wrapped in a towel all work. Keep the temperature steady; swings between hot days and cold nights stress the mycelium more than a constant temperature a few degrees off the ideal.
9. Trigger Fruiting: Light, Cool Air, Humidity
Once the rice is fully colonized, move the jars to fruiting conditions. This is the phase where the orange clubs form, and it is the phase most beginners under-manage.
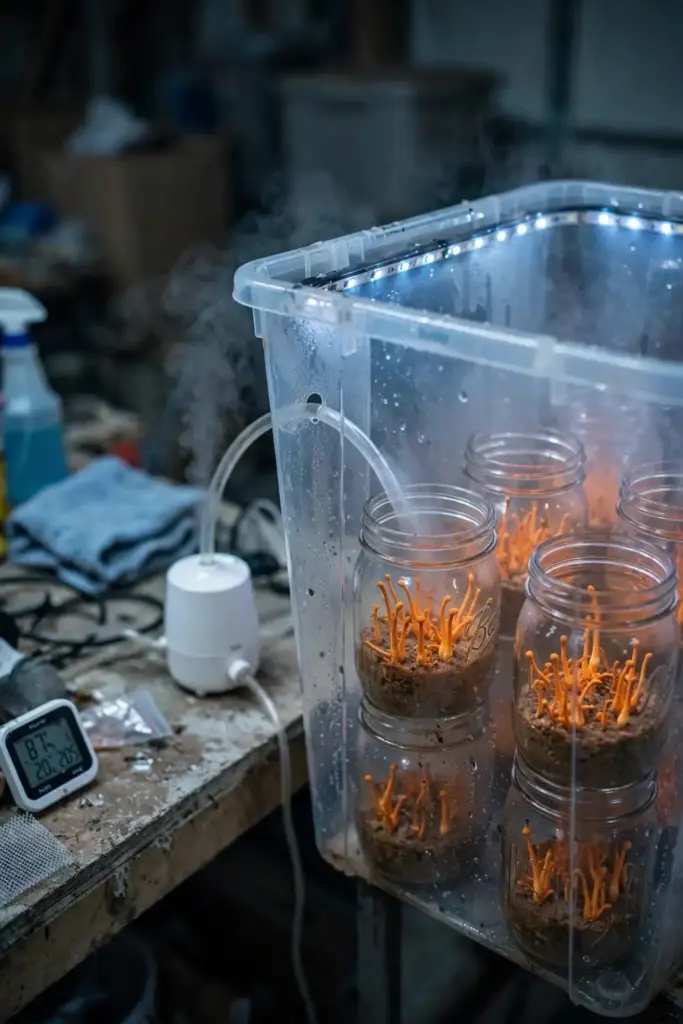
- Temperature: drop to 60 to 65°F. Cooler than colonization, and the single biggest trigger.
- Light: 10 to 12 hours of indirect light daily, or a low-intensity LED on a timer. Cordyceps requires light to fruit and to develop orange pigment. Without it, growth stays pale and antler-like.
- Humidity: 80 to 90% around the jars. A clear tote with a small humidifier, or jars in a tent with regular misting, both work. The same humidity and light discipline applies to indoor herb gardens, if you want a deeper primer on managing an indoor growing space.
- Air exchange: gentle fresh air. Loosen lids slightly or vent the chamber daily. Stale, CO2-heavy air produces long thin stromata instead of dense clubs.
A practical fruiting chamber is a clear storage tote with the jars inside, the lid cracked or fitted with filter patches for air exchange, a small USB humidifier on a timer, and an LED strip on a 12-hour timer. Place a thermometer-hygrometer inside so you can read conditions without opening the tote. Basements and cool spare rooms work well because they hold the 60 to 65°F range naturally; a warm apartment in summer may need a small air conditioner or a move to the coolest room.
Check the chamber once a day: wipe condensation from the tote walls, confirm the humidifier still has water, and look at the jars without opening them. Cordyceps fruits in its jar, so the chamber stays fairly clean. The daily check is about conditions, not handling. The become-lucid growing guide notes that fruiting typically begins 7 to 14 days after adjusting conditions, with full maturity at 6 to 8 weeks. Patience here is not optional; harvesting early gives you tiny, underdeveloped clubs.
10. Harvest the Orange Clubs at the Right Moment
Harvest when the fruiting bodies are 1.5 to 2 inches tall and the tips begin to darken and curve slightly. That darkening tip is the ripeness signal the truleaf guide uses. Cut the clubs at the base with clean scissors or tweezers, handling them gently to avoid bruising.
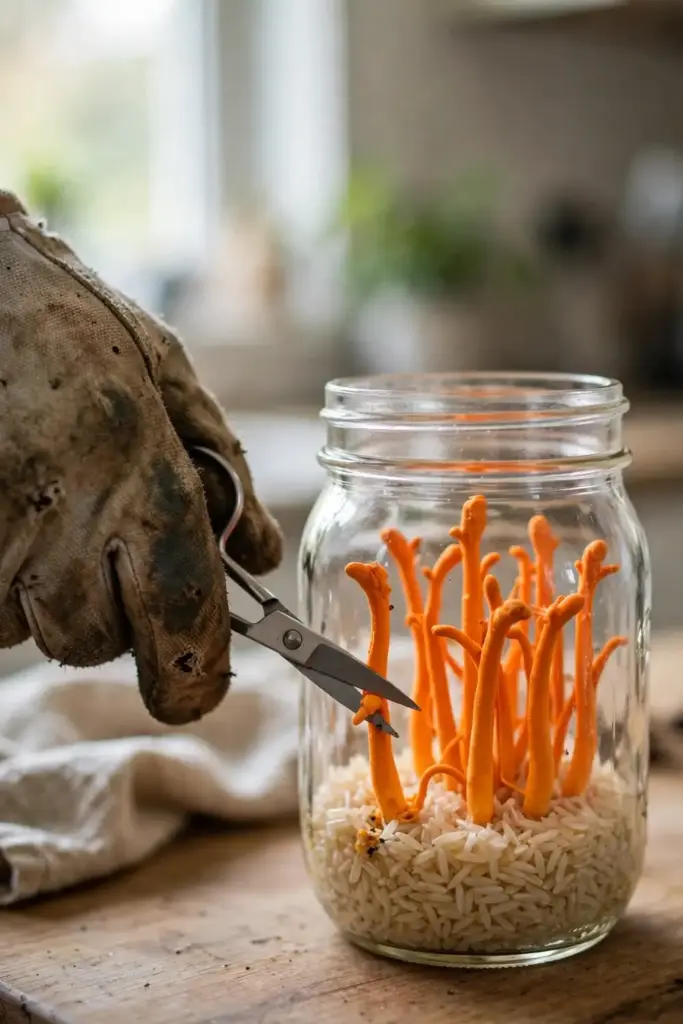
Do not rinse the harvest unless it is visibly dirty. Cordyceps clubs are delicate, and excess water invites mold during drying. If you must clean them, a soft dry brush is enough.
Weigh the fresh harvest before drying and weigh it again after. Fresh cordyceps is mostly water, so expect the dried weight to be roughly one-tenth of the fresh weight. Recording both numbers teaches you what a good jar yields in your conditions, and that record is what lets you judge whether the second flush was worth the wait.
11. Dry and Store Your Harvest
Dry the clubs in a dehydrator at 110°F until they snap cleanly when bent. Low heat preserves the compounds you grew them for; high heat degrades them. Air drying works in dry climates but takes days and risks mold in humidity, so the dehydrator is the reliable choice.
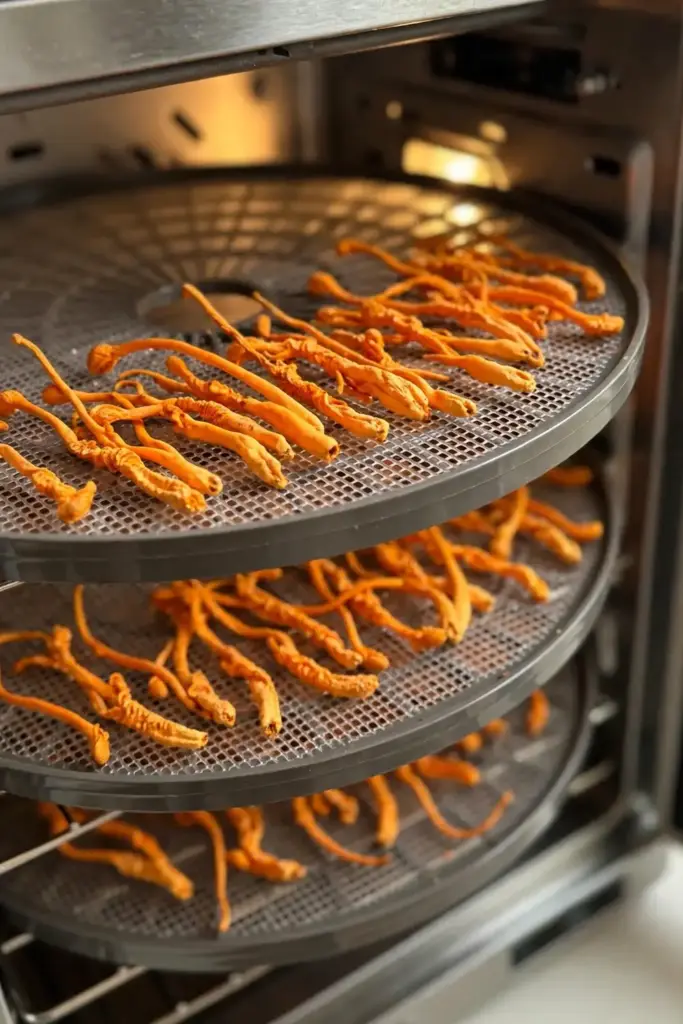
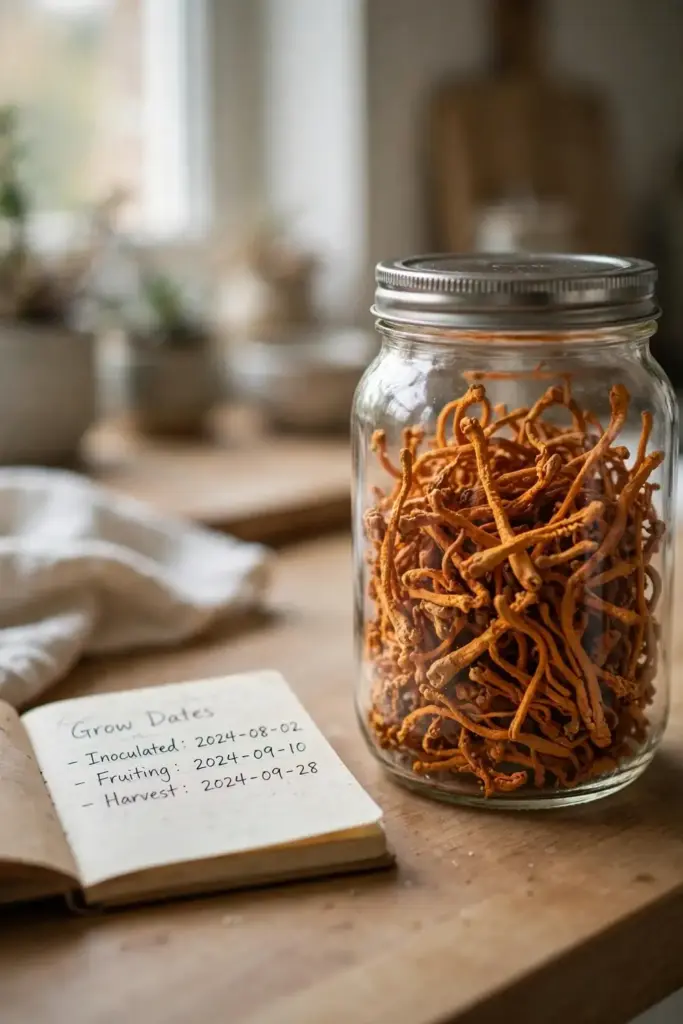
Store fully dried cordyceps in an airtight jar with a desiccant packet, in a cool dark place. Properly dried clubs keep for a year or more. Any jar that smells musty or shows soft spots was not dried enough; do not store it with the good harvest.
Grind only what you will use within a few weeks. Whole dried clubs store longer than powder because less surface area is exposed to air and moisture. A small coffee grinder reserved for mushrooms handles the grinding; the clubs are brittle when fully dry and powder easily.
12. Get a Second Flush From the Same Jar
After the first harvest, the colonized rice still holds nutrients. Return the jar to fruiting conditions and a smaller second flush often appears within 2 to 3 weeks. Yields drop sharply after the second flush, and contamination risk rises with each opening, so most growers stop at two.
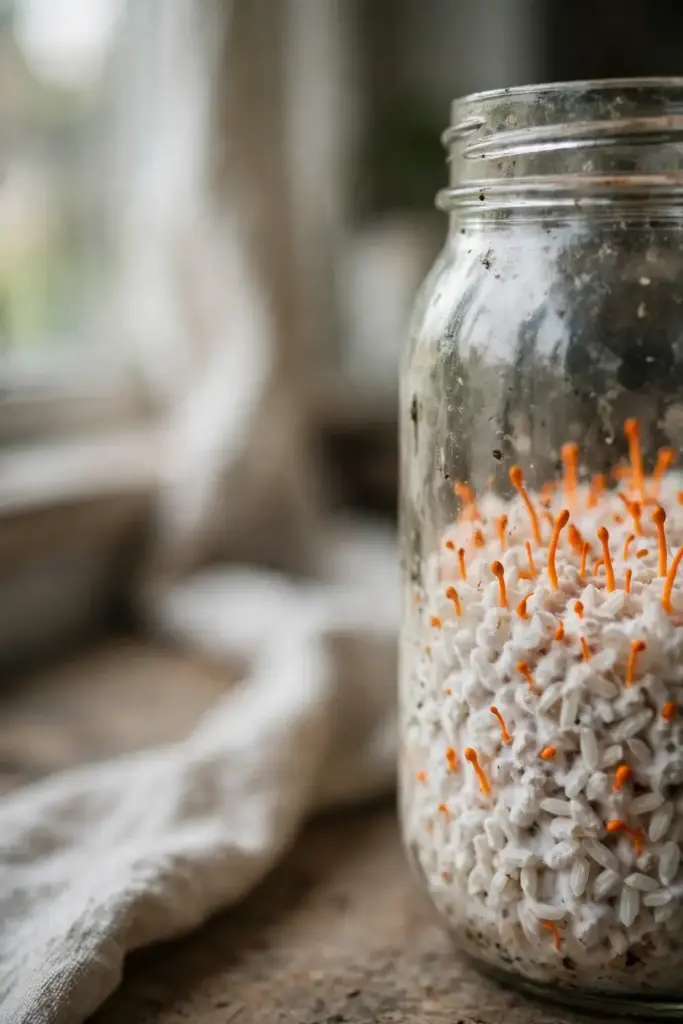
If a jar shows any off colors or sour smells after harvest, retire it. A second flush is a bonus, not a guarantee, and a contaminated jar is not worth the shelf space. Between flushes, keep the jar in fruiting conditions without changing anything; the mycelium needs no rest period, just continued light, cool air, and humidity.
13. When Jars Go Wrong: Contamination Guide
Contamination is the real difficulty of growing cordyceps at home, and every grower loses jars. Learn the signs early so one bad jar does not take down the batch.
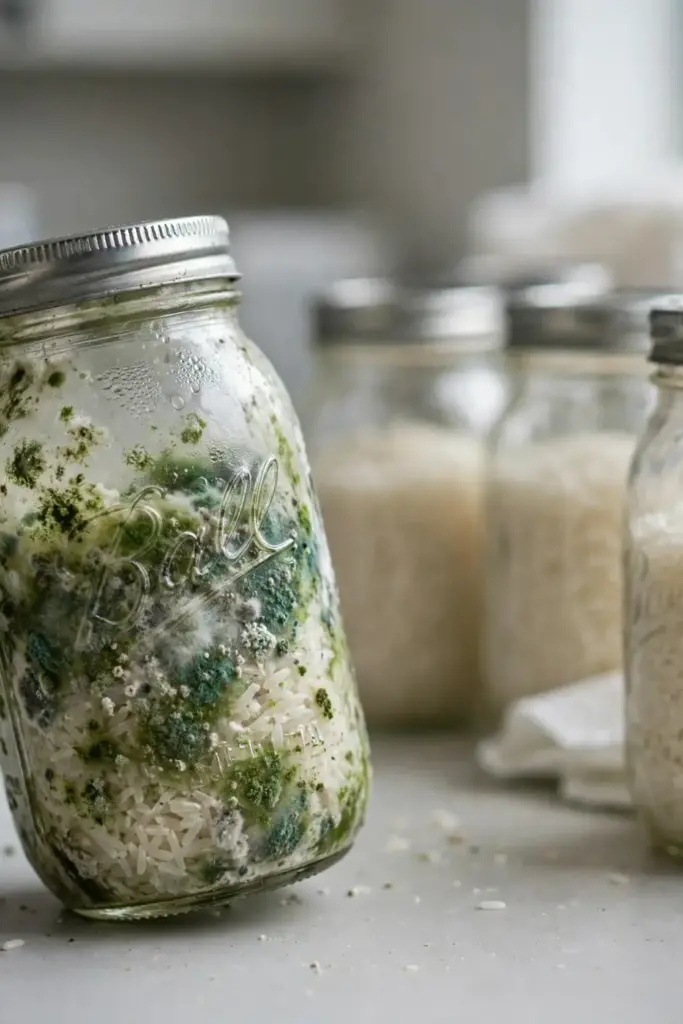
- Green powdery patches: Trichoderma mold. The most common contaminant. Remove and discard the jar immediately; do not open it indoors.
- Black or gray fuzzy spots: pin molds. Same response: seal and discard.
- Pink or orange slime: bacterial contamination, often from under-sterilized rice or a wet substrate. Discard.
- Sour or fermented smell: bacteria. Discard.
- White mycelium that never pins: usually a light or temperature problem, not contamination. Check the fruiting conditions in section 9 before discarding.
Never try to “save” a contaminated jar by cutting out the mold. The visible patch is the fruiting structure; the mycelium network already runs through the whole jar. Quarantine suspect jars away from healthy ones the moment you spot trouble.
Prevention beats diagnosis. Run the pressure cooker for the full 90 to 120 minutes even when you are tempted to cut it short. Let jars cool completely before inoculation. Flame the needle between every jar. Work in still air with no fans running in the room. Wipe the work surface, the jar lids, and your gloves with alcohol at the start of the session and again halfway through a long one. Each of these steps is cheap; skipping any one of them is how a batch of twelve jars ends up with nine green ones.
14. What to Know Before You Eat Homegrown Cordyceps
Homegrown Cordyceps militaris is the same species sold as a supplement, grown on rice instead of insects, which also makes it the vegan-friendly option. A peer-reviewed paper indexed on PubMed Central reports that indoor cultivation can produce greater concentrations of bioactive compounds than wild-harvested mushrooms, which is part of why home growing interests people beyond the hobby itself.
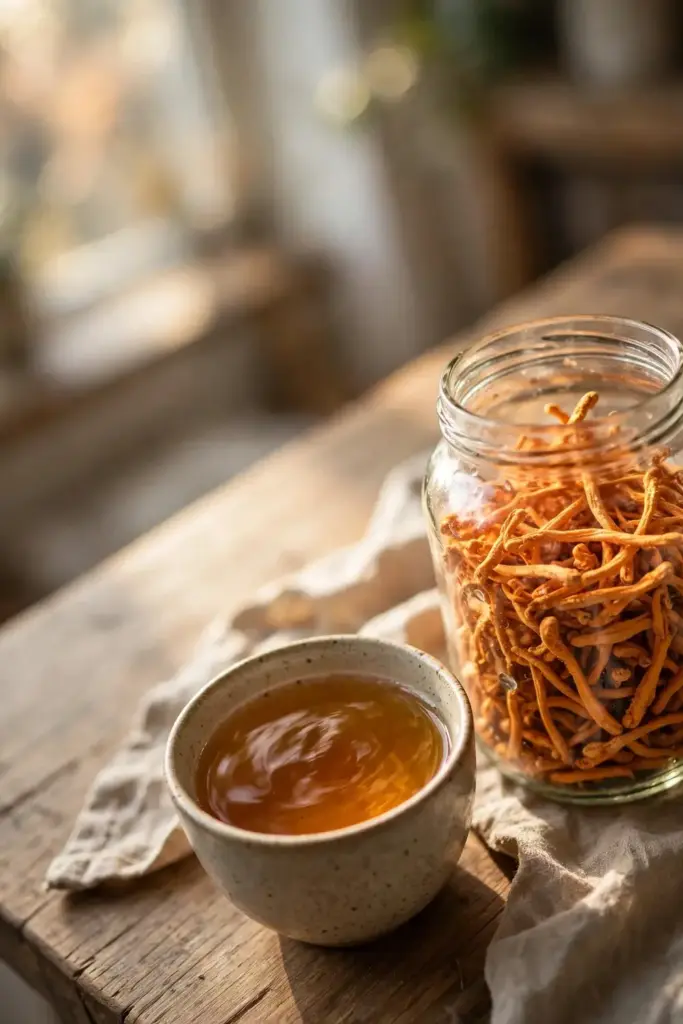
That said, keep the framing honest. Cordyceps is sold as a food supplement, not a medicine, and no medical regulator has approved it as a treatment for any condition. Research on compounds like cordycepin is active but preliminary. If you take prescription medication or have a health condition, talk to a clinician before using cordyceps regularly. Grow it for the craft and the kitchen; let the science catch up on the rest.
15. Mistakes That Waste a Whole Batch
- Skipping the species check and buying a culture labeled only “cordyceps.” Confirm Cordyceps militaris on the label.
- Inoculating warm jars. Heat kills the liquid culture on contact. Cool to room temperature, no exceptions.
- Opening jars during colonization to look. Every opening is a contamination event waiting to happen.
- Fruiting too warm. Above 70°F, clubs grow thin and pale or never form. The 60 to 65°F drop is the trigger.
- No light during fruiting. Cordyceps needs a daily light cycle to develop orange pigment and proper club shape.
- Over-wetting the substrate. Free-standing water in the jar means anaerobic pockets and bacterial contamination. Measure the broth; do not eyeball it.
- Reusing a contaminated jar’s rice for the next round. Start fresh. Sterilize everything again.
Frequently Asked Questions
Not reliably. The rice substrate must be truly sterile, and only pressure (15 psi) reaches the temperatures that kill mold spores inside grain. Some growers use pre-sterilized ready-rice bags as a shortcut, but for jar cultivation a pressure cooker is the standard tool. Kits with pre-sterilized jars are the alternative.
Yes. Cordyceps militaris is a legal culinary and supplement fungus, and growing it at home is legal. Buy liquid culture from a reputable mycology supplier. No permits are involved. The species is not a controlled organism anywhere this guide is read.
Expect a modest harvest. One well-fruited pint jar yields a small handful of dried clubs, typically a few grams dried. Growers chasing volume run many jars in parallel or move to tray and tub methods after learning on jars. Jars are the teaching method; scale comes later.
Almost always a light problem. Cordyceps militaris needs a daily light cycle to develop its orange pigment and form proper clubs. Colonize in the dark, then give 10 to 12 hours of indirect light daily once the rice is fully colonized. Pale, thin, antler-like growth is the classic sign of too little light.
Yes. Growers have fruited it on white rice, millet, sorghum, and grain blends, sometimes with added nutrition like yeast or insect powder. Brown rice remains the beginner standard because it is cheap, sterilizes evenly, and has the most documented results. Master the rice jar first, then experiment.
No. In the wild this species colonizes moth pupae, but in cultivation it grows on cooked grain and no insects are involved at any point. Rice is the standard substrate because it is cheap, sterilizes easily, and produces consistent fruiting. This is the practical difference from Ophiocordyceps sinensis, which has never been fruited on an artificial substrate.
Where to Go From Here
You now have the complete jar method for how to grow cordyceps at home: the right species, the substrate recipe, sterilization, inoculation, colonization, fruiting, harvest, and drying. Start with four to six jars so one contaminated jar does not end the experiment. Keep notes on temperatures and dates; the second round is always better than the first because you will have your own numbers.
If mushroom growing catches your interest beyond cordyceps, the broader home mushroom methods share the same sterile technique foundation. Master the jar, and every other fungus gets easier.