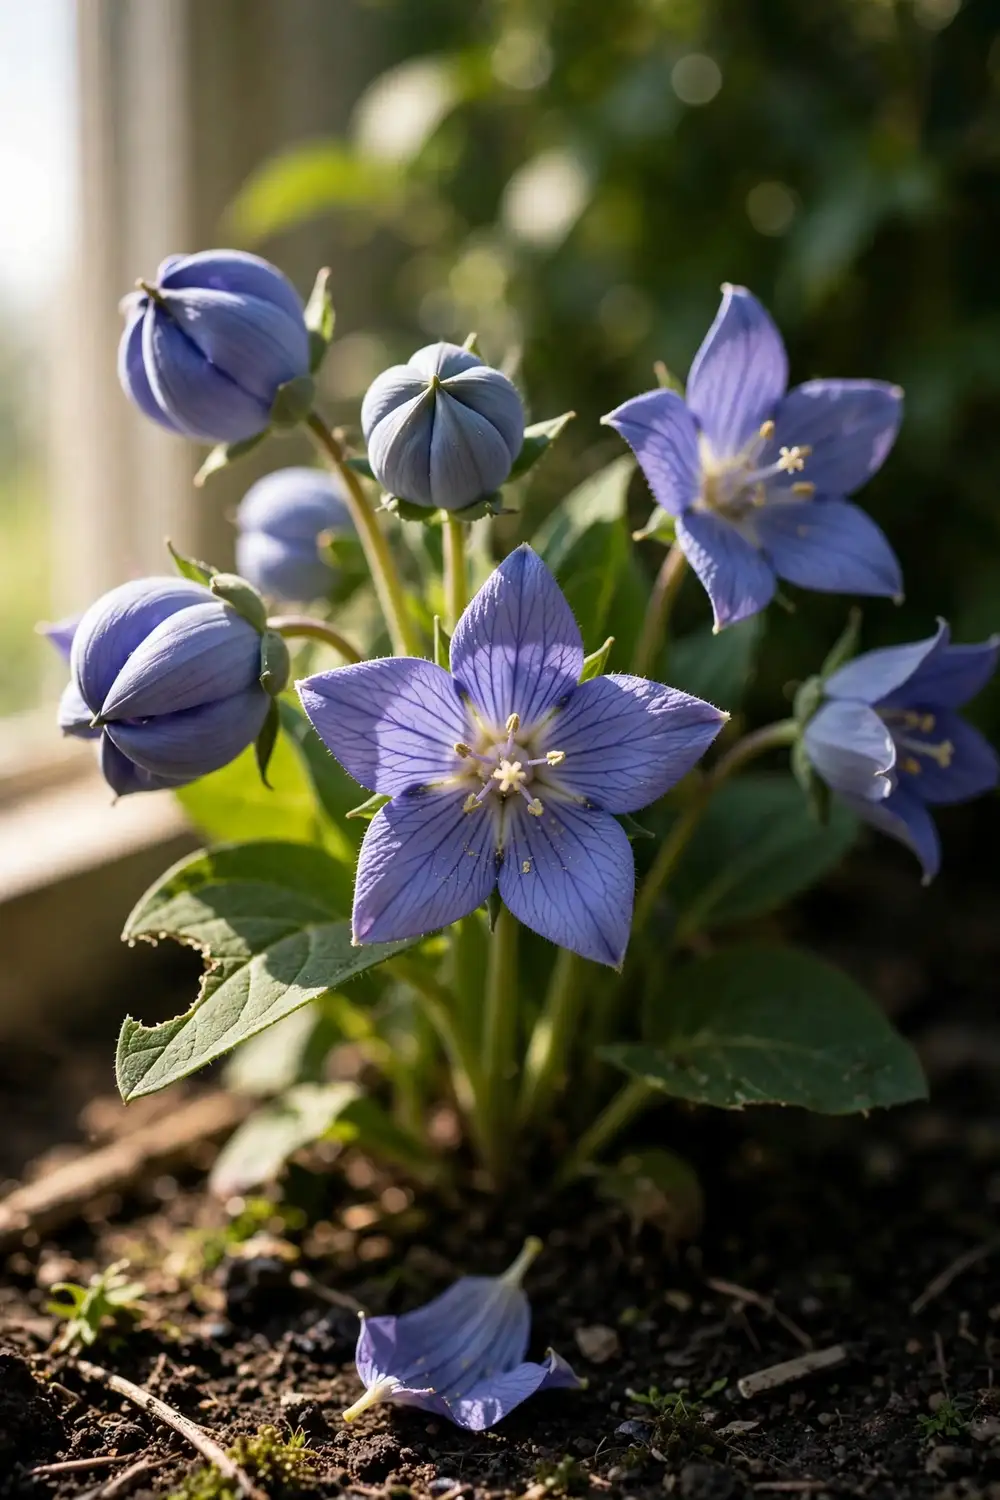

Most gardeners buy balloon flower for the buds. The blue balloons pop open into star-shaped flowers and the plant earns its place in the border. Few gardeners know the same plant grows a white taproot that Korean cooks call doraji, and that a 2-year-old plant can hold a root as thick as your thumb. Growing it for the root changes every decision you make at planting time.
This guide covers both lanes, but it leads with the root lane. That is the under-served angle. If you want flowers only, the plan is simpler. If you want doraji roots for the kitchen, you sow differently, space differently, and wait a year or two longer. Whether you want blooms or roots, this is how to grow balloon flower from seed to harvest: climate, seeds, sowing, care, harvest, and the prep that makes the root edible.
1. Decide First: Flowers or Roots
Decide what you are growing before you buy the packet. The ornamental lane wants compact plants with maximum blooms. The root lane wants a deep, straight taproot with maximum weight, which means wider spacing, deeper soil prep, and flowers treated as the enemy.
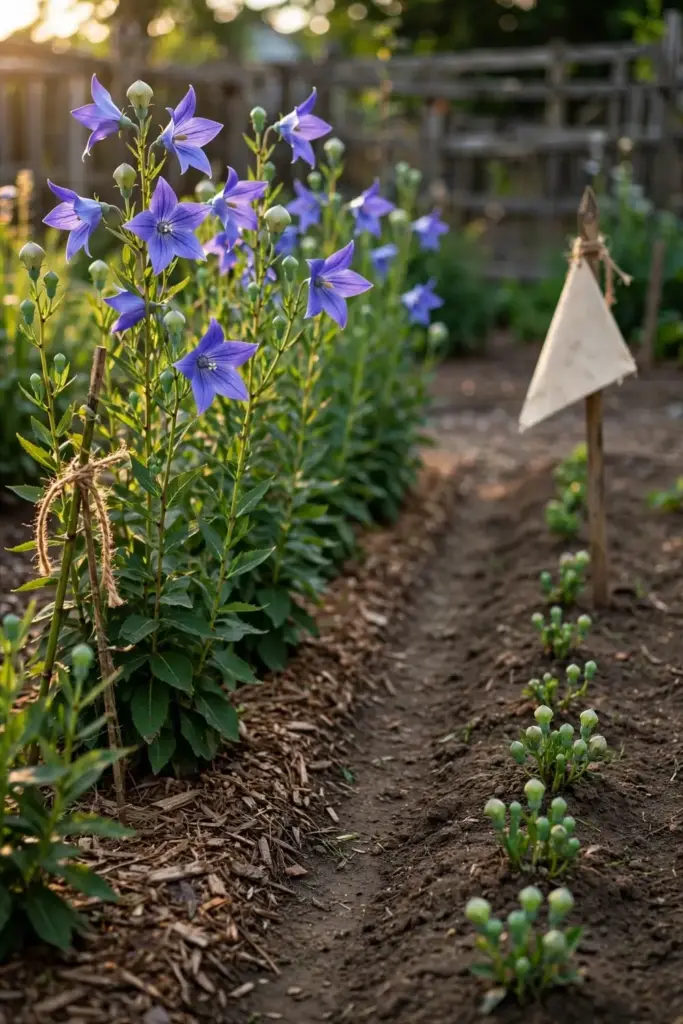
Flowers steal energy from the root. On a root crop, pinch off the buds before they open. The plant will keep trying to flower, so this is a summer-long job, not a one-time task. Every flower you leave on the stem is weight taken off the root you will dig in fall.
Both lanes share the first two years of care. The difference is intent. Choose the root lane now and the advice below on spacing, feeding, and flower removal makes sense. Choose the flower lane and you can skip pinching and feed a little richer.
2. Meet the Names: Doraji, Toraji, Jie Geng, Kikyo
One plant, many names, and the names are the map to the uses. Get them straight and every source you read clicks into place.
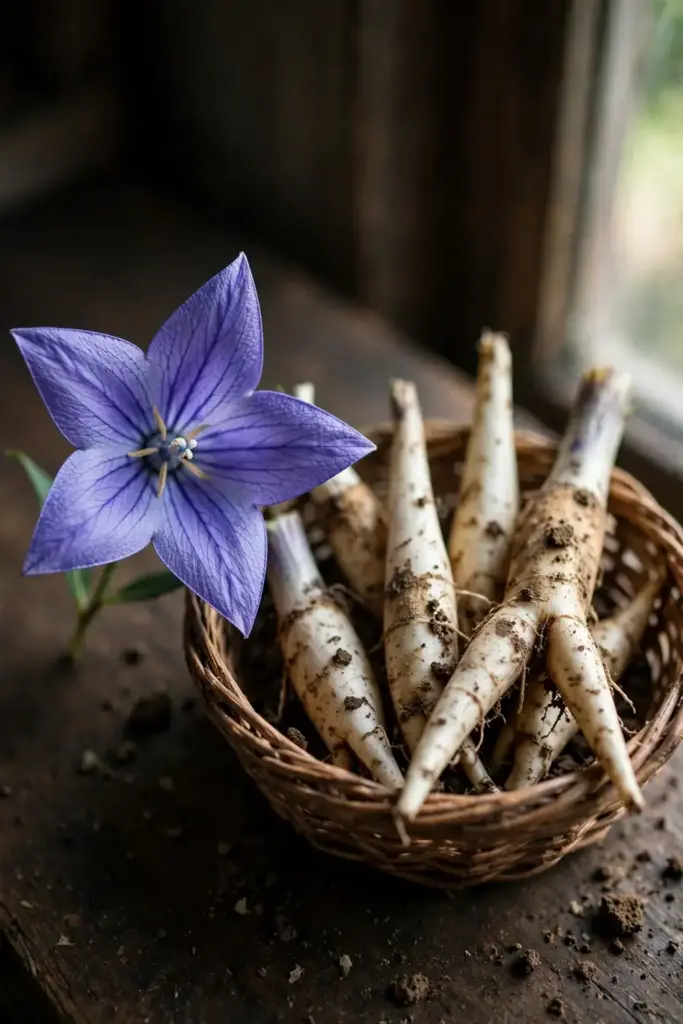
| Name | Language | What It Means | Where You See It |
|---|---|---|---|
| Doraji (도라지) | Korean | The plant and its root | Korean recipes, Korean seed packets |
| Toraji | Japanese romanization | Same plant | Japanese seed catalogs, True Leaf Market’s product page |
| Jie geng (桔梗) | Chinese | The root as medicine | Chinese herbal references |
| Kikyo | Japanese | The flower | Japanese autumn-flower lists |
| Balloon flower / Chinese bellflower | English | The flower | Western nurseries |
All five names point at one species: Platycodon grandiflorus. The scout noted that no page-one result owns this full naming map, so here it is early: when a Korean blog says doraji and a Chinese reference says jie geng, they are talking about the same taproot you are growing.
One name caution from Kimchimari’s ingredient guide: doraji should not be confused with deodeok (bonnet bellflower root, Codonopsis lanceolata), a different root with its own dishes. Buy or sow Platycodon grandiflorus and the names stay honest.
3. Climate & Zones: Where Balloon Flower Thrives
Balloon flower is a cold-hardy perennial, and the sources agree closely. Baker Creek’s balloon flower growing guide lists USDA zones 4 to 9 for the species. True Leaf Market’s toraji page lists zones 3 to 8. Treat zones 3 to 9 as the working range, with the sweet spot in zones 4 to 8 where winters are cold enough for a clean dormancy and summers are not punishingly hot.
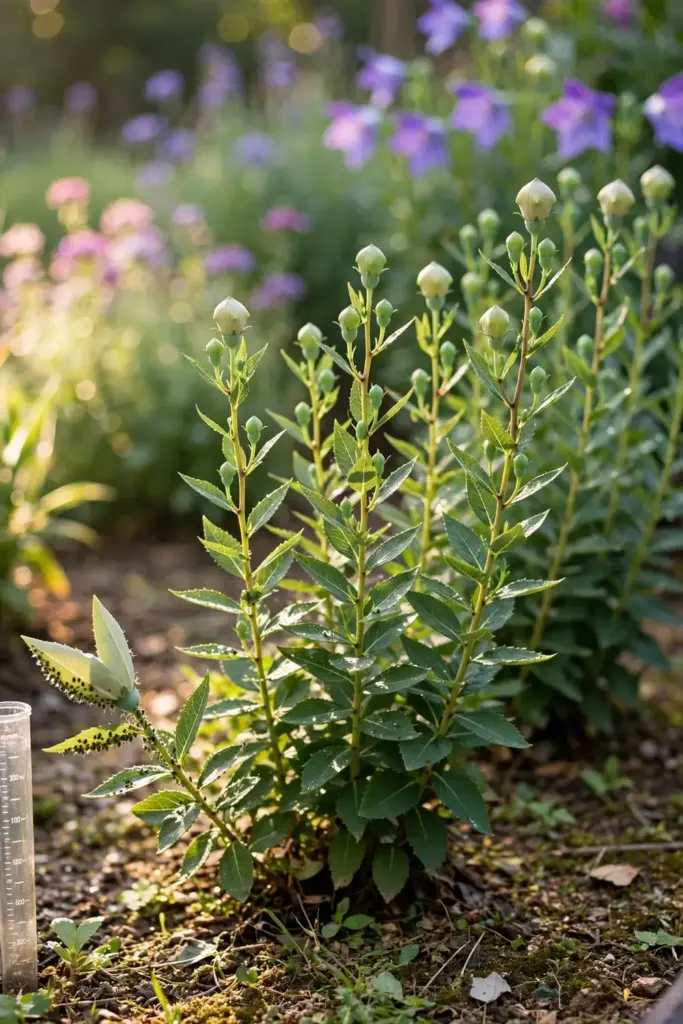
Site the bed in full sun to partial shade. Full sun gives the most flowers and the strongest top growth. In hot-summer regions, afternoon shade keeps the plants vigorous, and the roots still size up fine. Six hours of direct sun is the practical minimum.
Airflow matters more than most growers expect. The plant is famously insect and disease resistant, but crowded, still air invites the few problems it does get. Space for air, and the plant mostly takes care of itself.
4. Choose Your Seeds: What the Packet Won’t Tell You
Buy fresh seed from a current-year packet. Balloon flower seed stays viable a few years in cool, dry storage, but fresh seed germinates faster and more evenly, and the difference shows at day 10.
Check the variety name against your lane. Standard blue strains like ‘Sentimental Blue’ or the species type grow the most vigorous roots. Double-flowered and dwarf bedding strains were bred for looks, and their roots run smaller. For the doraji lane, choose the plain species or a vigorous single-flowered strain, not the showiest dwarf.
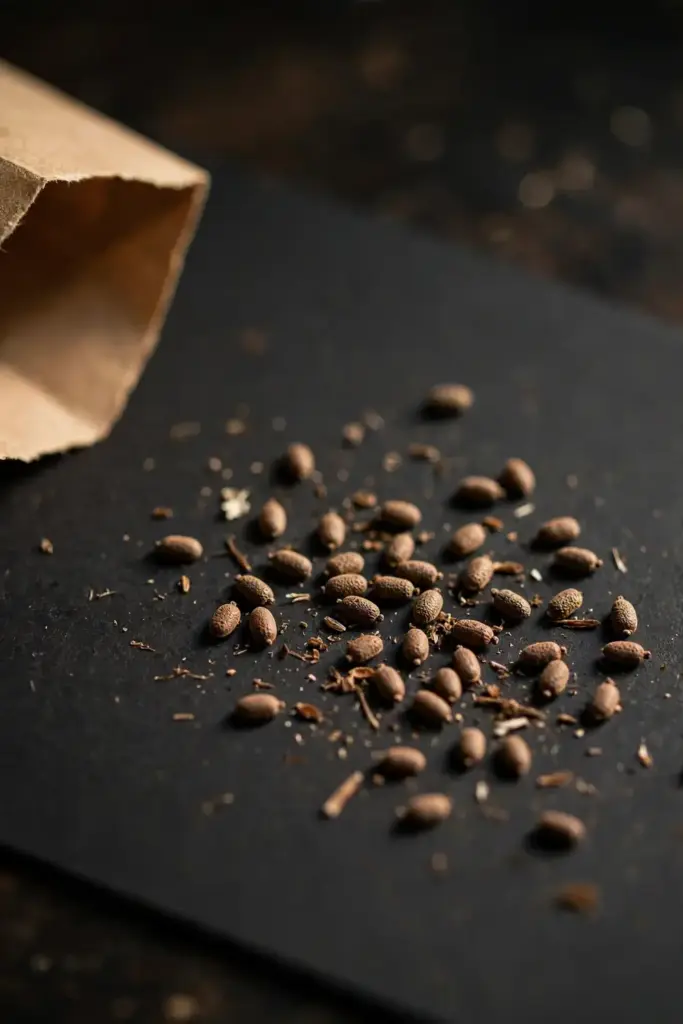
Seed count surprises first-time growers. Baker Creek notes the small seeds shake readily from the pods, and a single pod holds dozens. One packet sows far more plants than a home root bed needs. Plan for thinning; oversowing is fine because you will remove most seedlings anyway.
Platycodon is the only member of its genus, which Baker Creek flags as a seed-saving bonus: saved seed comes true without cross-pollination worries. Save seed from your own strongest plants in year two and the root bed improves itself.
5. Surface Sow: Light Is the Whole Game
This is the step where most failures happen, and the rule is absolute: do not bury the seeds. Balloon flower seeds need light to germinate. Press them onto the soil surface and leave them there.
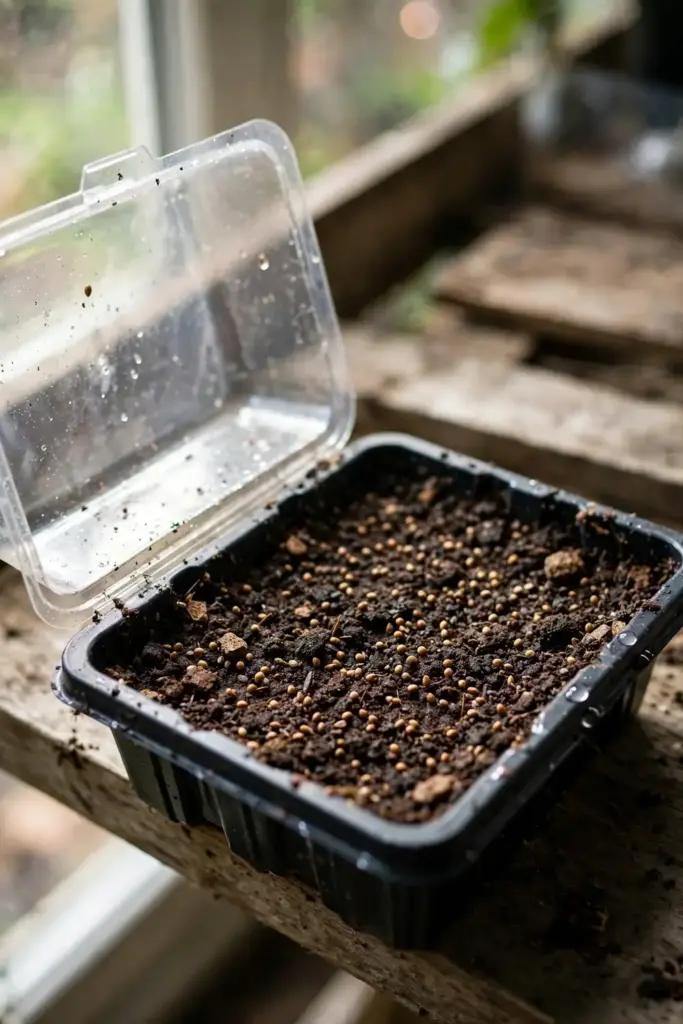
| Step | Action | Time |
|---|---|---|
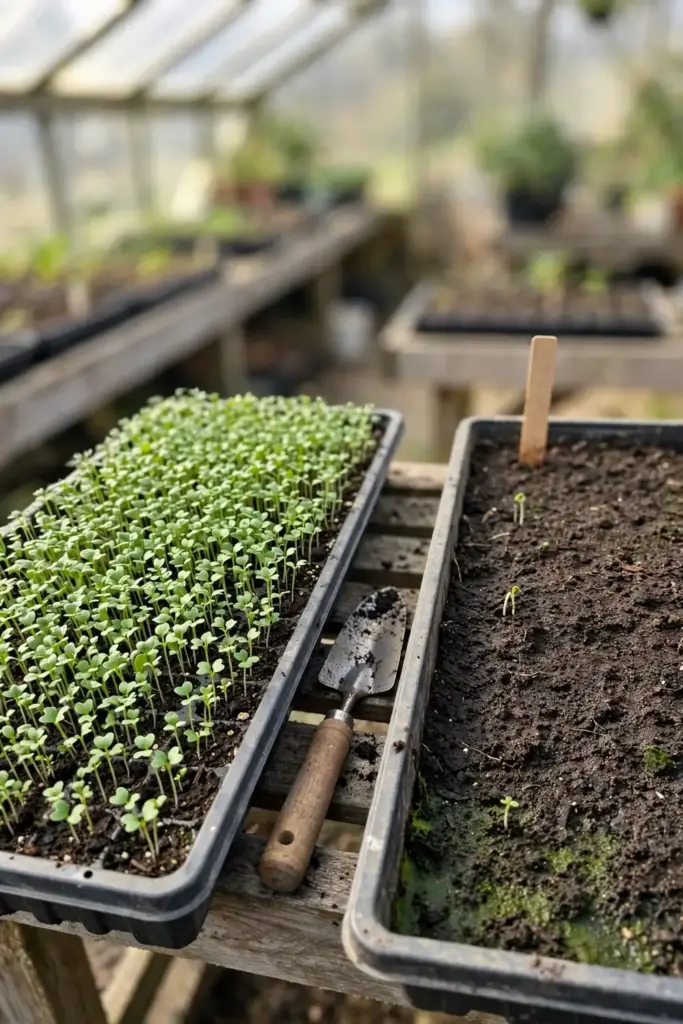
| 1 | Fill a tray or prepared bed with fine, moist seed-starting mix | Day 0 |
| 2 | Sprinkle seeds over the surface, spacing them about 1 inch apart | Day 0 |
| 3 | Press gently with a flat hand or board so seed meets soil | Day 0 |
| 4 | Mist lightly; cover with a humidity dome or plastic wrap | Day 0 |
| 5 | Hold at 65 to 75 F (Baker Creek’s germination range) | Days 1 to 15 |
| 6 | Watch for sprouts; remove the cover at first green | Days 5 to 15 |
| 7 | Grow on under light; transplant while seedlings are small | Weeks 3 to 6 |
Germination runs 5 to 15 days at the right temperature, per Baker Creek. Old seed, cold soil, or buried seed stretches that to a month or fails outright. If nothing shows by day 21, the usual cause is depth, not temperature. Sow again on the surface.
Water from below or mist from above. A hard overhead stream dislodges the tiny seeds and piles them in the corners of the tray, which gives you clumps and bare patches. Gentle is the whole method. New to trays? The seed starting walkthrough covers mix, lights, and hardening off in more detail.
6. Direct Sow in Fall or Spring: The Calendar
Direct sowing suits this plant better than trays, because the taproot never likes moving. Baker Creek lists direct sow in fall or spring as the standard method, and True Leaf Market agrees: spread the seeds directly over slightly moist soil after the last frost.
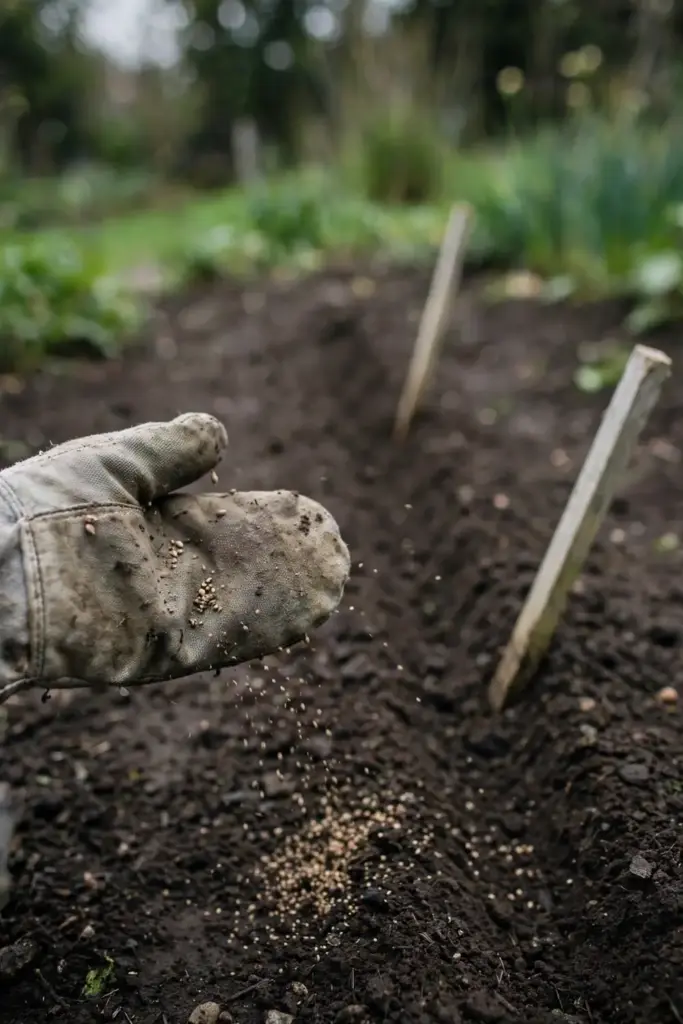
Fall sowing is the root grower’s choice. Sow 4 to 6 weeks before the ground freezes. The seed sits through winter and wakes with the soil, which gives the taproot the longest possible first season. Spring sowing works too, but the plant spends its first weeks catching up.
For fall sowing, mark the row. The bed looks empty all winter, and an unmarked bed gets dug up by accident or planted over in spring. A row of short stakes costs nothing and saves the crop.
Spring direct sowing follows the last frost. True Leaf Market notes that late-spring or summer sowing still grows a healthy plant, but it likely will not flower until the next year. For the root lane that delay costs nothing; the root keeps growing regardless.
7. Transplanting: Do It Young or Not at All
The taproot resents disturbance. This is the single most repeated warning across every source, and it drives the whole planting plan. Move the plant young, or do not move it at all.
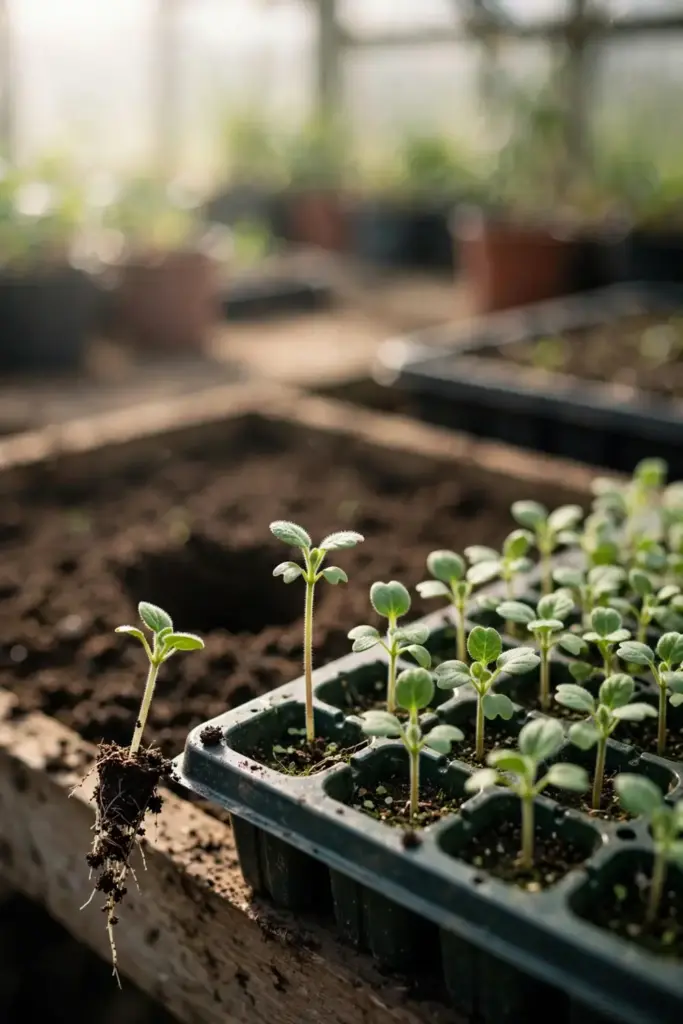
If you start seeds indoors, transplant when seedlings stand about 2 inches tall, per True Leaf Market’s grow guide. At that size the taproot is still short and forgiving. Wait until the seedling is a sturdy 6-inch plant and the taproot has already committed downward; moving it then checks the plant for weeks or kills it.
Dig the receiving hole deep and drop the seedling in without breaking the root ball. Set it at the same depth it grew in the tray. Water it in well, then leave it alone. A transplanted balloon flower that sulks for two weeks is normal. One that sulks for two months was moved too late.
Direct-sown plants skip this risk entirely. Thin them in place instead of transplanting the extras. For the root lane, direct sowing is the higher-yield method, and it is easier too.
8. Soil: Loamy, Sandy, Never Dense
The root you want to harvest has to push through this soil, so soil prep is harvest prep. True Leaf Market’s toraji growing guide specifies loamy to sandy soil, neutral to slightly acidic at pH 5.5 to 7.5, explicitly not dense or clay. Baker Creek agrees: well-drained, slightly acidic soil is best.
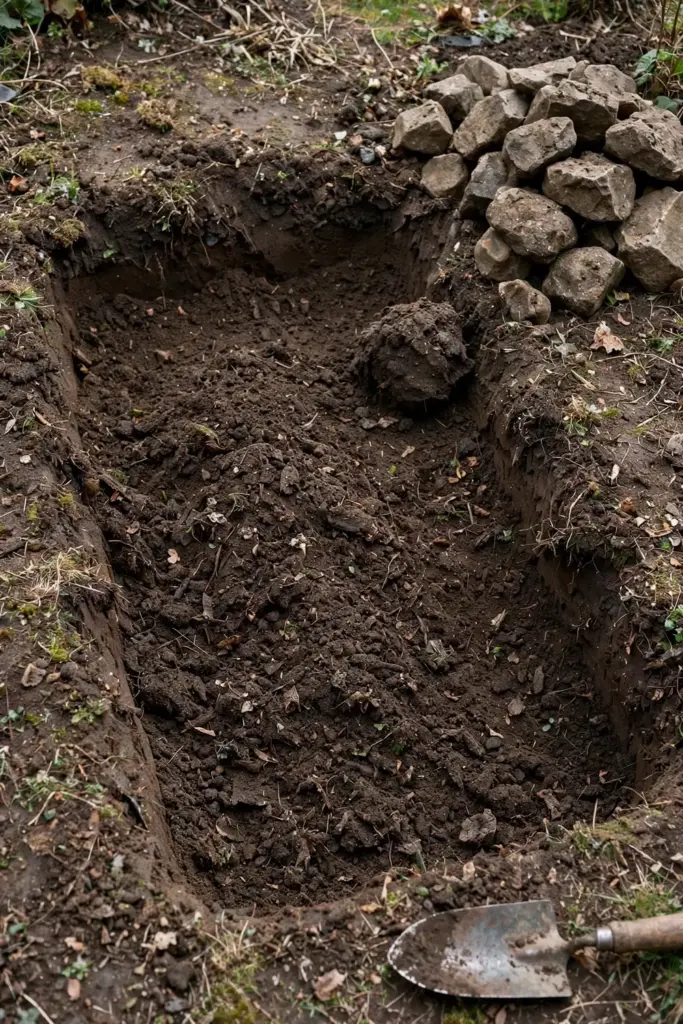
Dig the bed 12 inches deep and loosen it fully. Pull out stones, roots, and hard clods. A stone sitting in the root’s path forks the taproot into two or three prongs, and forked roots are harder to peel and worth less in the kitchen. The straightest roots come from the cleanest soil.
Work in compost, not raw manure. A 2-inch layer of finished compost turned into the top 8 inches feeds the plant without the nitrogen surge that grows tops at the expense of roots. Skip fresh manure entirely; it burns young roots and invites rot in a crop you will not dig for two years.
Drainage is non-negotiable. Balloon flower tolerates moderate dry spells once established, per Baker Creek, but it will not sit in winter-wet clay. If your bed puddles after rain, build it up 6 to 8 inches or choose another spot. A rotted taproot is a two-year loss.
For the full soil-building routine that feeds every bed on this site, the long-form guide on building living soil walks through compost, mulch, and structure in detail.
9. Watering: Consistent Moisture, Not Wet Feet
First-year plants want about an inch of water per week, rain included. Keep the soil evenly moist while the taproot drives down. A dry spell in the first summer stalls the plant, and a stalled first year means a smaller root at harvest.
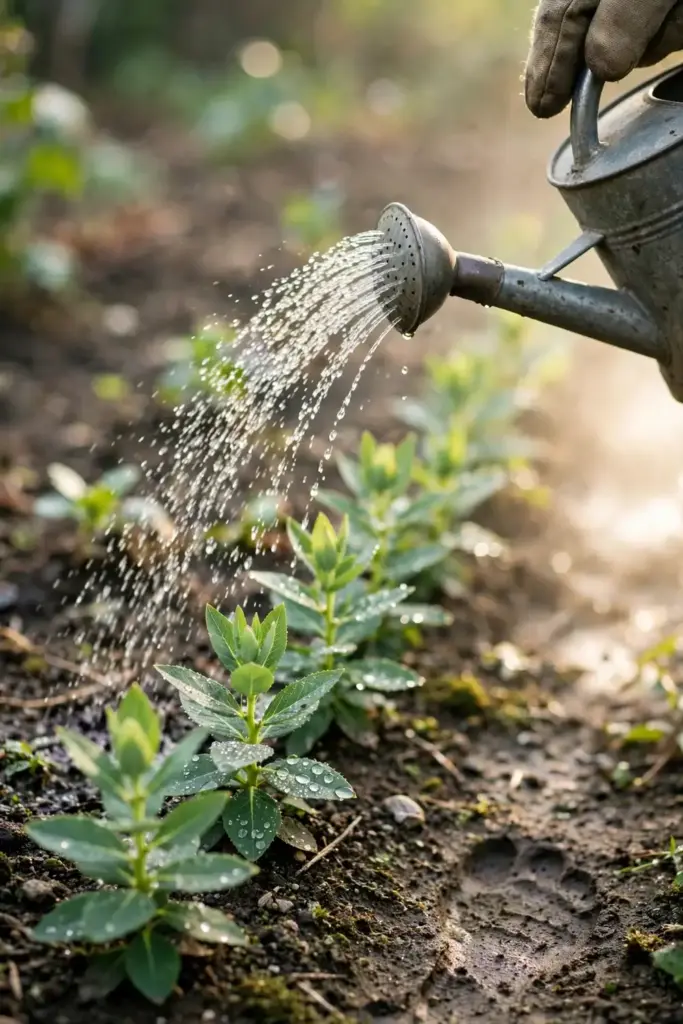
Established plants are tougher. Baker Creek notes they tolerate moderate dry spells but prefer consistent moisture. True Leaf Market adds that the plant prefers generally drier soil and warns against overwatering. Read those together: water deeply and then let the top inch dry, rather than sprinkling daily.
Mulch with 2 inches of straw or shredded leaves, kept an inch from the stems. Mulch with 2 inches of straw or shredded leaves, kept an inch back from the stems so the crowns stay dry. Done. That layer holds the even moisture the taproot wants through dry spells, keeps summer soil cool, and marks the bed through winter dormancy, when the tops vanish completely and an unmarked bed looks like bare dirt waiting to be dug up by mistake.
Cut water back in fall as the tops yellow. The plant is heading for dormancy, and wet fall soil around a maturing root invites rot right before harvest season.
10. Feeding: Light Hands, Lean Plants
Balloon flower is not a hungry plant. True Leaf Market’s grow guide recommends fertilizing at transplant time and again only if the leaves look discolored. That is the whole feeding program for the flower lane.
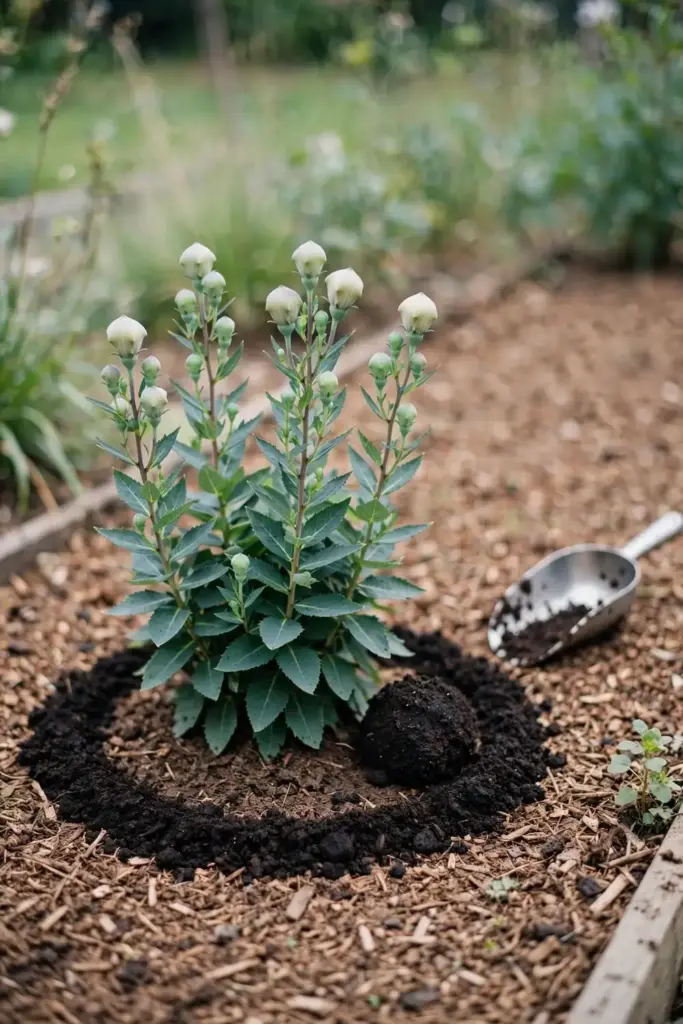
The root lane feeds even lighter. Rich soil grows heavy tops and lazy roots; the plant has no reason to drive a deep taproot when food sits at the surface. One light compost top-dressing in spring of year two is plenty. Skip the high-nitrogen fertilizer entirely.
Watch the leaf color as your gauge. Deep green and steady growth means the soil is doing its job. Pale or yellowing leaves in midsummer, with water ruled out, earn one light feeding of balanced organic fertilizer. Feed the symptom, not the calendar.
Never lime aggressively. The plant wants slightly acidic to neutral soil, and pushing the pH above 7.5 locks up the micronutrients it needs. If a soil test shows acidity below 5.5, a light lime application is fine; otherwise leave the pH alone.
11. Year One: What Actually Happens
Set expectations now: year one is a foliage year. A spring-sown plant spends its first season building a rosette of leaves and a pencil-thick taproot. Flowers may or may not appear, and True Leaf Market notes that late-sown plants likely wait until year two to bloom.
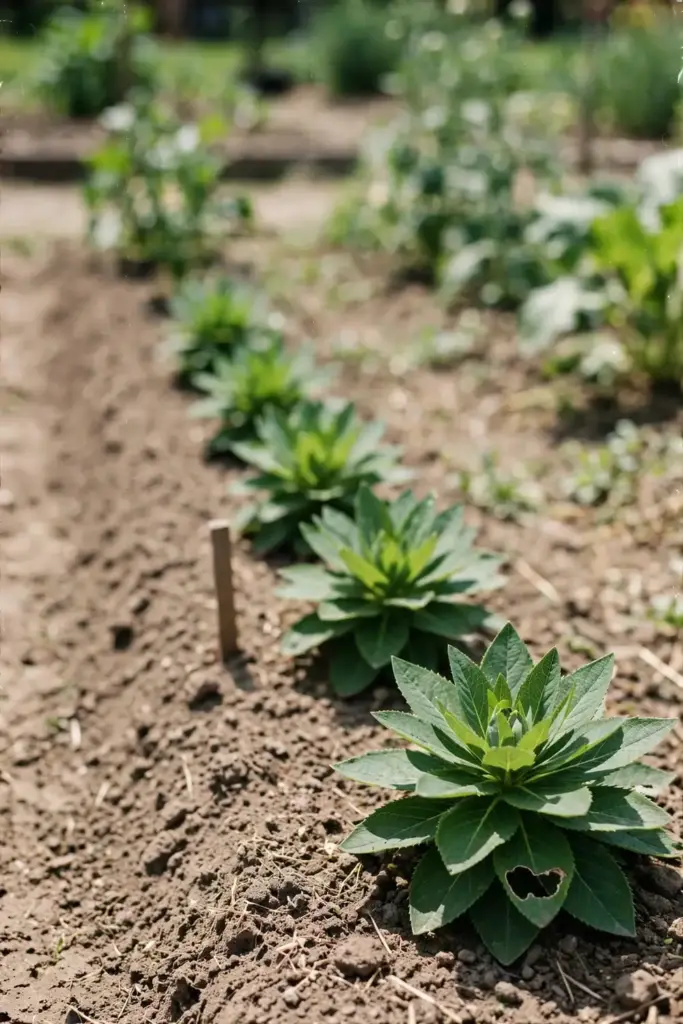
Do not judge the bed by its tops. The action is underground, and a modest-looking first-year plant can sit on a perfectly healthy young taproot. Keep watering, keep weeding, and resist the urge to dig a test plant. Every dug plant is one fewer root at harvest.
Weed relentlessly in year one. Young balloon flower seedlings lose the competition for light and water fast, and a weedy bed in July becomes a thin stand by fall. Hand-weed; a hoe near the row nicks the shallow young roots.
Leave the fall tops standing until they collapse on their own. The plant is moving energy down into the root for winter, and cutting the tops early shortchanges that transfer. Clean up the dead stems in late fall or early spring.
12. The Flowers: Enjoy Them Without Ruining the Roots
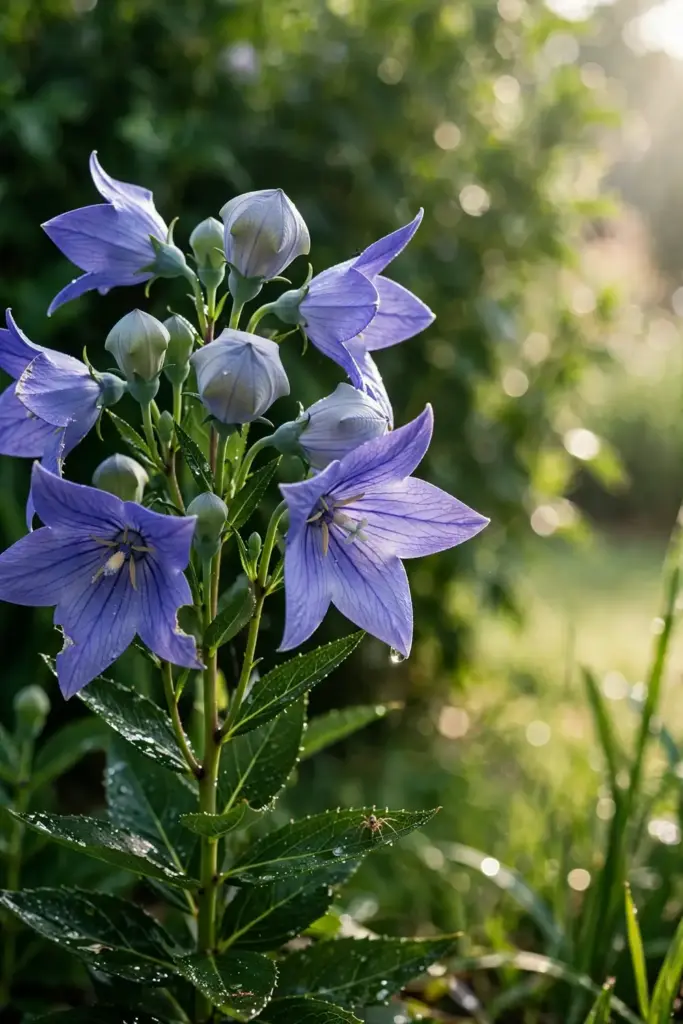
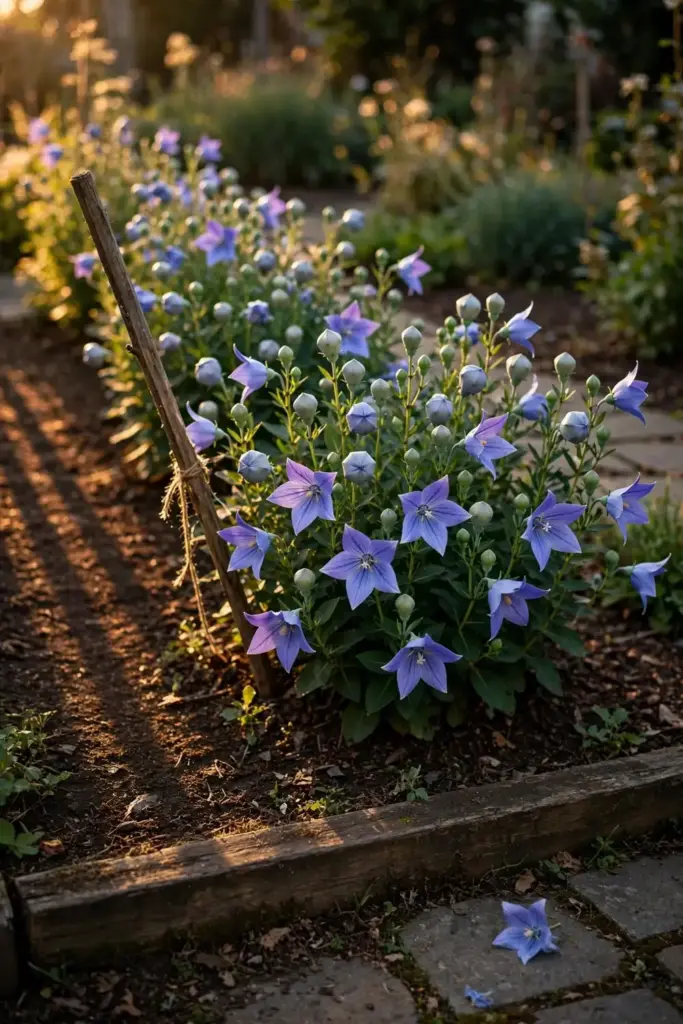
The flowers are the reason most people plant this species, and they are genuinely good: inflated buds that pop open into five-pointed stars, usually blue-violet, sometimes pink or white. A root bed in bloom is a fine sight for a few weeks in midsummer.
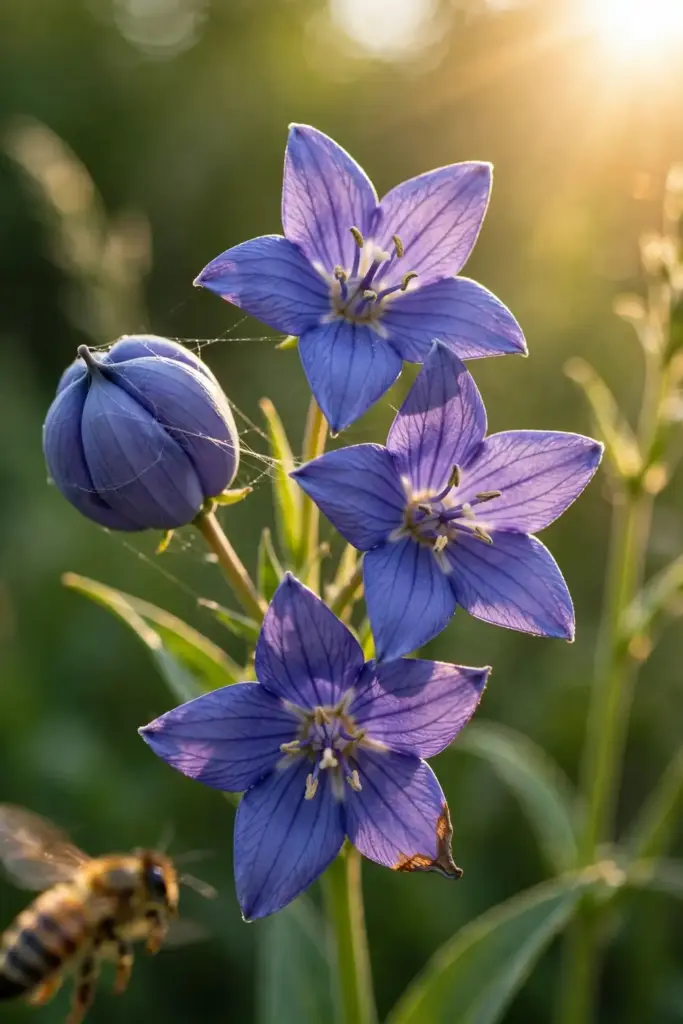
For the root lane, the flowers are a tax. Pinch the buds off as they form, before they open. This redirects the plant’s energy from seed-making into root growth, and the difference at harvest is measurable. It is tedious and it is worth it.
Deadheading the flower lane extends bloom. True Leaf Market notes that keeping the plant trimmed keeps it flowering through the summer months. Snip spent flowers before they set seed and the plant keeps producing buds for weeks. For companions that peak as the balloon flowers finish, the fall perennials roundup lists late-season bloomers for the same border.
Let a few plants go to seed in year two if you want a self-renewing bed. Baker Creek notes the pods shake their small seeds out readily, and the genus has no cross-pollination issues. A corner of the bed left to self-sow gives you free seedlings every spring.
13. Pests & Diseases: Little to Worry About
This is one of the easier sections in any grow guide, because the plant earns its reputation. Baker Creek lists balloon flower as insect and disease resistant and deer resistant. Most growers never spray it for anything.
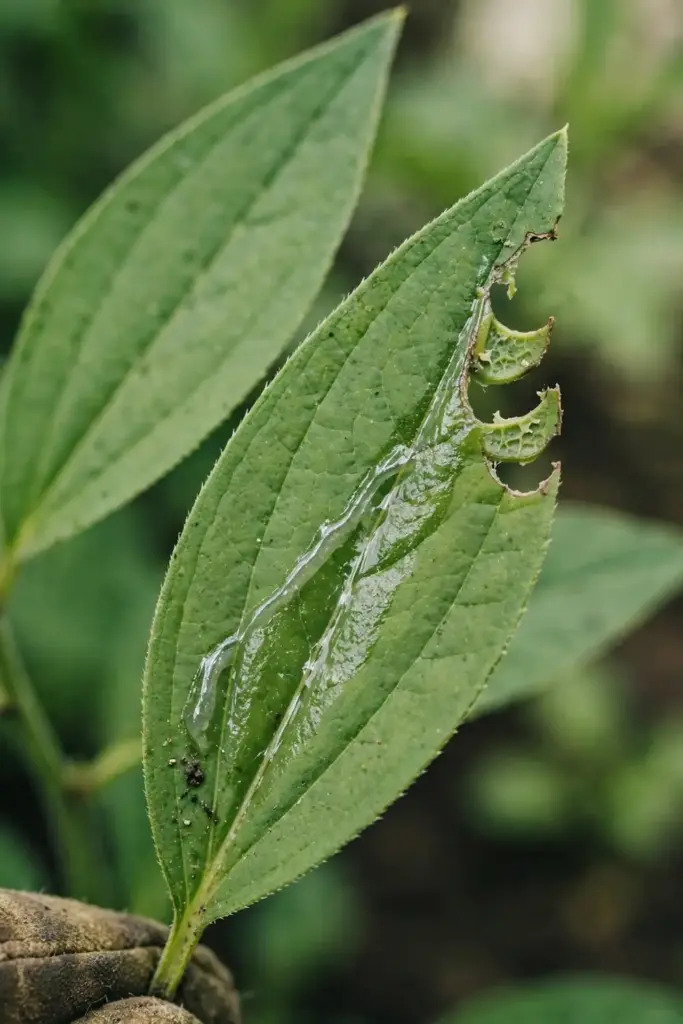
Slugs are the main exception, and they target young seedlings in wet springs. A ring of diatomaceous earth or a beer trap near the row handles them. Once the plants are knee-high, slugs lose interest.
Crown rot shows up only in wet soil, which is why the drainage section above exists. If a plant wilts in midsummer with moist soil around it, check the crown. There is no rescue for a rotted crown; pull the plant, improve the drainage, and replant.
Root-knot nematodes are the quiet threat to the root lane specifically. They cause the galls and forking that ruin a harvest. Rotate the bed: do not follow carrots, parsnips, or a previous balloon flower crop in the same soil. A 3 to 4 year rotation keeps the pressure down.
14. Harvest the Roots: Fall After 1 to 2 Years
Harvest in fall, after the tops die back. That is the consensus across the sources: the plant’s energy has moved underground, the root is at maximum weight, and the dead tops mark the row. True Leaf Market’s toraji seed page puts the commercial-style harvest at 2 to 3 years; the scout’s AI panels cite fall after the second year with 2 to 3 year old roots as optimal yield. For year-one roots are edible but thin; year 2 is the practical harvest. That wait is the whole difference in how to grow balloon flower for roots versus blooms.
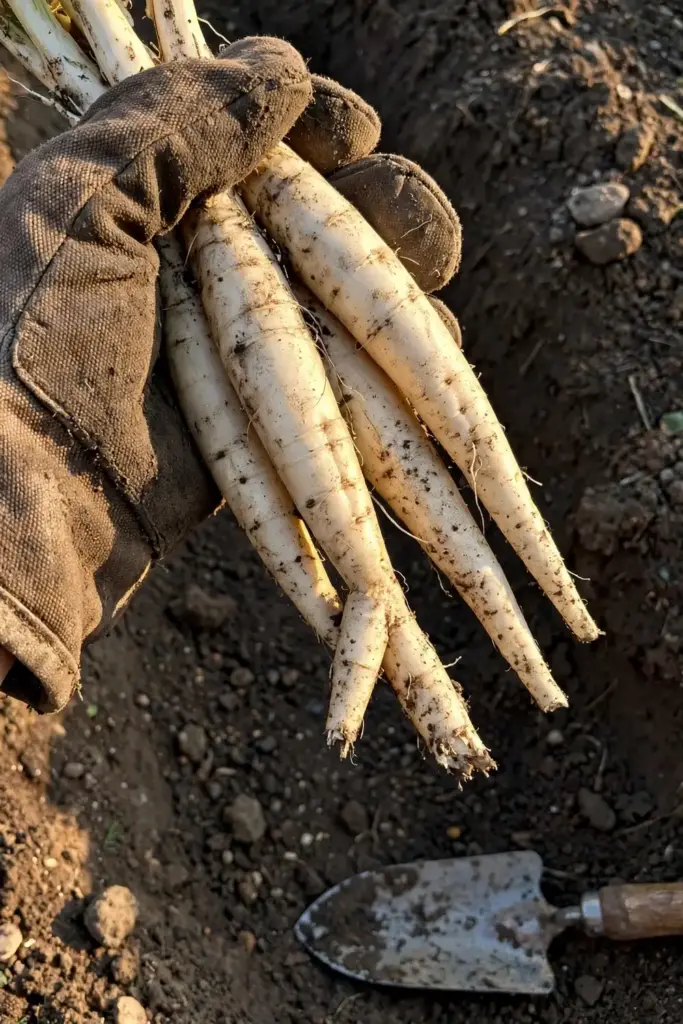
Dig, do not pull. Drive a fork in 8 to 10 inches from the plant and lever the whole root mass up. The taproot runs deep and snaps if you yank the crown. A snapped tip left in the ground costs you some length. The longest roots are the best ones, so dig wide and lever gently.
Wash the roots the same day. A stiff brush under running water takes the soil off; the skin stays on for now. Roots store a week or two in the refrigerator in a perforated bag, or months in damp sand in a cold cellar, the way carrots keep.
Expect 1 to 2 ounces of cleaned root per plant at year 2, more at year 3. True Leaf Market’s harvest note cites 1-ounce roots after 2 to 3 years as the benchmark. A 10-foot row at 9-inch spacing holds about 13 plants, which is a serious batch of doraji for one kitchen.
15. Preparing Doraji Root: Peel, Soak, Cook
Fresh doraji is bitter, and the bitterness is the whole prep story. Peel the root with a vegetable peeler, then soak the peeled roots in salted water. Kimchimari’s doraji ingredient guide recommends soaking dried roots 2 to 3 hours to reconstitute and soften bitterness; for fresh roots, a salted-water soak of a couple of hours with a rub does the same work.
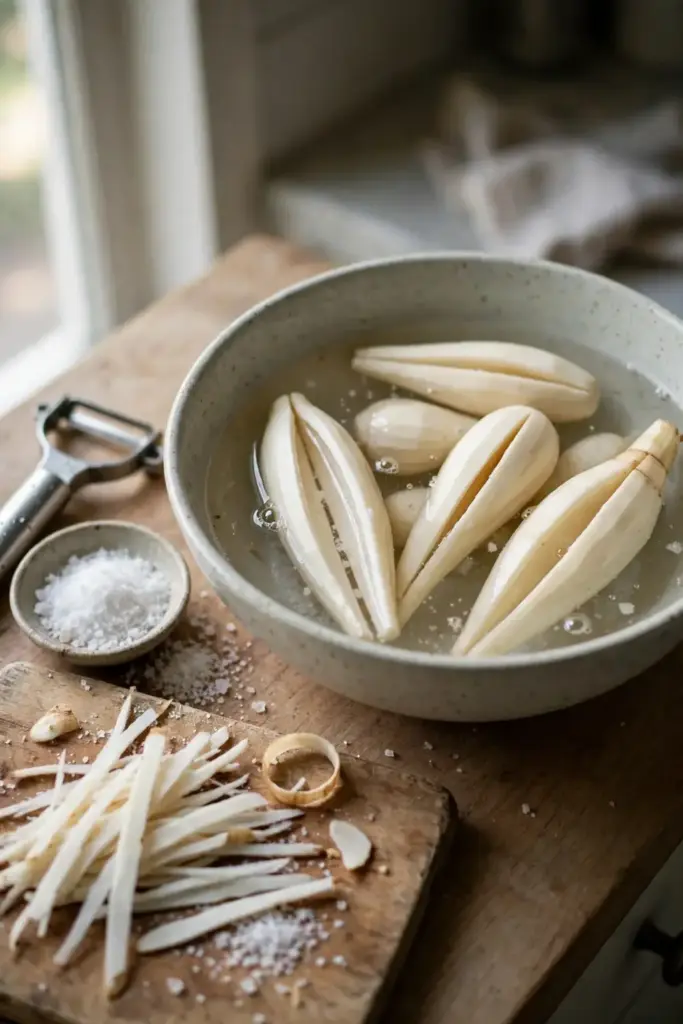
Taste before you cook. Nibble a thin slice after soaking. If it still bites back, soak longer or rub with coarse salt and rinse. The bitterness never fully leaves, and it should not; it is part of the flavor. The goal is pleasant edge, not blandness.
The classic dish is doraji namul: soaked, squeezed dry, and sauteed with sesame oil, garlic, and salt. Kimchimari’s recipe adds an optional 5 to 7 minute boil to draw out more bitterness before sauteing. Doraji muchim tosses the prepped root with gochujang for a spicy salad. The root also goes into bibimbap as a topping and into soups.
Drying preserves the surplus. Slice roots lengthwise into thin strips and dry them crisp, then store airtight in a cool, dark place. Dried doraji keeps for months and rehydrates in lukewarm water in 2 to 3 hours.
16. Growing in Containers: Short Roots Only
Containers suit the flower lane, not the root lane. A balloon flower in a 12-inch pot blooms beautifully and asks for little. But a 12-inch pot cannot hold the deep taproot a doraji harvest needs, and the honest advice is to keep the two lanes separate.
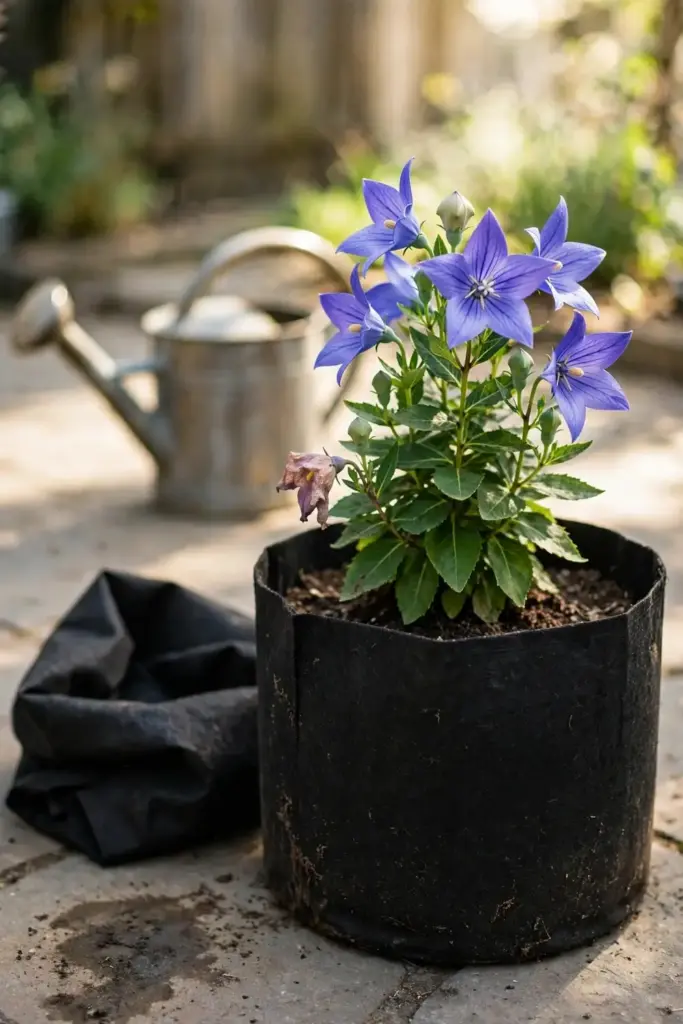
True Leaf Market’s grow guide suggests a grow bag for easy access to the roots, which is the one container trick worth trying for a small root harvest. A 10 to 15 gallon fabric grow bag, filled with loose sandy mix, lets you tip the whole thing out at harvest instead of digging. Expect shorter, thicker roots than in open ground.
Water containers more often than beds. Pots dry fast in summer, and a drought-stressed plant in a pot drops its buds. Check daily in heat; the top inch dry means water now.
Overwinter pots in place in zones 5 and up; in colder zones, heel the pot into the ground or move it to an unheated garage. The plant is hardy, but roots in a pot freeze harder than roots in the ground.
17. Mistakes That Cost You a Root Crop
Burying the seeds. The number one failure, and it is final: seeds under even a quarter inch of soil germinate poorly or not at all. Surface sow, press, mist, done.
Transplanting too late. Moving a 6-inch seedling with a committed taproot sets the plant back a month or kills it. Transplant at 2 inches tall or direct sow and thin in place.
Planting in clay. Dense soil forks the taproot, holds winter water, and rots the crop you waited two years for. Loosen 12 inches deep or pick another bed.
Feeding like a tomato. Heavy nitrogen grows a jungle of tops and a lazy root. Feed light or not at all in the root lane.
Letting it flower. Every open flower is root weight lost. Pinch buds on the root crop all summer, hard as that feels when the buds are beautiful.
Digging too early. Year-one roots are edible and disappointing. Wait for the fall of year two, when the root has real shoulders.
18. Troubleshooting
Seedlings never emerged. The seed was buried, the soil dried out, or the temperature ran cold. Re-sow on the surface, keep it misted, and hold 65 to 75 F. Old seed loses vigor; buy a fresh packet.
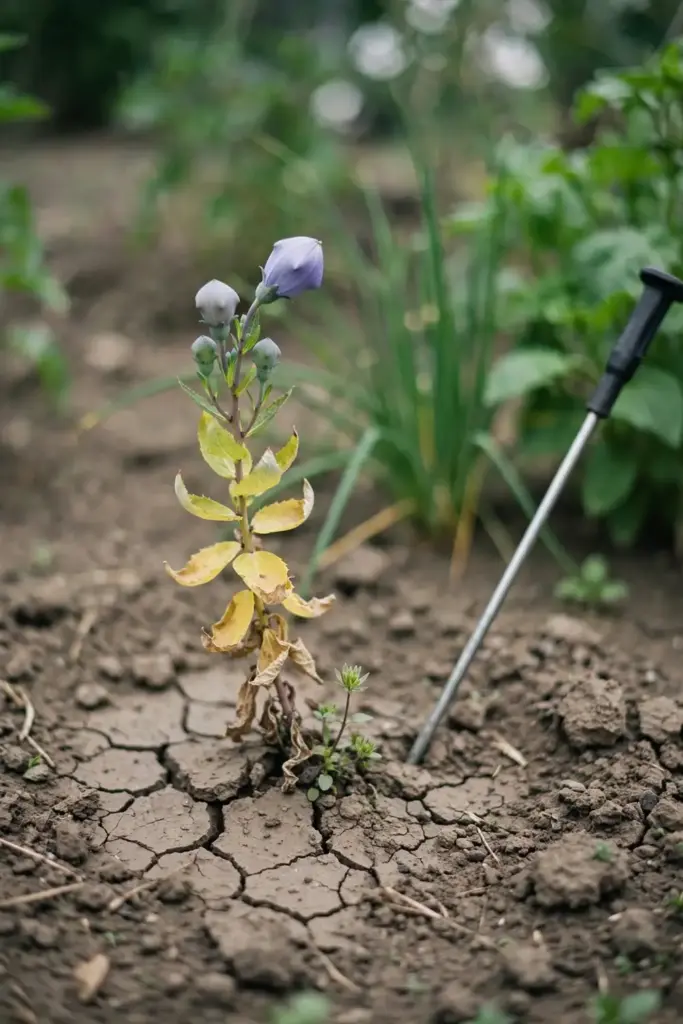
Plants wilted after transplanting. The taproot was disturbed or the seedling was moved too large. Water deeply, shade for a few days, and wait. Next time transplant at 2 inches or direct sow.
Big tops, thin roots. Too much nitrogen, too little sun, or harvest impatience. Cut the feeding, confirm six hours of sun, and give the bed its second year.
Flowers but no root growth. The plant is spending energy on bloom and seed. Pinch every bud on the root crop and let the plant redirect downward.
Yellow leaves in midsummer. Usually water: too much or too little. Check soil moisture 3 inches down before doing anything else. If moisture is right, one light feeding answers a true deficiency.
Roots forked and gnarled. Stones or hardpan in the bed, or nematode pressure. Dig deeper and cleaner next time, and rotate the bed away from other root crops for 3 to 4 years.
19. Frequently Asked Questions
Flowers can appear in the first year from an early indoor sowing, but the root harvest is a longer project. Plan on digging in the fall of the second year for usable doraji roots, with third-year roots heavier and better. The plant is a perennial, so the bed keeps producing once established.
Yes for flowers, with limits for roots. A 12-inch pot grows a fine flowering plant. For a root harvest, use a 10 to 15 gallon fabric grow bag filled with loose sandy mix, and expect shorter roots than open ground gives. Standard pots are too shallow for a real doraji crop.
Yes. Balloon flower is a hardy perennial in zones 3 to 9. The tops die back completely in winter and return from the taproot in spring. Mark the bed before the tops vanish so you do not dig into it by accident.
Burial is the usual cause. The seeds need light, so any covering stops them. Other causes are dry soil during the 5 to 15 day window and temperatures below 60 F. Re-sow on the surface, mist daily, and hold 65 to 75 F.
Yes. Doraji is the Korean name for both the plant and the root of Platycodon grandiflorus, which English calls balloon flower or Chinese bellflower. Do not confuse it with deodeok, the bonnet bellflower root, which is a different species with different dishes.
Yes, on a root crop. Pinching buds before they open redirects energy into the taproot, and the harvest difference is real. On a flower bed, leave them alone and deadhead for rebloom. The two lanes want opposite things from the same plant.
20. Where to Go From Here
You now know how to grow balloon flower from seed to harvest: a root-first plan, the names that unlock every source, surface sowing, honest timelines, and the prep that turns a bitter root into dinner. Start with fresh seed, a deeply loosened bed, and the patience to wait for year two.
If you are planning the fall garden around this bed, fall herbs to plant pairs cool-season herbs with the same sowing window. And once the bed is established, the fall perennials roundup linked above shows what to plant around it for a border that works as hard as the root bed does.