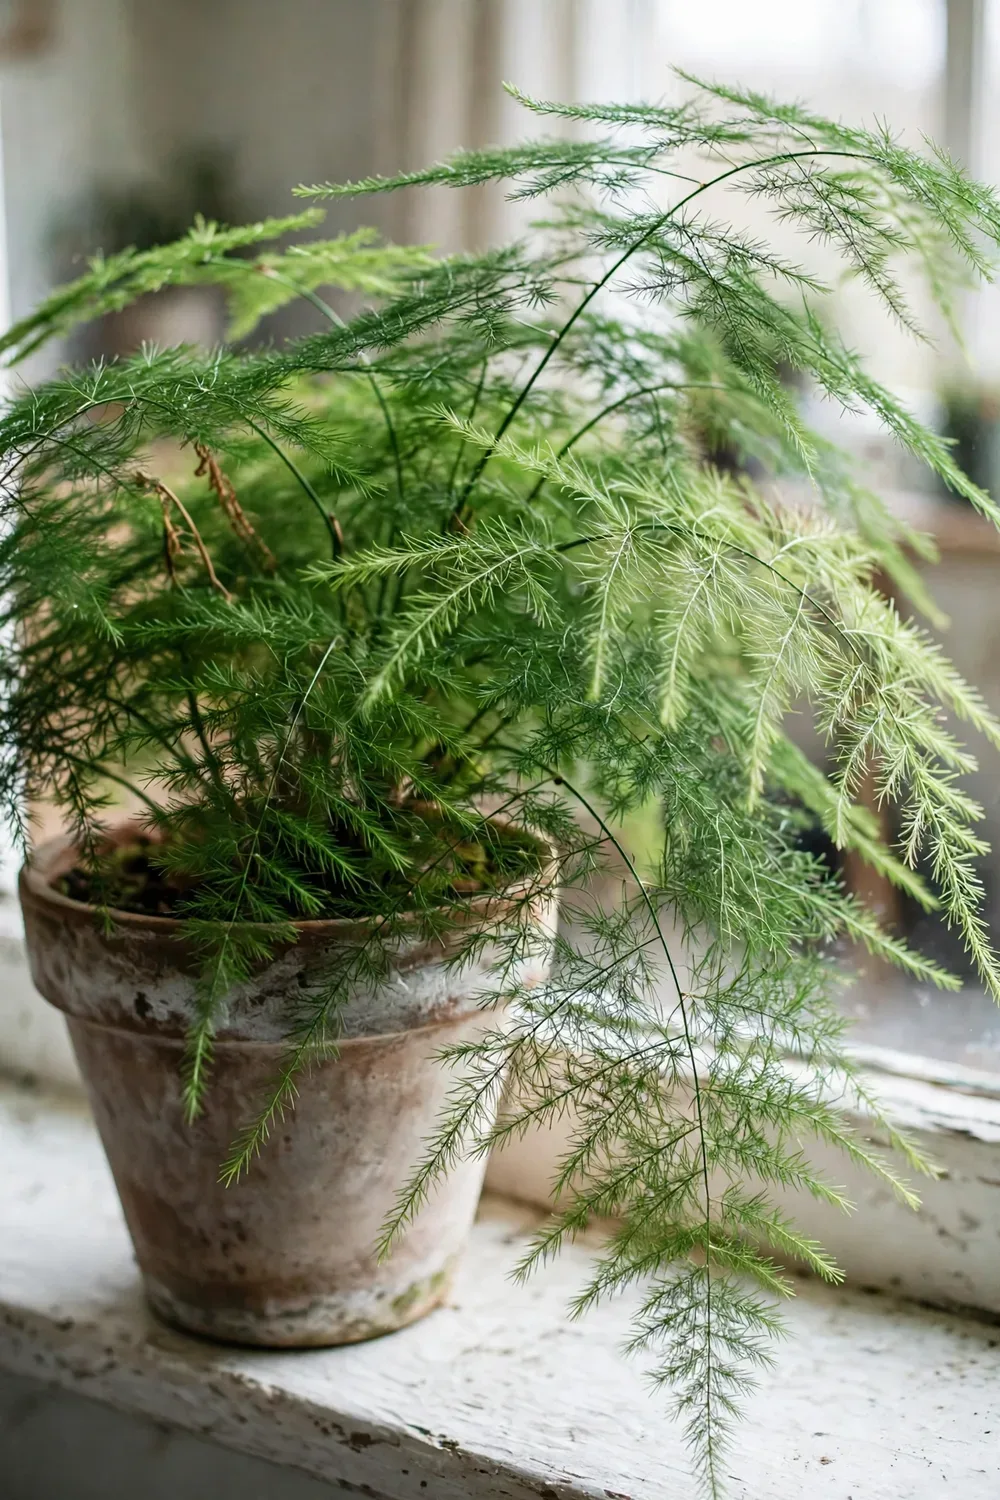

How to grow asparagus fern well comes down to three things: bright indirect light, soil that stays evenly moist, and indoor warmth that holds between 55 and 70 degrees Fahrenheit. Get those right and the feathery sprays stay green for years. Miss them and the needles yellow and drop within weeks. This page follows the ornamental plant Asparagus setaceus, the feathery houseplant sold as asparagus fern, lace fern, or plumosa fern. It is a different species from vegetable asparagus and it is not a true fern at all.
The naming causes real damage. Buyers read “asparagus” and dig a trench for spears. Gardeners read “fern” and treat it like a shade-loving spore plant. Both moves fail because asparagus fern is a flowering plant in the asparagus family, Asparagaceae, grown purely for its foliage. In my experience, the yellow needles never green up again; only the new growth rising from the soil line replaces them, so I cut damaged stems back to the roots and fix the light instead of waiting on dead foliage. What looks like a lacy frond is actually a spray of cladodes, which are flattened stems doing the job of leaves. That single botanical fact explains almost every care rule below.
North Carolina Extension’s plant toolbox records asparagus fern as native from Central Ethiopia to South Africa and describes it as an ornamental houseplant, ground cover, or climbing vine with fine needle-like foliage. It also names the species epithet setaceus as meaning “having bristles or stiff hairs,” which is exactly what the cladodes feel like under a fingertip. Keep reading with the identity table in mind, because every decision below assumes you are holding Asparagus setaceus.
1. Confirm the Identity: Ornamental Asparagus setaceus, Not the Vegetable
Asparagus fern is Asparagus setaceus (syn. A. plumosus). It produces decorative foliage and small inedible berries, never edible spears. The vegetable that fills trenches in spring is Asparagus officinalis, a separate species with completely different care. Mixing the two up is the most common failure behind this search, so lock in the identity before potting anything.
| Species | Sold as | What it is | What to do with it |
|---|---|---|---|
| Asparagus setaceus | Asparagus fern, lace fern, plumosa fern | Ornamental houseplant with feathery cladodes | Grow it in a pot indoors; this guide |
| Asparagus officinalis | Vegetable asparagus | Edible spears harvested from an outdoor crown | Follow our guide to growing vegetable asparagus instead |
| Asparagus densiflorus | Foxtail fern, plume asparagus fern | Ornamental with denser, upright foxtail-like foliage | Same basic care as asparagus fern; different look |
| Asparagus asparagoides | Bridal creeper | Environmental weed in Australia | Never plant it out; the weed warning further down explains the legal side |
| Asparagus racemosus | Shatavari | Medicinal herb with climbing stems | A different plant entirely; our shatavari guide covers it |
The A. plumosus name on old nursery tags is the same plant as A. setaceus, not a variety. The synonym changed in botanical references and the trade has been catching up ever since. If a tag says plumosus and the plant looks like a cloud of green lace, you have the right plant.
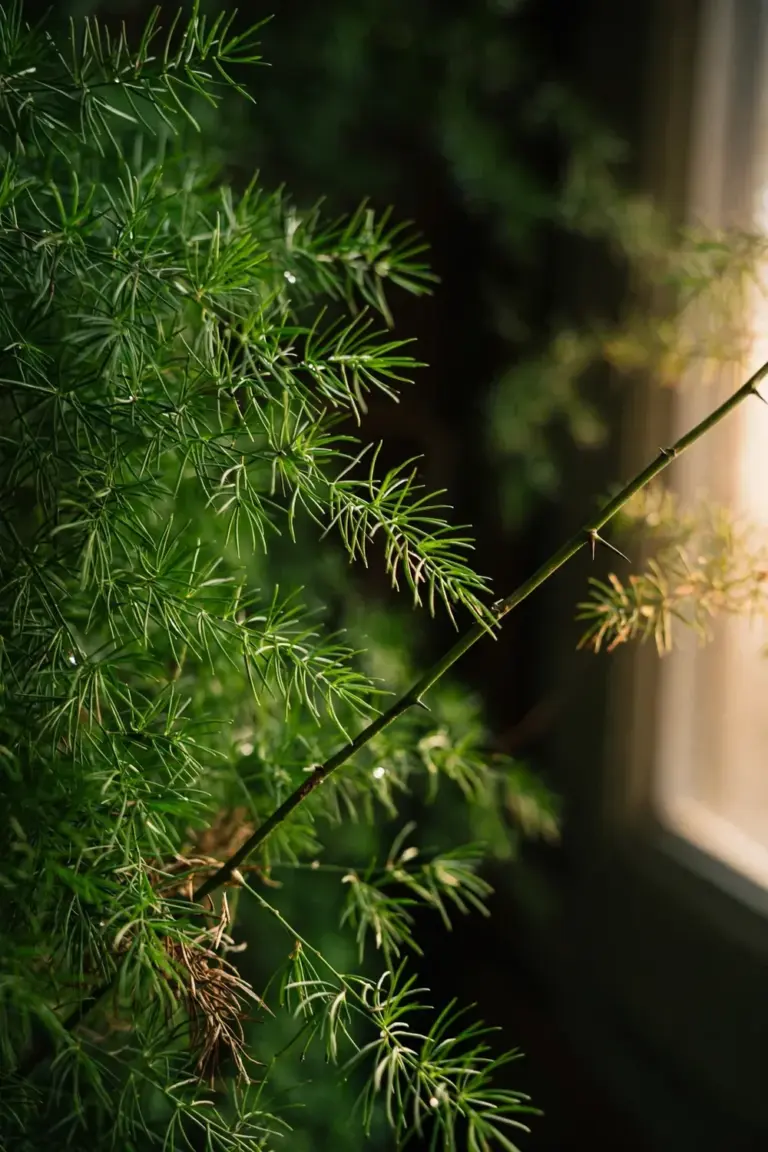
One more fence: true ferns reproduce by spores and never flower. Asparagus fern flowers with tiny white blooms and then sets small green berries that ripen red. Flowers and berries rule the fern label out at once. The foliage also carries a surprise. Mature stems develop small thorns along the wiry growth, so handle a large plant with light gloves when you prune or repot it.
2. Give It Bright, Indirect Light and Zero Direct Sun
Asparagus fern wants bright, indirect light. A spot near an east-facing window works well because the morning sun arrives at a low angle and the harsh midday blast never lands on the foliage. A north-facing window suits it too, though growth slows a little in the dimmer light. North Carolina Extension’s asparagus fern plant page calls bright indirect light a requirement and warns that the plant is intolerant of high light intensity, so direct afternoon sun is out.
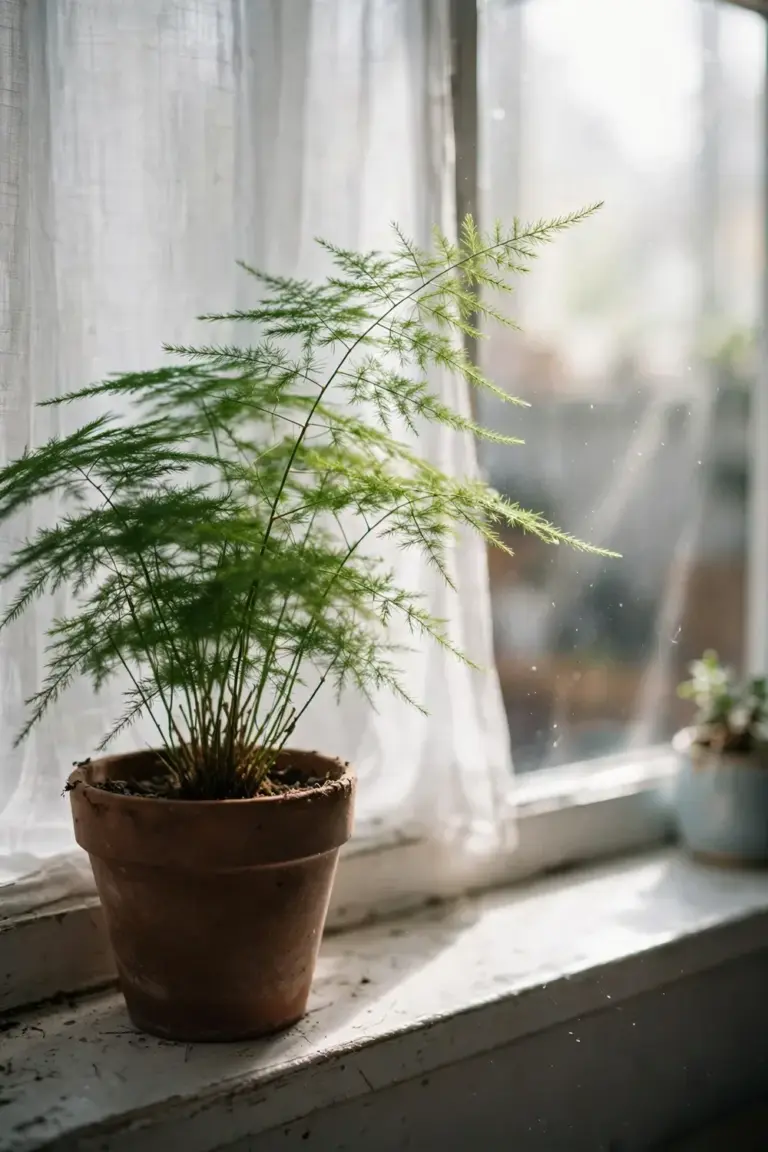
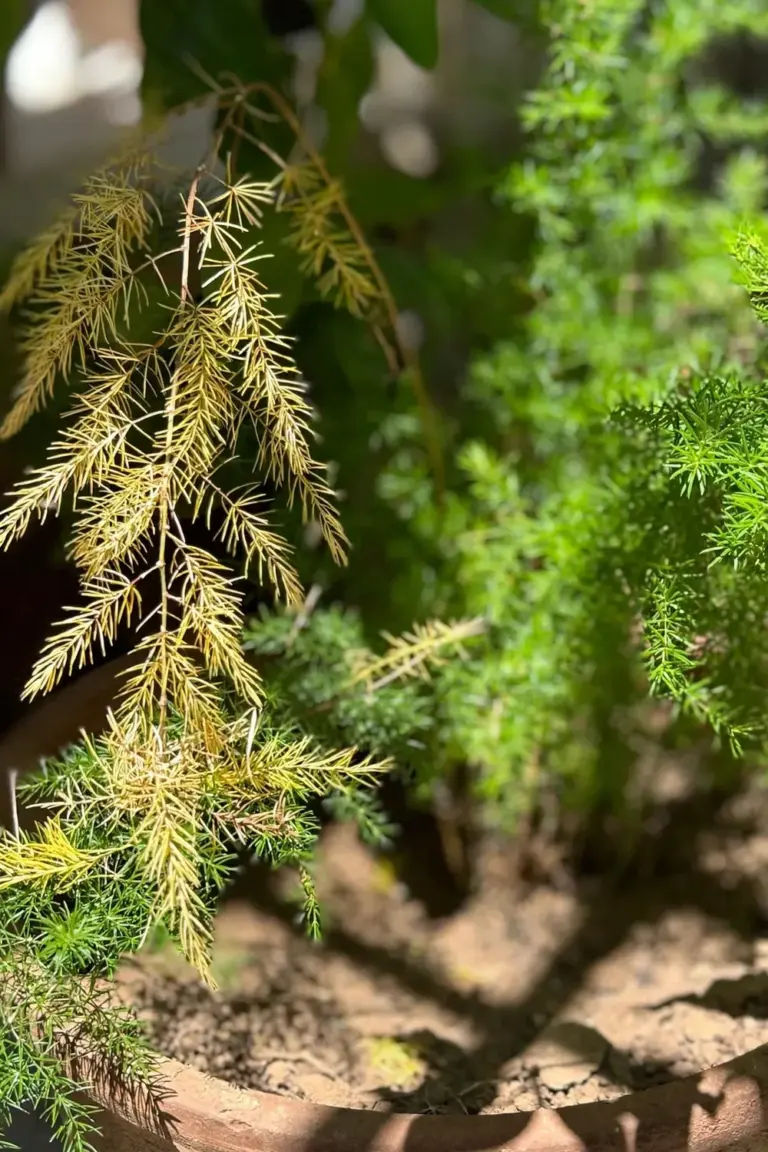
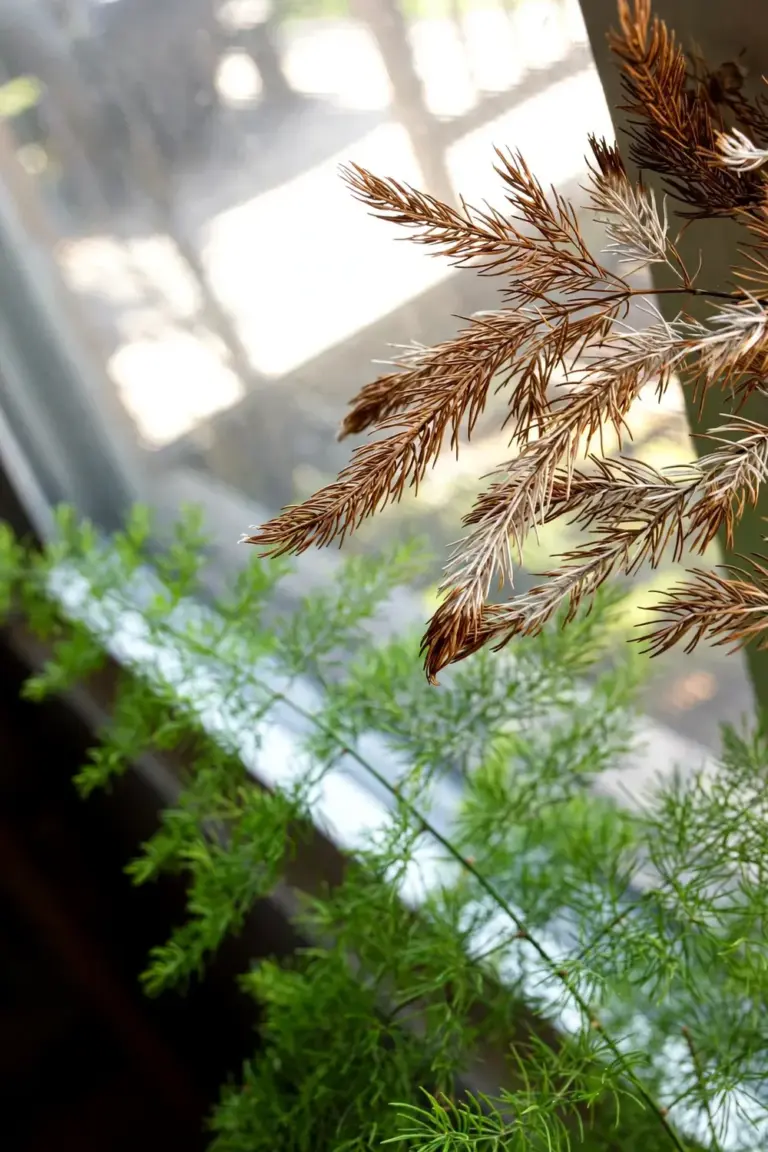
Low light kills the plant slowly and most owners misread the symptoms. The cladodes turn yellow, then the needles drop, and the owner adds fertilizer to a plant that actually needs a brighter windowsill. North Carolina Extension notes that insufficient light as well as insufficient water causes yellowing needles that drop, and that damaged needles never rejuvenate. Move the pot closer to the window at the first sign of yellowing. New growth will appear at the soil line once conditions improve.
Direct sun scorches the delicate tissue. The needles brown at the tips, then crisp up across whole sprays. If the only window available faces west or south, pull the pot back a few feet or hang a sheer curtain to filter the light. A sheer curtain cuts the damaging intensity while keeping the brightness the plant needs.
Rooms with no usable window light can work with a grow light. Place a full-spectrum LED a couple of feet above the plant and run it on the same schedule as daylight. Our roundup of the best grow lights for indoor gardens walks through the brightness and timing details. Keep the light on a timer so the plant gets a real night, because asparagus fern rests in the dark like everything else in the pot.
3. Water Regularly in Summer, Sparingly in Winter
Water this plant on a seasonal rhythm, not a fixed calendar. North Carolina Extension’s asparagus fern plant page advises regular watering from spring to autumn and sparing watering in winter. The tuberous roots store water underground, so the plant forgives a missed watering far more easily than it forgives a permanently soggy pot.
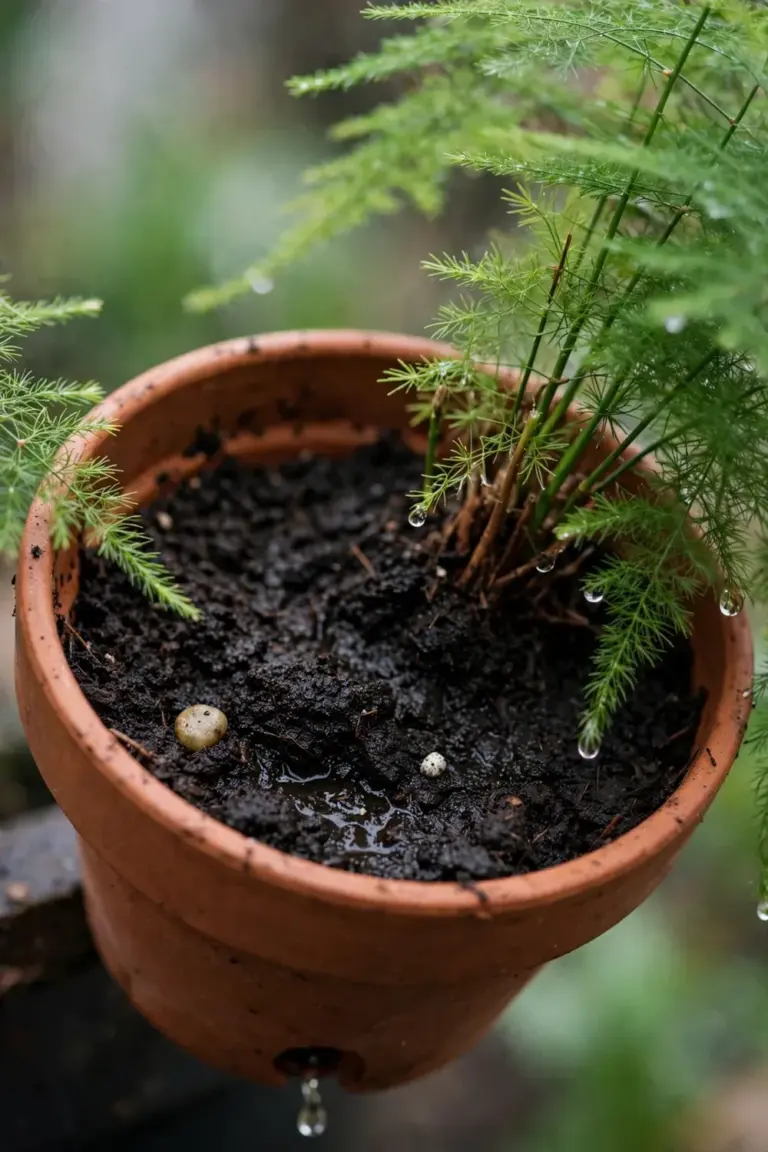
The finger test beats any schedule. Push a fingertip about an inch into the mix. Water when the top inch feels dry, and water thoroughly until excess runs from the drainage hole. Then empty the saucer. Standing water in the saucer rots the roots from the bottom up while the surface looks fine.
Summer in a warm, bright room usually means one deep drink a week. Winter is the opposite. Short days and cool air slow the plant to a crawl, so water far less often. Never let the pot dry out completely, though. The tuberous roots give the plant a buffer, not immunity.
The two failure modes look different, so read them before you reach for the watering can. Underwatering browns the needle tips first and the sprays feel crisp. Overwatering yellows whole sections of foliage while the soil still feels wet. Yellow plus wet soil means stop watering and let the pot dry. Brown plus dry soil means water now.
4. Hold Temperatures Between 55 and 70 Degrees Fahrenheit With High Humidity
Asparagus fern prefers indoor warmth in a narrow band. North Carolina Extension’s asparagus fern plant page puts the preferred temperature between 55 and 70 degrees Fahrenheit. Most lived-in rooms sit inside that range naturally, which is why the plant thrives as a houseplant. Keep the pot away from heating vents, cold drafts, and doors that open straight to winter air, because the plant reacts to sudden swings faster than to the average.
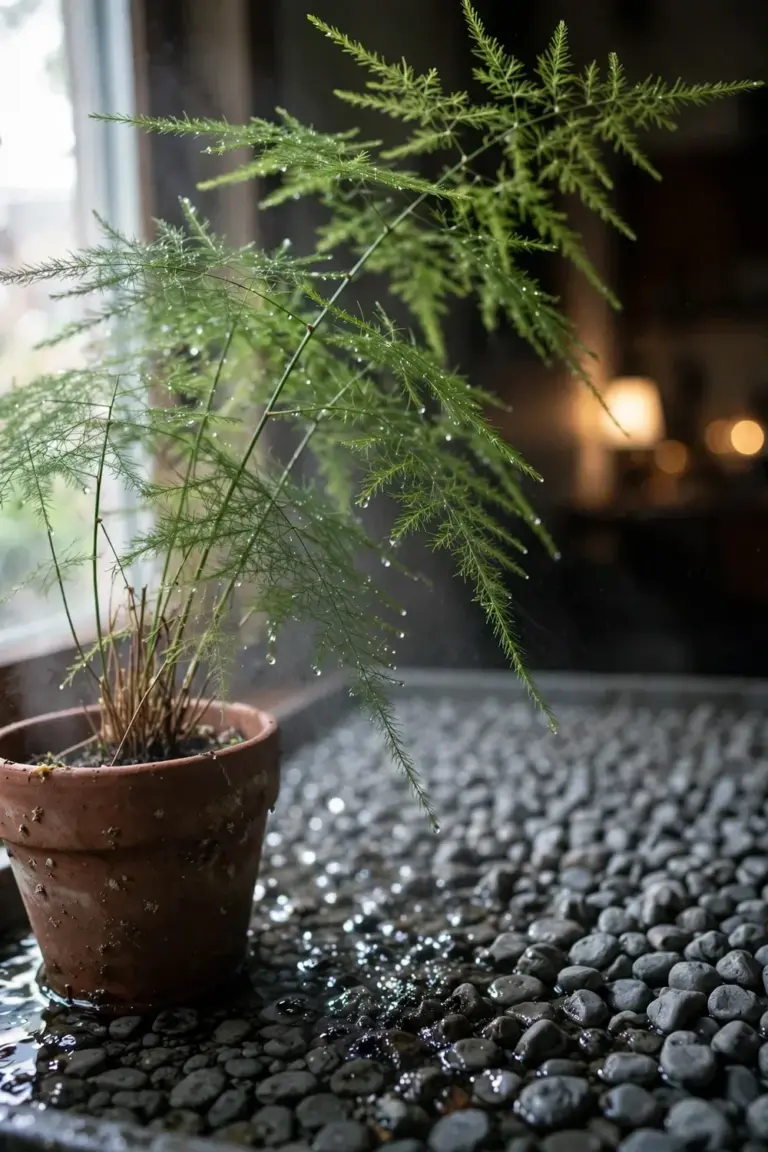
Humidity matters as much as temperature. The plant comes from a region with humid air and it shows stress when indoor heating dries the room out. Brown tips and dropping needles in winter usually trace back to dry air rather than thirsty roots. North Carolina Extension recommends a humidifier or a pebble tray filled with water under the pot to raise the moisture around the plant.
A pebble tray is the cheapest fix. Fill a shallow tray with pebbles, add water until it nearly covers them, and set the pot on top so the base sits above the waterline. Evaporation wraps the foliage in a pocket of damp air. Grouping the asparagus fern with other plants works the same way on a smaller scale, because every plant transpires a little moisture into the shared air.
Bathrooms with a window solve both problems at once. Showers spike the humidity daily and the steam lingers on the foliage. Kitchens run second for the same reason. If the plant lives in a dry living room, a daily misting with room-temperature water helps, though misting is a supplement to a tray or humidifier, never the whole solution.
5. Pot It in a Peaty, Well-Drained Mix With a Drainage Hole
Asparagus fern likes soil that holds moisture without holding water. North Carolina Extension’s asparagus fern plant page calls for slightly acidic, well-drained, organically rich soil, and recommends a moist, well-drained, peaty potting mix for houseplants. A standard peat-based indoor potting mix does the job. If your mix feels heavy, blend in a handful of perlite or coarse sand to open it up.
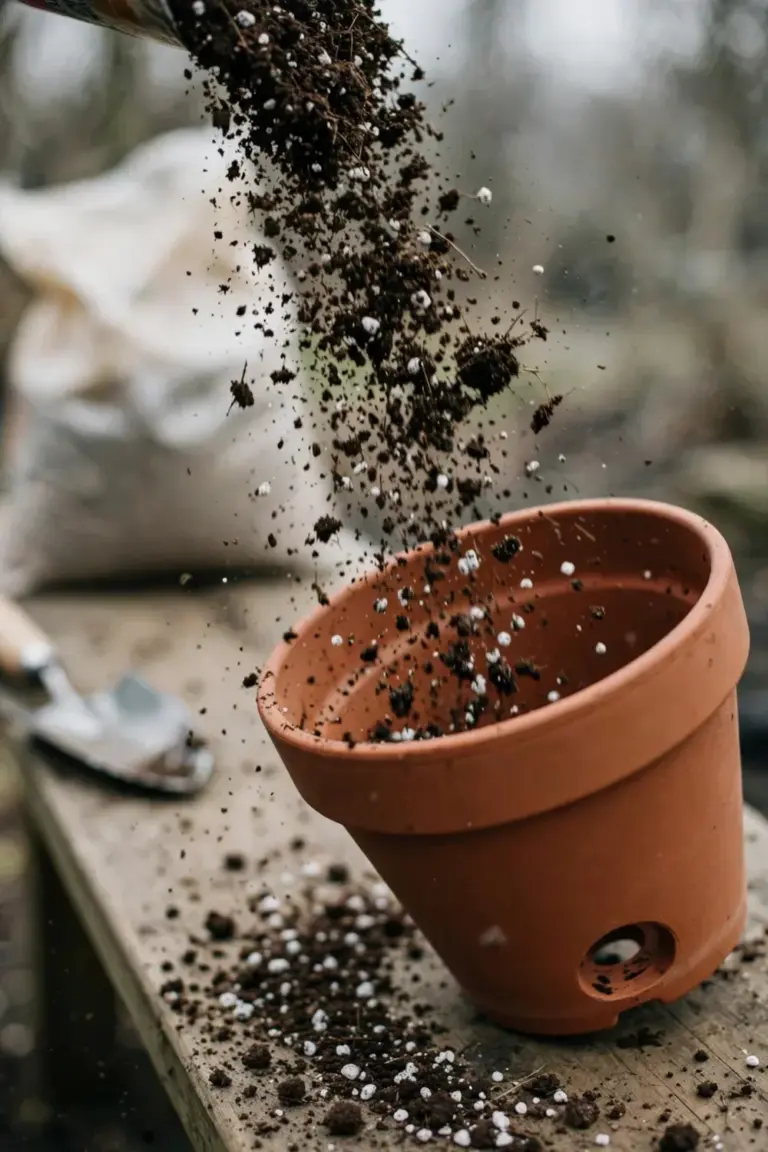
The drainage hole is not optional. Asparagus fern roots sit in the bottom third of the pot, which is exactly where water pools in a container without drainage. No hole means the roots bathe in water after every watering, and root rot follows. A cheap plastic nursery pot inside a decorative cachepot works fine, as long as you lift the inner pot out and empty the collected water after each drink.
Repot with fresh mix whenever you move the plant up a size. Old mix compacts over time and the compaction squeezes air out of the root zone. Fresh mix restores the air pockets the roots need. Tease the outer roots gently when you transplant so they reach into the new mix instead of circling the old root ball.
Keep the crown at the same depth it grew at before. Burying the crown invites rot at the stem bases. Leaving it perched high exposes the tuberous roots to air. Settle the plant, firm the mix lightly with your fingers, and water the pot through once to close the air gaps.
6. Feed a Weak Dose Through the Growing Season Only
Asparagus fern is a moderate feeder, not a hungry one. During active growth in spring and summer, a weak dose of balanced liquid fertilizer supports the flush of new cladodes. Dilute the feed to half the label rate or less. The fine foliage shows fertilizer burn quickly, and brown tips from overfeeding look exactly like the low-humidity browning from the previous section, which makes the real cause hard to diagnose.
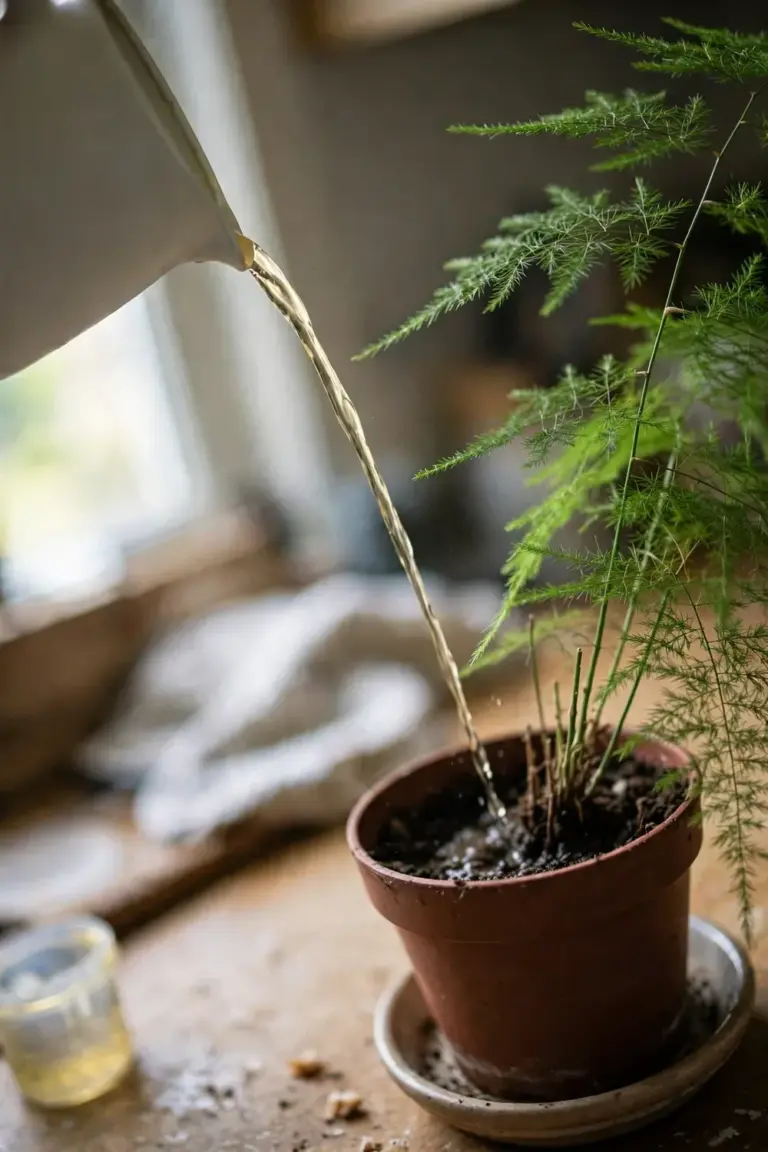
Stop feeding entirely in autumn and winter. The plant grows slowly or not at all in short days, and unused fertilizer salts accumulate in the mix. Salt buildup draws water out of the roots and produces the same scorched tips as overfeeding. If you fed on schedule through winter and the tips browned, flush the pot with plain water twice and skip the next feeding.
Organic growers get the same result from diluted compost tea or worm-castings tea applied sparingly in the growing season. The principle stays identical: weak and seasonal. Never fertilize a stressed plant. A yellow, dropping asparagus fern needs better light or corrected watering first. Fertilizer cannot fix a light problem, and it can make a water problem worse.
7. Prune for Fullness: Cut Old Stems Back to the Root
Asparagus fern grows on a replace-don’t-repair rule. North Carolina Extension’s asparagus fern plant page states that yellow needles will not rejuvenate, and that pruning should cut stems all the way back to the root rather than shortening them. A half-cut stem dies back to the base anyway and looks ragged while it does. Clean cuts at the root line keep the plant tidy and redirect energy into new shoots from the soil.
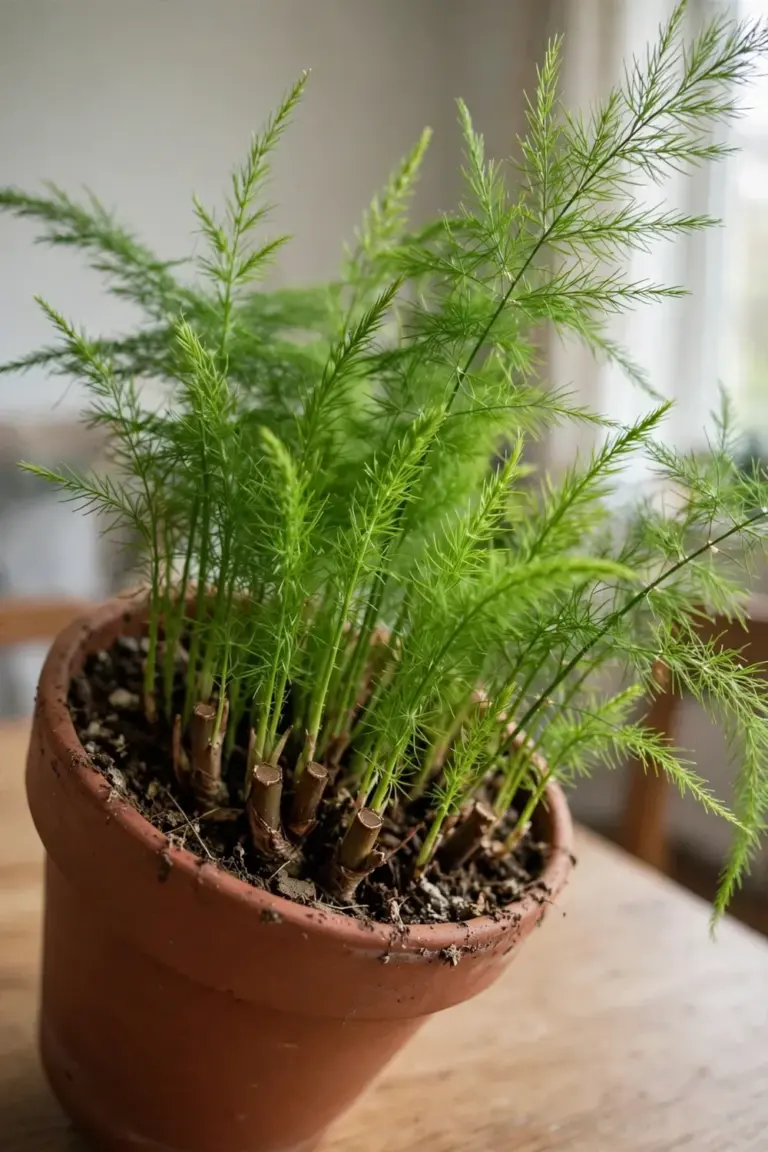
Pinch the soft stem tips to shape the plant and encourage bushier growth. Tip pinching works on young, flexible stems. It breaks the lead growth and wakes up side shoots, which fills out a leggy plant from the inside. Do this through the growing season whenever a stem outruns the shape you want.
Remove dead and yellowed fronds as you see them. Cut each one right down to the soil or crown. Do not leave stubs. Stubs rot slowly and give fungus gnats and mold a foothold. A pair of clean scissors or sharp pruning shears makes the cut; tear the stems and you crush the tissue at the crown.
Expect the plant to look thin right after a hard prune. That is normal. The energy is underground in the tuberous roots, and new shoots push up within weeks in the growing season. A hard spring prune on a tired plant often produces the best flush of the year, because the plant replaces the old foliage with dense new growth instead of patching the old.
8. Repot When the Tuberous Roots Crowd the Pot
The roots tell you when to repot. North Carolina Extension’s asparagus fern plant page describes large, tuberous roots that can become pot bound quickly. The tubers swell with stored water and fill the container faster than the foliage suggests. When roots push through the drainage hole or circle the surface, the plant is asking for more room.
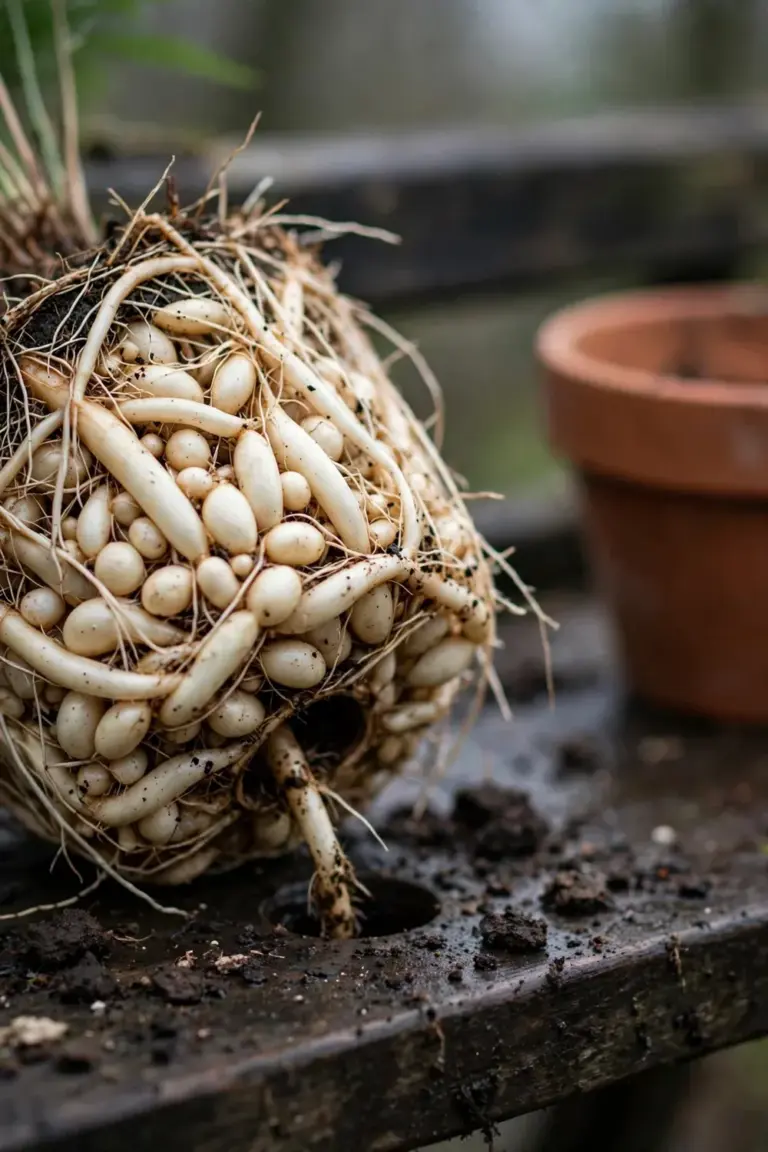
Spring is the right moment. The plant is about to enter its active growth phase and will colonize the fresh mix quickly. Move up only one pot size, roughly an inch or two wider. A pot that is too large holds wet mix the roots cannot reach, and the unused wet zone rots.
Knock the plant out of the old pot and inspect the root ball. If the tubers form a solid mass, loosen the outer layer with your fingers so fresh roots reach outward. Do not saw the root ball apart unless you are dividing the plant on purpose. Set the plant at its original depth in the new pot, fill around it with fresh peaty mix, and water thoroughly.
A root-bound plant that you do not want to enlarge can stay in its pot after a root trim. Slice a thin layer off the bottom and sides of the root ball, refill the space with fresh mix, and water in. This buys another season in the same container. Do this in spring only, and never remove more than a quarter of the roots at once.
9. Multiply It by Division in Spring
Division is the fast, reliable way to make new plants. North Carolina Extension’s asparagus fern plant page names division or seeds as the best propagation methods, and division gives you a full-sized plant immediately. Seeds take far longer and germinate unevenly, so divide whenever the mother plant is big enough.
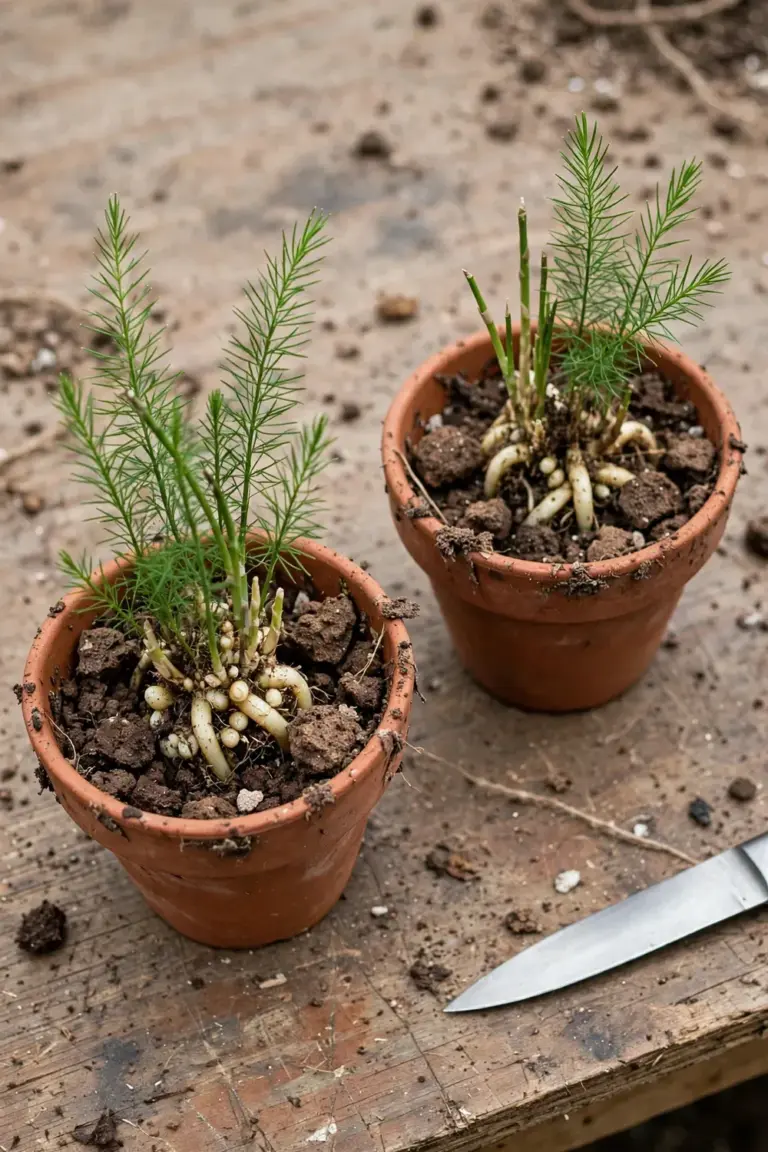
Start with a healthy, root-bound plant in spring. Water it the day before so the root ball holds together. Knock it out of the pot and look for natural sections where several shoots share a clump of tuberous roots. A sharp, clean knife cuts through the root mass. Make each division generous: every piece needs a good share of roots and at least three or four healthy shoots.
Pot each division into its own container with fresh mix, at the same depth it grew before. Water thoroughly and keep the new pots out of direct sun for two weeks while the cut roots recover. The divisions will sulk briefly, then push new growth once the roots re-establish. Our guide to propagating your plants for free covers the aftercare rhythm that applies here: steady moisture, bright indirect light, and no fertilizer until new growth appears.
Seeds work for the patient. The small red berries hold the seeds. Sow them fresh in a peaty mix, keep them warm and moist, and expect slow, staggered germination. Seed-grown plants take a season or more to look like anything, which is why almost everyone divides. Choose division unless you enjoy a long project.
10. Read the 3 Yellow-Needle Warnings Before They Drop
Yellow needles are the plant’s only real alarm system. They never green up again, so the goal is reading the warning early and fixing the cause before the whole spray drops. Three causes cover nearly every case.
| Symptom | Likely cause | Fix |
|---|---|---|
| Whole sprays yellowing, then dropping | Too little light | Move the pot to a brighter spot with indirect light; new growth comes from the soil line |
| Yellowing with soil that stays wet | Overwatering | Stop watering, let the mix dry out, empty the saucer, check drainage |
| Brown, crisp needle tips | Dry air or overfeeding | Raise humidity with a pebble tray; flush the pot and pause fertilizer |
Work the table from top to bottom. Light comes first because it is the most common cause and the cheapest fix. Check the soil moisture second, with a finger in the mix rather than a guess from the surface. Treat the air and the fertilizer last, because those are slower to change and slower to show results.
Pests rarely trouble asparagus fern indoors, but check anyway while you diagnose. Spider mites love dry indoor air and the same dry air that browns the tips invites them. Look for fine webbing where the sprays meet the stems. A strong rinse under the tap knocks most of them off, and the humidity fix that helps the plant also discourages the mites from returning.
Scale insects are the other occasional visitor. They sit motionless on the wiry stems and look like small brown bumps. Dab each one with a cotton swab dipped in rubbing alcohol. A plant that is growing strongly in good light shrugs off minor pest visits. A weak plant in a dark corner does not.
11. Keep Berries and Foliage Away From Pets and Children
Asparagus fern is toxic to pets. The ASPCA’s plumosa fern plant page lists asparagus fern as toxic to dogs, cats, and horses, with allergic dermatitis from repeated skin contact and gastric upset from berry ingestion. The page names vomiting, abdominal pain, and diarrhea as the signs when an animal eats the berries. The toxic compound sits in the berries and the foliage, so the whole plant is off limits, not just the fruit.
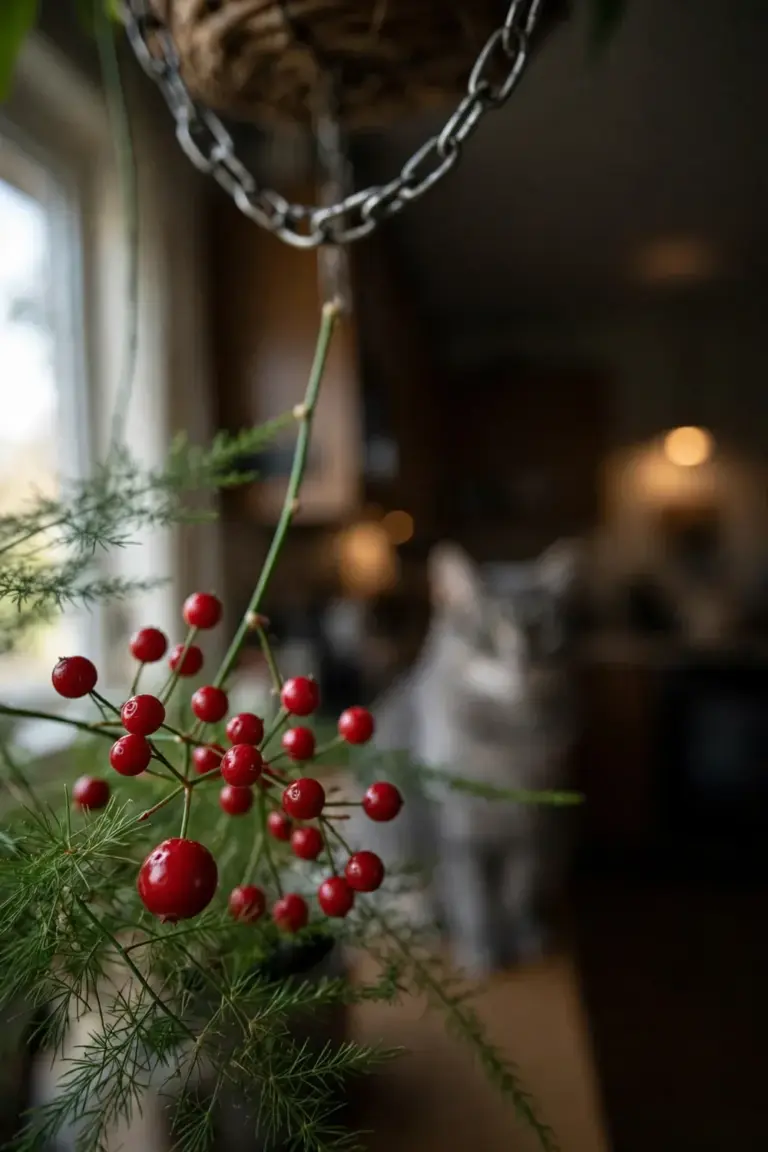
Cats are the main risk because the dangling sprays invite batting and chewing. Dogs mostly get into the berries on outdoor plants. Place the pot where animals cannot reach it: a high shelf, a hanging basket, or a closed room. A plant stand does not count as pet-proof against a determined cat. If an animal eats part of the plant, note how much and when, then call your veterinarian. Do not wait for the symptoms to get worse on their own.
Children need the same caution. The berries ripen to an attractive red and look edible. They are not. Teach children that the berries are decoration, and keep the plant out of reach of toddlers. The foliage can also irritate skin with repeated handling, so wash hands after pruning or repotting.
This is the point where the vegetable confusion turns dangerous. Nobody eats the ornamental by mistake very often, but the shared name means care advice gets swapped between the species. Keep the two plants mentally separate: one fills the dinner plate, the other fills the windowsill, and their safety profiles are not interchangeable.
12. Grow It in a Pot in Australia, Never in the Ground
The weed warning is the second fence this article builds, and in Australia it matters more than any care tip. Seven species of asparagus are recognized as Weeds of National Significance, including Asparagus plumosus, which is the climbing asparagus fern, and Asparagus scandens, sold as asparagus fern. That listing comes from the New South Wales government’s asparagus weeds page, and it covers the whole ornamental asparagus group, not just one bad actor.
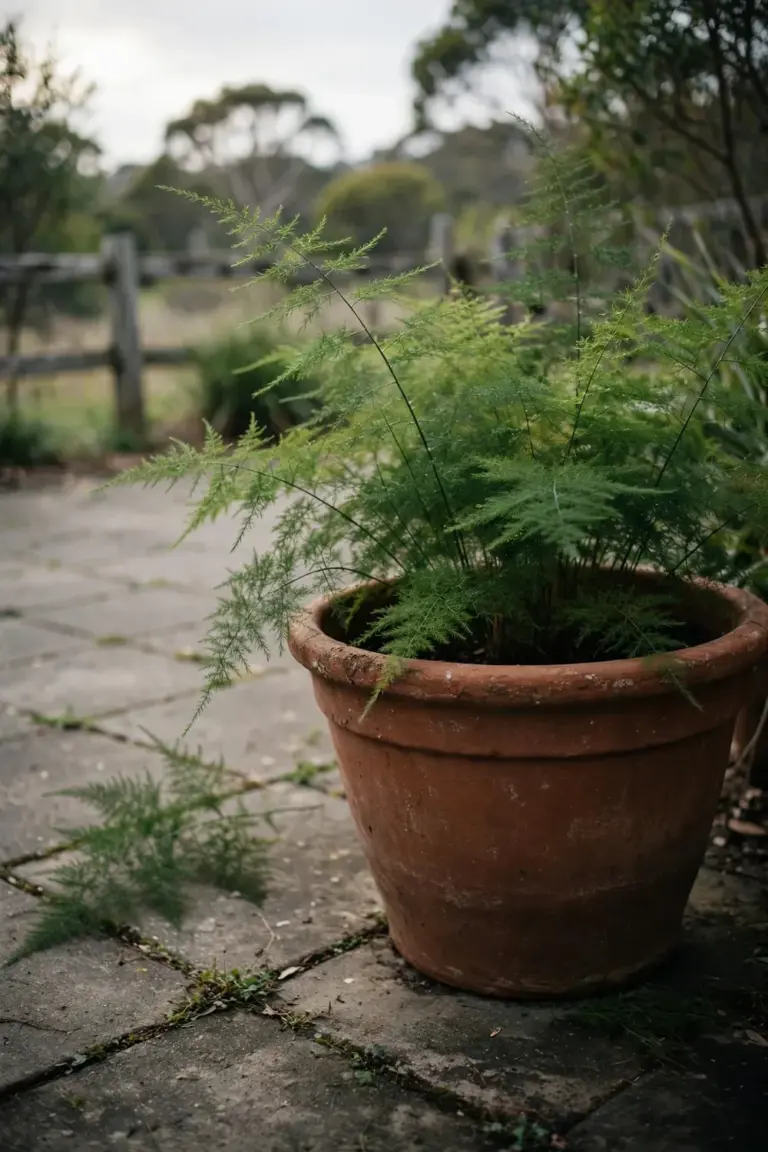
The mechanism is underground. Asparagus weeds form dense, impenetrable mats of tuberous roots that smother native seedlings and resist removal long after the tops are gone. Birds eat the berries and spread the seeds into bushland. What starts as a pretty garden plant becomes a monoculture that displaces native vegetation. Bridal creeper, Asparagus asparagoides, shows how far this goes: Queensland lists it as a category 2, 3, 4 and 5 restricted invasive plant under the Biosecurity Act 2014, with legal duties to control it, according to the Queensland government’s bridal creeper page.
The rules for Australian growers are simple. Grow Asparagus setaceus in a pot and keep it in a pot. Never plant it in the garden bed, and never let it grow near bushland or waterways. Snip the berries off before birds find them. Bag prunings and bin them with household waste. Never dump garden waste in bushland or compost the berries, because compost does not reliably kill the seeds.
Warm-climate growers outside Australia face the same duty in milder form. In frost-free regions the plant escapes cultivation the same way, through birds and dumped waste. Wherever winters stay above freezing, treat asparagus fern as a container plant and dispose of its waste responsibly. The plant is not banned in most places. It is not a plant to set free.
13. Avoid These 4 Asparagus Fern Mistakes
Baking it in direct sun. The delicate cladodes scorch in afternoon sun and the damage is permanent. The fix is a sheer curtain or a move to an east window. Bright does not mean direct.
Watering on a fixed schedule. A weekly drink drowns the plant in a cool winter and starves it in a hot summer. The fix is the finger test and the seasonal rhythm: regular in the growing season, sparing in winter, saucer always emptied.
Trimming fronds halfway. Shortened stems die back to the base and look ragged for months. The fix is the root-line cut: remove the whole stem at the crown and let the tuberous roots push a fresh one. Pinch only the soft growing tips for shaping.
Planting it in the ground in a frost-free climate. The tuberous root mat escapes, berries seed into wild areas, and in Australia the plant’s relatives are legally listed weeds. The fix is a pot, berry removal before birds arrive, and bagged disposal of prunings. Container culture is not a compromise here. It is the responsible way to grow the plant.
Frequently Asked Questions
Yellow needles that drop usually mean too little light or too much water. North Carolina Extension notes that both cause yellowing and that damaged needles never rejuvenate. Move the plant to brighter indirect light first, then check that the soil is not staying soggy. Cut yellowed stems back to the root. New growth will rise from the soil line once conditions improve.
Only where winters stay frost-free. Asparagus fern prefers 55 to 70 degrees Fahrenheit and sulks in cold, dry air. In frost-free climates it grows outdoors in shaded spots, but keep it in a pot so the tuberous roots cannot escape into the landscape. In cooler regions it stays indoors year-round as a houseplant.
No. The ASPCA lists asparagus fern as toxic to dogs, cats, and horses. Berry ingestion causes vomiting, abdominal pain, and diarrhea, and repeated skin contact causes allergic dermatitis. Keep the plant on a high shelf or in a hanging basket, well out of reach. True ferns like Boston fern are the safe alternative for pet households.
No. Asparagus fern is Asparagus setaceus, an ornamental grown for foliage. Vegetable asparagus is Asparagus officinalis, grown for edible spears. They share a genus and a name, which causes constant mix-ups, but their care is completely different. You cannot harvest spears from asparagus fern, and vegetable asparagus advice does not apply to the houseplant.
Yes, but division is faster and more reliable. The red berries hold viable seeds, and North Carolina Extension lists seeds alongside division as propagation methods. Sow seeds fresh in a peaty mix and keep them warm and moist, but expect slow, uneven germination. A spring division of a mature plant gives you a full-sized new plant in weeks.
Where to Go From Here
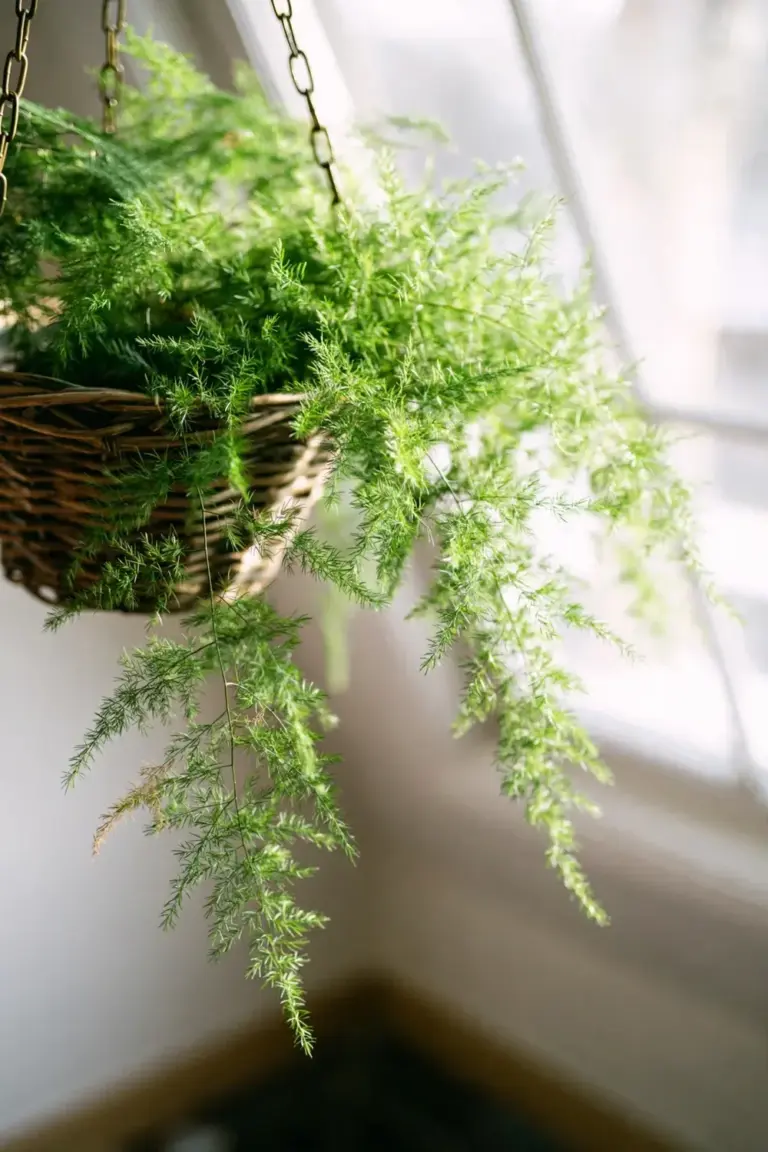
Asparagus fern asks for little and gives a lot of green in return. Bright indirect light, the seasonal watering rhythm, steady warmth with humid air, and a pot that drains freely cover almost everything. The two fences hold the rest: it is not the vegetable and not a true fern, and in Australia and other frost-free places it stays in a pot, never in the ground.
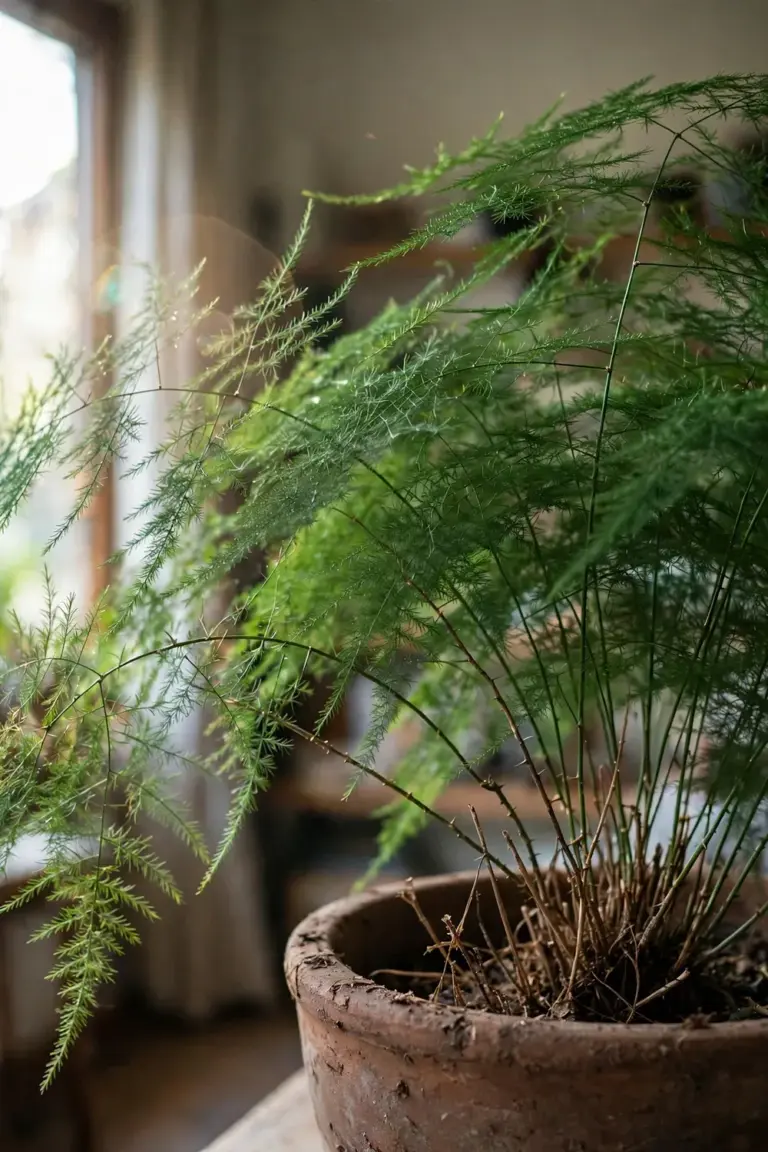
Start with the identity check if you are unsure what you bought. Then walk the plant through the light and water sections in order, because those two fixes solve most sick plants. Prune hard in spring, divide when the tubers crowd the pot, and snip the berries before the birds find them. A plant treated this way fills its pot with dense new sprays every growing season.