10 Secrets to Growing Luscious New Zealand Spinach
Tired of the same old spinach? Craving a unique and flavorful addition to your salads and stir-fries?
Growing any new vegetable can feel daunting. You might be wondering, “Where do I even begin?” and “Will I be able to keep it alive?” The uncertainty can be overwhelming, especially when you’re eager to try something new and exciting in your garden.
Fear not, fellow gardener. New Zealand spinach, with its succulent leaves and remarkable drought tolerance, offers a refreshing change from traditional spinach. This comprehensive guide will equip you with the knowledge and confidence to cultivate a thriving patch of New Zealand spinach in your own backyard, ensuring you enjoy its unique flavor and resilience.
Understanding New Zealand Spinach: A Quick Overview
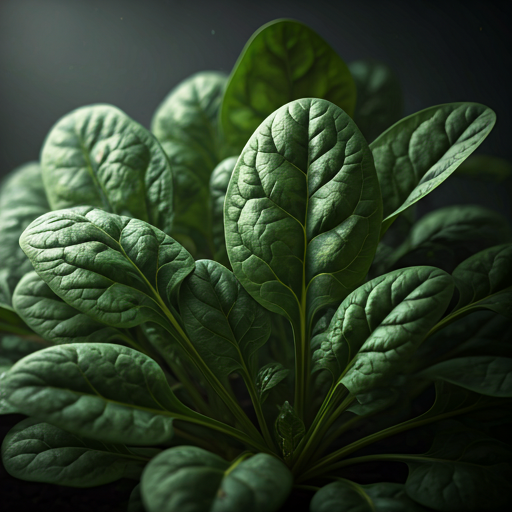
Let’s start with the basics. While commonly called New Zealand spinach, its scientific name is Tetragonia tetragonoides. This unique plant isn’t a true spinach at all, but rather a succulent native to New Zealand, Australia, and South Africa. Its leaves are thick and fleshy, packed with a slightly salty and tangy flavor. Unlike traditional spinach, which tends to bolt (flower and go to seed) quickly in hot weather, New Zealand spinach thrives in warm conditions, making it a perfect summer vegetable.
Beyond its culinary uses, New Zealand spinach offers several other benefits. It’s a drought-tolerant plant, making it an excellent choice for water-conscious gardeners. Its vining growth habit allows it to be grown vertically on trellises or fences, saving valuable garden space. It can even be used as a groundcover to suppress weeds.
Nutritionally, New Zealand spinach is a powerhouse. It’s a good source of vitamins A, C, and K, as well as minerals like iron and calcium. Including this nutrient-rich vegetable in your diet can provide numerous health benefits, from boosting your immune system to improving bone health.
Now that you have a better understanding of this fascinating plant, let’s dive into the specifics of how to grow it successfully.
Choosing the Right Location for Your New Zealand Spinach

Selecting the right location in your garden is crucial for cultivating healthy and productive New Zealand spinach plants. This vibrant vegetable thrives in warm, sunny conditions, so choosing a spot that receives at least six hours of direct sunlight per day is essential. While it can tolerate some shade, optimal growth and flavor development occur when the plants are exposed to ample sunshine.
The soil quality also plays a vital role in the success of your New Zealand spinach garden. Well-drained soil is key to prevent root rot, a common issue that can affect this plant. Amend heavy clay soil with compost or other organic matter to improve drainage and aeration. Aim for a slightly acidic to neutral soil pH (around 6.0 to 7.0).
Consider the space available in your garden. New Zealand spinach is a vigorous grower, with its vines spreading out to cover a considerable area. Allow ample space between plants to ensure adequate air circulation and prevent overcrowding. If you have limited space, consider growing New Zealand spinach vertically on trellises or fences. This method not only saves space but also keeps the leaves clean and reduces the risk of soil-borne diseases.
While New Zealand spinach is generally a low-maintenance plant, it’s essential to be aware of potential growing challenges. Avoid planting in areas with poor drainage, as excessive moisture can lead to root rot. Similarly, avoid planting in low-lying areas where water may pool after heavy rainfall.
By carefully selecting the right location for your New Zealand spinach garden, you’ll set the stage for healthy growth and a bountiful harvest.
Starting Your New Zealand Spinach Garden
Now that you’ve chosen the perfect spot for your New Zealand spinach, it’s time to get started! You have two primary options for starting your garden: from seed or from cuttings.
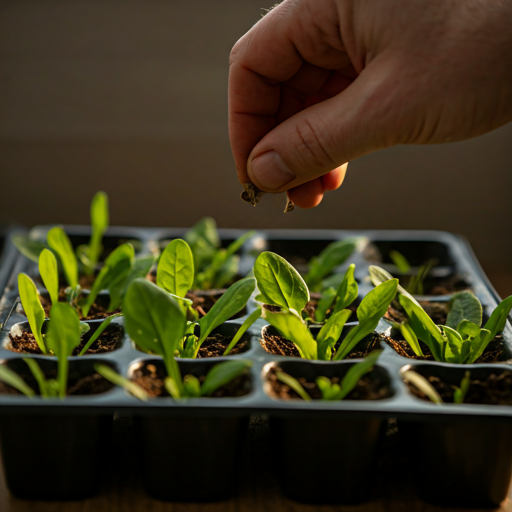
Starting from Seed
- Direct Sowing: For warm climates, direct sowing seeds into the garden after the last frost is a straightforward method. Sow seeds about 1/4 inch deep and 12 inches apart. Keep the soil consistently moist until germination occurs, which typically takes 7-10 days.
- Starting Indoors: If you live in a cooler climate or want an earlier harvest, starting seeds indoors is a good option. Sow seeds in seed trays filled with a well-draining seed-starting mix. Maintain a warm temperature of around 70-75°F (21-24°C) for optimal germination. Once seedlings have developed two true leaves, transplant them into individual pots or directly into the garden.
Starting from Cuttings
New Zealand spinach can also be propagated from stem cuttings. This method is quick and easy, allowing you to quickly expand your existing plants or share with fellow gardeners.
- Take Cuttings: Select healthy stems with several nodes (the points where leaves emerge). Cuttings should be about 4-6 inches long.
- Root Cuttings: Dip the cut ends of the cuttings in rooting hormone (optional) and plant them in a pot filled with a well-draining potting mix.
- Maintain Moisture: Keep the potting mix consistently moist but not soggy. Rooting typically occurs within 2-3 weeks.
- Transplant: Once the cuttings have developed roots, transplant them into your garden or larger pots.
Caring for Your New Zealand Spinach Plants
Providing consistent care to your New Zealand spinach plants is essential for healthy growth and a bountiful harvest. Here are some key aspects to consider:
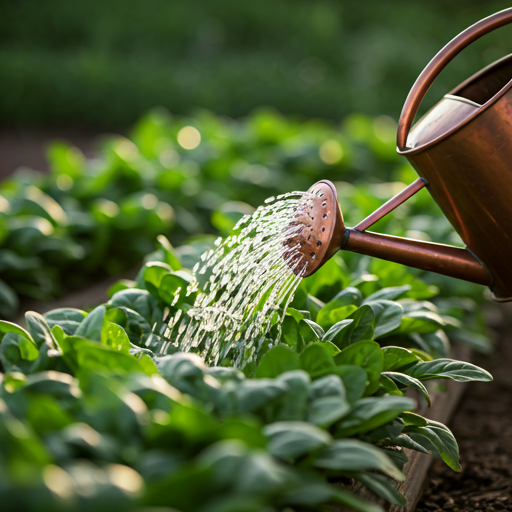
- Watering: New Zealand spinach is relatively drought-tolerant, but consistent moisture is crucial, especially during hot, dry periods. Water deeply and infrequently to encourage deep root growth. Avoid overwatering, as this can lead to root rot. Monitor the soil moisture and water when the top inch of soil feels dry to the touch.
- Fertilizing: While New Zealand spinach is not a heavy feeder, fertilizing can boost growth and enhance flavor. Apply a balanced organic fertilizer or compost tea around the base of the plants every 4-6 weeks. Avoid over-fertilizing, as this can lead to excessive foliage growth at the expense of fruit production.
- Pest and Disease Control: Although generally pest-resistant, New Zealand spinach can occasionally be affected by aphids, slugs, and snails. Handpick these pests or use organic pest control methods like insecticidal soap or diatomaceous earth. Powdery mildew can also be an issue in humid conditions. Improve air circulation around plants and avoid overhead watering to minimize the risk of powdery mildew.
By providing consistent care and attention to your New Zealand spinach plants, you’ll be well on your way to enjoying a delicious and rewarding harvest.
Harvesting and Enjoying Your New Zealand Spinach
The anticipation of harvesting your homegrown New Zealand spinach is a rewarding experience. By following a few simple guidelines, you can ensure a continuous supply of fresh, flavorful leaves throughout the growing season.
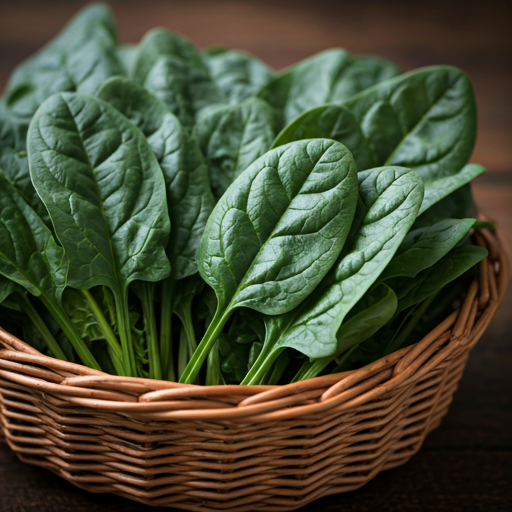
- When to Harvest: Start harvesting young leaves when they reach about 4-6 inches in length. Regular harvesting encourages the plant to produce more leaves, prolonging the harvest season.
- Harvesting Techniques: To harvest, simply pinch or cut individual leaves from the plant. Avoid pulling on the stems, as this can damage the plant.
- Storing New Zealand Spinach: Store harvested leaves in an airtight container in the refrigerator for up to a week.
Creative Ways to Use New Zealand Spinach in Your Kitchen
New Zealand spinach is a versatile ingredient that can add a unique flavor and texture to a variety of dishes. Its slightly salty and tangy taste complements many culinary creations. Here are some creative ways to incorporate this flavorful green into your meals:
- Salads: Add fresh New Zealand spinach leaves to mixed green salads for a burst of flavor and a vibrant color contrast.
- Stir-fries: Toss chopped New Zealand spinach into your favorite stir-fry dishes for a quick and healthy addition.
- Soups and Stews: Sautéed New Zealand spinach can be added to soups and stews for a hearty and nutritious meal.
- Smoothies: Blend New Zealand spinach into your morning smoothie for a nutrient boost and a subtle green flavor.
- Pesto: Create a vibrant green pesto by blending New Zealand spinach with garlic, nuts, olive oil, and Parmesan cheese.
Troubleshooting Common Growing Problems

While New Zealand spinach is generally a low-maintenance plant, you may encounter some growing challenges along the way. Here’s how to troubleshoot some common problems:
- Yellowing Leaves: Yellowing leaves can indicate various issues, including nutrient deficiencies (especially magnesium or iron), overwatering, or pest infestations. Ensure the soil is well-drained and fertilize with a balanced organic fertilizer if necessary. Check for pests like aphids and treat accordingly.
- Stunted Growth: Stunted growth can be caused by insufficient sunlight, poor soil drainage, or lack of water. Ensure your plants are receiving adequate sunlight and water. Amend the soil with compost to improve drainage if needed.
- Bolting: Bolting occurs when the plant prematurely flowers and goes to seed, resulting in a decline in leaf quality. To prevent bolting, harvest leaves regularly to encourage continued vegetative growth. Provide consistent moisture and avoid excessive heat stress.
By addressing these potential issues promptly, you can ensure the continued health and productivity of your New Zealand spinach plants.
FAQ Section
Here are answers to some frequently asked questions about growing New Zealand spinach:
- Q: Can I grow New Zealand spinach indoors?
- A: While it prefers full sun, New Zealand spinach can be grown indoors in bright, sunny locations. Place it near a south-facing window or under grow lights to ensure it receives adequate light.
- Q: How often should I water my New Zealand spinach?
- A: Water deeply and infrequently to encourage deep root growth. Allow the top inch of soil to dry slightly between waterings. Avoid overwatering, as this can lead to root rot.
- Q: Can I eat the stems of New Zealand spinach?
- A: Yes, the stems are edible, but they are often tougher than the leaves. You can use them in soups, stews, or smoothies.
Conclusion
I hope this comprehensive guide has equipped you with the knowledge and confidence to successfully grow your own luscious New Zealand spinach. By following these tips and paying attention to your plants’ needs, you’ll be rewarded with a bountiful harvest of this unique and flavorful vegetable. Happy gardening!
Remember: This is just a starting point. Feel free to experiment with different growing techniques and discover what works best for you and your garden. The joy of gardening lies in the process of learning and adapting.


")