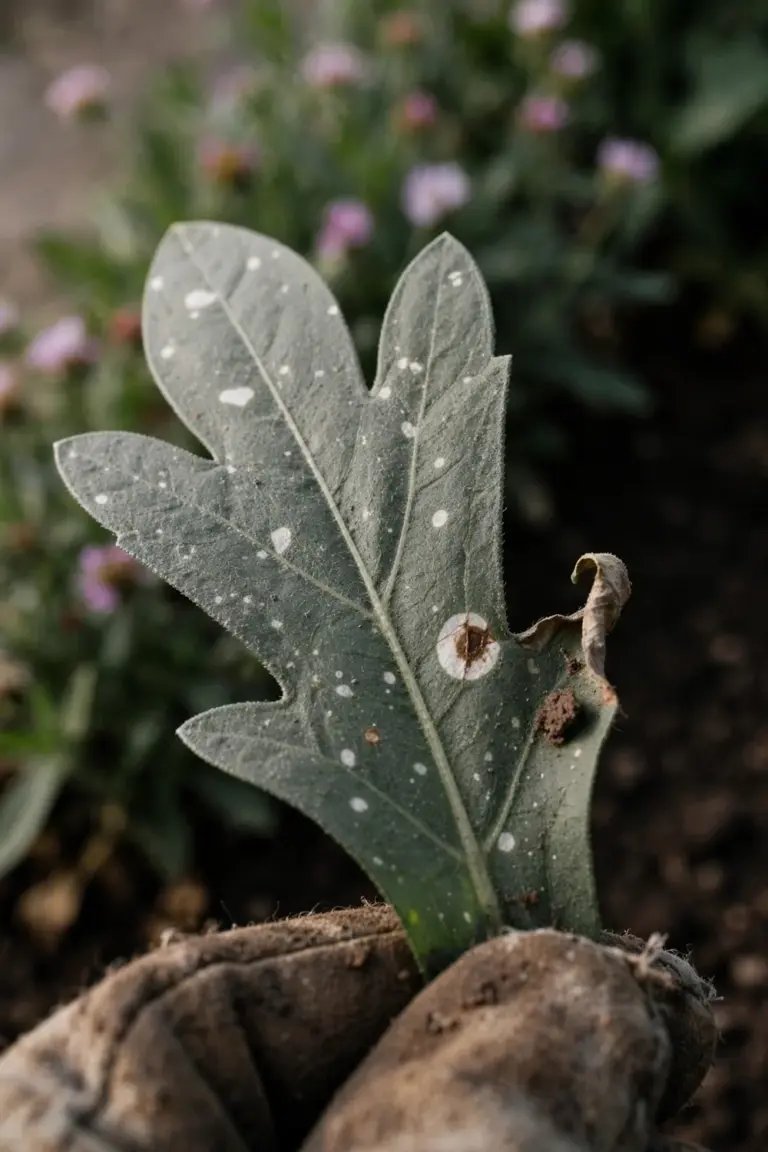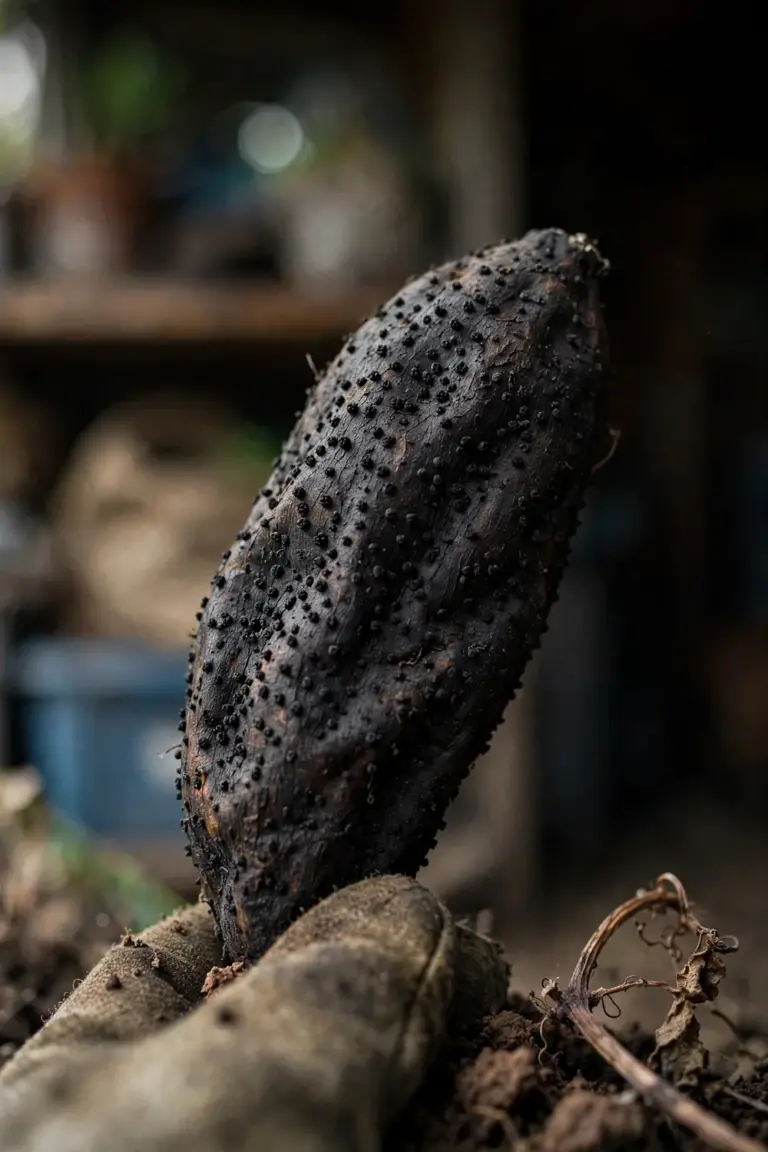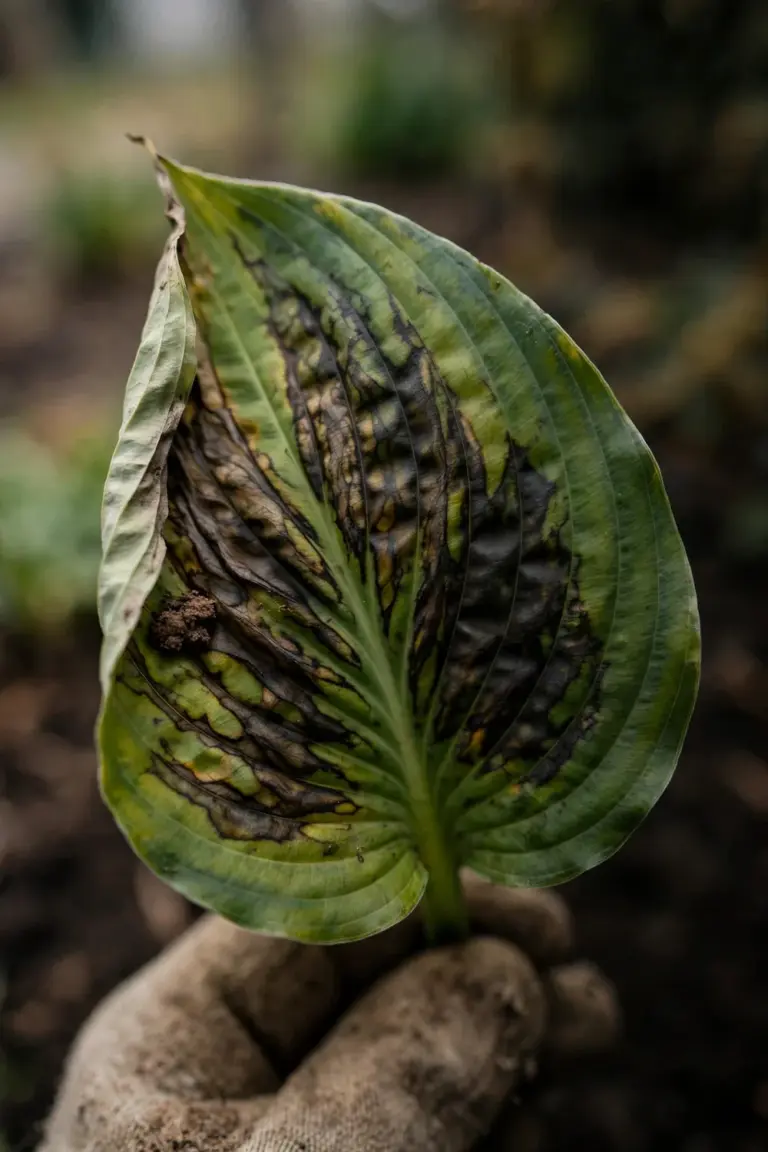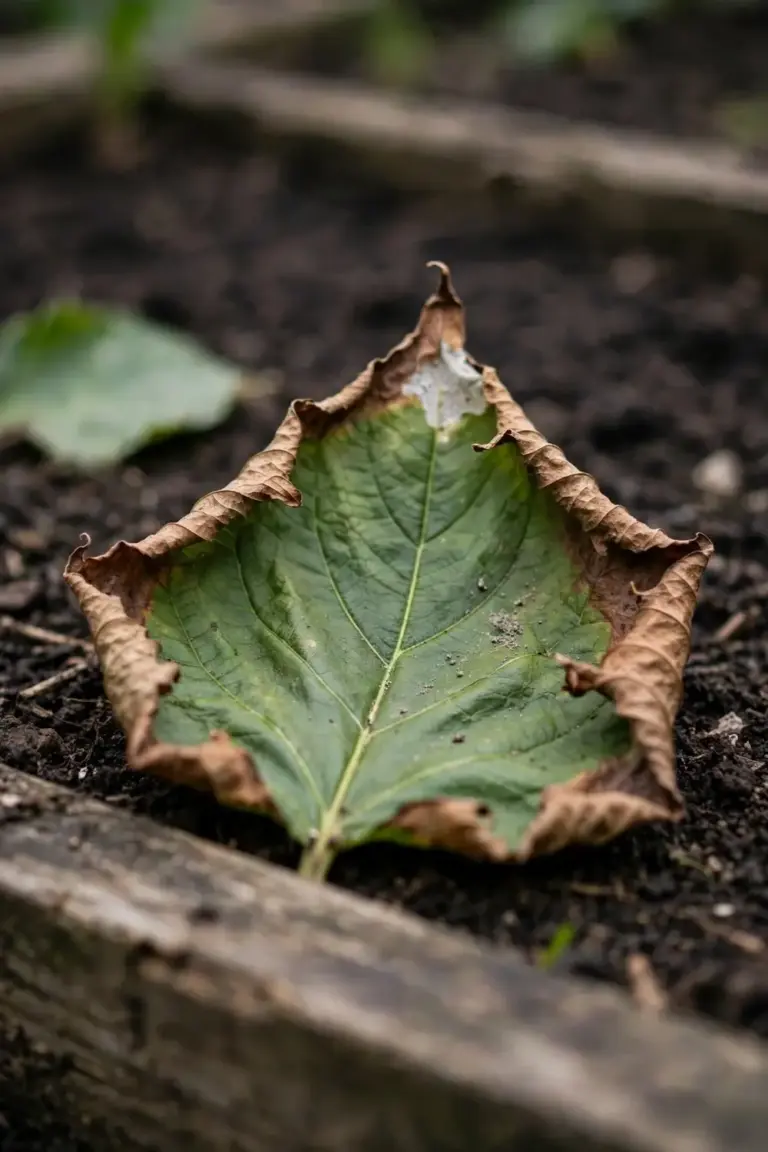

Iris leaf spot rarely kills an iris outright, and that fact shapes the whole response. Repeated attacks weaken the plant, strip its leaves early, and cut bloom, while the plant itself usually survives. The 10 strategies below tell you how to confirm the identification, separate leaf spot from iris rust with a finger test, break the overwintering cycle with fall and spring cleanup, and keep fungicide where it belongs: last resort, never first step.
The disease is common on iris, especially bearded and German iris, and it shows first as small tan spots near the leaf tips. A gardener who catches those spots early, cleans up thoroughly in fall, and keeps water off the foliage will hold the disease to a cosmetic level in most years. A gardener who ignores the spots and leaves the dead foliage standing will watch the spots return earlier and heavier each spring.
The rest of this page walks the identification, the hosts, the compiled rust differential, the mechanism, the risk factors, and the 10 strategies. The disease name leads. The pathogen, Cladosporium iridis, stays in the background after this introduction.
What Iris Leaf Spot Actually Is
Iris leaf spot is a fungal disease of iris. The pathogen is Cladosporium iridis, also called Heterosporium leaf spot, and its teleomorph is Davidiella macrospora, noted here once. Older sources use Heterosporium iridis, Didymellina macrospora, and Mycosphaerella macrospora. Those are names for one fungus, not separate diseases, and this article uses Cladosporium iridis throughout.
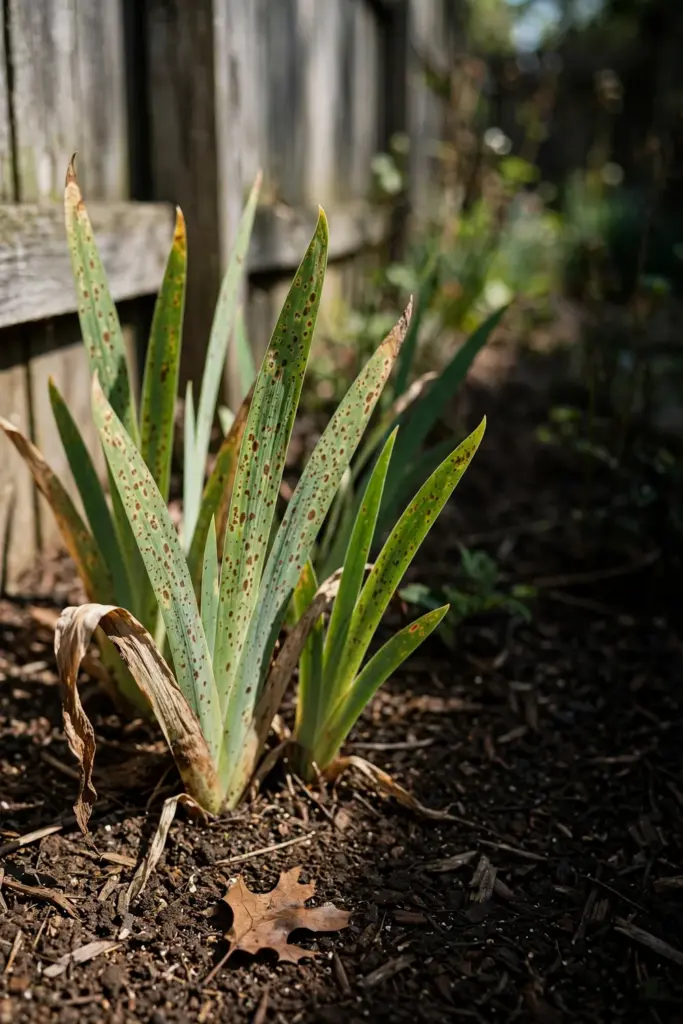
The fungus does not infect bulbs or rhizomes directly. It attacks the leaves, and premature leaf loss weakens the plant over time and reduces bloom. Repeated heavy attacks year after year drain vigor, so the plant may eventually die from other stresses. Extension sources are clear on the framing: the disease weakens vigor and does not kill the plant directly. One home-magazine source claims the fungus “takes a few seasons to kill affected plants.” This article defaults to the Extension framing and does not carry the kill claim as settled.
The disease cycle runs on dead leaves. The fungus overwinters on dead iris leaves and other plant remains. Spores are produced in spring, dispersed by wind and rain, and infect leaves directly or through stomata. Several disease cycles can occur in warm, wet weather. Every dead leaf left standing in fall is next spring’s inoculum.
How to Identify Iris Leaf Spot on Your Irises
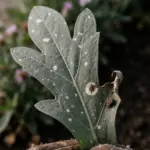
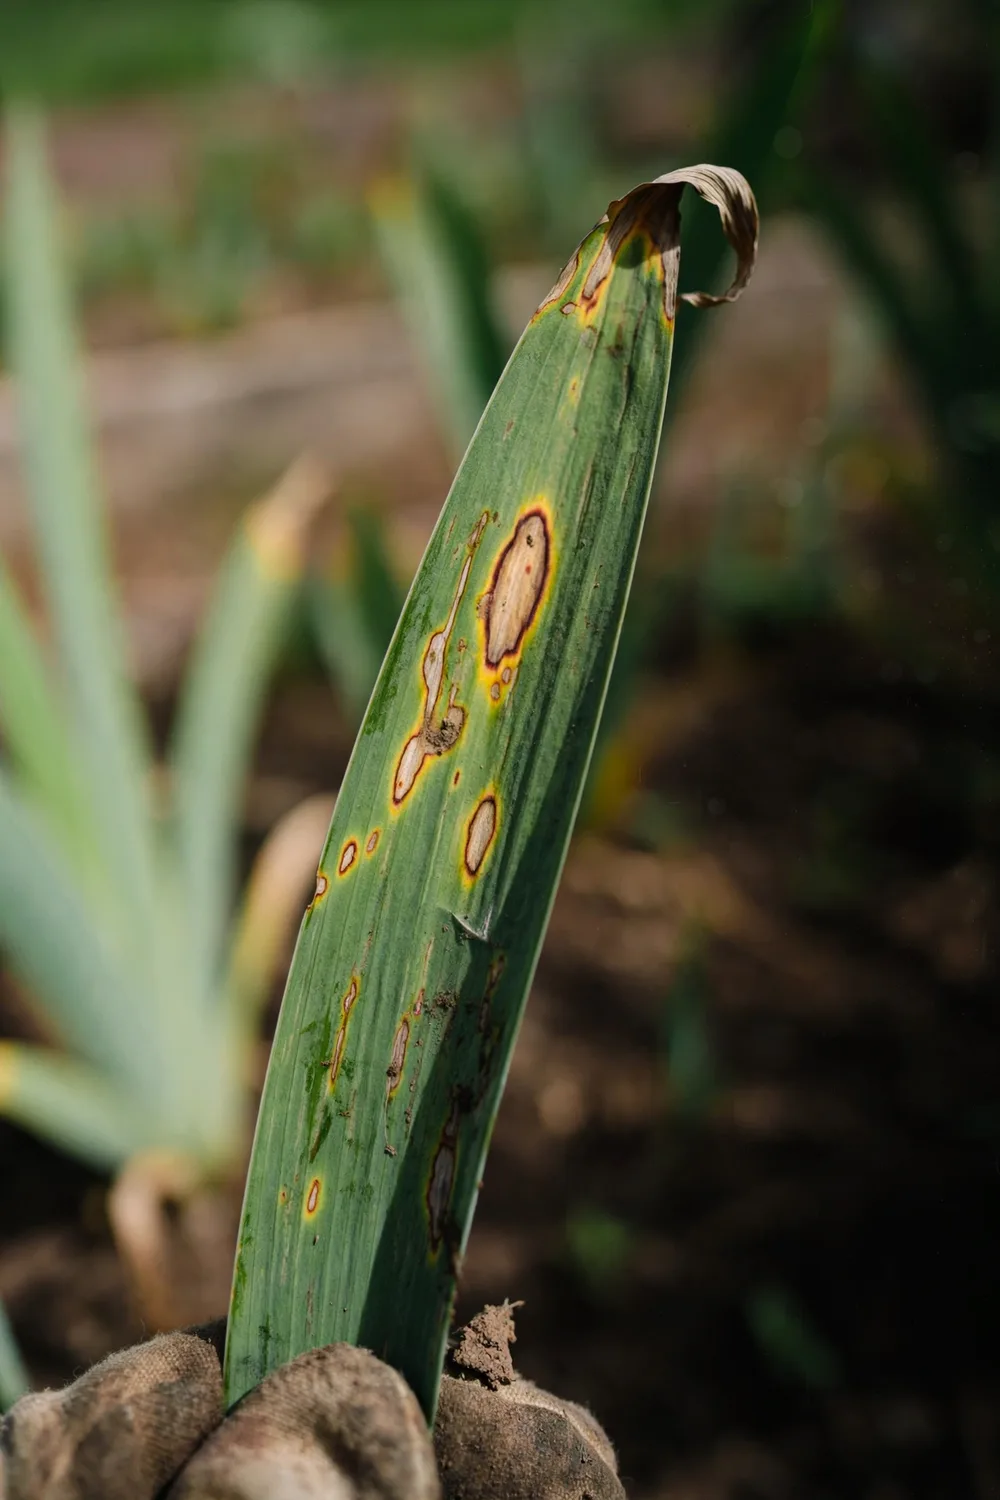
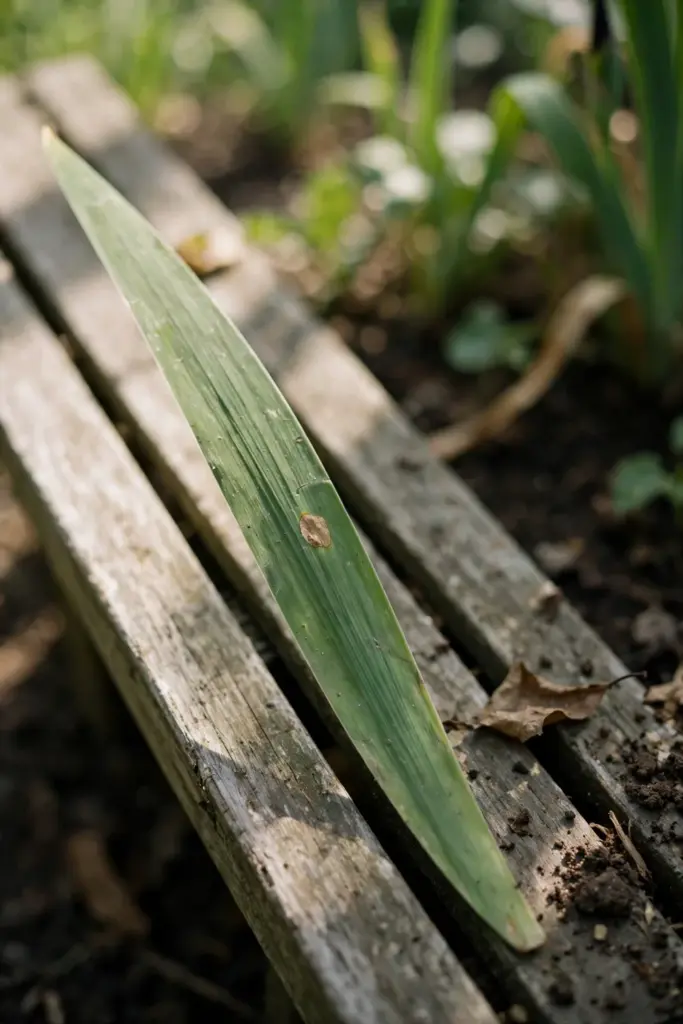
Start at the leaf tips. Symptoms first appear near the leaf tips as small, tan spots with watersoaked margins. The watersoaked edge is the early tell. A spot that still shows a wet-looking border is a fresh infection, and a spot that has lost the border is older.
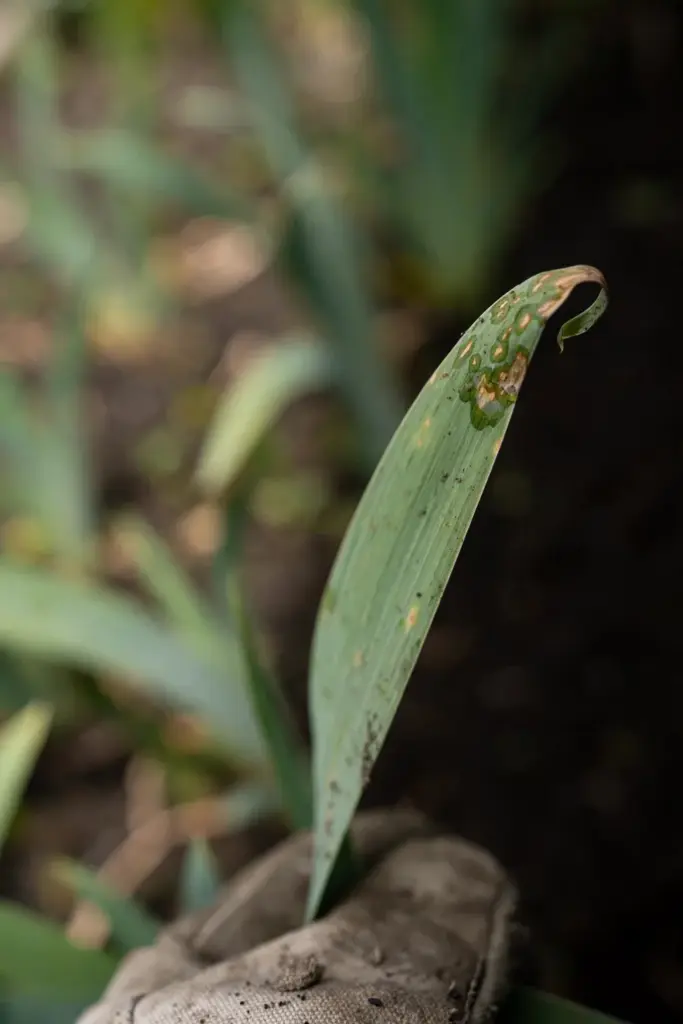
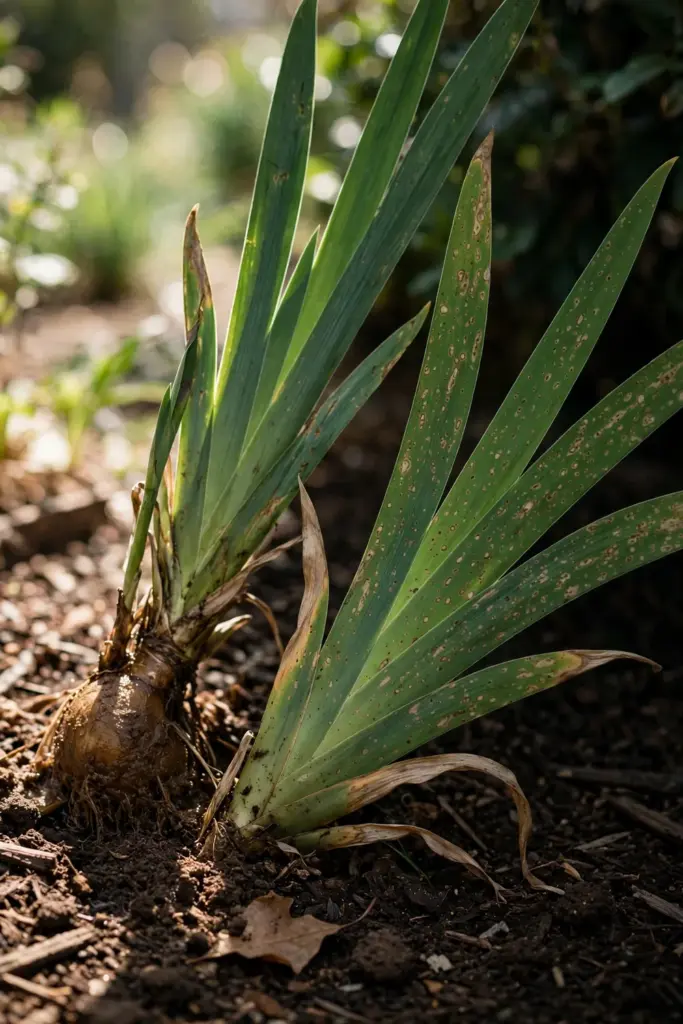
Watch the spots after bloom. After bloom, the spots lose their watersoaked margins, enlarge rapidly, and become more conspicuous as oval, tan lesions, often with a reddish-brown margin and a yellow halo. The oval tan lesion with the reddish-brown edge is the mature form. A leaf with several of these lesions is a leaf with iris leaf spot.
Look for the grayish fuzz in the centers. Spores of the fungus may be visible as a grayish, fuzzy growth in the centers of the spots. The fuzz is the spore production, and it marks the lesion as active. A lesion with fuzzy gray centers is a lesion spreading spores to the next leaf.
Follow the tip-back death. As spots enlarge, they coalesce, causing death of the leaf from the tip back. The leaf dies from the tip toward the base, not from the base up. A leaf dying tip-back with oval tan lesions above the dead zone is the classic picture. Leaves killed prematurely, before their season ends, are the damage that matters.
Which Irises Get Hit Hardest
Bearded and German iris are the most susceptible. Bearded iris, Iris × germanica, carries the heaviest leaf spot pressure in most home gardens. A bearded iris bed with poor airflow and standing dead foliage will show the disease first and worst. The bearded bed is where the cleanup matters most.
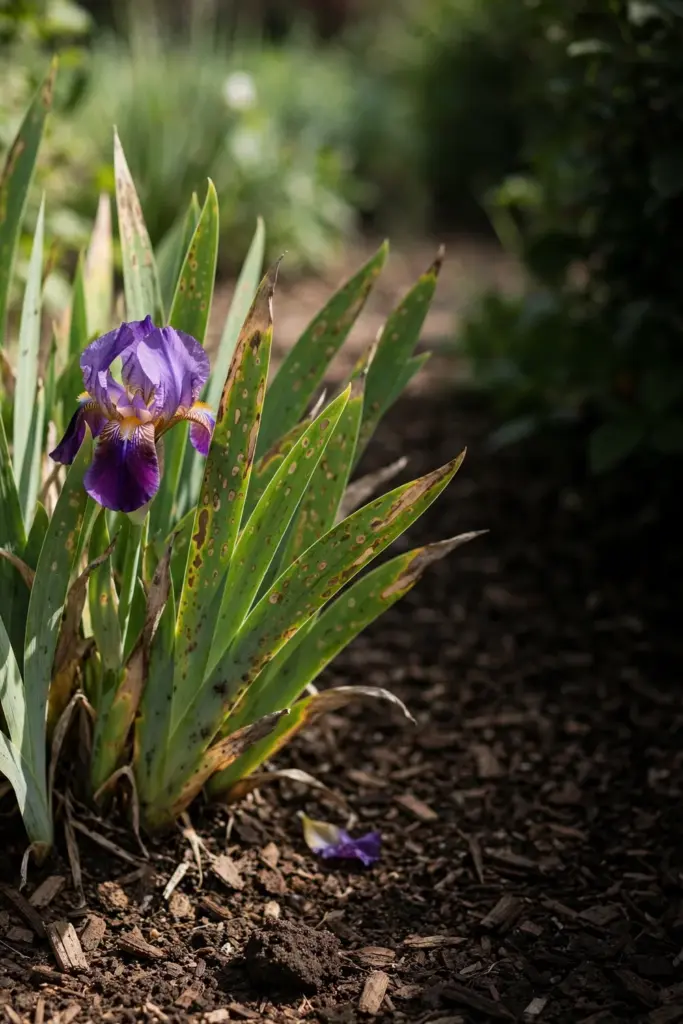
Bulbous iris is also a frequent host. The pathogen is most common on bulbous iris, though it can severely damage rhizomatous iris too. A bulbous iris bed deserves the same fall cleanup as a bearded bed. The host type changes the planting, not the sanitation.
Siberian iris resists well. Siberian iris, Iris sibirica, shows good resistance, and beardless cultivars generally show more resistance than bearded types. Crested iris, Iris cristata, and Iris graminea are also reported as resistant. Where leaf spot is a chronic problem, planting resistant species is the structural fix that no spray replaces.
Other hosts exist but stay in the background. The pathogen has been reported on Gladiolus, Freesia, and Narcissus. Those are secondary hosts, mentioned here once, not expanded. The article stays on iris.
Iris Leaf Spot vs Iris Rust
The finger test settles it. Rub the spot with a fingertip: powdery rust-colored spores that stain the finger mean rust, while a flat spot with no powder and no stain means leaf spot. The powder test is the field check, and it works in seconds.
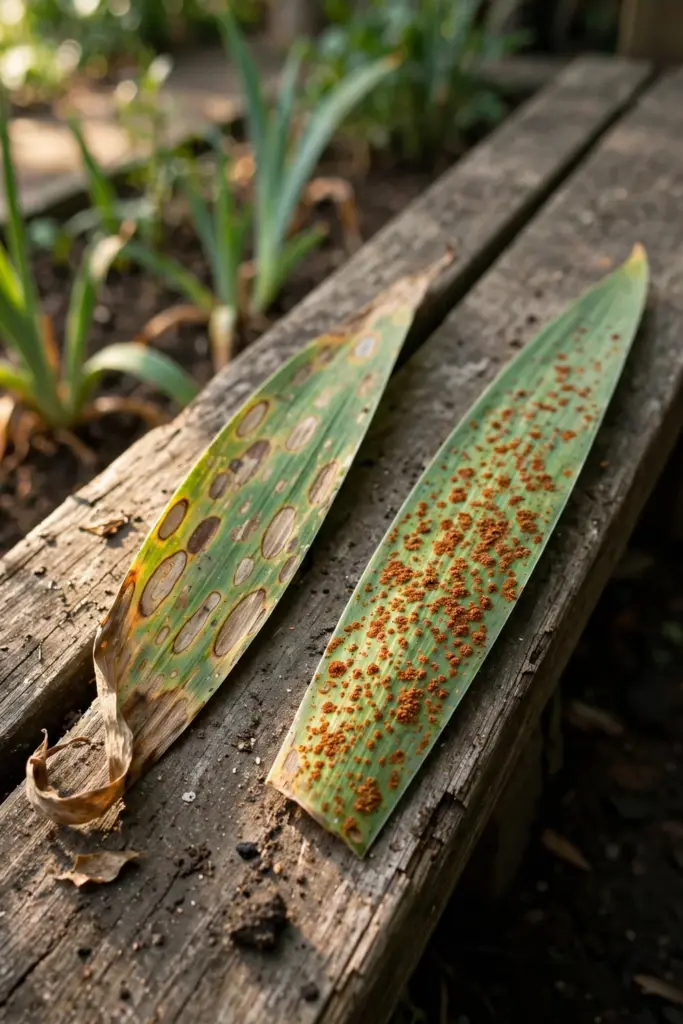
| Clue | Iris Leaf Spot (Cladosporium iridis) | Iris Rust (Puccinia iridis) |
|---|---|---|
| Texture | Flat spots, no powdery spores, does not stain fingers | Powdery rust-colored pustules, spores stain hands and clothing |
| Shape | Small tan spots → oval tan lesions | Rectangular reddish-brown lesions |
| Margin | Reddish-brown margin + yellow halo | Yellow margin |
| Spore sign | Grayish fuzzy growth possible in lesion centers | Rust-colored powder that rubs off |
| Leaf surfaces | Mostly upper surface | Both leaf surfaces |
| Timing | Spots enlarge after flowering, coalesce, leaf dies tip-back | Lesions multiply until the leaf browns and dies |
| Outcome | Kills individual leaves; repeated attacks weaken vigor | Kills individual leaves; does not kill the whole plant |
No published head-to-head “leaf spot vs rust” comparison article exists. This table compiles the distinction from parallel sources: Virginia Tech, Iowa State Extension, the Pacific Northwest Handbook, and home-gardener guidance. The powder test is the field check that the compiled rows support.
Rule out the lookalikes in one pass. Ink spot, Drechslera iridis, attacks Iris reticulata bulbs, with reddish-brown elongated spots and inky stains on the bulbs. Bacterial leaf blight, Xanthomonas, shows water-soaked dark spots, and copper products are for bacteria, not for this fungus. Crown and rhizome rot show base and rhizome symptoms with foul odor and a mushy rhizome. Iris borer shows chewed tissue, larvae, and ragged watersoaked leaves. Each lookalike gets one line, never a second table.
How Iris Leaf Spot Spreads
The fungus overwinters on dead leaves. Old infected leaves carry the fungus through winter. Spores produced in spring move from old debris to young leaves and start new infections. The overwintering stage is the weak point in the cycle, and the fall cleanup attacks exactly that stage.
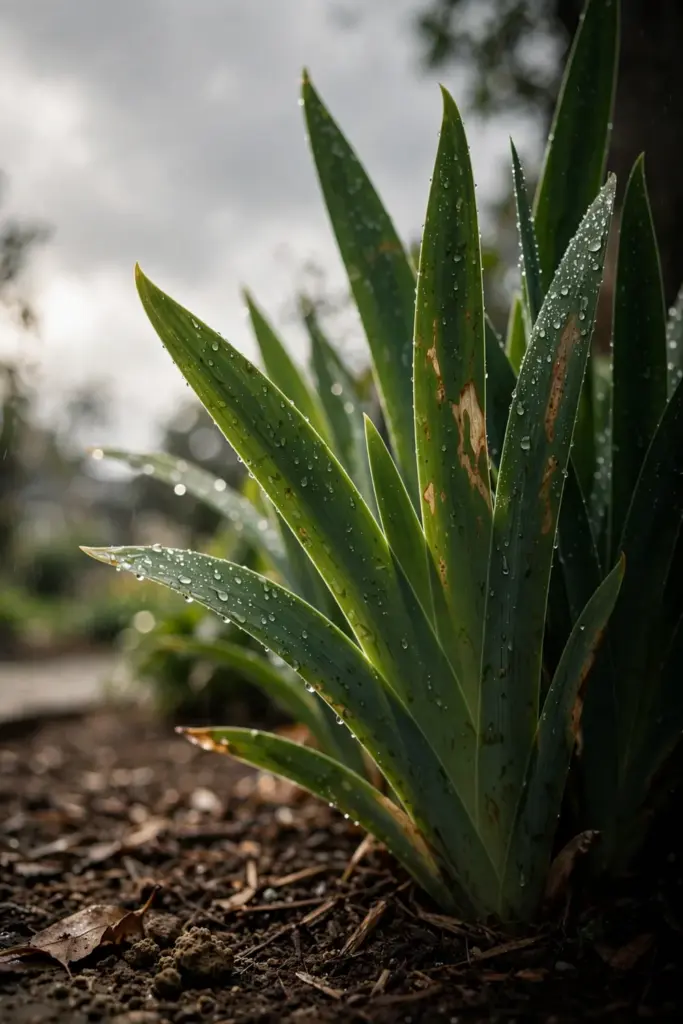
Splash carries the spores. Spores are splashed by rain or irrigation water to healthy leaf tissue during the growing season, causing new infections. Overhead watering is a splash machine. A sprinkler that wets iris foliage every evening moves spores from lesion to clean leaf, night after night.
Wet foliage is the infection window. Infection needs wet leaves, and mild damp weather with poor air movement grows the disease fastest. A dense, weedy, shaded bed that holds morning dew until noon is a bed that stays infected. A bed in full sun with airflow dries by mid-morning and breaks the window.
Several cycles run per season. Spores are produced on lesions as leaves mature, and several generations of spores can occur in warm, wet weather. One missed cleanup in fall becomes several infection cycles by midsummer. The compounding is why the fall cleanup outranks every other action.
What Raises the Risk of Iris Leaf Spot
Standing dead foliage raises the risk most. Dead leaves left in the bed over winter carry the fungus to spring. A bed that was never cleaned in fall starts the season with inoculum already in place. The fall cleanup is the single highest-value action because it removes the overwintering stage.
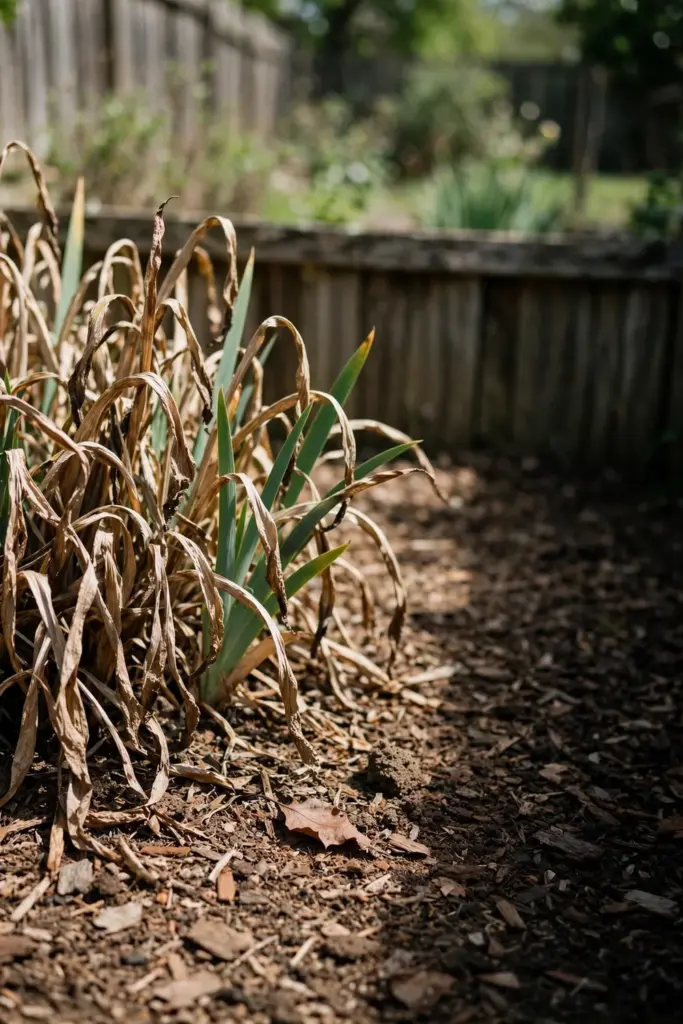
Crowding and poor airflow raise the risk. Crowded clumps, weeds, and shade hold moisture on the foliage and slow drying. A crowded bed stays wet longer after every rain and every watering. Dividing crowded clumps and controlling weeds dry the bed faster.
Overhead watering raises the risk. Sprinklers and hose nozzles that wet the foliage splash spores and extend the wet-leaf window. Watering at the base keeps the foliage dry. The watering method matters as much as the watering amount.
Working among wet plants raises the risk. Hands, tools, and clothing move spores from wet foliage to clean foliage. Morning dew counts as wet. A gardener who weeds the iris bed while the leaves are still dewy spreads the disease with every touch.
Strategy 1: Confirm the ID Before Spending Anything
Match the symptom sequence. Small tan spots near the leaf tips with watersoaked margins, then oval tan lesions with reddish-brown margin and yellow halo after bloom, then coalescing spots and tip-back leaf death. The sequence, not any single spot, carries the identification. A single brown spot on one leaf is not a diagnosis.
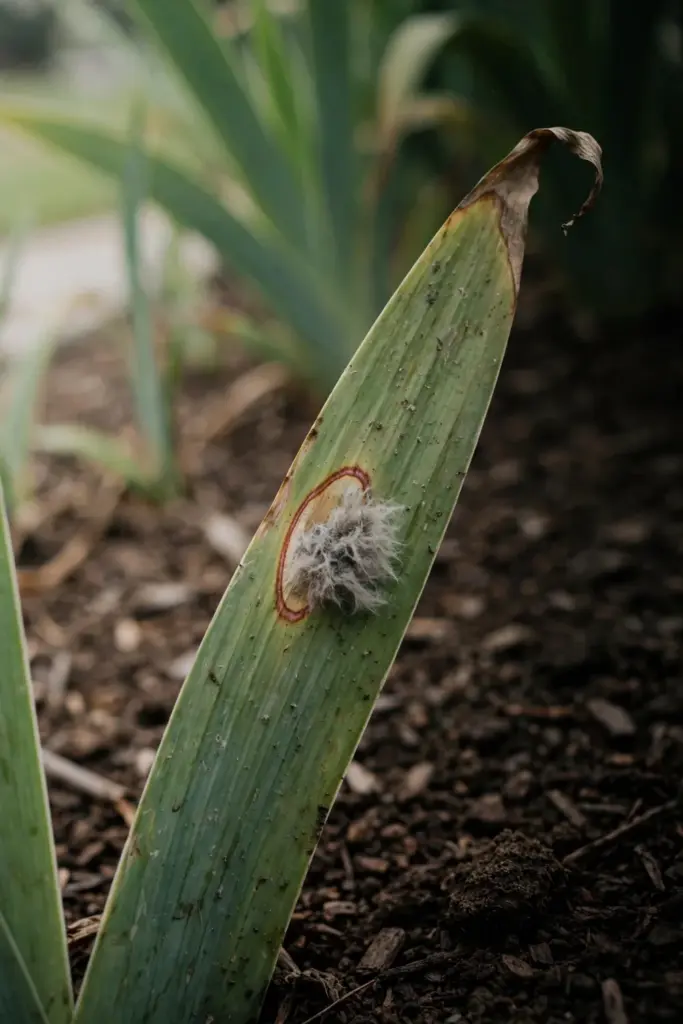
Check the centers for grayish fuzz. Spores of the fungus may be visible as a grayish, fuzzy growth in the centers of the spots. The fuzz marks an active lesion. A leaf with fuzzy-centered lesions is a leaf spreading spores, and it goes into the bag first.
Run the powder test. Rub the spot with a fingertip. Powdery rust-colored spores that stain mean rust. A flat spot with no powder and no stain means leaf spot. The test costs nothing and settles the most common misdiagnosis in the iris bed.
Photograph the bed for the record. A dated photo of the spotted leaves, the worst clump, and the bed layout gives next spring a baseline. The photo shows whether the fall cleanup worked. The photo is free, and it keeps the memory honest across seasons.
Strategy 2: Tell It From Iris Rust With the Powder Test
Rub, do not guess. The powder test is the field check: rust-colored powder that stains the finger means rust, a flat spot with no stain means leaf spot. The test takes seconds and beats any photo comparison. A gardener who rubs the spot knows the disease; a gardener who guesses from color alone often treats the wrong disease.
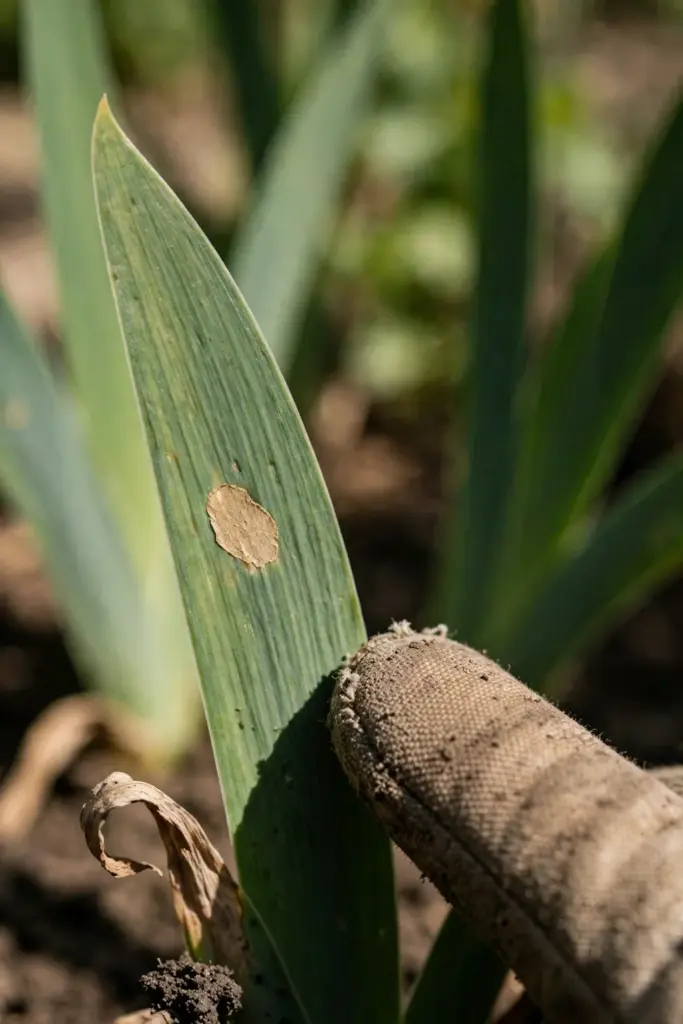
Check both leaf surfaces. Rust pustules appear on both leaf surfaces, while leaf spot stays mostly on the upper surface. A spot that shows powder on the underside is rust. A spot confined to the upper surface with a reddish-brown margin and yellow halo is leaf spot. The underside check confirms the finger test.
Check the shape. Leaf spot lesions are oval and tan with a reddish-brown margin. Rust lesions are rectangular and reddish-brown with a yellow margin. The oval-versus-rectangular contrast helps where the powder test is ambiguous, such as on an old dried lesion. Shape is the second check, not the first.
Treat the right disease. Leaf spot and rust both respond to sanitation and, if needed, the same preventive fungicides, but the timing and the emphasis differ. Rust demands the powder check because rust spreads fast on airborne spores. Leaf spot demands the cleanup because it overwinters on dead leaves. The identification sets the priority.
Strategy 3: Rule Out the Lookalikes in One Pass
Check for ink spot on reticulata bulbs. Ink spot, Drechslera iridis, attacks Iris reticulata bulbs, with reddish-brown elongated spots and inky stains on the bulbs. A reticulata bulb with inky stains is not leaf spot. The ink spot fence stays one line, never a second table.
Check for bacterial blight before reaching for copper. Bacterial leaf blight shows water-soaked dark spots, and copper products are for bacteria, not for this fungus. A copper spray on a fungal leaf spot wastes money and adds metal to the soil. The blight fence saves the spray.
Check the base and rhizome for rot. Crown and rhizome rot show base and rhizome symptoms with foul odor and a mushy rhizome. A rhizome that smells foul and feels mushy is rot, not leaf spot. The rot fence keeps the leaf-spot article from swallowing a rhizome problem.
Check for borer damage. Iris borer shows chewed tissue, larvae, and ragged watersoaked leaves. A leaf with chew marks and a larva inside the fan is borer damage. The borer fence keeps an insect problem out of a fungus article.
Strategy 4: Fall Cleanup, the Highest-Value Action
Remove all dead leaves and debris in fall. The fungus overwinters on dead iris leaves, so every dead leaf left standing is next spring’s inoculum. Remove all dead leaves and flower stalks in fall. The fall cleanup breaks the overwintering cycle, and it is the single highest-value action here.
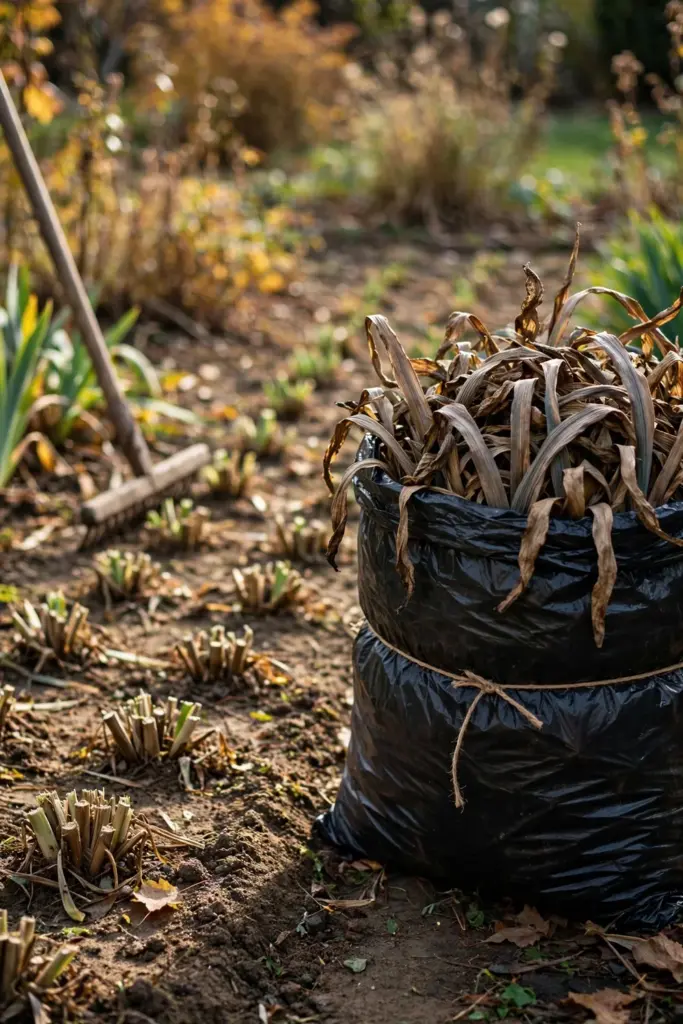
Bag and trash, never compost. Bag the removed material and put it in municipal waste. Do not compost diseased material. Home compost does not reliably kill the fungus, and community compost spreads it. The bag is the disposal route. The compost pile is a distribution route.
Cut infected living leaves below the lowest infection. Living leaves with lesions carry spores into winter. Cut infected living leaves below the lowest infection and discard them with the dead material. The cut removes the spore source while the plant keeps its healthy leaf bases.
Clean the whole bed, not the worst clump. Inoculum hides in the debris of healthy-looking clumps too. A bed cleaned only where the disease showed keeps the disease where it did not show. The whole bed gets cleaned, every clump, every corner.
Strategy 5: Spring Cleanup Before Green-Up
Remove dead leaves before green-up. Any dead material missed in fall gets removed in spring, before the new leaves emerge. The spring cleanup catches the stragglers. Two cleanups, fall and spring, leave the fungus almost no overwintering foothold.
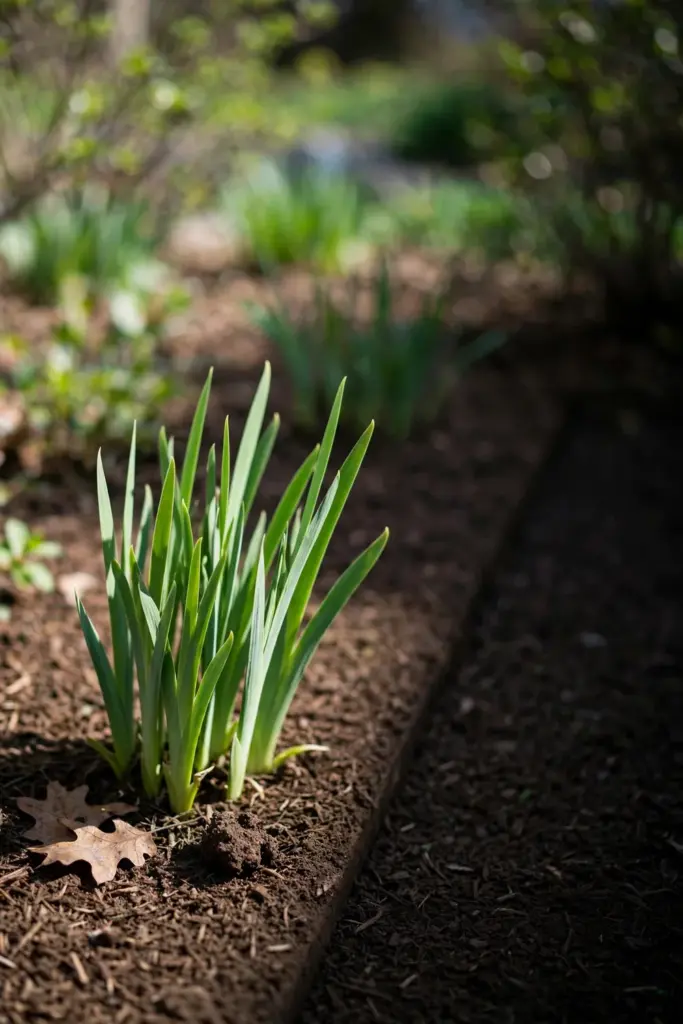
Cut infected living leaves early. In spring, cut any living leaf showing lesions below the lowest infection and discard it. The early cut removes spores before they splash to the new growth. A lesion cut in early spring prevents a dozen lesions by midsummer.
Disinfect hands and tools after contact. Wash hands and disinfect tools after handling infected iris plants. The sanitation habit keeps the cleanup from spreading the disease to clean clumps. The cleanup that spreads the disease is worse than no cleanup.
Check the bed after cleanup. Walk the bed after the spring cleanup and look for missed debris, missed lesions, and crowded clumps. The walk takes minutes. The missed leaf takes the season.
Strategy 6: Water Discipline, Keep Foliage Dry
Avoid overhead watering. Overhead watering splashes spores and wets the foliage. Water at the base, with a soaker hose, drip line, or a watering can aimed at the soil. The base watering keeps the foliage dry and the spores unmoved.
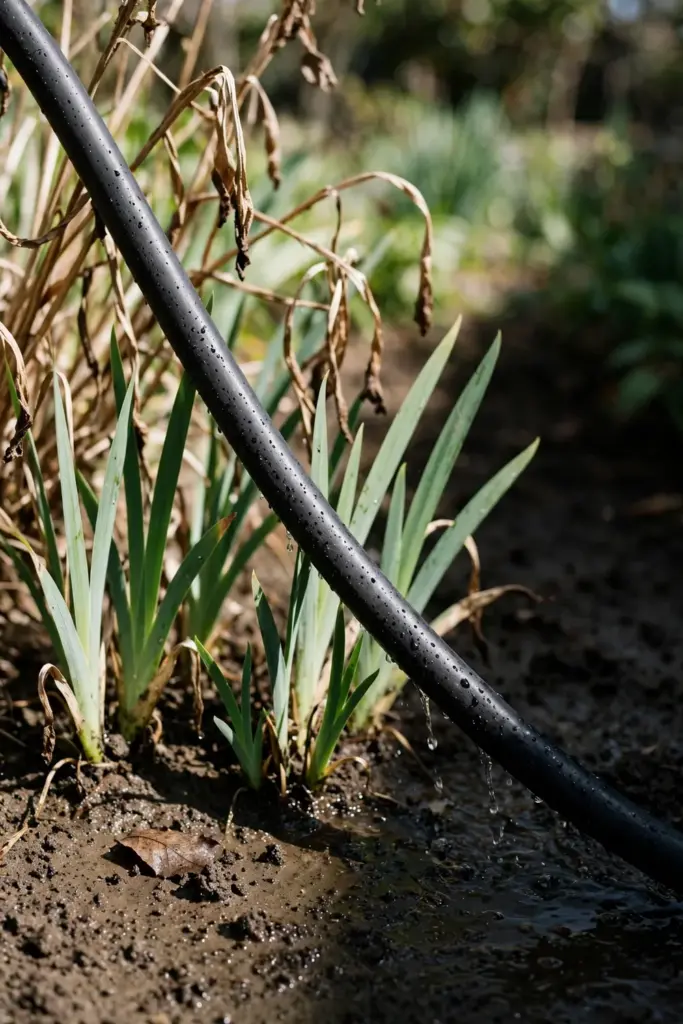
Water in the morning where the bed must be watered. Morning watering gives the foliage the day to dry. Evening watering leaves the foliage wet overnight, which extends the infection window. The timing matters as much as the method.
Do not work among plants when foliage is wet. Wet foliage spreads spores on hands, tools, and clothing. Morning dew counts as wet. Wait until the dew dries before weeding, dividing, or cutting in the iris bed. The wait costs an hour. The wet work costs the season.
Keep mulch away from the rhizome crown. Mulch that piles against the rhizome holds moisture at the crown and invites rot. Keep mulch at least a hand-width from the rhizome. The mulch gap dries the crown and keeps the crown rot fence intact.
Strategy 7: Spacing, Airflow, Sun, and Weed Control
Space adequately. Crowded clumps hold moisture and slow drying. Space plants adequately so air moves between the fans. The spacing lets the foliage dry by mid-morning after rain or dew.
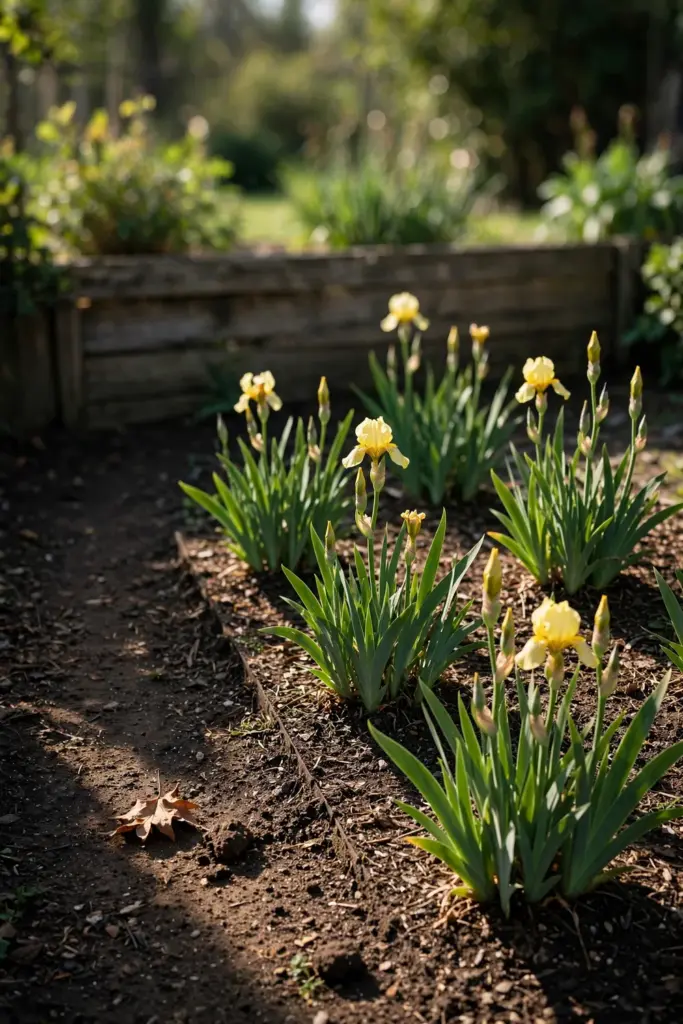
Divide crowded clumps. Dividing crowded iris clumps restores airflow and vigor. Divide as needed to keep clumps from becoming congested. A divided clump dries faster, grows stronger, and shows fewer spots.
Control weeds. Weeds shade the foliage, hold moisture, and block airflow. Control weeds in and around the iris bed. The weeding is disease control, not just tidiness.
Plant in full sun. Full sun dries the foliage fast and grows strong plants. Shade holds dew and weakens the plant. A sunny bed with airflow is a bed where leaf spot stays cosmetic.
Strategy 8: Plant Resistant Species Where Leaf Spot Is Chronic
Choose Siberian iris first. Siberian iris, Iris sibirica, shows good resistance to leaf spot, and beardless cultivars generally show more resistance than bearded types. Where leaf spot is chronic, Siberian iris is the structural fix. The resistance list is the long-term answer that no spray replaces.
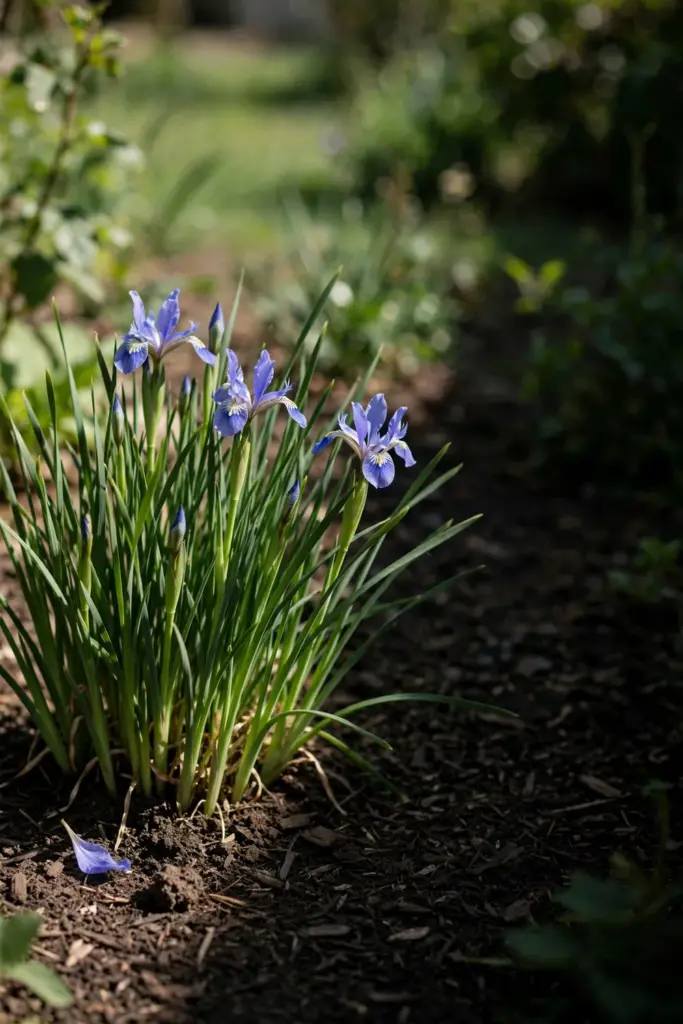
Consider crested iris and Iris graminea. Crested iris, Iris cristata, and Iris graminea are also reported as resistant. A bed of resistant species in a chronic leaf-spot site holds the disease to a trace. The resistant bed needs the same cleanup, but the cleanup has less to do.
Avoid bearded iris where the disease is a problem. Bearded and German iris are the most susceptible. A new bed in a site with chronic leaf spot should not start with bearded iris. The susceptible planting in a chronic site is a disease subscription.
Verify resistance before buying in bulk. The resistance list comes from Extension and home-gardener sources, and cultivar-level resistance varies. Verify a cultivar’s resistance with the seller or the local Extension before planting a whole bed of it. The verification costs a question. The unresearched bed costs a season.
Strategy 9: Soil and Siting, Keep the Rhizome Healthy
Use rich, well-drained soil. Rich, well-drained soil grows strong plants that tolerate leaf loss. Heavy, waterlogged soil weakens the rhizome and compounds the damage. The soil is the foundation under every other strategy.
Keep the pH neutral. The Pacific Northwest Handbook advises maintaining soil pH above 6, which could mean adding lime for acidic soils. Acidic soils may accentuate the disease. A soil test settles the pH question, and lime corrects it where the test says so.
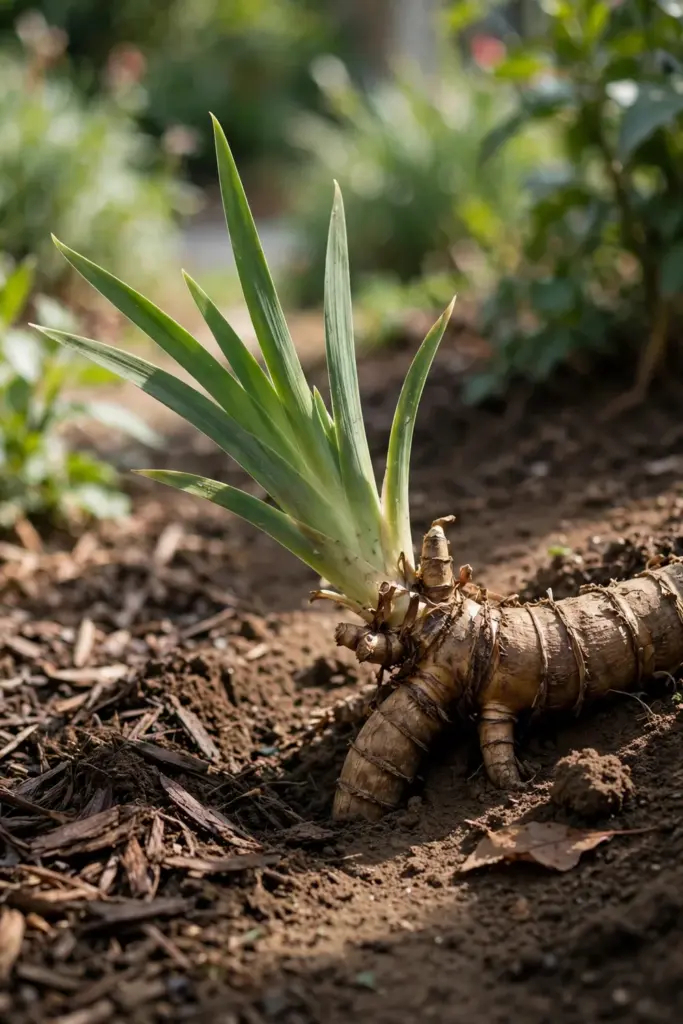
Plant the rhizome high. A rhizome buried deep stays wet and rots. Plant the rhizome so its top sits at or just above the soil surface. The high planting dries the crown and keeps the rot fence intact.
Feed the plant, not the fungus. Weak plants with other stresses show worse leaf spot damage. Keep the plant vigorous with sound culture, and keep nitrogen moderate, since excess nitrogen grows soft foliage that diseases favor. The vigorous plant loses leaves to leaf spot and keeps blooming anyway.
Strategy 10: Fungicide Last Resort, Preventive Only, Label Governs
Use fungicide only where cultural practices fail. Sanitation, water discipline, spacing, and resistant species come first. Fungicides are the last resort, for plants severely infected the previous year despite good culture. A fungicide without the cleanup is a fungicide wasted.
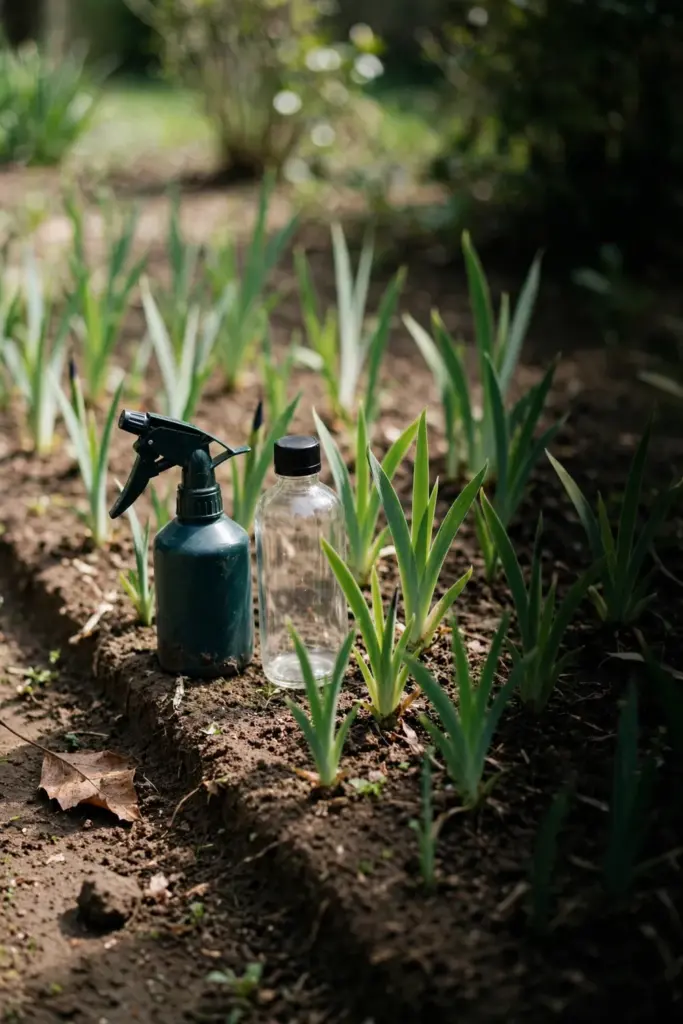
Use preventive timing, never curative. Fungicides protect healthy foliage; they do not cure infected leaves. The first application should be made when the leaves first appear in spring, per Iowa State Extension. Virginia Tech advises beginning when leaves are 4 to 6 inches high. Continue to spray as directed on the product label. The timing is preventive, and the label governs.
Use the Extension-backed actives. Effective fungicide products include those that contain chlorothalonil and myclobutanil. Add a spreader-sticker to the fungicide, since bearded iris leaves are waxy and the spray needs help adhering. The spreader-sticker is the detail that makes the spray work.
Repeat per label, not per habit. Virginia Tech advises repeating at 7 to 10 day intervals or per label. K-State guidance runs 4 to 6 sprays at 7 to 10 day intervals for heavily infected plants. The label directions govern the schedule, and the spray stops when the label says stop.
Living With Iris Leaf Spot on Irises You Already Own
A bed with leaf spot is a bed to manage, not a bed to abandon. Keep the fall cleanup absolute. Keep the spring cleanup early. Keep the water at the base. Keep the spacing open. Keep the resistant species in mind for the next planting. The disease will still appear, but it will appear late, light, and cosmetic.
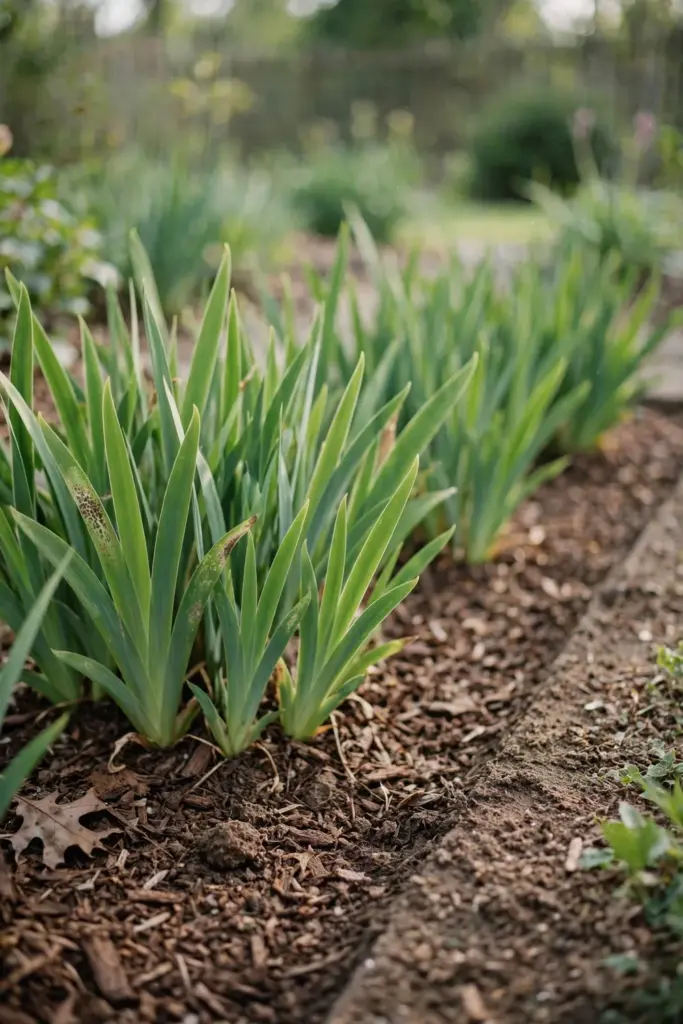
Stop three habits. Do not leave dead foliage standing in fall. Do not water overhead. Do not work among wet plants. Keep those three lines unbroken and the disease stays cosmetic. The Plant Care archive collects the site’s disease coverage for the next problem the bed throws up.
Frequently Asked Questions
No, not directly. Iris leaf spot kills individual leaves, and repeated heavy attacks weaken vigor and reduce bloom, so the plant may eventually die from other stresses. The disease does not kill the plant outright. One home-magazine source claims the fungus takes a few seasons to kill affected plants, but Extension sources frame it as weakening, not killing, and this article follows the Extension framing. Clean up, keep the foliage dry, and the plant keeps blooming.
No. Sanitation, water discipline, spacing, and resistant species come first, and fungicide is the last resort for plants severely infected the previous year despite good culture. Fungicides protect healthy foliage and do not cure infected leaves. The first application, where fungicide is warranted, goes on when the leaves first appear in spring, or when leaves are 4 to 6 inches high, and repeats per label. A spray without the cleanup is a spray wasted.
No. The fungus overwinters on dead iris leaves, so composting diseased material keeps the inoculum alive. Bag the removed material and put it in municipal waste. Home compost does not reliably kill the fungus, and community compost spreads it to every garden that uses the compost. The bag is the disposal route. The compost pile is a distribution route for this disease.
No. Iris leaf spot is caused by Cladosporium iridis, and iris rust by Puccinia iridis. The powder test settles it: rub the spot, and powdery rust-colored spores that stain the finger mean rust, while a flat spot with no powder and no stain means leaf spot. Leaf spot lesions are oval and tan with a reddish-brown margin and yellow halo, while rust lesions are rectangular with a yellow margin. Both kill individual leaves; neither kills the whole plant.
Plant resistant species. Siberian iris, Iris sibirica, shows good resistance, and beardless cultivars generally show more resistance than bearded types. Crested iris, Iris cristata, and Iris graminea are also reported as resistant. Bearded and German iris are the most susceptible, so avoid them where leaf spot is chronic. Verify a cultivar’s resistance with the seller or local Extension before planting a whole bed of it.
Where to Go From Here
Iris leaf spot rewards the gardener who cleans up in fall, cleans up again in spring, and keeps water off the foliage. Confirm the ID, run the powder test, and rule out the lookalikes. Clean up in fall, clean up in spring, keep the foliage dry, and open the spacing. Plant resistant species, keep the rhizome healthy, and spray last, only by the label.
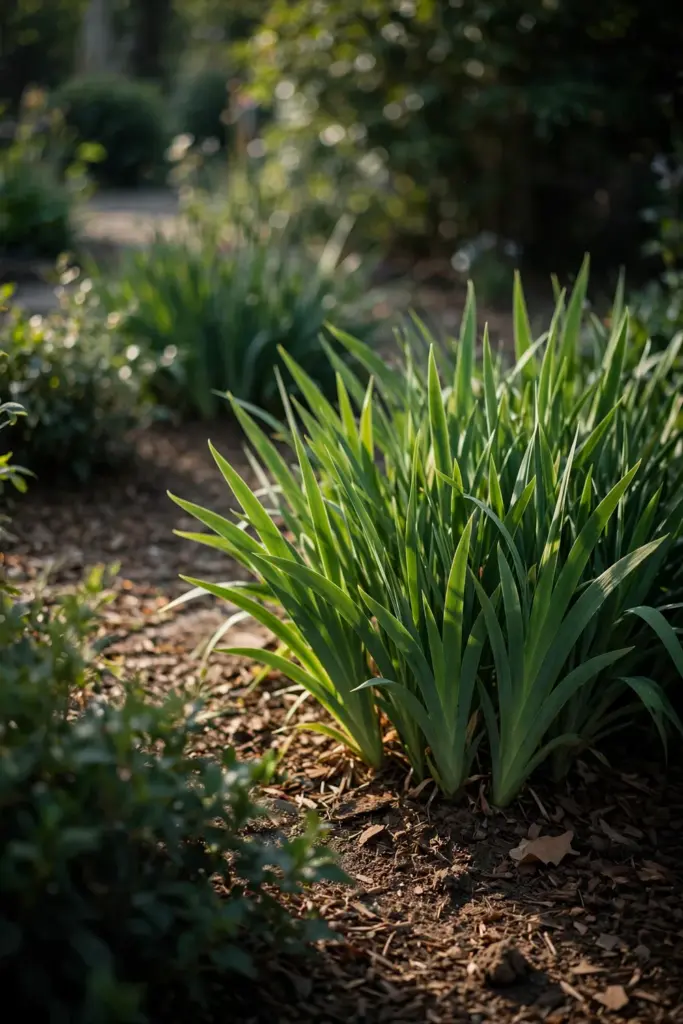
Next season, start clean. A bed with no standing dead foliage, dry foliage, and open airflow will hold leaf spot to a cosmetic level. The Virginia Tech fact sheet on iris leaf spot is a useful companion for the full Extension picture, since it sets the home-garden response here against the university evidence behind it.