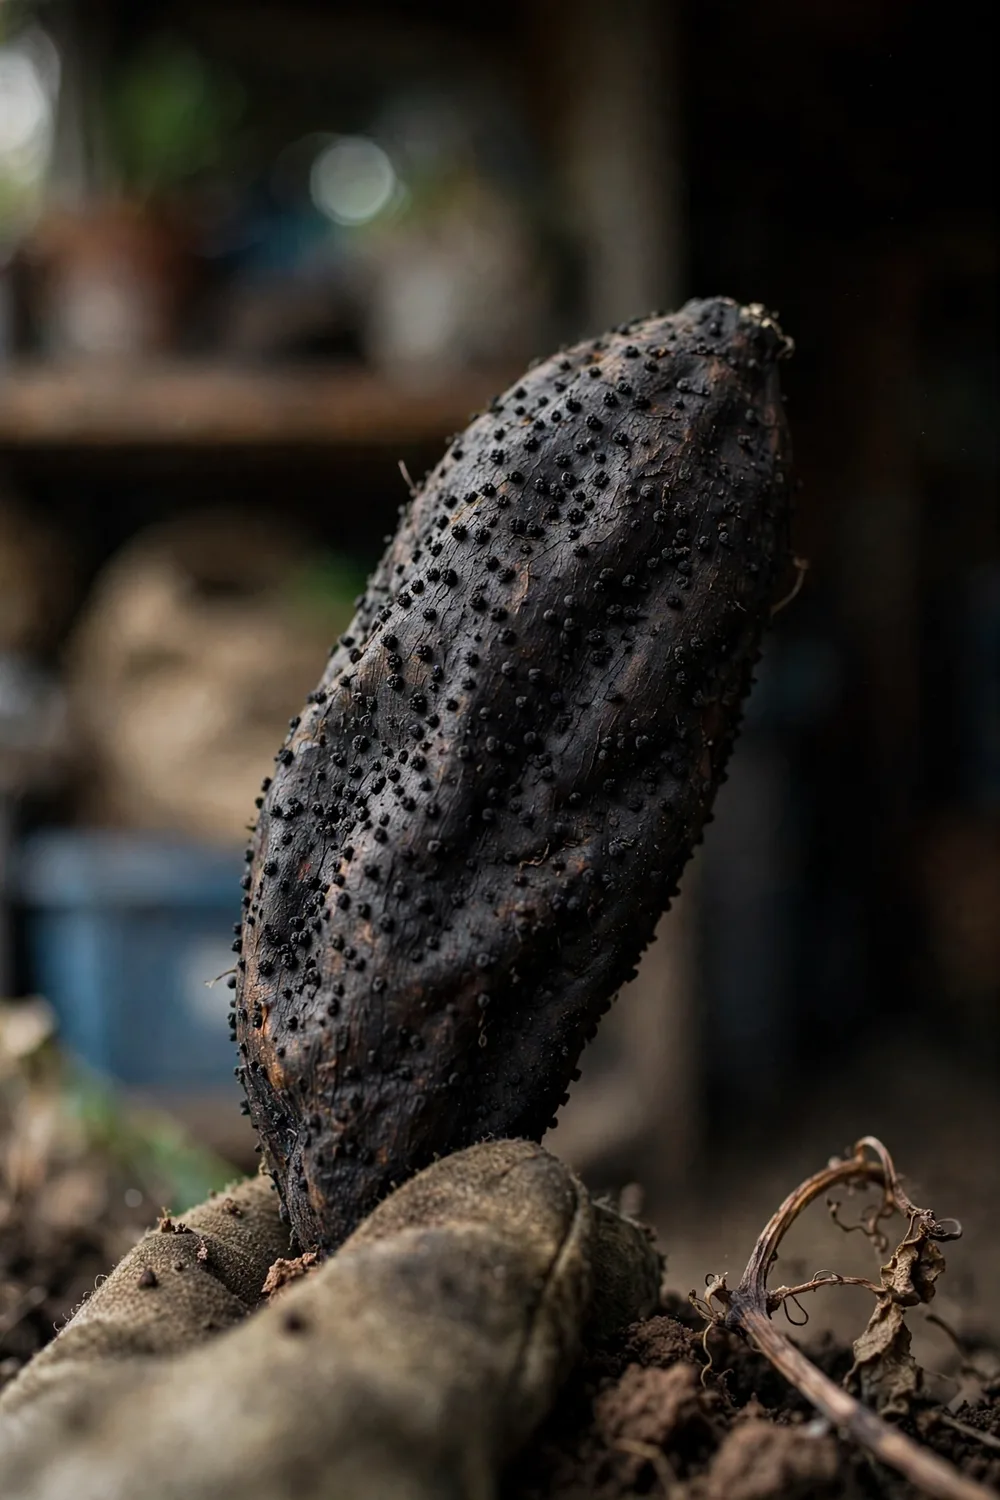

Sweet potatoes rot in storage when a wound lets a fungus in, and the same 7 steps block every storage rot, not just one. Java black rot is the named example here, because it is the rot with the most dramatic storage symptoms, but the prevention is identical for all of them. A gardener who harvests gently, cures promptly, stores cool and ventilated, and culls at the first sign will keep a stored harvest rot-free, whatever the rot’s name.
The honesty framing matters. Java black rot is most prominent in the tropics, because temperatures near 30 degrees favor the fungus, and temperate storage at 55 to 60 degrees suppresses it. A home gardener who stores correctly will rarely meet this disease by name. The 7 steps below are the correct-storage workflow, with Java black rot as the flagship rot that shows what goes wrong when the workflow breaks.
The rest of this page walks what Java black rot is, how to spot it, the lookalikes box, and the 7 ways. The disease name leads. The pathogen, Lasiodiplodia theobromae, stays in the background after this introduction.
What Java Black Rot Actually Is
Java black rot is a storage rot of sweet potato roots. The pathogen is the fungus Lasiodiplodia theobromae, formerly called Botryodiplodia theobromae and Diplodia gossypina. Those are names for one fungus, not separate diseases, and this article uses the common name throughout. The scope is sweet potato storage only.
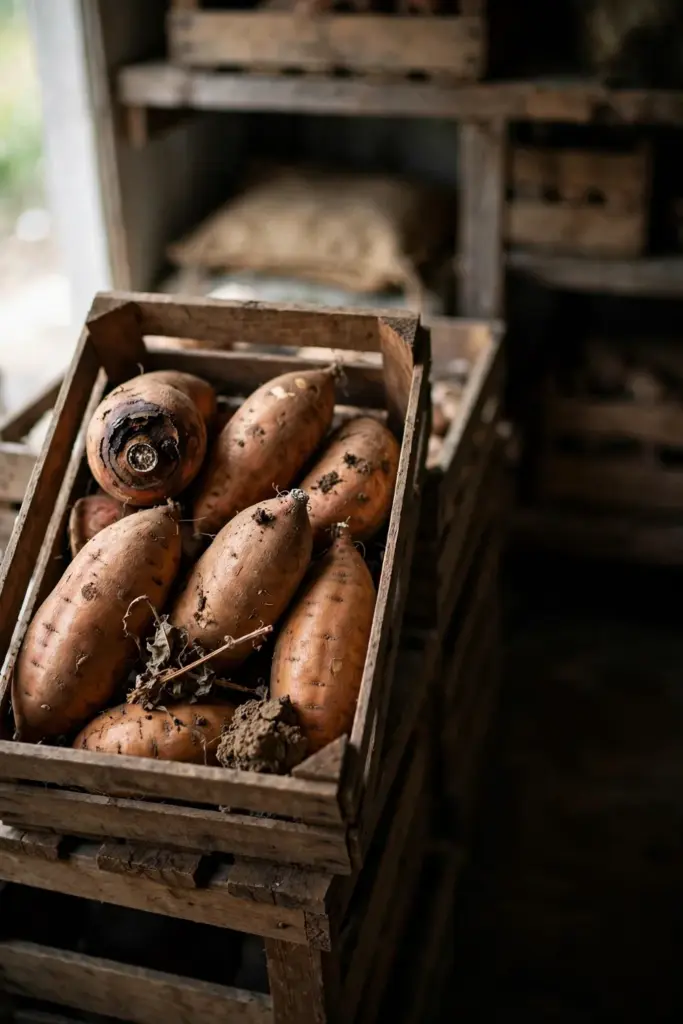
The rot starts at a wound. A wound is required for infection: the fungus enters through harvest damage, the proximal end, or any cut or bruise. An unbroken skin keeps the fungus out. A nicked skin lets it in. The wound is the whole story of this disease.
The fungus survives for years in soil, crop debris, and on equipment. An uncleaned bin, a dirty knife, and a debris-filled storage corner all carry the fungus to the next harvest. The survival is why sanitation and rotation matter as much as the curing.
How to Spot Java Black Rot in Stored Roots
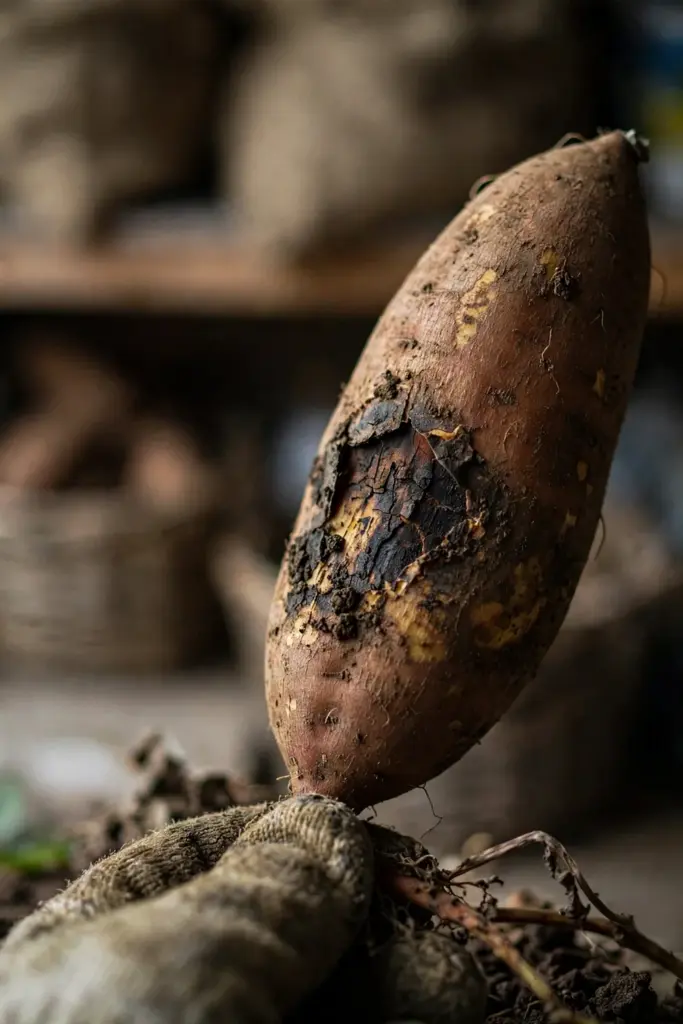
Watch the color change. Tissues turn yellowish-brown, then black. The yellow-brown stage is the early warning, and the black stage is the established rot. A root that yellows at a wound site is a root to pull from storage at once.
Feel the decay. The decay is firm and moist at first, then the root decays completely within weeks and mummifies and hardens. A root that has gone hard, withered, and brittle is a mummified root. The mummy is the end stage, and it stays infectious in the bin.
Look for the black bumps. After 6 to 8 weeks of storage, affected roots show dark patches housing numerous pycnidia, the tiny black fruiting bumps of the fungus. The pycnidia are the identification mark. A root with black protuberances on a blackened patch is a Java black rot root.
Check the proximal end first. Rot starts at the proximal end, the stem end, or at other wound sites. The stem end is the first place to inspect during storage checks. A root that rots from the stem end inward is a root to cull.
Lookalikes: Java Black Rot vs Black Rot
Java black rot and black rot are different diseases on the same host, and the names confuse everyone. This box separates them, with one honesty note: storage rots overlap in symptoms, field identification is presumptive, and the lab confirms.
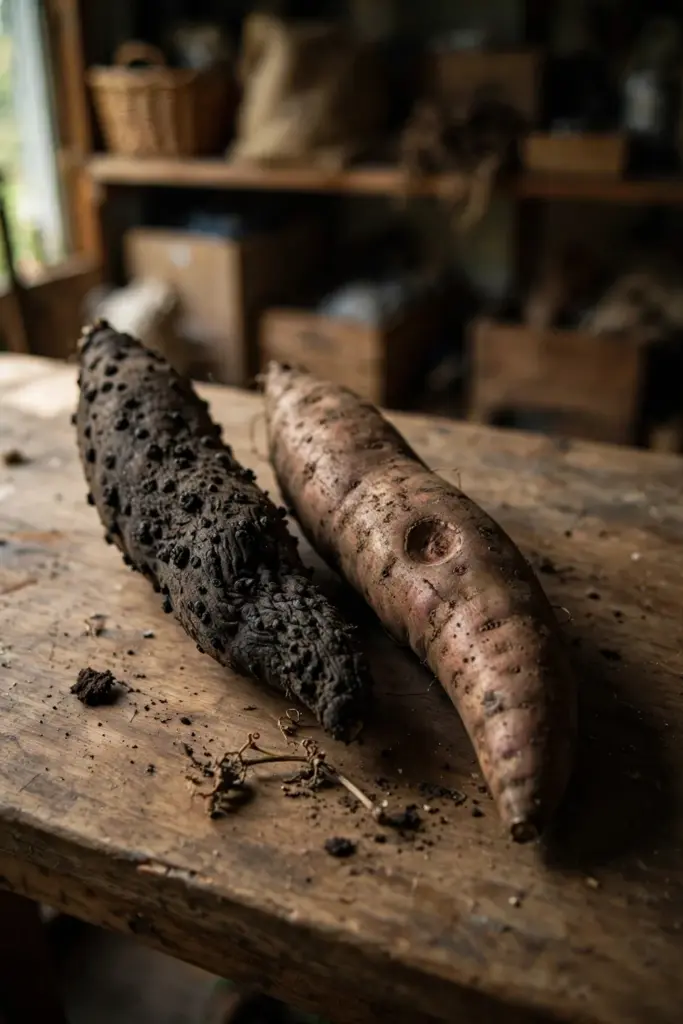
Java black rot, Lasiodiplodia theobromae, is a dry rot. Tissues turn yellow-brown to black, roots mummify and harden, black pycnidia protuberances dot the surface, rot starts at the proximal end or wounds, and the fungus thrives at 25 to 35 degrees. Black rot, Ceratocystis fimbriata, shows firm shallow circular sunken spots, rot rarely deeper than the vascular ring, long-beaked perithecia with sticky ascospore masses on the surface, tissue near the rot that tastes bitter, spread through sticky spores in wash water and on equipment, and infection that can enter before harvest. The box is a lookalike guide, not a clean home field check, and the 7 steps below block both rots.
Way 1: Know What Java Black Rot Looks Like
Learn the sequence: yellow-brown to black, firm moist decay, then mummification. The sequence, not any single sign, carries the identification. A root that yellows at a wound, then blackens, then hardens is a Java black rot root.
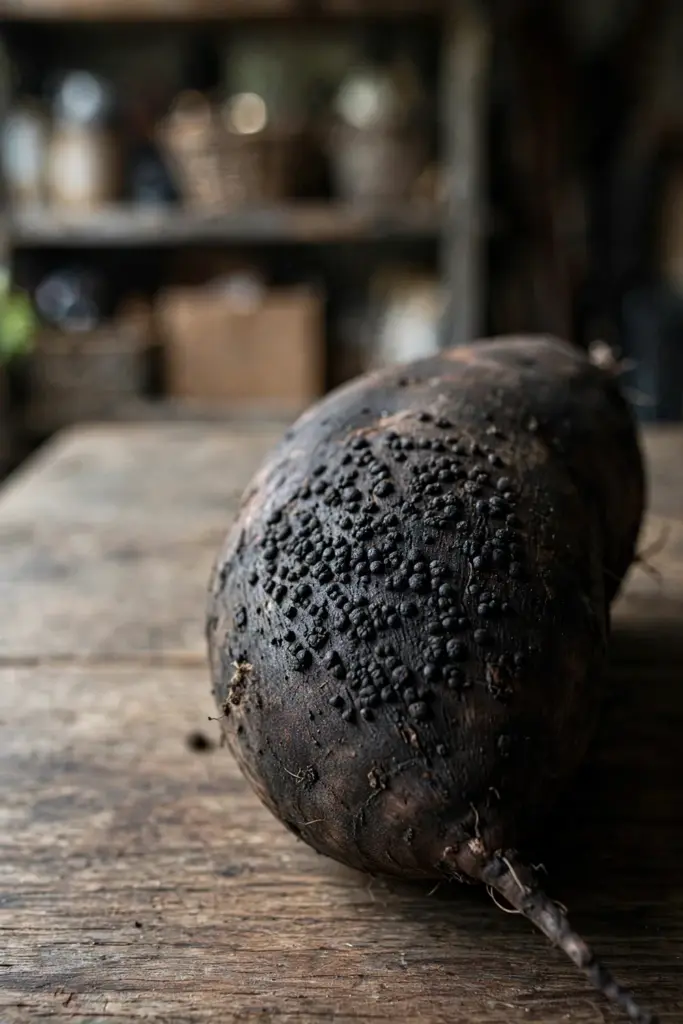
Learn the pycnidia. After 6 to 8 weeks of storage, affected roots show dark patches housing numerous black pycnidia. The black bumps are the mark that separates Java from a generic soft rot. A root with black bumps on a blackened patch is a root to remove at once.
Learn the wound rule. A wound is required for infection. Every rot in the bin traces to a wound: a harvest nick, a bruised skin, a cut stem end. The wound rule is the prevention in miniature: no wound, no rot.
Learn the tropical framing. Java black rot is most prominent in the tropics, because warm temperatures favor the fungus. Temperate storage at 55 to 60 degrees suppresses it. A home gardener who stores correctly will rarely meet this disease by name, and the steps below keep it that way.
Way 2: Harvest Gently, Never Wash Before Curing
Dig carefully. Sweet potato skin is thin and unhealed at digging, and a nick at harvest is a rot invitation. Dig carefully to avoid cutting or bruising the roots. The gentle harvest is the first prevention step, and it costs nothing.
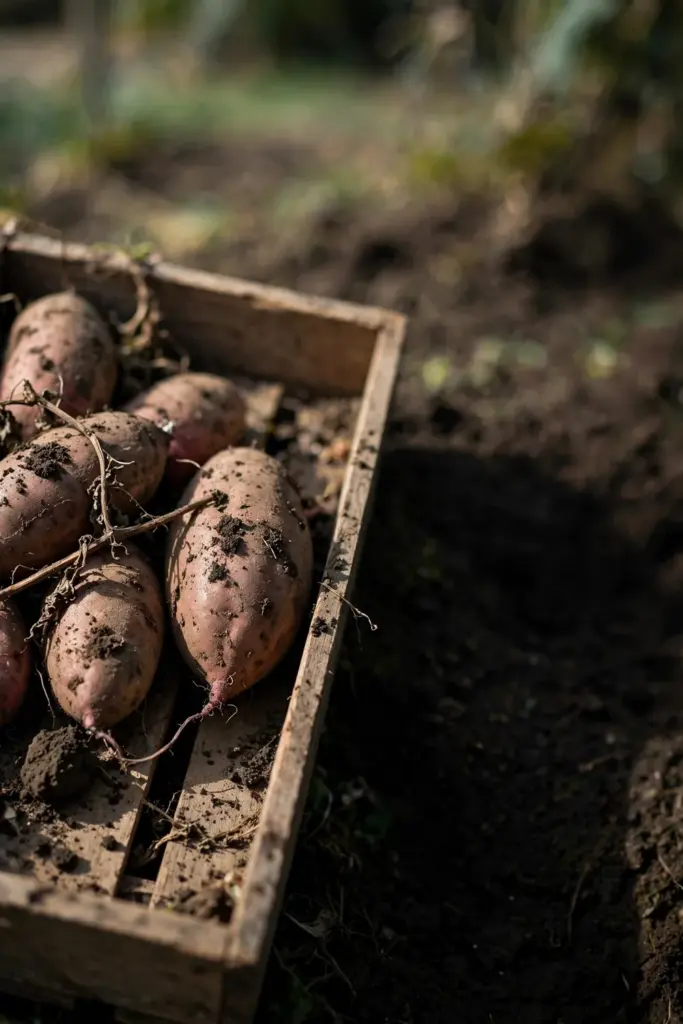
Handle every root like an egg. Cuts and bruises at harvest become rot sites in storage. Carry roots in shallow crates, not heaped sacks. Set them down, do not drop them. The handling habit saves more roots than any later step.
Do not wash before curing. Water in a wound is a rot invitation, and washing moves spores onto fresh wounds. Brush off loose soil and leave the rest. The curing step heals the wounds, and washing before curing undoes that healing.
Use damaged roots first, never store them. A root with a cut, a bruise, or a skinned patch goes to the kitchen this week, not to the bin. The damaged root in storage is the rot that spreads to its neighbors. The kitchen is the disposal route for damaged roots.
Way 3: Cure Promptly and Properly
Cure right after harvest. Curing heals harvest wounds with a corky barrier layer that blocks storage diseases. The curing step is the wound-healing step, and it starts the day of harvest, not next week. A delayed cure is a cure that arrives after the fungus.
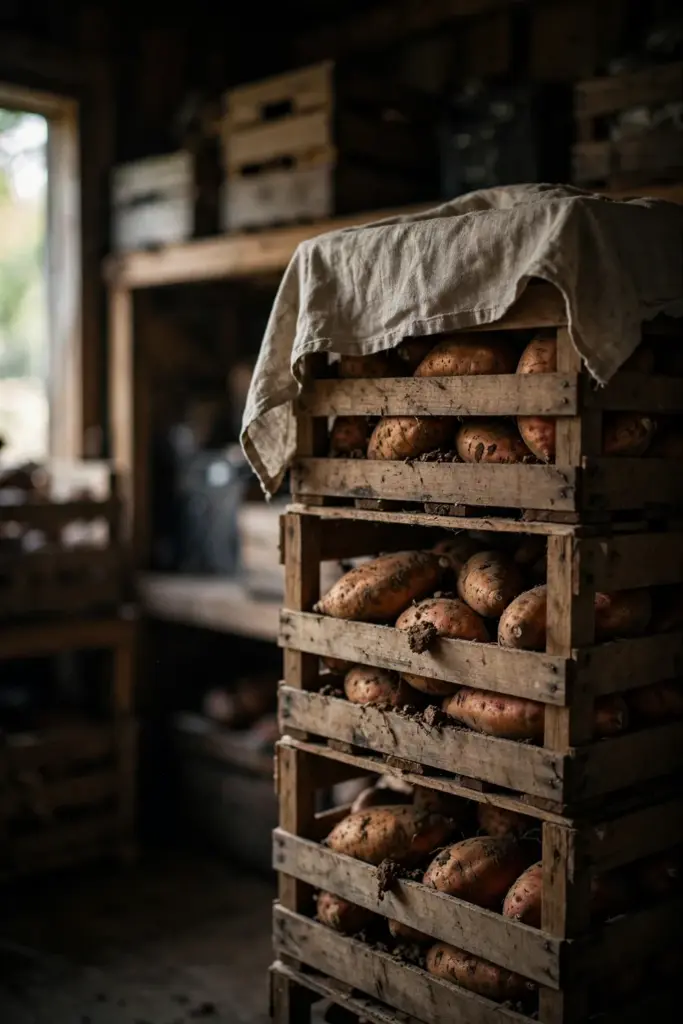
Use one consistent curing window. Cure for 1 week at 80 to 85 degrees and 90 to 95 percent relative humidity, per Iowa State Extension. Sources span a range, 80 to 90 degrees and 4 to 14 days depending on temperature, and this guide carries the Iowa State window as the working number. The window heals minor cuts and bruises and converts starches to sugars, improving flavor.
Keep the curing space warm, humid, dark, and ventilated. Warmth and humidity drive the healing, darkness keeps the roots dormant, and ventilation prevents condensation and carbon dioxide buildup. A warm room with a damp towel over the crates and air moving through them approximates the window. The approximation beats no curing by a wide margin.
Do not cure in the refrigerator or outdoors in the cold. Cold stops the healing and causes chilling injury. A root cured cold is a root with unhealed wounds and a hard core. The cure needs warmth, and the cold is the enemy of the cure.
Way 4: Store Cool, Dark, and Ventilated
Store at 55 to 60 degrees. After curing, store sweet potatoes at 55 to 60 degrees and 85 to 90 percent relative humidity, per Iowa State Extension. Storage above 60 degrees may stimulate sprouting. Storage below 55 degrees causes chilling injury: off-flavor, discolored flesh, and hard cores. The storage window is narrow, and the thermometer earns its place.
Never use the refrigerator. A refrigerator runs below 50 degrees, which is chilling-injury territory for sweet potatoes. A refrigerated sweet potato develops a hard center and loses eating quality. The fridge is the fastest way to ruin a cured harvest.
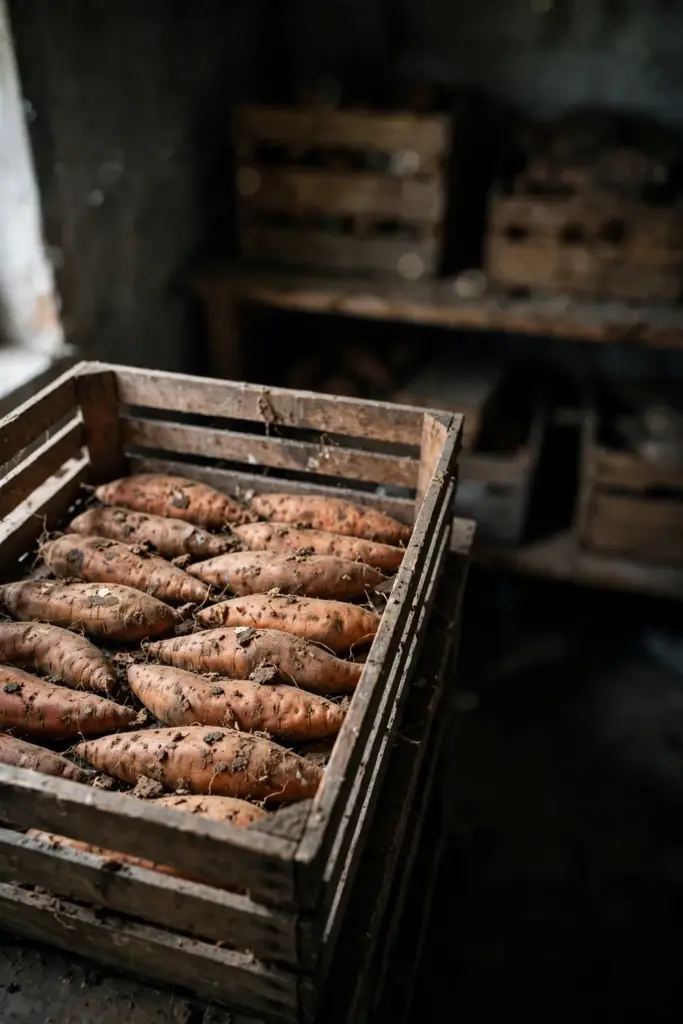
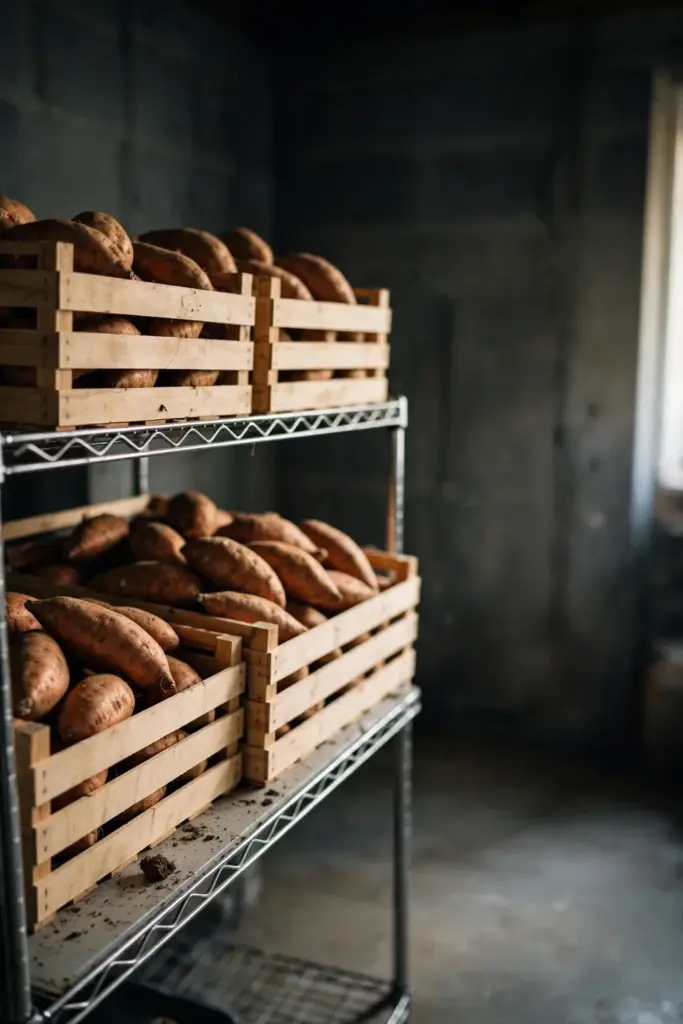
Use a single layer or slatted crates. Single layers and slatted crates or mesh bags give airflow around every root. Heaped sacks trap moisture and hide rot. The airflow keeps the bin dry, and the dry bin keeps the rot out.
Keep storage conditions constant. Swings in temperature and humidity stress the roots and condense moisture on the skins. A cool closet, a basement corner, or a root cellar that holds steady beats a garage that freezes at night and bakes at noon. The constant store is the safe store.
Way 5: Inspect and Cull Regularly
Check stored roots on a schedule. Inspect the bin weekly, or at least every two weeks. The check takes minutes, and it catches rot at the first sign. A weekly check is the habit that saves the harvest.
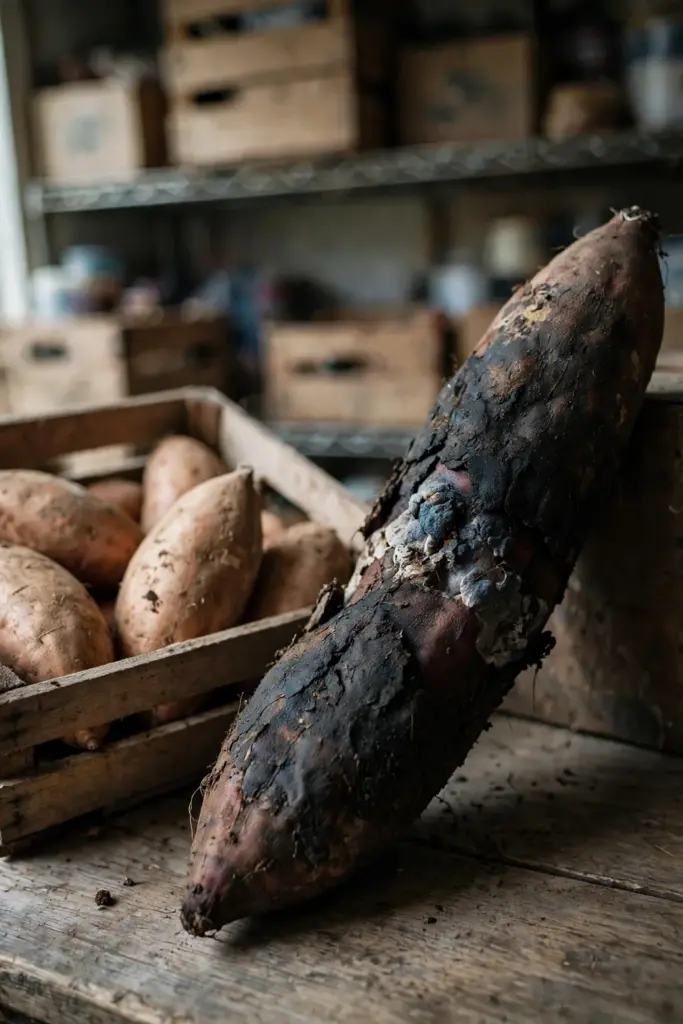
Pull any root showing rot at the first sign. One bad root spoils the lot, because the fungus spreads from root to root in the bin. A root with a yellow-brown patch at a wound, a blackened area, or black pycnidia leaves the bin at once. The cull is immediate, not next week.
Bag diseased roots and put them in municipal waste. The bag is the disposal route, and the compost pile is a distribution route, since the fungus survives for years in debris and compost spreads it. Wash hands and tools after handling a rotted root, because hands and tools carry spores to clean roots, so the cull that spreads the disease is worse than no cull, and a wash after every inspection that finds rot keeps the next inspection clean.
Way 6: Sanitize Bins, Tools, and Hands Between Lots
Clean bins clear of debris before reuse. The fungus survives for years on equipment and in debris. Empty the bin, brush out every scrap of debris, and wash the bin before the next harvest goes in. The clean bin is the reset button.
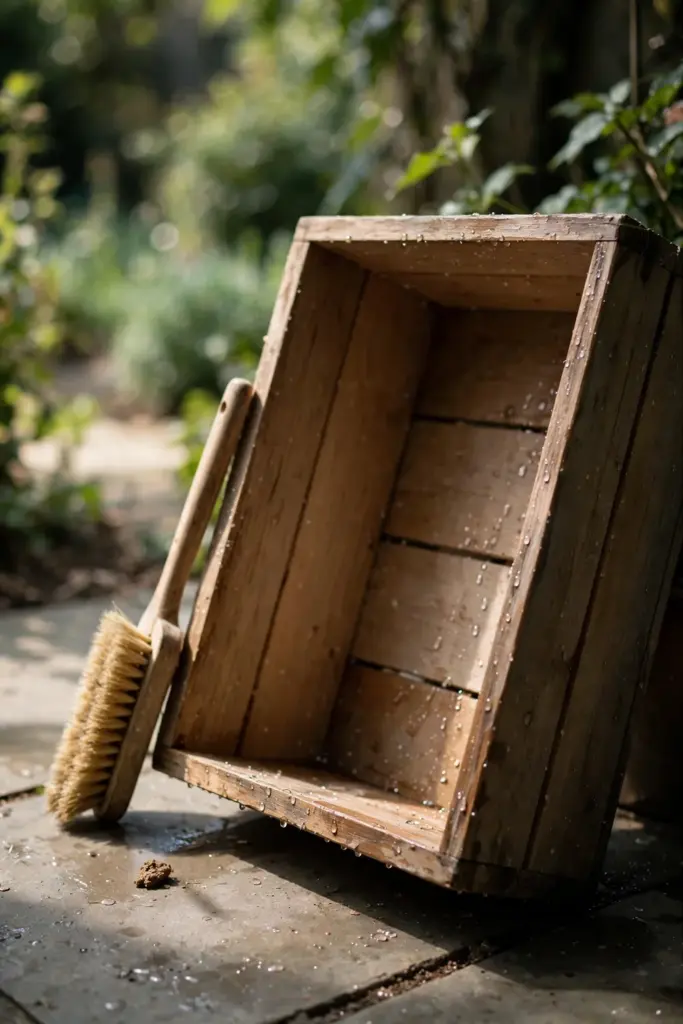
Sanitize tools between lots. Knives, digging forks, and sorting tables carry spores from lot to lot. Wash tools and let them dry between lots. The tool that sorted the rotted lot must not sort the clean lot without washing.
Sanitize hands between lots. Hands carry spores like tools do. Wash hands with soap and water after handling a rotted lot. The hand wash is the cheapest sanitation in the whole workflow.
Keep the storage area clean all season. Sweep the storage corner, remove debris, and keep the floor dry. A clean storage area is a storage area with fewer spores. The sweep is the sanitation that never makes the headlines.
Way 7: Rotate and Start Clean Next Season
Rotate for 3 to 4 years. Do not plant sweet potatoes in the same place year after year. A 3 to 4 year rotation lets soil-borne pathogens decline. The rotation is the long-term reset that no curing window replaces.
Start with disease-free slips and roots. Inspect transplants and roots for disease symptoms and discard all diseased planting material. A diseased slip plants the disease with the crop. The clean start is the season’s foundation.
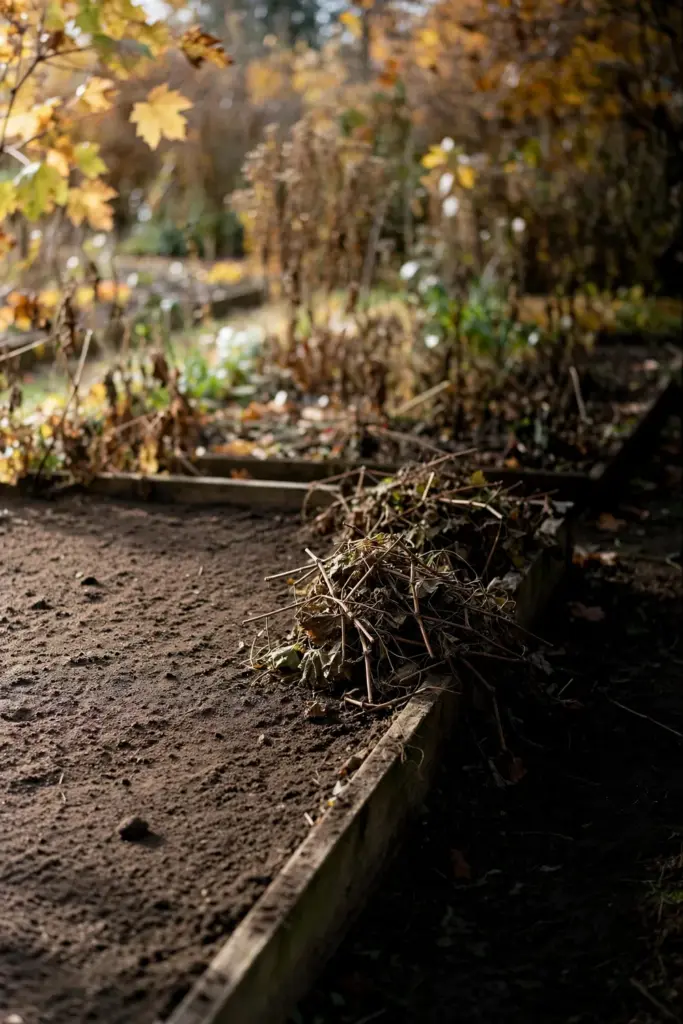
Remove morning-glory hosts and crop debris. Morning glories are relatives of sweet potato and can host related problems. Clear crop debris from the bed after harvest. The clean bed starts the next season without a reservoir.
Keep records. Note which bed held sweet potatoes, which lot rotted, and what the storage conditions were. The record tells next season’s rotation and next season’s storage fix. The notebook is the cheapest tool in the garden.
Living With Storage Rots in a Harvest You Already Store
A stored harvest with a rot problem is a harvest to manage, not a harvest to abandon. Keep inspecting. Keep culling. Keep the storage cool and ventilated. Keep the bins clean. The rot will still appear, but it will appear late, light, and contained to the damaged roots.
Stop three habits. Do not store damaged roots. Do not skip the cure. Do not leave a rotted root in the bin. Keep those three lines unbroken and the harvest keeps. The Plant Care archive collects the site’s disease coverage, and the vegetable growing archive covers the growing side.
Frequently Asked Questions
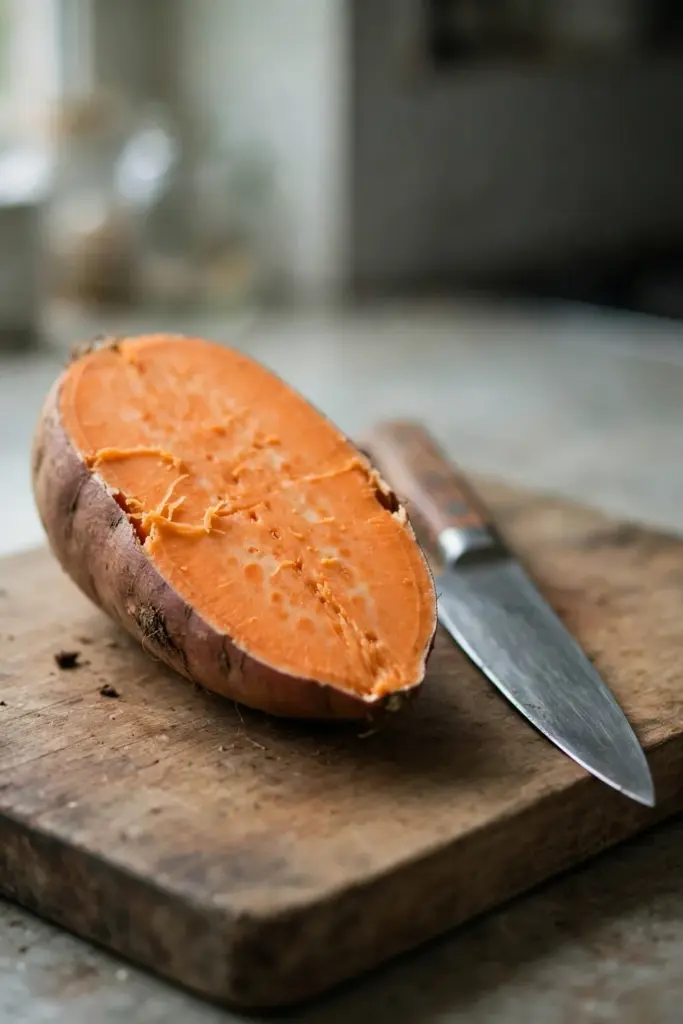
No, not the rotted part. Cut away generously around any rot and eat only clean flesh, or discard the whole root where rot is advanced. A root that has mummified and hardened is not food. A root with a small fresh wound spot, cut well clear, is usable. When in doubt, discard the root. The kitchen is the disposal route for damaged roots, not the storage bin.
Three causes cover most cases: wounds at harvest that never healed, curing that ran too cool or too short, or storage that ran too warm, too cold, or too wet. Check the curing window first: 1 week at 80 to 85 degrees and 90 to 95 percent humidity. Then check the storage: 55 to 60 degrees, ventilated, constant. A cure or storage step that drifted off its window explains most rot.
No. A refrigerator runs below 50 degrees, which causes chilling injury in sweet potatoes: hard cores, off-flavor, discolored flesh, and increased susceptibility to decay. Store cured roots at 55 to 60 degrees in a dark, ventilated space. A cool closet or basement corner holds the window. The fridge is the fastest way to ruin a cured harvest.
No. Java black rot is caused by Lasiodiplodia theobromae, and black rot by Ceratocystis fimbriata. Java is a dry rot: tissues turn yellow-brown to black, roots mummify and harden, black pycnidia dot the surface. Black rot shows firm shallow circular sunken spots, rot rarely deeper than the vascular ring, and tissue near the rot that tastes bitter. Storage rots overlap in symptoms, so field identification is presumptive and the lab confirms.
Four to 6 months, and up to 7 months for some cultivars, when properly cured and stored at 55 to 60 degrees with ventilation. The curing step heals wounds and converts starches to sugars. The storage step holds the window. A harvest that was cured and stored correctly keeps through winter. A harvest that skipped the cure rots within weeks.
Where to Go From Here
Java black rot rewards the gardener who harvests gently, cures promptly, and stores cool and ventilated. Know the signs, harvest gently, never wash before curing, and cure promptly and properly. Store cool, dark, and ventilated, inspect and cull regularly, and sanitize bins, tools, and hands. Rotate and start clean next season.
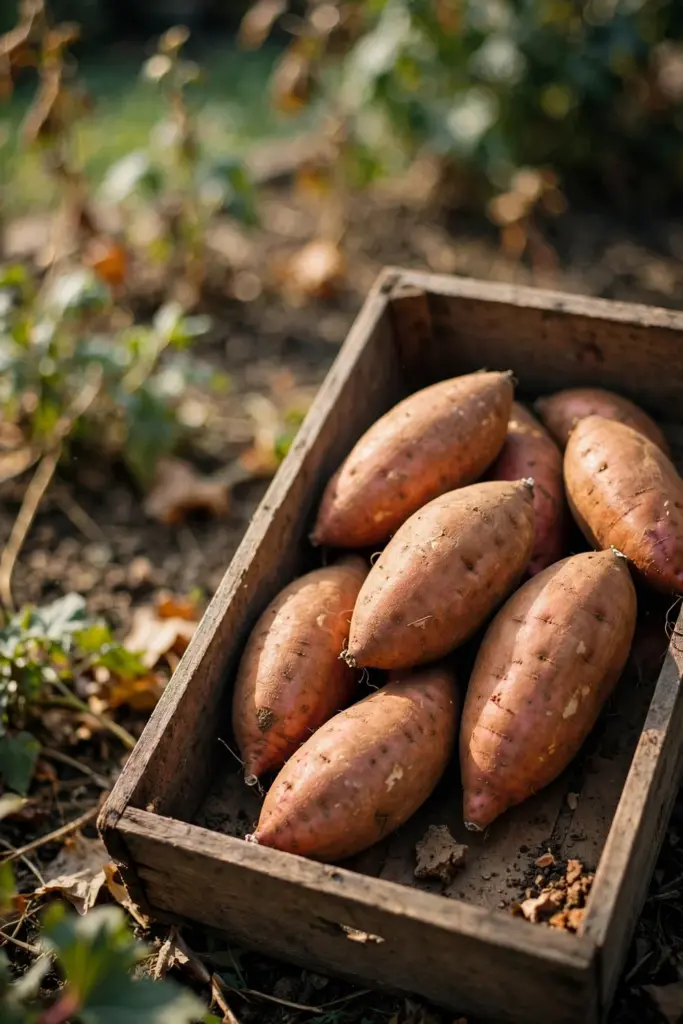
Next harvest, start clean. A gentle harvest, a proper cure, and a cool ventilated store will hold Java black rot and every other storage rot to the damaged roots. The Alabama Extension guide to harvesting and curing sweet potatoes is a useful companion for the full Extension picture, since it sets the home-garden response here against the university evidence behind it.