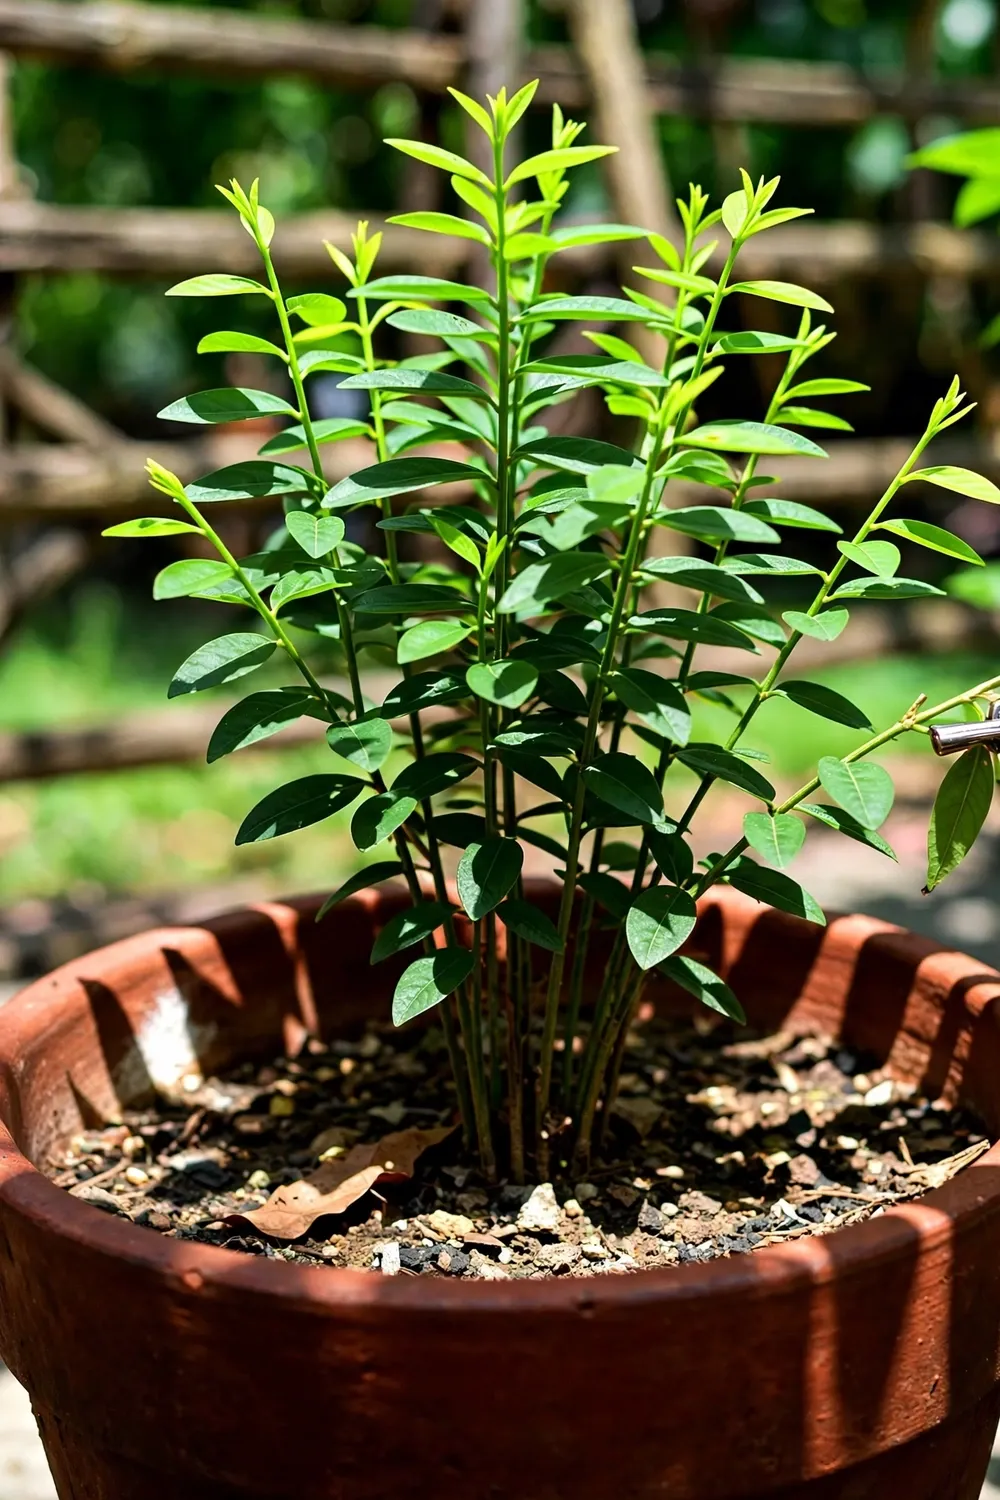

Take a 15 to 20 cm semi-hardwood stem cutting, strip the lower leaves, and push it into moist potting mix. That is how to grow katuk sweet leaf in a temperate garden: fast shoots, a deep pot, bright shade, and an honest safety note before the first taste. The rest of this page is 16 steps, from the first cutting to a shrub you can harvest for years.
Start cuttings in spring after the last frost. Move the pot inside before the first cold night. Cook every harvest the same day you pick it.
Katuk (Sauropus androgynus) is a multistemmed tropical shrub from Southeast Asia, sold and grown under the names sweet leaf, sweetleaf bush, and tropical asparagus. Older references may call it Breynia androgyna or Phyllanthus androgynus; the current accepted name is Sauropus androgynus. Outdoors it holds zones 9 to 11 and can reach 2.4 m tall, but in a temperate garden it lives its life in a container that comes inside for winter.
What sets katuk apart from most herbs is its staying power. Basil and cilantro demand replanting every season; katuk, treated as a perennial, builds a woody base and a deep root system that push new shoot tips year after year. The trade-off is the pot. You gain a long-lived tropical green at the cost of a heavy container to haul indoors each autumn.
| Spec | Detail |
|---|---|
| Botanical name | Sauropus androgynus (Phyllanthaceae) |
| Plant type | Perennial tropical shrub |
| USDA zones | 9 to 11 outdoors; container-grown elsewhere |
| Best temperature | 26 to 35 °C; growth slows in cool weather |
| Light | Full sun to semi-shade |
| Soil pH | 6 to 7 preferred |
| First harvest | 55 to 70 days after planting |
| Main propagation | Stem cuttings |
1. Root Katuk from 15 to 20 cm Semi-Hardwood Cuttings
Cuttings root faster than seed and give you an exact copy of the parent plant. Take 15 to 20 cm lengths of semi-hardwood stem, wood that has begun to firm up but is not fully hard, from healthy new-season growth.
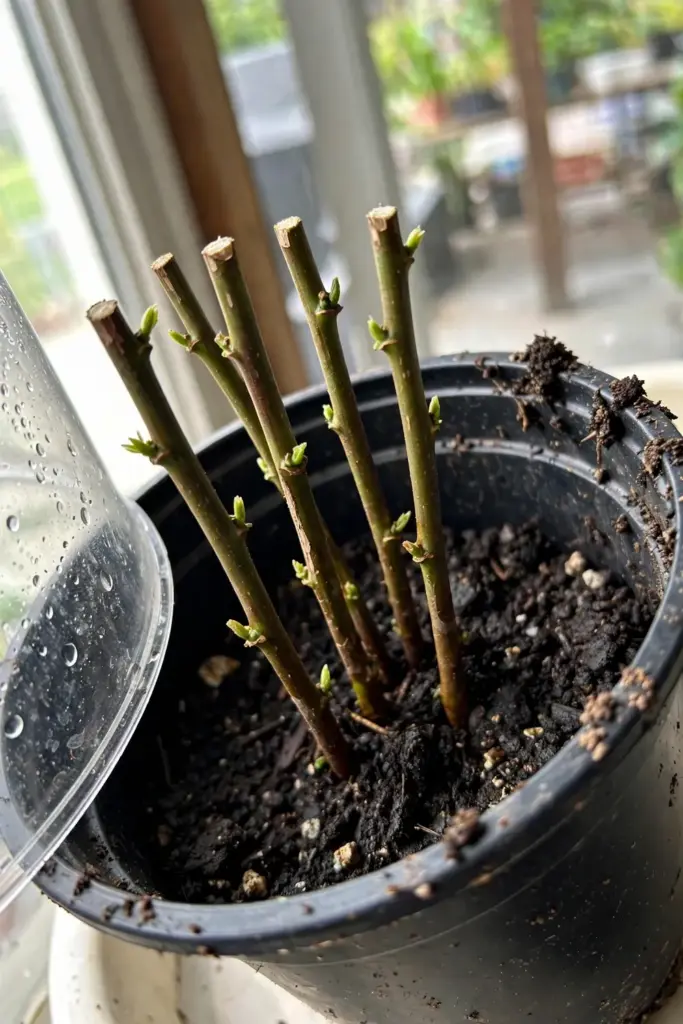
Strip the leaves from the lower half of each cutting and set the cutting about one third of its length into moist potting mix. Katuk strikes readily this way; the Growables katuk notes recommend 6 to 8 inch (15.2 to 20.3 cm) cuttings with some hardwood in the stem. Keep the mix damp, not soggy, and shade the cuttings for the first two weeks.
Soft, fully green tips rot before they root. If a cutting collapses at the base, you cut too young or kept the medium too wet.
A plastic bag or clear dome over the pot holds humidity around the cuttings while roots form, and a heat mat under the tray speeds the process in a cool spring. Ventilate daily so condensation does not breed mold on the stems. Roots usually grip within 3 to 4 weeks; tug gently on a cutting and feel for resistance before you transplant.
2. Sow Fresh Seed Within 4 Months of Harvest
Seed works, but it is the slower and less reliable route. Katuk seed stays viable for only 3 to 4 months, so sow seed you collected yourself or bought from a supplier who ships it fast and dates the harvest.
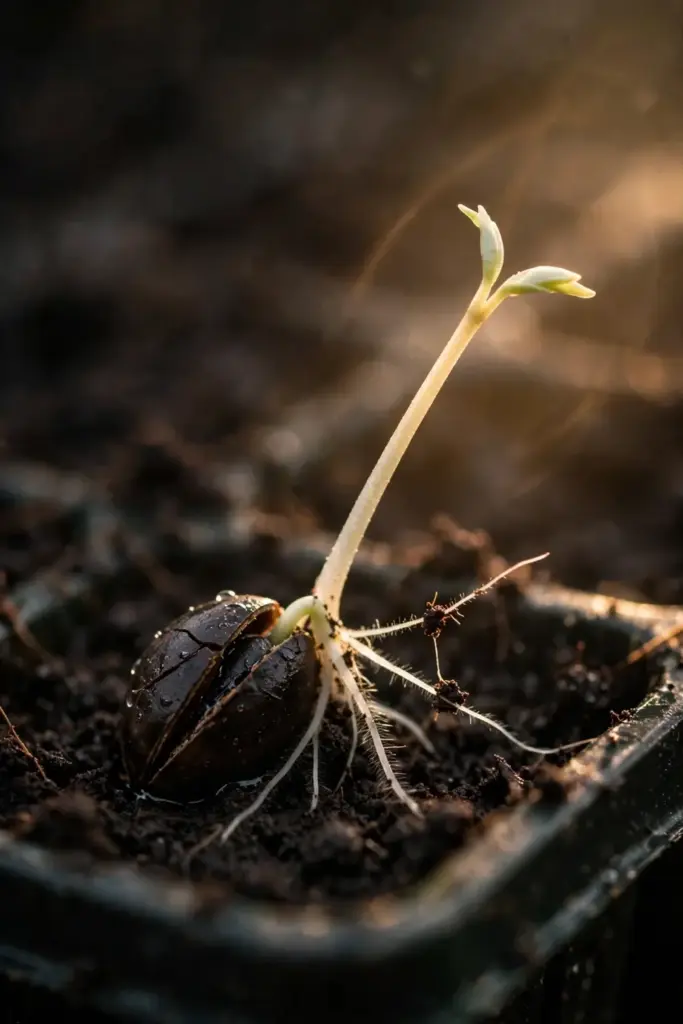
Sow seeds 1 to 1.5 cm deep in moist seed mix and keep them at steady warmth. Germination is variable and can take more than a month, so label the tray and be patient rather than digging seeds up to check. The ECHO katuk plant information sheet gives the full propagation picture: 20 to 30 cm cuttings with four to five nodes, 3 to 4 month seed viability, and 30 to 60 cm spacing between plants in the ground.
Pair this with the site’s seed starting steps for trays, heat, and timing.
Old seed is the main reason germination fails. A packet of unknown age is compost, not a crop.
Ask the supplier for the harvest date before you order. Reputable tropical-seed sellers list it; vague listings do not. When fresh seed arrives, sow it within days rather than storing it, since every month on the shelf shrinks the viability window the ECHO notes describe.
3. Build a Moisture-Holding Loam at pH 6 to 7
Katuk tolerates clay and heavy ground but performs best in a rich, moisture-holding loam that drains freely. Build your potting mix from good compost, coir or peat, and a generous handful of perlite or coarse sand so roots never sit in water.
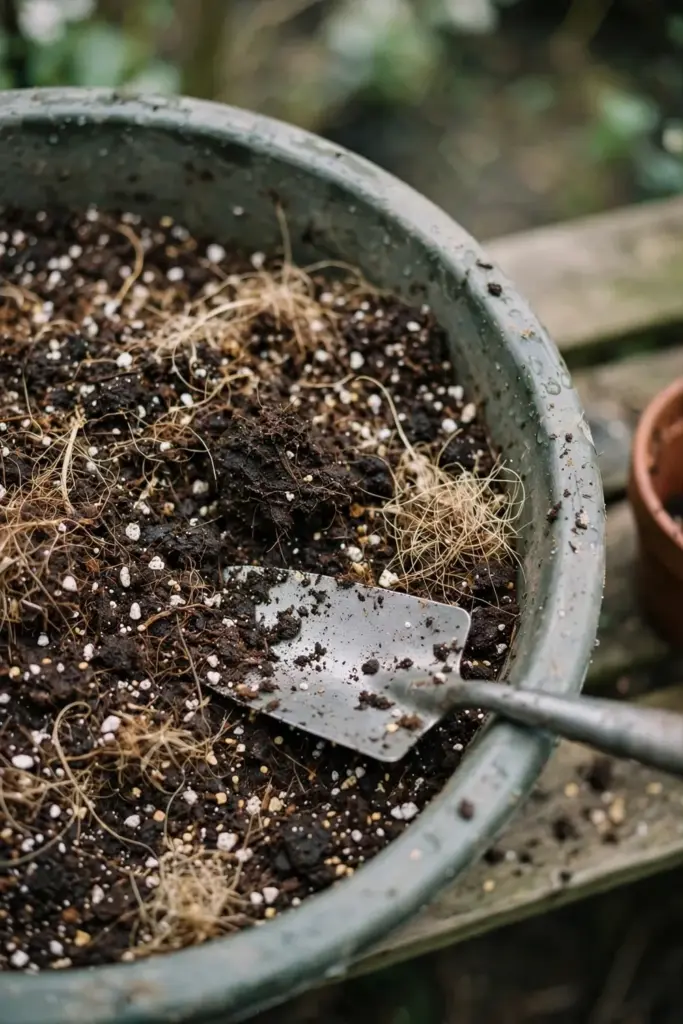
Aim for a pH between 6 and 7. The Plants for a Future database page for Sauropus androgynus lists pH 6 to 7 as the preferred range, tolerating 5.5 to 7.5, and gives the climate envelope too: best growth at 26 to 35 °C daytime temperatures, with tolerance from 5 to 38 °C. Temperate gardeners cannot hold those temperatures outdoors, which is exactly why the pot-and-bring-inside method exists.
Alkaline mix starves the plant of iron and manganese. A cheap probe or test kit before planting saves a season of pale leaves.
If your tap water runs hard and alkaline, it nudges container pH upward over the season. Collect rainwater for katuk when you can, or flush the pot thoroughly each month so carbonates do not accumulate. A handful of sulfur granules worked into the top layer corrects a mildly alkaline mix, but retest after six weeks before adding more.
4. Choose a Deep Container Before You Pot Up
A nursery pot will not hold katuk for long. Choose a deep container with drainage holes, because the shrub builds a serious root system for a leaf vegetable and sulks in shallow soil. The nursery notes give 20 to 50 cm as the shallow end of its planting depth range, so give it depth to work with.
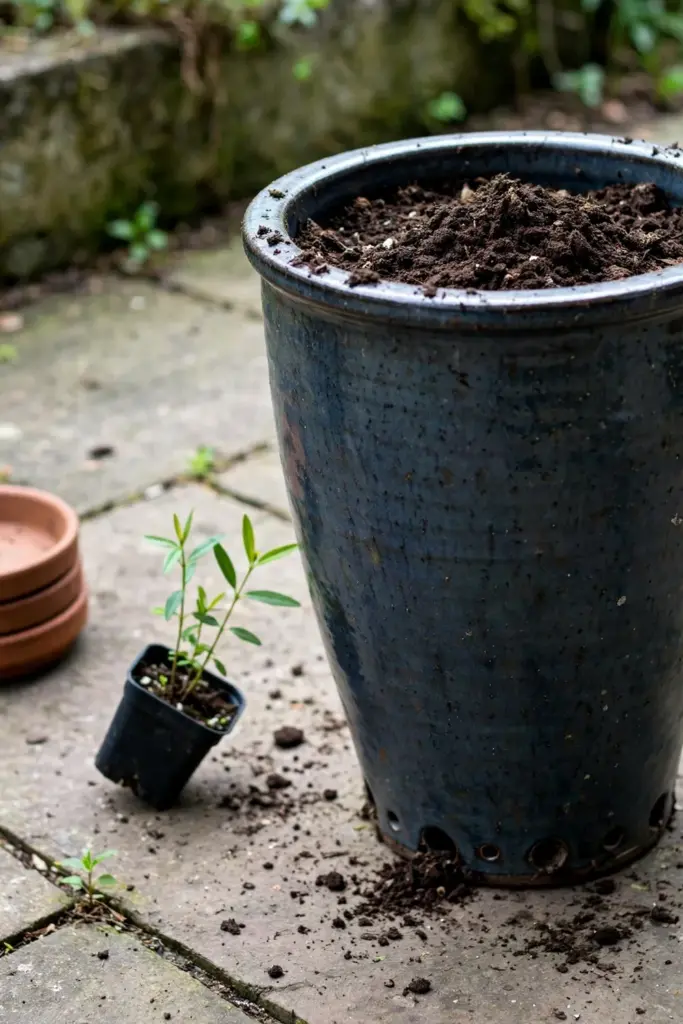
Start a young plant in a medium pot, then move up as roots fill the mix. Heavy ceramic or a fabric grow bag both work; plastic dries slower and suits forgetful waterers. A saucer under an indoor pot catches drainage but empty it after watering.
Shallow pots stall the plant at half its potential. When growth stops despite water and feed, the roots have run out of room and the plant is telling you to repot.
Repot in spring, before the main growth flush. Slide the root ball out, tease the outer roots loose, and move up one pot size with fresh mix around the sides. A plant that has lived in the same pot for two full seasons deserves a root trim: shave 2 to 3 cm off the outer root ball and repot into fresh mix at the same size.
5. Give Katuk Bright Shade, Not Blazing Sun
Katuk evolved as an understory shrub, and it still prefers bright shade. Dappled light under a tree canopy, a north or east facing patio, or the shadow side of a fence all suit it. The PFAF notes record that it succeeds in full sun and semi-shade, so it survives sun, but afternoon shade grows the tenderest shoots.
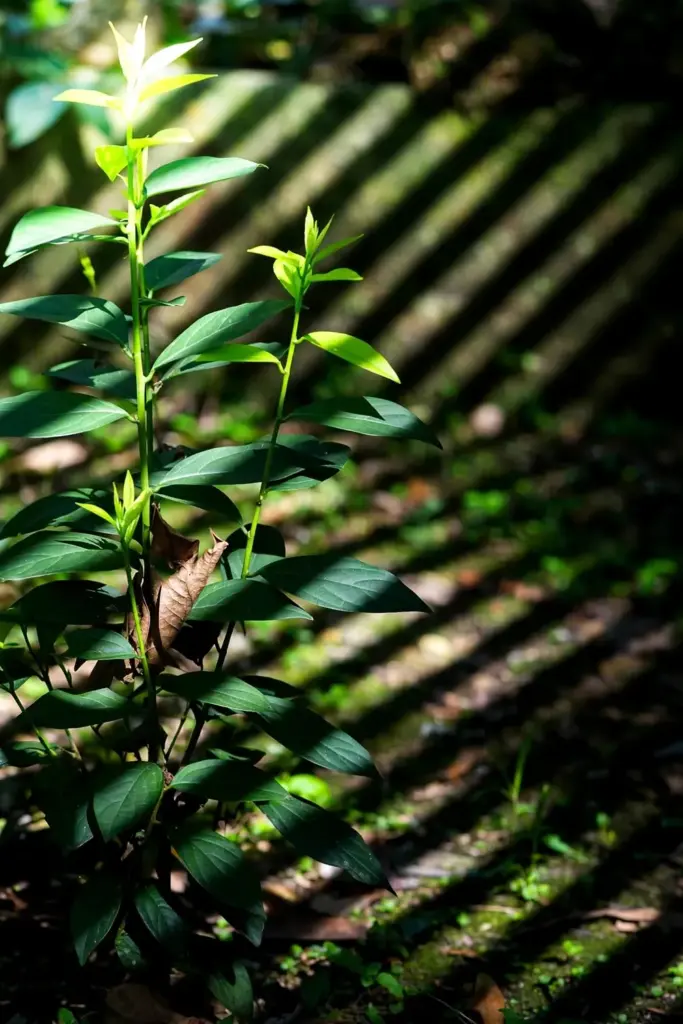
Indoors, place the pot at the brightest window you own or under a grow light. Thin, stretched stems with wide gaps between leaves mean the light is too weak; scorched leaf edges mean too much direct sun through hot glass.
Deep shade backfires. The plant needs enough light to photosynthesize strongly, or the shoot tips stay thin and flavorless.
Rotate the pot a quarter turn every week so all sides get their share of light and the shrub grows evenly instead of leaning. If the only bright spot is full afternoon sun, hang a light shade cloth above the pot rather than moving the plant into a dark corner. Katuk forgives heat far better than it forgives darkness.
6. Water Deep and Keep the Soil Evenly Moist
Katuk comes from a climate with 900 to 1,200 mm of annual rainfall at its best sites, per the PFAF notes, so think generous water rather than desert gardening. Water deeply until it drains from the base, then let the top 2 to 3 cm of mix dry before watering again.
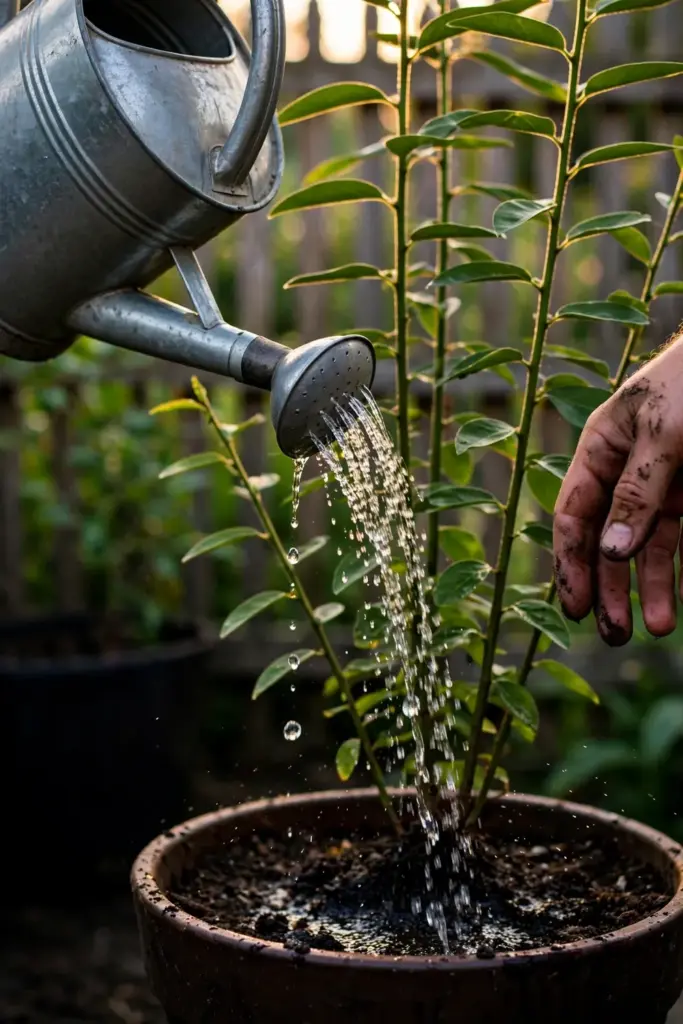
Mulch the pot surface with a 2 to 3 cm layer of bark or compost to slow evaporation. Indoor winter plants drink less, so cut back and water only when the mix feels dry a finger’s depth down.
Soggy soil invites root rot. ECHO notes record root rot under excessively moist conditions in northern Thailand, so drainage matters more than frequency.
Rain complicates the schedule for outdoor summer pots. A week of steady rain waterlogs even good mix, so tilt saucers empty and pull the pot under cover during downpours. Conversely, a heat wave can dry a medium pot in a single day; check morning and evening when temperatures climb past 30 °C.
7. Feed Every 2 Weeks While the Plant Is Growing
Katuk is a leaf factory, and leaf factories run on nitrogen. The ECHO notes confirm that nitrogen enhances foliage growth and point to manure, compost, and nitrogen-containing fertilizers as the sources.
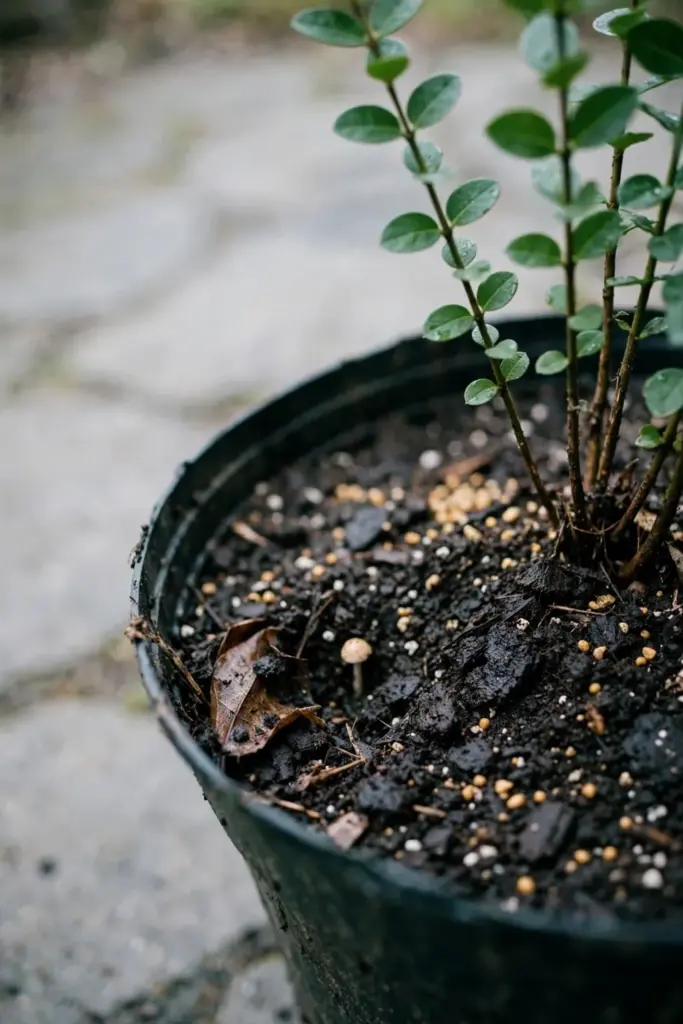
Feed with a balanced liquid fertilizer at half the label strength every two weeks from spring through early autumn. Top-dress the pot with compost twice a season for slow-release nutrition and better water retention. Stop feeding when you bring the plant inside for winter and resume when spring growth restarts.
Yellow older leaves with green new growth spell nitrogen hunger. A skipped feeding schedule shows up in the leaf color within weeks.
Compost tea or diluted fish emulsion suits growers who prefer organic inputs; either way, feed the soil as well as the plant, because container mix exhausts faster than garden soil. Flush the pot with plain water once a month to wash out salt buildup from regular feeding, then resume the schedule the following week.
Watch the leaf size as your gauge. When new leaves emerge smaller than the older ones despite steady feeding, the plant has likely hit a phosphorus or potassium limit, and a switch to a balanced fruit-and-vegetable formula for one cycle usually restores normal growth.
8. Bring Katuk Inside Before Nights Hit 10 Degrees
Katuk is frost tender and sulks in the cold. Sow Exotic’s katuk plant listing rates it for USDA zones 9 to 11 outdoors and flags it as sensitive to frost. The Growables notes add the detail that matters for timing: cold damage starts at 10 °C (50 °F).
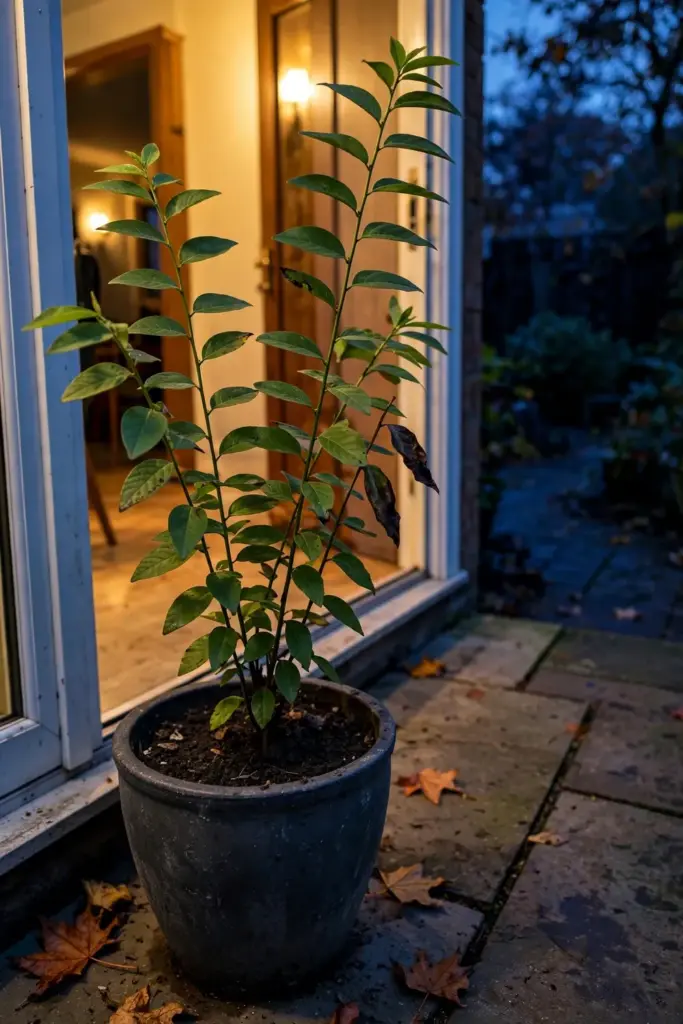
Move containers indoors or into a heated greenhouse before night temperatures slide toward 10 °C. In zones 9 to 11 the plant can stay in the ground; elsewhere the pot is its permanent winter home. A light frost may kill the top growth while the roots survive, but do not gamble on it.
One forgotten frosty night blackens the foliage. The plant often resprouts from the base, yet you lose months of production.
9. Set Up Grow Lights for a Winter Indoor Harvest
A katuk indoors through winter goes half dormant in dim window light. Hang a full-spectrum LED grow light 15 to 30 cm above the shoot tips and run it 12 to 16 hours a day on a timer. This keeps the plant photosynthesizing and producing small, tender harvests all winter.
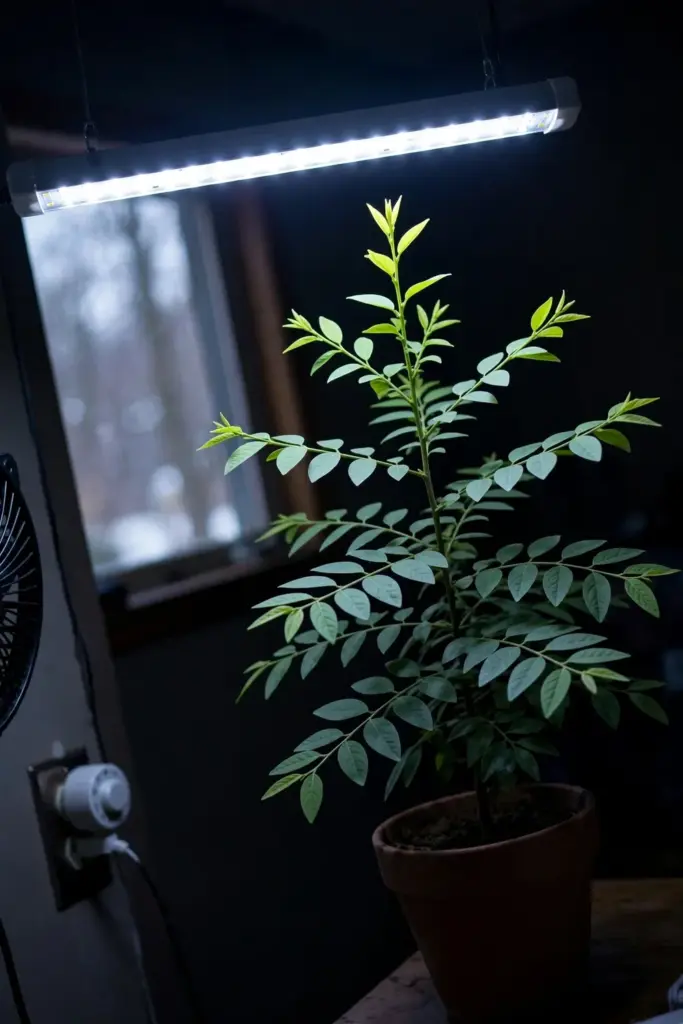
Keep the room above 15 °C if you can. Cold rooms slow growth even under good light, and the plant waits for spring. Watch humidity too: heated winter air dries pots fast, so check the mix twice a week.
A leggy plant with tiny pale leaves is begging for more light, not more fertilizer. The site’s indoor herb gardens guide covers light placement and humidity for winter growing.
Group the katuk pot with other tropicals under the same light to build a pocket of shared humidity, and keep it clear of heat vents that bake one side. Expect slower growth than summer; winter harvests are a bonus, not the main crop. The plant is storing energy for the spring flush.
10. Prune Back Hard in Late Winter for Tender Tips
Katuk responds to hard pruning with a flush of the sweet, tender shoot tips you are growing it for. In late winter or early spring, cut stems back to 10 to 15 cm stubs above the soil, the practice the Growables notes recommend for cooler climates.
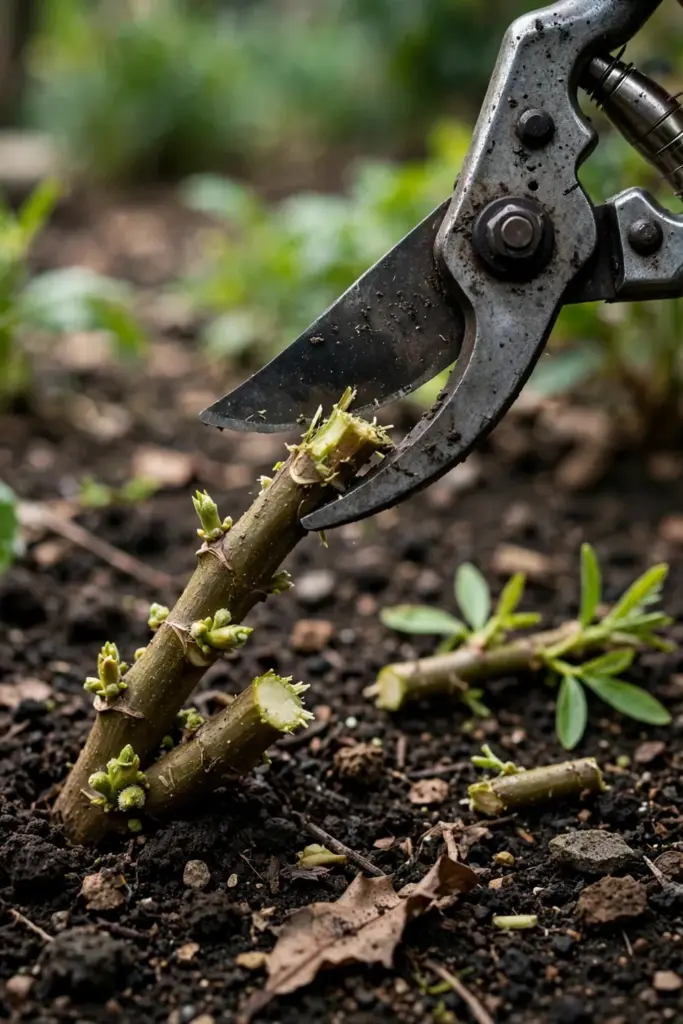
Pinch or snip the growing tips through the season as well. Every pinch forces side branches, and side branches mean more shoot tips to harvest. Never take more than a third of the plant at once; let it recover between harvests.
Unpruned shrubs grow tall, woody, and sparse at the base. The productive part of katuk is always the new growth, so pruning is harvest strategy, not maintenance.
Cut back in stages if the shrub frightens you: remove a third of the oldest stems one week, another third the next. Each cut wakes dormant buds below it, and within a month the base fills with the soft green shoots you want to eat. Sharp, clean shears matter more than technique; crushed stems invite dieback.
11. Harvest Shoot Tips and Cook Them Well Every Time
Start picking when the plant stands 30 cm tall. Snip the top 15 cm of each stem, the tender shoot tips with their young leaves, and the plant branches below the cut. First harvests land 55 to 70 days after planting, with steady production building by four months, the window the ECHO notes give for picking to begin.
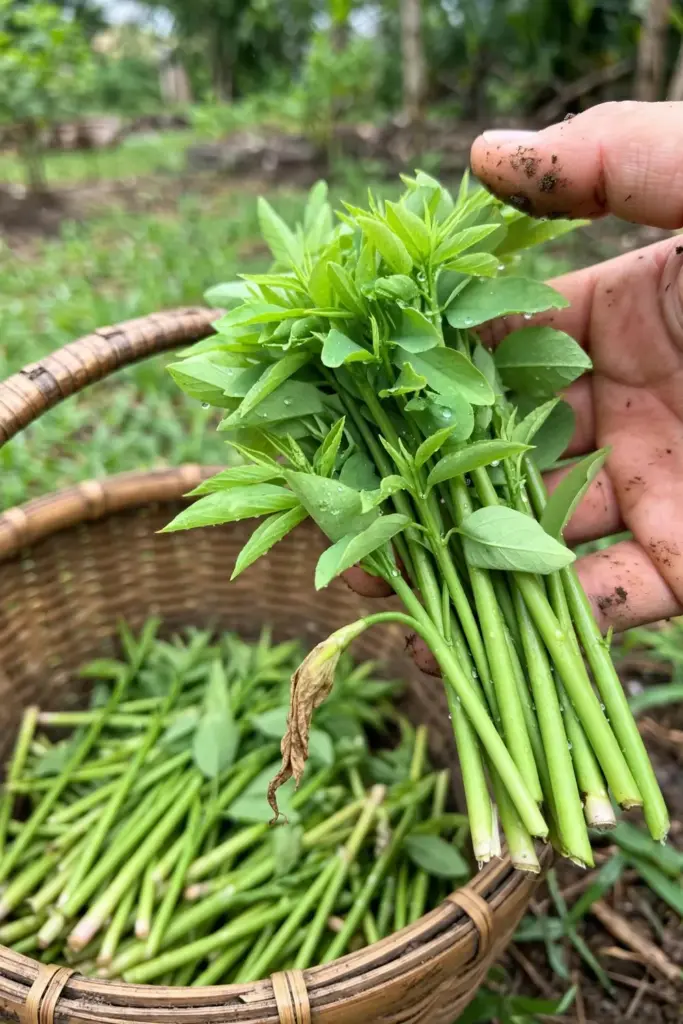
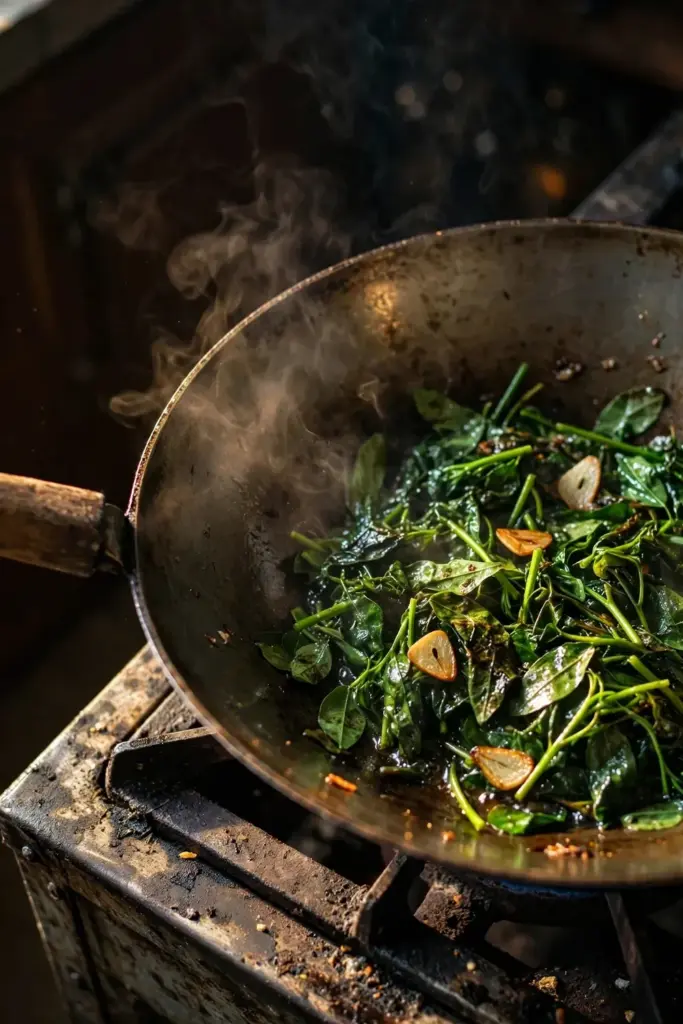
In my own cooking, katuk tips behave like spinach in a hot pan: they stay dark green and keep their bite. Stir-fry, steam, or boil them; they hold color and firm texture in heat, which is why Asian kitchens prize them. The lemongrass growing guide covers another Indonesian kitchen herb if your tropical bed is expanding.
Cook katuk thoroughly every single time. Never eat it raw in quantity.
12. Use Fresh Shoots Within 2 Days of Picking
Katuk shoots wilt fast. Harvest in the cool of the morning, stand the stems in a jar of water in the shade, and cook them the same day for the best texture and flavor. The smallholder literature from Indonesia describes katuk as perishable, keeping 2 days after harvest at most.
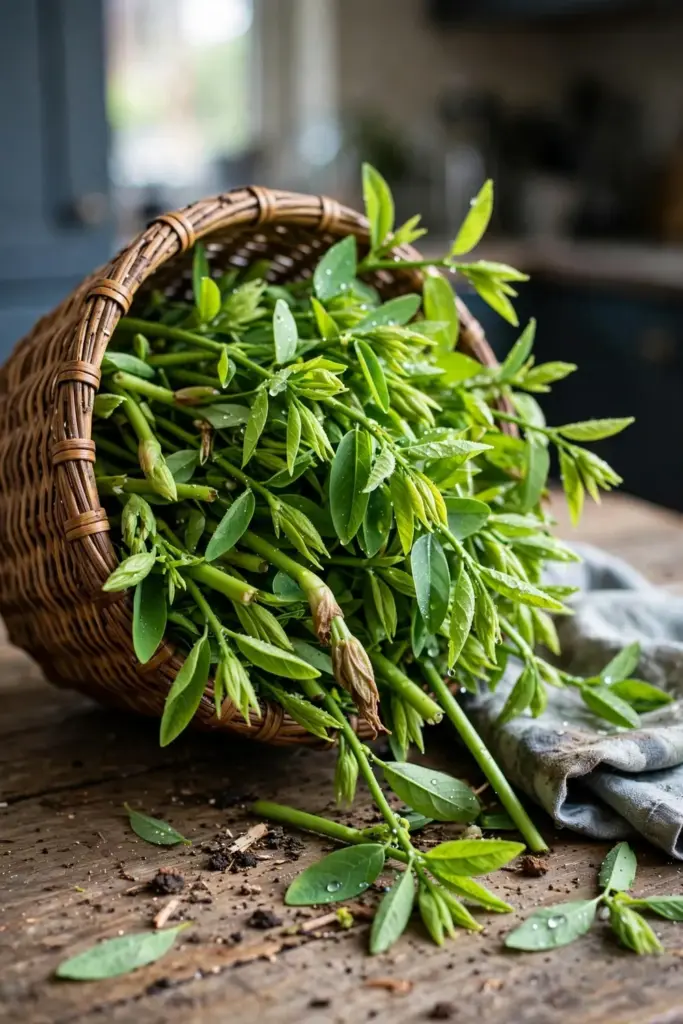
If you must hold shoots, wrap them in a damp cloth inside a sealed container in the refrigerator. Do not wash them until cooking time; wet leaves spoil faster. Freezing works for cooked greens but ruins the raw crunch of fresh tips.
Limp, slimy stems belong in the compost. Katuk is too fast-growing to justify nursing tired shoots.
For longer keeping, blanch the shoot tips for one minute, chill them in ice water, and freeze in portions. Frozen katuk loses the fresh crunch but works well in cooked dishes through winter, which extends the value of your summer harvests without a single raw leaf.
13. Respect the Raw-Leaf Lung Risk from the 1990s
Here is the safety fence, stated plainly. In Taiwan in the 1990s, people drinking large amounts of raw katuk juice as a weight-loss fad developed bronchiolitis obliterans, a serious and permanent lung condition. The same ECHO notes linked earlier record this caution directly: avoid excessive consumption of raw katuk, especially in concentrated forms like juices or extracts.
This is general information, not medical advice. Cooked katuk eaten as a normal vegetable is the traditional pattern across Southeast Asia. The risk was tied to heavy, sustained raw-juice consumption, not to a normal serving of cooked greens. Do not blend raw katuk smoothies, do not make raw katuk juice, and keep portions moderate as part of a varied diet.
Raw is where the danger lived. Heat and moderation are the whole rule.
If someone offers you fresh katuk leaves to chew, politely decline and cook them instead. Stir-frying for two to three minutes at full heat is enough; the ECHO notes list soups, curries, and steaming as equally suitable. Traditional cooks across Indonesia and Malaysia never made raw katuk juice a habit, and neither should you.
14. Check Weekly for Mites, Aphids, and Leaf Damage
Katuk is unusually trouble-free. The Growables notes call it generally disease and pest free, which matches most growers’ experience. A weekly check still pays: flip a few leaves and look for stippling, webbing, or clusters of small insects on the shoot tips.
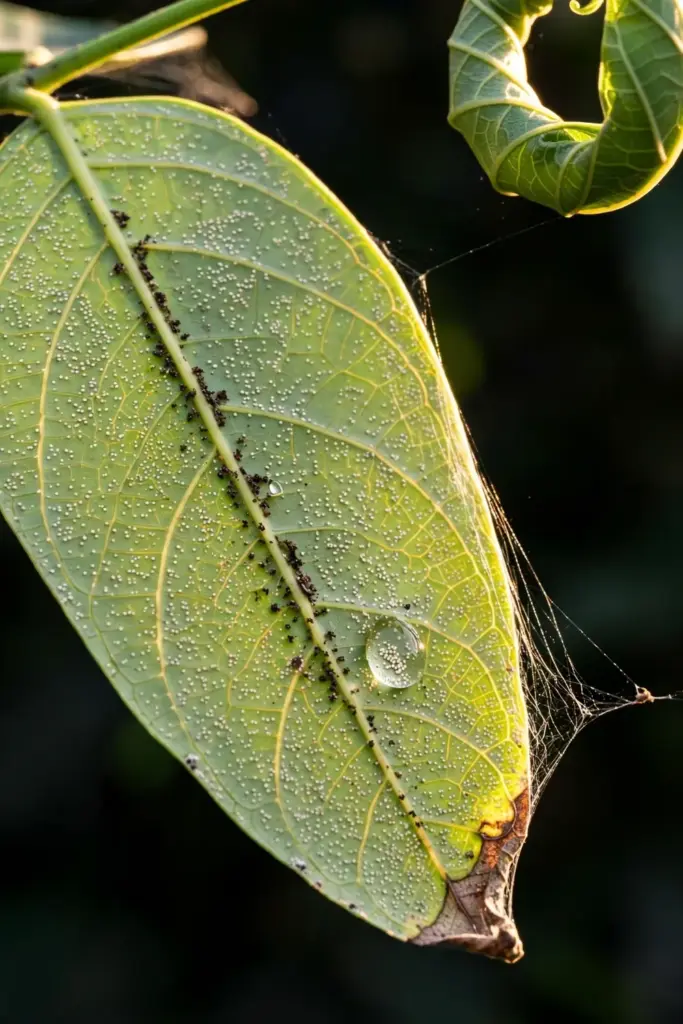
Indoors, spider mites are the usual winter pest; they thrive in dry, warm air. Blast them off with a strong jet of water and raise the humidity around the plant. Outdoors, root rot is the bigger threat, and it comes from waterlogged soil rather than from any insect.
Ignoring a mite colony for a month turns a healthy shrub into a webbed skeleton. Catch them early and the plant outgrows the damage.
Quarantine any new tropical plant for two weeks before placing it beside your katuk, because hitchhiking pests arrive on nursery stock more often than from the open air. A yellow sticky card near the pot gives you an early warning system: when the card stays clean, the plant is clean.
15. Learn Katuk’s Many Names and the Star Gooseberry Mix-Up
Katuk travels under many names, and one of them causes real confusion. Learn the map so you buy and plant the right species.

| Region | Name |
|---|---|
| Indonesia | katuk |
| Malaysia | cekur manis, sayur manis |
| Vietnam | rau ngót, rau bồ ngót |
| Thailand | pak waan |
| China | mani cai |
| Japan | amame shiba |
| Philippines | Chinese malunggay |
| English | sweet leaf, sweetleaf bush, tropical asparagus, multivitamin plant |
The mix-up: some sellers list katuk as “star gooseberry.” That name describes this leafy shrub. The fruiting gooseberry tree is a different species entirely, grown for round tart fruit. If a listing shows a fruit tree, it is not katuk. Check the botanical name before you buy: it must read Sauropus androgynus.
Buying the wrong plant wastes a season. The name on the tag is the whole identification.
16. Fix the 5 Failures That Stop Katuk Cold
Cuttings that rot, seeds that never sprout, yellow leaves, leggy stems, dead winters. Five fixes cover nearly every katuk complaint.
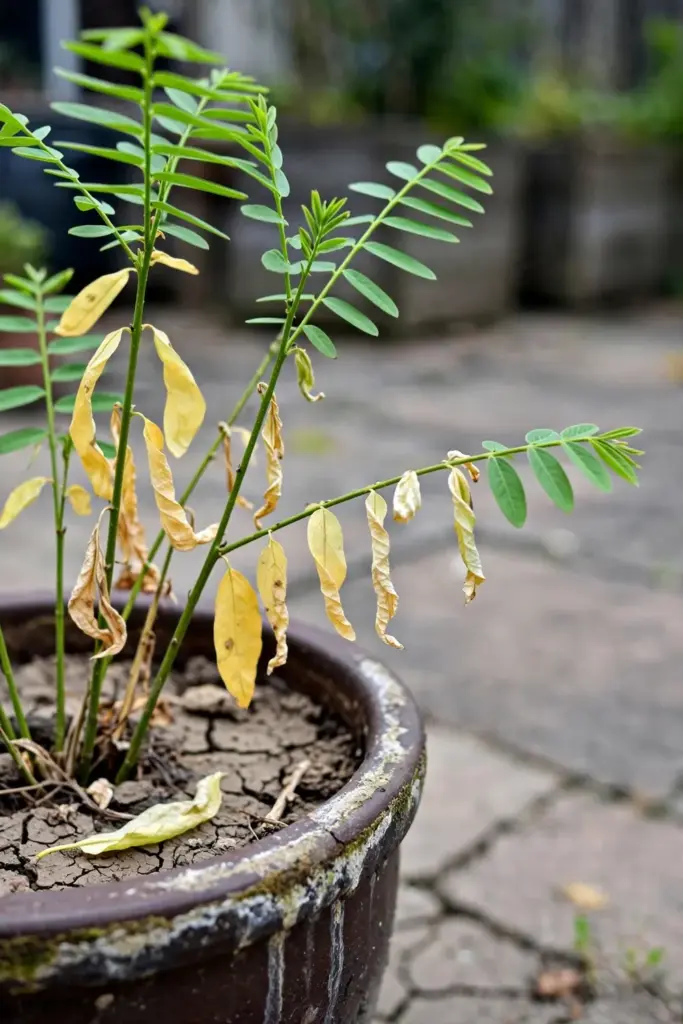
Cuttings rot at the base. You took soft green tips or kept the mix waterlogged. Take firmer, semi-hardwood stems and water only when the surface dries.
Seeds never germinate. The seed was old. Viability runs 3 to 4 months, and germination itself can take over a month. Sow fresh and wait.
Leaves turn yellow. Nitrogen hunger, usually. Resume the two-week feeding schedule and top-dress with compost.
Stems grow leggy and weak. Too little light or no pruning. Move to brighter shade, or under lights indoors, and pinch the tips to force branching.
The plant dies back in winter. Cold damage below 10 °C. Bring the pot inside before cold nights, and cut frost-blackened stems to 10 to 15 cm stubs in late winter so new shoots can emerge.
One fix usually unlocks the plant. Katuk wants warmth, food, and a haircut, not heroics.
Frequently Asked Questions
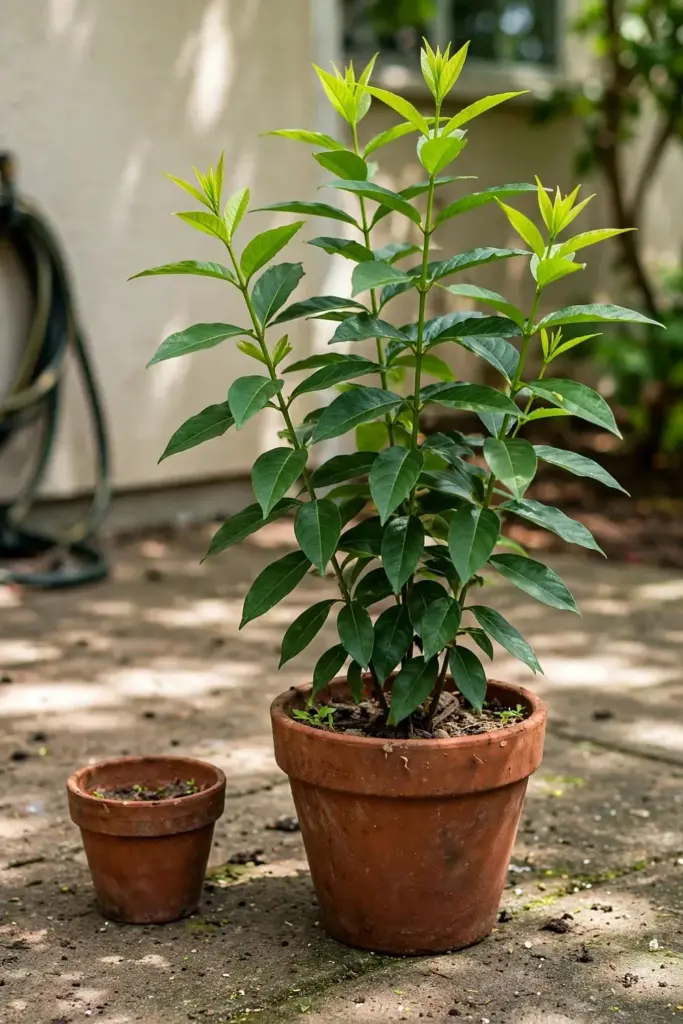
Yes, and in temperate climates a pot is the only practical method. Choose a deep container with drainage holes, fill it with rich moisture-holding mix at pH 6 to 7, and keep it in bright shade through summer. Move the pot indoors before night temperatures approach 10 °C. Under a grow light it keeps producing small harvests through winter.
No. “Star gooseberry” is sometimes used as a trade name for katuk, the leafy Sauropus androgynus shrub. The fruiting gooseberry tree is a different species with round tart fruit. When buying plants or seed, confirm the botanical name reads Sauropus androgynus so you do not grow the wrong plant for a season.
Expect the first small harvests 55 to 70 days after planting, according to the PFAF cultivation data, picking the top 15 cm of stem tips. Production becomes steady by about four months. Regular pinching and pruning keep new shoot tips coming, and a well-fed plant in warm weather can be harvested repeatedly through the growing season.
Only in USDA zones 9 to 11, where it stays evergreen. In colder zones, cold damage begins at 10 °C (50 °F), and frost blackens the foliage. Grow it in a container, bring it inside before cold nights, and run a grow light 12 to 16 hours a day. The plant goes semi-dormant in dim conditions and rebounds when warmth and light return. That indoor discipline is the core of how to grow katuk sweet leaf outside the tropics.
Nitrogen hunger is the usual cause, especially in containers where frequent watering leaches nutrients. Older leaves yellow first while new growth stays green. Resume feeding with a balanced liquid fertilizer at half strength every two weeks and top-dress with compost. Pale leaves from alkaline soil need a pH check instead; katuk prefers pH 6 to 7.
Cook it. In the 1990s, heavy consumption of raw katuk juice in Taiwan was linked to bronchiolitis obliterans, a permanent lung condition, and the ECHO plant notes carry that caution. This is general information, not medical advice. Cooked katuk as a normal vegetable is the traditional pattern. Never make raw katuk smoothies or juice, and keep portions moderate.
Keep a Mature Katuk Shrub Producing for Years
Treat katuk as a perennial, not an annual. A plant that winters indoors, gets pruned hard each spring, and feeds steadily all summer grows woodier stems and a bigger root system every year, and bigger roots push more shoot tips.
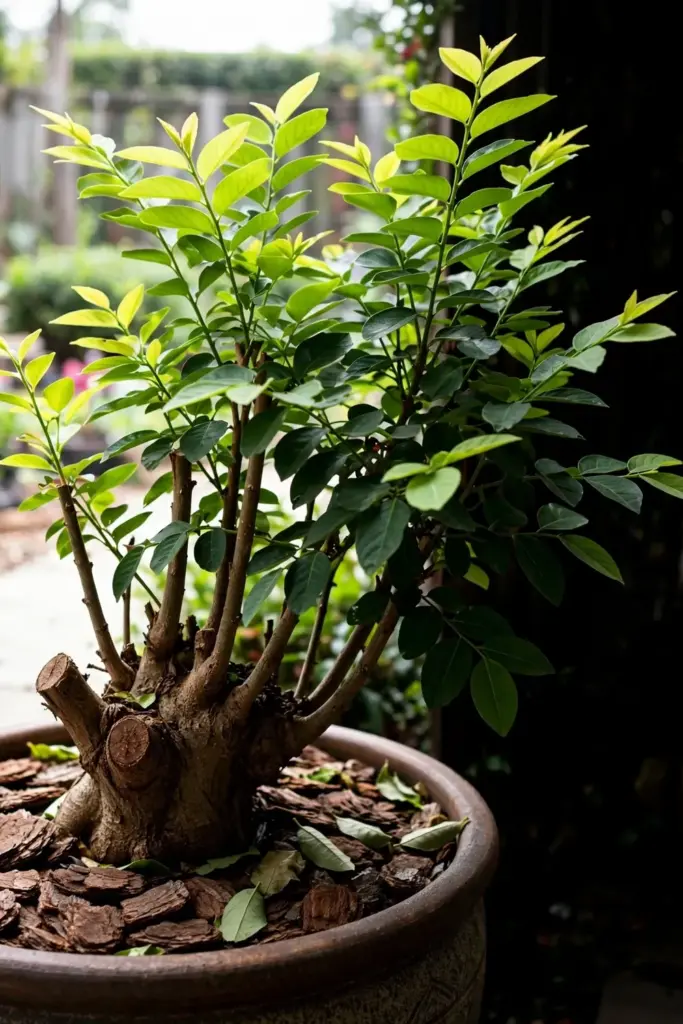
That is how to grow katuk sweet leaf for the long term: one deep pot, one bright corner, and a pair of shears in regular use. Repot every second spring, refresh the top third of the mix, and the shrub pays you back in tender greens from spring to the first cold night. Browse the How to Grow Herbs archive for the next herb to add beside it.