
Start roselle seeds indoors 6 weeks before your last frost. Learning how to grow roselle in a temperate climate comes down to three moves after that: full sun, a large container, and picking the fleshy red calyces 100 to 110 days after sowing. Roselle is a tropical shrub that gardeners outside the tropics grow as a warm-season annual, and it needs a long, hot season to deliver calyces before the first fall frost arrives. In Indonesia, where the plant grows year-round, gardeners know it as rosela and drink the deep-red tea made from its calyces daily.
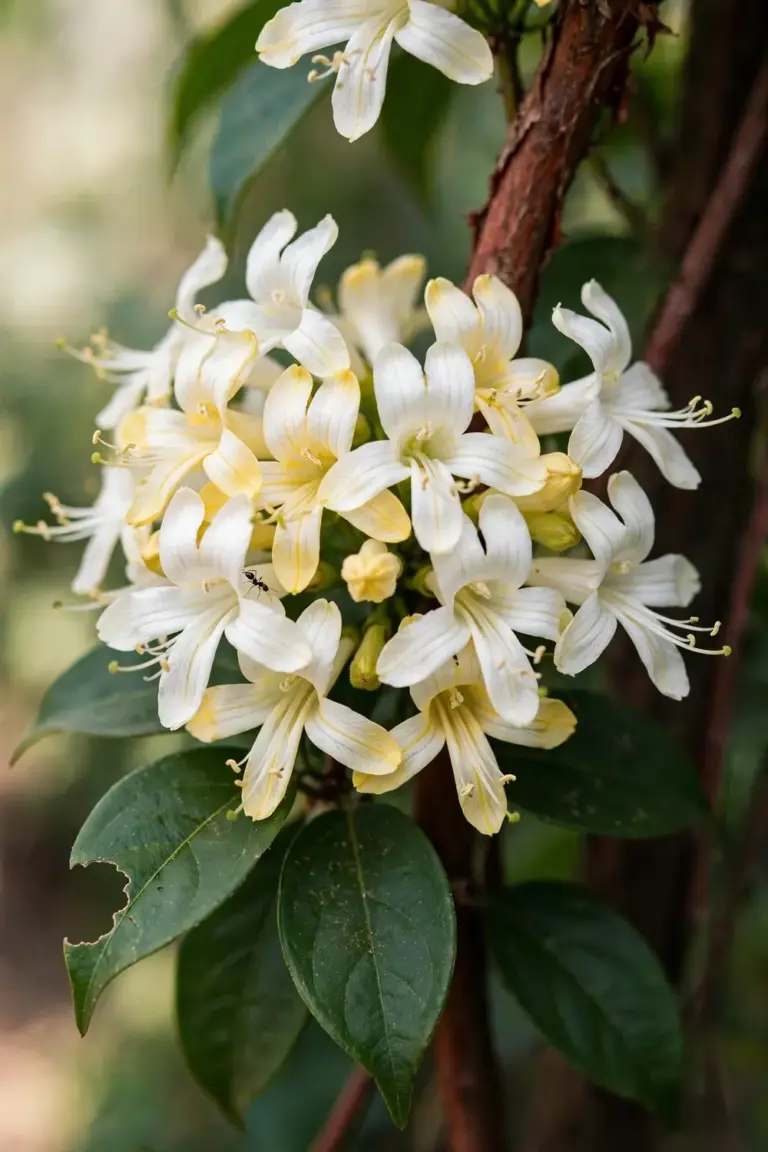
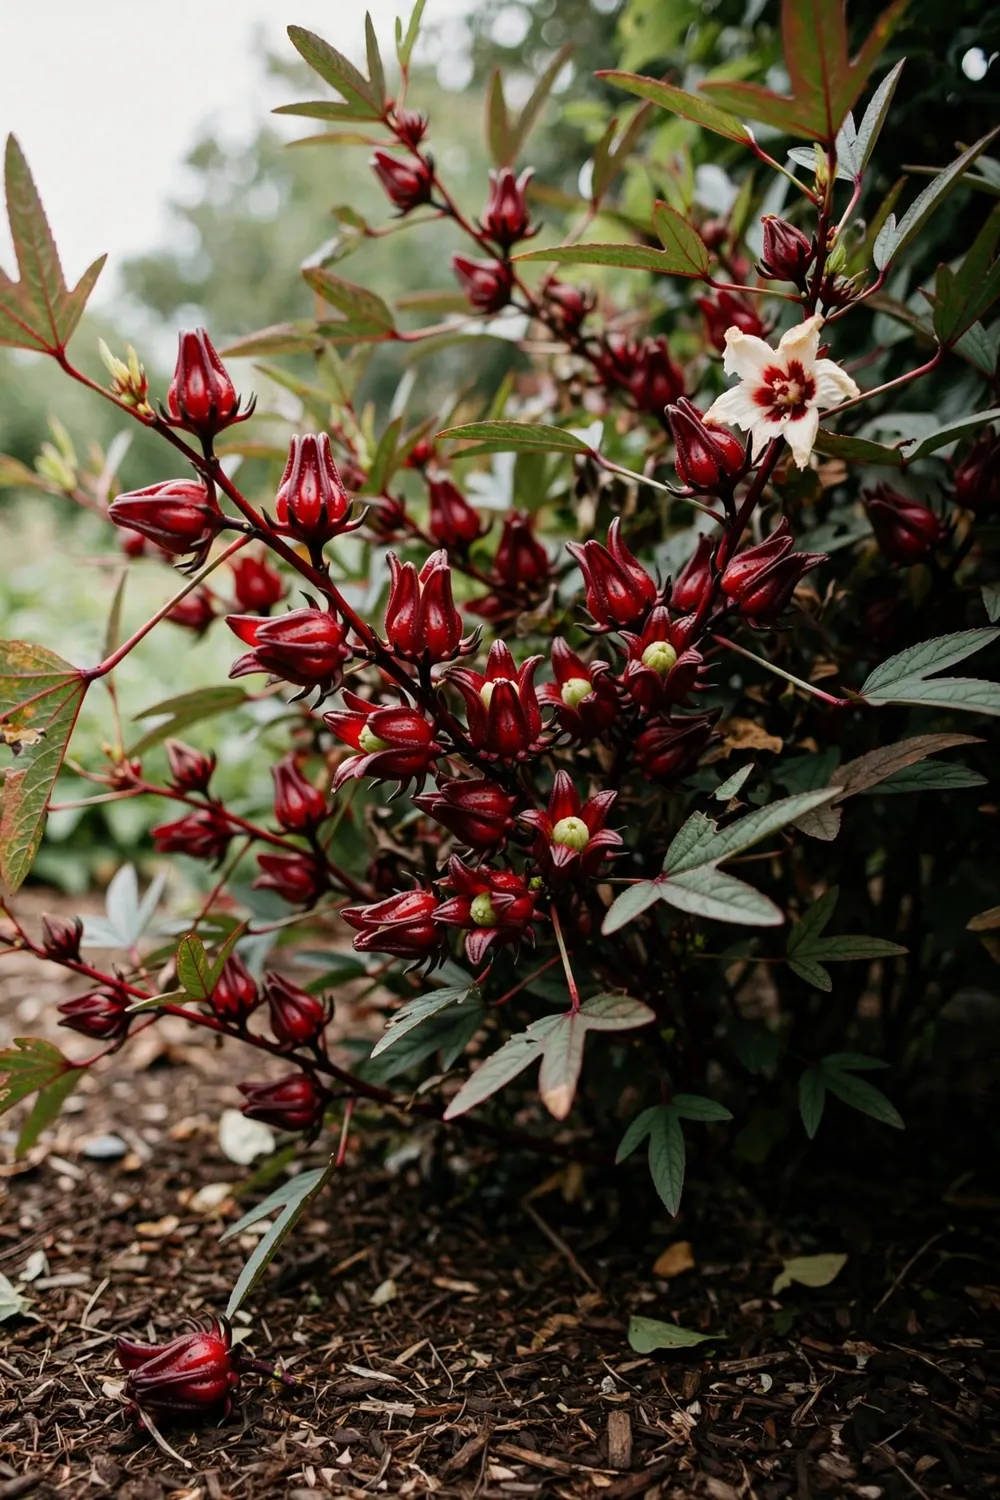
The harvest surprises most beginners. You do not pick the flower. Each 3-inch creamy-white bloom lasts a single day, then fades, and the fleshy cup at its base swells into the ruby-red calyx you brew. The rhythm of the plant is simple: bloom, fade, swell, pick. The indoor start uses the same warm-soil seed starting steps that heat-loving vegetables need, because cold soil stalls roselle germination hard.
I have learned to treat roselle like a tomato with a later deadline: every warm week you add at the front of the season shows up as calyces at the back end. Below is the full season, from seed packet to first cup, tuned for gardeners who cannot rely on a tropical year.
Roselle Quick Specs
Roselle is Hibiscus sabdariffa, a tropical member of the mallow family grown outside the tropics as a warm-season annual for its fleshy red calyces. The numbers below set the whole season.
| Spec | Detail |
|---|---|
| Botanical name | Hibiscus sabdariffa (Malvaceae, related to okra) |
| Life cycle in temperate zones | Annual; perennial only in zones 9 to 11 |
| Mature size | 6 to 7 feet tall |
| Sun | Full sun, more than 6 hours daily |
| Germination | 7 to 14 days at 75 to 85°F soil temperature |
| Seed depth | 1/4 inch, after an overnight soak |
| Indoor start | 6 weeks before the last frost |
| Transplant spacing | 24 to 36 inches apart |
| Days to first calyces | 100 to 110 days from sowing |
| Harvest window | 10 days after each flower fades, before 40°F nights |
1. Sort the Name Maze: Roselle vs Ornamental Hibiscus vs Cranberry Hibiscus
The name confusion costs gardeners real money, so sort it before buying seed. Roselle is Hibiscus sabdariffa, grown for the fleshy red calyx that swells after each flower fades. Ornamental hibiscus, usually Hibiscus rosa-sinensis, is grown for huge showy flowers and produces no edible calyx. Cranberry hibiscus, Hibiscus acetosella, is a foliage plant with deep-red maple-like leaves that nurseries sometimes label in ways that blur into roselle. Garden sorrel, Rumex acetosa, is a leafy herb with no botanical relation to any hibiscus; it shares the word “sorrel” because Jamaica sorrel is one of roselle’s oldest English names.
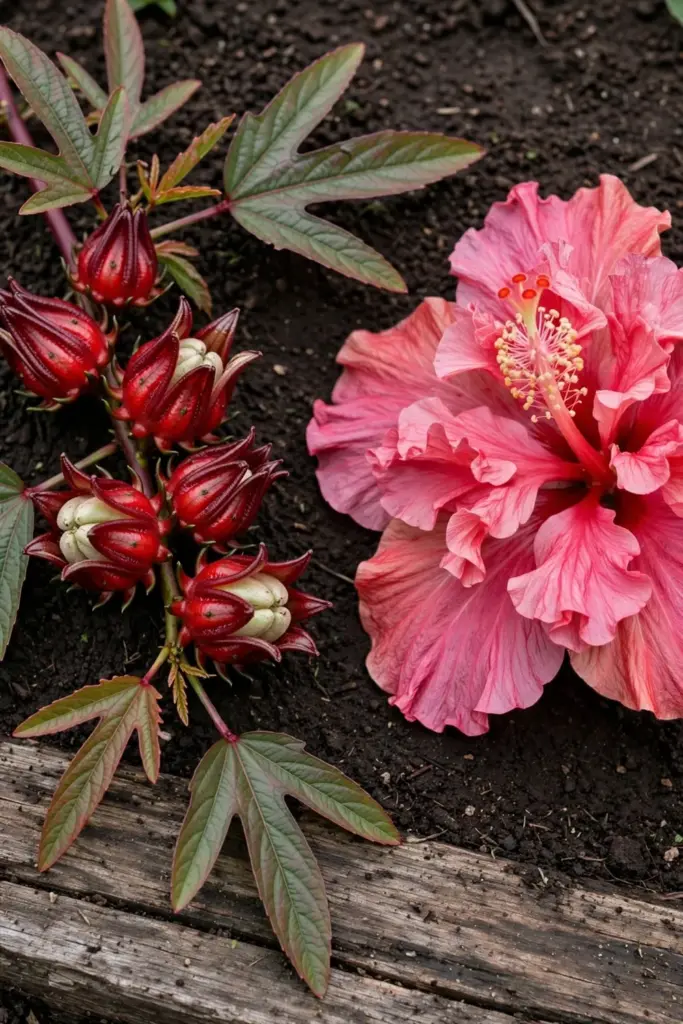
The calyx is the giveaway. If the seed packet or nursery tag does not promise fleshy red calyces after flowering, you are not buying roselle. When a tag says “hibiscus” with no species name, ask. A five-second question at the nursery counter beats a season of the wrong plant.
| Plant | Botanical name | What you harvest | Key difference |
|---|---|---|---|
| Roselle | Hibiscus sabdariffa | Fleshy red calyces after each bloom fades | Calyx crop; 3-inch white flowers with red centers last one day |
| Ornamental hibiscus | Hibiscus rosa-sinensis | Flowers only | Grown for big showy blooms; no edible calyx |
| Cranberry hibiscus | Hibiscus acetosella | Red foliage (leaves) | Foliage ornamental with maple-like leaves; different use |
| Garden sorrel (herb) | Rumex acetosa | Sour lemony leaves | Not a hibiscus at all; shares only the word “sorrel” |
2. Start Seeds Indoors 6 Weeks Before Your Last Frost
Start roselle seeds indoors 6 weeks before your last frost date, because the plant needs its long season to begin before the soil warms. Sow two seeds per individual pot and cover them lightly with potting mix, then keep the pots somewhere warm. Seeds typically germinate within two weeks in warm soil, and you keep the strongest seedling after the first few leaves appear. The indoor weeks are not optional in zones 5 through 8. A roselle sown directly in cool spring soil sits, sulks, and then runs out of summer before the calyces swell. Better Homes and Gardens’ roselle growing guide puts the indoor start at six weeks before the last frost, in individual pots with two seeds each.
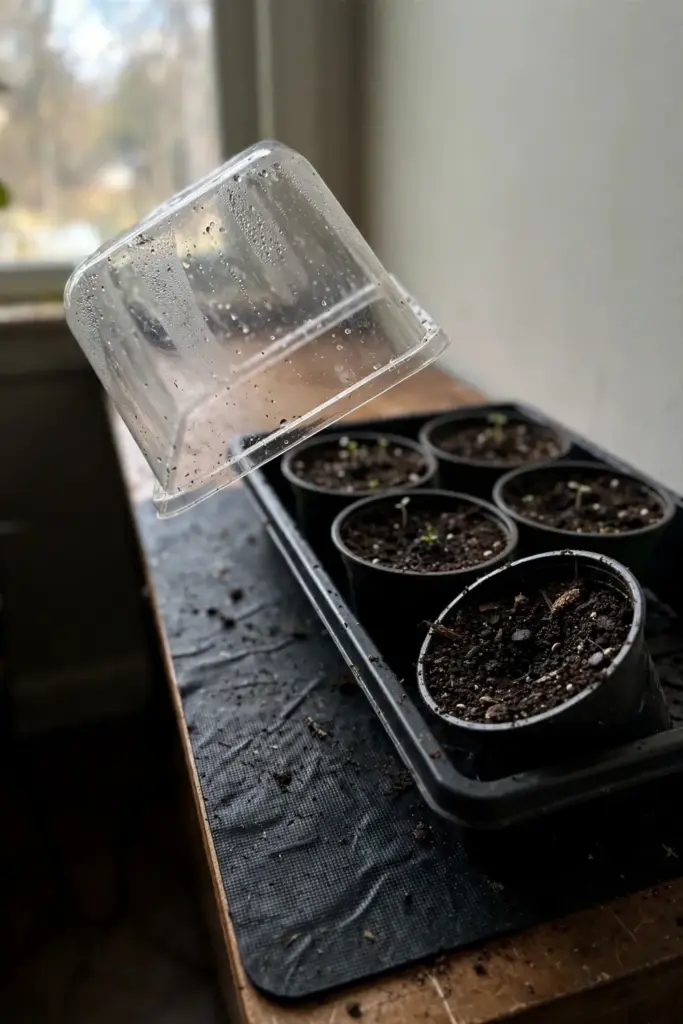
Count backward from your frost date and mark the sowing day on the calendar. That single date organizes the entire season, because every later step hangs off it.
3. Presoak Overnight and Sow at 75 to 85°F
Presoak roselle seeds overnight in room-temperature water, then sow them 1/4 inch deep in warm soil held at 75 to 85°F. The soak softens the hard seed coat and wakes the embryo, and the warm soil does the rest. Roselle seeds germinate in 7 to 14 days at that temperature range, Pinetree Garden Seeds’ roselle growing notes confirm the 1/4-inch sowing depth alongside the overnight soak. A heat mat under the tray holds the temperature steady when the room runs cool, and a loose humidity dome keeps the mix from drying between waterings.
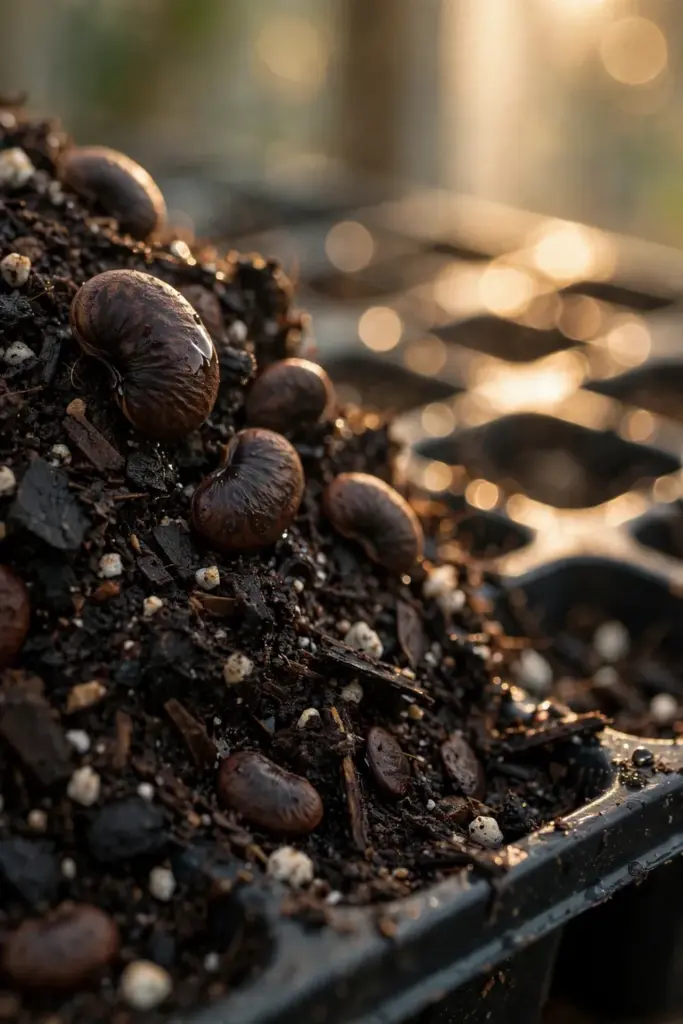
Sow one to two seeds per cell and thin to the strongest seedling after emergence. Weak seedlings never catch up, and one strong plant per cell builds the deep root system roselle needs later. Lift the dome at the first sign of green. Trapped humidity after germination invites damping off, and roselle seedlings have no defense for it. If your seed-starting shelf runs cool, the heat mat earns its keep twice: first for germination, then for the week after, while the seedlings build their first true leaves. A thermometer probe in the mix takes the guesswork out; when the soil reads 75°F or warmer, the mat has done its job.
4. Raise Seedlings With Warm Soil and 1/4-Strength Feeds
Keep seedlings warm, bright, and lightly fed for the 6 weeks between sowing and transplant. Roselle seedlings grow fastest when the soil stays warm, so leave the heat mat on until the plants are sturdy, then wean them off as room temperatures climb. Feed seedlings every 7 to 10 days with a liquid fertilizer diluted to 1/4 of the label rate, the schedule in Pinetree’s seed-starting guidance for roselle. Full-strength fertilizer burns young roselle roots fast, and the quarter rate keeps growth steady without pushing soft, leggy stems.
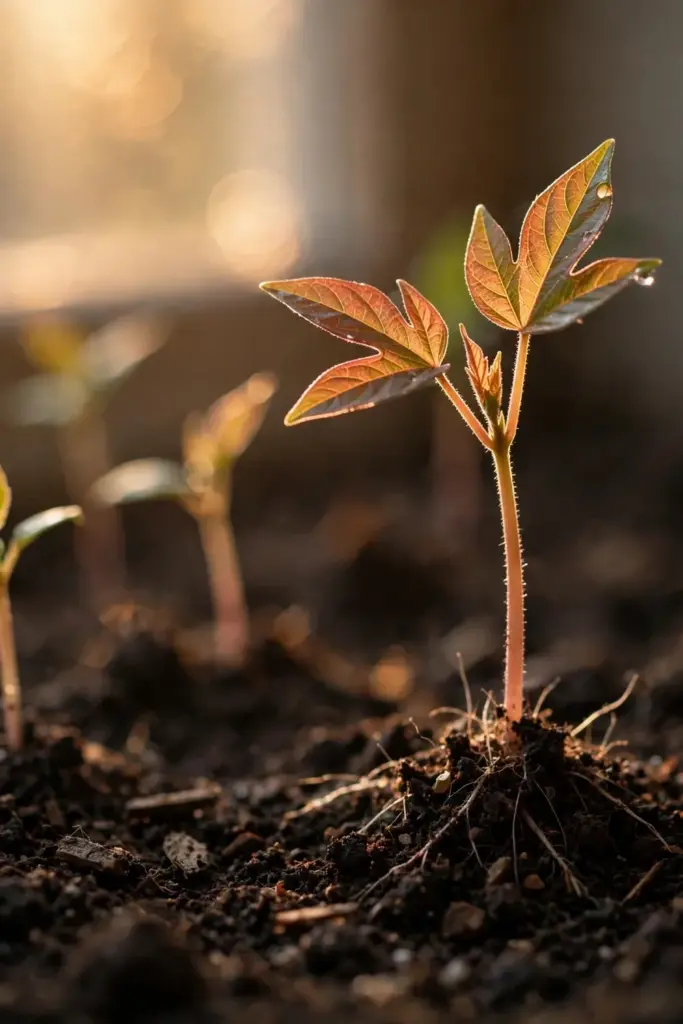
Light matters as much as warmth. A bright windowsill works for the first week, but a simple shop light hung 2 to 3 inches above the seedlings prevents the stretch that weakens stems. Rotate the tray a quarter turn every couple of days so every side gets its share. By transplant size, the plants should look stocky and deep green, not pale and reaching.
5. Transplant 2 to 3 Weeks After the Last Frost
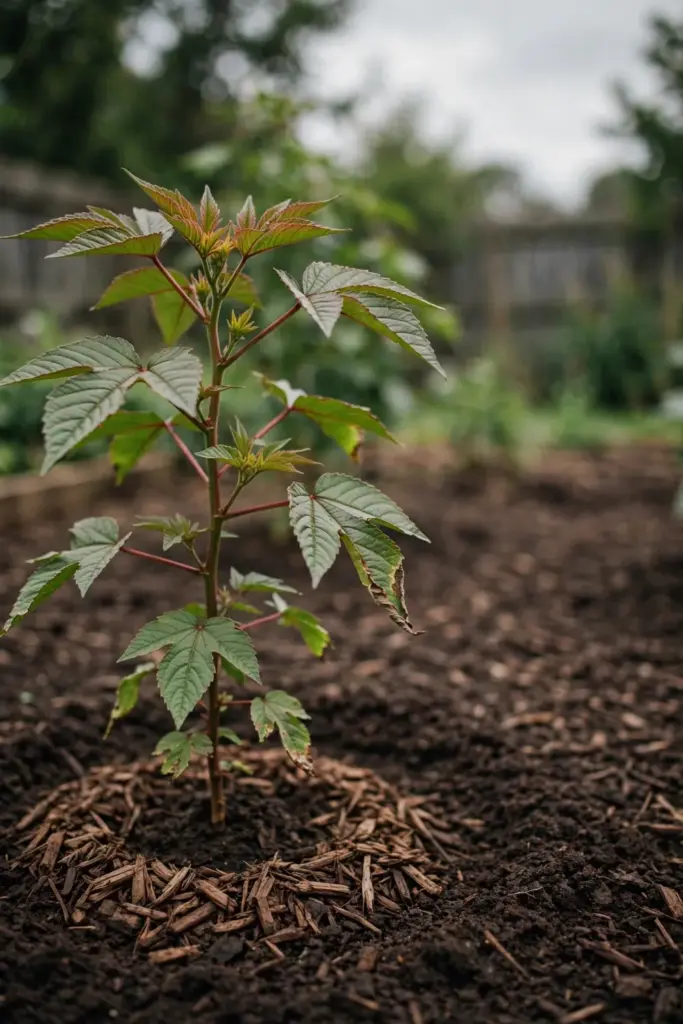
Move roselle outdoors 2 to 3 weeks after your last spring frost date, once the weather has truly warmed. Frost kills roselle outright, and cold nights stall its growth for weeks, so patience at this step buys more than it costs. Harden the seedlings off over 7 to 10 days first: a few hours of outdoor shade, then morning sun, then full days outside before they stay out overnight. Seedlings that skip hardening scorch in their first afternoon. Start the hardening when nights stay reliably above 50°F and the 10-day forecast shows no dips; a single cold night undoes a week of careful indoor growth.
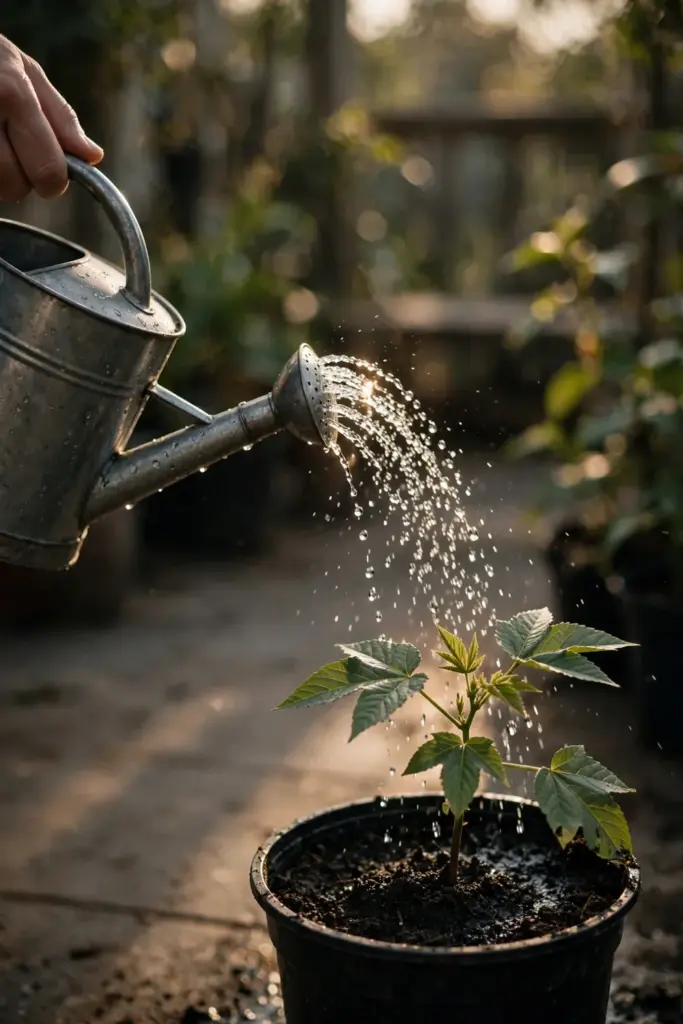
Transplant on a calm, overcast afternoon if you can. Set each plant at the same depth it grew in the pot, water the hole before and after planting, and press the soil gently to close air pockets. Roselle shares the calendar pressure of other fast tropical crops; growing papaya from seed in under a year demands the same early indoor start and the same respect for a hard frost date.
6. Space Plants 24 to 36 Inches Apart in Full Sun
Give each roselle 24 to 36 inches of space in full sun. A mature plant reaches 6 to 7 feet tall with a multistemmed, bushy habit, and crowded plants compete for light and air in exactly the way that invites disease. The 24 to 36 inch spacing comes from Better Homes and Gardens’ roselle care guide, which also notes the 6 to 7 foot height. Measure it out with a tape, not by eye. Beginners always plant too close.
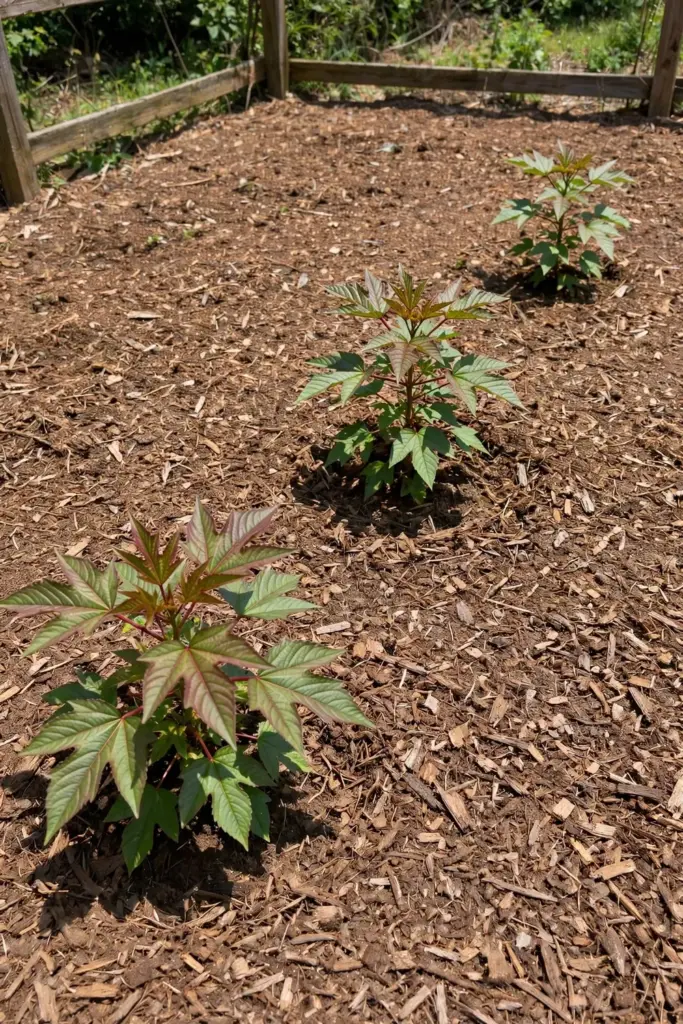
Full sun means more than 6 hours of direct light daily. Shade reduces blooming and calyx production, so the sunniest bed you own is the right bed. In extremely hot regions, a little afternoon shade helps, but most temperate gardeners should chase every hour of sun. Wide spacing also buys airflow. Dry foliage after rain matters, especially when the plants close canopy in August. Mulch 2 to 3 inches deep around each plant after the soil warms, keeping the mulch a few inches from the stem, and let the mulch hold moisture while the fast-growing roselle shades out the remaining weeds on its own by midsummer.
7. Pinch the Tips at 18 Inches for a Bushier Shrub
Pinch the growing tips when stems reach about 18 inches. Trim 2 to 3 inches above a node, and the plant answers with the side shoots that carry the season’s flowers, which become the calyces. Skip the pinch and the plant grows tall and rangy instead. Tall unpruned plants often need staking in wind. The 18-inch timing with a 2 to 3 inch trim comes straight from Better Homes and Gardens’ roselle pruning guidance.
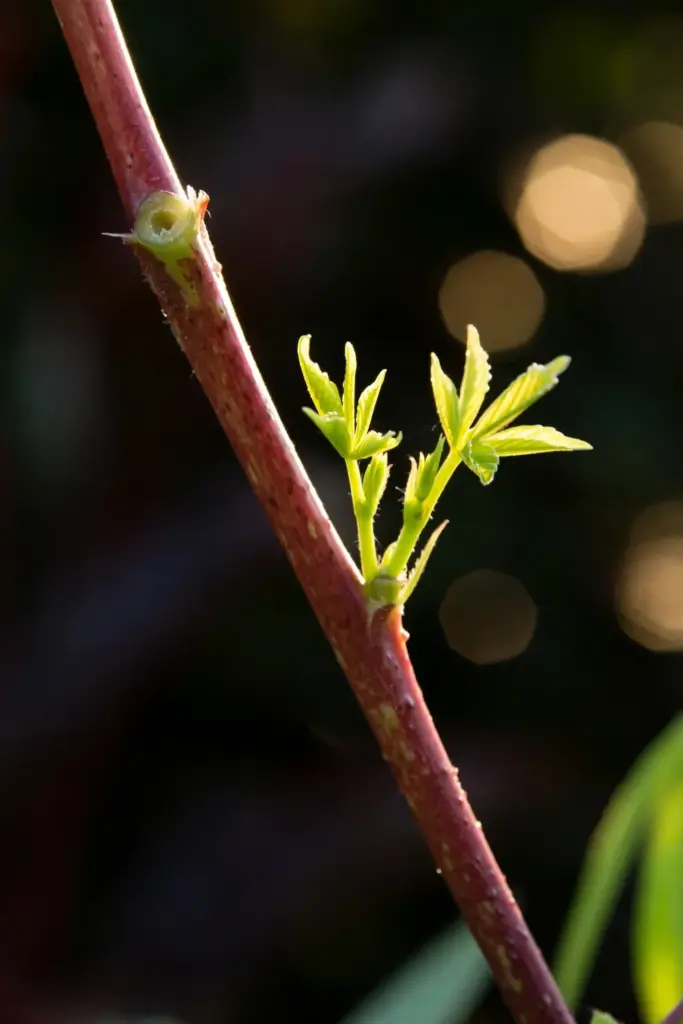
Use clean, sharp pruners and cut above an outward-facing node. The plant responds within days, pushing two shoots where one grew. Pinch once, early, and let the plant run after that. Repeated pinching delays flowering, and in a short season, delayed flowering means calyces that never ripen. One decisive early pinch beats three hesitant ones.
8. Grow Roselle in Large Containers and Move Them Inside Before 40°F
Grow roselle in large containers on a sunny deck or patio when your season runs short. A container lets you start the plant outdoors in the heat of summer and wheel it to shelter when nights turn cold, stretching the season by the weeks that matter most. This is the heart of how to grow roselle where summers run short: the pot turns a marginal climate into a workable one. Roselle thrives in large containers with easy harvest access, and the plant’s shrubby habit suits a big pot. Other heat lovers follow the same logic; growing ginger at home uses the same big-pot thinking for a crop that refuses cold soil.
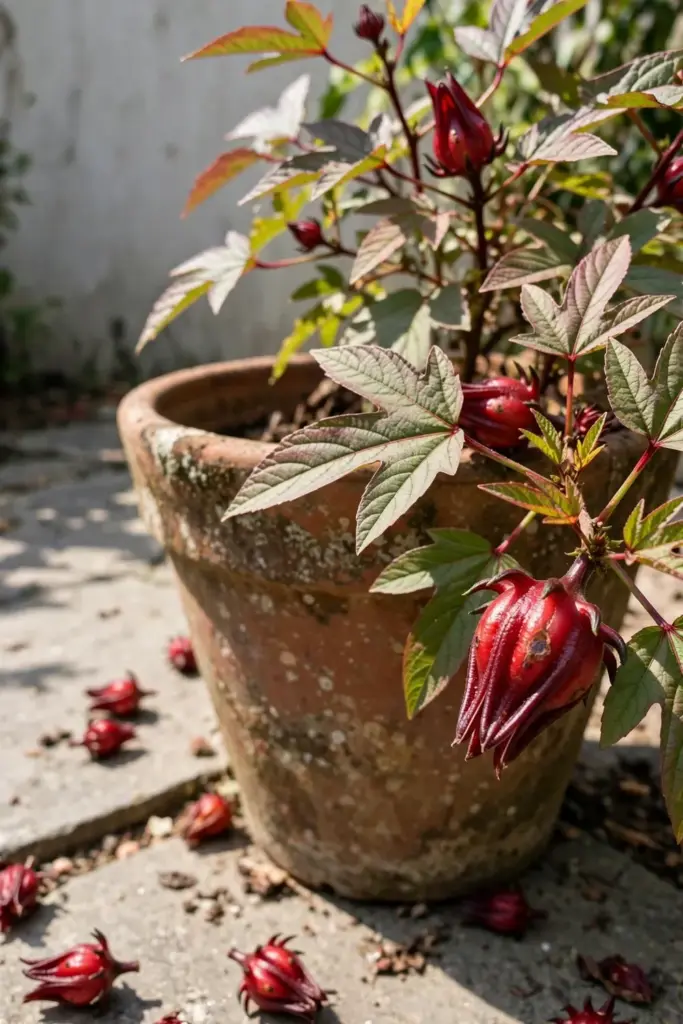
Choose the biggest pot you can move, fill it with a rich, well-drained potting mix, and give the plant the same 6-plus hours of sun it would get in the ground. Water containers more often than beds. Pots dry from all sides, and a thirsty roselle drops buds. When nights approach 40°F, move the pot into a bright, cool room. Growth slows in the cold, but the plant survives, and any calyces already swelling keep ripening indoors under a sunny window. Canadian growers with short summers even overwinter the whole plant: dig it up before the first frost, pot it, cut the stems back, and hold it in a cool bright room with barely-moist soil until spring, a method Heirloom Seeds’ overwintering notes for roselle describe in detail.
9. Water Deeply, Mulch Well, and Skip Extra Fertilizer
Water roselle deeply and regularly until it establishes, then keep the soil evenly moist through dry spells. Once the deep root system forms, the plant tolerates short dry periods, but it produces best with extra water during prolonged dry spells. A deep weekly soaking beats daily sprinkles. Shallow watering keeps roots near the surface, where heat and drought hit hardest. Newly transplanted roselle needs steadier moisture for the first two to three weeks while the roots knit into the bed; water whenever the top inch of soil dries until the plants show fresh growth, then settle into the deep-weekly rhythm. Mulch does quiet work here, holding moisture between waterings and keeping the soil temperature even through hot afternoons.
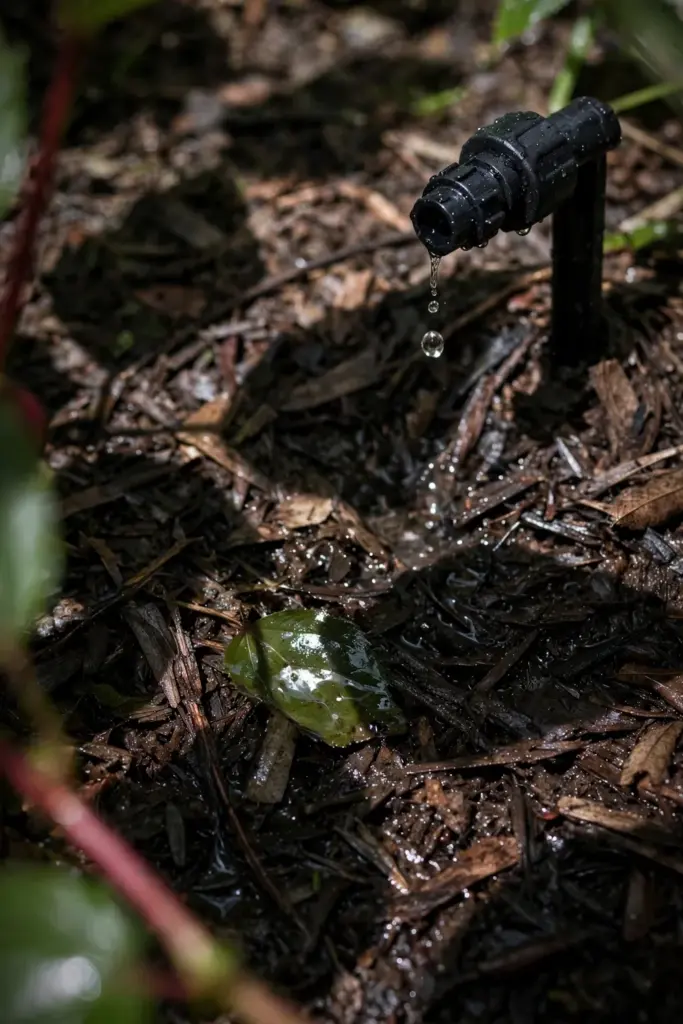
Work compost or a balanced slow-release fertilizer into the soil before planting, then stop. Additional fertilizer is usually unnecessary, and overfertilizing pushes tall leafy growth with fewer flowers, the exact opposite of what a calyx grower wants. The mechanism is simple: excess nitrogen tells the plant to make leaves, not blooms. Rich soil and one good compost application at planting carry roselle through the whole season. If leaves yellow late in the season while calyces keep coming, that is the plant spending itself on the harvest, not a deficiency worth chasing.
10. Pick Calyces 10 Days After Each Flower Fades
Harvest each calyx 10 days after its flower falls, when the fleshy cup is plump and roughly an inch wide. That picking window comes from Better Homes and Gardens’ roselle harvest guidance, which also notes that frequent picking pushes the plant to make more flowers. Twisting tears the stem and wounds the branch. Snip each calyx off with clippers. A plant picked every few days outyields one picked once a month, so keep the harvest rhythm tight at peak season. Harvest every calyx before nighttime temperatures drop below 40°F, since frost ends the season in a single night.
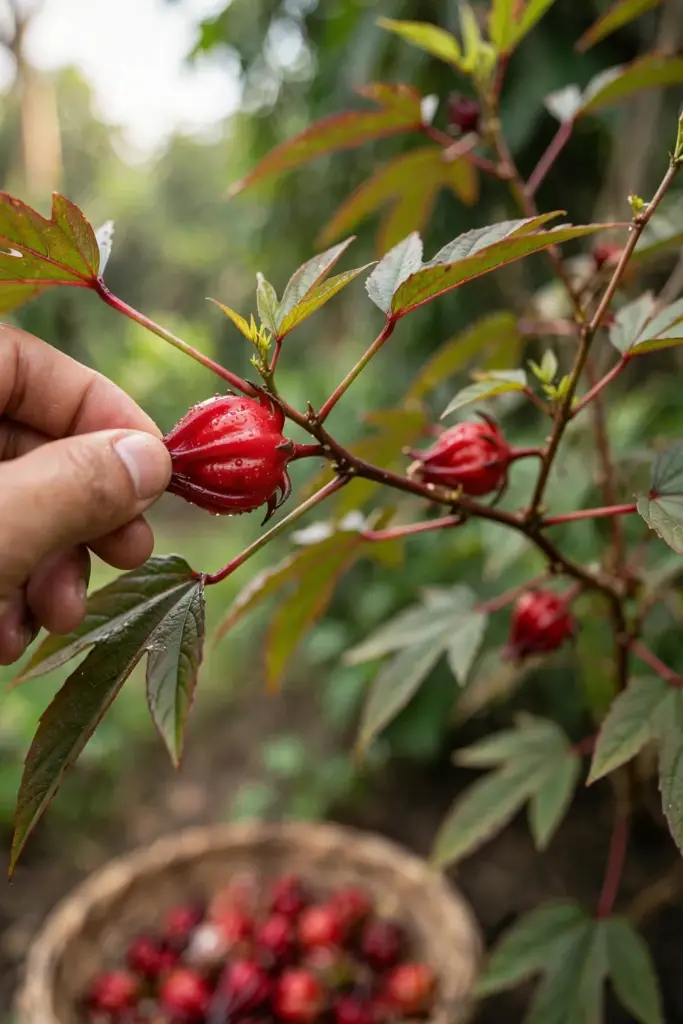
Judge ripeness by feel and color. A ready calyx feels firm and looks deep red and glossy. Calyces left too long turn dull and brown at the edges, and their flavor goes flat. Morning picking, after the dew dries, gives you the firmest calyces and the coolest working conditions. Carry a basket and walk the row every two to three days at peak season. The plants reward the attention.
11. Strip, Dry, and Brew: Turn Fresh Calyces Into Tea and Stores
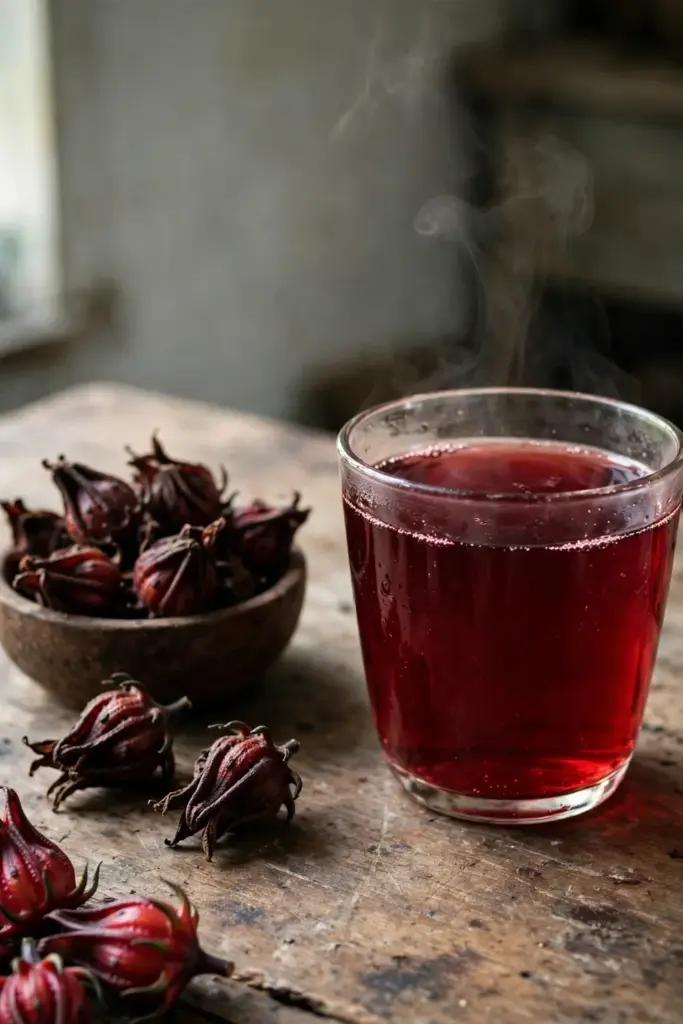
Separate the pale green seed pod from each fleshy calyx before using or storing the harvest. Push the pod out with a finger or a small tube, rinse the calyces, and decide their fate. For tea, use 2 cups of fresh calyces or 1/2 cup of dried calyces per 8 cups of water: bring to a boil, cover and remove from heat, steep 15 to 20 minutes, then strain. The liquor brews deep ruby-red with a tart, cranberry-like flavor, and it carries no caffeine, so it suits evening drinking.
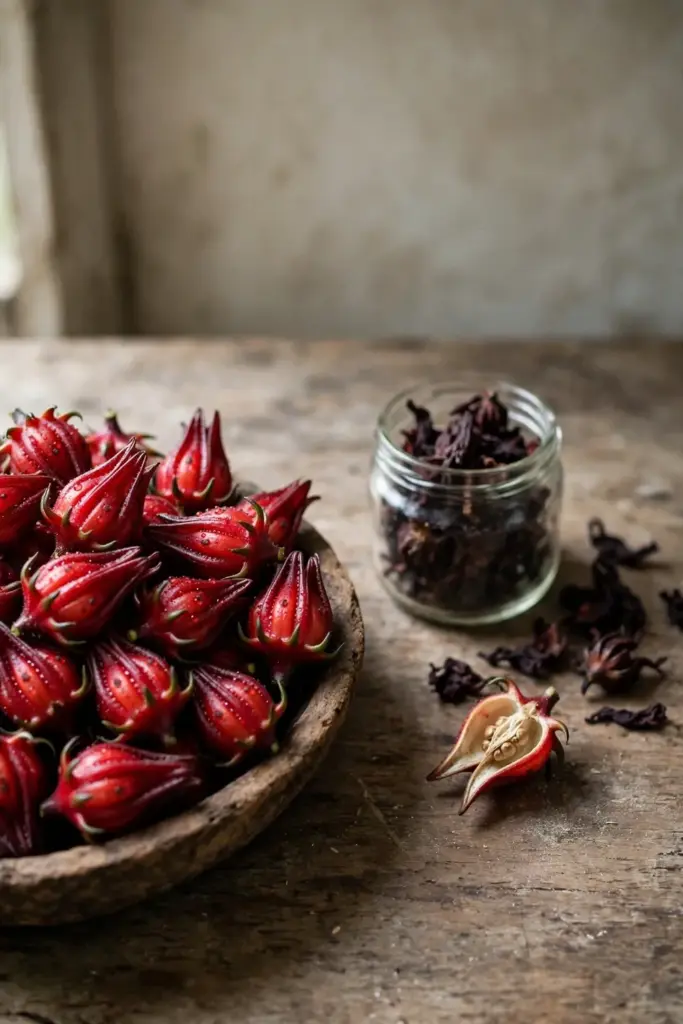
Dry the surplus for winter. Spread rinsed calyces on a screen or drying rack out of direct sunlight for a few days, until they are completely dry and leathery, then seal them in glass jars. A food dehydrator shortens the job in humid weather. For freezing, spread the calyces on a cookie sheet overnight, then bag the frozen pieces. Fresh calyces keep about a week in the refrigerator; dried ones keep for months in a sealed jar. The dried calyces also cook down into jellies, syrups, and sauces with water and sugar. Roselle runs naturally high in pectin, so the juice sets into jelly with little coaxing, a trait Gardening Know How’s roselle seed guide notes alongside the classic agua de Jamaica preparation. Simmer the calyces, strain, sweeten, and you have a ruby syrup that keeps for weeks refrigerated and brightens drinks, desserts, and glazes through winter.
12. Rotate Beds Yearly to Outrun Root-Knot Nematodes
Rotate roselle to a new bed every year. Root-knot nematodes persist in soil where host plants grew, and moving the crop breaks their cycle. Watch for the signs at season’s end: stunted plants with knotted, swollen roots. Prevention beats cure, because no home remedy evicts an established nematode population. Building soil health with compost and organic matter feeds the soil biology that keeps nematode pressure down across every crop you grow, season after season.
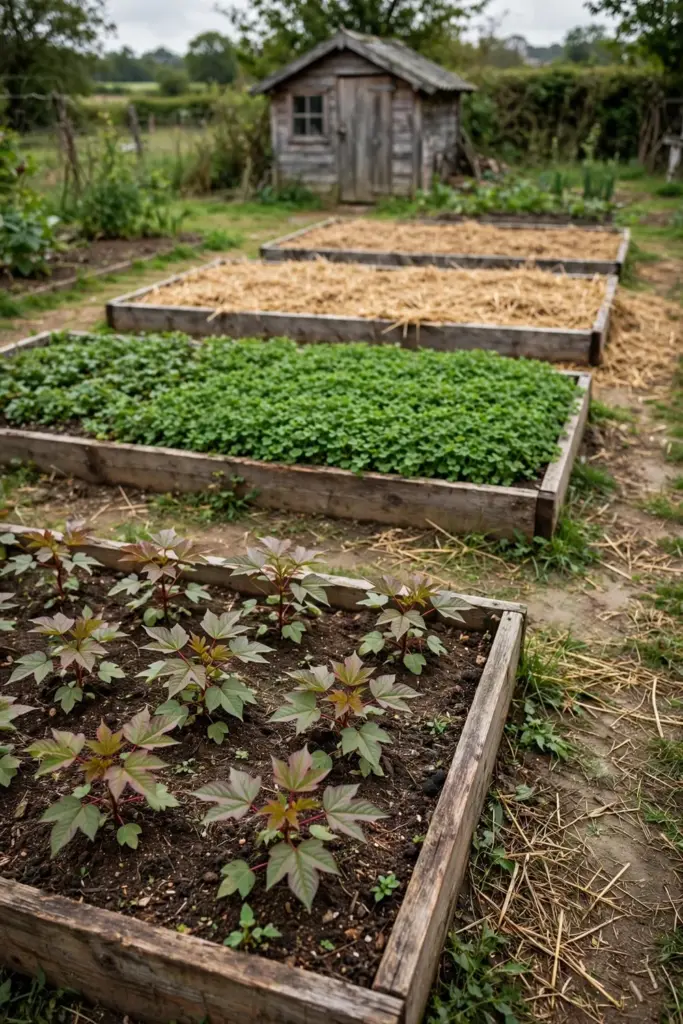
Aphids occasionally cluster on young leaves and buds. A strong spray of water knocks most of them off, and they rarely need stronger treatment. Well-drained soil matters as much as pest control: soggy ground invites root rot, and roselle has no tolerance for wet feet. Good drainage, yearly rotation, and full sun keep the plant nearly trouble-free, which matches its reputation as a low-maintenance crop.
13. Fix 5 Roselle Failures Before They Cost the Season
Seeds fail to sprout. The soil was too cold. Roselle germinates in 7 to 14 days at 75 to 85°F, and cool soil stretches that to never. Warm the tray with a heat mat and start over with fresh seed. Seed older than two or three seasons loses vigor fast.
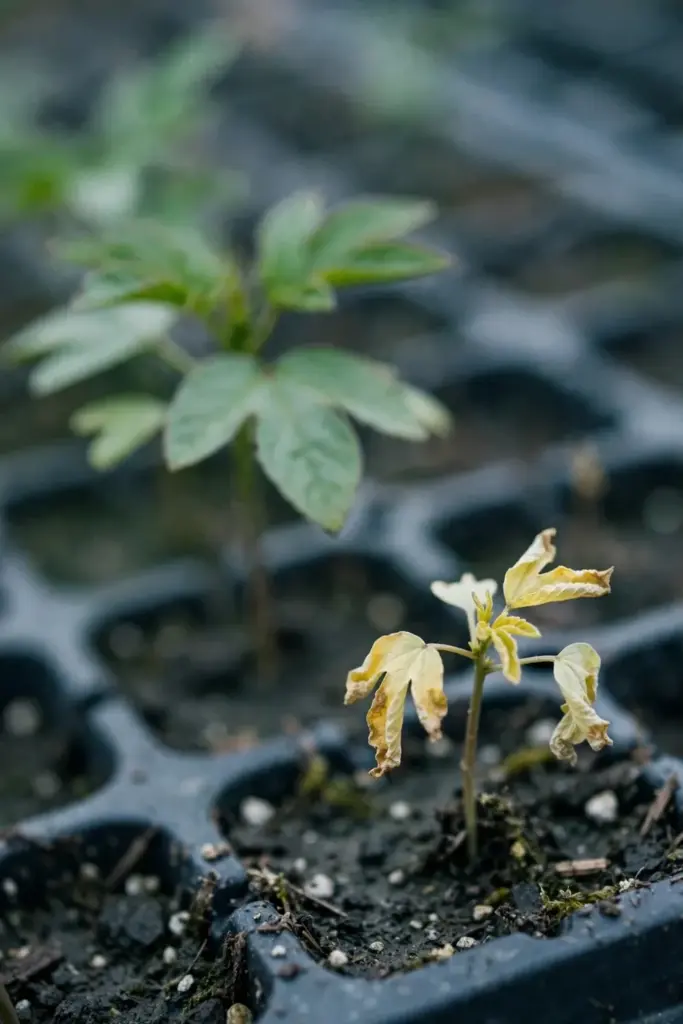
Seedlings turn leggy and pale. The light was too weak or too far. Hang a shop light 2 to 3 inches above the seedlings and keep it on 14 to 16 hours a day. Leggy stems never thicken properly, so restart if the plants flop.
Plants grow tall with no flowers. The season started too late, or shade is stealing the bloom trigger. Roselle flowers as days shorten in late summer, so a late transplant pushes blooming past the frost. Start indoors earlier next year and give the sunniest spot you have.
Calyces mold after rain. The dried blossom trapped inside the calyx holds moisture. Strip the blossom remnants when you pick. Dry the calyces the same day. A fresh pile turns fast. Airflow around the plants helps.
Frost arrives with calyces still on the plant. This is where learning how to grow roselle in a short season pays off: pick everything before the first freeze, even the small ones. Small calyces dry fine and brew a lighter tea. A lost week of ripening beats a lost harvest, every time. Keep a simple season log: sowing date, transplant date, first bloom, first picking. The log turns next year’s guesswork into a plan, and a real plan is what makes a short season feel long.
14. Save Seed From the First Brown Pods
Let a few calyces stay on the plant until the pods inside turn brown and dry. The seeds mature inside the calyx, so you sacrifice a little harvest to secure next year’s seed. Crack the dry pods open over a bowl, winnow out the chaff, and spread the seeds on a plate for a few more days of indoor drying. Fully dry seeds store for two to three years in a sealed jar in a cool, dark place.
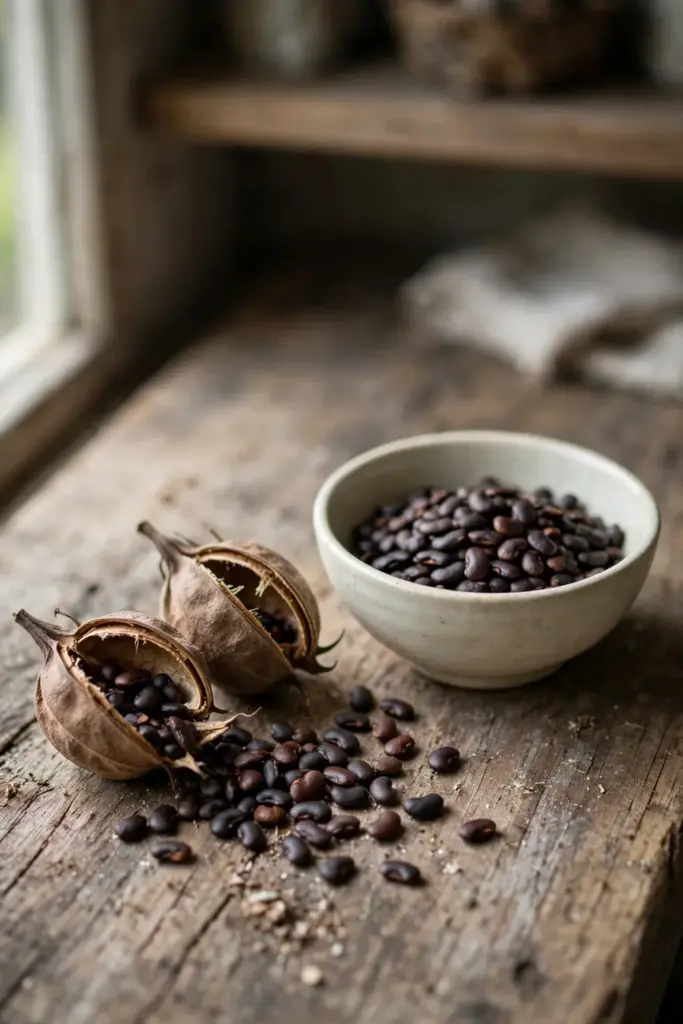
Label the jar with the variety and the year. The named varieties each have a job: ‘Thai Red’ grows 3 to 5 feet tall with red stems and deep red calyces, ‘West African Green’ produces green calyces used the same way, ‘Victor’ is an heirloom that thrives in southern Florida, and the Burmese type called chin baung serves as a leaf crop with sour, citrusy leaves, all described in Better Homes and Gardens’ roselle variety rundown. Saved seed comes true when you grow one variety, since roselle mostly self-pollinates. Keep the best pods from the healthiest plant, and your seed line improves every year.
Frequently Asked Questions
Roselle is perennial in USDA zones 9 to 11, where winters stay mild, and gardeners there can keep the same plant for several years. In zones 5 to 8 it grows as a warm-season annual: sow indoors, transplant after the frost, harvest until fall, and let the first hard freeze finish the plant. Treat it like a tomato. Save seed each fall and you never need to buy a packet twice.
Yes. Cut 5 to 6 inch stems below a node, strip the large lower leaves, and insert 3 to 4 inches of the stem into well-draining potting soil. Roots form in 2 to 3 weeks. Cuttings suit gardeners who want to multiply one strong plant or overwinter a favorite variety indoors. Seeds stay the simpler route for most growers, since a packet starts dozens of plants.
Combine 2 cups of fresh calyces (seed pods removed) or 1/2 cup of dried calyces with 8 cups of water and bring to a boil. Cover, remove from heat, and steep 15 to 20 minutes, then strain. The tea brews deep red with a tart, cranberry-like flavor. Add honey, lemon, or lime to taste and serve hot or over ice. Basil, lemon balm, or mint steeped alongside add pleasant variation.
No. Roselle contains no caffeine, so the tea suits children and evening drinking. People allergic to hibiscus flowers should avoid it. The tart flavor comes from natural plant acids, not stimulants, which is why roselle tea works as an after-dinner drink where true tea would keep you awake. Brew it strong or light; the caffeine question never enters.
The usual cause is a late start meeting a short season. Roselle flowers as days shorten in late summer, so plants transplanted late bloom too close to the first frost. Start seeds indoors 6 weeks before the last frost next year. Shade also suppresses blooming, since the plant needs more than 6 hours of direct sun. Excess nitrogen pushes leaves at the expense of flowers, so skip extra fertilizer.
From Seed to First Cup: Your Roselle Season
The season runs on a simple calendar: indoor sowing 6 weeks before the last frost, transplant 2 to 3 weeks after it, one pinch at 18 inches, and calyx picking every few days from late summer until the cold arrives. That is how to grow roselle where the summers are short and the frosts arrive early. 100 to 110 days after sowing, the first ruby calyces land in the basket. Dry the surplus, brew the fresh, and save seed from the brown pods. Next spring, the labeled jar on the shelf starts the whole cycle again, and each season’s seed runs a little better adapted to your garden than the last. The work is front-loaded; the reward is a winter shelf of ruby jars.