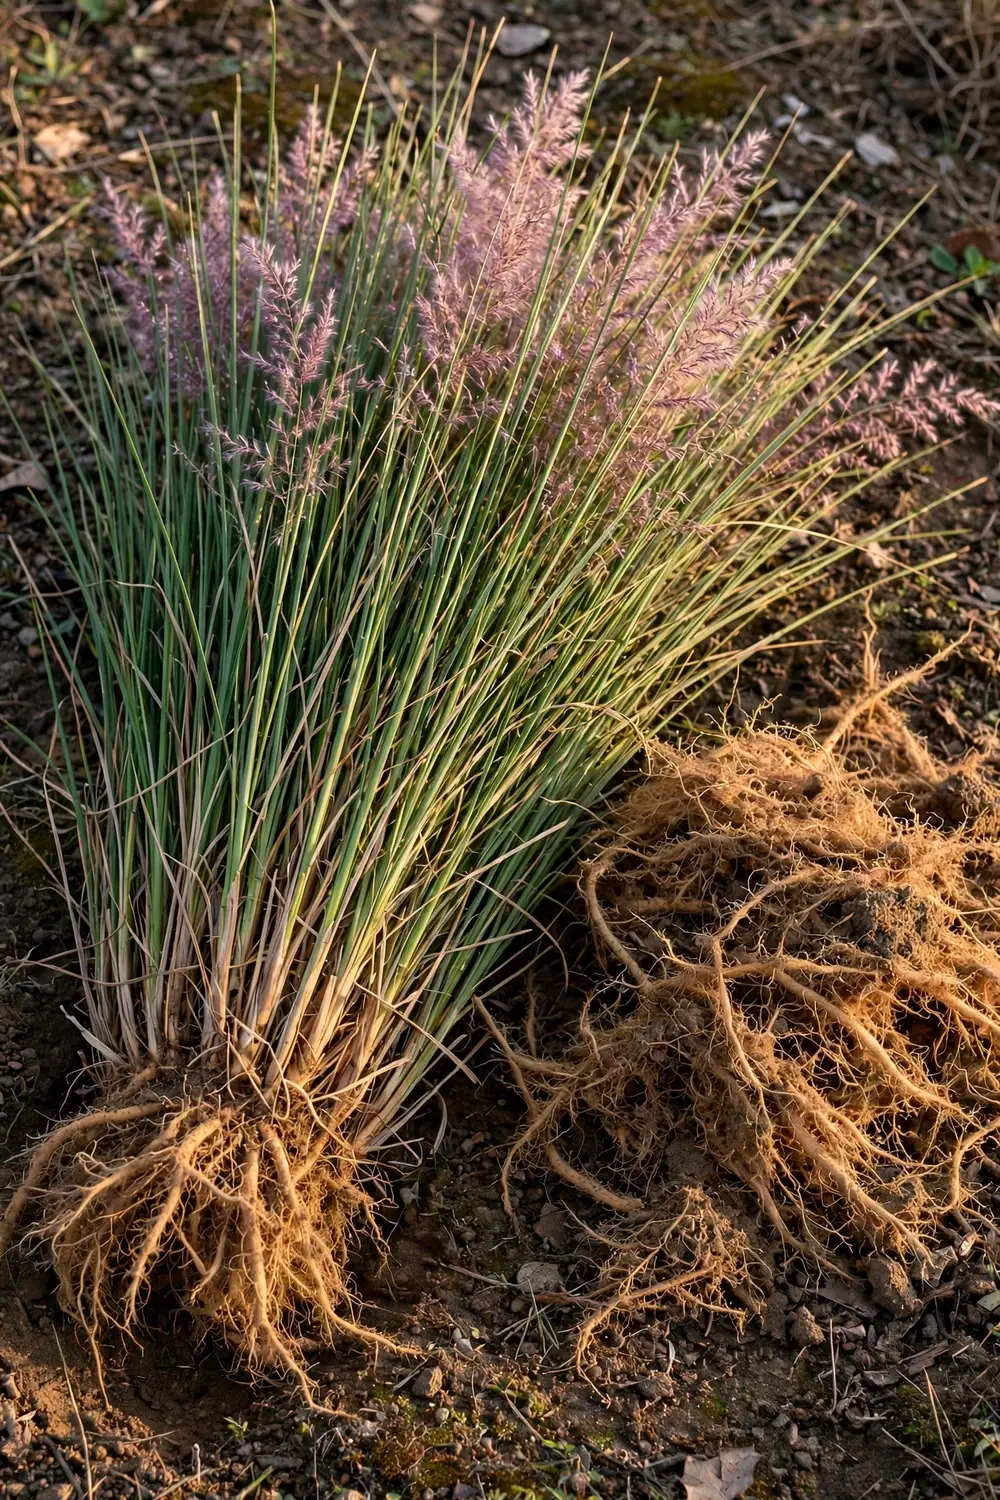

You will wait 15 to 24 months for your first harvest, and that is the honest truth about vetiver. The roots you are waiting for are the product: fragrant khus oil distilled from them, the root distillate behind India’s classic attars and perfumes. Growing the grass is the easy part. Vetiver thrives on neglect once its slips root, tolerates soils most crops refuse, and its sterile cultivars will not turn into your next invasive weed problem.
Khus and vetiver are the same plant. Khus is the North Indian name, vetiver the South Indian and English one, and both name Chrysopogon zizanioides, a perennial clumping grass. If you want to learn how to grow vetiver from India the way Indian growers do it, you start with slips: small divisions of an existing clump, each carrying a few shoots and a piece of crown. Seeds exist, but most cultivated types are sterile, so buying a clump and dividing it is the whole propagation plan.
The dual identity of this crop is what makes it interesting. Vetiver is a fragrant-root cash crop and the world’s most trusted living erosion barrier in one plant. This guide covers both lanes: the root harvest for the home distiller or curious gardener, and the hedge planting for anyone whose slope washes out every monsoon. You get one crop, two jobs, and a timeline you can plan around.
1. Pick the Right Vetiver for Your Goal
Choose the cultivar before you buy a clump, because North Indian and South Indian vetiver were selected for different jobs. Oil types carry more fragrance compounds in their roots; hedge types prioritize dense clumps and fine, deep roots.
| Type | Named Varieties | Selected For | Oil Recovery |
|---|---|---|---|
| North Indian | CIM-Vriddhi, Dharini, Gulabi, Kesari | Root oil, fragrance | Around 0.15 to 0.2% of fresh root weight |
| South Indian | Sugandha, KS-1, KS-2, Hybrid-8 | Oil plus erosion hedges | Around 0.6 to 1.2% of fresh root weight |
The oil recovery figures above come from Indian cultivation summaries, and they explain the economics gap: South Indian types return more oil per kilogram of root, while North Indian oils carry the classic khus perfume character. For a home grower, the sterile-clone question matters more than the oil percentage. Choose a named sterile cultivar and your hedge stays where you planted it instead of seeding itself across the garden. Nurseries that sell vetiver slips usually know which type they hold, so ask before you buy.
2. Know Where Vetiver Can Grow
Vetiver is a tropical C4 grass that wants heat and sun. Daytime temperatures of 20 to 38 degrees Celsius suit it best, and the clumping grass tolerates conditions from 15 degrees below zero to 55 degrees, though frost kills the tops and the plant waits underground for spring. Full sun drives root growth; partial shade slows it, and deep shade eventually eliminates it because the grass cannot compete for light. Give vetiver the sunniest open ground you have.
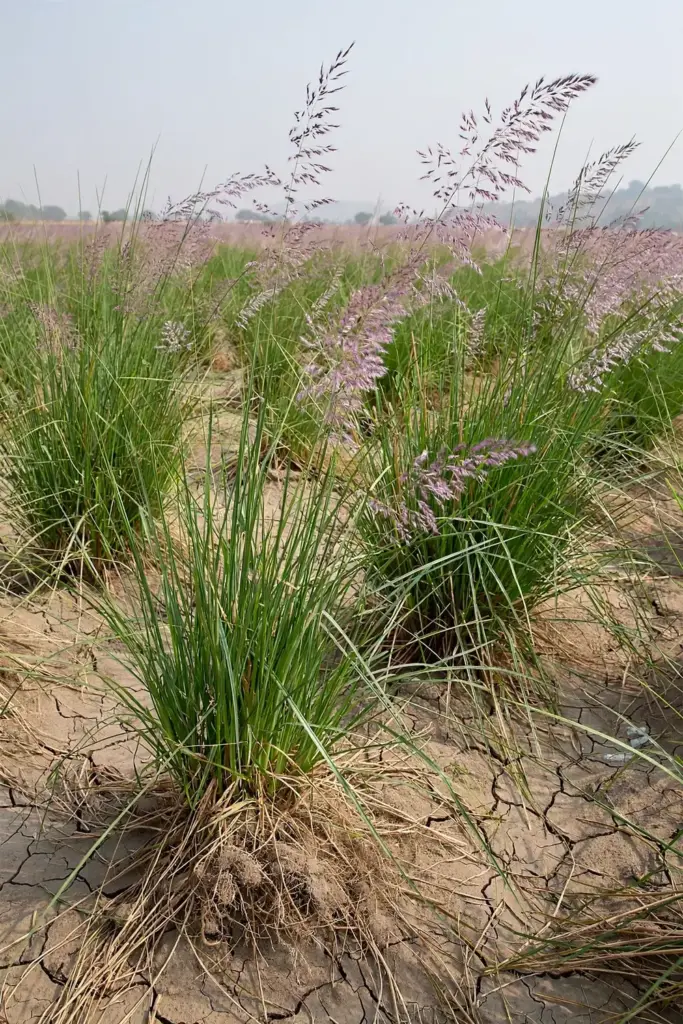
Rainfall needs are forgiving. Vetiver handles annual rainfall from about 64 centimeters to over 400 centimeters, so anything from semi-arid to monsoon climates works as long as the first weeks after planting stay moist. The optimal soil temperature for root growth is 25 degrees Celsius, and roots keep pushing at remarkable speed while the soil stays warm. Vetiver tolerates soil pH from about 3.3 to 12.5, accepts salinity and waterlogging, and grows on soils too poor for most vegetables. What it does not forgive is a dry, compacted planting hole during its first three weeks.
3. Decide: Clumps, Not Seeds
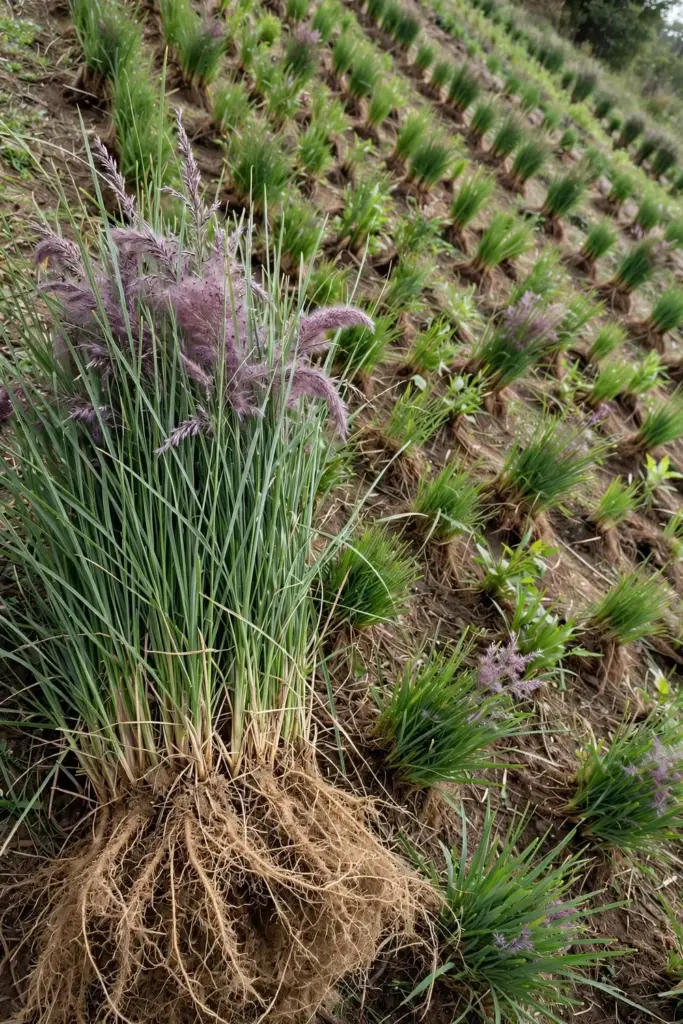
Vetiver does not grow from seed in any practical sense. The cultivars used for hedges and oil do not produce fertile seed; the Vetiver System’s sterile lines carry neither stolons nor rhizomes and set no viable seed. Buying seed packets labeled vetiver is a gamble that usually ends with an empty tray. A slip is the real starting material: a small division of a mother clump that carries two to three living tillers plus a piece of the hard crown between shoots and roots. The TVNI propagation manual specifies exactly that construction, and every successful planting begins there.
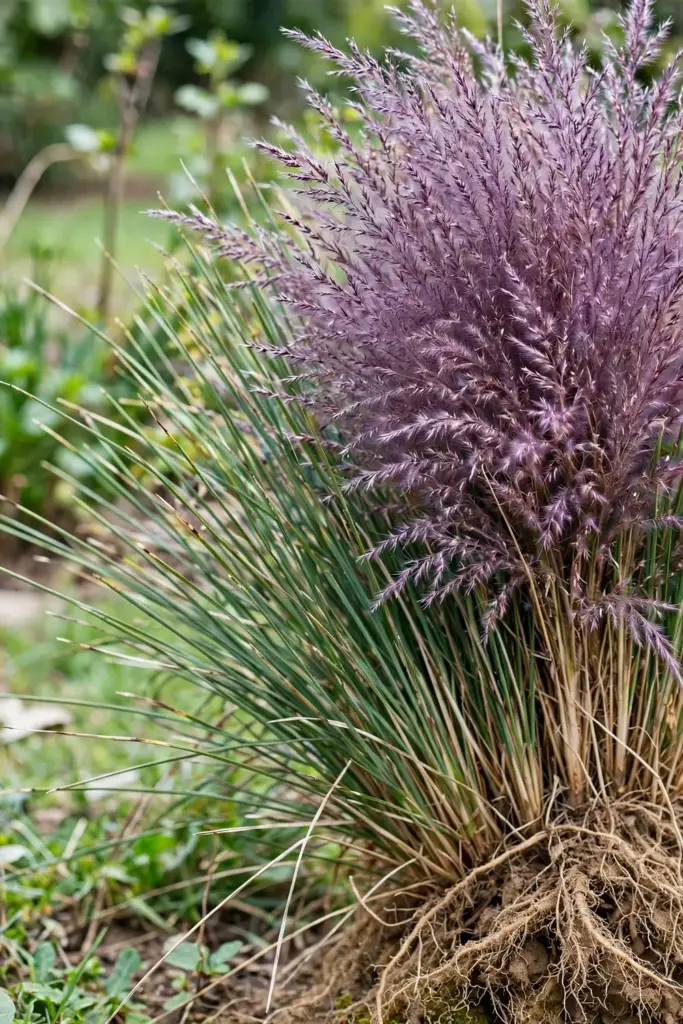
A single mature clump divides into dozens of slips, so one purchase can stock a hedge line. Fresh slips establish faster than older ones, and slips planted within a day or two of division beat slips that have sat in a bucket for a week. If your supplier ships bare-root slips, soak the root ends in water for 12 to 24 hours on arrival to rehydrate them before planting.
4. Divide Clumps Into Slips With a Sharp Knife
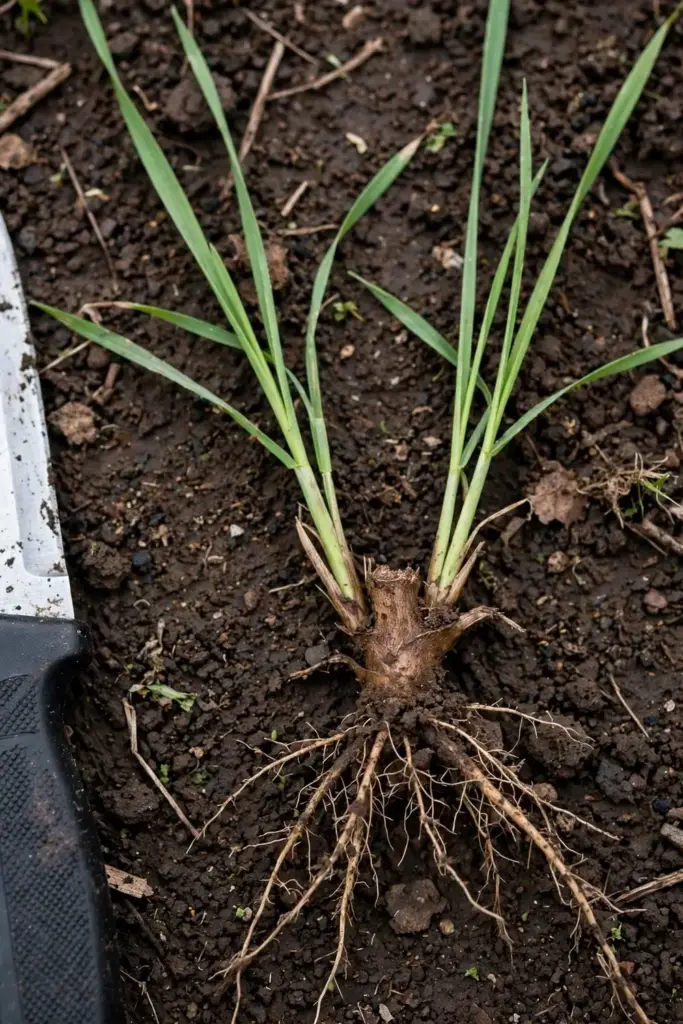
Splitting a vetiver clump is physical work, not delicate surgery. The crown is hard, the roots are dense, and a clean cut beats tearing. Plan this job for the start of the rainy season if you can, because warm moist soil is the fastest nursery vetiver knows.
| Step | Action | Time |
|---|---|---|
| 1 | Lift the whole clump with a fork, shaking off loose soil | Day 0 |
| 2 | Cut the top growth back to 20 cm, then split the crown so each slip keeps 2 to 3 tillers and a piece of crown | Day 0 |
| 3 | Trim the roots to 5 cm and soak root ends 12 to 24 hours; dip in manure slurry or rooting hormone if available | Day 0 to 1 |
| 4 | Plant slips into moist soil the same day, firming soil around each crown | Day 1 |
| 5 | Water daily for 2 weeks, then taper to the soil’s own moisture | Weeks 1 to 3 |
The 20 cm top trim and the 2 to 3 tiller rule come from the TVNI manual, which adds that dips in rooting hormone, cow-manure slurry, or even shallow water pools all work for encouraging new roots. Keep the divided slips in wet, sunny conditions until planting, in a nursery bed set up the way the seed starting guide lays out for trays and beds. A slip that sits in shade for three days is a slip that has already lost momentum. The crown must stay intact on every piece; a slip without crown is a bouquet of grass blades with no growing point, and it will not root.
5. Plant the Slips Straight and Deep
Plant each slip so the crown sits just below the soil surface, then press the soil firmly around it to remove air pockets. Air around the crown is the number-one killer of new slips, and firming is faster than watering your way out of a loose planting. Plant into wet soil; if the soil is dry, irrigate the trench or hole first. Trenches 15 to 20 cm deep suit field rows, while a single hedge line wants a shallow furrow on the contour.
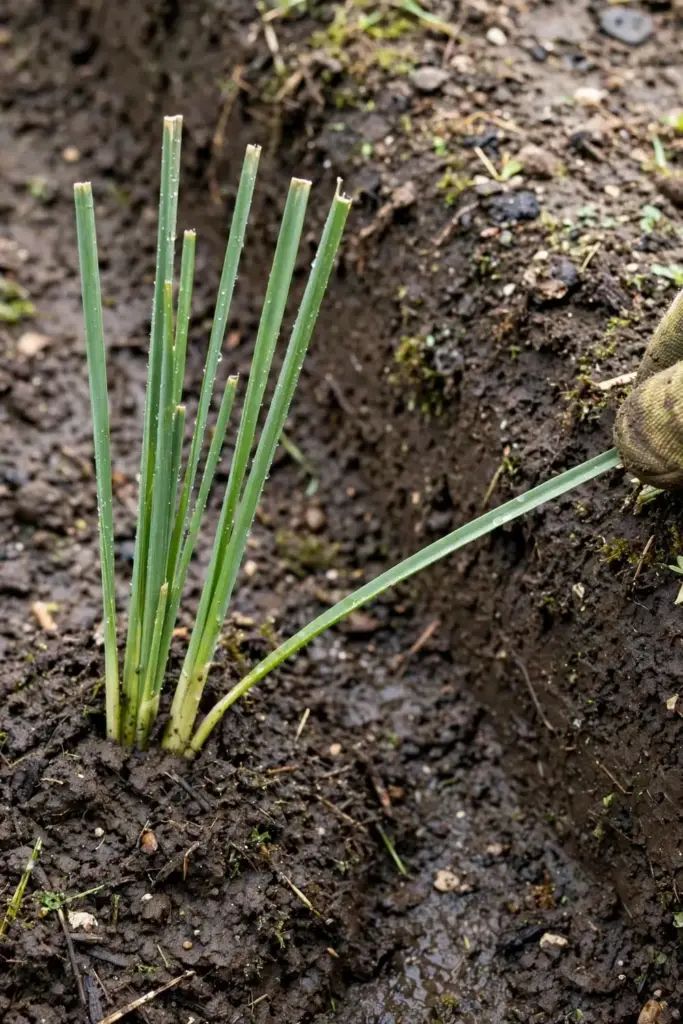
Spacing depends on the job. For an erosion hedge, plant slips 10 to 15 cm apart in a single unbroken line; the plants must merge into one dense barrier, and gaps are where runoff punches through. For root production rows, space slips wider than a hedge line so each clump builds root bulk instead of a shared barrier. The best planting window is the monsoon onset, roughly June to August in most of India, with May to June preferred in the south. Match your local rain pattern the way the fall planting calendar matches sowing to frost dates: the season sets the window, and the window sets the yield.
6. Grow Vetiver in Deep Containers When Ground Space Is Short
A container is a legitimate way to grow vetiver, and for root harvest it has one real advantage: harvesting a container means tipping it out, while harvesting ground plants means digging a trench. The catch is depth. Vetiver roots want to dive 2 to 4 meters, so a shallow pot strangles the very product you are growing. Use half-barrels, tall grow bags, or 15-gallon nursery pots at least 45 cm deep, with drainage holes. If you want to learn how to grow vetiver from India on a terrace or balcony, the deep-container lane is your route, and the “vetiver in grow bags” query Google surfaces exists because growers in tight spaces already do it.
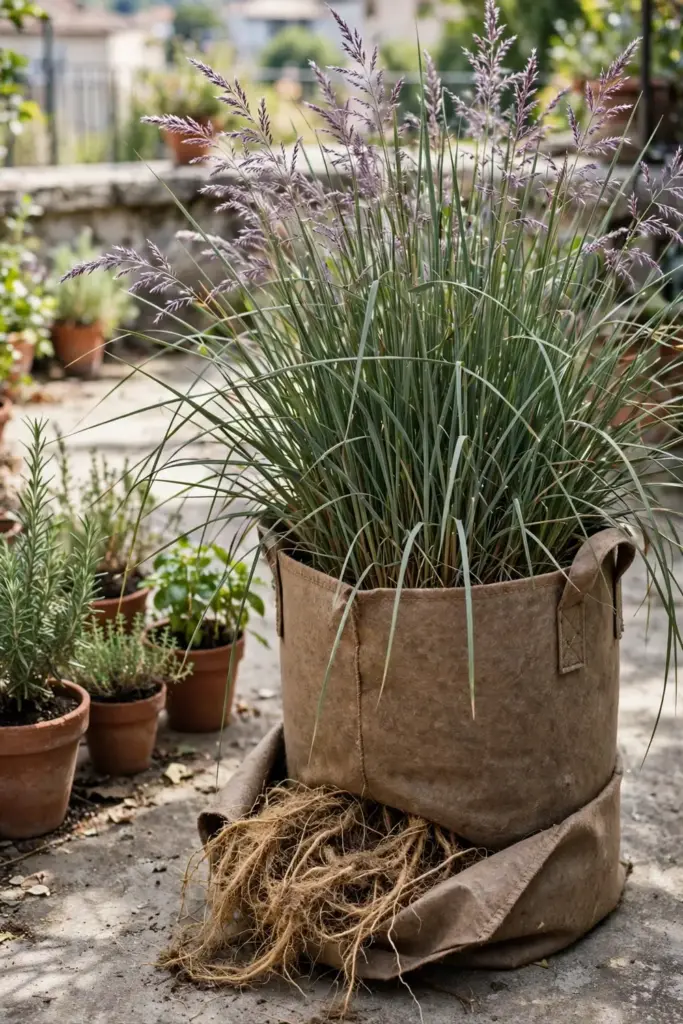
Plant one slip per container, crown just below the surface, in a sandy-loam mix that drains freely. Container vetiver dries faster than ground plants, so water whenever the top 5 cm of mix feels dry during the first month. Expect smaller roots than field-grown plants; that is the price of the tipped-out harvest. Feed containers lightly, because overfed vetiver grows heavy tops and lazy roots. Treat a container clump as a one-season root crop or a permanent ornamental hedge tuft, and decide which before you plant.
7. Build Soil That Vetiver Will Love
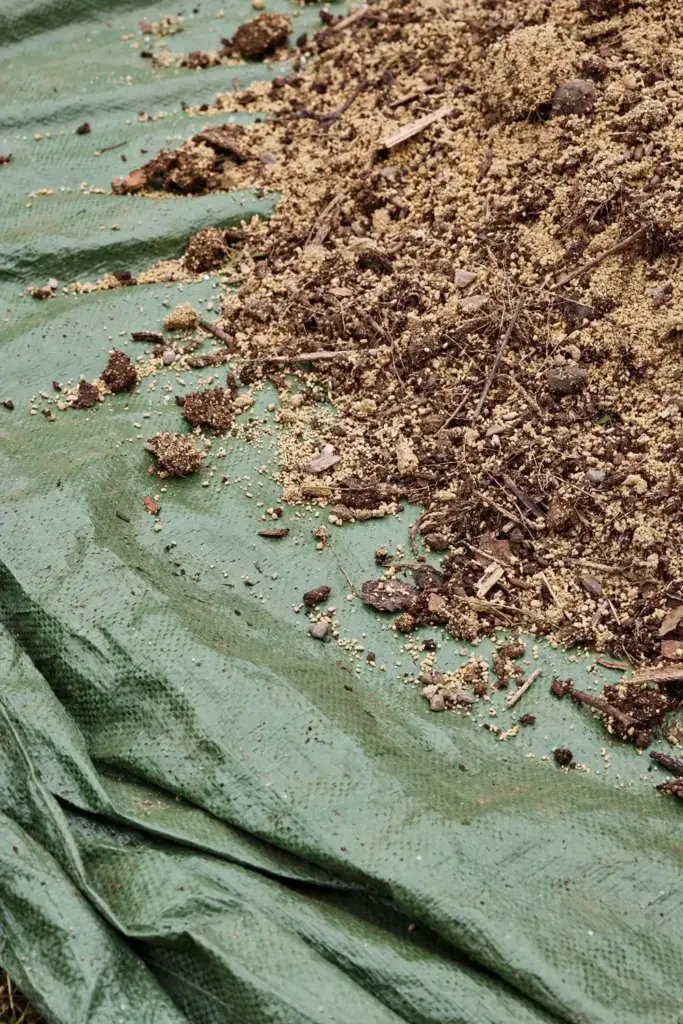
Vetiver forgives poor soil, but roots grow straighter and harvest more easily in loose ground. Sandy loam is the gold standard for root crops because the clump pulls out with minimal breakage. Work the planting zone 30 to 40 cm deep, breaking pans and stones that would fork the roots. Forming a broad, low ridge over the row improves drainage around the crown while letting roots dive deep below, a practice Indian agronomy guides credit with higher root yield.
| Component | Purpose | Proportion |
|---|---|---|
| Sandy garden soil | Loose structure for straight root growth | 50 parts |
| Well-rotted farmyard manure | Slow nutrients and soil biology | 30 parts |
| Coarse sand or river sand | Drainage around the crown | 20 parts |
For containers, use the mix above at the same proportions and top the pot with 5 cm of mulch. In the ground, work farmyard manure into the planting zone at 10 tonnes per hectare for field rows, the rate Tamil Nadu Agricultural University’s vetiver guide found efficient for raising root yield. Vetiver’s legendary tolerance means it will survive pH extremes and saline soils, but oil quality and root weight both improve in sane, fertile ground built on the principles in the soil health and pest resistance guide. Never plant into a waterlogged hole with no drainage path; tolerance is not the same as preference.
8. Water Through the Establishment Window
New slips are desert-sensitive; established vetiver is desert-tough. Keep the soil around fresh plantings consistently moist for the first 2 to 3 weeks while the crown grows its first living roots. In dry weather, water every 10 days until the rains arrive. Shade cloth or wet jute over new rows helps in fierce sun, though plain mulching around each slip works just as well for a home-scale planting.
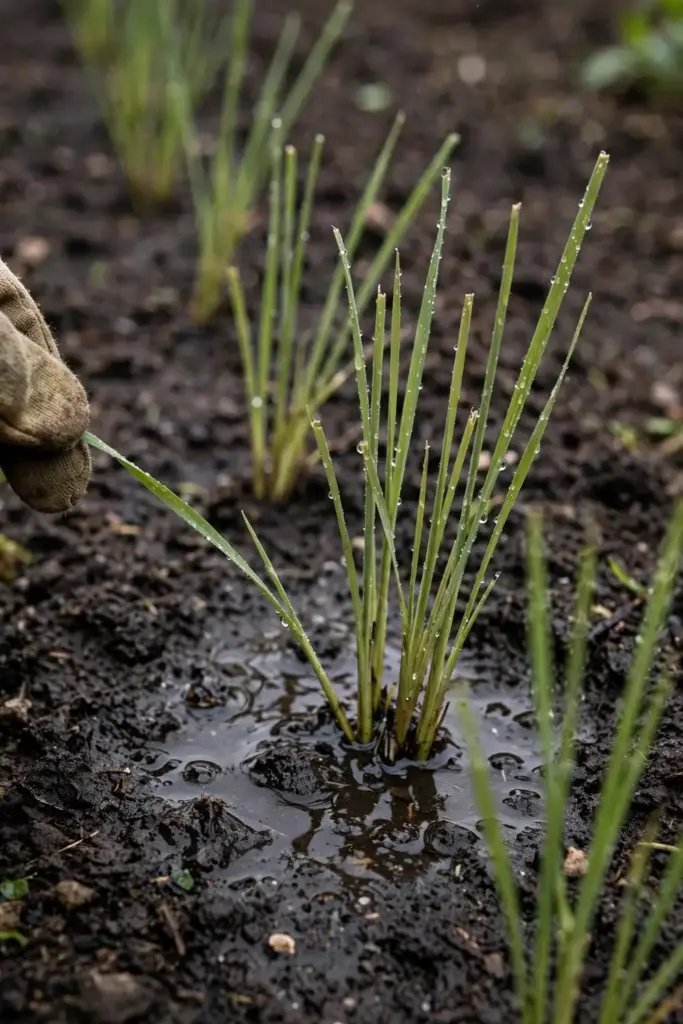
Once the clump is rooted and the first new shoots appear, taper watering and let the plant’s own deep roots take over. Mature vetiver survives drought on roots that reach meters down, and overwatering an established clump invites rot at the crown without any upside. Stop irrigating a full week before root harvest so the soil dries and the roots separate cleanly. Container vetiver never fully escapes the watering can; check moisture weekly and water when the top 5 cm dry out.
9. Feed for Root Yield, Not Leaf Show
Vetiver is not a heavy feeder, and too much nitrogen grows a fountain of grass with thin, low-oil roots. In fertile soil, skip fertilizer entirely for hedges. For root crops, apply farmyard manure at 10 tonnes per hectare with 60 kg of nitrogen and 22.5 kg each of phosphorus and potassium oxide, the rates Tamil Nadu Agricultural University’s vetiver guide found efficient for raising root yield. Split the nitrogen into two or three doses across the season rather than dumping it at planting.
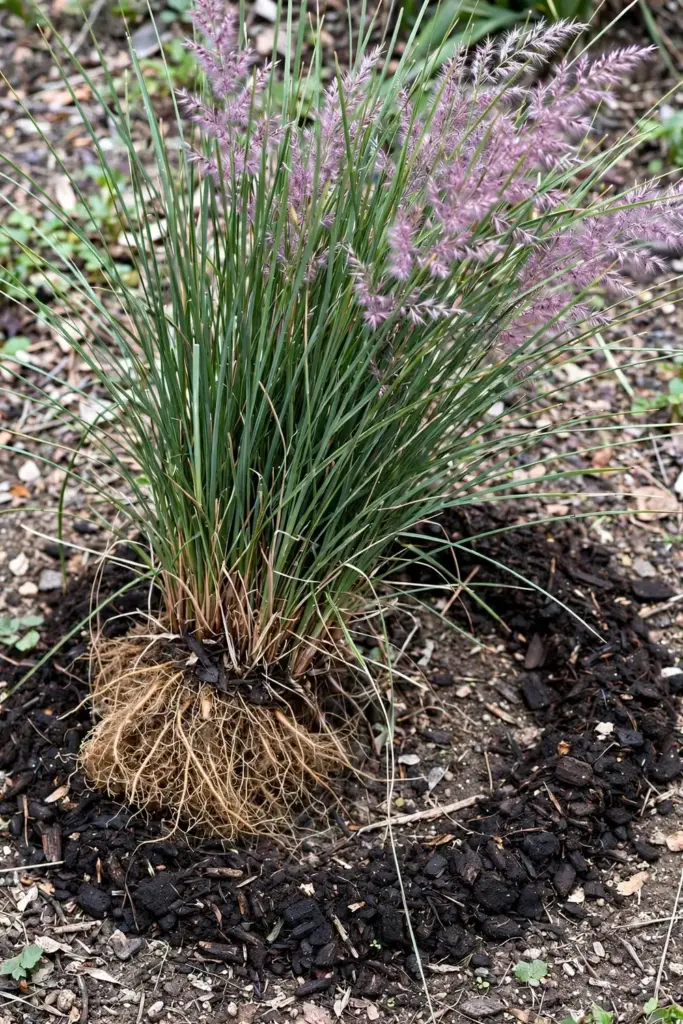
Intercropping works during the slow first 70 to 90 days: cowpea, black gram, green gram, or cluster bean fill the gaps and fix nitrogen before the vetiver closes the canopy. Once the hedge is established, feeding is optional and usually unnecessary. Container plants get a single light top-dressing of compost at the start of each growing season; anything more is vanity feeding.
10. Cut Back the Tops on Schedule
Vetiver tops are biomass. Managing them still matters, because each cutting redirects the plant’s energy from leaf show to root bulk. Cut the leaves back to 20 to 30 cm two or three times during the crop cycle: once after establishment, once before flowering in the second year, and once a month before root digging. The cut grass makes excellent mulch for the rest of the garden. I have learned that a slip planted lazily with its roots curled upward spends weeks sulking before it commits to growing, so plant straight and trim the tops the same day.
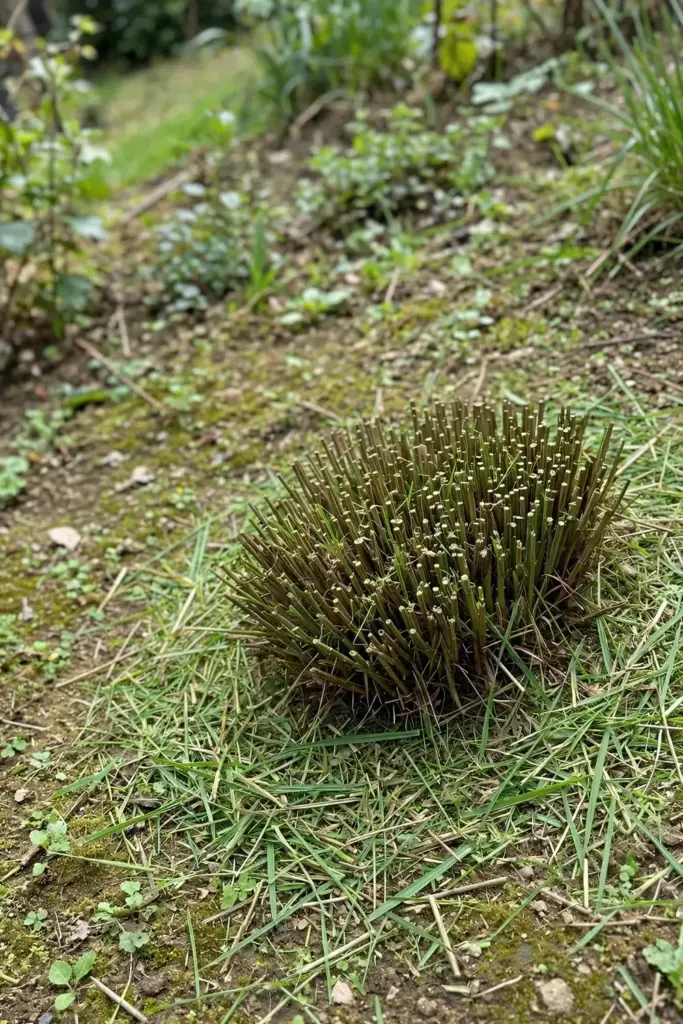
For hedges, the annual trim is about neatness and vigor. Cut hedge lines back hard once a year to remove dead thatch and encourage dense new tillering; a ragged uncut hedge shades its own base and thins out. Leave the cut material as mulch along the hedge to return nutrients and suppress weeds at the barrier line.
11. Protect Vetiver From Frost
Vetiver is tropical, and frost turns its leaves purple and dead. The crown usually survives light frosts and regrows when warmth returns, since the underground growing points tolerate cold far better than the shoots. Root dormancy sets in around 5 degrees Celsius, and shoot growth slows well before that. In USDA zones 9 and warmer, plant in the ground and let winter pass; the clump may look dead by February and explode back by April.
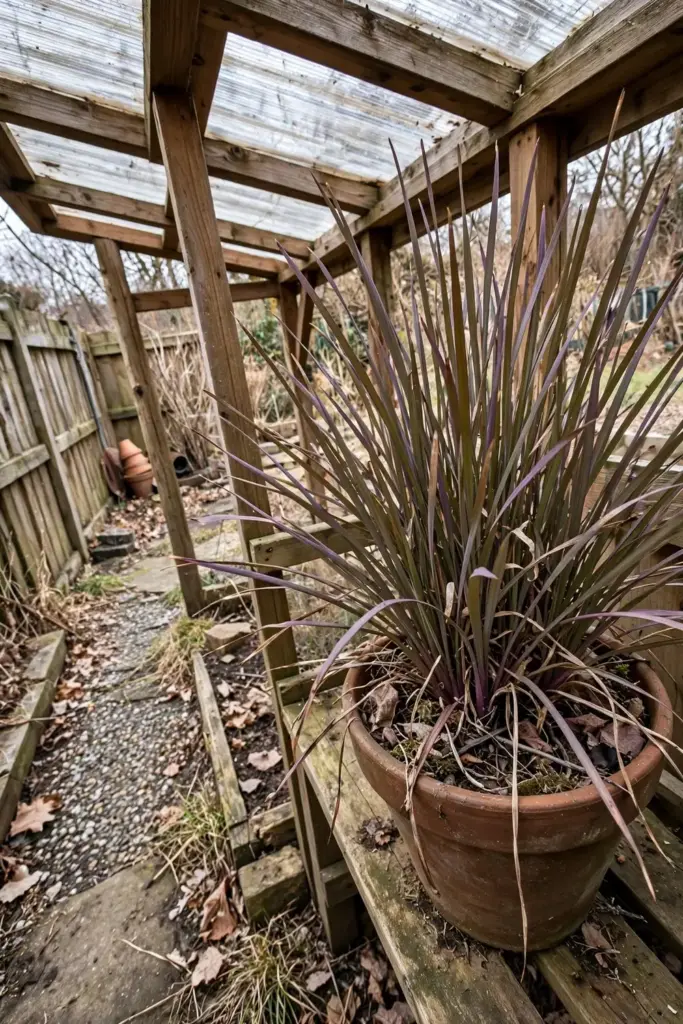
In colder zones, containers are the overwintering strategy. Move pots into an unheated greenhouse or a bright indoor spot before the first hard freeze, the same bright-indoor strategy the indoor herb garden guide uses for tender herbs. Do not fertilize until spring growth resumes. A dormant-looking pot with a firm crown is alive; a pot with a soft, rotten crown is compost. Test by squeezing the crown in late winter before you write the plant off.
12. Handle Pests and Diseases Before They Matter
Vetiver’s pest record is one of the cleanest in cultivation. No serious insect pests attack the crop in normal conditions. In dry areas, termites and white ants may chew dead material around the clump; clearing dead thatch and keeping the base mulched rather than bare reduces the invitation. Scale insects occasionally colonize stressed plants and can be managed by improving the plant’s vigor rather than by spraying.
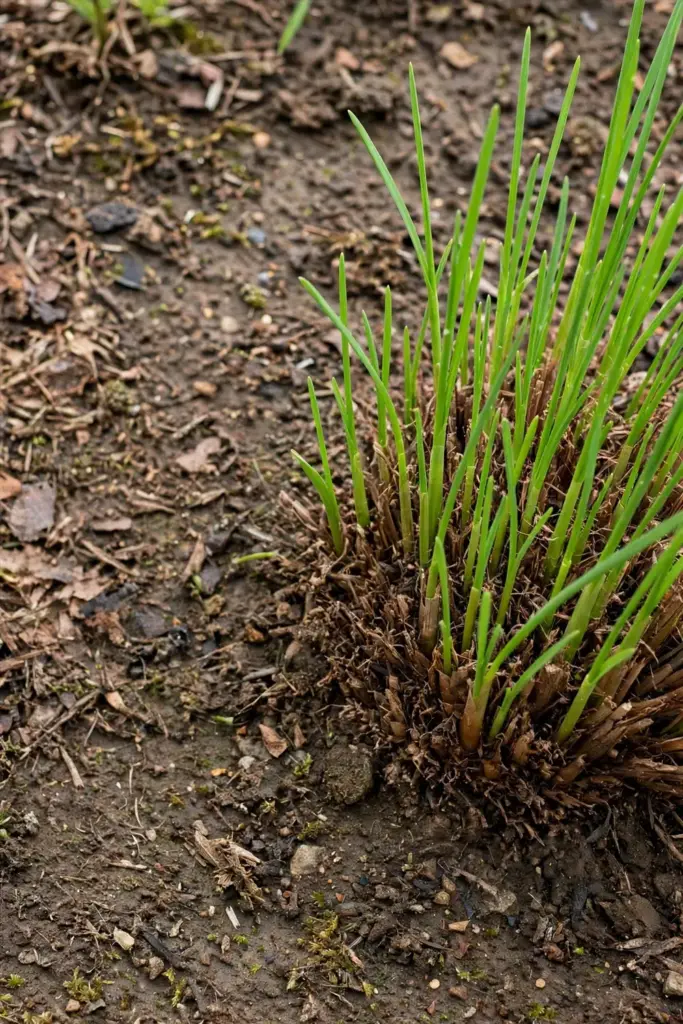
Leaf blight from Curvularia and Fusarium shows as brown streaks on the leaves in humid weather. Strip and destroy affected leaves, thin the clump for airflow, and avoid overhead watering late in the day. Vetiver also acts poorly as a host for most crop pests, which is why hedges sit comfortably next to vegetables without importing problems. For a home grower, the honest pest-control list is short: keep the crown clean, keep the soil drained, and let the grass’s own toughness do the rest.
13. Dig the Roots Without Losing the Hedge
Here is the decision the whole article has been building toward. Root harvest destroys the plant you dig. Plan from day one which clumps are for oil and which are permanent hedges, because digging a hedge line leaves a hole in your erosion defense. The Tamil Nadu Agricultural University’s vetiver guide sets the harvest at 18 months for July plantings, with digging in the dry season from December to February. Field crops across India run 15 to 24 months depending on variety and purpose.
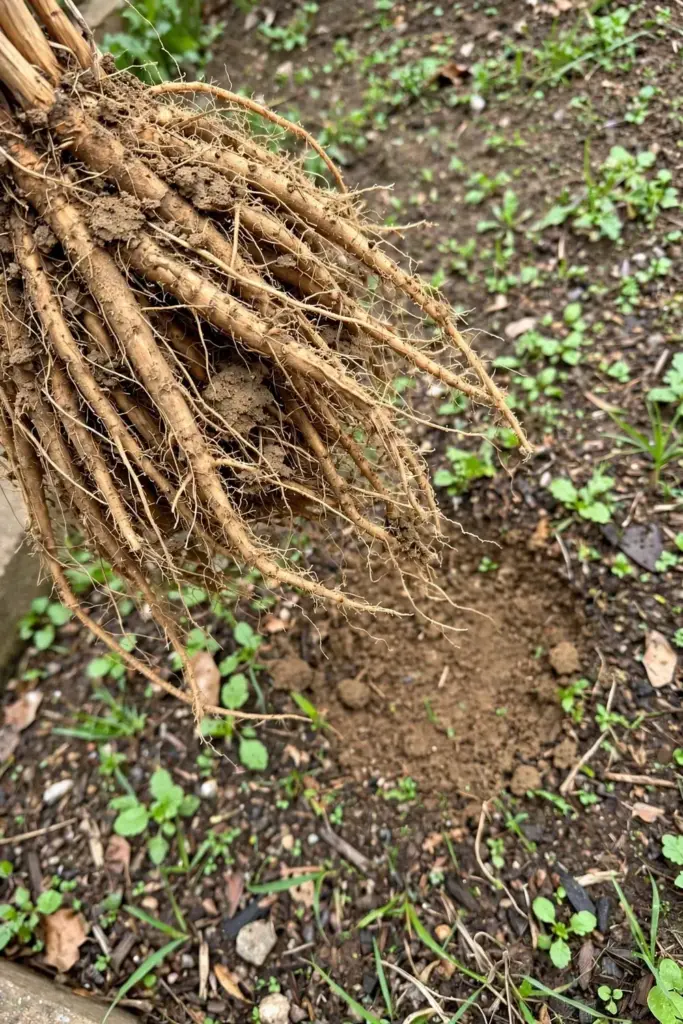
Dig a trench 15 to 20 cm deep beside the clump, then lever the whole bush out with its root mass intact. Expect roots 20 to 25 cm below the crown on cultivated plants, far shallower than the famous 3-meter wild depths because selection and dense planting concentrate the oil roots. Shake off the soil, separate the roots from the tops with a sharp knife, and replant a few slips immediately if the hole will stay in production. Good oil roots are slightly reddish brown, thick, hard, and long, with a bitter taste when chewed.
14. Clean, Dry, and Store Roots Right
Wash the harvested roots until the rinse water runs clear, then spread them in shade for 1 to 2 days before distillation. Never sun-dry oil roots hard; harsh sun drives off the volatile compounds you planted for. The roots should be leathery and fragrant, not brittle. Distill within days of drying, because long-stored dried roots slowly lose the top notes that make khus oil distinctive.
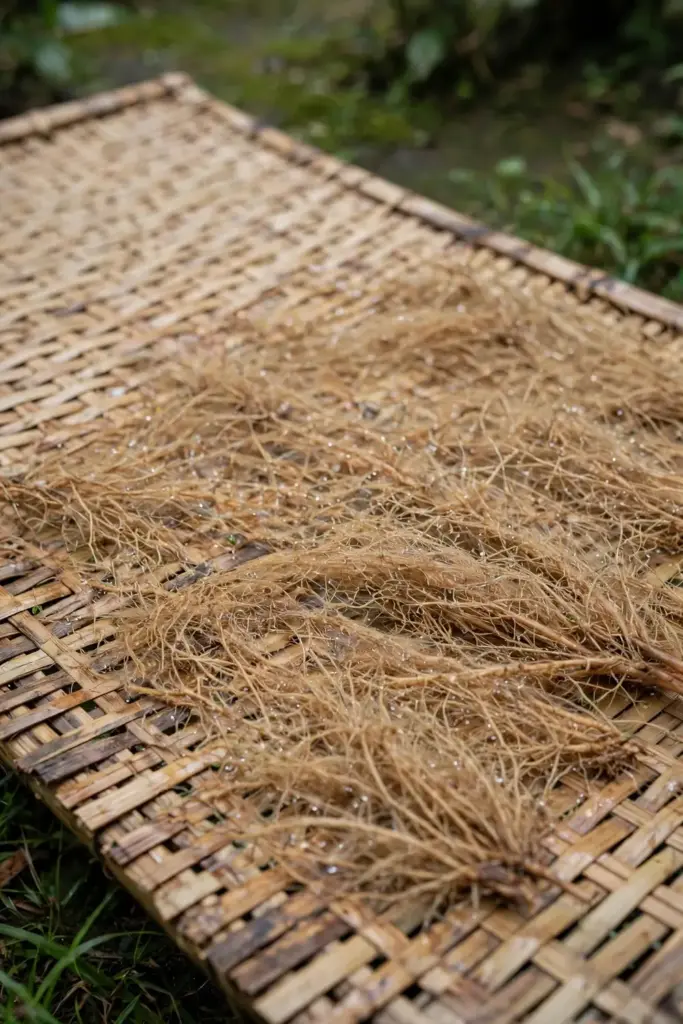
For hedge trimmings and non-oil uses, the same washed roots become raw material for woven mats, bundles for coolers, and the traditional khus tattis hung in doorways. Store dried roots in breathable jute sacks in a cool, dark place; sealed plastic traps moisture and invites mold. Label the sack with the variety and harvest date, because oil character varies by both and your future self will thank you.
15. Understand What Khus Oil Is Worth
Khus oil is distilled from the roots by steam, and the yield is small by mass. Tamil Nadu Agricultural University’s vetiver guide reports that one hectare yields 3 to 4 tonnes of roots, which distill to 15 to 16 kg of oil, a recovery of 1.00 to 1.50 percent on a dry-weight basis. Home distillation on a kitchen scale recovers less, and the economics only work when the roots are free and the distiller is a hobby. Indian demand for khus oil runs far ahead of domestic output, which is why farm-gate prices hold at the levels they do.
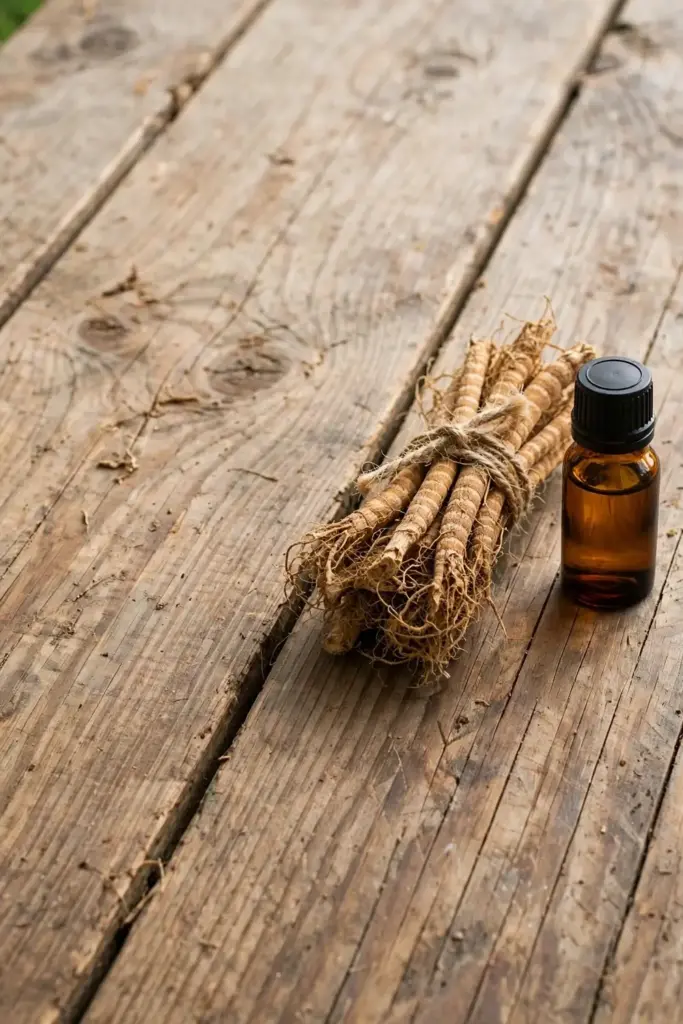
Prices reflect the scarcity. Reports from Tamil Nadu put vetiver oil between Rs 30,000 and Rs 58,000 per kilogram, with organic-certified oil at the top end, and one farmer documented Rs 1.5 lakh profit per acre over a 10-month cycle in The Better India’s vetiver report. Treat those figures as farm-gate outcomes with real buyers attached, not as prices you can assume. Selling oil needs a buyer before the still is lit; distillation without a customer is an expensive science experiment.
16. Plant a Living Hedge Against Erosion
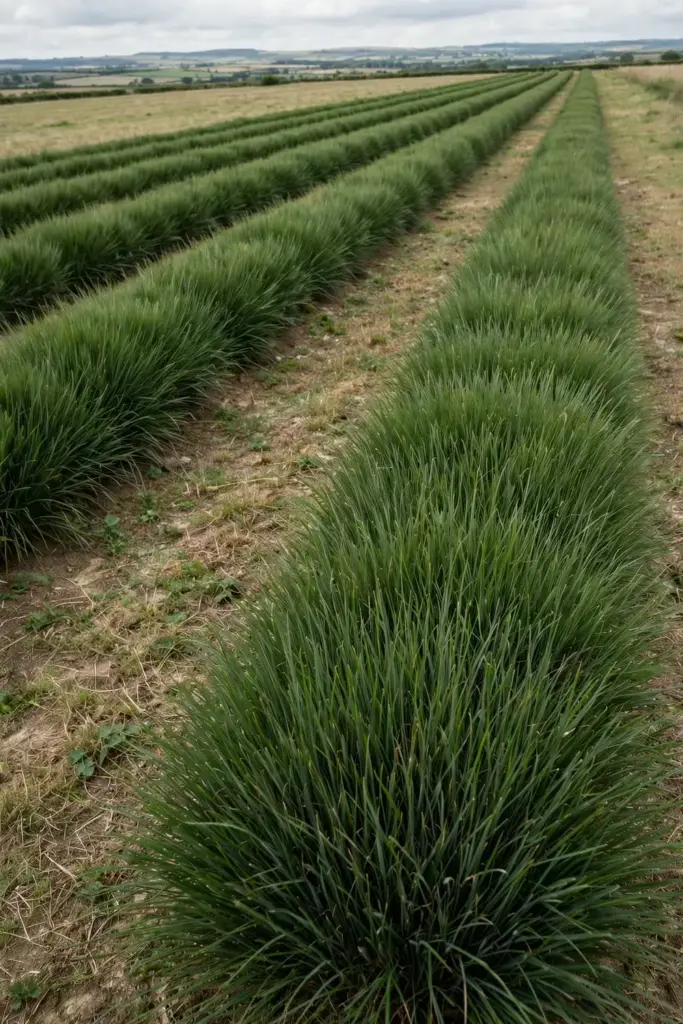
The erosion lane is where vetiver outclasses every alternative. A mature hedge cuts rainfall runoff by as much as 70 percent and sediment loss by as much as 90 percent, figures documented for the Vetiver System. The secret is underground: roots dive 2 to 4 meters, forming what engineers call living soil nails that pin the slope while the stiff hedge above slows water to a standstill. Sediment trapped behind the line gradually builds a natural terrace, and a well-built hedge persists for 10 to 50 years.
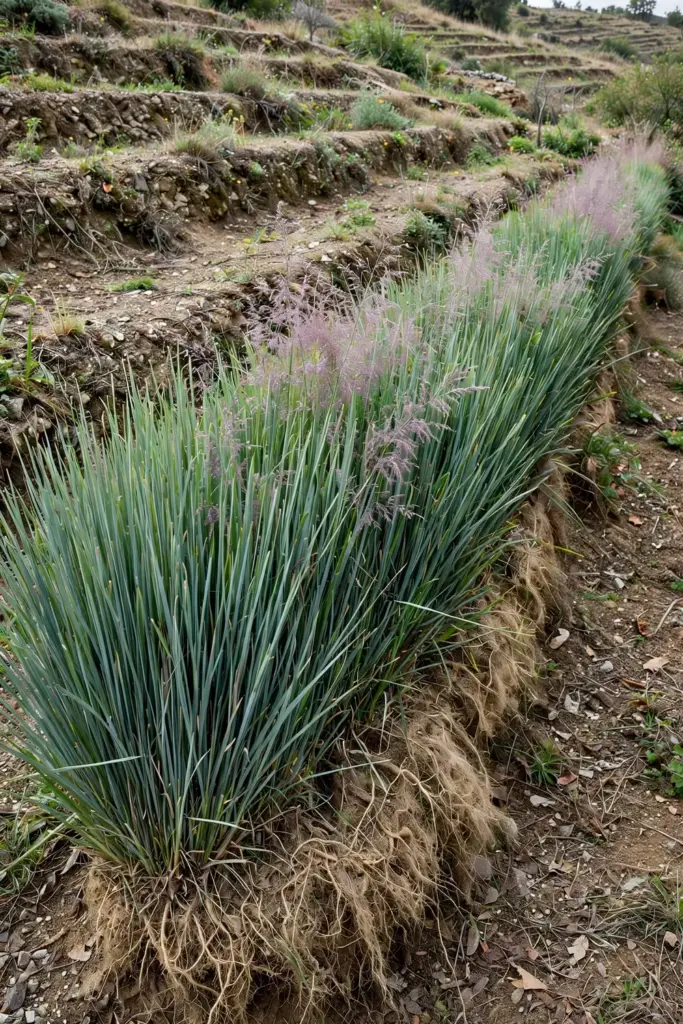
Plant hedges on the contour across slopes, bunds, terrace edges, and gullies. Space slips 10 to 15 cm apart in an unbroken line; one gap voids the barrier. Keep multiple rows 1 to 2 meters apart on steep slopes. Indian state governments have subsidized vetiver bund planting through rural employment programs, so check local schemes before you fund a large hedge yourself. A hedge is a 50-year decision, so plant sterile cultivars and never let the line sit in a gap.
17. Use Khus the Traditional Way
Long before essential-oil stills, khus was India’s summer technology. Woven khus mats and curtains hung in windows and doorways cool incoming air through evaporation, scenting the room with the root’s earthy perfume at the same time. A soaked mat across a doorway on a 40-degree day is the original desert cooler, and households still use them where summers bite. Usheera Jala, water cooled and flavored with a bundle of khus roots, is the traditional cooling drink of the same tradition.
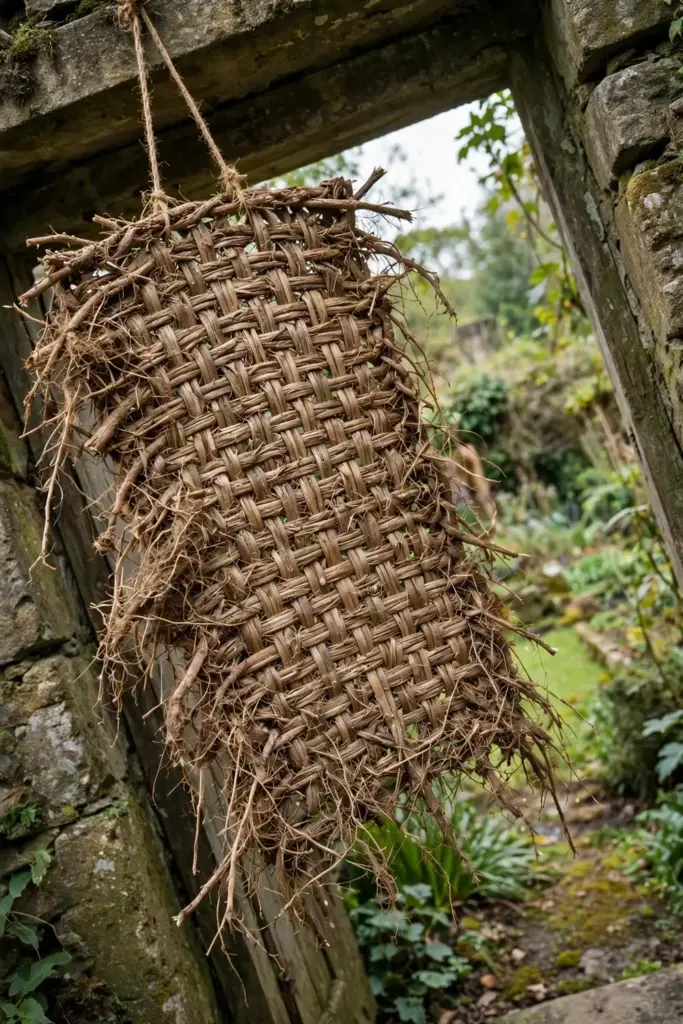
None of this needs a still or a distillery. A home grower with one clump can weave a small mat, hang a bundle of roots by the window, and cool a drinking-water matka with khus strands. Treat the medicinal claims around khus conservatively; the cooling tradition is sensory and practical, not clinical. The real value for most readers is a plant that shades, scents, and cools the house it grows beside.
18. Avoid the Mistakes That Cost a Harvest
Most vetiver failures trace to the first week, not the eighteenth month.
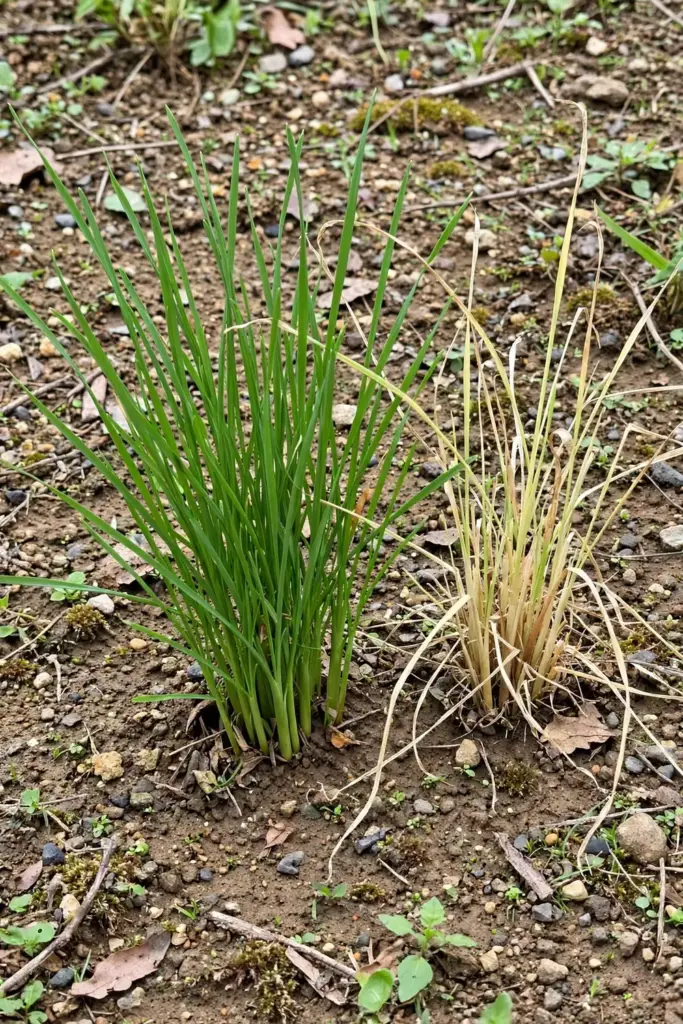
- Burying the crown too deep at planting. The growing point rots in wet soil.
- Skipping the soil-firming step. Air pockets around the crown keep the slip from ever contacting moisture.
- Planting in the dry season without irrigation and expecting the monsoon to arrive on schedule.
- Spacing hedge slips 30 cm apart to save money, then watching runoff punch through every gap.
- Letting weeds smother young slips in the first two months. Vetiver is tough, but a baby clump cannot outcompete weeds.
- Raiding oil-root clumps for mulch in year one. The harvest you sacrifice for biomass could have come from a hedge line instead.
- Digging roots in the wet season, when soggy soil clings and fine roots tear instead of releasing.
Each of these is fixable if caught early. A slipped crown can be replanted the same day; a gappy hedge can be infilled before the first storm. Walk your new planting weekly for the first month and fix what you see.
19. Troubleshoot a Slow or Dying Clump
Slips yellow within two weeks. The crown is too deep or the soil stayed waterlogged. Lift one slip and check: a mushy crown means rot, and you should replant shallower in better-drained soil.
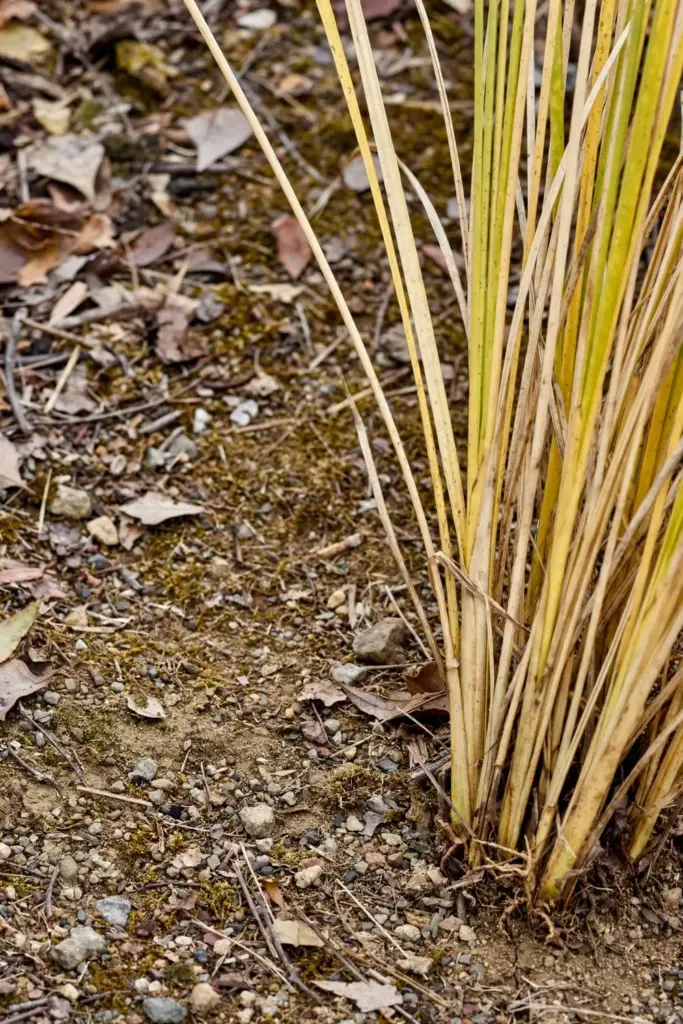
No new shoots after a month. The slip was old, the crown was damaged in splitting, or planting happened in cold soil. Replace with fresh divisions and wait for soil temperatures above 20 degrees Celsius.
Hedge develops gaps. Individual slips died from drought or weed competition. Infill immediately with fresh slips at the same tight spacing; a hedge is only as good as its weakest gap.
Tops grow heavy but roots stay thin. Too much nitrogen and too little sun. Cut fertilizer, thin any shading branches above the clump, and give the roots time.
Clump spreads beyond its line. You planted a fertile type instead of a sterile cultivar. Dig out the volunteers and replace the line with named sterile stock before it seeds further.
Frequently Asked Questions
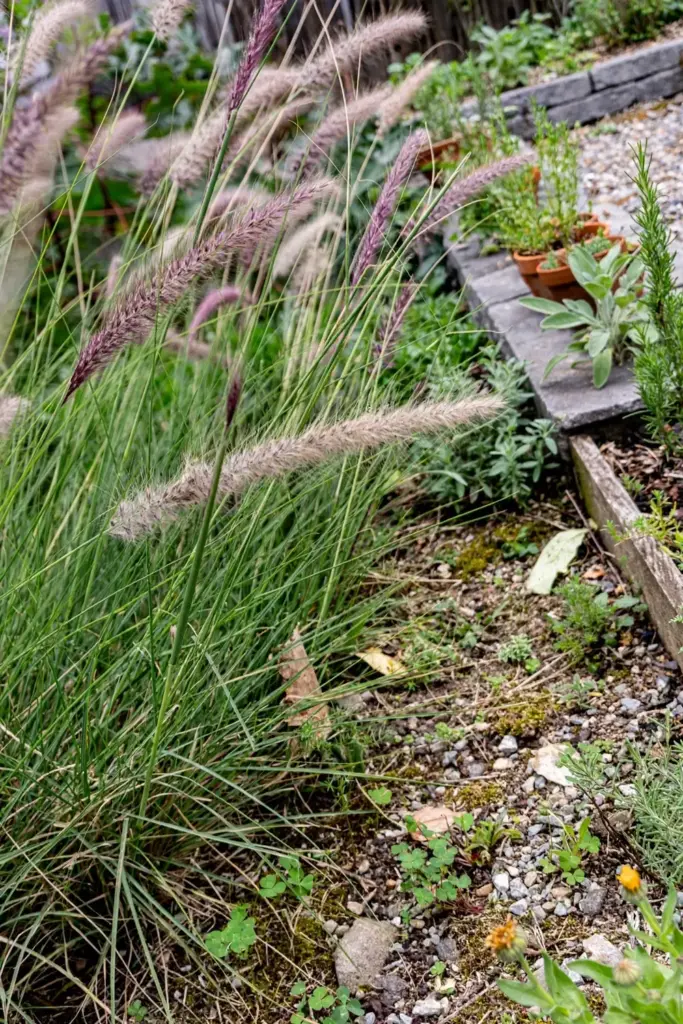
The sterile cultivars used for hedges and oil do not spread. They carry no stolons or rhizomes and set no fertile seed, so the clump stays exactly where you planted it. The “does vetiver grass spread” worry comes from fertile wild types and from grasses that look similar. Buy named sterile stock from a nursery that identifies its cultivar, and invasiveness stops being a question.
Practically, no. The cultivated types that matter for hedges and oil are sterile and produce no viable seed. Seed packets sold as vetiver germinate poorly or not at all, and any plant that does emerge will not be the named cultivar you wanted. A single clump divided into slips gives you dozens of true-to-type plants in one afternoon, which is why every serious grower propagates by division.
Root crops take 15 to 24 months from planting to digging, with 18 months the standard cited by Indian agronomy guides for July plantings. Oil roots need that full duration to build fragrance compounds; digging at 12 months gives you thin, low-oil roots. Erosion hedges are a different clock: the hedge starts working in its first rainy season and keeps improving for years.
The roots and only the roots. Khus oil is steam-distilled from washed, shade-dried root mass, which is why the whole clump is dug and destroyed at harvest. The leaves have a grassy scent and make fine mulch or weaving material, but they contain no meaningful oil. Anyone selling vetiver leaf oil is selling something else.
Yes. Khus is the North Indian name and vetiver the South Indian and English name for Chrysopogon zizanioides. The plant is one species with two naming traditions, plus the older Latin synonym Vetiveria zizanioides that still appears in older books. When a recipe or guide says khus, it means vetiver roots.
The roots are distilled into khus essential oil for perfumery, woven into cooling mats and curtains, bundled to cool and scent drinking water, and used in traditional summer drinks. In the ground, living roots are the engine of the world’s best erosion hedges, pinning slopes with roots that reach meters deep. One plant serves the still, the house, and the hillside.
Where to Go From Here
Vetiver rewards the grower who plans the ending before the beginning. If you want to learn how to grow vetiver from India for oil, mark your oil clumps at planting and guard them for 18 months. If you want a hedge, plant it tight on the contour and leave it alone for a decade. If you want both, plant two lines and never mix them up.
One clump is enough to start. Divide it in June, plant the slips into warm wet soil, water them through the first three weeks, and then let the grass do what it has done for two centuries of Indian summers: grow deep, hold the soil, and perfume everything around it.