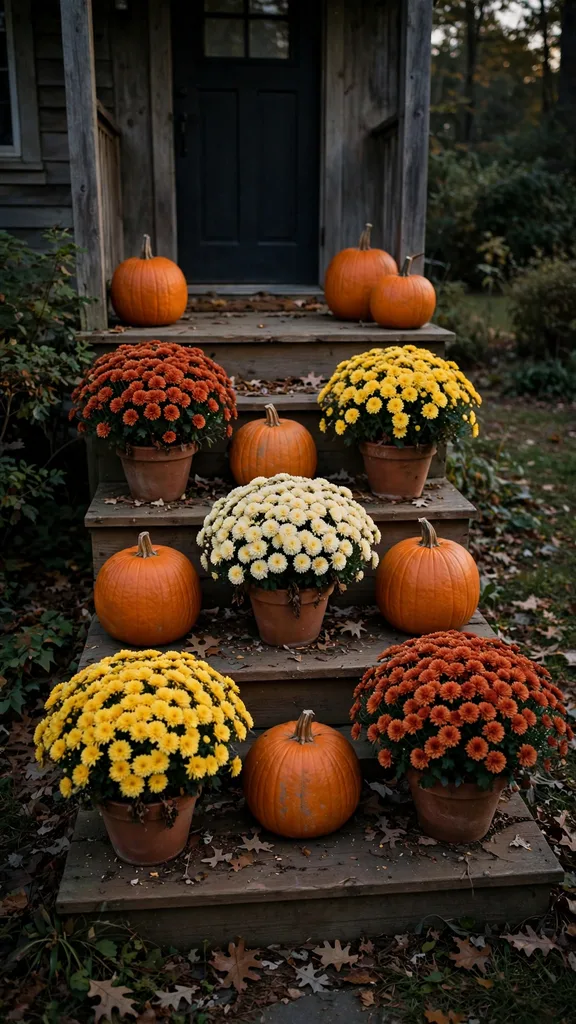

Most mums and pumpkins porch decor ideas start with plants that are already finished. The mum sits in full bloom at the garden center, the pumpkin’s skin is unmarked for one weekend, and the display fades weeks before Thanksgiving dinner. This list works from the plant side instead. Every arrangement below pairs living mums with whole pumpkins, and the care steps sit inside the decorating steps, so the porch you build in October still looks fresh in late November.
Start with the buying rules, because four numbers decide everything that follows. A garden mum bought in bud blooms for 6 to 8 weeks. A garden mum bought in full bloom holds its best for 3 to 4 weeks. An uncut pumpkin kept cool and dry lasts 8 to 12 weeks outdoors. A carved pumpkin lasts 3 to 7 days. Those numbers set the order of work: which pots to buy first, when to stack, and which pieces you build last.
I set my own porch in the first week of October and change nothing but the watering routine until Thanksgiving. The 21 ideas below run in the order the work happens. The first five handle buying and potting, the next six build the classic step and door arrangements, and the groups after that work through daily care and variations for small porches. Pick one arrangement, keep its plants alive, and the display earns its place for the whole season.
| What You Need | Best Pick | Why It Works |
|---|---|---|
| Bloom that lasts to Thanksgiving | Item 1: Buy Mums in Bud for the Longest Bloom | Bud-stage mums bloom for 6 to 8 weeks, so an early October purchase still flowers in late November |
| A door flanked in minutes | Item 7: Flank the Door With a Matched Pair | Two same-batch pots at equal distances from the frame finish the entry with no arranging at all |
| A small stoop display | Item 19: Shrink the Formula for a Small Stoop | One trio of a mum pot and two pumpkins fills a single tread and still leaves the step passable |
| A display that survives a frost night | Item 16: Cover or Carry Pots In on Frost Nights | Pots moved against the house wall or covered with cloth keep their blooms through a night below 0 °C |
| A planter made from the pumpkin itself | Item 9: Turn a Scooped Pumpkin Into a Mum Planter | A nursery pot dropped into a hollowed pumpkin hides the plastic and keeps the mum easy to lift out and swap |
Start With Living Plants
1. Buy Mums in Bud for the Longest Bloom
Buy garden mums while the buds sit tight and closed, with color showing only at the tips. Bought in bud, the plant blooms for 6 to 8 weeks; bought in full bloom, it holds its best for 3 to 4 weeks. The bud-stage plant opens in waves on your steps, so fresh flowers keep replacing spent ones through November.
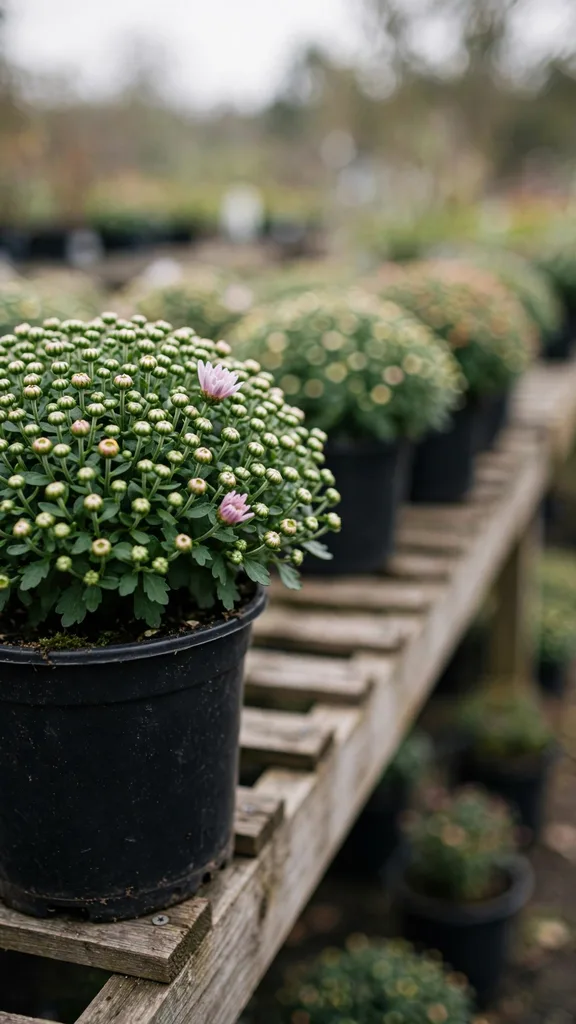
Check the plant below the buds before you pay. Foliage should run green right down to the soil line, and the pot should feel heavy for its size. A 20 cm pot gives you a plant wide enough to anchor a step corner on its own. Skip any plant with bare, woody stems at the base, because those stems never leaf out again and the pot shows a bald ring at soil level all season.
2. Pick Pumpkins Built to Last Outdoors
Choose pumpkins with hard skin, deep color, and a stem that sits firmly attached. Press a thumbnail against the skin at the shoulder. Sound skin resists the nail and stays unmarked. Judge the heft as well: a pumpkin that feels heavy for its size carries thick walls. Kept cool and dry, an uncut pumpkin lasts 8 to 12 weeks outdoors; carved, it lasts 3 to 7 days, so whole fruit carries the display and cut fruit stays a last-week addition.
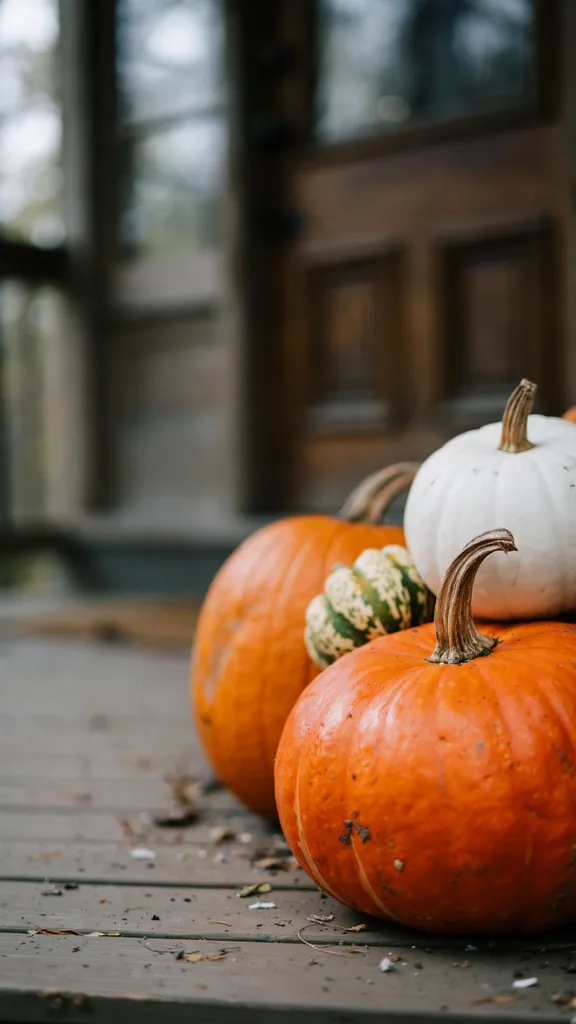
Turn every candidate over before it goes in the cart. The base should sit flat on a level surface with no rocking. Reject pumpkins with soft spots, dark water-soaked patches, or mold at the blossom end. A pumpkin with one soft spot rots from that spot inward, and it can collapse onto the step below before the skin on top shows a single flaw.
3. Set a Three-Color Palette Before You Shop
Decide on three colors at home, before the nursery rows start offering ten. A classic set pairs orange pumpkins with burgundy and gold mums. A quieter set pairs white pumpkins with cream and pale yellow mums. Write the palette and the pot counts on your shopping list, and buy to the list.
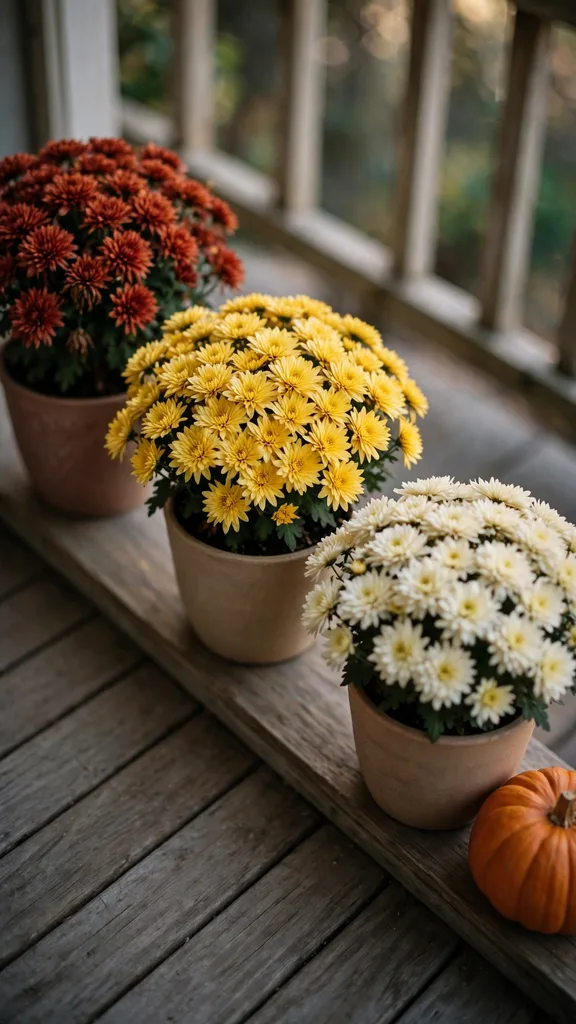
Hold one mum pot against a pumpkin in the cart before you check out. The pairing reads the same on the steps, at arm’s length and from the street. Keep the split uneven: the main color carries most of the pots, the second color fills the gaps, and the third appears once or twice as an accent. Photograph the loaded cart before you pay; a fourth color sneaking in shows up on the small screen long before it bothers you from the curb.
4. Match Pot Sizes to the Steps They Sit On
Measure your step treads before you shop, and write the depth on the same list as the palette. A pot takes up tread fast: a 25 cm pot on a 28 cm tread leaves almost no room for a foot to pass. Keep the pot diameter at or under half the tread depth on steps people climb daily. Wide landings and the ground beside the steps take 25 cm and 30 cm pots without crowding the walkway.
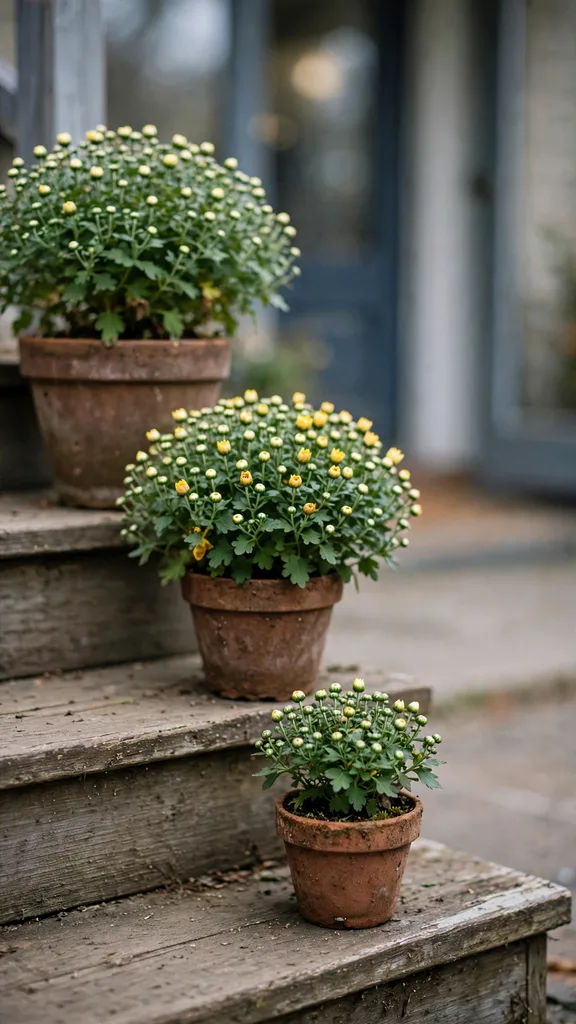
Assign sizes by position. Large pots sit at the base of the steps and on the landing, medium pots climb the treads, and 15 cm pots fill the top step and the railing line. Soil volume drives the watering schedule: a big pot holds moisture for days, while a small pot in full sun can dry out in one afternoon. Finish with a stability check on every pot: brush each one with the side of your shoe, and move any pot that rocks to a lower, flatter spot before it goes over on the first windy night.
5. Give Porch Pots Drainage and a Saucer Plan
Turn every pot over at the store and look for drainage holes in the base. A mum in a sealed pot sits in its own runoff after every watering, and roots held in standing water rot within days. Keep the nursery pot if it drains well, or move the plant into a standard pot with holes before the display goes out.
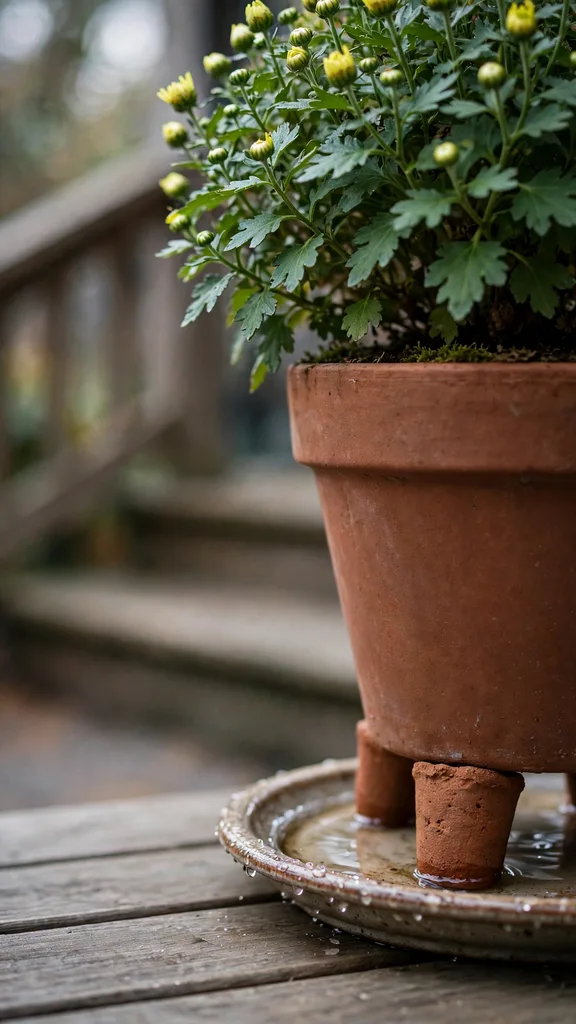
Set a saucer under each pot on wood steps and painted floors. Size the saucer 3 to 5 cm wider than the pot base so overflow lands in the dish. Empty any saucer that still holds water 30 minutes after watering, and lift pots on small feet or thin wood strips where a trapped saucer of water would freeze against the step in a cold snap. A pot that freezes solid into its saucer cracks along the base, and the first watering after the thaw leaks straight through the split.
Classic Porch Compositions
6. Layer the Porch Steps in Threes
Build each step cluster from three pieces: one mum pot, one large pumpkin, and one small pumpkin or gourd. Set the mum at the back of the tread, the large pumpkin beside it, and the small piece at the front edge. Three pieces read as a deliberate group from the street. The eye moves from group to group down the staircase.
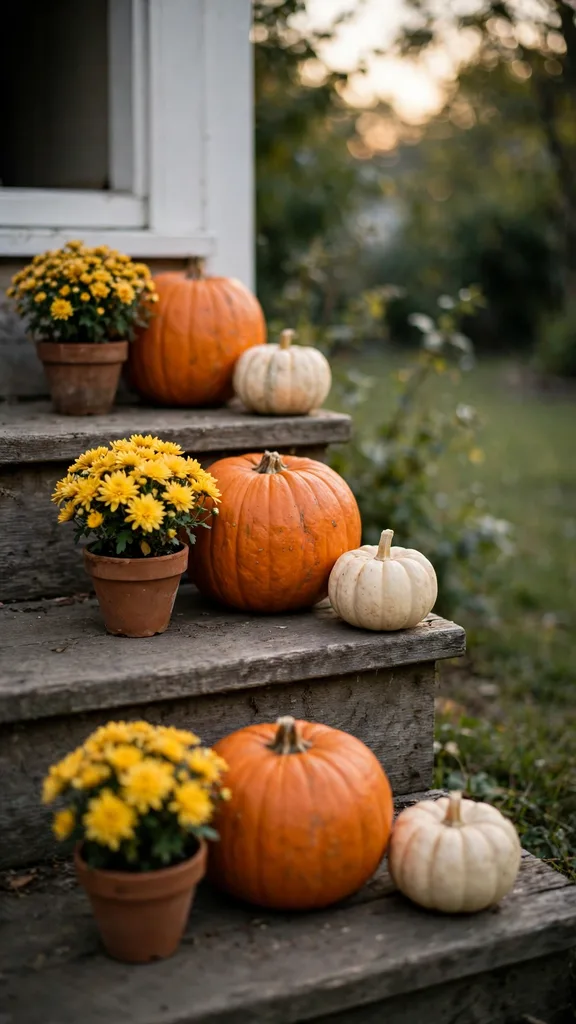
Repeat the same trio on every step, at the same spacing and on the same side of the tread. Keep the other side of every tread clear from edge to edge, so feet and the handrail stay usable in the dark. Consistency does the decorating work here: matching clusters make five ordinary steps look planned. Finish at the sidewalk and count the clusters from the curb; a step where the trio shrinks to a pair reads as a missing tooth in the whole run.
7. Flank the Door With a Matched Pair
Flank the door with two mum pots of the same size, the same color, and the same bud stage, one on each side of the frame. Buy the pair from the same nursery batch on the same day, because batch mates match in height and flower timing. Set one pumpkin beside each pot at a matching height, and the entry reads finished after a single trip from the car.
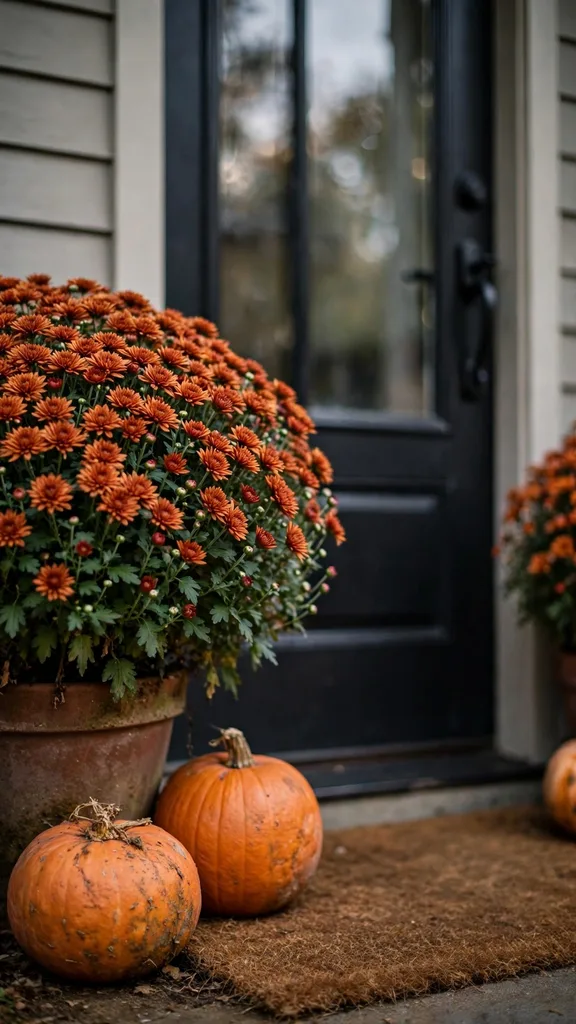
Measure the placement: stand each pot the same distance from the door frame and the same distance out from the wall. Water both pots on the same pass, every time, so one side never fades ahead of the other. If one side of the door catches afternoon sun while the other sits in shade, swap the two pots every week; left in place, the sunny pot finishes blooming a full week before its shaded twin reaches its peak.
8. Crown a Planter With a Flat-Bottom Pumpkin
Pick a pumpkin with a flat base for the crown position. Test it at the store: set the pumpkin on a flat counter and let go. A pumpkin that stands still with no wobble earns the spot. Set it on the soil surface of a wide standard pot of mums, nestled down into the stems so the foliage hides the join.
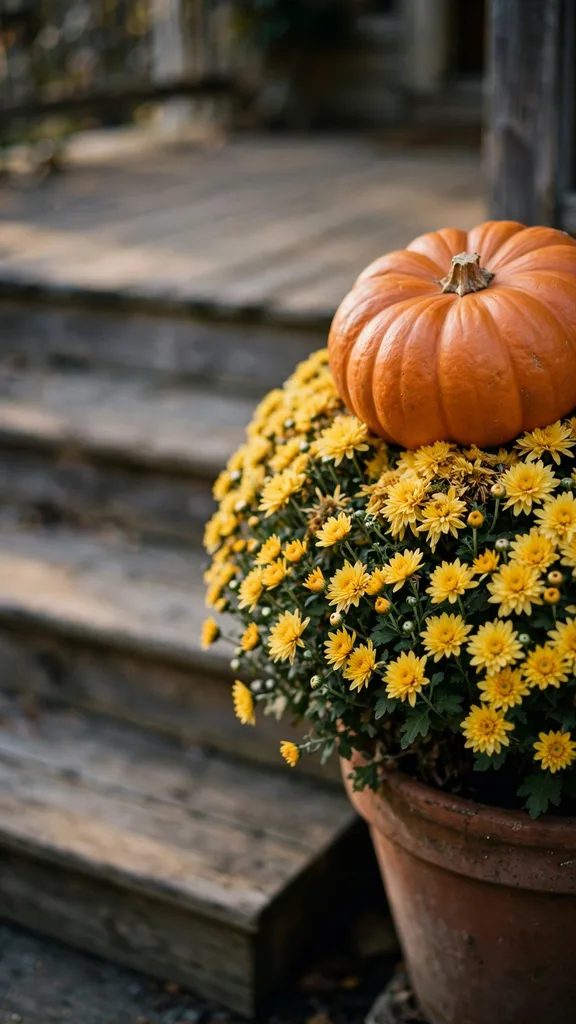
Trim the stem short before you set the pumpkin in place, because a long stem levers the fruit sideways as it settles. Put the crowned pot on the landing or the lowest step, where a fall costs nothing. The contact ring between pumpkin skin and damp soil is the weak point of the whole arrangement. Lift the pumpkin once a week, wipe the ring dry with a cloth, and set it back; a ring left damp for two weeks grows a soft rot patch that spreads across the base.
9. Turn a Scooped Pumpkin Into a Mum Planter
Cut a wide circle in the top of a sound pumpkin, wider than the pot that has to pass through it, and lift the lid away. Scoop out the seeds and strings with a large spoon until the inner walls feel clean. Leave the mum in its nursery pot and drop the whole pot inside the shell. A 15 cm nursery pot fits a medium pumpkin, and the plastic rim sits below the cut edge, hidden by the mum’s own foliage.
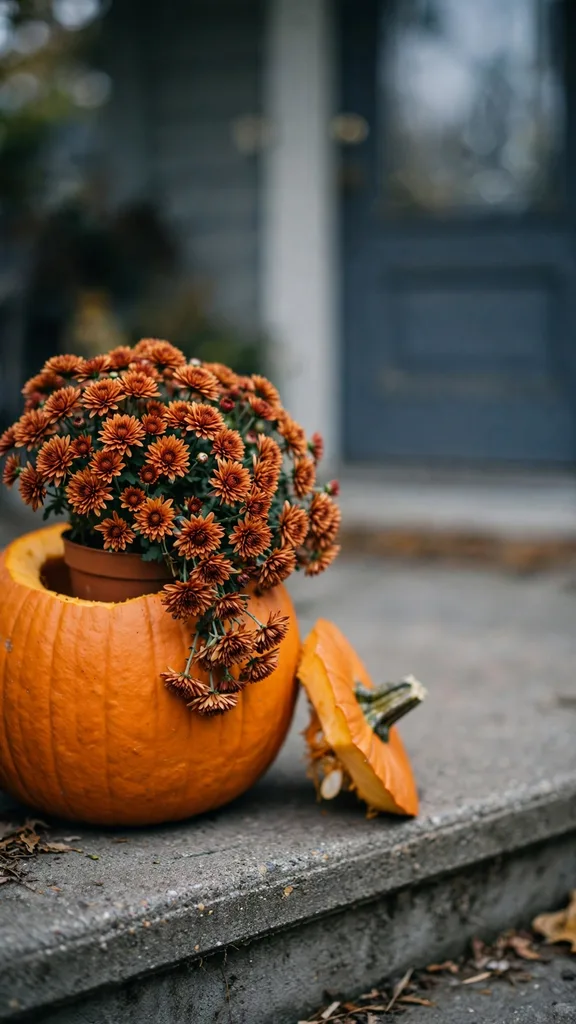
Keeping the nursery pot inside the shell does two jobs: the mum lifts out in seconds for watering, and its roots never touch the pumpkin flesh. Treat this piece as a short-run arrangement. A scooped pumpkin is cut fruit, and its walls soften within days. Build it in the final week before guests arrive, and press the wall with your palm each morning; the day the wall gives under your hand, lift the mum into a standard pot and send the shell to the compost. When the shell gives out, the mum drops into the same standard pots the thanksgiving planter ideas are built on, so the display never misses a day.
10. Set the Whole Group on One Hay Bale
Set one standard hay bale at the base of the steps or tight against the wall beside the door. The bale lifts the whole group to a second level, so a mum pot and two pumpkins on top read from the street over the plantings below. Arrange the group on the bale top as a trio: the mum at the back, the large pumpkin at the front corner, and the small pumpkin filling the gap between them.
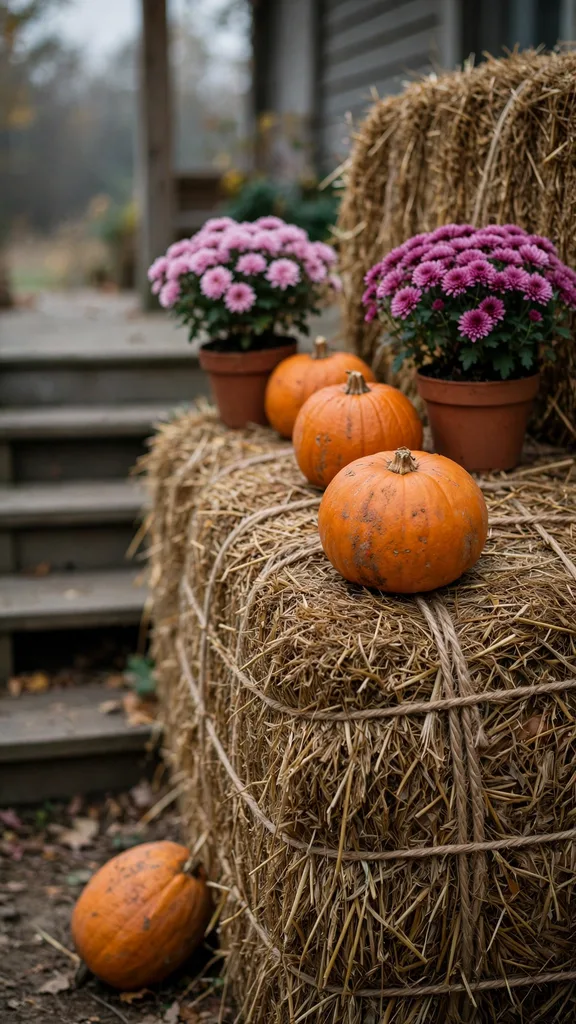
Slide the bale under the porch roof line or the eave, where rain runs off the edge and misses the straw. A dry bale holds its shape and its twine tension for the full season. Keep a small gap between the bale and the wall so air moves behind the group. Check the bale after the first hard rain: a bale that takes on water grows heavy and sour, and black mold spreads through the wet straw until the whole base has to come out and the group on top comes down with it.
11. Fill the Railing Boxes With Trailing Mums
Hook standard railing boxes over the porch rail and fill them with mums in 15 cm pots, spaced 20 cm apart along the box. Choose plants with a mounding, spill-over habit, and set the fullest side of each plant facing outward so the foliage drapes over the box edge. A box of mums at rail height puts flowers at eye level for anyone climbing the steps.
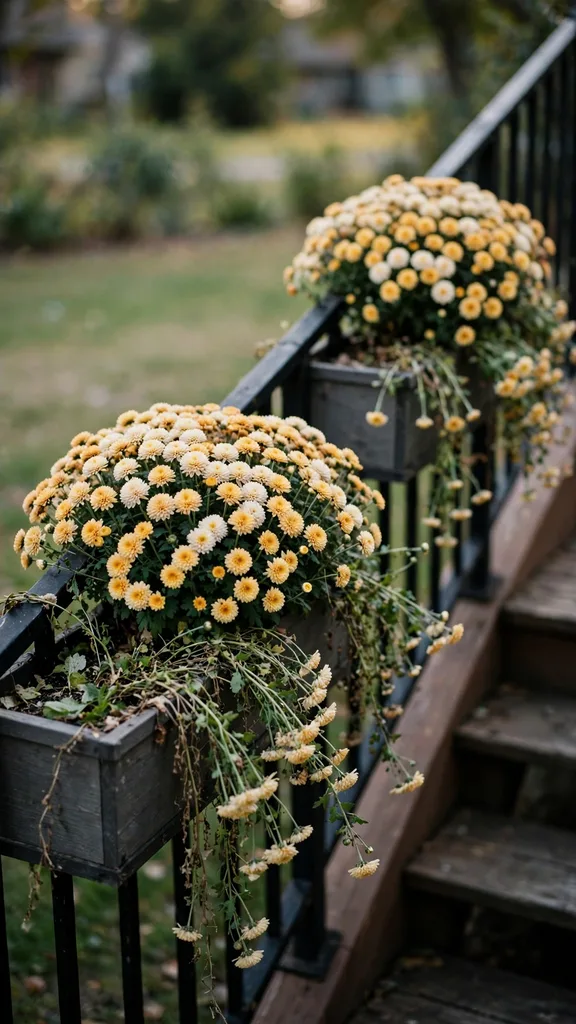
Railing boxes hold a small volume of soil, and wind strips moisture from them all day. Use the same watering check as the step pots: when the top 2.5 cm of soil feels dry, water until it runs from the drainage slots in the box base. Boxes in full sun need that water daily. A box that misses two days of watering in windy weather sheds its open blooms first, and the buds behind them open smaller for the rest of the season.
Keep Everything Alive
12. Water Porch Mums Before the Soil Pulls Away
The watering check takes ten seconds. Push a finger into the potting mix up to 2.5 cm. Dry mix at that depth means the pot needs water the same day. Porch pots dry out faster than garden beds. Wind moving across the steps pulls moisture straight from the leaves, and sun striking the pot warms the root ball and speeds the loss. A pot standing in full sun often needs water every day.
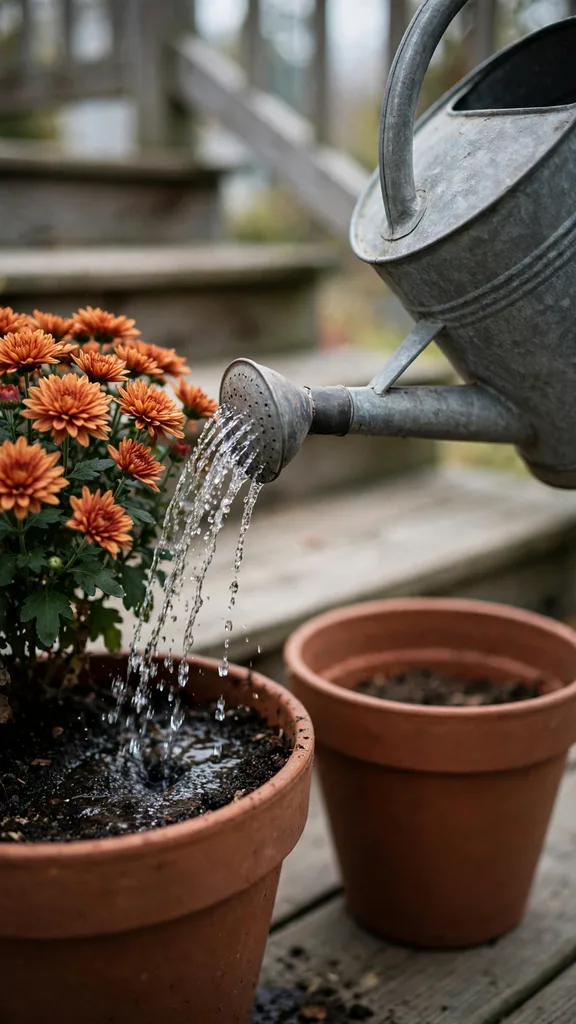
Water low, at the base of the plant, and soak the root ball until water runs freely from the drainage holes. Dry potting mix shrinks away from the pot wall, and a fast pour runs down that gap and straight out of the pot. The center of the root ball stays dry after such a watering. Pour in two slow passes, with a pause between them, so the mix can swell shut again. A pot that still feels light after watering holds a dry core, and the plant wilts by afternoon. The North Carolina Cooperative Extension mum guide gives the same mechanics from the care side: water close to the roots rather than over the leaves, and saturate the soil at each watering.
13. Deadhead on a Twice-a-Week Pass
A spent mum bloom left on the plant turns brown and starts forming seed. The plant reads that seed head as a job finished. Bud production slows while the seed head matures. Deadheading cuts that signal off. Snip each faded flower just below the head, above the highest side bud on the stem. A pass twice a week catches every bloom at the right stage, before seed set begins.
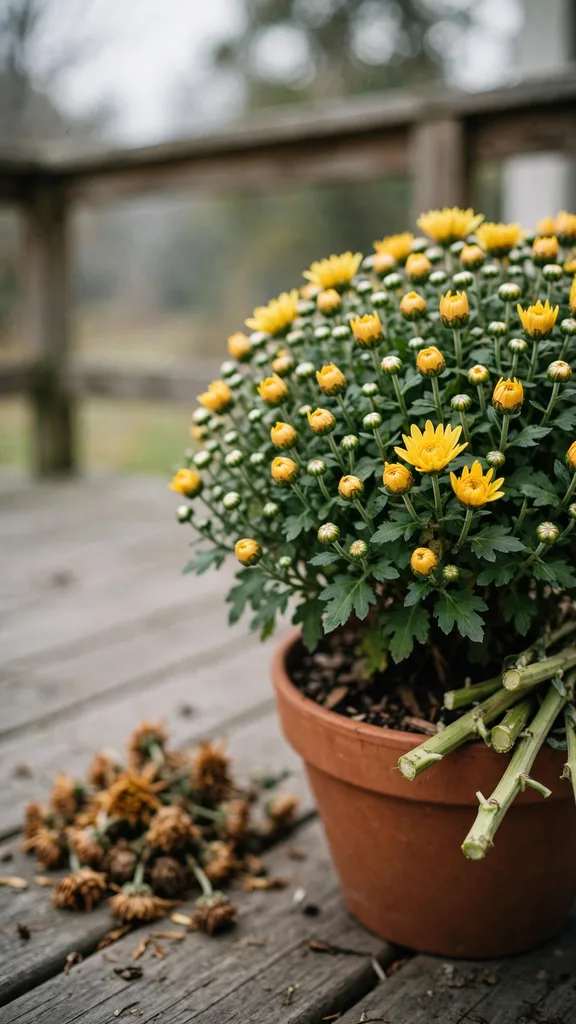
Work through the whole plant on each pass, the top layer first, then lift the outer stems to reach the shaded heads underneath. Pinch soft stems between fingernails and use small snips on woody ones. Clear fallen petals and yellowed leaves from the pot surface during the same pass, since wet debris against the stems invites rot. Skip two passes in a row and the plant shows the cost: fresh buds open smaller while brown heads crowd the surface.
14. Move Pots Out of Brutal Afternoon Sun
Shift the pots into a spot that takes morning sun and afternoon shade. Garden mums handle full sun in open soil, and a porch pot plays by different rules. The soil volume is small, and afternoon sun on a west-facing porch heats the root ball through the pot wall. Blooms scorch at the petal edges. Leaves wilt by mid-afternoon even when the morning watering was thorough. The display spends the whole day surviving the heat, and the next round of buds stays shut.
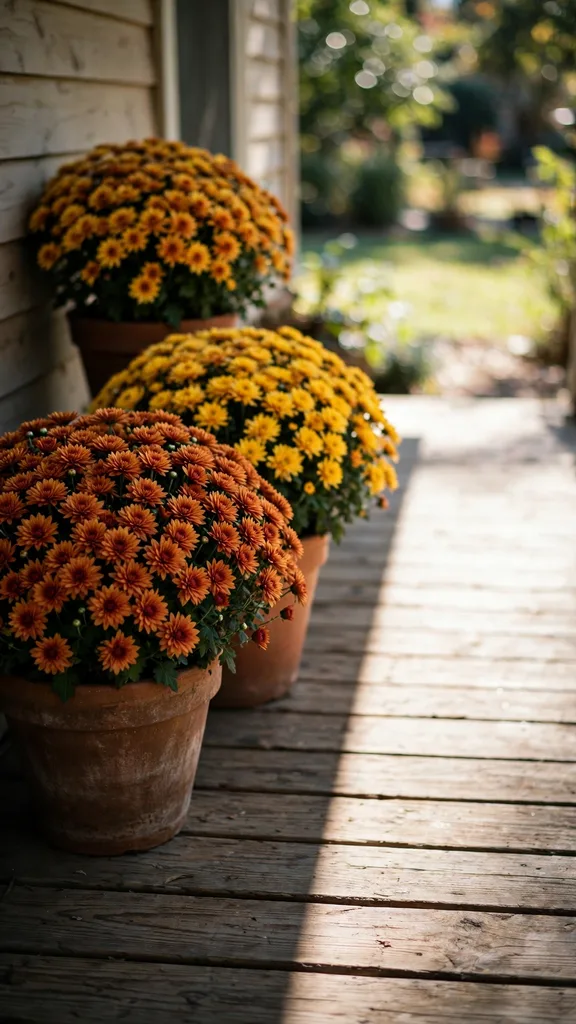
The back edge of a roofed porch works, where the roof shadow lands after midday. Grouping pots together shades the root balls at the edges of the group. Pale pots reflect more heat than black plastic ones. Judge the move after two days: a plant that stays upright through the afternoon, with no fresh scorch on the bloom edges, has found its spot.
15. Wash and Dry Pumpkins So Skins Stay Sound
Wash every pumpkin before it joins the display. Field soil clings to the grooves of the skin. That soil holds moisture against the rind and carries mold spores with it. Rinse the fruit under running water and rub the grooves clean with a soft cloth. Inspect the skin during the wash. Soft spots, cracks, and bruised patches mark fruit that will rot early, so those pumpkins go to the kitchen or the compost.
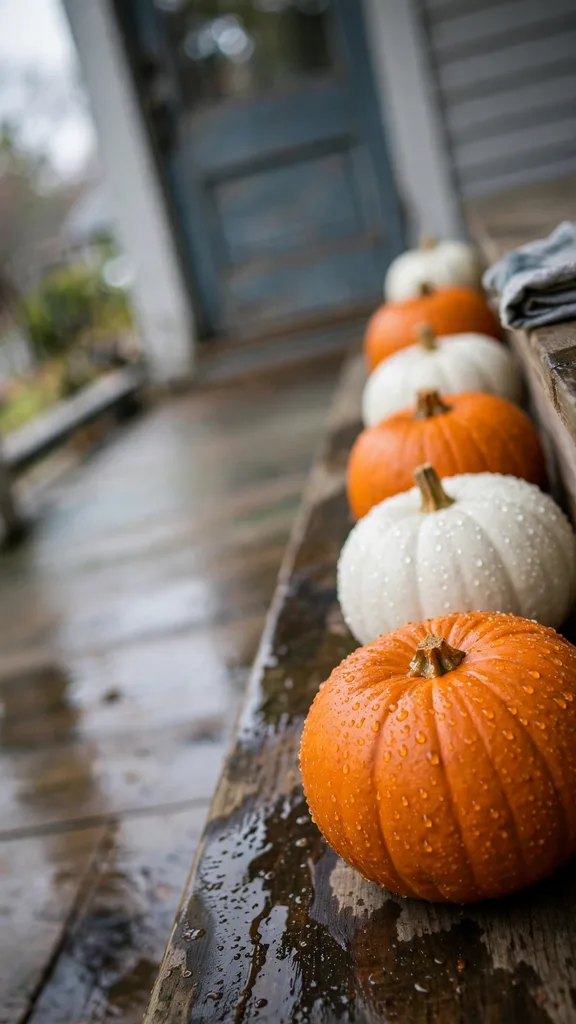
Dry the washed fruit completely before setting it on the steps. A towel pass removes the surface water, and a spell of air drying finishes the job. Carry pumpkins by the body with both hands, never by the stem. A stem torn off at the shoulder leaves an open wound in the skin. Set each dry pumpkin on a dry surface, clear of puddled corners of the porch. A pumpkin placed damp on wet boards starts rotting at the contact point within days. The Washington State University Extension storing guide backs the wash step: wash and dry the pumpkin completely, and a thin bleach solution wiped over the skin cuts the rot organisms that start at the surface.
16. Cover or Carry Pots In on Frost Nights
Light frost damages mum blooms first. Petals that freeze turn translucent, then brown, and they never recover their color. The foliage tolerates colder nights than the flowers do. Watch the forecast once blooming starts. Any night forecast below 0 °C calls for action before dark. A breathable cloth draped over the plant, reaching the ground on all sides, traps heat rising from the soil and holds the blooms through the night.
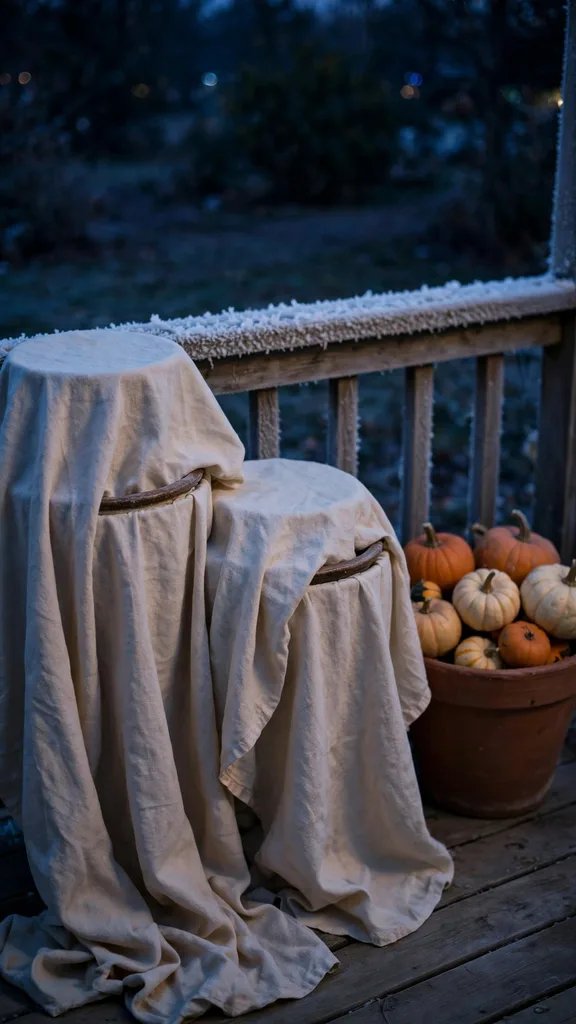
Small pots can travel instead of wearing a cover. Carry them into a garage or a shed, or set them against the house wall. Masonry that stored daytime heat releases it slowly overnight. Group the carried pots tight together so they share warmth. Bring the pots back out after sunrise, since a covered plant left sitting under cloth into a sunny morning overheats fast. One uncovered night below 0 °C leaves brown edges on every open bloom by morning.
17. Stagger Early and Late Mums for a Fresh Relay
Mum varieties bloom in sequence across the fall. Early varieties open first and finish first. Late varieties hold their buds closed weeks longer. Buy the first set of early or midseason plants in bud at the start of October. A plant bought in bud carries 6 to 8 weeks of bloom in reserve. That first set covers the display through its opening weeks. Buy a second set of late varieties, also tightly in bud, when the first set passes its peak.
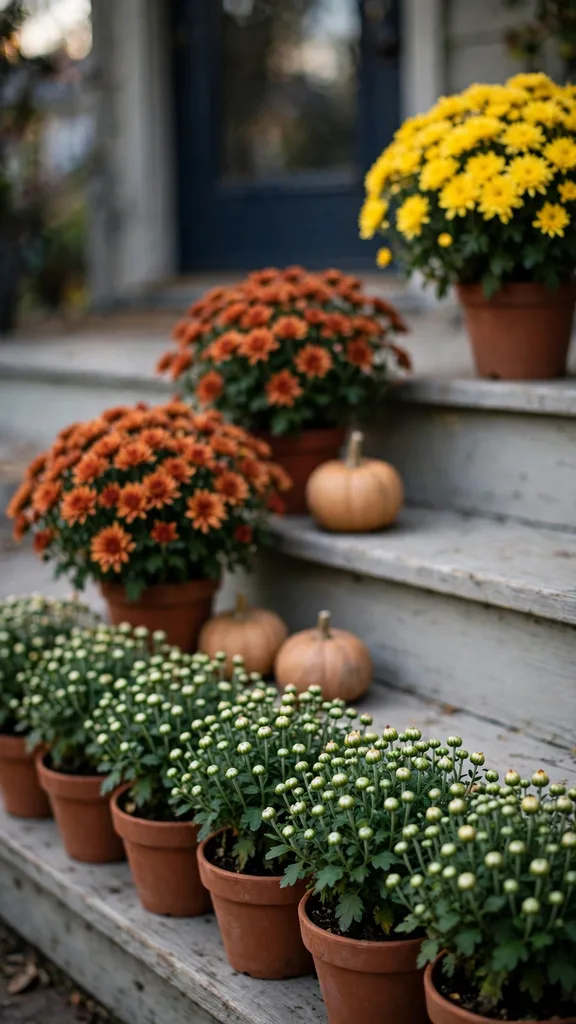
Hold the relay set in a waiting spot behind the display or along a side wall, watered on the same schedule as the front plants. When a front plant browns past saving, lift it out and drop a fresh pot into the gap. Pot sizes matched at buying time make the swap clean. The relay costs one extra plant per position across the season, and it removes the faded week that ends most porch displays before Thanksgiving.
Variations That Fit Your Porch
18. Go Monochrome With White Pumpkins and Cream Mums
A monochrome display trades color range for calm. White pumpkins carry the scheme on shape alone: flat stacking types, round minis, and one tall oval as the accent. Cream and white mums fill in at two heights, potted plants on the steps and a trailing white variety spilling from the top step. Set the group against a darker backing, such as weathered wood or dried corn stalks standing at the back of the porch, so the pale shapes hold a clear outline.
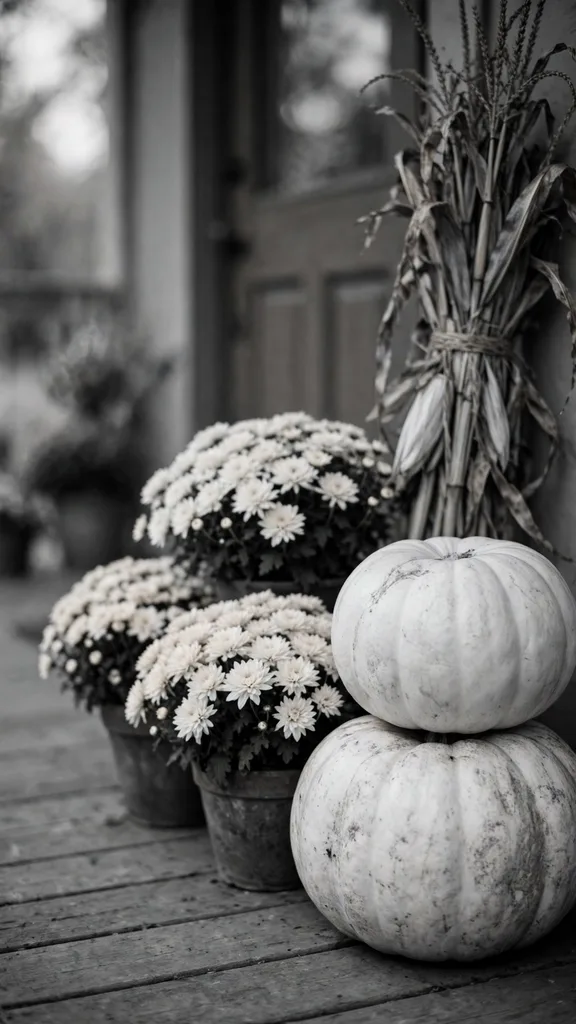
Pale displays fail in flat light. Every shape reads as one soft mass at midday and again at dusk. Texture and shadow do the separating work here. Ribbed pumpkins sit next to smooth ones. Deep green foliage plants anchor both ends of the group. Wash white pumpkins twice as often as orange ones, since every soil smear shows on the pale skin. The dusk check settles the layout: from the street, every shape must still read on its own outline.
19. Shrink the Formula for a Small Stoop
A small stoop takes one cluster, placed well. Start with one 25 cm pot of mums in bud. Stand the pot on the hinge side of the door, where the door swing cannot reach it. Set one medium pumpkin tight against the pot and one small pumpkin in front of that. Three pieces in a tight triangle read as a finished display at this scale, and the step keeps a clear walking line.
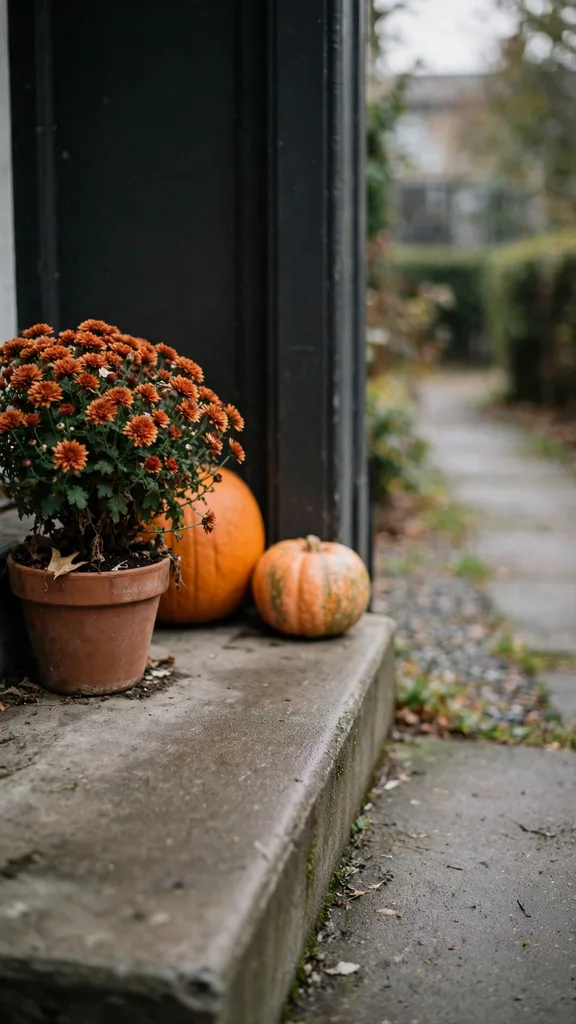
Grow the display upward rather than outward. A short stack of two flat-bottomed pumpkins beside the pot adds height without taking floor space. Keep every piece clear of the center of the treads, since a heel catching a small pumpkin on a dim step ends badly. Finish with the door test: the door opens fully, the path stays clear underfoot, and the cluster still reads as deliberate from the street.
20. Reuse Crates, Baskets, and Pots You Already Own
Wooden crates and farm baskets already in the garage make instant covers for nursery pots. Drop the plastic pot straight into the crate, leaving the mum at its bought height. The crate hides the plastic and pulls odd pot colors into one material. Baskets need a saucer under the pot inside them. Water that drains through a basket soaks the weave, and a soaked basket bottom gives way under the weight of a wet pot.
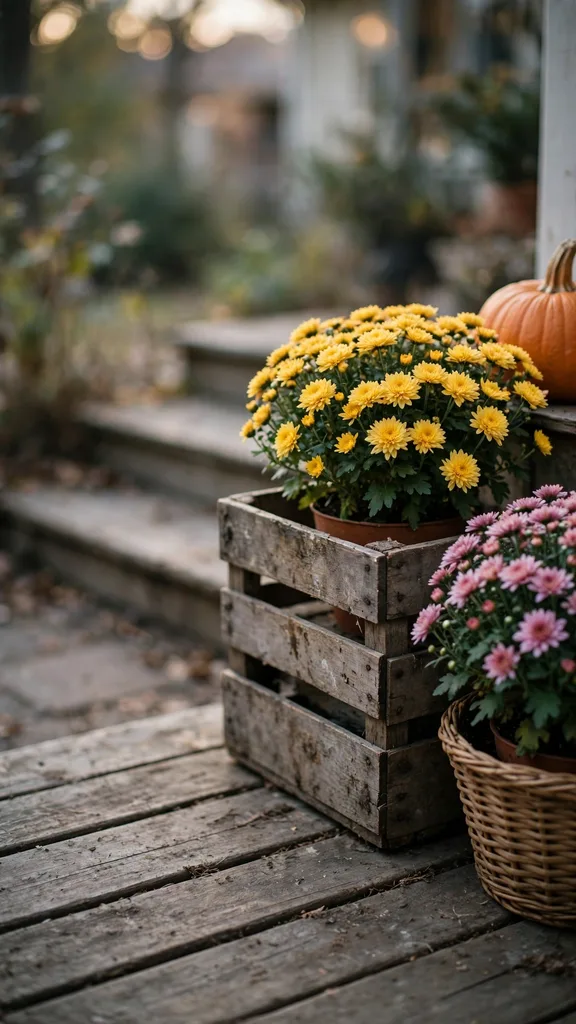
Spring terracotta and stone pots serve a second season after a scrub. Wash off salt crusts and algae so the old soil lines stay hidden once the new plant sits in place. Upturned empty pots work as risers inside a group, lifting one mum half a step above the neighboring plants. Check every crate floor on the weekly watering round: a floor that never dries rots through its slats before the season ends.
21. Light the Finished Steps With LEDs at Dusk
Place one light source at each step level. LED light finishes the display after sunset, and battery candles inside glass holders sit safely among dry leaves, stems, and pumpkin skins, since an LED throws no heat and carries no flame. Low light rakes across the pumpkin ribs and catches the mum blooms from the side. White and cream displays gain the most from the treatment, since pale petals keep glowing after orange ones go dark.
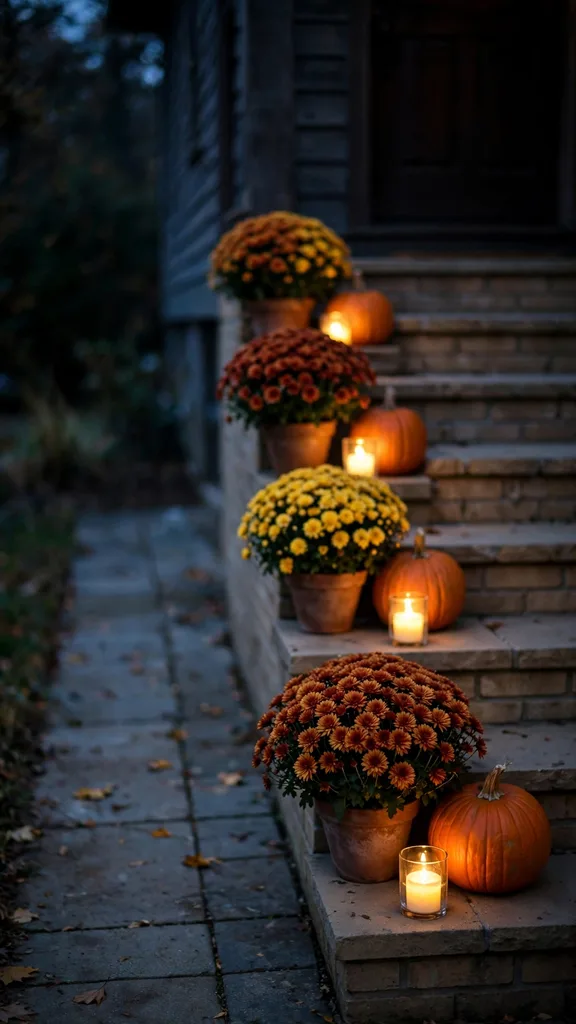
Candles with built-in timers end the nightly switching round. Set the timer once, and the steps light at the same hour each evening. Aim a few lights outward at tread height as well, so the lit display also marks the step edges for arriving guests. Do the final check from the street with the porch light off: every tread edge reads clearly, and no step hides in a dark gap between lights.
Frequently Asked Questions
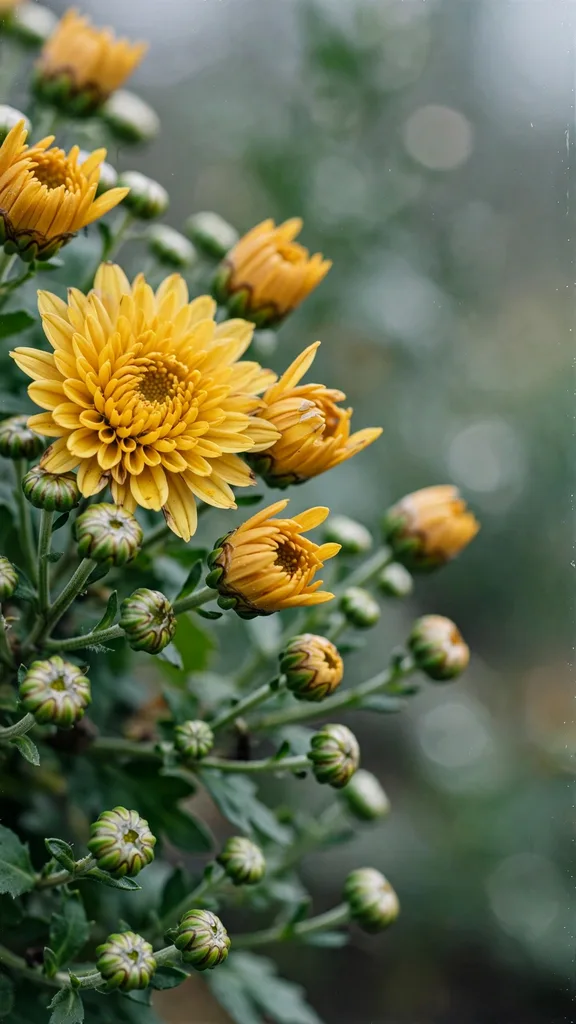
Porch mums bought in bud stay in bloom for 6 to 8 weeks. Plants bought in full bloom fade after 3 to 4 weeks. Most mums and pumpkins porch decor ideas fail at this buying stage: a plant already at peak bloom on the shelf has spent half its display life before it reaches the steps.
Water porch mums when the top 2.5 cm of soil feels dry. Push a finger into the mix to check: dry at fingertip depth means water the same day. Pots in full sun often need water every day. Pots in shade hold moisture longer and may go two days between drinks. Water at the base, soak the root ball until drainage runs, and empty the saucer after 30 minutes.
An uncut pumpkin lasts 8 to 12 weeks outside in cool, dry weather. The stem must stay intact and the skin must stay unbroken for that full span. A carved pumpkin lasts 3 to 7 days before the flesh softens. Bruises, cracks, and wet contact points start rot early, so set each pumpkin on a dry board and check the underside once a week.
Yes, within three limits. Stack real pumpkins no more than 3 high. Choose flat bottoms for every layer. Trim each stem short so the stem cannot puncture the fruit below. Rot starts where damp skin touches damp skin, so slip a dry leaf mat or a folded paper sheet between layers and pull the stack apart after heavy rain to dry the contact points.
Burgundy, bronze, and deep gold mums sit closest to orange pumpkins and read as one warm family. Cream and white mums give orange pumpkins sharp contrast. Purple mums cool the palette down. Across mums and pumpkins porch decor ideas, the reliable rule is three colors at most: one mum color, one pumpkin color, and one green from foliage or a trailing plant.
A Living Porch From October to Thanksgiving
A porch built on living plants asks for small, regular care. The mums go in as buds and bloom for 6 to 8 weeks. The watering check takes seconds a day. The deadhead pass runs twice a week. Frost nights call for a cloth cover or a short carry indoors. The pumpkins stay whole, washed, and dry, and a whole pumpkin holds for 8 to 12 weeks outdoors. Each small job protects the weeks of display that follow it.
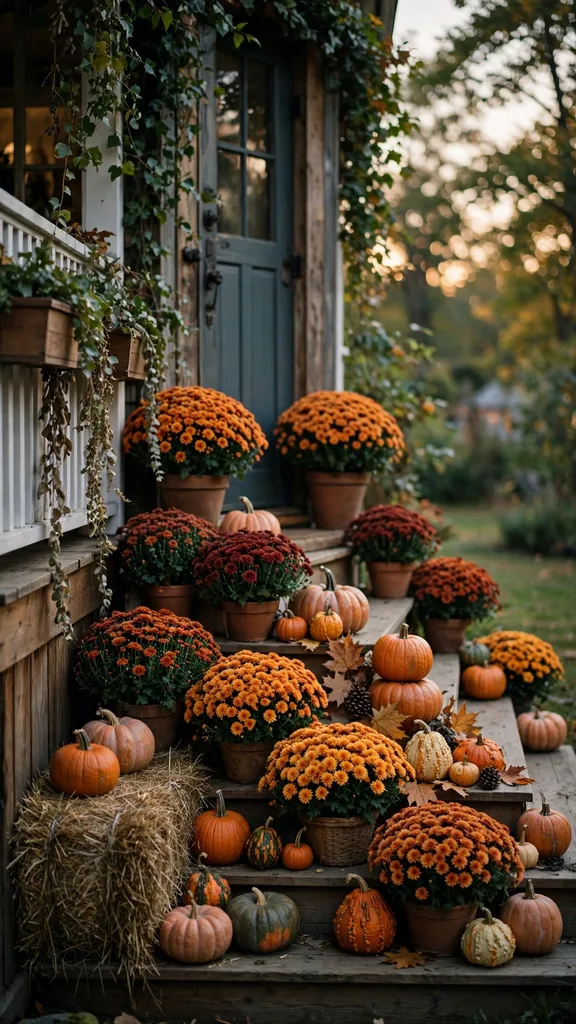
That rhythm carries the display from the first October weekend to the Thanksgiving table. The relay swap replaces any plant that fades early. The step lights bring the whole group alive again each evening. After the holiday, uncut pumpkins move to the compost and hardy mums go into garden beds to return next fall. End with one last round on the final morning: damp soil at fingertip depth, dead heads snipped, pumpkin undersides dry, and timers set for dusk. When the porch needs company, the same living pieces scale up across the lawn into the thanksgiving yard decorations.