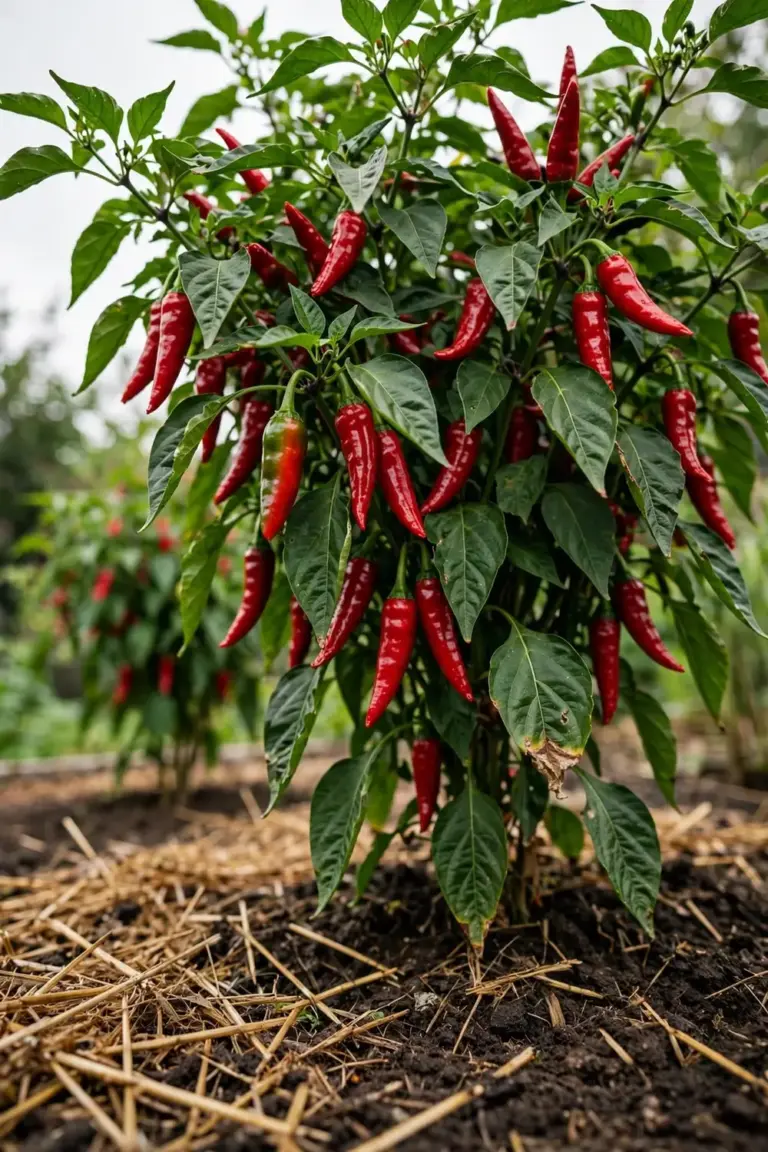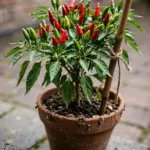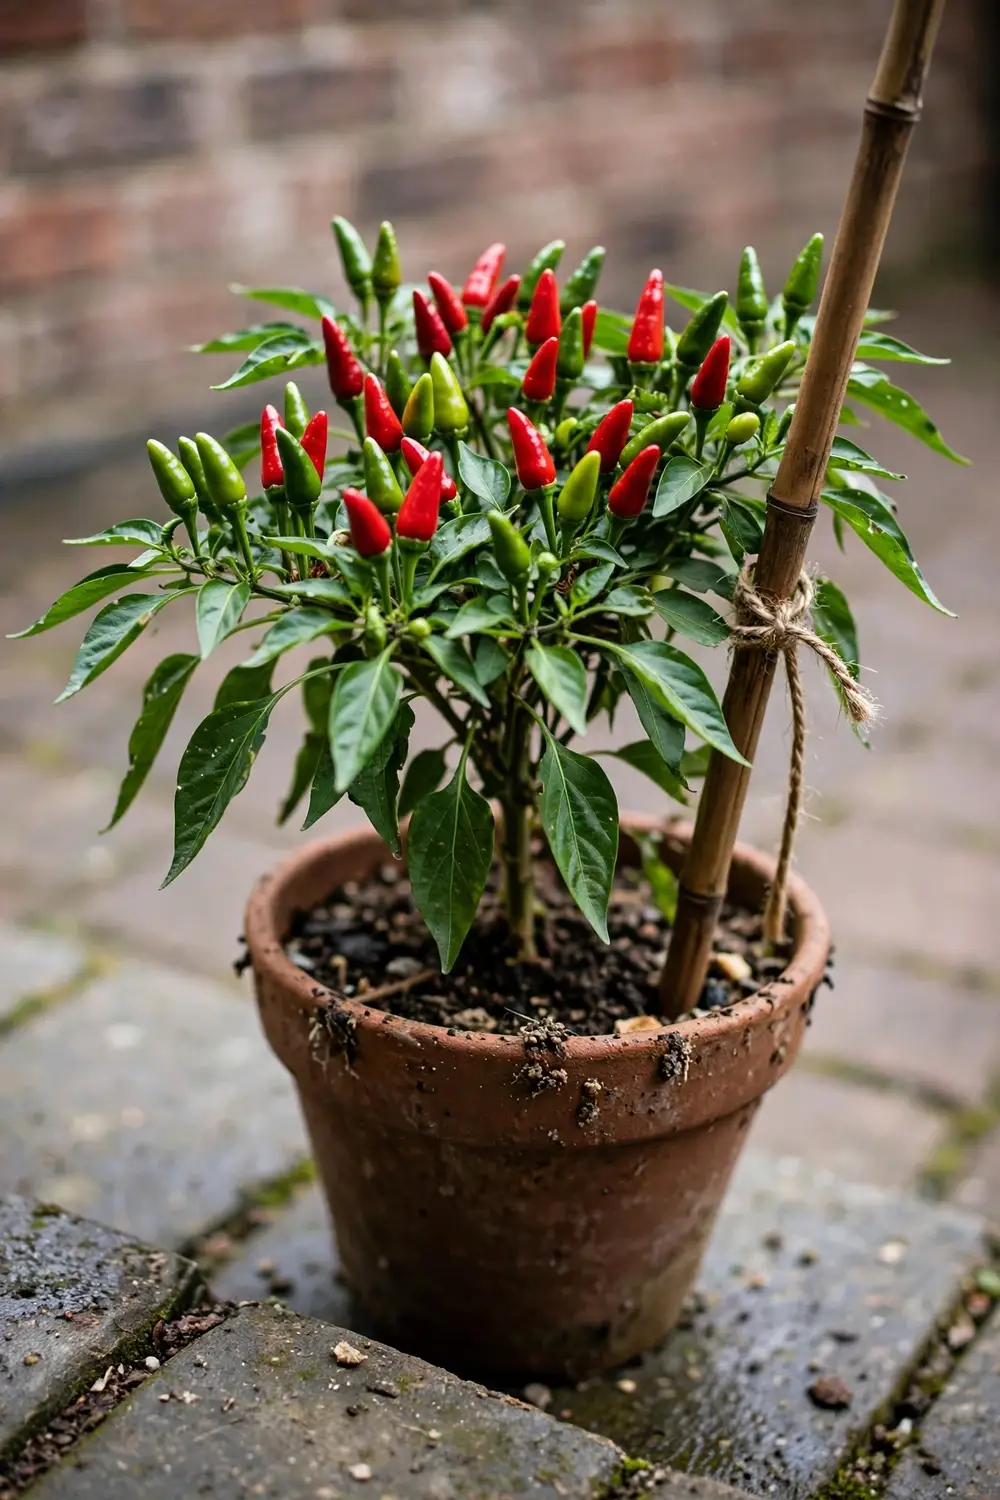

One chili plant in a 22 cm pot, potted on gradually, in 5 to 6 hours of sun, feeds a household through summer. That is growing chillies in pots in Australia. I have learned that the chili I pot on gradually fruits harder than the chili I drop straight into a big pot. The rest of this page is 8 moves, from the first pot to the winter windowsill.
A pot buys two things a garden bed cannot: you can chase the sun across the season, and you can carry the plant indoors before the cold arrives. The pot also sets the limits. The mix dries faster than garden soil, the roots cannot reach further for water, and every feed comes from your hand. Get the pot, the mix, and the watering rhythm right, and the plant does the rest.
Pots suit renters, balcony growers, and anyone with a paved courtyard. One pot on a sunny doorstep grows a season of chilis. Three pots on a balcony grow enough to dry, freeze, and give away.
1. Start With a 22 cm Pot and Pot On Gradually
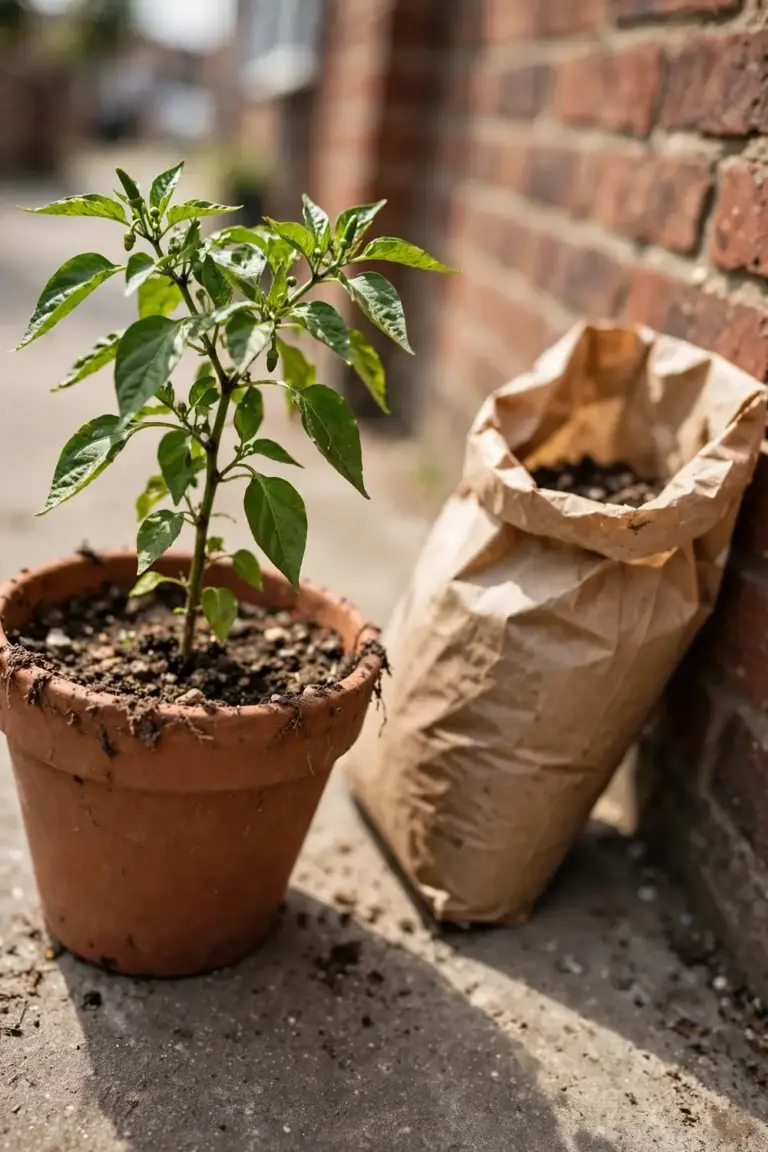
Start small and step up. Chili plants like to be potted on gradually, so do not plant straight into a large container. Start in a smallish pot, then pot up into the next size when the roots fill it out, according to ABC Gardening Australia’s pots guide. That steady step-up keeps the roots filling the mix instead of sitting in a wet cavern of unused compost.
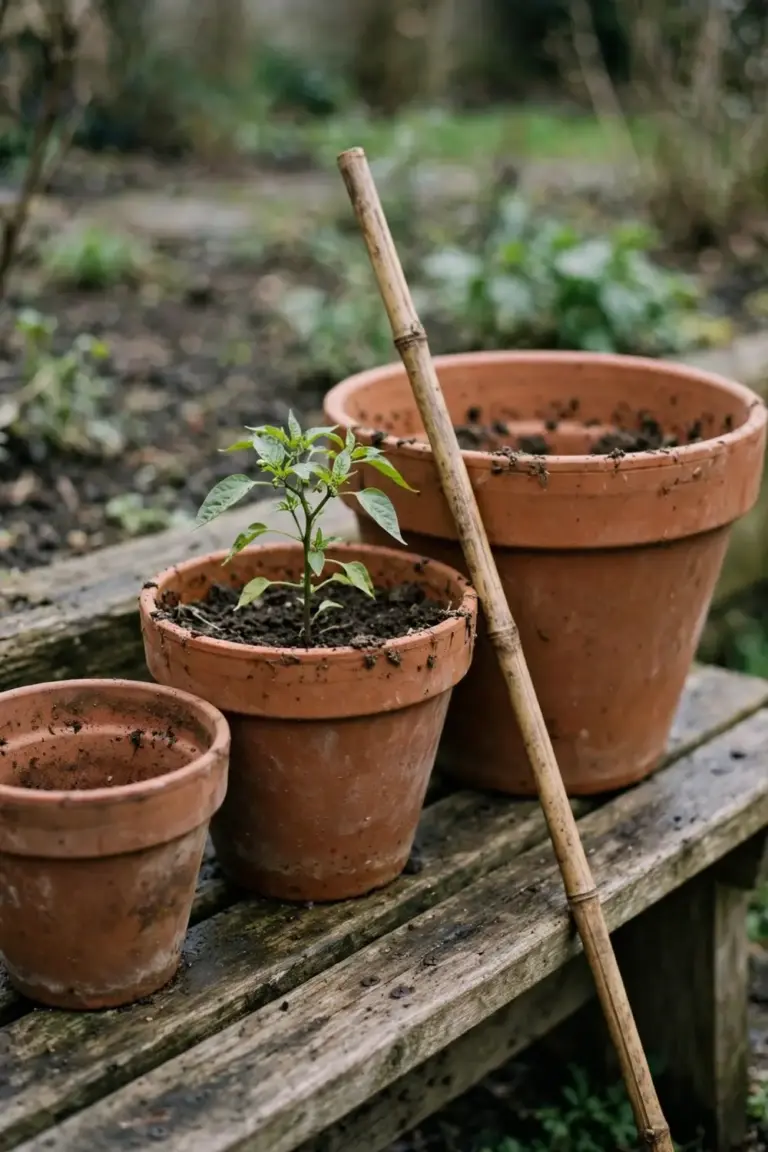
The final pot for one plant measures 22 cm across, filled with peat-free multi-purpose compost, per the RHS chilli growing guide. Three plants share a standard growing bag. Australian nursery guides recommend at least 30 cm wide for a full-size plant, with a larger pot in warmer parts of the country, so treat 22 cm as the floor for compact types and 30 cm as the working rule for a big cayenne or habanero.
Pot on in stages. Move each seedling into its own 13 cm pot once roots show through the drainage holes, then into the final pot once the roots fill that one. The seed starting guide covers the indoor start in detail. Every pot needs drainage holes. A pot without holes holds water at the base and rots the roots. Set the plant at the same depth it grew before. Burying the stem deeper does not help a chili the way it helps a tomato.
| Stage | Pot Size | Move Up When |
|---|---|---|
| Seedling | 13 cm pot | Roots show through the drainage holes |
| Young plant | 22 cm pot | Roots fill the 13 cm pot |
| Full-size plant | 30 cm pot | Roots fill the 22 cm pot, or fruit load tips the pot |
Pot material changes the watering rhythm. Terracotta breathes and dries fast, which suits humid coastal gardens and growers who tend to overwater. Plastic holds moisture longer, which suits hot dry inland summers and anyone who waters once a day. Fabric pots air-prune the roots and dry fastest of all, so they suit wet climates and need the closest watch. Dark pots heat up in full sun and can cook the roots on a 40-degree day. Light-colored pots stay cooler. Pick the material for your climate and your watering habit, not for the look on the shelf.
Stake tall plants early. Staking the plant may be advised to prevent the fruit from reaching the ground, according to the NC State Extension Gardener Plant Toolbox. Push a bamboo cane into the mix at planting time, not after the plant leans. Tie the main stem loosely with soft twine. A stake driven in late spears the roots it was meant to protect.
If the plant stalls after a move, check the roots before you feed it. A root-bound plant shows a white mat circling the base. A drowned plant shows brown, soft roots and a sour mix. The first wants the next pot size. The second wants dry days and a fresh mix, not fertilizer.
2. Mix a Free-Draining Potting Mix for Pots
Use a good quality potting mix with fertilizer already added, as ABC Gardening Australia’s pots guide advises. Garden soil does not belong in a pot. It compacts when wet, it drains slowly, and it carries weed seeds and soil diseases into a container that cannot dilute them.
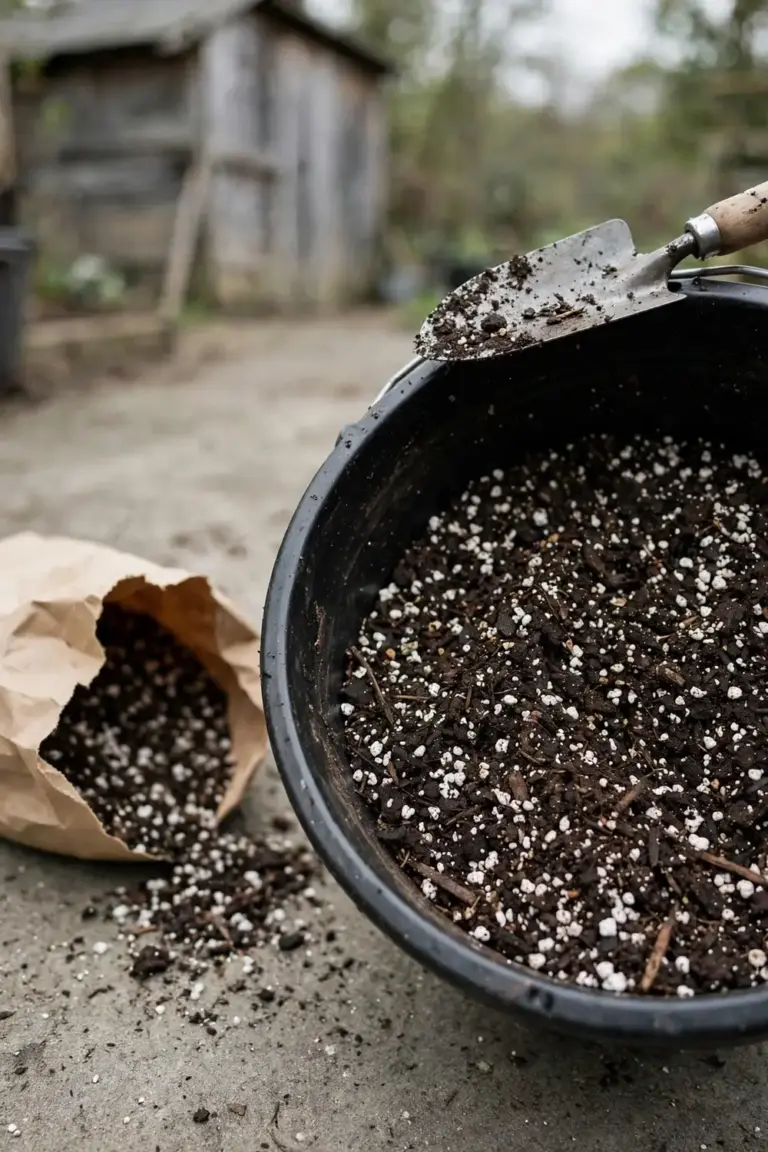
Two extension ranges bracket the pH target. Sweet peppers prefer loamy or sandy soil with a pH between 5.5 and 6.8, according to the NC State Extension Gardener Plant Toolbox. Peppers do best in soil with pH between 6.5 and 7.0, according to UMN Extension’s pepper guide. A mix near 6.5 sits inside both ranges. A bagged premium potting mix already lands near that band. A cheap bag that dries into a brick does not, whatever the label claims.
Build the mix for drainage and air. Mix three parts premium potting mix, one part compost, and one part perlite or coarse coir. The compost feeds slowly. The perlite keeps air pockets open after watering. Skip the water crystals and the moisture-retaining gels. They swell, they collapse, and they leave the mix airless in the weeks that matter. Soil health explains why that air matters as much as the nutrients.
Refresh the mix each season. Tip the old mix onto a garden bed, wash the pot, and refill with fresh mix before the next plant. Reused mix carries last year’s salt buildup and any disease spores the old plant hosted. Fresh mix is the cheapest insurance a potted chili gets.
Test the mix before you trust it. Fill the pot, water it slowly, and watch the drainage holes. Water should start running through within seconds and stop dripping a minute later. Water that ponds on the surface means the mix is too dense. Water that rushes straight through without wetting the mix means the mix dried out and turned hydrophobic. A hydrophobic mix needs a slow soak in a bucket, not a quick pour from above.
3. Water by the Lift Test, Not the Calendar
Lift the pot. If it feels light, the plant is due for a drink. That lift test comes from ABC Gardening Australia’s pots guide. Let the mix dry out a bit between waterings, because chili plants dislike sitting constantly wet. When you do water, give the plant a really good drink. If the mix is very dry, soak the pot in a big bucket of water for 10 minutes or so to properly rehydrate it.
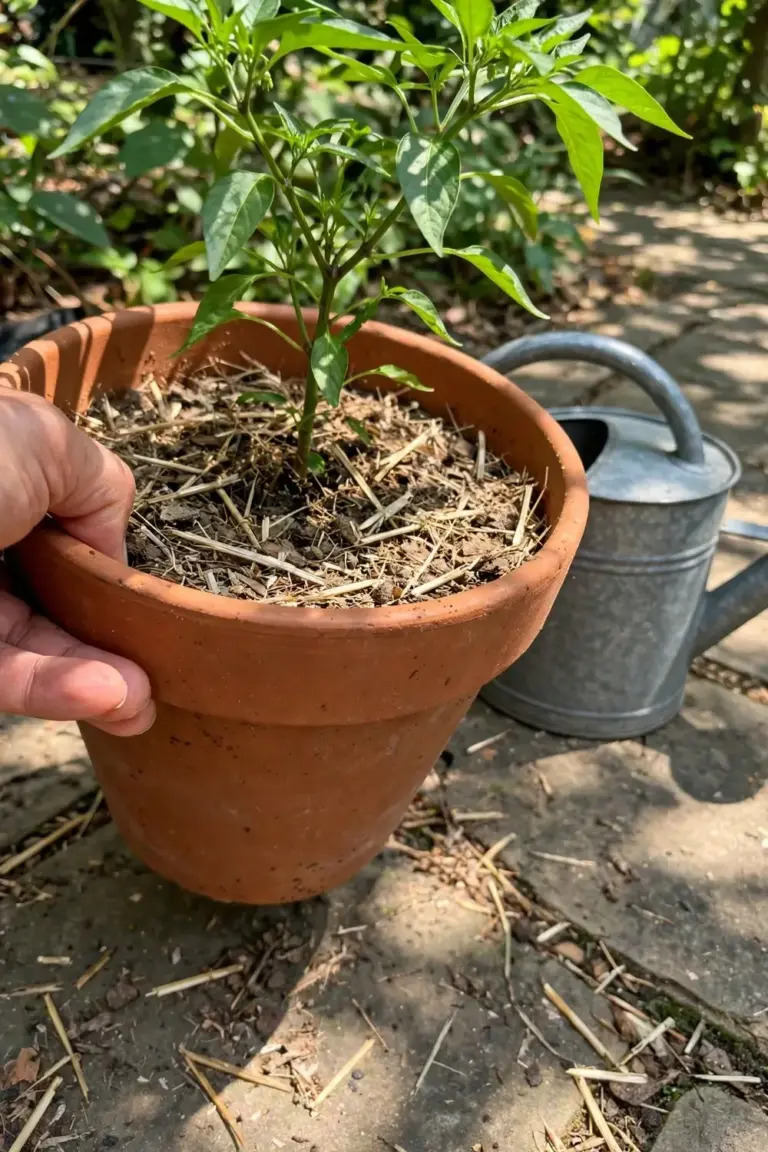
Pots dry faster than beds, and a chili in a pot cannot reach deeper for water. Plants in containers can dry out very quickly in summer, so check the mix regularly and be prepared to water daily in hot, dry weather, per the RHS chilli growing guide. Water at the base. Wet leaves invite disease, and soil splashed onto leaves can carry disease spores, a warning UMN Extension’s pepper guide repeats for peppers generally.
Consistent moisture decides fruit quality. Consistent soil moisture levels produce the best quality fruit, and poor soil moisture weakens flowers and small fruits, according to the same UMN guide. A plant that swings between soaked and bone dry drops flowers and buds. A plant that stays evenly moist holds its fruit. Blossom-end rot follows poor moisture too: the fruit end fails to develop and turns scabbed or moldy.
Mulch the pot surface with a thin layer of straw or bark. What is mulching covers the mechanism: the layer slows evaporation and keeps the mix temperature even. Keep the mulch a finger-width away from the stem. Mulch piled against the stem holds moisture where rot starts.
Empty the saucer after watering. A saucer left full keeps the base of the mix wet and the roots drown in the bottom centimeter. Tip the saucer out half an hour after watering, once the mix has taken what it can hold. Self-watering pots with a reservoir work for chilis, but they still need a dry cycle. Let the reservoir run dry for a day between refills, or the roots sit in water all season.
4. Feed Weekly Once Flowers Open
Feed the plant once it starts flowering, not before. Feed chili plants in containers with an organic, high-potassium liquid fertilizer weekly, as soon as flowering starts, per the RHS chilli growing guide. Plants in enriched soil may skip regular feeding. Feeding still boosts yield. High potassium pushes flowers and fruit. High nitrogen pushes leaves.
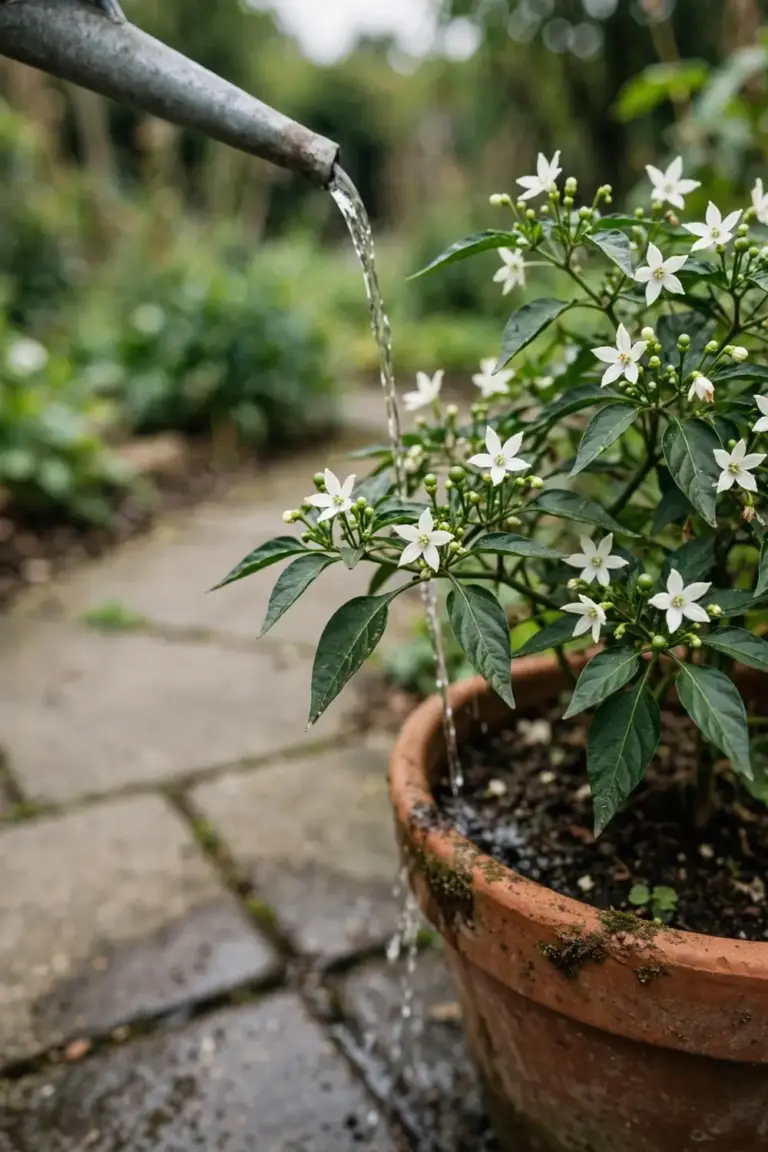
ABC Gardening Australia’s pots guide gives the working dose: a liquid fertilizer for tomatoes, mixed at half strength, every 7 to 10 days, or more often in summer when you water more. Half strength matters in a pot. A full-strength dose in a small volume of mix burns roots fast, and the next watering cannot dilute it the way a garden bed can. Mix the feed into the watering can, not onto dry mix.
At planting time, a balanced fertilizer does the early work. Applying a well-balanced fertilizer at the time of planting and when the first flowers appear encourages plant growth and fruit production, according to the NC State Extension Gardener Plant Toolbox. Then the weekly high-potassium feed takes over. Too much nitrogen fertilization leads to plants that are bushy, leafy, and slow to bear fruit, UMN Extension’s pepper guide warns. Leafy plants with no fruit are usually overfed, not underfed.
Stop feeding when you bring the plant indoors for winter. A resting plant cannot use the feed, and the salts build up in a mix that gets little water. Resume the weekly feed in spring, when new growth shows and the plant moves back outside.
Read the leaves before you reach for the feed bottle. Pale lower leaves that yellow from the bottom up usually mean the plant is hungry. Dark green leaves on a tall, leafy plant with no flowers usually mean too much nitrogen. Brown leaf edges after feeding mean the dose was too strong. Flush the pot with plain water, skip the next feed, and resume at half strength.
5. Give Each Pot 5 to 6 Hours of Sun
Place the container in a spot that gets at least 5 to 6 hours of sunlight a day, according to ABC Gardening Australia’s pots guide. Chili plants need lots of sun to flower and fruit. Avoid windy spots, which dry plants out and reduce fruit set. A balcony that catches morning sun and shelters from the afternoon wind beats a windswept rooftop that catches sun all day.
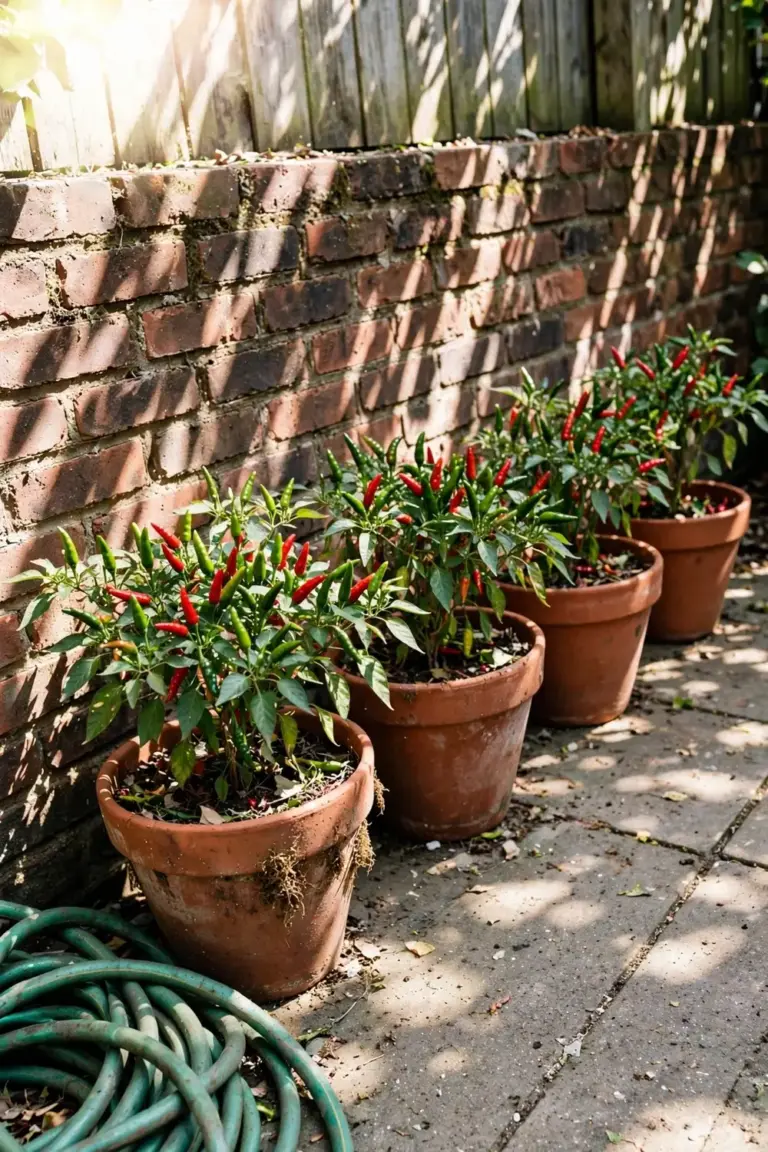
In Australia, the sunniest wall faces north. Put the pot against a north-facing wall or on a sunny patio, and the brick gives back stored heat after sunset. In the far north, where the wet season brings cloud and driving rain, the same wall shelters the pot from the worst downpours. In cool southern gardens, the wall is what makes fruiting possible at all.
Sunburn still hurts fruit. Fruits are vulnerable to sunburn, and they develop white patches if there is not enough leaf surface to cover fruit and protect them from sunlight during hot, dry weather, UMN Extension’s pepper guide notes. Temperatures over 30 degrees can reduce fruiting, the RHS chilli growing guide adds. On days past 35 degrees, shift the pot into afternoon shade or drape shade cloth over it. The plant wants heat. It does not want a sun-baked pot cooking its roots.
Chase the sun across the season. Start the pot on the warmest windowsill indoors, move it to the patio once nights warm up, and shift it again when the summer sun angle changes. That mobility is the whole point of growing in a pot. A plant in the ground waits for the sun to come to it. A plant in a pot goes to the sun.
| Climate Band | Sow Indoors | Move Out | Overwinter |
|---|---|---|---|
| Tropical north | Any time | Any time | Leave outside in a sheltered spot |
| Subtropical (Brisbane) | August to September | Once nights sit above 12 degrees | Move to a sheltered patio |
| Temperate (Sydney, Melbourne) | September to October | Once nights sit above 12 degrees | Move indoors to a bright windowsill |
| Cool (Canberra, Hobart) | August to September, under lights | Once nights sit above 12 degrees | Move indoors, prune back, water sparingly |
The table above is the article’s own planning rule, built from the sourced temperature thresholds: nights above 12 degrees for moving out, nights above 15 degrees for strong growth, and a warm bright spot for winter. Frost dates decide the exact week in your suburb, not the calendar month.
6. Move Pots Indoors Before the First Cold Night
Chili plants are tender plants. They need heat, and they do not survive frost. The move indoors is what turns a one-season plant into a 2 to 3 year plant. Keep them warm over winter and you should get 2 to 3 years out of your potted chili, ABC Gardening Australia’s pots guide says. A second-year plant fruits weeks earlier than a seedling, because the root system is already built.
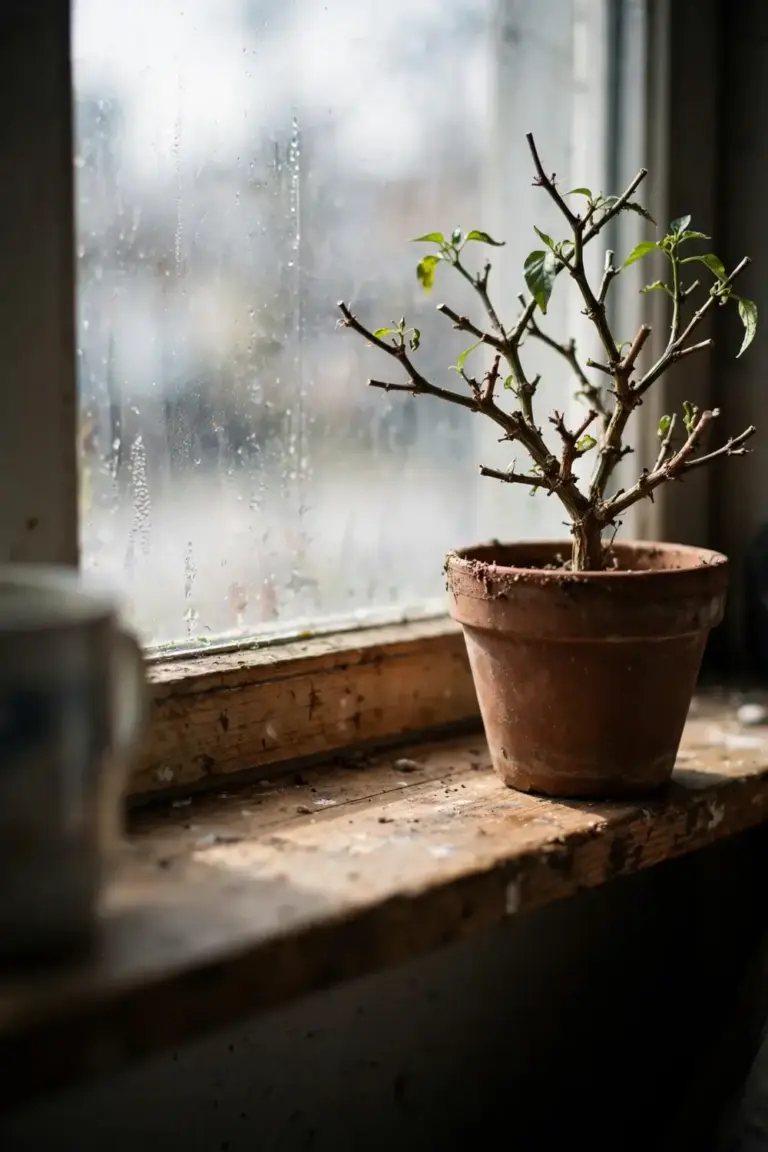
Bring the pot in before the first cold night, not after it. Chili plants cope with a minimum night temperature of about 12 degrees, but they grow better if kept above 15 degrees, per the RHS chilli growing guide. In Canberra, Hobart, and the tablelands, that means moving pots in by late autumn. In Brisbane and further north, a sheltered patio may carry the plant through winter without a move indoors at all.
Prune the plant back before the move. Plants should be pruned back to a manageable size, then kept in a warm, bright place, such as an indoor windowsill or conservatory, and watered sparingly, the RHS guide advises. Cut back leggy stems by about a third. Strip any remaining fruit and flowers. A smaller plant fits the windowsill, and a rested plant stores energy for spring instead of spending it on fruit that will never ripen.
Water sparingly through winter. A resting plant drinks little, and wet mix in a cool room rots roots fast. Let the mix dry between drinks. Do not feed. Resume feeding in spring, when new growth shows, and move the pot back outside once nights sit reliably above 12 degrees. Spring pruning techniques covers the tidy-up cut that shapes the plant for its second season.
If the windowsill is dim, add a grow light. A basic LED panel hung 30 cm above the plant, run 12 hours a day on a timer, keeps a resting plant alive through a dark southern winter. The light matters more than the heat. A plant on a cold windowsill with a grow light beats a plant in a warm dark corner every time.
7. Check Leaf Undersides for Aphids and Mites
Aphids find potted chilis first. Aphids can colonize pepper plants in large numbers, and you may notice leaf curling, discoloration, and sticky leaves, according to UMN Extension’s pepper guide. Check the undersides of the leaves every week. The underside is where aphids cluster, where whitefly settles, and where spider mites spin their first webbing. A plant checked weekly loses a few leaves. A plant checked monthly loses the season.
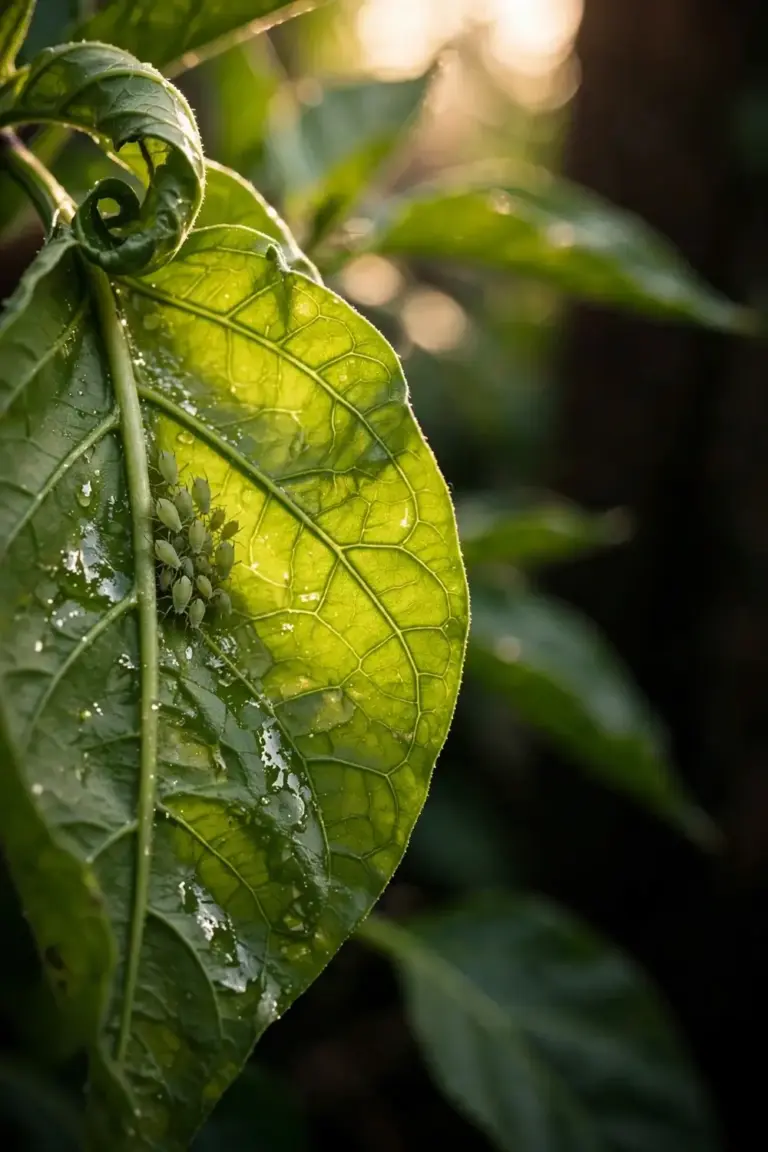
The pest list for sweet peppers runs long: whiteflies, thrips, and red spider mites lead it, with aphids, flea beetles, leafrollers, weevils, and tomato fruit worms behind them, per the NC State Extension Gardener Plant Toolbox. Indoors, the list shortens to aphids, gray mold, and glasshouse red spider mite, the RHS chilli growing guide notes. Gray mold follows damp air and dead leaves. Red spider mite follows hot, dry air. Both arrive when the room stays shut and still.
Knock aphids off with a hard jet of water, then repeat every three days for two weeks. That rhythm breaks the breeding cycle before the next generation settles. Wipe sticky honeydew off the leaves with a damp cloth. Sugar left on leaves feeds gray mold. Pull any plant that shows twisted leaves and bumpy fruit. Viruses cannot be cured, and affected plants should be removed, the UMN guide states plainly. A virus plant left in place infects its neighbors through the same aphids you just washed off.
Keep the air moving. A small fan on low, or a window cracked open, dries leaf surfaces and discourages mold. Do not mist the foliage to raise humidity. Misting wets leaves and feeds the mold you are trying to avoid.
Fruit fly is the Australian pest that in-ground guides miss and pot growers meet anyway. In Australia, fruit fly attacks chilis. Bag any infested fruit, or fruit that has fallen to the ground, in a sealed plastic bag in the sun for at least 7 days to kill the eggs and larvae, per the Garden Planner’s Australia and New Zealand chilli guide. Do not compost infested fruit. Composting lets the fruit flies finish their life cycle and the problem comes back. Exclusion netting over the pot keeps fruit fly off the fruit in the first place.
8. Harvest Often to Keep Fruit Coming
Pick fruit as it reaches full size. Harvest peppers when they have reached mature size, and you do not need to wait for peppers to turn red before harvesting, UMN Extension’s pepper guide says. Clip the stem with sharp shears. Pulling tears the branch, and a torn branch invites rot. As you continue to harvest, the plants will continue to produce flowers and set more fruit.
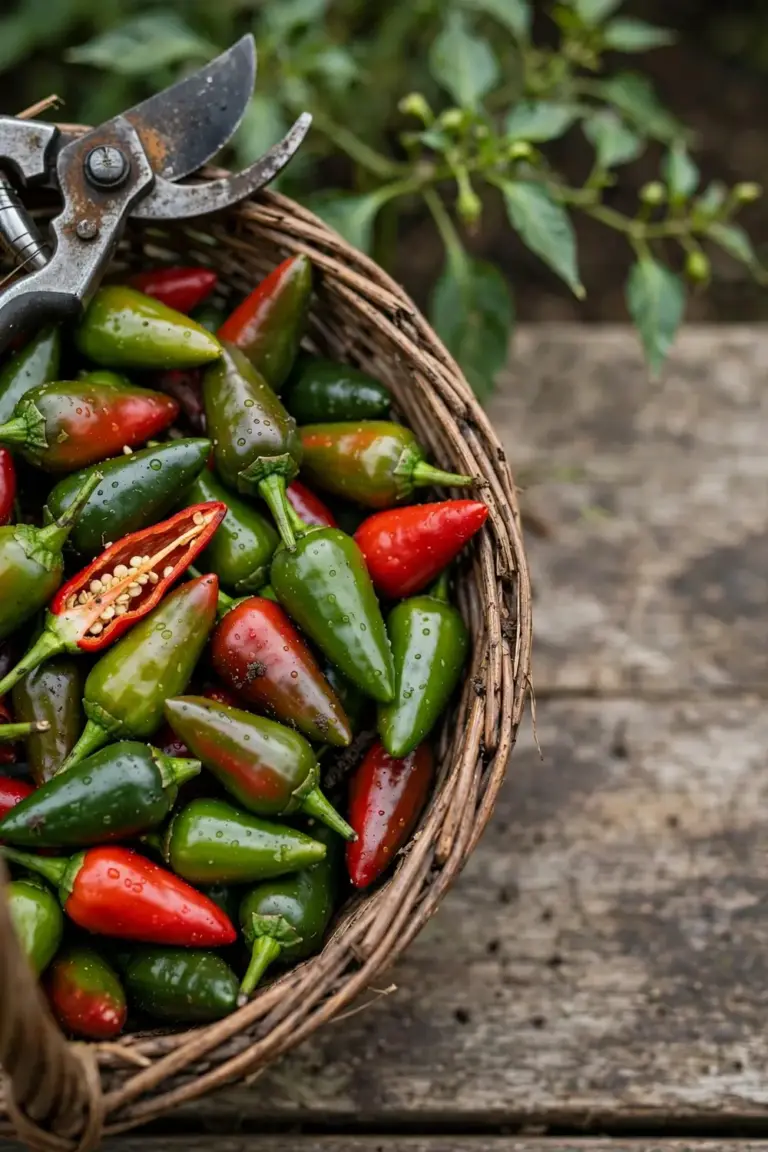
Picking green keeps the plant producing. To maximize your crop, pick chilis when still green, either to use at that stage or to ripen further in the kitchen, the RHS chilli growing guide advises. Leaving chilis to ripen on the plant early in the season deters the production of new flowers, leading to a significantly smaller overall harvest. Let the last fruits of autumn color up on the plant. Those are the ones you save for seed and for heat.
One plant can give you hundreds of chilis, ABC Gardening Australia’s pots guide notes. That number is real for a healthy compact type in a good summer. A plant that sets ten fruit and stops is usually short of sun, short of feed, or sitting in a pot that dried out at flowering time. Fix the cause, not the symptom.
Wear gloves when picking hot peppers. Wash your hands after touching hot peppers, before using the bathroom or touching your eyes, the UMN guide warns. Even sweet peppers may contain enough capsaicin to irritate skin. Capsaicin lives in the seeds and the whitish membrane inside the fruit. Removing the seeds and membrane before cooking reduces the heat.
Save seed from the last fruit of the season. Leave one ripe fruit on the plant until it colors fully, then cut it open and dry the seeds on paper for a week. Label the packet with the variety and the year. Save seed only from a fully ripened fruit on a healthy plant. Seed from a green fruit rarely germinates, and seed from a sick plant carries the sickness forward.
Frequently Asked Questions
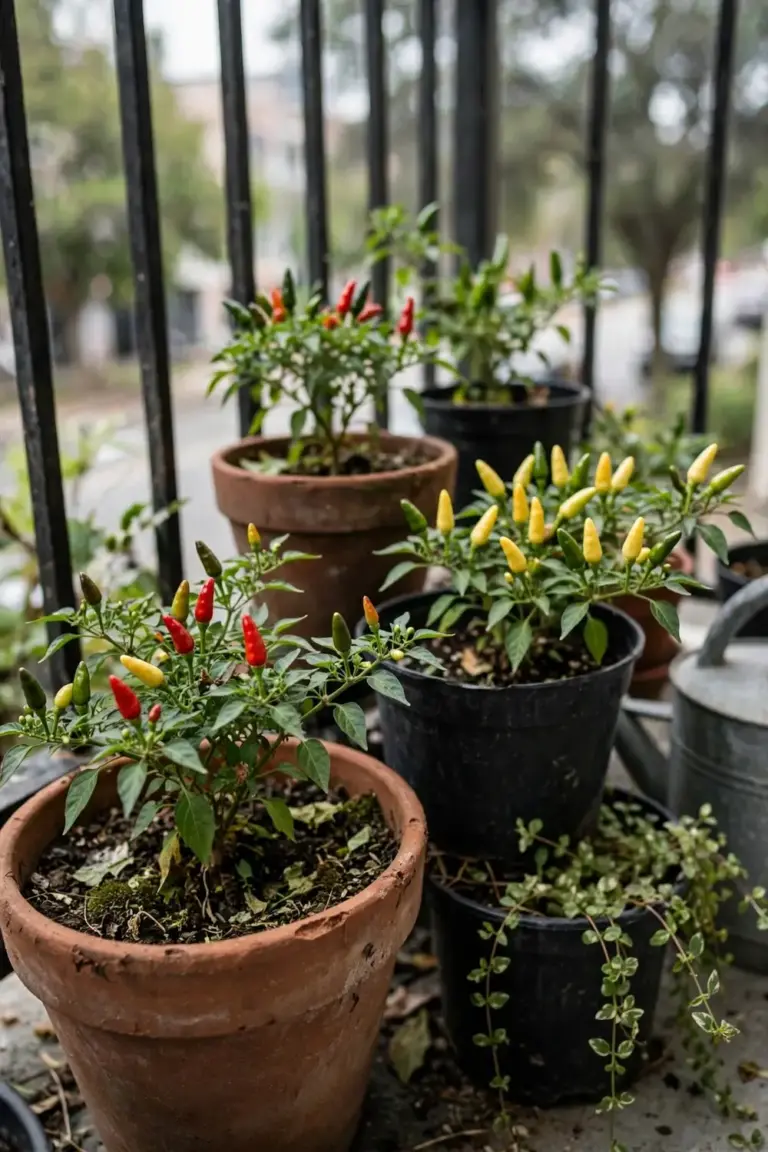
One plant needs a final pot 22 cm across, per the RHS guide. Compact types fruit well in that size. Full-size plants do better in a 30 cm pot, the size Australian nursery guides recommend. Start seedlings in a 13 cm pot and step up when roots fill it. Never drop a seedling straight into the final pot. The unused mix stays wet and the roots stall.
Yes, and the result is a gamble. A supermarket chili may be a hybrid, and hybrid seed does not come true. The plant grows, but the fruit may differ in size, shape, and heat from the parent. Named seed from a seed supplier gives predictable heat and size. Save seed only from a fully ripened fruit on a healthy plant, and label the packet with the variety and the year.
Flowers drop when the plant is stressed. Drought stress makes flowers drop, and cool weather, extreme heat, and low humidity do the same, per NC State. Nights below 15 degrees or days past 30 degrees both cause drops. Dry mix at flowering time is the most common cause in pots. Water evenly, give the plant 5 to 6 hours of sun, and leave the flowers alone. Shaking the plant does not set fruit.
Yes. Keep the plant warm over winter and it fruits again the next summer, giving 2 to 3 years from one potted plant. Prune it back by about a third, move it to a warm bright windowsill, and water sparingly. Do not feed through winter. Move it back outside once nights sit reliably above 12 degrees, and resume weekly feeding when new growth shows.
Heat varies with variety, growing conditions, and stage of ripeness. Pepper flavor is best when the season has been warm and sunny, and fruit that matures under cool or cloudy conditions will not be as tasty, per UMN. A chili ripened in a cool, shaded spot stays mild. Give the plant full sun, let the fruit color up on the plant, and pick late in the season for the hottest fruit.
Start Growing Chilis in Pots This Weekend
Buy one seedling, one 22 cm pot, and one bag of premium potting mix. Pot the seedling on, set the pot where it catches 5 to 6 hours of sun, and lift the pot before you water. Feed weekly once the first flowers open. Move the pot indoors before the first cold night, and the same plant fruits again next summer.