
Homemade organic liquid fertilizer for Australian gardens is plant or animal matter steeped in water until the nutrients dissolve, then diluted and poured onto damp soil or leaves. Four measured recipes follow, with dilutions from 1 part tea to 1 part water for comfrey through 10 parts water to 1 part worm wee. Organic means the feed comes from plant or animal matter, with no synthetic chemicals. Liquid fertilizer means nutrients held in water, applied to soil or leaves.
This article gives four measured recipes: seaweed tea, comfrey tea, manure tea, and worm wee with worm tea. Each recipe lists ingredients, steep time, dilution, which plants it suits, and its safety rule. Every batch follows the same two rules: dilute it, and never feed dry soil.
A homemade batch carries no label NPK. Its strength shifts with the ingredients, the steep, and the season. That is why dilution matters more than the recipe itself. Start with one bucket, measure each step, and keep notes on what you fed and when.
What the four feeds share matters as much as what sets them apart. Each one is a supplement, not a replacement for healthy soil. Each one needs dilution. Each one smells while it brews. Each one costs little or nothing once the ingredients are in place. The gardener who brews all four through a season learns which feed each bed answers to, and that lesson is worth more than any single recipe.
This article covers recipes only. It does not cover compost making, bagged fertilizer products, or pest control. Compost appears only as the place to tip spent solids. The four recipes below stand on their own, and each one feeds plants without a trip to the garden center.
Brew through spring and summer, when plants grow fast. In autumn, taper off as growth slows. In winter, most plants rest, and feeding a resting plant wastes the brew. In Australian gardens, the potassium-rich feeds suit summer fruiting vegetables, and the nitrogen-rich feeds suit leafy greens through spring and autumn.
1. Dilute Every Batch and Never Feed Dry Soil
Every homemade liquid feed here goes onto damp soil at a stated dilution. No batch goes on straight. No batch goes onto dry soil. Those two rules decide whether a brew helps or harms.
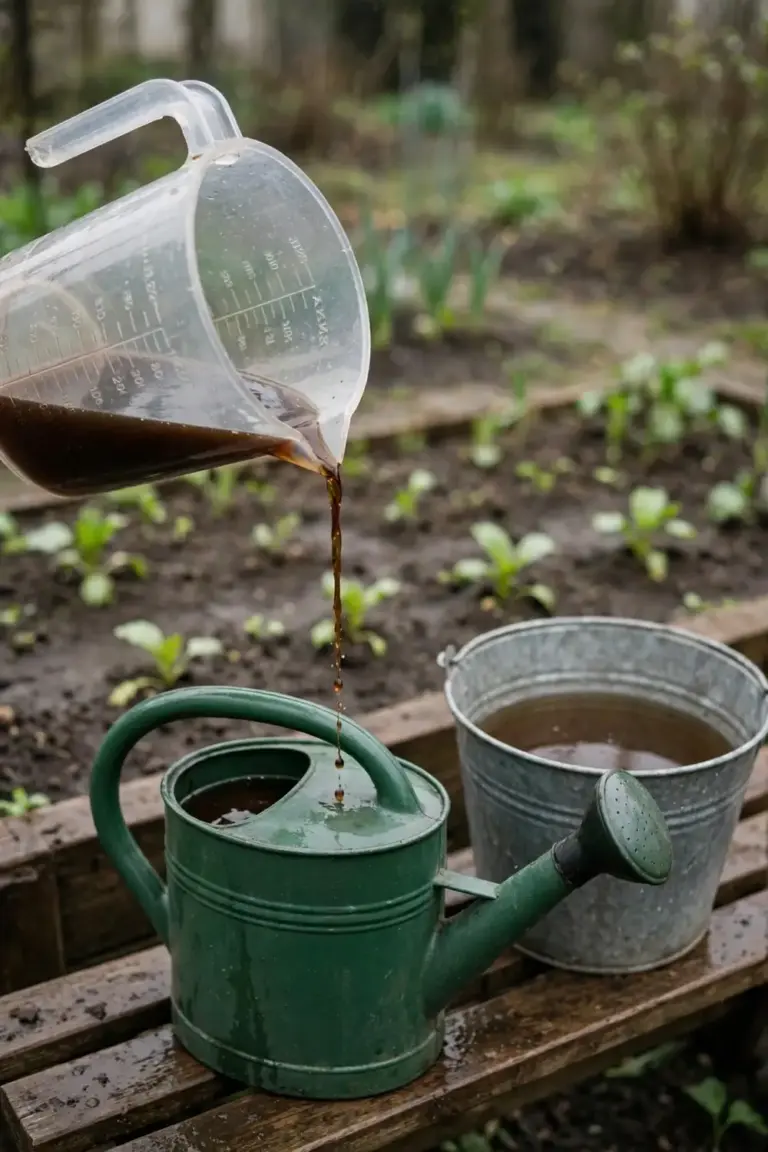
Dilution keeps the salts and the nitrogen in a range roots can take up. Dry soil pulls water out of roots, and a feed on dry soil adds salts to that stress. Water first, then feed. That order is the whole safety rule. I have learned that the bucket I dilute twice feeds steadier than the bucket I mix strong.
Wear gloves when you handle manure tea and comfrey leaves. Wash your hands after you handle any brew. Keep every bucket lidded and away from the house, and keep children and pets away from open buckets. Label each container with the recipe name and the date you brewed it. A label keeps a garden feed from ever being mistaken for a drink.
Manure tea carries one more rule. Aged manure is not composted manure, and pathogens can survive in aged manure. Penn State Extension advises waiting 90 days between application and harvest for crops that grow above the soil, and 120 days for crops that grow in or touch the soil. Keep manure tea off leafy crops near harvest, and wash everything you pick. Penn State Extension
Liquid feeds feed plants. They do not replace soil care. For the soil side of the job, see our guide to building soil health. Healthy soil holds water and nutrients between feeds, so each bucket goes further.
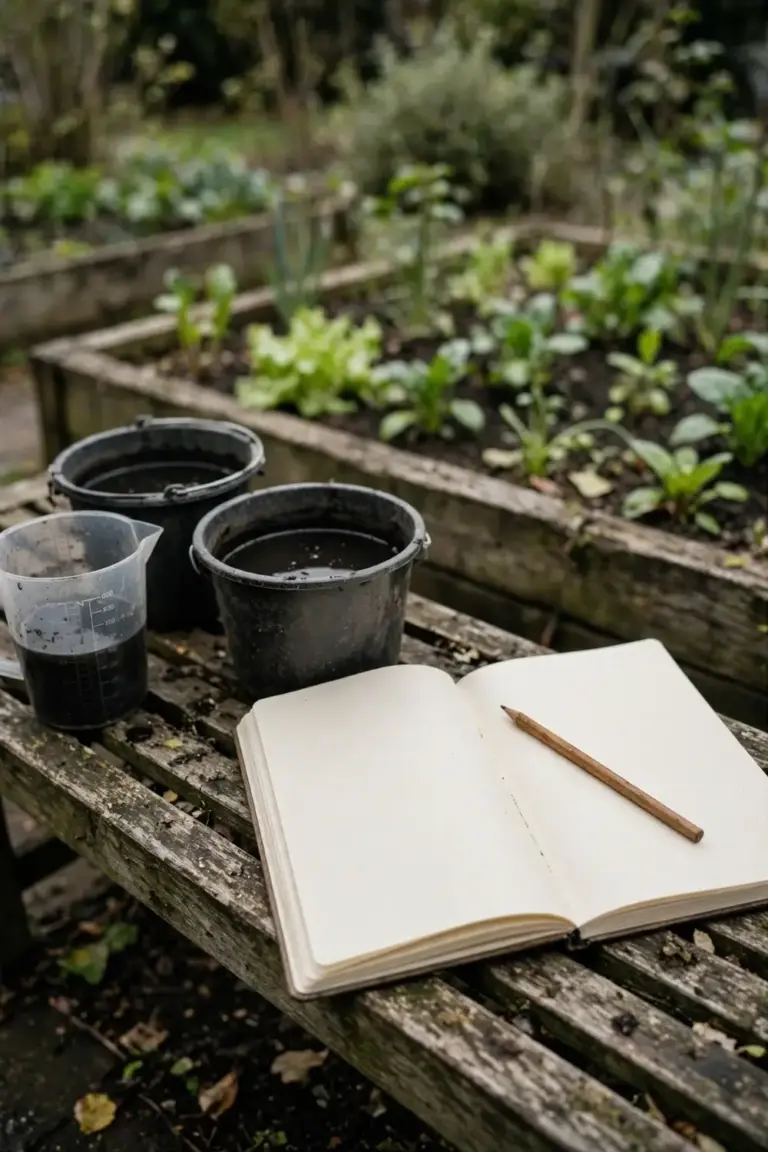
Keep a notebook beside the buckets. Write the recipe, the brew date, the dilution, and the plants you fed. Notes turn four recipes into a routine you can repeat next season.
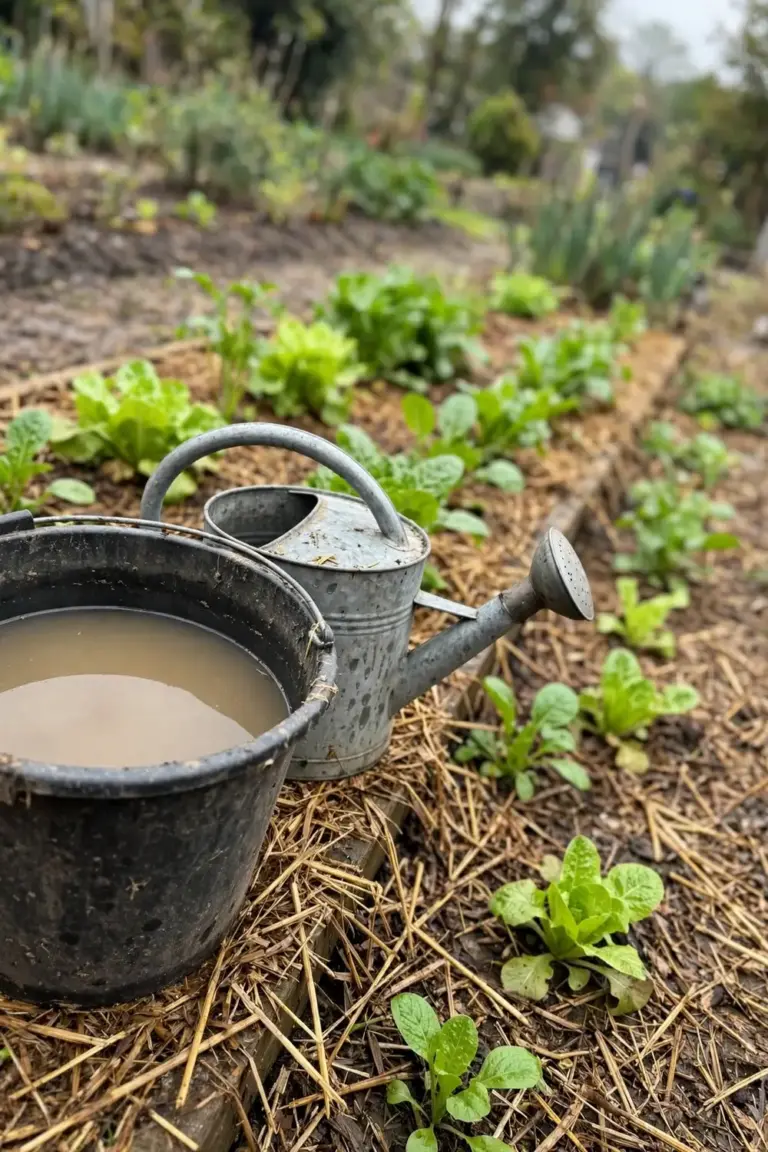
Measure dilution with a marked bucket or a measuring jug. For a 1:10 dilution, mix 1 liter of tea with 10 liters of water. For a 1:1 dilution, mix equal parts tea and water. Mark the bucket with a permanent marker at each liter so you can mix without guessing. Guessing is how a safe dilution turns into a strong one.
2. Seaweed Tea: Trace Minerals From the Coast
Seaweed tea is storm-cast seaweed steeped in water, then strained and diluted. It is the gentlest feed in this set, and the best first brew for a new gardener. It suits almost every plant in the garden, and it is hard to overdo at the stated dilution.
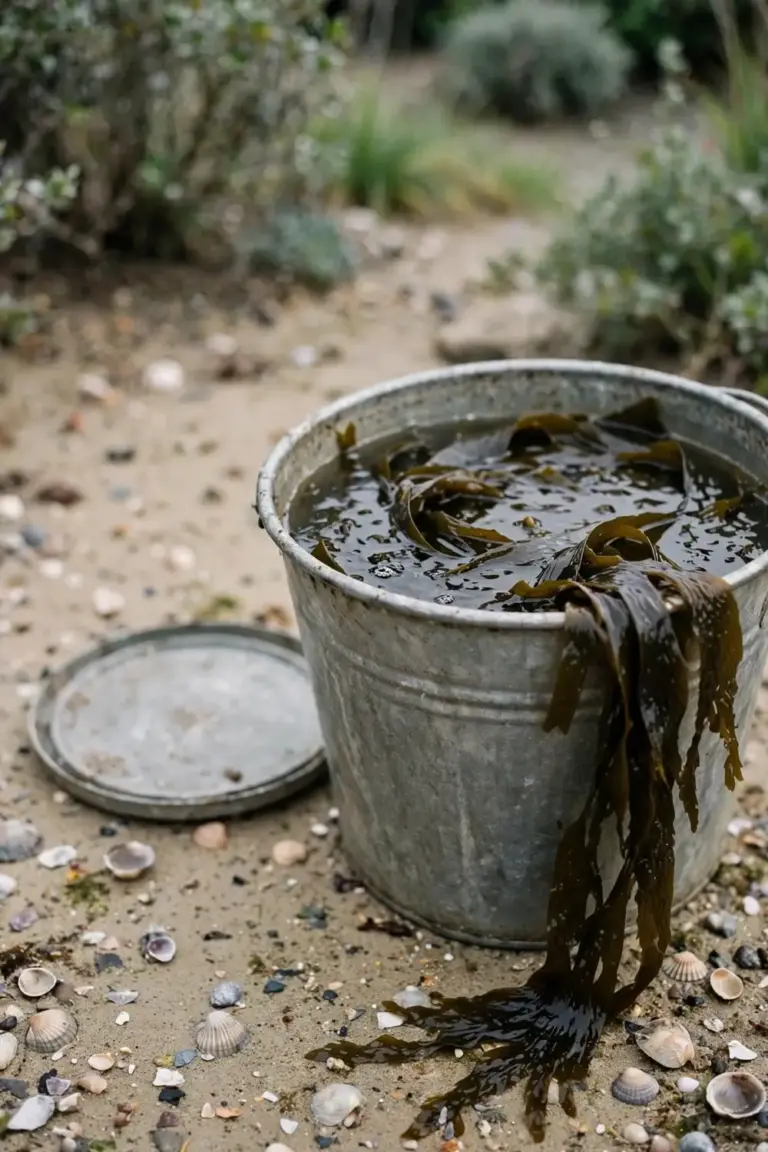
You need storm-cast seaweed, fresh water, a bucket with a lid, and a strainer. Collect seaweed that has already washed up on the sand. Do not pull live seaweed off rocks. Check local rules before you collect, since many coastlines regulate seaweed harvest, and some require a permit. Garden guides note that taking growing seaweed off rocks is prohibited in more places than collecting storm-cast weed from the strand line.
Rinse the seaweed in fresh water to wash off salt and sand. Pack it into the bucket and cover it with water. Put the lid on and stir it every few days. Pestrol’s homemade seaweed guide gives a steep of at least four weeks, then straining and a dilution of 1 part tea to 10 parts water. Pestrol The strained liquid should look like weak tea. If it looks darker, add more water.
Seaweed brings trace minerals that bagged feeds often skip. Global Ideas’ fertilizer tea guide lists potassium and magnesium in seaweed, plus manganese, zinc, copper, and boron. The amount shifts with the species and where it grew, so treat seaweed tea as a tonic, not a measured feed. Its value sits in the spread of minerals, not in a single headline nutrient.
Use seaweed tea on vegetables, fruit trees, roses, and seedlings. For seedlings, mix it weaker than 1:10 and use it sparingly. It suits plants under stress from heat or transplanting, since it is mild and gentle at the stated dilution. In Australian gardens, seaweed tea suits summer fruiting vegetables as a regular tonic through the warm months.
Salt is the risk. Rinse well, and rinse again if the seaweed came from a beach with visible salt crust. Do not use seaweed tea on plants in pots that never drain, since salts build up in undrained pots. Keep the bucket lidded and away from the house while it brews, since the smell grows as the weeks pass.
Any storm-cast seaweed works, from kelp to sea lettuce. Skip seaweed with visible oil, paint, or rubbish tangled in it. Skip seaweed near stormwater outlets, where runoff carries road grime into the water. A clean beach gives a clean brew, and a dirty beach gives a brew you should not pour on food plants.
3. Comfrey Tea: Potassium for Fruiting Plants
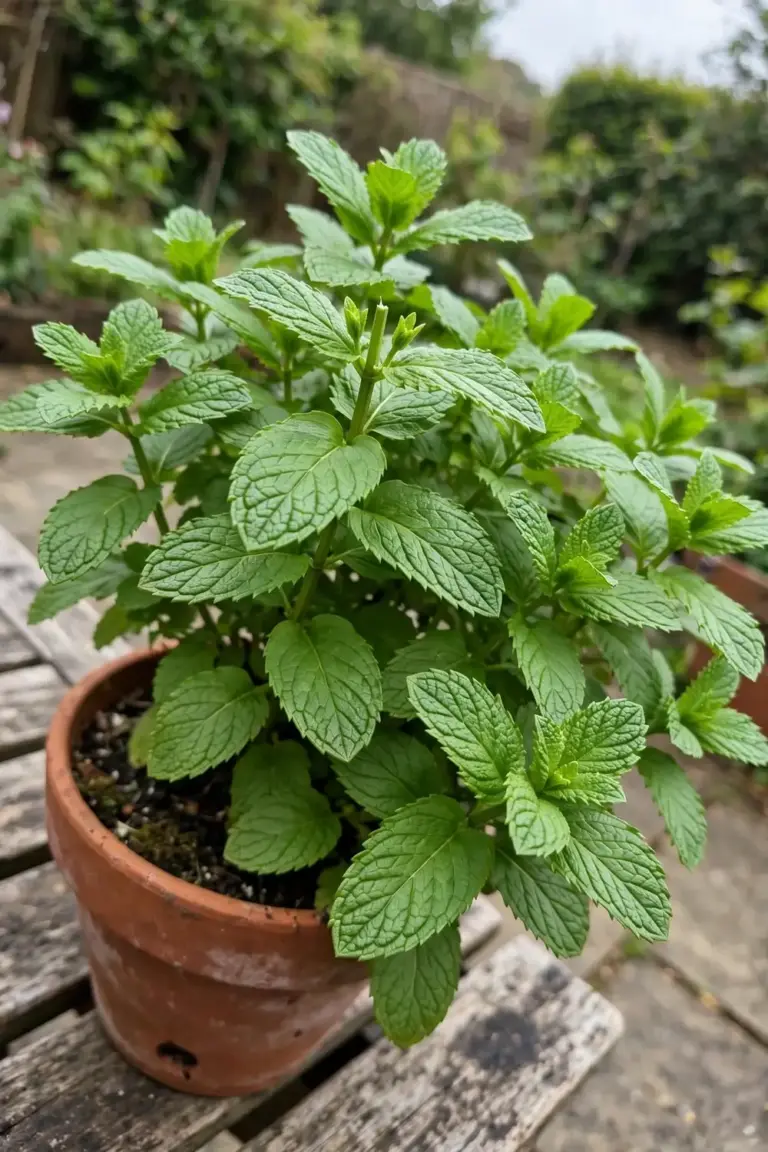
Comfrey tea is comfrey leaves fermented in water until they break down. It is the fruiting feed in this set, and the one that smells the worst while it brews. The smell is normal. The feed is ready once the smell fades.
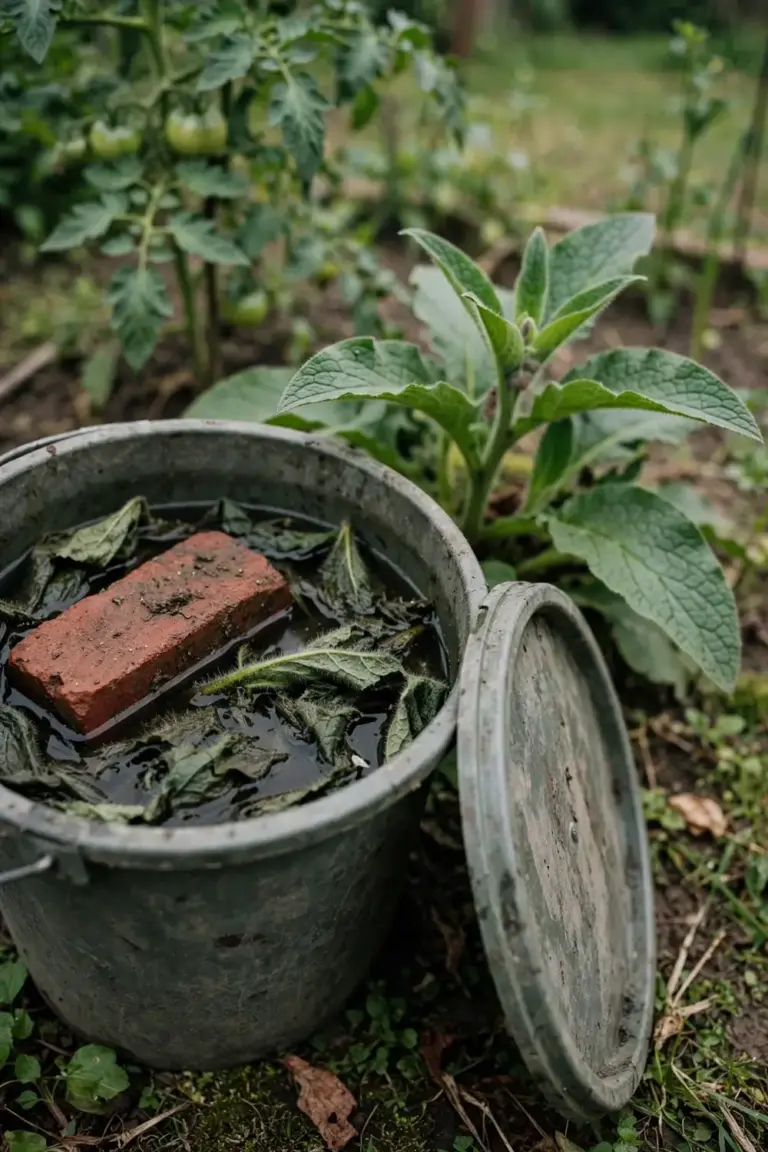
You need comfrey leaves, water, a bucket with a lid, and a brick or stone to hold the leaves down. Grow the sterile cultivar Bocking 14 (Symphytum x uplandicum) for garden use. It sets no seed, so it stays where you plant it. Common comfrey sets seed and spreads. BBC Gardeners’ World notes that Bocking 14 is generally preferable to common comfrey for fertilizer use because it is a sterile cultivar that will not set seed around the garden.
Fill the bucket with comfrey leaves and add water until the bucket is two-thirds full. Press the leaves under the water with the brick and put the lid on. Permaculture Northern Beaches gives this timeline: the brew starts to smell after about a week, it smells for about three more weeks, and it is ready once the smell has gone. Permaculture Northern Beaches Strain it and dilute 1 part tea with 1 part water before you use it. That 1:1 dilution is stronger than the other recipes here, so measure it with care.
Use comfrey tea on fruiting plants such as tomatoes, capsicum, pumpkin, and cucumbers. Garden Buddy’s notes put comfrey tea on fruiting plants weekly once they start setting fruit, and fortnightly on leafy plants. It also suits roses and fruit trees in active growth. In Australian gardens, comfrey tea suits summer fruiting vegetables, when fruit set draws hard on potassium.
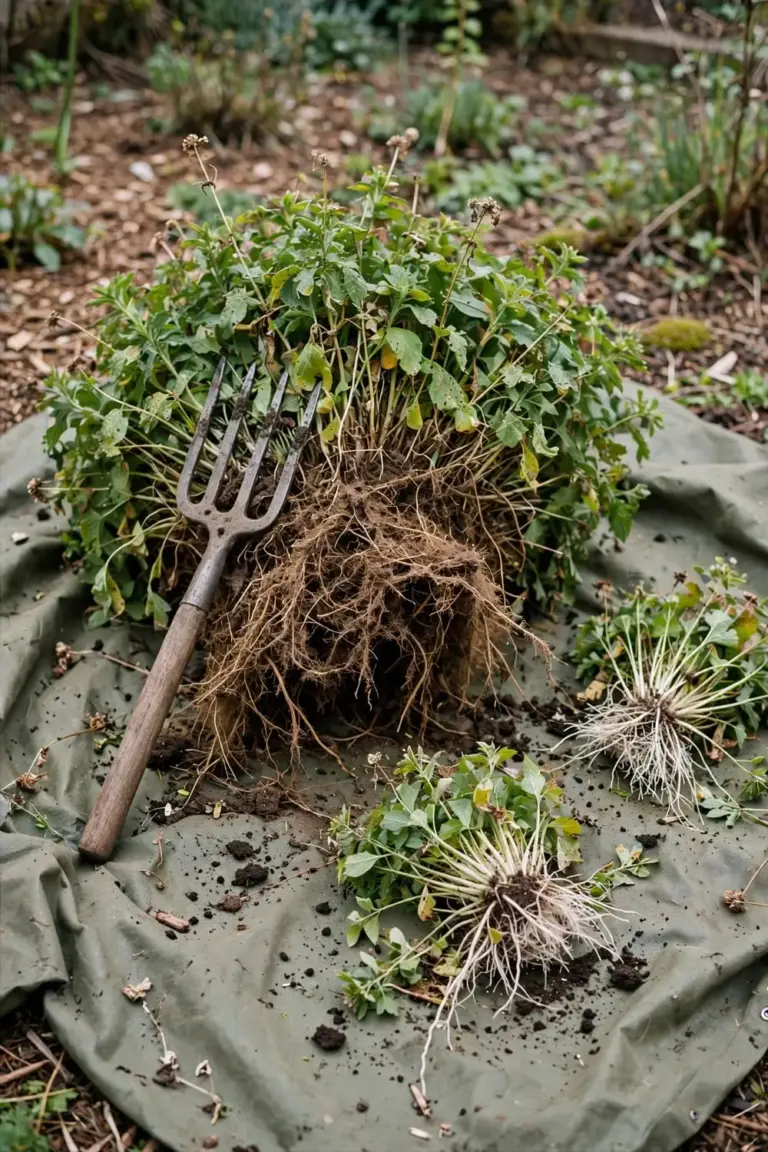
Do not eat comfrey. Comfrey holds pyrrolizidine alkaloids that can harm the liver. BBC Gardeners’ World notes that Symphytum officinale holds toxic chemicals called pyrrolizidine alkaloids that can cause serious disease, including liver damage. Wear gloves, since the leaves are scratchy. Harvest leaves and leave the crown, and the plant grows back for another cut through the season. One plant gives several cuts a year, so a single comfrey patch feeds a whole vegetable bed.
Cut leaves before the plant flowers, when the leaves hold the most nutrients. Garden guides note that harvest just before flowering gives the best nutrient content. Take the outer leaves and leave the crown and the center growth. Water the patch after a heavy cut, and it grows back for another round within weeks.
4. Manure Tea: Nitrogen From Aged Manure
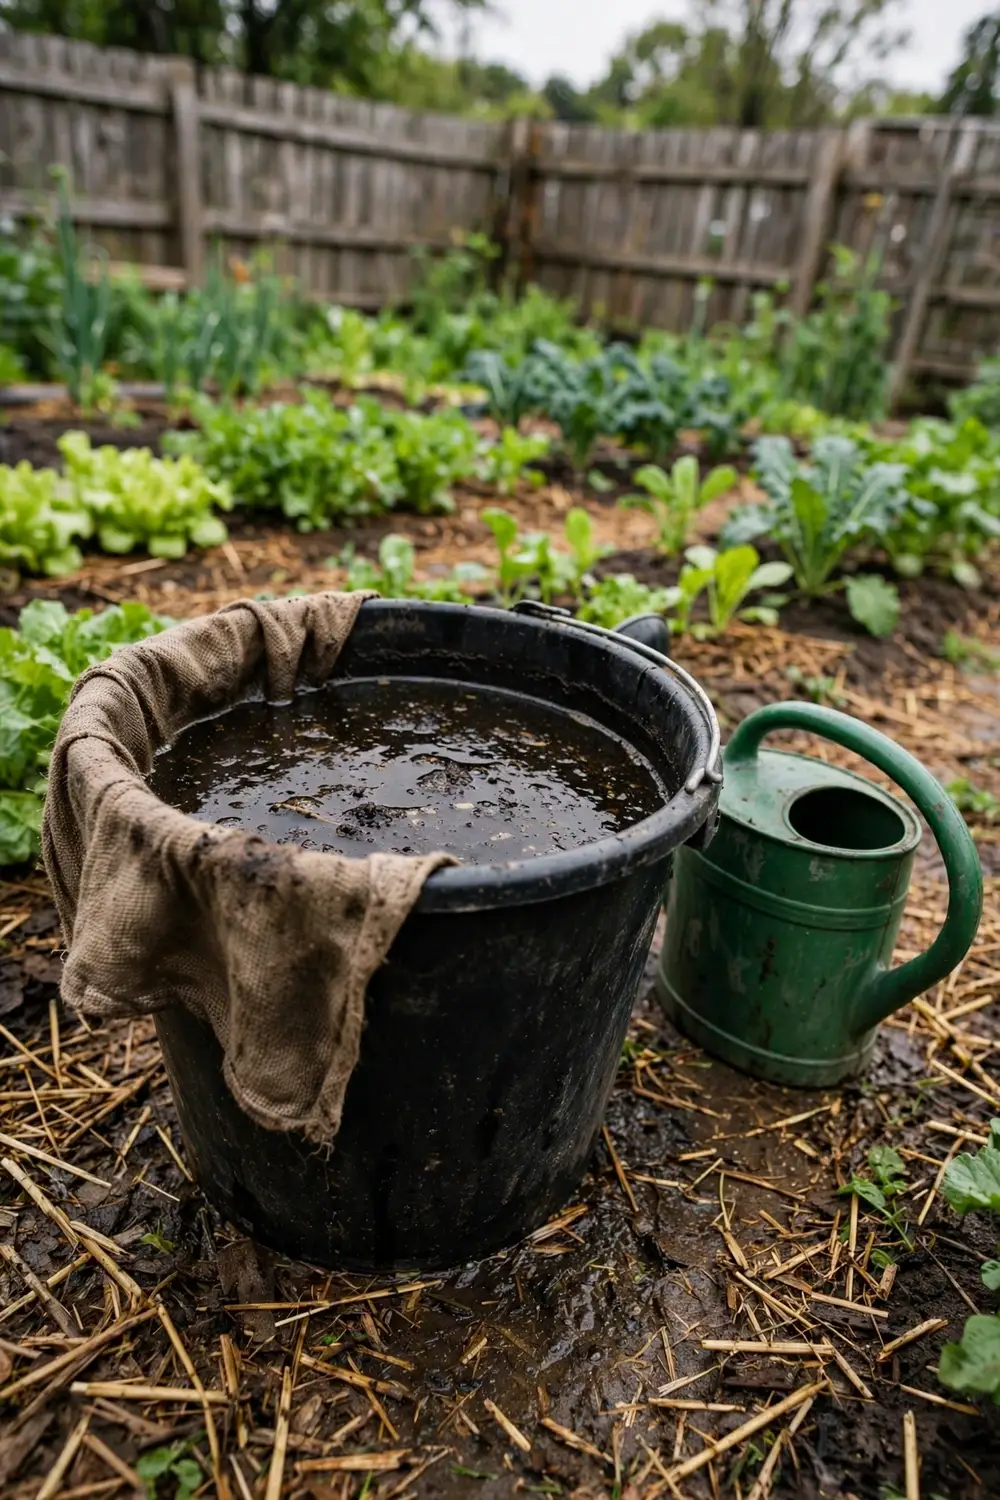
Manure tea is aged herbivore manure steeped in water in a cloth bag. It is the nitrogen feed in this set, and the one with the strictest safety rules. Follow the harvest intervals in this section, and the feed is safe to use on food gardens.
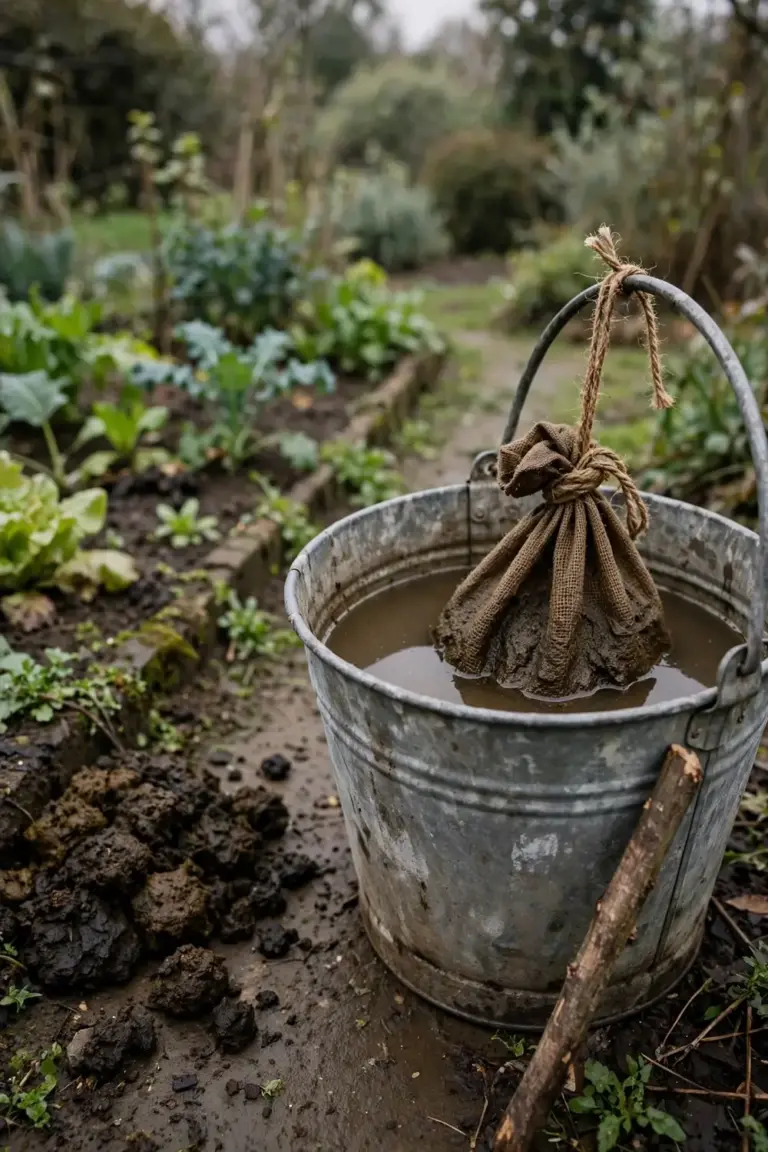
You need aged manure from a herbivore such as a cow, horse, sheep, or goat, plus a cloth bag or an old pillowcase, string, a bucket, and water. Use aged manure only. Never use fresh chicken manure. Never use cat or dog manure. Chicken manure runs high in nitrogen and can burn tender seedlings, so Penn State Extension advises composting it before use in a home garden.
Put the manure in the cloth bag and tie it shut. Lower the bag into the bucket and fill the bucket with water. Permaculture Northern Beaches gives this method: lift and drop the bag a few times to release nutrients, leave it to brew for a few hours or a few days, then dilute 1 part liquid manure with 10 parts water. Permaculture Northern Beaches The diluted tea should look like weak tea. Tip the spent manure from the bag onto the compost heap.
Use manure tea on leafy greens and hungry vegetables such as corn, brassicas, and pumpkins. Hold it back from root crops as a main feed, since root crops want potassium more than nitrogen. Use it through the growing season, every week or two. In Australian gardens, manure tea suits leafy greens through spring and autumn, when soft growth needs steady nitrogen.
Aged manure is not composted manure. Penn State Extension notes that pathogens can survive in aged manure, and that a compost pile must reach 113 to 140 degrees Fahrenheit for several weeks to kill them. Penn State Extension The same guide gives the harvest intervals: 90 days for crops above the soil, 120 days for crops in or on the soil. Keep manure tea off leafy crops near harvest. Wear gloves, wash your hands, and wash everything you pick.
Bagged aged manure from a garden center is the easiest start. Ask the supplier whether the manure is composted or aged. If the supplier cannot say, treat it as aged and keep the harvest intervals. A bag with a label beats a load from an unknown pile, since the label tells you what you bought.
5. Worm Wee and Worm Tea: The Gentle All-Rounder
Worm wee is the liquid that drains through a worm farm, while worm tea is worm castings steeped in water. The two are not the same liquid. They mix at different dilutions. Both are gentle feeds, and both suit seedlings and plants you just moved.
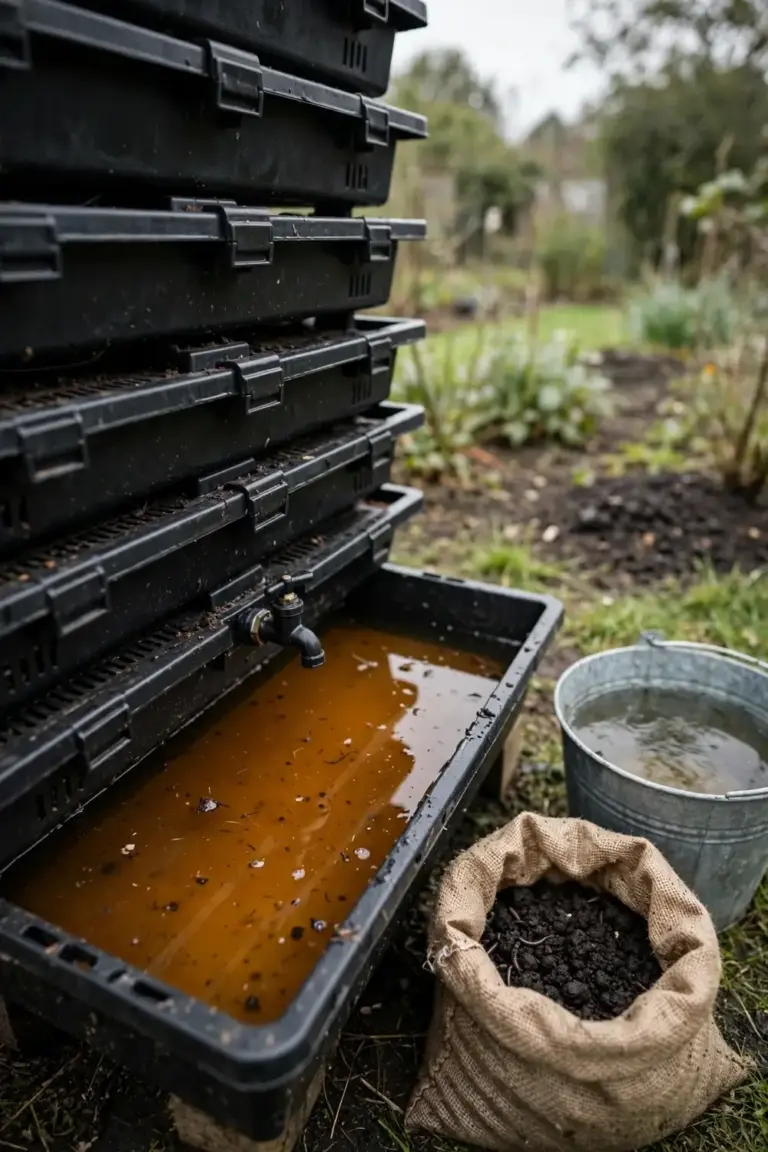
For worm wee, you need a working worm farm with a drain tray, and for worm tea you need worm castings, water, a cloth bag, and a bucket. Keep a worm farm and the wee arrives on tap as you feed the worms. Buy castings instead and worm tea is the way to use them.
Drain the liquid from the collection tray. Compost Revolution’s worm farming guide gives a dilution of 10 parts water to 1 part worm wee, mixed to the color of weak tea. Compost Revolution Use it fresh, within a day or two. A batch that sits for weeks can turn anaerobic and smell foul.
For worm tea, put a few handfuls of castings in the cloth bag, lower it into a bucket of water, and leave it overnight. Permaculture Northern Beaches gives a dilution of 1 part worm castings liquid with 8 parts water. Permaculture Northern Beaches Strain it before you use it in a sprayer, so castings do not clog the nozzle.
Use worm wee and worm tea on seedlings, transplants, pots, and all garden plants. It is the gentlest feed in this set, and the best choice for seedlings and plants you just moved. For seedlings, mix it weaker still and use it sparingly. A small feed on damp soil beats a strong feed on dry soil.
Tip spare worm wee on the compost heap instead of storing it. The heap uses the nutrients and the microbes, and the liquid does not sit and turn. A heap that gets regular worm wee breaks down faster than a dry heap, and nothing goes to waste.
Keep the worm farm healthy for a steady supply. Feed it kitchen scraps in small amounts, keep the bedding damp like a wrung-out sponge, and keep the drain clear so liquid does not sit in the trays. If the wee smells putrid, tip it on the compost heap and drain a fresh batch. A healthy farm gives a mild-smelling liquid.
A farm that is too wet needs dry shredded paper mixed into the bedding. A farm that is too dry needs a sprinkle of water across the surface. Fruit flies mean food sits exposed, so bury scraps under the bedding. A farm that smells sour needs less food and more bedding for a week or two.
6. Apply to Soil First, Leaves Second
Soil drench is the default way to apply every feed here. Foliar spray is the backup, for fast uptake when a plant needs a quick feed. Start with soil, and reach for the sprayer only when a plant asks for speed.
| Recipe | Ingredients | Steep | Dilution | Use On |
|---|---|---|---|---|
| Seaweed Tea | Storm-cast seaweed + water | At least 4 weeks | 1:10 | Vegetables, fruit trees, seedlings (weaker) |
| Comfrey Tea | Comfrey leaves + water | About 4 weeks, until smell fades | 1:1 | Fruiting plants, roses, fruit trees |
| Manure Tea | Aged herbivore manure + water | A few hours to a few days | 1:10 | Leafy greens, hungry vegetables |
| Worm Wee / Worm Tea | Worm farm liquid or castings + water | Drain as made / overnight | 10:1 wee, 1:8 castings tea | Seedlings, transplants, pots, all plants |
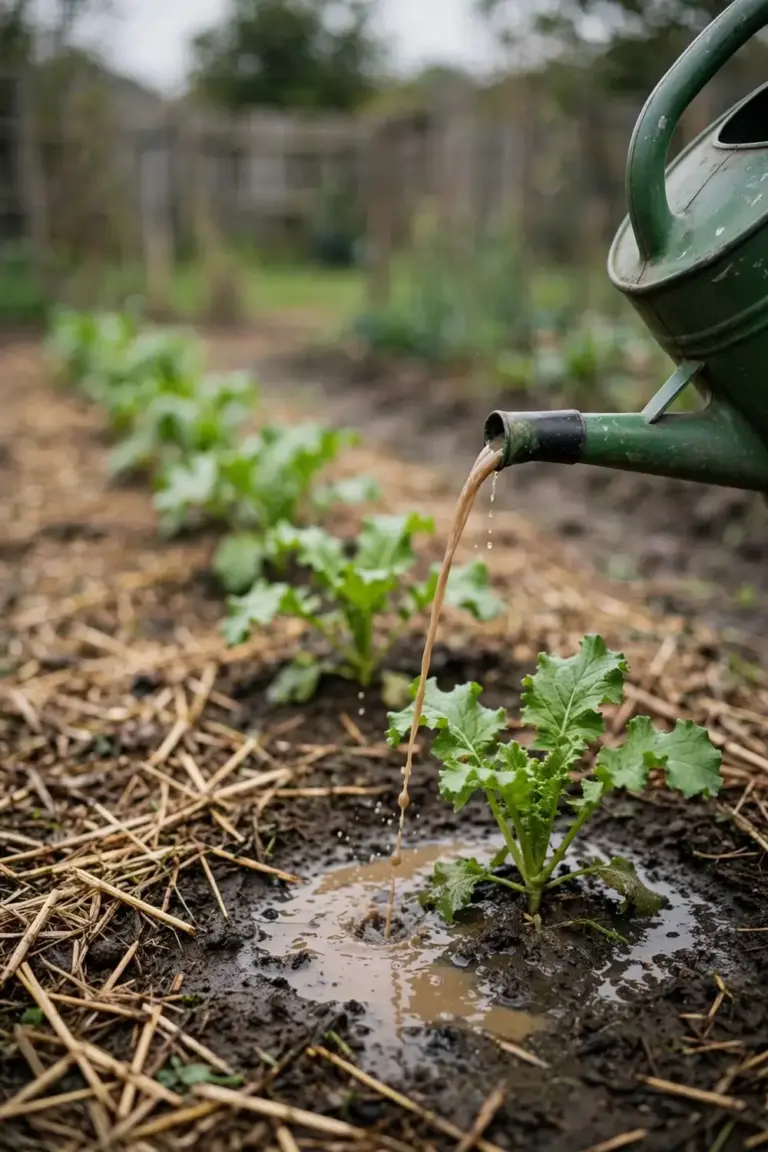
Water the soil first, then pour the diluted feed at the base of the plant. Feed in the cool part of the day, in the morning or late afternoon. Do not pour feed onto dry soil or onto leaves in hot sun. Pour slowly so the feed soaks in instead of running off. A full watering can covers about a square metre of bed. For pots, pour until liquid runs from the drainage holes, then tip the saucer out. For fruit trees, pour a full can around the drip line, not against the trunk.
For a foliar feed, strain the liquid through cloth so it will not clog a sprayer. Spray in the cool part of the day, and cover both sides of the leaves where you can reach them. Keep manure tea off leafy crops near harvest, and wash everything you pick. Foliar feeding suits seaweed tea and worm tea best, since both are mild. Comfrey tea also works as a foliar feed at its 1:1 dilution, but soil drench is simpler and wastes less.
Seedlings take a weaker mix. Mix the stated dilution, then add the same amount of water again. Feed onto damp soil only, and feed sparingly. For seed starting, see our seed starting guide. Seedlings in a good potting mix need little feed in their first weeks, so a weak worm wee feed is plenty.
Never spray in hot sun, since wet leaves scorch. Never pour undiluted feed on any plant. Never feed a wilting plant without watering first, since wilting may mean heat stress, not hunger. Water first, wait an hour, and feed only if the plant still looks hungry.
7. Store It Cool, Lidded, and Labelled
Store strained liquid feed in a cool, dark place in a labelled container with a lid. Use it within a few weeks. A brew does not improve in storage. It loses strength and grows smellier, so brew what you will use.

Rest the lid on top instead of sealing it tight. Fermentation makes gas, and a sealed container builds pressure. Label the container with the recipe name and the brew date, and add the words garden only, do not drink. Keep stored feed away from children and pets. A clear label is the cheapest safety step here.
Keep brewing buckets lidded and away from the house. Fermenting teas smell, and the smell carries to neighbours, while a lid also keeps mosquitoes out of the brew. Pick a brewing spot downwind of outdoor seating. Warn the household before you open a comfrey bucket.
Tip out a batch that grows a thick scum or smells putrid past the normal fermentation smell. A good batch smells earthy or sour, not rotten. When in doubt, tip it on the compost heap and brew fresh. Trying to save a spoiled batch risks the plants it feeds.
Strained solids go on the compost heap or under mulch, where they still hold nutrients and finish breaking down in the soil. Rinse the bucket with fresh water before the next brew. Let it dry in the sun.
Write each brew in the notebook: recipe, brew date, dilution, plants fed, and how they answered. A log shows which feed each bed likes. It also shows when a batch went wrong, so you do not repeat the mistake. Reuse bottles for storage, rinse them well, and label each one before you fill it.
Frequently Asked Questions
Yes, with a weaker mix. Worm wee at 10:1 is the safest choice for seedlings. Mix the stated dilution, then add the same amount of water again. Feed onto damp soil only, and feed sparingly. Hold manure tea back from seedlings. Seedlings in a good potting mix need little feed in their first weeks, so one weak feed goes a long way.
Feed every week or two through the growing season. Comfrey tea goes on fruiting plants weekly once they set fruit, and fortnightly on leafy plants. Seaweed tea and worm tea suit a fortnightly rhythm. Manure tea suits hungry vegetables every week or two. Stop feeding when growth slows in winter, since resting plants take up little feed.
Yes, with two rules. Wash everything you pick. Keep manure tea off leafy crops near harvest, and keep the 90-day and 120-day harvest intervals from the manure section. Seaweed tea, comfrey tea, and worm wee carry no harvest interval. Wash leafy greens well before you eat them, and keep manure tea on the soil, not on the leaves.
Fermentation smells. Comfrey tea smells worst, and it is ready once the smell fades. Keep every brewing bucket lidded and away from the house. A batch that smells putrid past the normal sour smell, or grows a thick scum, goes on the compost heap. Brew fresh instead of trying to save it. A clean bucket and a lid keep the next batch milder.
Worm wee suits indoor plants best, at the 10:1 dilution, on damp potting mix. Keep comfrey tea and manure tea outdoors, since both smell while you handle them, while seaweed tea works indoors if the smell does not bother you. Feed pots at a weaker mix. Never let feed sit in a saucer, and tip out any feed that drains through.
Mixing teas is not needed. Each feed covers a job on its own. If a bed needs nitrogen and potassium, feed manure tea one week and comfrey tea the next. Keep the dilutions as stated. Mixing concentrates makes a stronger feed than either recipe allows, and a stronger feed risks the plants it should help.
Start With One Bucket This Weekend
Pick one recipe and brew one bucket. Seaweed tea suits coastal gardeners, and worm wee suits anyone with a worm farm. Comfrey tea suits gardeners with fruiting plants. Manure tea suits gardeners with leafy greens and access to aged manure.
Dilute every batch. Feed damp soil. Wash what you pick. Homemade organic liquid fertilizer for Australian gardens rewards the gardener who measures, not the gardener who guesses. One bucket, one dilution, one round of feeding is enough to start.
Feed beds that are already prepared and mulched. For bed prep, see our fall garden bed prep guide. For the slow-release side of feeding, cover crops build fertility while they grow. Liquid feeds and soil care work together, and the garden shows it.
Judge a feed by the next flush of growth, not the next day, and give the brew time to show in new leaves. Liquid feeds work over weeks, not hours. Leafy greens answer first. Fruiting plants answer at the next fruit set. Pots answer fastest of all, since a pot holds little soil and the roots meet the feed at once.