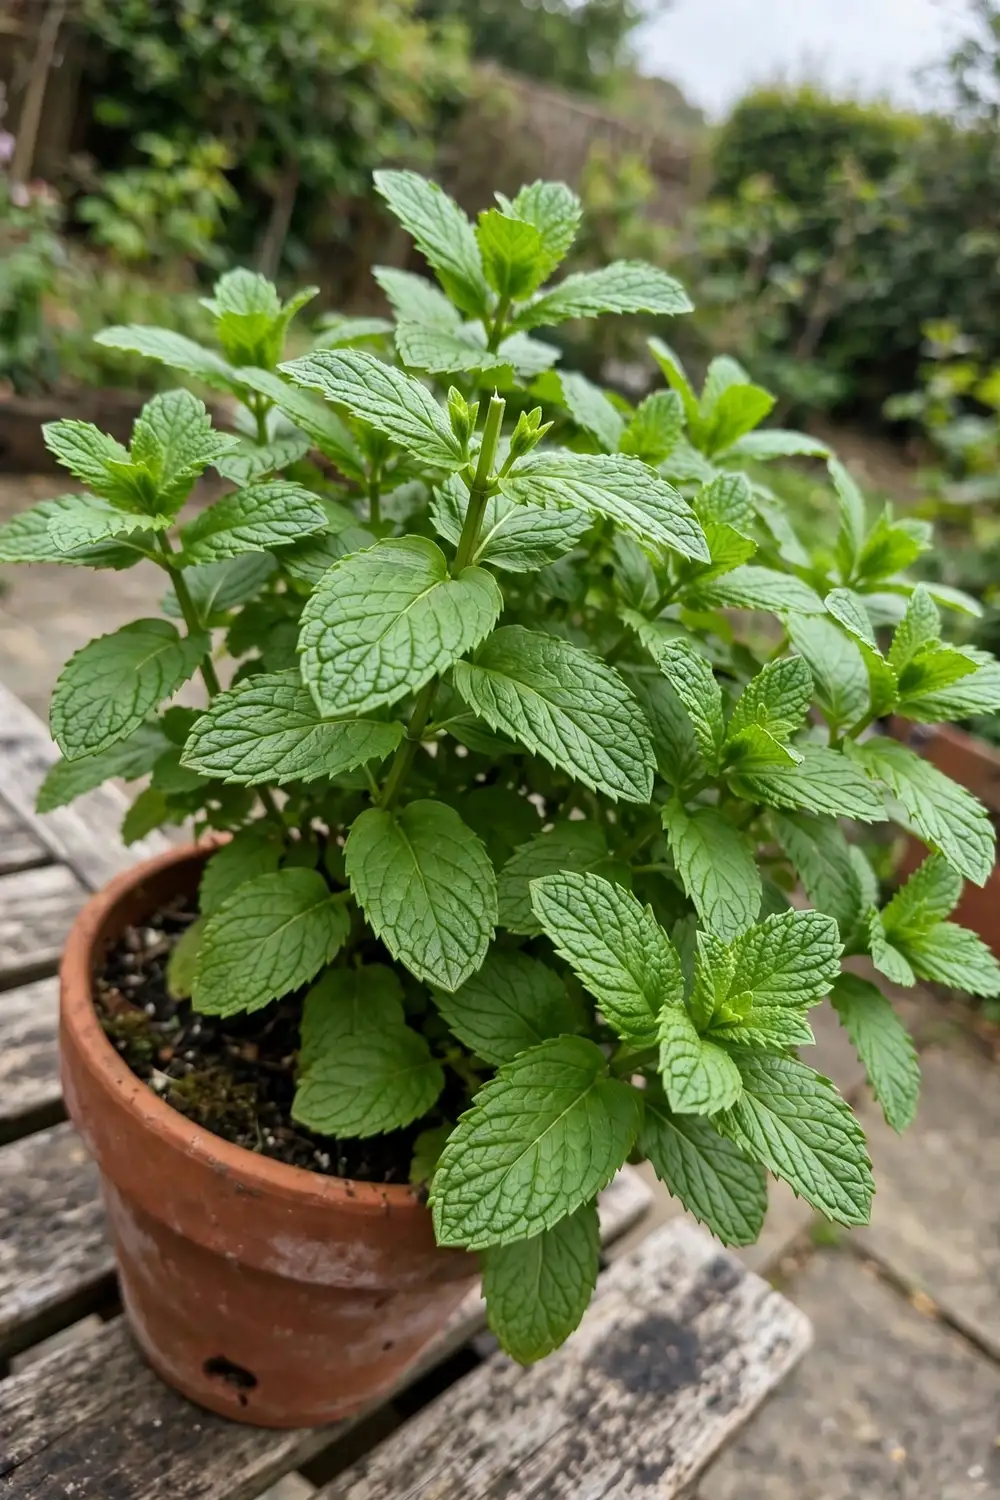

Grow Chinese mint (Mentha haplocalyx) in a 12-inch pot, give it 4 to 6 hours of sun a day, and start cutting leaves once the plant reaches 3 to 4 inches tall. It is a hardy perennial for zones 5 to 9, it is not peppermint, and it will escape any open bed you plant it in. In my experience, a pot is the only honest answer to a mint that spreads by runners.
The first decision is the most important one. Chinese mint, known in Mandarin as bo he, grows from aggressive underground rhizomes that travel fast and root wherever they touch soil. Gardeners who plant it straight into a bed spend years pulling runners out of the lawn. A container solves the problem completely, and it also makes the plant easier to water, feed, divide, and bring close to the kitchen door.
This guide to how to grow Chinese mint covers the species truth first, because the mint shelf at the nursery is a naming mess. Then it walks through buying the right plant, choosing escape-proof containment, and the full care routine: soil, water, feeding, pinching, flowering, division, overwintering, pests, harvest, drying, and kitchen uses. Follow it in order and you will have clean, sweet bo he leaves within one season.
1. Identify Your Mint With the Species Truth Table
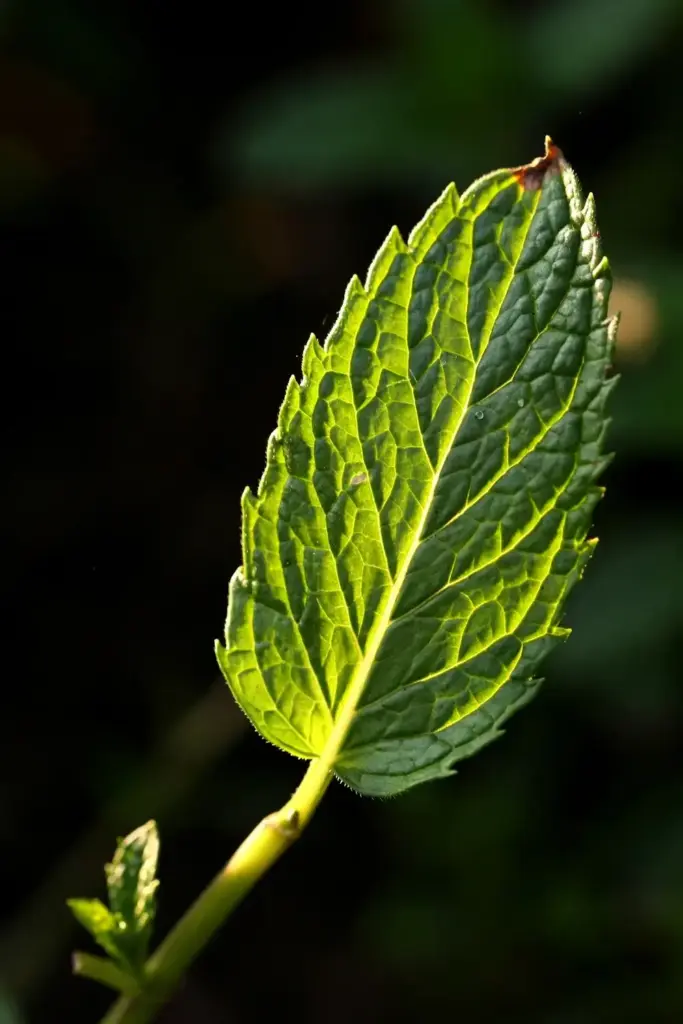
Start here, because at least four different plants answer to “Chinese mint” in search results, and only one of them is bo he, the herb you came to grow. Mislabeling is the ranking gap on page one: even some nursery listings conflate the names.
| Name You Will See | Species | What It Actually Is |
|---|---|---|
| Chinese mint / bo he | Mentha haplocalyx (sometimes sold as M. arvensis subsp. haplocalyx) | The bo he herb itself. Cooling flavor between spearmint and peppermint, high in menthol, described by growers as a cleaner and sweeter tea than Western peppermint. |
| Peppermint | Mentha x piperita (watermint x spearmint hybrid) | The supermarket tea mint. A sterile hybrid, so it never grows true from seed. |
| Field mint / corn mint / wild mint | Mentha arvensis | The wild mint of North America and Europe. Related to Chinese mint, but a different plant with its own flavor. |
| Spearmint | Mentha spicata | The chewing-gum and tabbouleh mint. Sweeter and milder than peppermint. |
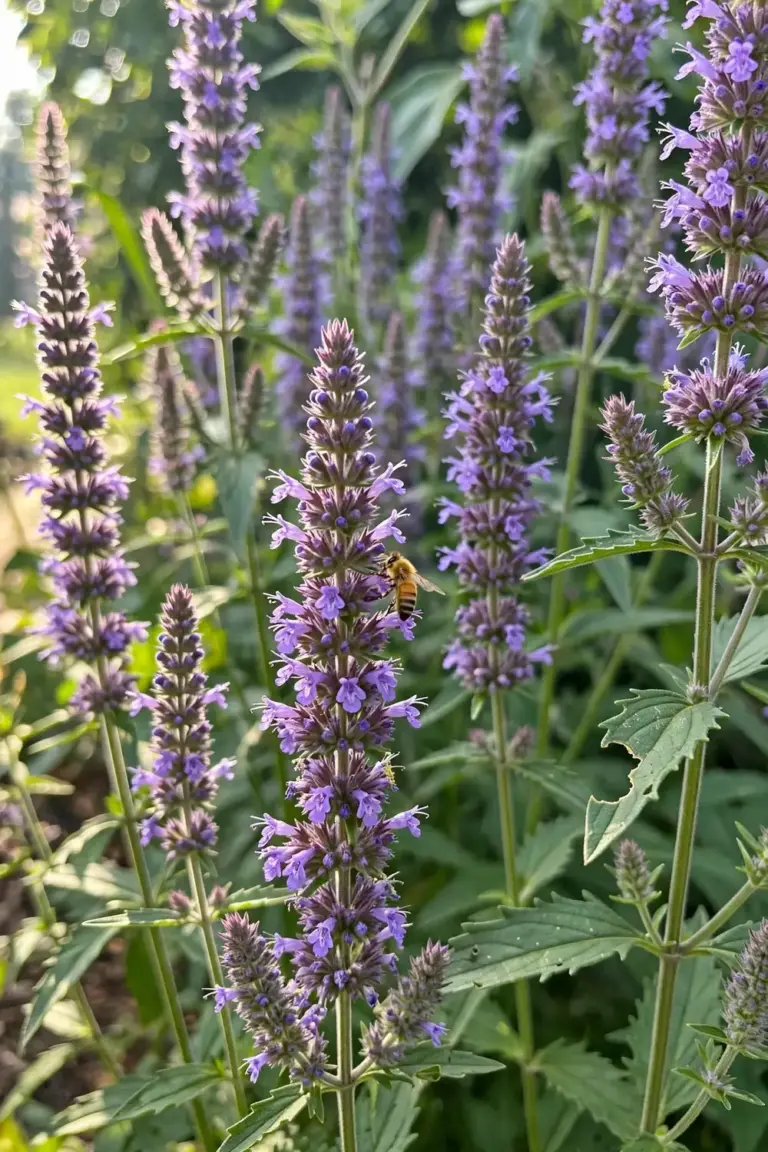
| “Chinese mint bush” | Elsholtzia stauntonii | Not a true mint at all. A different genus with showy flower spikes; one popular picture-based app ranks a care guide for it under the “Chinese mint” name. |
The takeaway is simple. When you buy, read the Latin name on the tag. If the tag says Mentha haplocalyx, you have bo he. If it only says “mint” or “Chinese mint” with no Latin name, ask the seller or pick a different plant. Everything from here on assumes Mentha haplocalyx. If you want the full peppermint routine instead, the peppermint growing guide on this site covers that plant separately.
2. Buy Plants, Not Seeds: The 5 Reasons Seed Packets Disappoint
Chinese mint is sold as potted plants, not as reliable seed. One specialist nursery lists Mentha haplocalyx as a potted perennial from a Chinese herb garden collection, and that is the normal way to buy it. Starting from seed is a weak plan for five reasons.
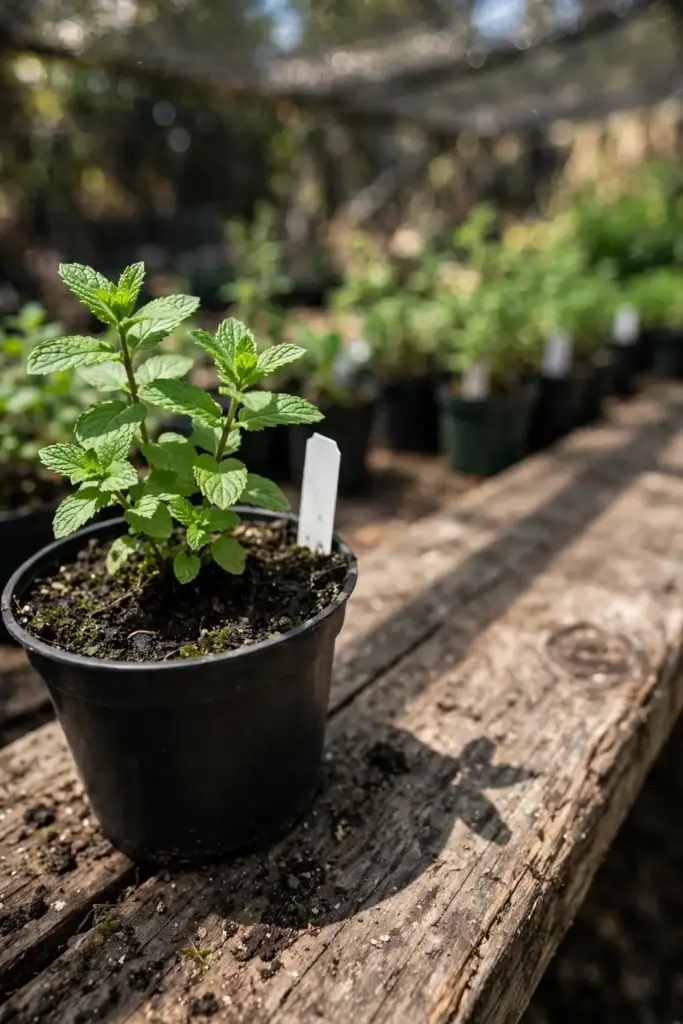
First, mint seed in general is unreliable. Germination is uneven, and seedlings of named mints rarely match the parent plant. Second, the most famous mint of all, peppermint, is a sterile hybrid that sets no viable seed, which is why the whole mint trade runs on divisions and cuttings. Third, Chinese mint seed is hard to find from reputable sellers, and packets labeled “Chinese mint” are often mislabeled field mint. Fourth, a 3-inch potted plant costs a few dollars and gives you harvestable leaves in weeks instead of months. Fifth, a nursery plant arrives with the rhizome system already established, so it survives transplanting into your pot with almost no setback.
Buy one healthy plant with green, unspotted leaves and no leggy stretching. Avoid plants already flowering in the pot, because flowering shifts energy away from leaf production. A single plant is enough. Mint fills a pot fast.
3. Make the Containment Decision Before You Plant
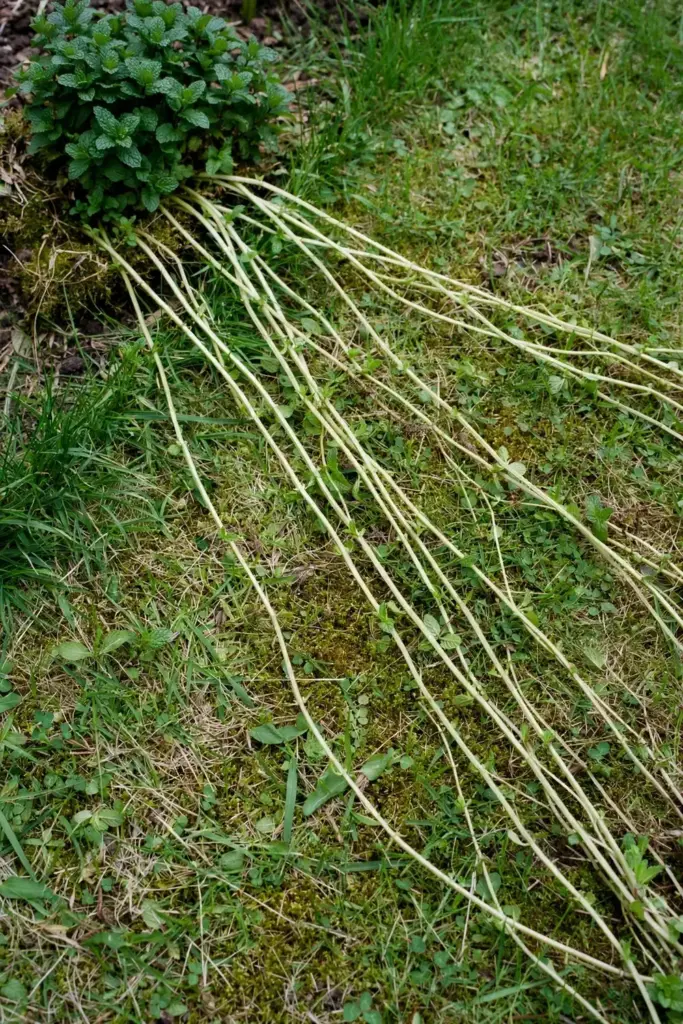
Every mint grows from rhizomes: horizontal underground stems that send up new shoots every few inches. University extension guides describe mint as very invasive and recommend containers as the best way to grow it. This is not a suggestion. It is the central fact of mint gardening.
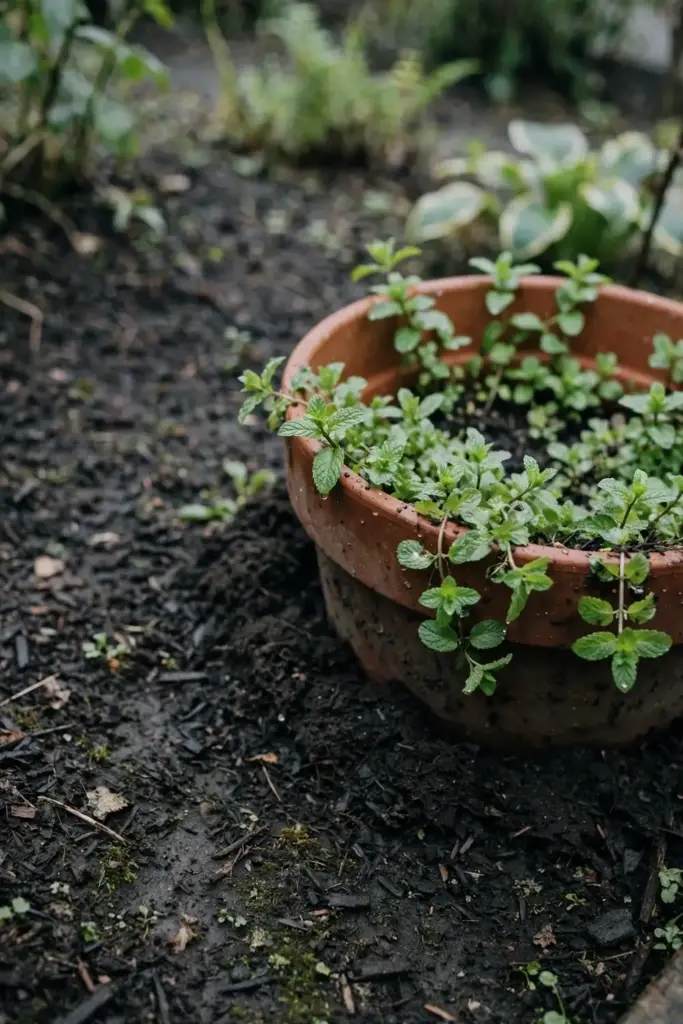
You have three options. Option one, the best for almost everyone, is a freestanding pot on a patio, deck, or doorstep. The rhizomes hit the pot wall and stop. Option two is a pot sunk into the ground with the rim 2 inches above the soil line; this looks like an in-ground planting but keeps the barrier intact. Option three is open ground, which experienced gardeners choose only when they want a mint patch and are willing to edge it with a spade every few weeks. For bo he, choose option one or two.
Never plant mint directly in a raised bed shared with other herbs. The runners will colonize the whole bed within two seasons, and removing them means sifting the soil. A pot is cheaper than regret, and it is the first rule of how to grow Chinese mint without a takeover.
4. Choose a Pot That Mint Cannot Escape
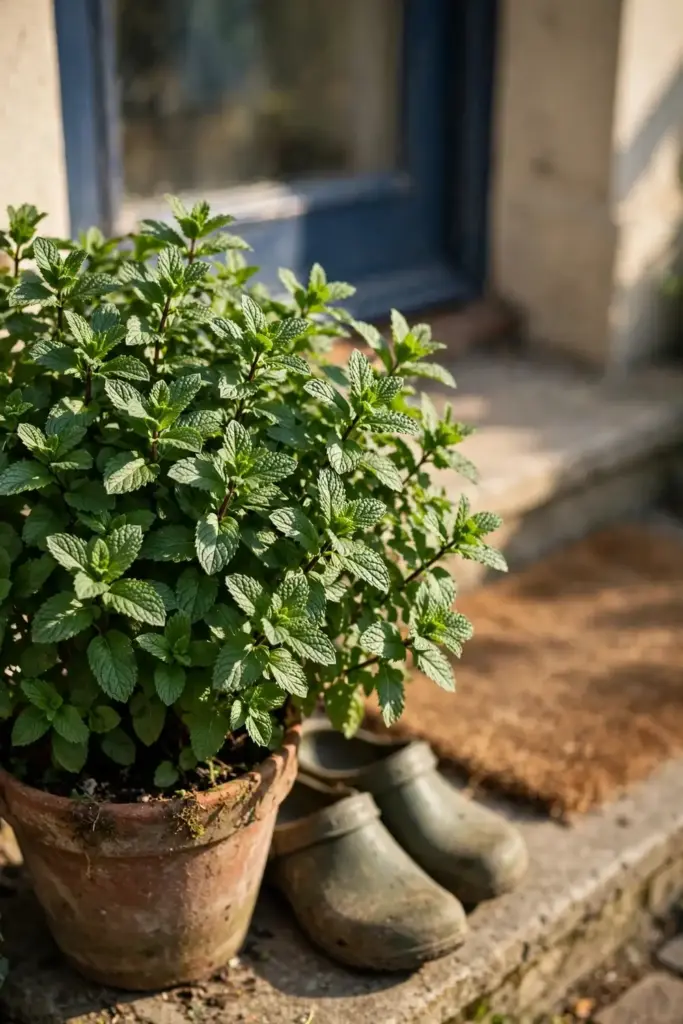
Pick a pot at least 12 inches wide and 12 inches deep for one plant. The depth matters as much as the width: rhizomes dive, and a shallow bowl lets them circle and escape through the drainage holes. Heavy materials like glazed ceramic or thick plastic work better than thin nursery pots, which crack and let runners slip through the splits.
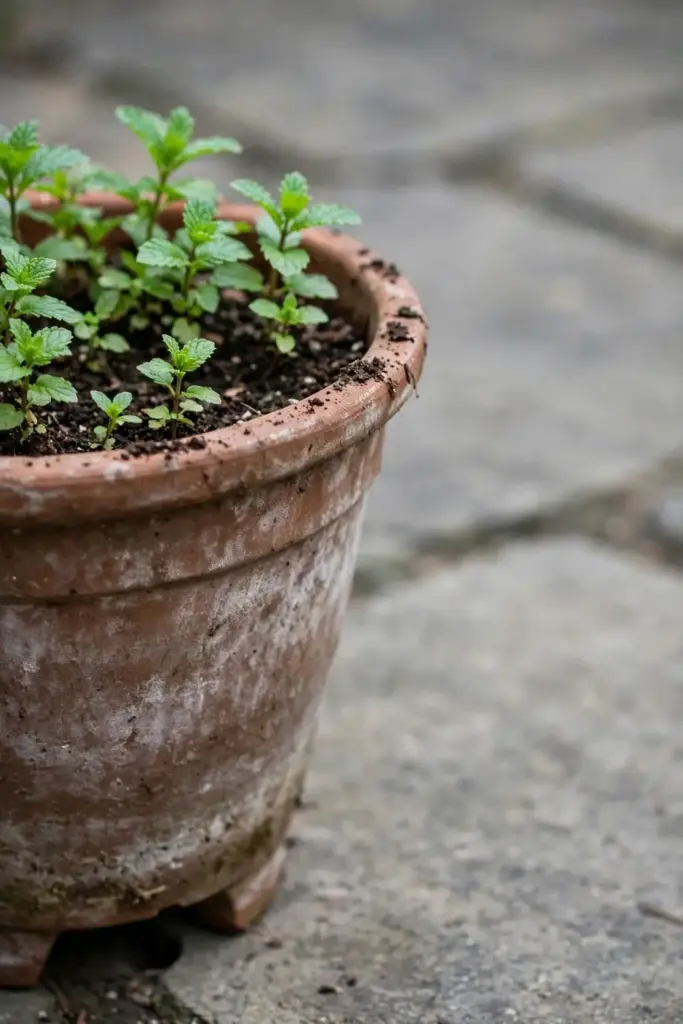
Drainage holes are mandatory. Mint loves moisture but rots in standing water, so the pot must drain freely. Set the pot on feet or a saucer with a gap so water flows out instead of pooling underneath. If you sink the pot into the ground, leave 2 inches of rim above the soil so runners cannot hop over the edge.
One plant per pot. Two plants in the same container compete, thin out in the middle, and produce fewer usable leaves than a single well-spaced plant. Mint is generous; it does not need company.
5. Mix the Soil Mint Actually Wants
Mint tolerates a wide range of soils. Leaf quality shows the difference, so it pays to get the mix right. University extension guidance puts the ideal pH between 6.0 and 6.5 and recommends well-drained soil enriched with organic matter. A bagged potting mix with compost already in it hits that target out of the bag.
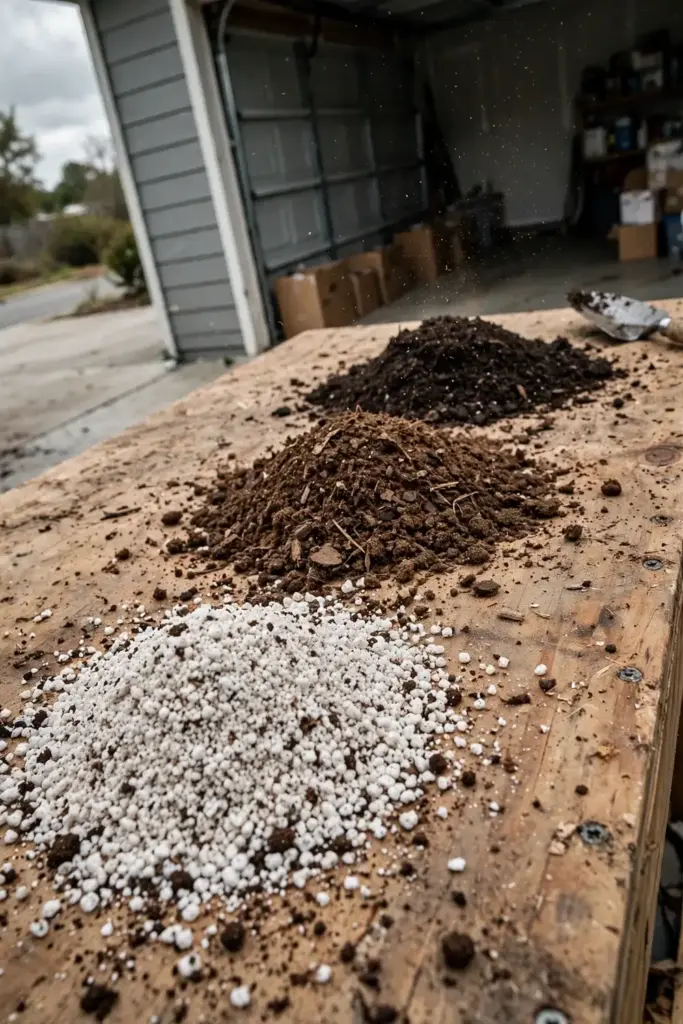
If you mix your own, use two parts quality potting soil, one part finished compost, and one part perlite or coarse sand for drainage. The compost feeds the plant gently for the first month, and the perlite keeps the mix from compacting around the rhizomes. Do not use heavy garden soil in a pot. It compacts, drains poorly, and turns the container into a swamp after every rain.
Fill the pot to 2 inches below the rim. That headspace holds water during watering instead of letting it sheet off the surface. Water the empty mix once before planting so it settles, then top up if it sinks.
6. Give It 4 to 6 Hours of Sun a Day
Mint grows best in full sun to partial shade, with at least 4 to 6 hours of direct sun daily. Morning sun with afternoon shade is the sweet spot in hot climates, because scorching afternoon heat wilts the leaves and fades the flavor. In cool coastal climates, full sun all day works fine.
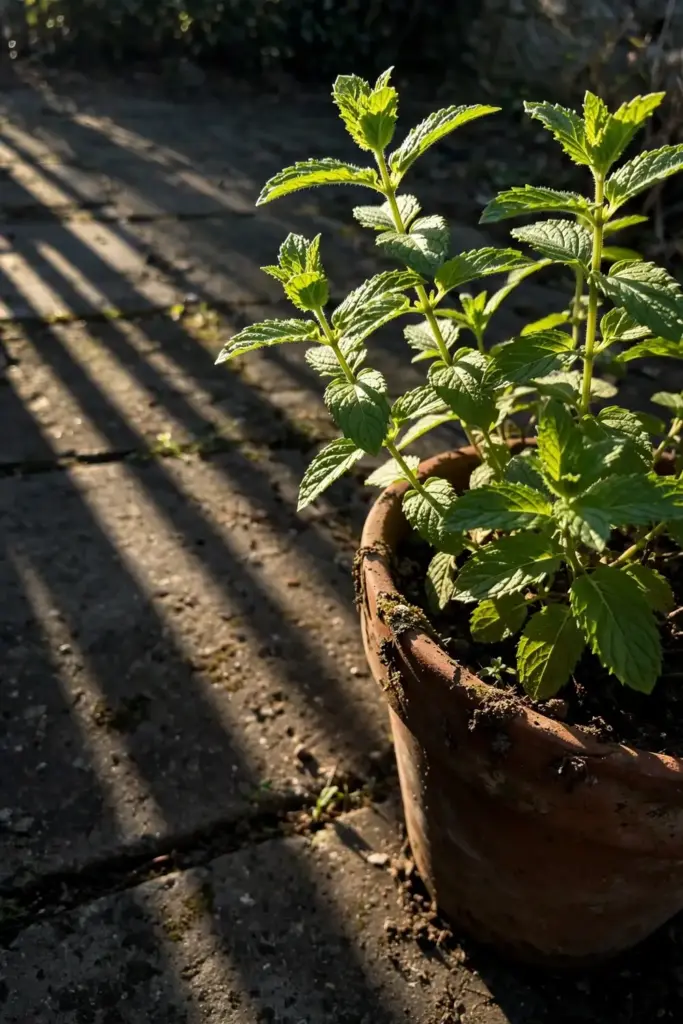
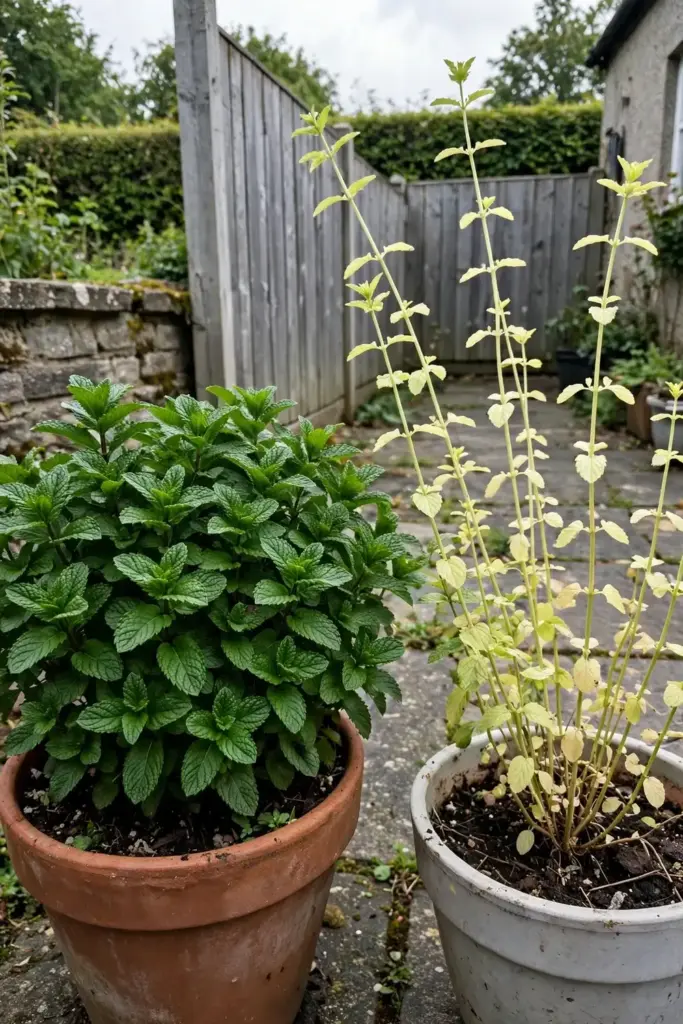
Too little light is the most common indoor failure. A north-facing windowsill will not cut it. If you grow bo he indoors, put it in your brightest south or west window, or under a grow light for 12 to 14 hours a day. Leggy stems with wide gaps between leaf pairs are the signal that the plant wants more light. Move it, and pinch the leggy stems back to force bushier regrowth.
Watch the leaf color as your gauge. Deep green leaves in 4 to 6 hours of sun mean the spot is right. Pale, bleached leaves mean too much harsh sun; dark, soft, stretched stems mean too little.
7. Plant It Right With the 3-Step Pot Method
Plant on a mild, overcast day or in the evening so the transplant avoids midday heat stress. Water the nursery plant an hour before you start so the root ball slides out cleanly.
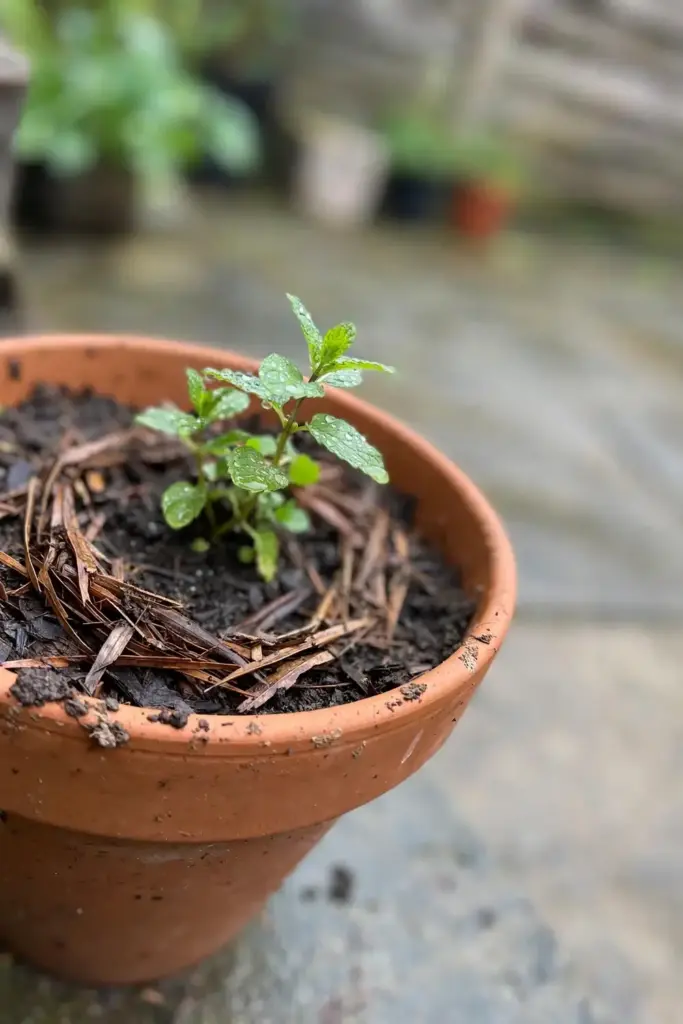
Step one: dig a hole in the potted mix the same depth as the nursery root ball and twice as wide. Step two: slide the plant out, loosen any circling roots at the bottom with your fingers, and set it so the top of the root ball sits 1 inch below the pot rim. Step three: backfill, firm gently, and water deeply until water runs from the drainage holes.
Mulch the surface with half an inch of fine compost or shredded leaves. Mulch holds moisture, feeds the surface roots, and stops soil from splashing onto the lower leaves during watering. Keep the mulch pulled back half an inch from the stems so the crown stays dry.
8. Water Deeply Without Drowning the Roots
Mint wants consistently moist soil, not wet soil. Water when the top inch of mix feels dry to the touch, then water deeply until it drains from the bottom. In summer heat, a 12-inch pot may need water every day; in cool spring weather, twice a week is plenty. The plant tells you fast: leaves droop within hours of drying out and perk back up within hours of watering.
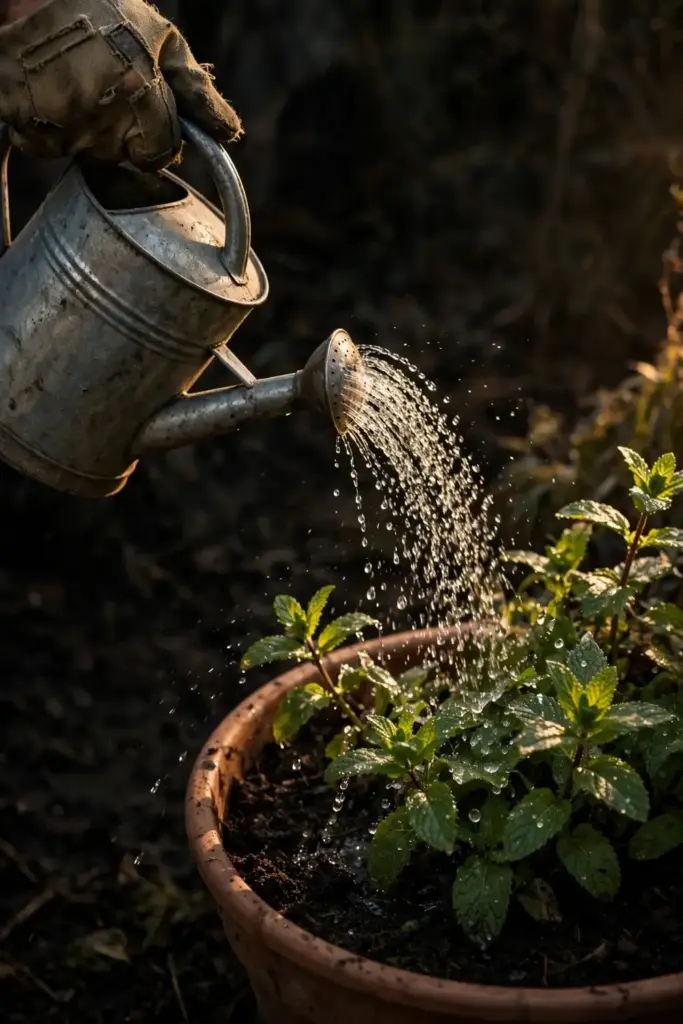
Water the soil, not the leaves. Wet foliage invites fungal problems, and overhead watering splashes soil onto the leaves you plan to eat. A watering can with a narrow spout or a drip line aimed at the base does the job. Empty the saucer after watering so the pot never sits in a puddle.
Reduce watering in fall as growth slows. The plant is heading for dormancy, and soggy cold soil rots rhizomes faster than anything else. In winter, water only enough to keep the mix from going bone dry.
9. Feed Lightly: The Low-Fertilizer Rule
Mint is a light feeder, and rich feeding backfires. Heavy nitrogen pushes soft, leggy growth with diluted flavor, which is the opposite of what you want from a culinary herb. The compost in your potting mix covers the first month after planting.
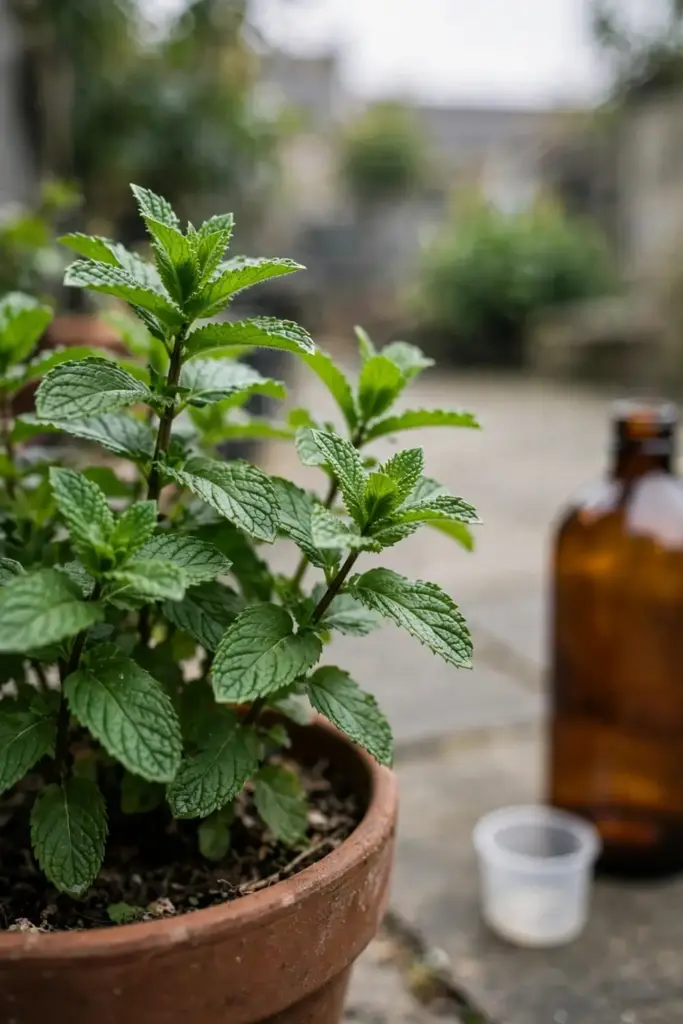
After that, feed container mint with a half-strength balanced liquid fertilizer every 4 to 6 weeks during the growing season. Stop feeding 6 weeks before your first expected frost so the plant hardens off instead of pushing tender new growth into the cold. In-ground mint in decent soil often needs no fertilizer at all beyond a yearly top-dressing of compost.
Yellow lower leaves with green veins can signal a hungry plant, but check watering first. Overwatered mint yellows the same way, and feeding a drowning plant only makes things worse. Fix the water, wait a week, then decide about fertilizer.
10. Pinch Early and Often for Bushy Growth
Pinching is the highest-return habit in mint care. Every time you pinch a stem tip, the plant branches into two new stems below the cut, which doubles your future harvest. Start when the plant is 4 inches tall: pinch the top set of leaves off every stem, cutting just above a leaf node.
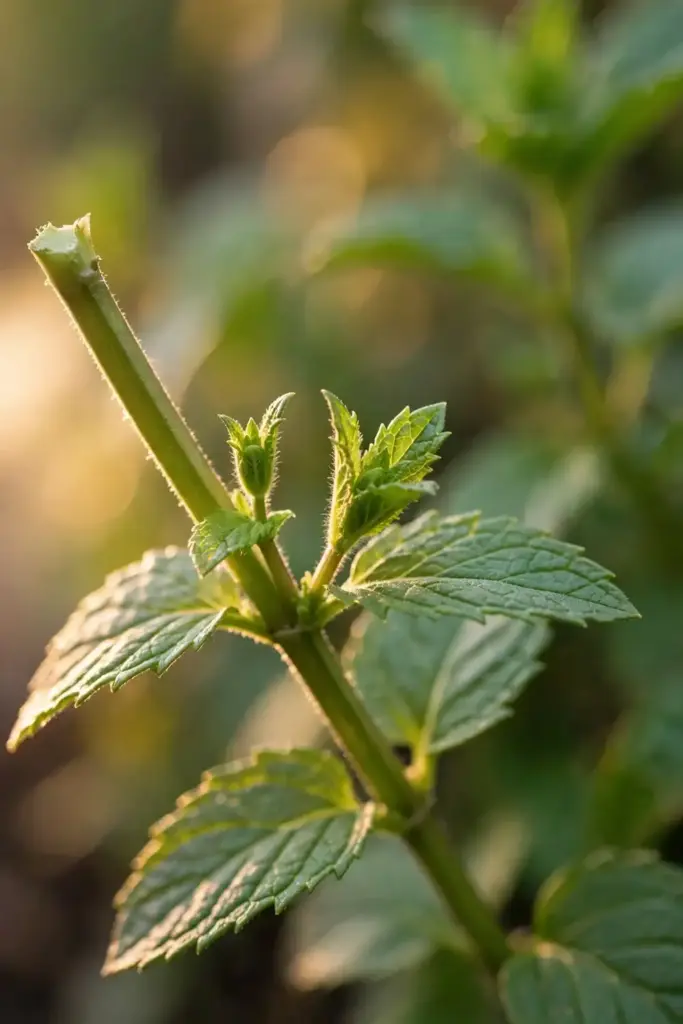
Harvest by pinching and you never need a separate pruning session. Take the top 2 to 3 inches of each stem, always cutting above a leaf pair. Never strip more than one-third of the plant at once; the remaining leaves power the regrowth. A well-pinched plant stays dense and bushy instead of turning into a few long, bare stems.
If a stem gets leggy despite pinching, cut it back by half to a strong leaf node. New side shoots follow, usually within 10 to 14 days in warm weather. For a tired pot, shear the whole plant back by one-third in midsummer. It comes back denser than before.
11. Cut the Flowers or Keep Them: The Flavor Tradeoff
Mint flowers in summer, sending up spikes of small pale blossoms. Flowering shifts the plant’s energy from leaves to seed, and many growers report that leaves taste slightly more bitter once blooms open. If leaf harvest is your goal, pinch flower buds off the moment they appear.
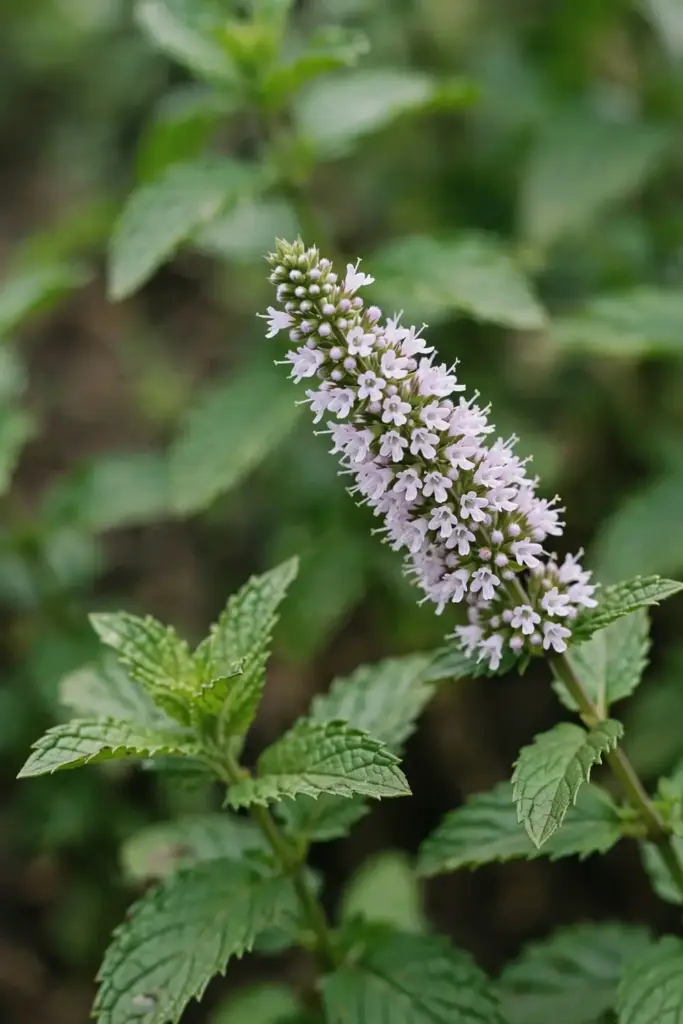
There is a legitimate reason to let some flowers bloom. Mint blossoms feed bees and beneficial insects, and a few flowering stems at the back of the pot cost you almost nothing. The compromise most gardeners settle on: pinch buds on the stems you harvest from, and let one or two stems flower for the pollinators.
After flowering finishes, cut those stems back hard. Seeds from a flowering mint will not give you true bo he anyway, and the spent stems look ragged. Fresh side growth follows within two weeks.
12. Divide the Pot Every Spring: The 2-Year Refresh Rule
A mint pot that never gets divided slowly declines: the center turns woody and bare while only the edges keep producing. Yearly division resets the clock and keeps the plant young.
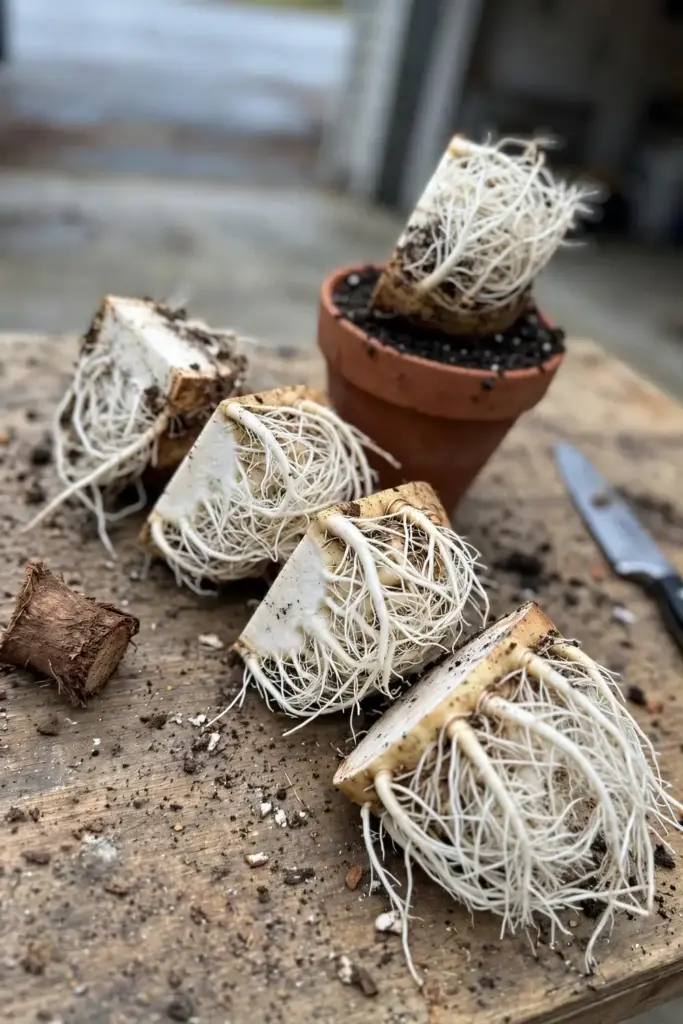
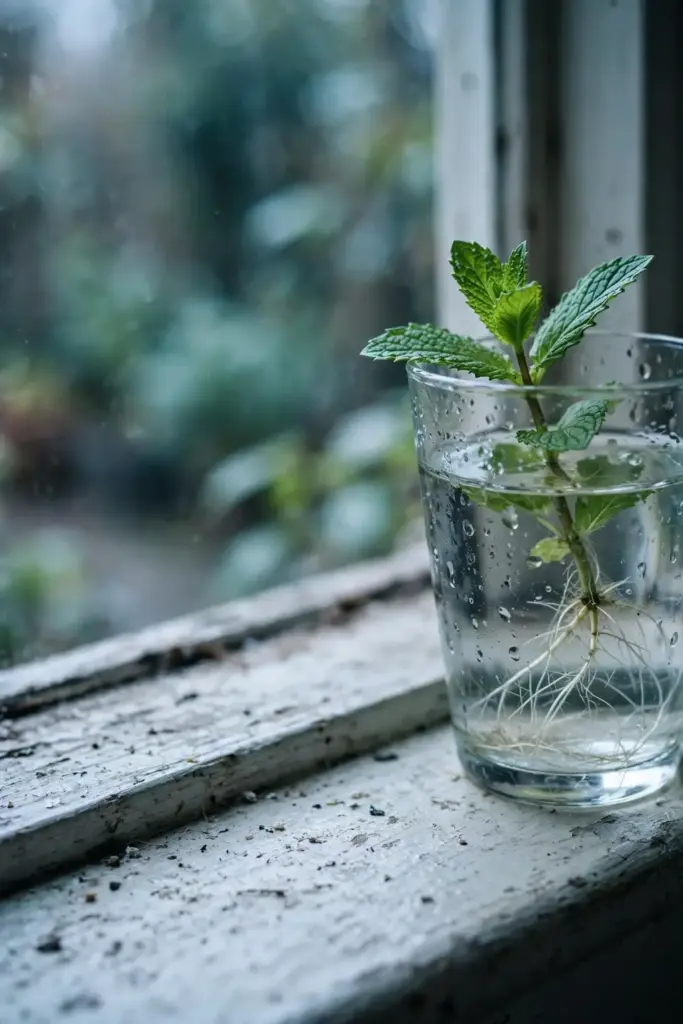
In early spring, as new shoots reach 2 to 3 inches, slide the whole root ball out of the pot. You will see a dense mat of white rhizomes. Pull or cut the ball into quarters with a sharp knife, keeping healthy shoots on each piece. Discard the woody center, replant one quarter into fresh potting mix in the same pot, and give the other quarters away or pot them up for friends.
This one chore, done yearly, is the difference between a mint pot that produces for a decade and one that fades after two seasons. Fresh soil plus young rhizomes equals vigorous, flavorful growth. Mark it on the calendar next to your spring seed starting.
13. Overwinter It Through Zones 5 to 9
Chinese mint is a hardy perennial commonly sold for zones 5 to 9, and one specialist nursery lists its Mentha haplocalyx stock as hardy to zone 3. In the ground within its hardy range, the tops die back after frost and the rhizomes sleep underground until spring. In a pot, the roots are more exposed, so they need a little help.
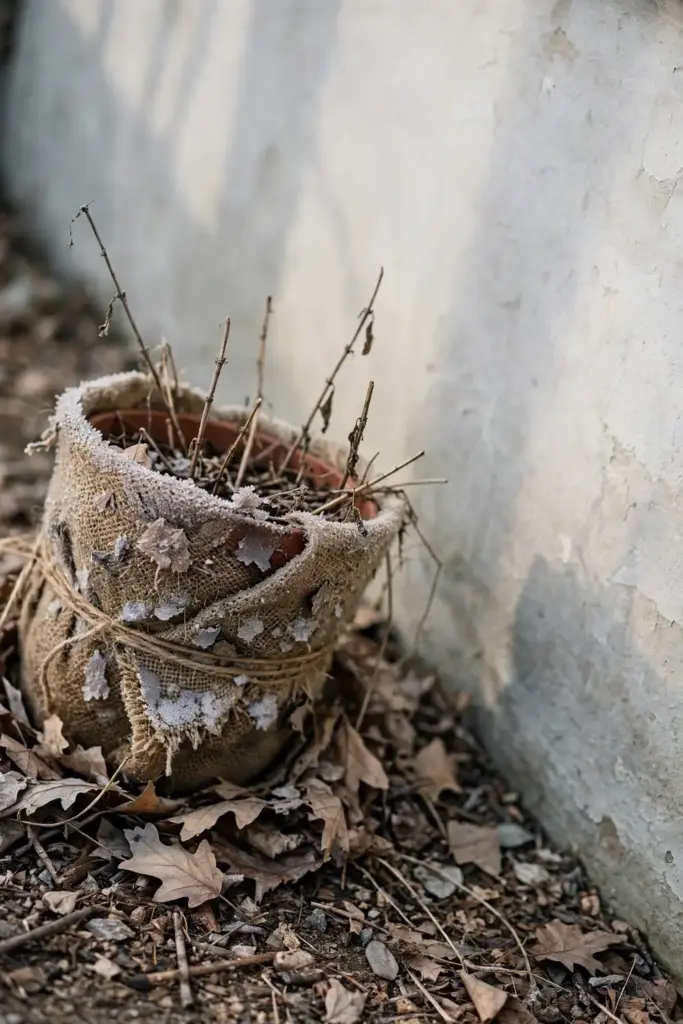
Move the pot against the house wall or into an unheated garage once hard frosts arrive. The goal is to keep the root ball cold but not freeze-dried by wind. In zones 7 and warmer, a sheltered patio spot with mulch heaped over the pot is enough. In zones 5 and 6, bury the pot in the ground for winter or wrap it in burlap and pile leaves around it.
Water sparingly through winter, just enough to keep the mix from going completely dry. New shoots emerge when soil temperatures climb in spring, usually 4 to 6 weeks before your last frost date. That is your signal to divide, repot, and start the season.
14. Spot Rust, Aphids, and Spider Mites Early
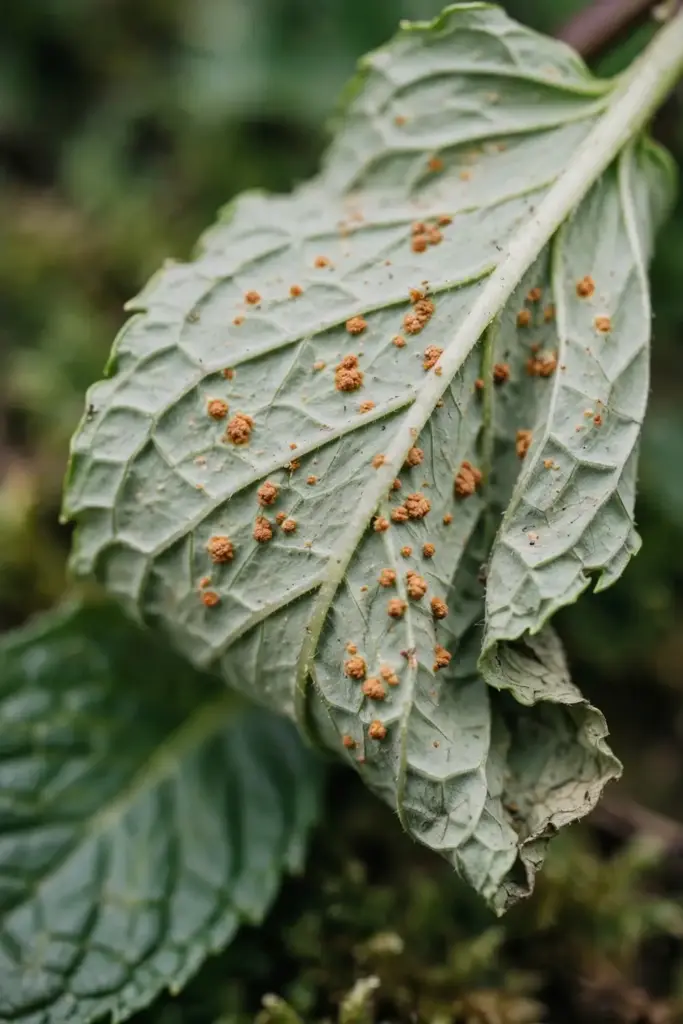
Mint is tough, but three problems show up regularly. Mint rust appears as small orange-brown pustules on the undersides of leaves. It spreads in wet weather. At the first sign, strip the affected leaves, improve air circulation, and avoid wetting the foliage. Severe rust calls for cutting the whole plant to the ground; the rhizomes regrow clean.
Aphids cluster on tender stem tips and new growth, sucking sap and spreading sooty mold. A strong blast of water knocks most of them off, and ladybugs finish the job. Check the growing tips weekly during the spring flush, because catching aphids early keeps them from stunting the plant.
Spider mites thrive in hot, dry conditions and stipple the leaves with tiny yellow dots. Fine webbing on the leaf undersides confirms the diagnosis. Raise humidity around the plant, spray the undersides of leaves with water, and prune the worst stems. Healthy, well-watered mint outgrows light mite pressure on its own.
Good sanitation prevents most disease. Remove fallen leaves from the pot surface, space pots for airflow, and never compost diseased mint foliage. Start each spring with fresh mulch and the plant gets a clean slate.
15. Harvest at 3 to 4 Inches With the Cut-and-Come-Again Method
Begin harvesting once stems reach 3 to 4 inches tall, cutting just above a leaf pair and always leaving at least 1 inch of plant above the soil so it regrows, which matches the University of California harvest guidance for mint. Morning harvest gives the strongest flavor, because essential oil concentration peaks before the heat of the day. Younger leaves carry the cleanest, sweetest bo he flavor; older lower leaves turn slightly bitter.
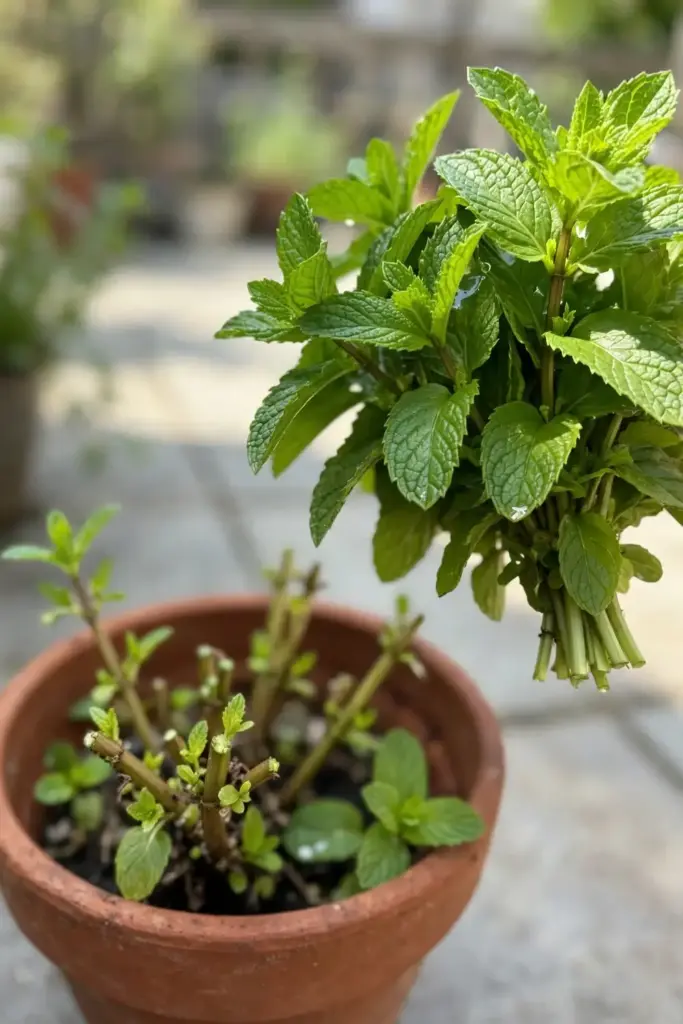
Cut stems, not single leaves, for the best return. Each cut stem branches into two below the cut, so harvesting prunes and multiplies at the same time. Work around the plant evenly instead of stripping one side, which keeps the shape balanced. During peak summer growth, a healthy 12-inch pot can give you a generous handful every 10 to 14 days without breaking stride.
Stop heavy harvesting 4 weeks before your first expected frost. The plant needs its leaves to store energy in the rhizomes for winter. Light picking for tea is fine, but let the plant keep most of its foliage for the dormancy run-up.
16. Dry and Store Your Harvest for a Year of Tea
Fresh mint keeps in the refrigerator for about a week wrapped in a damp towel inside a bag. For longer storage, drying is the traditional method and it works beautifully with bo he. Cut long stems just before the plants flower, when oil content is highest. Remove any yellow or damaged leaves.
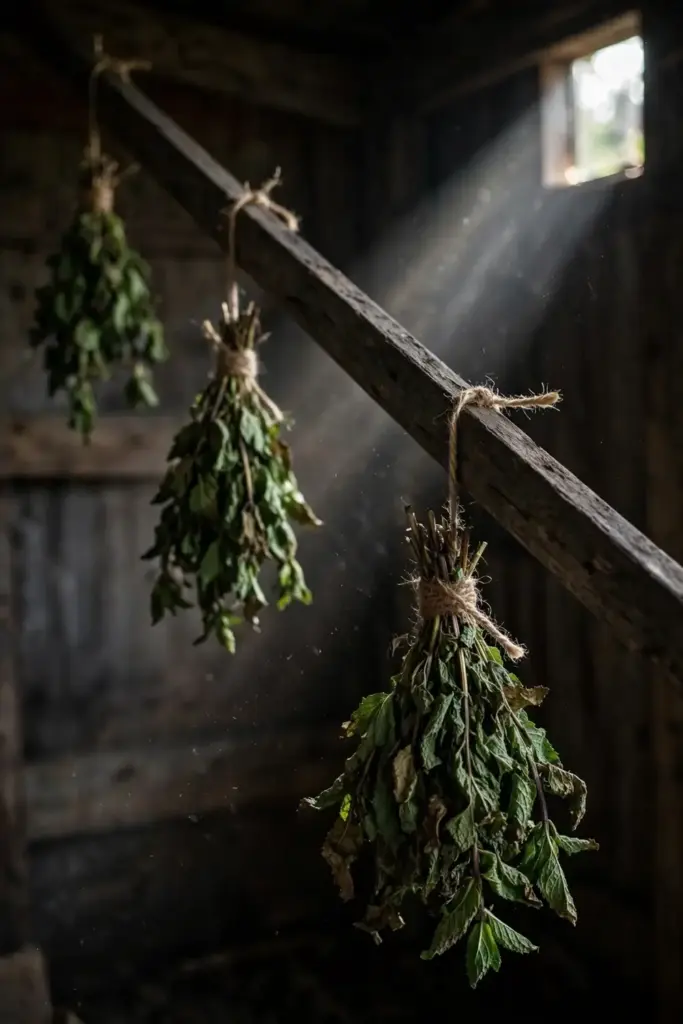
Rinse the stems gently, pat them dry, and tie them in small bundles. Hang the bundles upside down in a dark, well-ventilated spot out of direct sun. Sunlight bleaches the color and cooks off the volatile oils you are trying to save. In 7 to 14 days the leaves feel papery and crumble easily. Strip them from the stems, crumble lightly, and store in airtight jars away from light and heat. Properly dried mint keeps its flavor for up to a year, and NDSU Extension’s Field to Fork mint publication covers storing and preserving in more detail.
Freezing is the faster alternative and preserves flavor even better for cooking. Chop fresh leaves, pack them into ice cube trays, cover with water, and freeze. Pop the cubes into bags and use them straight from frozen in teas, soups, and sauces. Frozen mint keeps 6 months easily.
17. Use Bo He in the Kitchen: Tea and Cooling Dishes
This is where Chinese mint earns its pot space. The flavor sits between spearmint and peppermint: cooler and higher in menthol than spearmint, cleaner and sweeter than peppermint. Traditional Chinese practice uses bo he for its cooling character, including teas taken for headaches, colds, and digestion, and the herb is described as cooling the body and refreshing the mind.
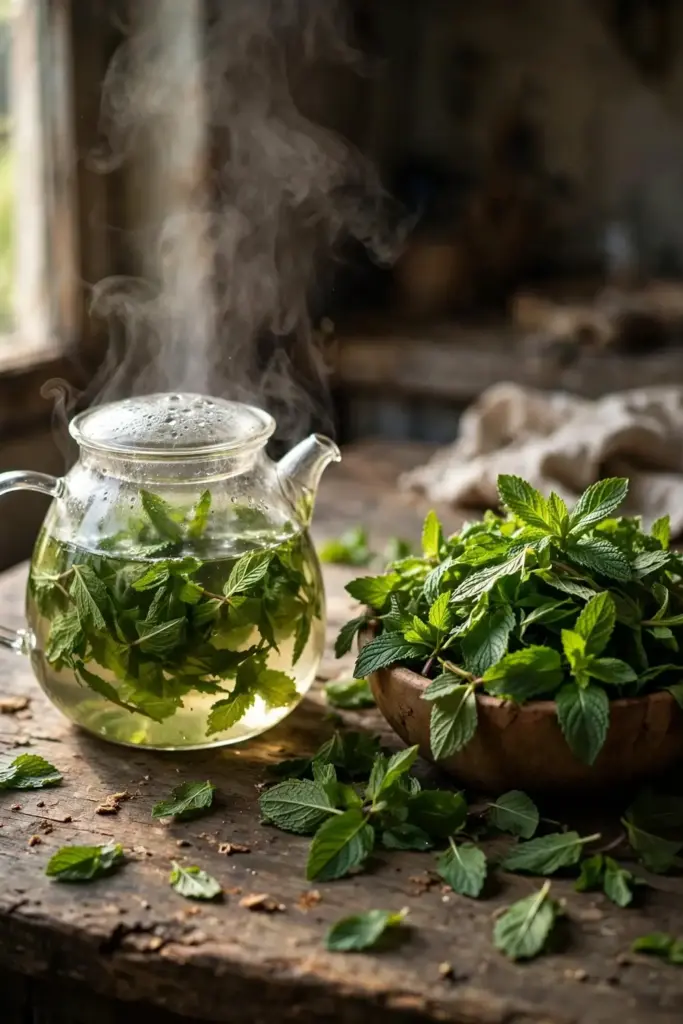
The simplest use is fresh tea. Bruise a small handful of fresh leaves to release the oils, pour just-boiled water over them, and steep 5 minutes. Dried leaves work the same way at about 1 teaspoon per cup. Iced bo he tea with lemon is a summer staple: brew it strong, chill it, and serve over ice.
In the kitchen, treat it like any fresh mint. Scatter chopped leaves over fruit salads, stir them into yogurt sauces, muddle them for cold drinks like a classic mint julep, and add them at the last minute to stir-fries so the heat does not destroy the aroma. Dried bo he seasons stuffings and grain salads through winter. One plant in a 12-inch pot supplies a two-person household’s fresh mint from June through September with plenty left to dry.
A note on the medicinal framing: traditional uses are interesting, but this guide makes no health claims. If you are considering mint preparations for anything beyond food and tea, talk to a clinician first.
18. Avoid the 7 Mistakes New Mint Growers Make
Mistake one is planting it in open ground. The runners will own that bed within two seasons, and you will spend years digging them out. Use a pot.
Mistake two is starting from seed. Packets labeled “Chinese mint” are often mislabeled, and seedlings rarely match the parent. Buy one potted Mentha haplocalyx and divide it for years of plants.
Mistake three is a pot without drainage. Mint loves moisture but rots in standing water. Every pot needs holes, and the saucer needs emptying.
Mistake four is too little light. A dim windowsill grows pale, leggy stems with weak flavor. Give the plant 4 to 6 hours of real sun or a proper grow light.
Mistake five is never pinching. Unpinched mint grows into a few tall, bare stems with leaves only at the top. Pinch the tips from 4 inches tall and keep pinching all season.
Mistake six is skipping division. A 3-year-old pot is mostly woody center and declining flavor. Divide every spring and the plant stays young.
Mistake seven is letting it flower unchecked when you want leaves. A few blooms for the bees are fine, but a fully flowering plant puts its energy into seed and the leaf flavor fades.
19. Troubleshoot Common Problems
Leggy stems with wide gaps between leaves: Not enough light. Move the pot to a brighter spot or add a grow light, then cut the leggy stems back by half to force bushy regrowth.
Yellow lower leaves: Usually overwatering. Let the top inch dry between waterings and check that the drainage holes flow freely. If watering is correct, a half-strength liquid feed may be due.
Brown leaf edges: Underwatering or fertilizer burn. Water deeply, flush the pot to wash out excess salts, and cut fertilizer strength in half going forward.
White powdery coating on leaves: Powdery mildew from poor airflow and wet foliage. Move the pot where air circulates, water the soil instead of the leaves, and remove the worst leaves. The plant outgrows it in dry weather.
Runners escaping through drainage holes: The pot is telling you it is time to divide. Slide the plant out, trim the escaping rhizomes, divide the root ball, and repot in fresh mix.
No growth in spring: The rhizomes may have frozen in an exposed pot. Scratch a rhizome: white and firm means alive, brown and mushy means dead. Protect pots from hard freezes next winter.
Frequently Asked Questions
No. Chinese mint is Mentha haplocalyx, while peppermint is Mentha x piperita, a sterile hybrid of watermint and spearmint. Chinese mint tastes cleaner and sweeter with a cooling character between spearmint and peppermint. The names get mixed up constantly in stores and search results, so always check the Latin name on the plant tag before buying.
You can try, but buying a plant is smarter. Mint seed germinates unevenly, seedlings rarely match the parent, and packets labeled “Chinese mint” are frequently mislabeled field mint. A single potted Mentha haplocalyx costs little, establishes in weeks, and gives you divisions for years. One plant is all you ever need to buy.
Yes, with protection. The plant is hardy in zones 5 to 9, but pot roots freeze harder than ground roots. Move the pot against a sheltered wall or into an unheated garage for winter, mulch over the top, and water just enough to keep the mix from drying out completely. New shoots emerge in spring when the soil warms.
Grow it in a pot and never plant it in open ground. A 12-inch pot with drainage holes contains the rhizomes completely. If you want the in-ground look, sink the pot into the soil with 2 inches of rim above the surface. Edge any existing in-ground mint with a spade every few weeks, cutting the surface runners before they root.
Divide every spring when new shoots reach 2 to 3 inches tall. Slide the root ball out, cut it into quarters, discard the woody center, and replant one quarter in fresh mix. Pots that skip division for a couple of seasons turn woody in the middle and lose flavor, while a yearly-divided plant stays vigorous and productive season after season.
Bo he is the Mandarin name for Chinese mint, Mentha haplocalyx. In the kitchen it flavors teas, cold drinks, fruit salads, yogurt sauces, and stir-fries, with a cooling taste between spearmint and peppermint. Traditional Chinese practice also uses it for its cooling character in teas. This guide covers culinary use only and makes no health claims.
Where to Go From Here
You now know how to grow Chinese mint, from the species truth to the containment rule to the full care routine. Buy one potted Mentha haplocalyx, give it a 12-inch pot with drainage, 4 to 6 hours of sun, and regular pinching, and it will pay you back in fresh bo he from early summer through fall. Divide it each spring and the same plant serves your kitchen for years.
If you grow mint indoors through winter, the indoor herb garden guide on this site covers lighting and humidity setups that keep herbs productive under a roof. For a fall planting calendar that includes mint’s herb companions, the fall herbs guide maps out what to plant and when. And when your pot overflows with more mint than the kitchen can use, dry the surplus using the method in section 16 and you will have bo he tea until next year’s harvest.