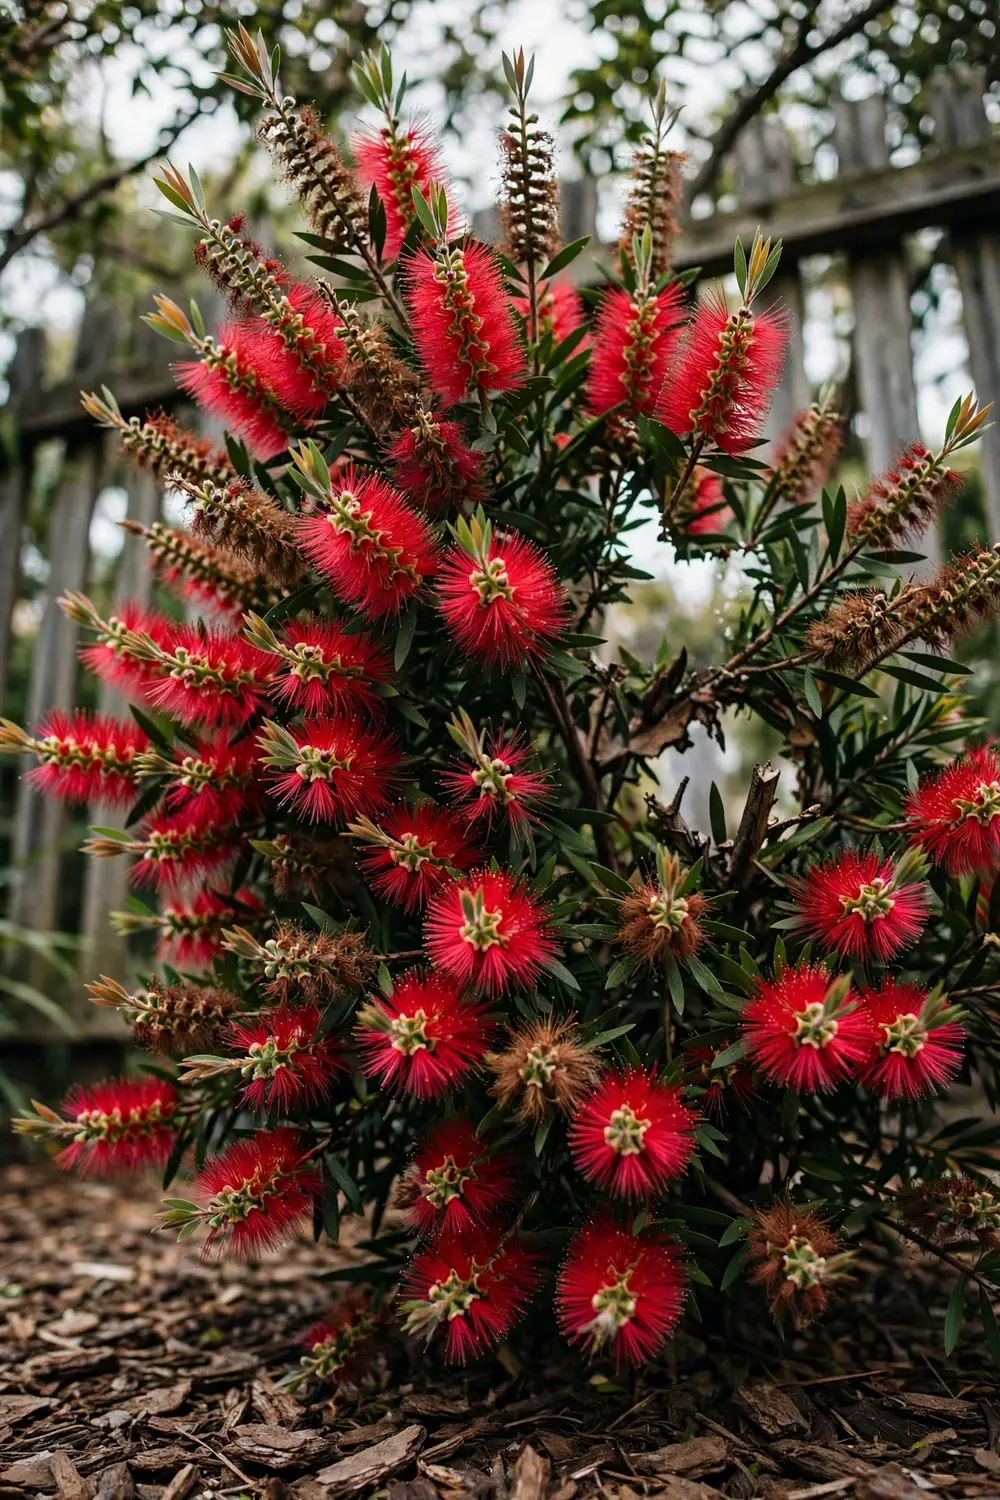

Pick a bottlebrush local to your region, plant it in full sun for at least 6 hours a day, and prune directly behind each spent flowerhead. That is growing bottlebrush in Australia. One feed of low-phosphorus native fertilizer in spring covers feeding for the year.
Bottlebrush earns its place fast. A single shrub flowers twice in a good year, feeds honeyeaters and bees for months, and asks for little beyond sun and a free-draining root run. The failures come from three moves: planting a species that belongs in another climate, feeding it a general fertilizer loaded with phosphorus, and cutting back into bare old wood that never reshoots.
The rest of this page runs from the name on the label to the first cut, the first feed, and the failures worth fixing. Read the naming section first. It stops the most common nursery mistake before you spend a cent.
1. Read the Label Twice: One Plant, Two Genus Names
A bottlebrush label may say Callistemon, and the next nursery may sell the same plant as Melaleuca. The plant is one plant under two names. The split comes from botanists who disagree about where the genus boundary sits.
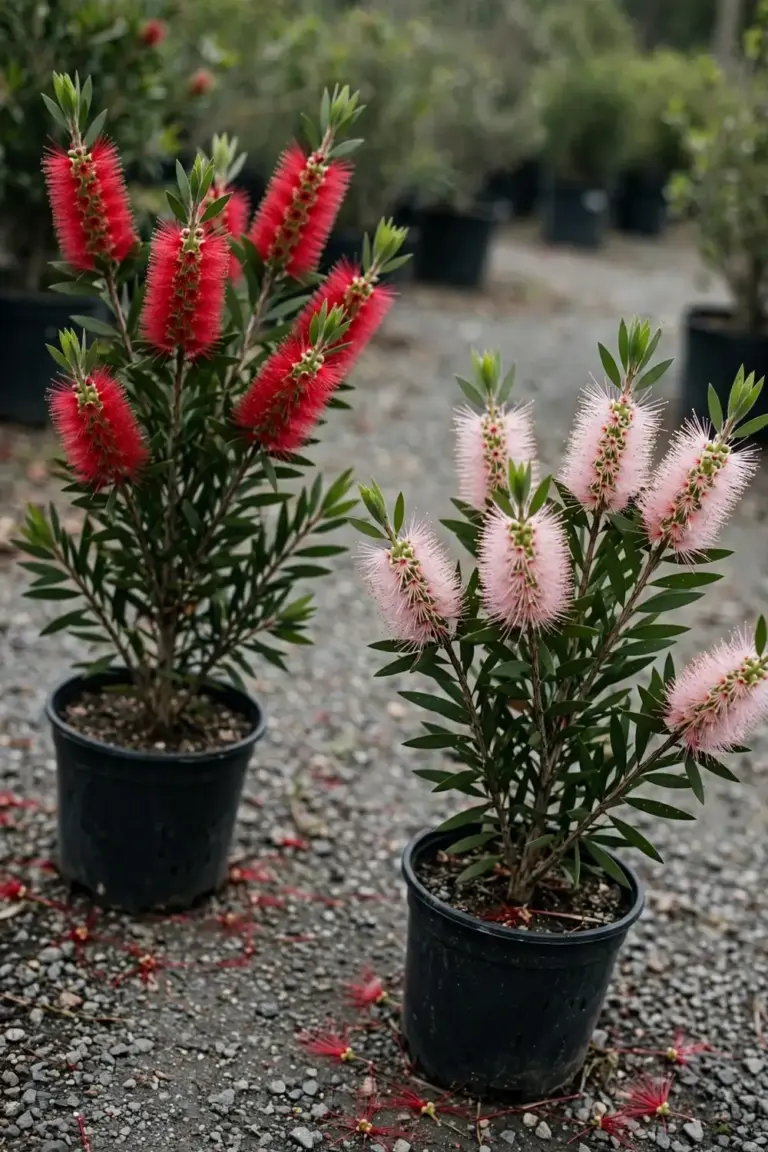
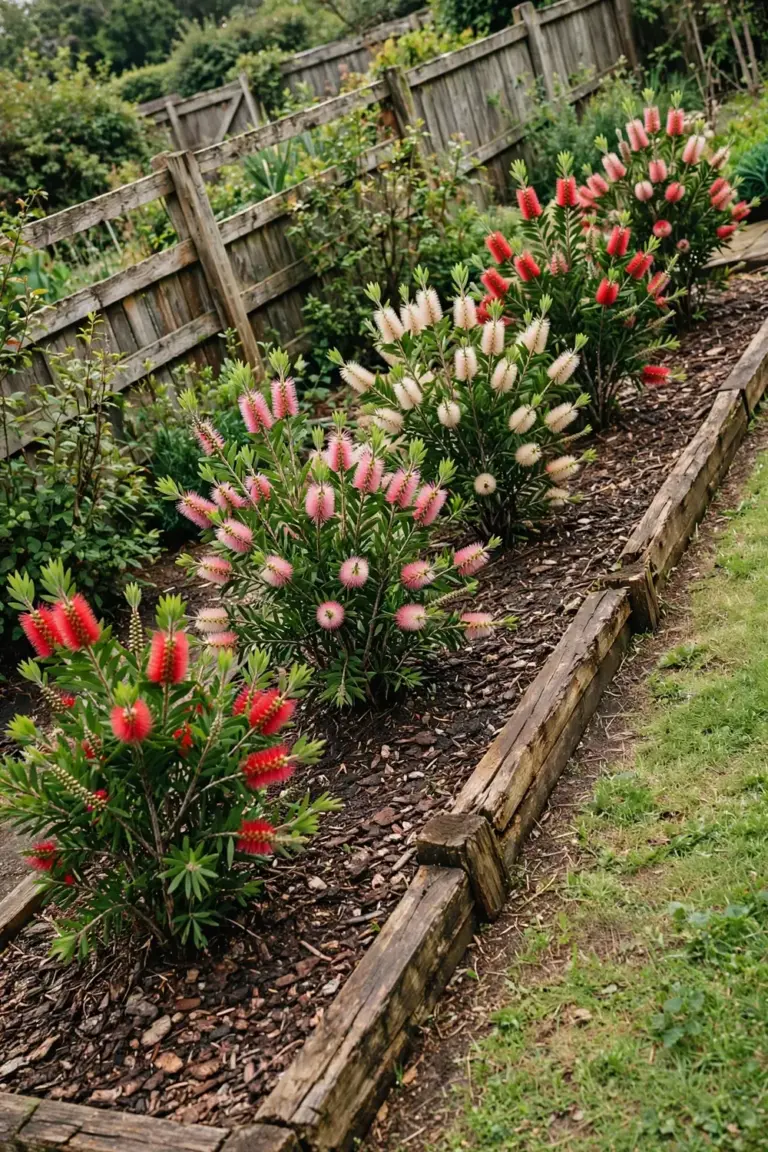
Some botanists fold Callistemon into Melaleuca, so a crimson bottlebrush becomes Melaleuca citrina on their labels. The Australian Plants Society notes that some botanists combine Callistemon and Melaleuca into the one genus, Melaleuca. Other authorities keep Callistemon separate. The Royal Botanic Gardens Sydney still lists the crimson bottlebrush as Callistemon citrinus, with Melaleuca citrina as a synonym. The genus is Australian, and every species in it is endemic.
Use the common name plus one botanical name when you shop, and check the second name before you buy. A label that says Callistemon citrinus and a label that says Melaleuca citrina describe the same shrub. A label that says only “bottlebrush” tells you nothing about height, flower color, or frost tolerance. Ask for the full name. Do not confuse bottlebrush with tea tree (Leptospermum). The two sit in the same family, Myrtaceae, and share the low-phosphorus rule, but they are different genera with different care.
2. Pick a Bottlebrush Local to Your Region First
Local provenance decides whether your bottlebrush thrives or sulks. A species that grows wild along creeks in coastal New South Wales may fail in a frost pocket in Canberra or bake on a windy Perth verge. A Western Australian species may rot in a humid Brisbane summer. Start from what already grows near you, then match the job.
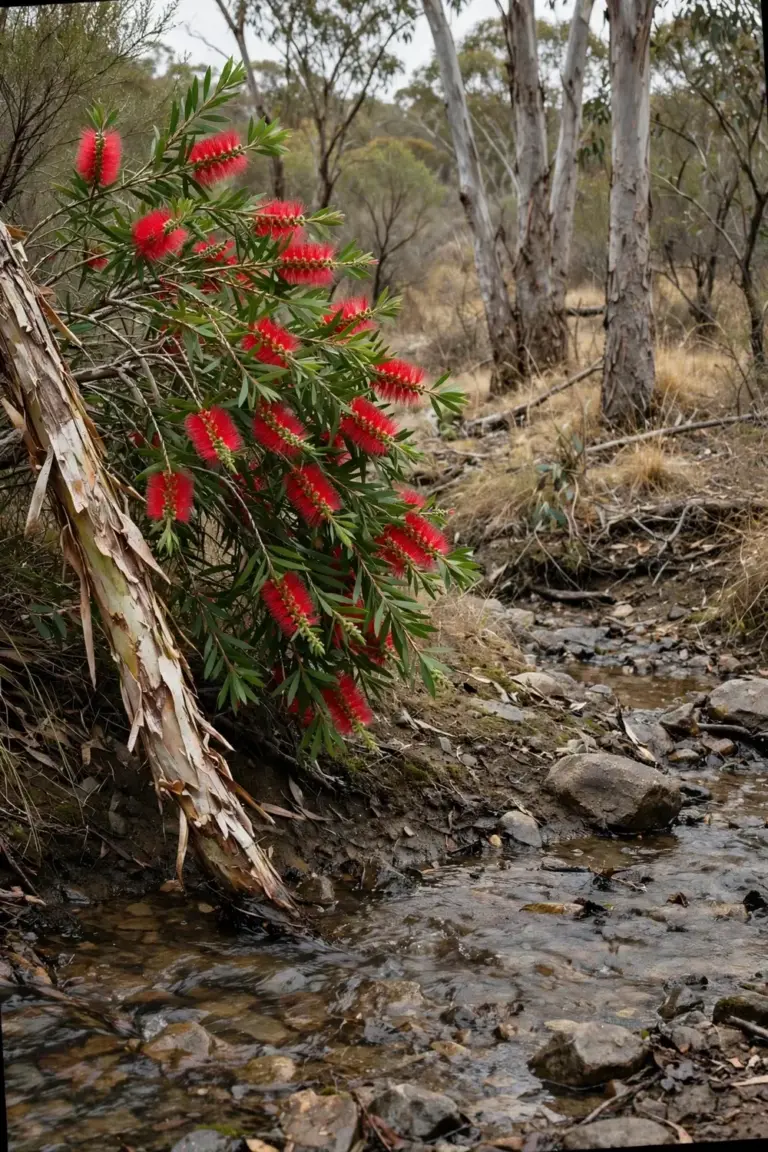
Check three facts before you buy: where the species grows wild, how cold your coldest night runs, and how wet your soil stays in winter. A coastal species tolerates salt wind and wet feet. An inland species tolerates dry soil and heat, and often hates wet feet. A tablelands species tolerates frost that would blacken a tropical one. Your local nursery stocks the species that suit your area for a reason. Ask which ones they propagate from local seed, and favor those over interstate stock of the same species.
Provenance also protects the bush. A bottlebrush planted outside its natural range can seed into nearby bushland and become a weed there. The weeping bottlebrush has naturalized beyond its home range in several states. Buy local stock, keep seed off bush tracks, and check your council weed list when a species is not local to your area.
3. Choose by Job: Screen, Small Garden, Pot, or Feature
Choose the job before the flower color when growing bottlebrush in Australia. A screen needs height and density. A small garden needs a compact shrub that stays under 2 m without constant cutting. A pot needs a dwarf that tolerates a confined root run. A feature needs one strong shape and one flower color that carries across the garden.
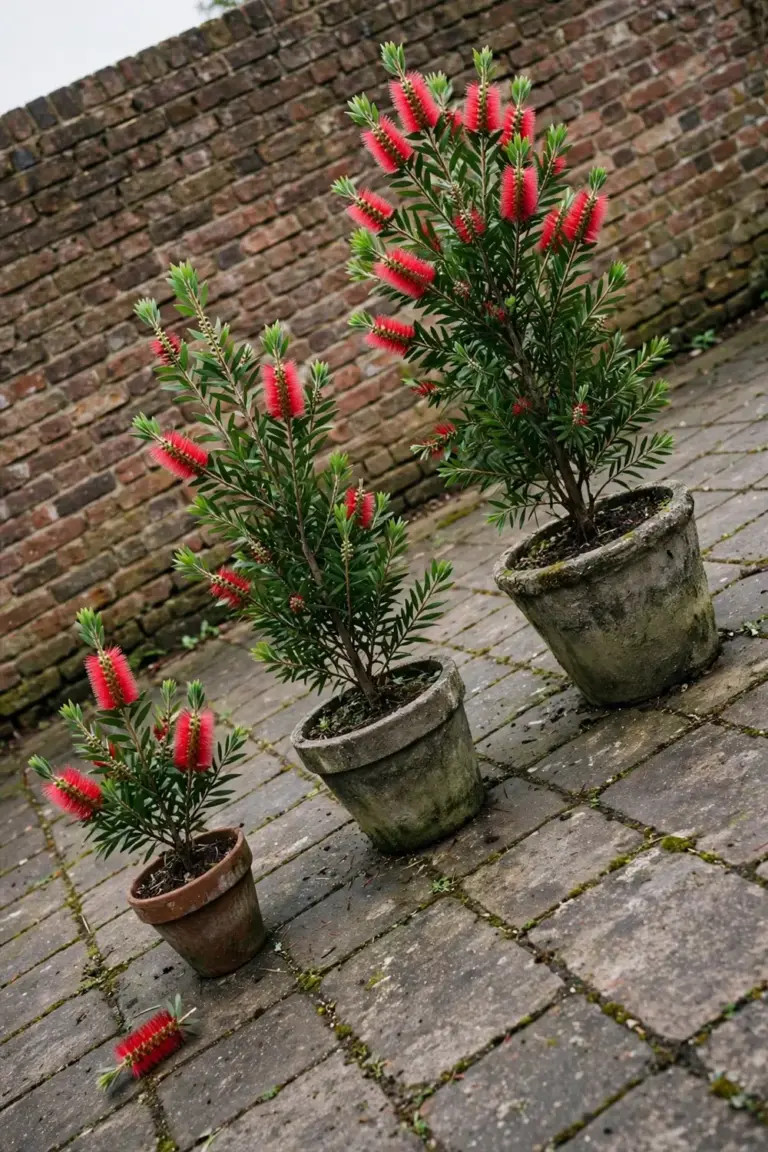
Heights in the table follow nursery guides from Aussie Green Thumb, OzBreed, and Garden Express. Treat each height as the size a plant reaches in good conditions with normal care, and allow room for the top of the range.
| Variety | Also Sold As | Height | Job | Notes |
|---|---|---|---|---|
| Callistemon citrinus Splendens | Melaleuca citrina Splendens | To 3 m | Screen, feature | Crimson spikes, twice-flowering in good years, lemon-scented leaves |
| Callistemon viminalis Hannah Ray | Melaleuca viminalis Hannah Ray | To 3 m | Screen, weeping feature | Weeping habit, red spikes, needs room for drooping branches |
| Callistemon Captain Cook | Melaleuca Captain Cook | To 2 m | Small garden, low hedge | Compact, red spikes, holds shape with light pruning |
| Callistemon Little John | Melaleuca Little John | To 1 m | Pot, edging, small garden | Dwarf, red spikes, blue-green leaves |
| Callistemon salignus | Melaleuca salicina | To 5 m | Screen, windbreak, wet sites | Cream to white spikes, papery bark, tolerates wet soil |
| Callistemon Kings Park Special | Melaleuca Kings Park Special | To 3 m | Feature, screen | Large red spikes, Western Australian species, needs sharp drainage |
| Callistemon phoeniceus | Melaleuca phoenicea | To 2 m | Small garden, wet sites | Red spikes, lesser bottlebrush, likes steady moisture |
| Callistemon pallidus | Melaleuca pallida | To 3 m | Feature, cold gardens | Lemon-yellow spikes, tolerates frost better than most |
Buy a named cultivar when you need a guaranteed size. Seed-grown bottlebrush varies. Two seedlings from one parent can differ in height by a meter and flower weeks apart. A cultivar is a clone, so the height on the label holds. Pay the extra for the cultivar when the planting spot has a fixed size, such as a pot or a narrow side path.
4. Give It Full Sun and Drainage That Actually Drains
Full sun drives flowering. A bottlebrush in full sun sets far more spikes than the same plant in half shade. Give it at least 6 hours of direct sun, and place it where morning sun dries the leaves early. Shade keeps leaves damp longer, and damp leaves invite fungal trouble.
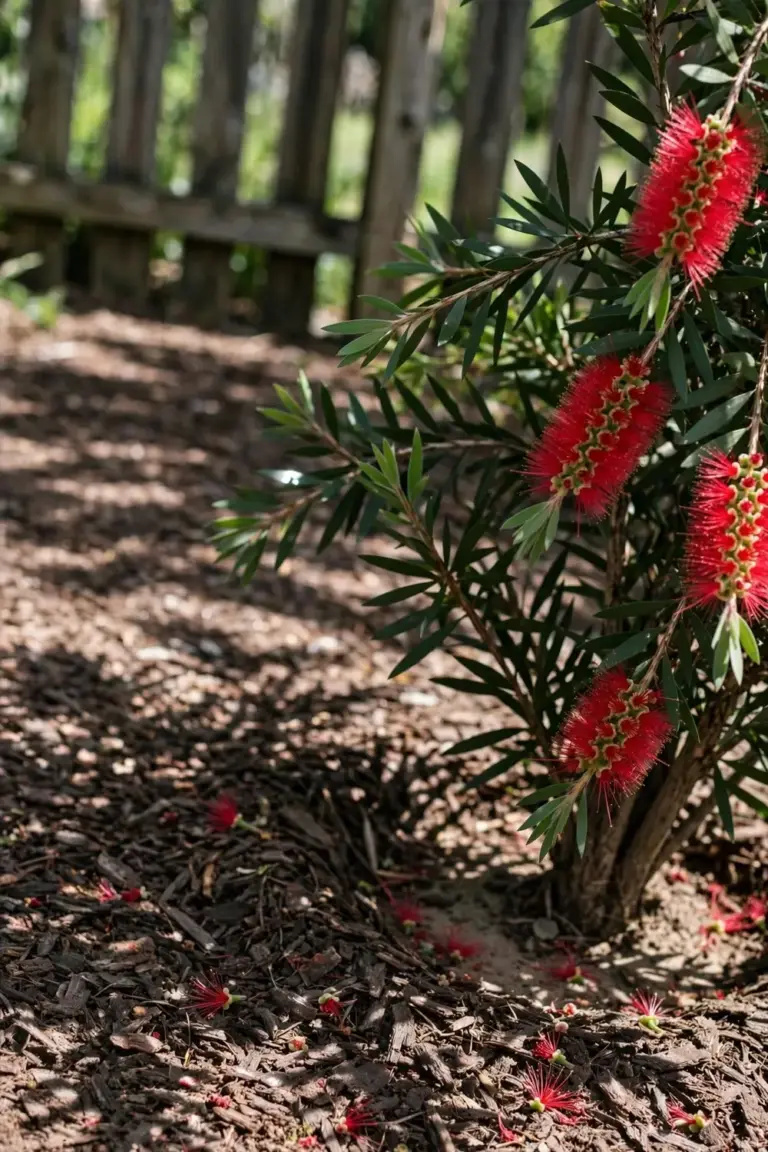
Drainage decides survival. Bottlebrush roots rot in soil that stays waterlogged. Dig a test hole 30 cm deep and fill it with water. Water that still sits in the hole an hour later means the site needs work. Raise the bed 15 to 20 cm, break up a compacted layer with a fork, or pick a higher spot. A mound of free-draining soil beats a deep hole in clay. The hole in clay becomes a sump that holds water against the roots.
Soil type matters less than drainage. Bottlebrush grows in sand, loam, and clay, provided water moves through. Keep the pH near neutral to slightly acid. A soil test tells you where you stand, and building soil health with organic matter helps the soil hold moisture without staying wet. Mulch with a coarse bark or woodchip layer 5 to 8 cm thick, pulled 5 cm clear of the trunk. Mulch keeps roots cool, holds moisture, and feeds the soil as it breaks down. Piled mulch against bark traps moisture and rots the trunk.
Keep one safety fact in mind. Bottlebrush leaves carry oils that add to flammability, and Trees for Climate advises against planting close to structures for that reason. Site the shrub at least a few meters from the house, keep its form compact, and clear dead material from under it.
5. Plant It at the Same Depth It Grew In
Plant in autumn or spring, when soil is warm and rain is likely. Autumn planting gives roots a cool season to settle before summer heat. Spring planting suits cold areas where autumn soil cools fast. Avoid planting in the hottest weeks of summer, when a new plant loses water faster than its roots can replace it.
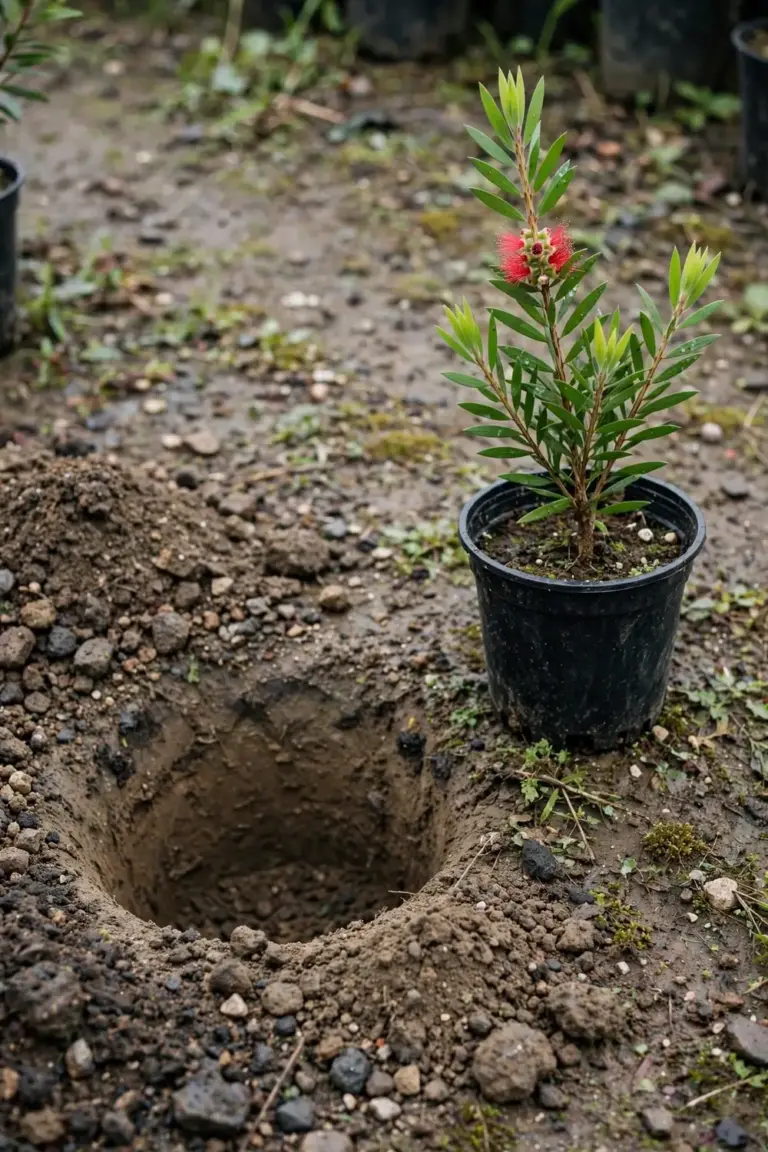
Dig the hole twice as wide as the pot and no deeper than the root ball. Set the plant so the top of the root ball sits level with the surrounding soil. Planting deeper buries the trunk and invites rot. Planting higher leaves roots exposed to drying air. Backfill with the soil you dug out, and firm it gently with your hands. Water the plant in with a full watering can or a slow hose, so the soil settles against the roots and air pockets close.
Stake only when the site is windy or the plant is top heavy. Drive the stake at an angle away from the root ball, tie loosely with a figure-eight loop, and remove the stake once the plant stands firm on its own, usually within one growing season. A stake left on for years rubs bark and girdles the trunk. Water again the next day, then follow the watering schedule in the next section.
6. Water Weekly for Six Months, Then Step Back
A new bottlebrush needs steady water while its roots grow out of the original root ball. Aussie Green Thumb advises watering once a week during the first 6 months, or when the soil feels dry. Water deeply each time. Moisture should reach 20 to 30 cm down. Let the top few centimeters dry between waterings. Shallow daily sprinkles grow shallow roots. Those roots fail in the first hot spell.
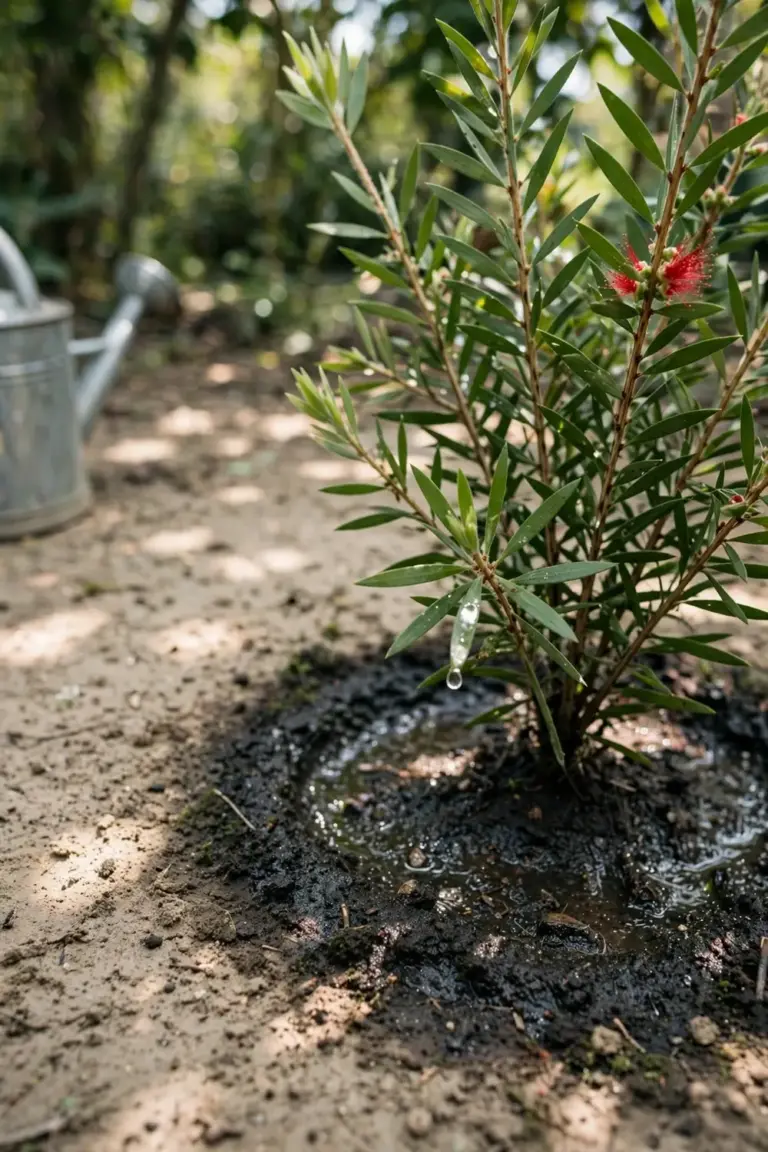
Established plants tolerate dry periods well, so water during long dry spells. Water well in early spring when rain is late, because spring watering supports the flowering flush that carries the season. A plant that wilts in the afternoon and recovers by morning needs water soon. A plant that stays wilted at dawn is already in trouble, and deep watering at the root zone is the first move.
Cut watering back in winter. Cold wet soil grows root rot faster than any pest. Check the soil with a finger before you water. Water when the top 5 cm feels dry. Skip the watering when it feels damp. A pot plant dries faster than a garden plant, so check pots twice as often in summer.
7. Feed Once in Spring With a Low-Phosphorus Native Blend
Bottlebrush needs little fertilizer. In good soil, a mature plant feeds itself from leaf litter and soil life. A young plant, a pot plant, or a plant on poor soil benefits from one feed a year, timed for spring when growth restarts.
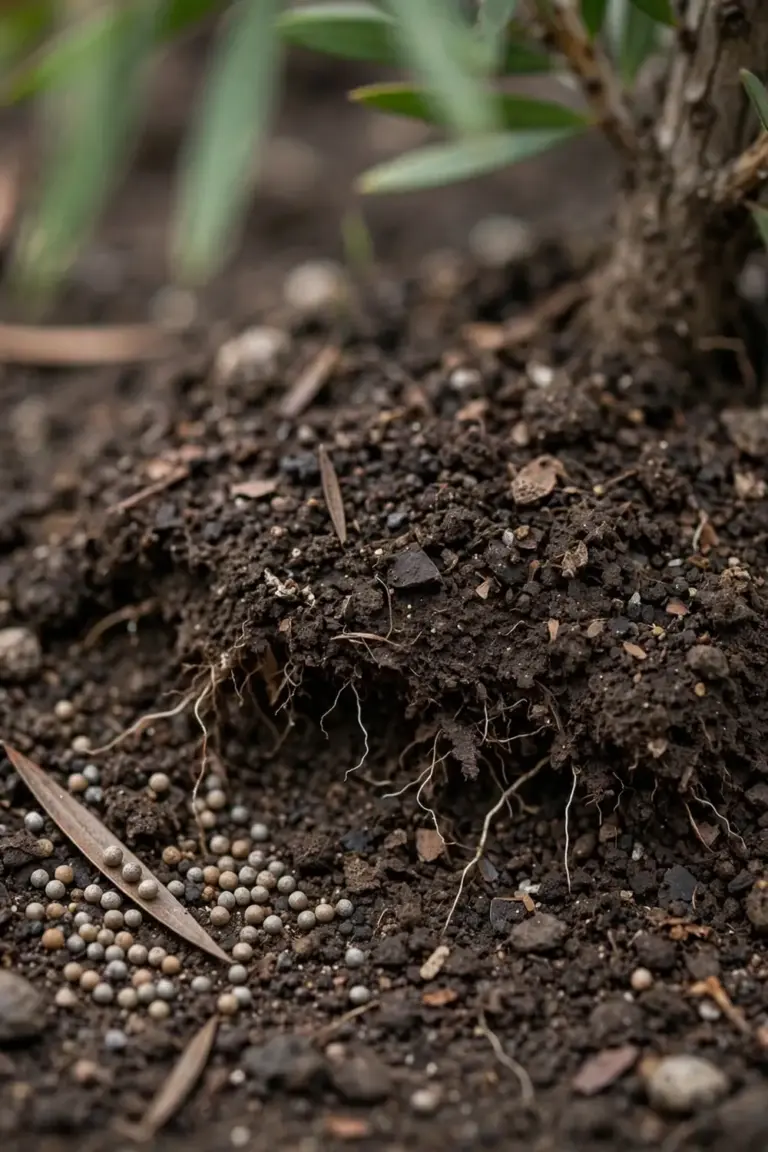
Use a slow-release fertilizer made for Australian natives, with low phosphorus. Aussie Green Thumb names slow-release low-phosphorus options such as a 13-2-13 or a 14-0-14 blend, or a native blend fertilizer, applied in spring. The middle number is phosphorus. A general garden fertilizer with a high middle number can burn native roots and yellow the leaves. Read the label. The word native on the bag is not enough. Check the phosphorus figure.
Apply at the rate on the label, spread under the drip line, and water it in. Never heap fertilizer against the trunk. A pot plant needs the same feed at half the garden rate, because the small soil volume concentrates salts. Skip feeding in autumn and winter. A late feed pushes soft growth that frost burns, and the plant enters winter weakened.
8. Prune Directly Behind the Spent Flowerhead After Flowering
Prune after flowering, not before. The flower spike sits at the tip of a branch, and the branch keeps growing past the spent spike into a leafy shoot. Cut directly behind the spent flowerhead, into green leafy growth. That cut wakes the buds below it and keeps the shrub dense.
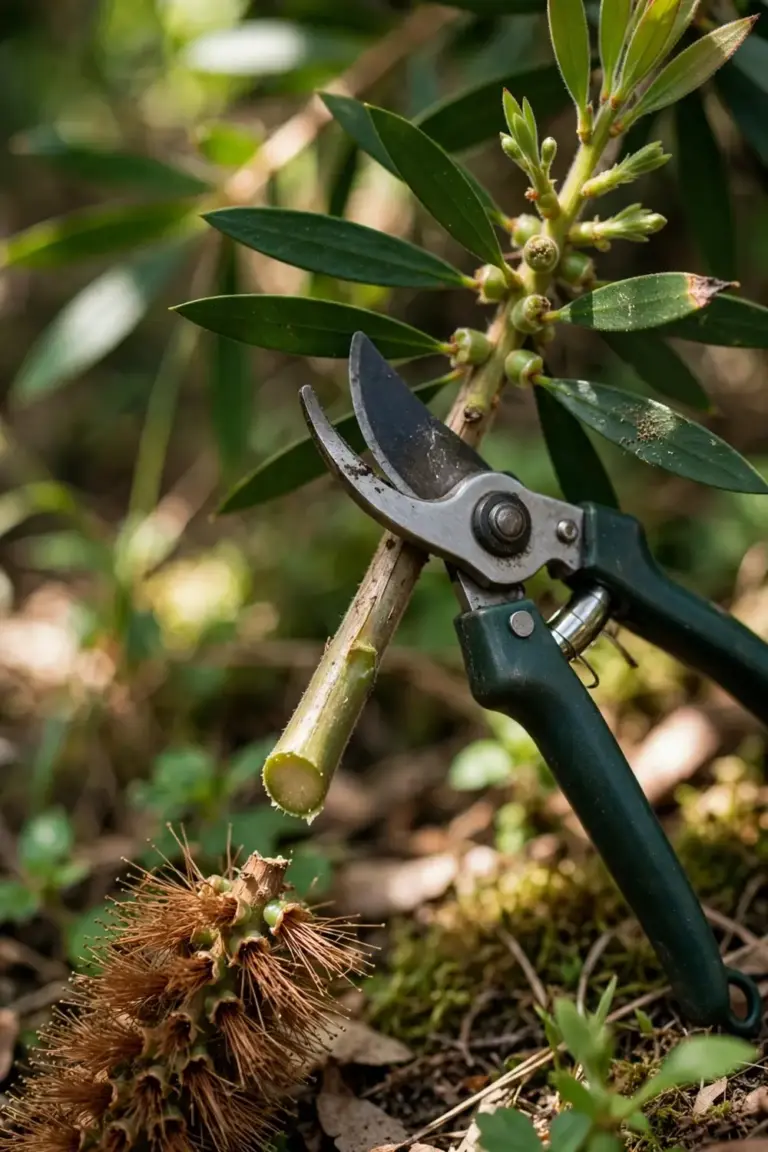
I have learned that the bottlebrush I prune directly behind the spent flowerhead flowers again, while the one I cut into old wood sulks. The rule is simple to state and easy to break. Never cut back into bare old wood with no leaves. Old wood on most bottlebrush carries few live buds, so a hard cut leaves a bare stub that may never reshoot. Light pruning, repeated each year, beats one hard rescue cut.
Use sharp bypass secateurs for stems under 2 cm, and loppers for larger wood. Clean the blades with soapy water between plants when you have seen disease on any plant in the garden. The spring pruning guide on this site covers the wider technique for woody shrubs, and the same clean-blade rule applies here. Shape a hedge lightly after each flush, and leave a weeping form alone apart from removing dead wood. A weeping bottlebrush loses its shape when it is sheared flat.
9. Check for Myrtle Rust, Sawfly, and Scale Before They Spread
Bottlebrush is tough, and three problems do most of the damage. Check the plant every two weeks in the growing season, and look at new growth first. New growth shows trouble earliest.
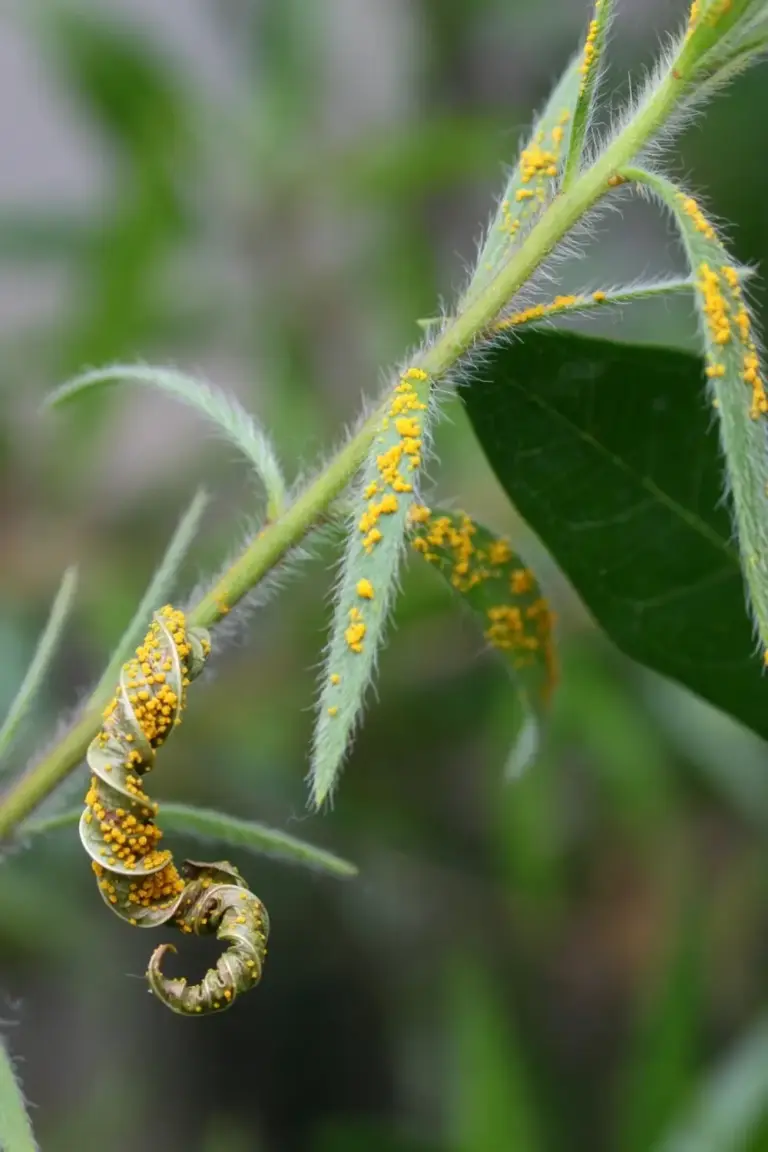
Myrtle rust is the serious one. The fungus attacks new leaves, shoots, and buds across the myrtle family, and bottlebrush sits in that family. Look for bright yellow-orange powdery pustules on young leaves and shoots, followed by distortion and dieback. Act fast. The NSW Department of Primary Industries advises that infected plants or parts be sprayed with a fungicide 3 to 4 days before removal, enclosed in a plastic bag before cutting, and solarized under black plastic for 3 to 4 weeks when too large to bag. Bagged material goes in a normal waste bin, never the green waste bin. Do not compost infected material. Clean tools and clothing after handling infected plants, and report suspected myrtle rust to your state agriculture department.
Sawfly larvae strip leaves in groups. The larvae sit in clusters on the leaf edge and eat inward. Pick them off by hand into a bucket of soapy water, or knock them off with a strong jet of water. Aussie Green Thumb notes that callistemon sawfly larvae feed on and destroy leaves, and that physical removal or a strong jet of water controls them. Check the undersides of leaves, where young larvae gather.
Scale insects sit still on stems and leaf veins, and sooty mould grows on the honeydew they excrete. A black coating on leaves usually means scale or aphids above it. Wipe light scale off with a cloth, or spray with horticultural oil at the label rate. Oil smothers the insects, and the mould washes off with rain once the insects are gone. Treat the insects, not the mould. The mould is a symptom.
10. Grow a Bottlebrush in a Pot Without Stunting It
A pot suits dwarf bottlebrush and any species you want to move under cover in winter. Choose a pot at least 40 cm wide and deep, with drainage holes you can see through. A pot without drainage drowns the plant in one wet week. Use a free-draining native potting mix, never garden soil, which compacts in a pot and seals the surface.
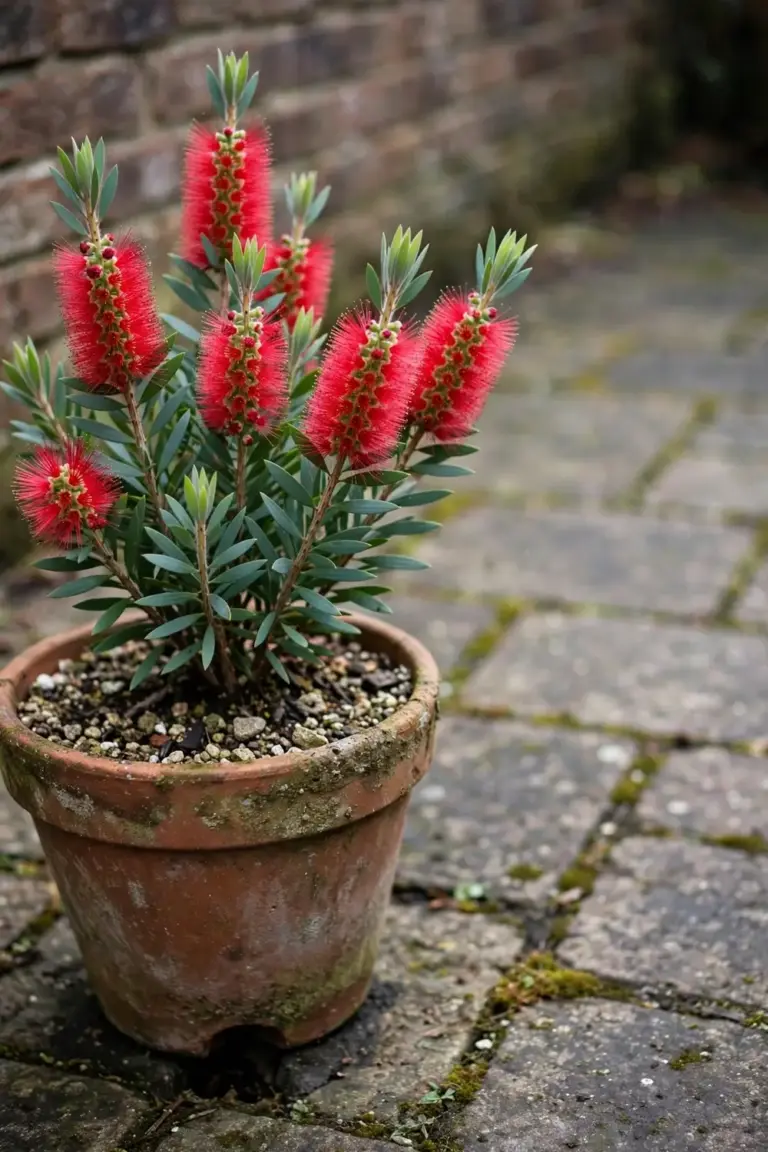
Water pots more often than garden plants. A pot in full sun can dry out in a day in summer. Check the mix with a finger each morning, and water when the top 3 cm feels dry. Feed once in spring with a slow-release native fertilizer at half the garden rate. The Australian native plants for containers guide on this site covers pot choice and mix in more detail, and the same free-draining rule applies to bottlebrush.
Repot when roots circle the pot or water runs straight through without wetting the mix. Move up one pot size only, tease the outer roots loose with your fingers, and set the plant at the same depth. A pot far too large holds wet mix around a small root ball, and the roots rot. In frost areas, move the pot to a sheltered wall in winter, and wrap the pot itself in hessian when hard frost is forecast.
11. Propagate From Seed or Semi-Hardwood Cuttings in Spring
Seed propagation is cheap and slow. Collect unopened woody capsules from the tree after flowering. Keep them in a brown paper bag in a warm cupboard until they open and release fine seed. Sow the seed on the surface of a well-draining seedling mix in spring, and keep the mix moist but never wet. Cover with a clear lid or plastic wrap with a few holes, and place the container in a sunny spot. Seedlings are ready to plant out once they hold their shape when lifted from the container. The seed-starting guide on this site covers the same germination steps in detail.
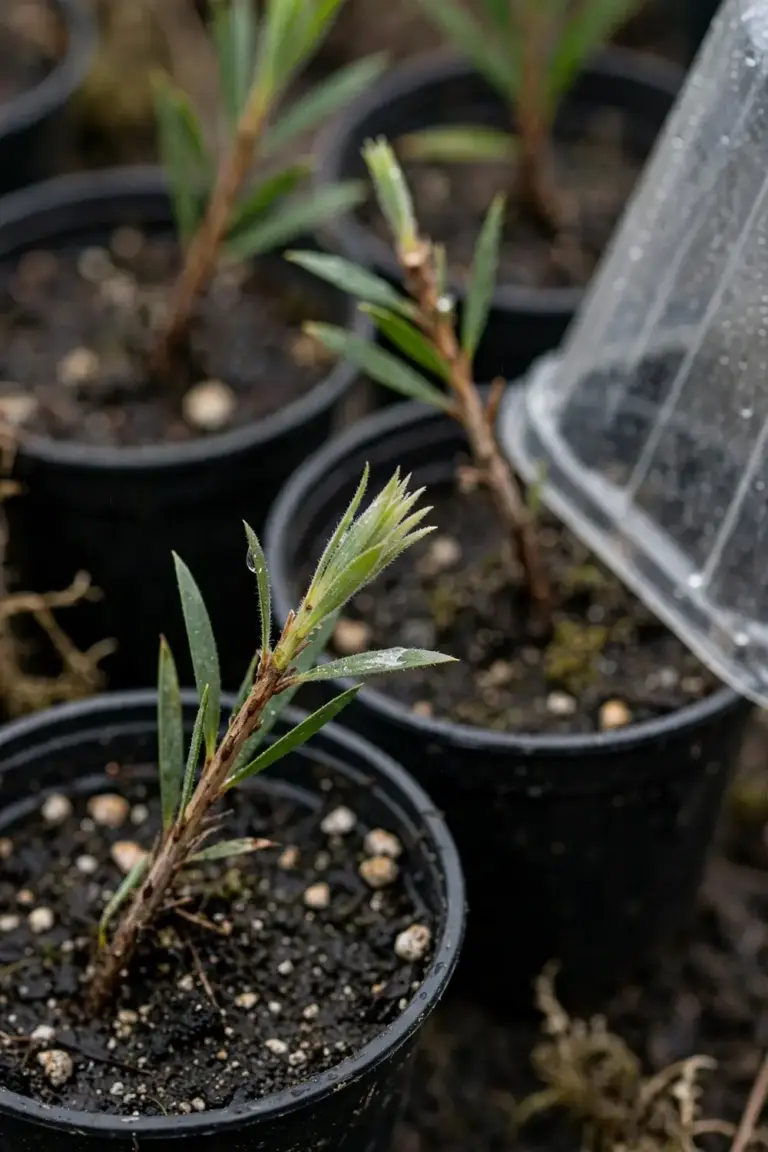
Cuttings are faster and keep the parent plant’s traits. Take a cutting from a semi-mature branch, not soft new growth, and strip the lower leaves. Dip the cut end in rooting hormone at the maker’s rate, and set it in a container of free-draining mix. Keep the mix moist and the container in bright shade until new growth shows. A cutting that resists a gentle tug has rooted. Pot it on, and grow it on for a full season before planting out.
Seedlings vary, and cuttings do not. A seedling from a named cultivar may grow taller, flower a different shade, or flower later than its parent. A cutting is a clone, so it matches the parent. Use cuttings when you want a second plant of a cultivar you already own, and use seed when you want a cheap batch of plants for a hedge and can accept variation.
12. Fix the 7 Most Common Bottlebrush Failures
No Flowers
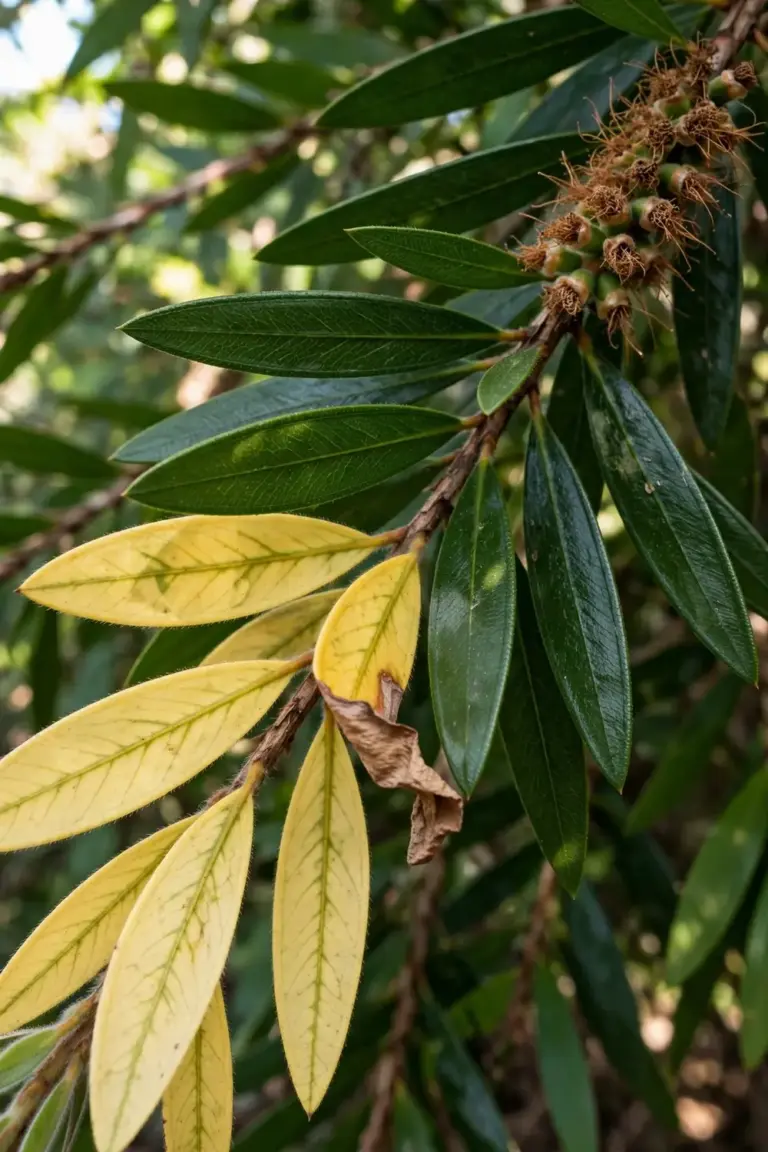
The usual cause is shade. A bottlebrush in half shade grows leaves and skips flowers. Move the plant or open the canopy above it, and give it at least 6 hours of direct sun. A second cause is a late hard prune that removed the wood that would have flowered. Prune after flowering only, and leave the new growth alone through winter. A third cause is excess nitrogen from lawn fertilizer drifting into the bed. Keep lawn fertilizer off the root zone.
Yellow Leaves
Yellow leaves with green veins point to a nutrient problem, often iron, on alkaline soil. Test the soil pH and the drainage. Waterlogged roots also yellow leaves, and the soil will feel wet when you check it. Fix drainage first, then feed. A single yellow leaf here and there on an old branch is normal shedding, and needs no action.
No Growth After Planting
A plant that sits still for a full season usually has a root problem. Check whether the root ball was pot-bound, with roots circling hard at the base. Tease circling roots loose at planting, and cut any girdling root that wraps the trunk. Check the planting depth. A plant set too deep suffocates at the trunk. Replant at the right depth in autumn, and water weekly until it grows.
Sawfly-Stripped Leaves
Sawfly larvae strip leaves fast and leave bare stems. Pick them off by hand or knock them off with a strong jet of water, and check the undersides of leaves weekly until no larvae remain. A stripped plant usually recovers. Feed it once in spring and let it regrow. Do not reach for a broad insecticide, which kills the predators that keep sawfly numbers down.
Black Sooty Coating
Sooty mould grows on honeydew from scale or aphids. Find the insects on stems and leaf veins, and treat them with horticultural oil at the label rate. The black coating washes off with rain once the insects are gone. A plant coated in mould for months needs the insects treated twice, two weeks apart, to catch the next hatch.
Dieback After Hard Pruning
A branch cut into bare old wood may never reshoot. Leave the stub through one growing season, and watch for buds. When no buds appear, cut the dead stub back to the nearest live branch with clean secateurs. Rebuild the shape with light annual pruning instead. Prevention beats repair here, because the wood does not forgive a hard cut.
Wilting in Summer
Wilting in the afternoon with recovery by morning means the plant needs water soon. Wilting that persists at dawn means the roots are damaged or the soil is waterlogged. Check the soil moisture before you water. Water a dry root zone deeply. Leave a waterlogged root zone alone, improve drainage, and wait. A plant in a pot may need a larger pot when it wilts daily despite watering.
13. Bottlebrush FAQ: Questions, Answered
Yes. Collect unopened woody capsules after flowering, keep them in a paper bag until they open, and sow the fine seed on the surface of a free-draining seedling mix in spring. Keep the mix moist and the container sunny. Seedlings vary from the parent, so use cuttings when you need an exact copy of a cultivar.
The same plant can carry either name. Some botanists fold Callistemon into Melaleuca, and other authorities keep the two genera separate. A crimson bottlebrush sold as Callistemon citrinus and one sold as Melaleuca citrina are the same shrub. Check the full botanical name on the label, and match it to the height and flower color you want.
Shade is the usual cause. A bottlebrush needs at least 6 hours of direct sun to set a full crop of spikes. A late hard prune can also remove the flowering wood, and lawn fertilizer drifting into the bed can push leaf growth at the cost of flowers. Prune after flowering only, keep lawn fertilizer off the root zone, and open the canopy above the plant.
Water once a week during the first 6 months, or when the soil feels dry. Water deeply so moisture reaches the root zone, and let the top few centimeters dry between waterings. Established plants tolerate dry periods and need water mainly in long dry spells and in early spring when rain is late. Cut watering back in winter, when cold wet soil grows root rot.
Yes. Myrtle rust attacks new growth across the myrtle family, and bottlebrush belongs to that family. Look for yellow-orange powdery pustules on young leaves and shoots. Spray infected plants with a fungicide 3 to 4 days before removal, bag the material, and put it in a normal waste bin, never the green waste bin. Report suspected myrtle rust to your state agriculture department.
14. Plant the Local One and Let It Flower
The whole job comes down to three choices. Pick the species that already grows in your region. Give it sun and drainage. Prune directly behind each spent flowerhead and leave old wood alone. A bottlebrush planted on those terms flowers twice in a good year and asks for one feed in spring.
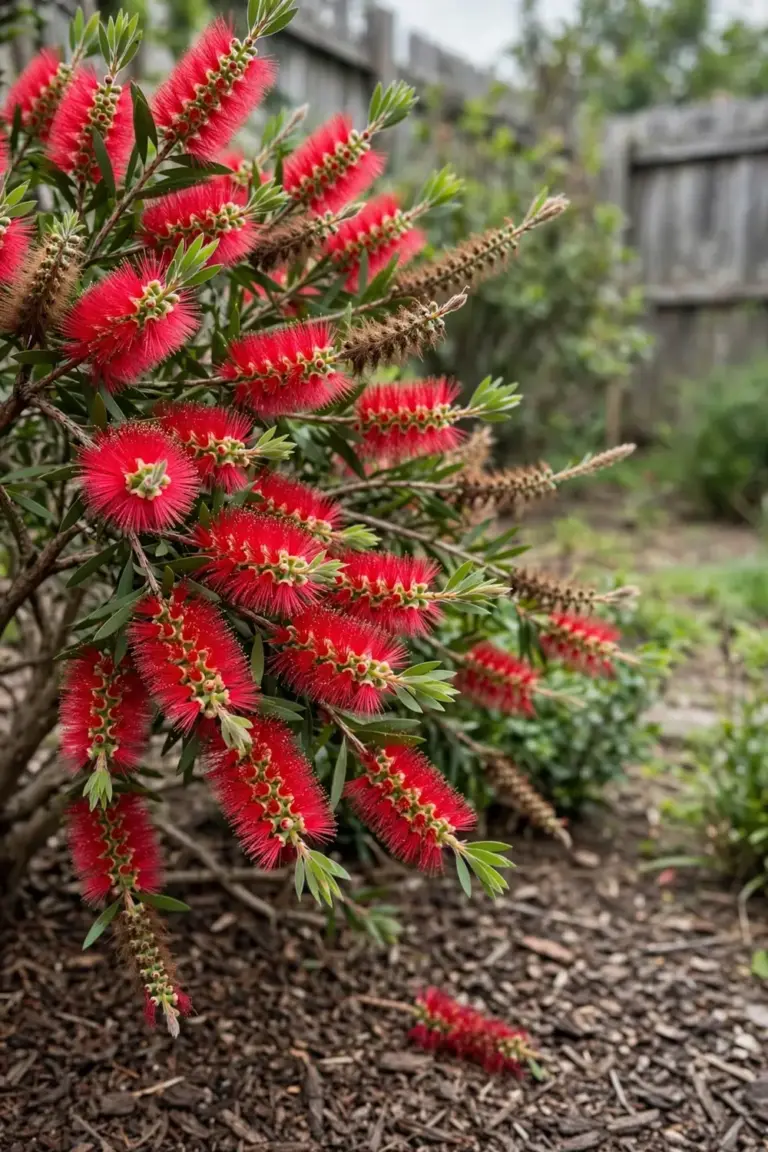
Walk your street and note which bottlebrush flowers best in your suburb. That plant has already passed the only trial that matters. Buy the same species from local stock, plant it at the right depth, water it weekly for its first six months, and let it settle. The flowers will do the rest.