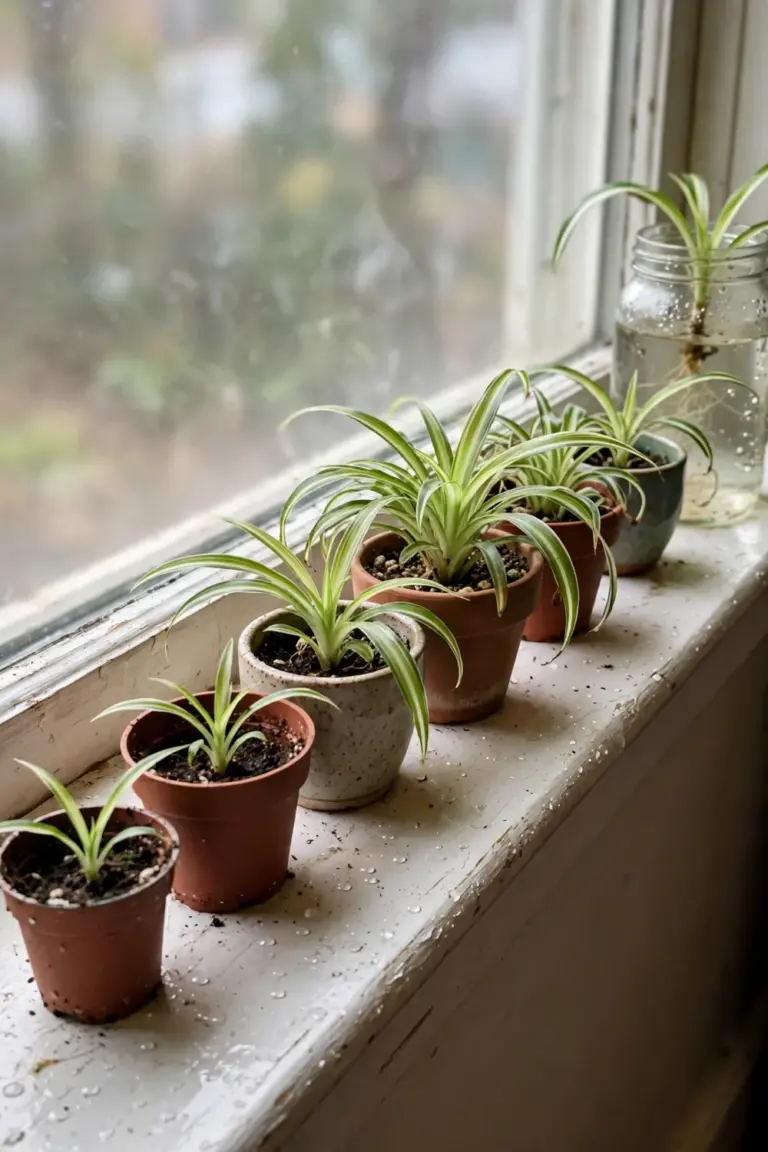

Snip three babies from a spider plant runner and stand them in a jar of water for 10 days. That is how to grow spider plant: Chlorophytum comosum makes its own offspring on long runners, so one healthy mother plant becomes a whole collection. The rest of this page is 14 moves, from reading the runner cycle to a windowsill full of new plants.
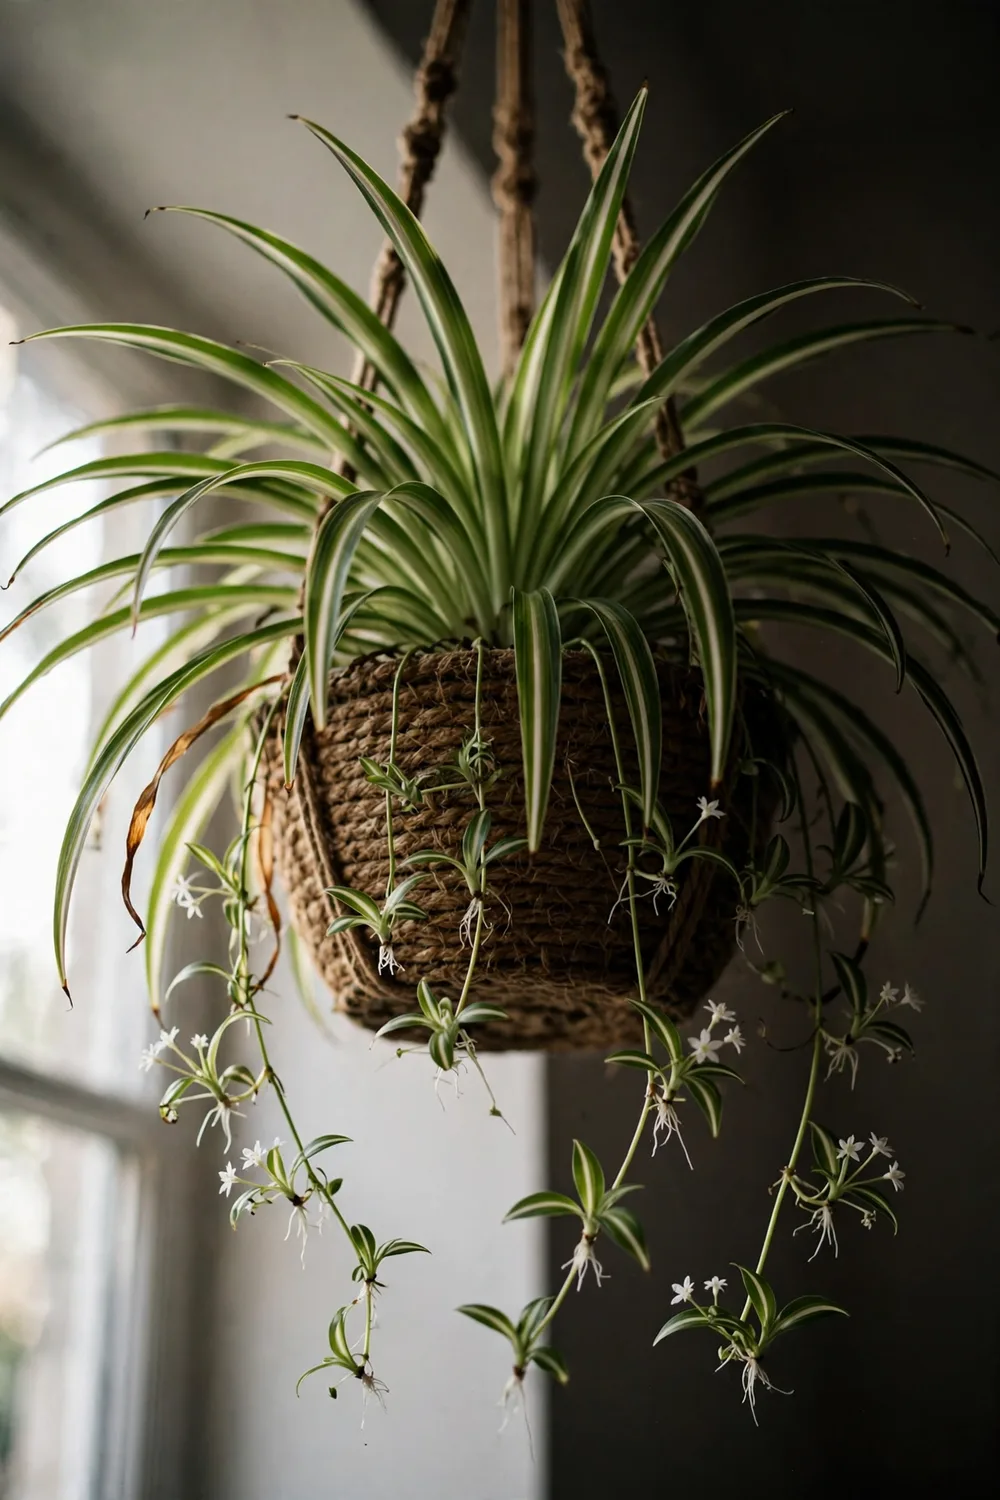
Spider plant is Chlorophytum comosum, an herbaceous perennial in the asparagus family, Asparagaceae, native to tropical West Africa, Cameroon, Ethiopia and South Africa. Indoors it grows as a fountain of arching strap-like leaves, plain green or striped white, and sends out wiry stolons that first carry small white flowers, then the babies. Nurseries also sell the curly-leaved cultivar ‘Bonnie’, covered in our Bonnie spider plant care guide.
In my experience, babies pinned into soil while still attached to the mother settle in with the least sulking. Every method below works, and the comparison table tells you which one fits your patience.
1. Follow the Runner Cycle: Stolons, Flowers, and Spiderettes
A spider plant reproduces through stolons. The stolon is a long, wiry horizontal stem. It carries small white star-shaped flowers along its length. Each flower node can then grow a baby plantlet with its own tiny root nubs.
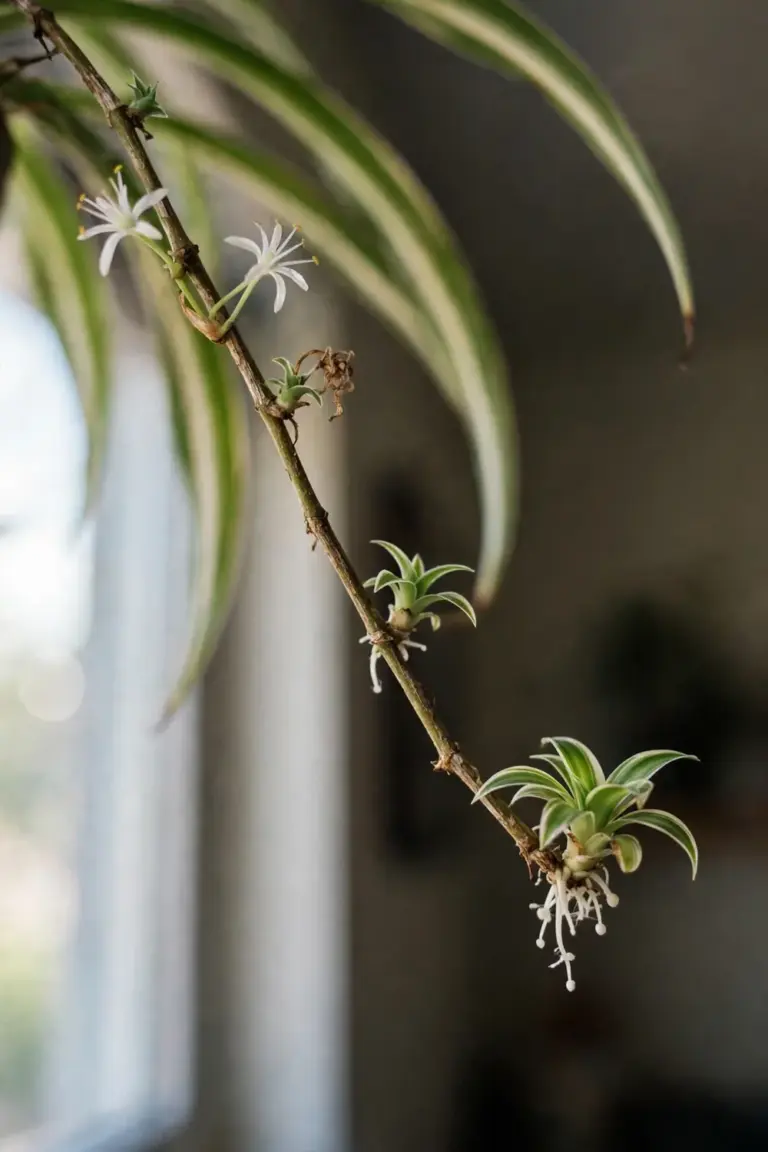
That baby is a complete miniature plant, not a seedling. It draws food from the mother through the stolon while its own roots form, then it keeps growing after you sever the connection. A mature mother can carry dozens of babies on several runners at once, which is why one plant fills a house.
Spider plant is Chlorophytum comosum. Spiderwort is Tradescantia, a completely different plant in a different family. Check the botanical name on the nursery tag before you follow any care advice, because the two share nothing except a confusing common name. If the tag says spiderwort, that plant lives in our Virginia spiderwort growing guide, not this one. Spider plant’s close relative Anthericum is another grassy-leaved houseplant in the same family that nurseries sometimes confuse with it, as our Anthericum houseplant guide shows.
2. Check 8 Quick Specs Before You Grow Spider Plant
These are the numbers that decide where the pot lives and how often you touch it. Everything below refers back to this table.
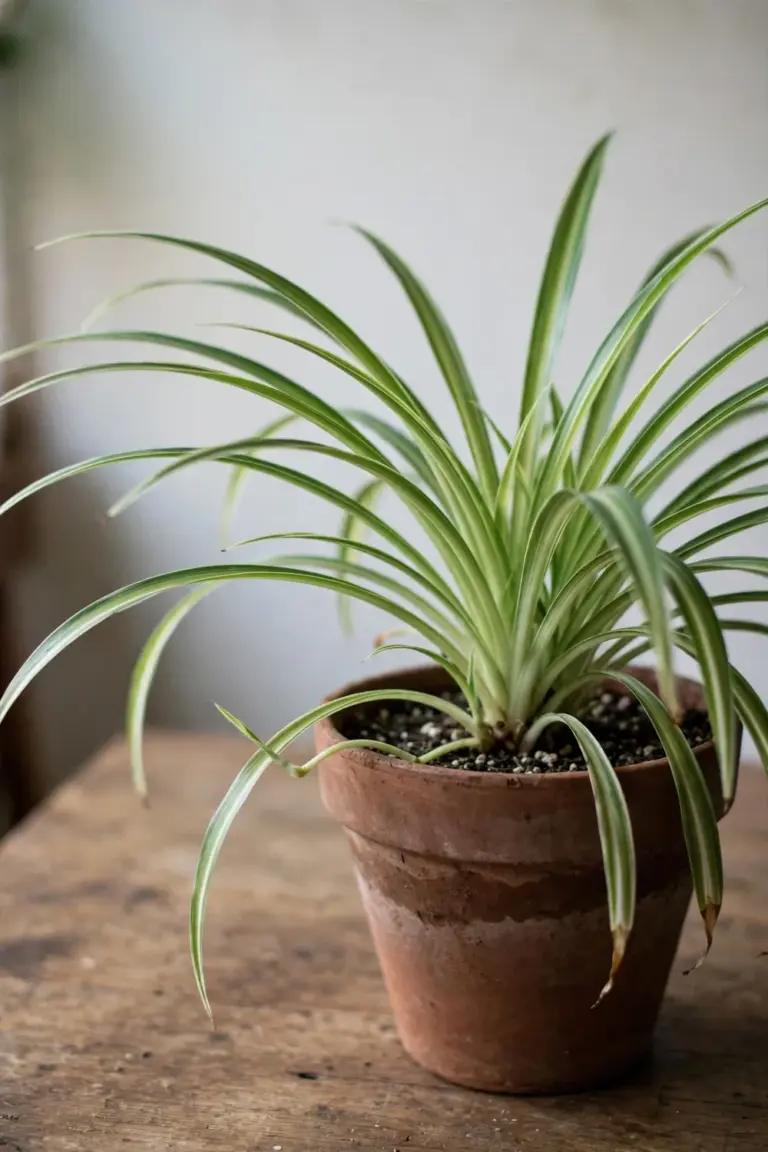
| Spec | Value |
|---|---|
| Botanical name | Chlorophytum comosum |
| Family | Asparagaceae, the asparagus family |
| Native range | Tropical West Africa to Cameroon, Ethiopia and South Africa, per the North Carolina Extension Gardener Plant Toolbox |
| Outdoor zones | 9 to 11, per the Missouri Botanical Garden Plant Finder |
| Indoor size | 30 to 61 cm tall and wide, runners trailing further |
| Light | Bright indirect; tolerates deep shade; intolerant of direct sun |
| Temperature | Keep above 7°C; grows best at 13 to 21°C |
| Propagation | Babies on stolons, or division of the root ball |
Zones 9 to 11 mean the plant only survives outdoors year-round in frost-free climates. Everywhere else it lives as a houseplant, which is exactly what it wants. The thick, tuberous roots store water and food, so the plant forgives missed waterings and bounces back fast.
3. Give Bright Indirect Light to Keep the Stripes Bright
Give spider plant bright, indirect light. It survives deep shade, but the white stripes fade there.
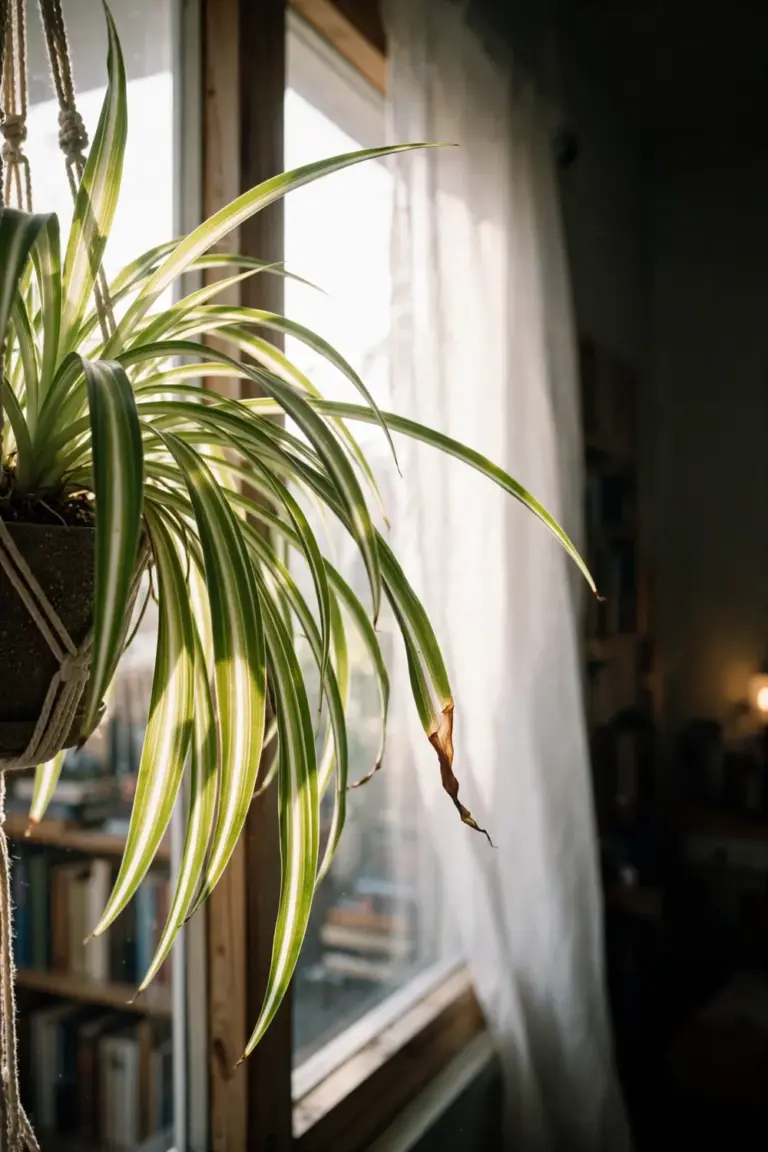
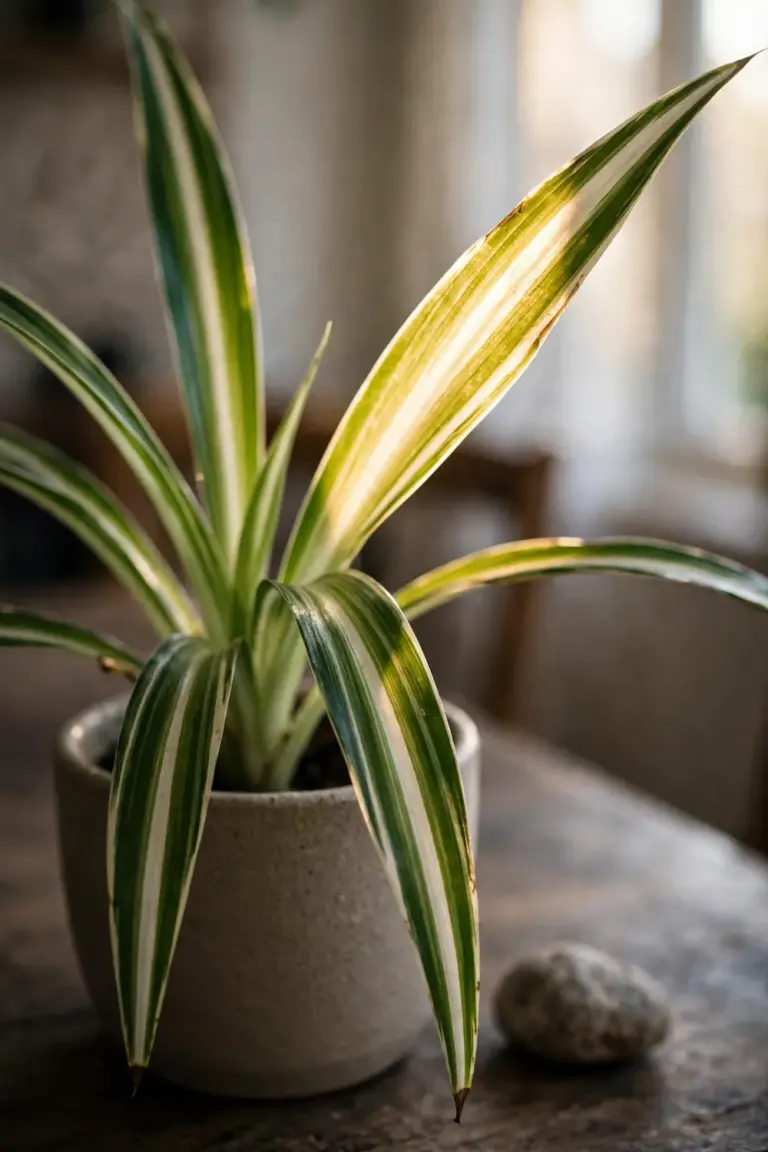
Light drives everything this plant does. North Carolina Extension notes that spider plant prefers medium light levels, tolerates deep shade, and is intolerant of direct sunlight, which scorches the leaves. A spot near a bright window with a sheer curtain is the classic position. Variegated forms show their pattern best in that light. The cultivar ‘Vittatum’ carries green margins with a creamy white center stripe, and that stripe washes toward green when the plant sits too far from the window.
Hanging baskets show off the habit better than any shelf. The leaves arch and the runners cascade over the rim, and the babies dangle where you can reach them for propagation.
4. Water Deeply, Then Let the Top 2.5 cm Dry Out
Water thoroughly until it drains from the bottom, then wait until the top 2.5 cm of mix feels dry. Cut back in winter.
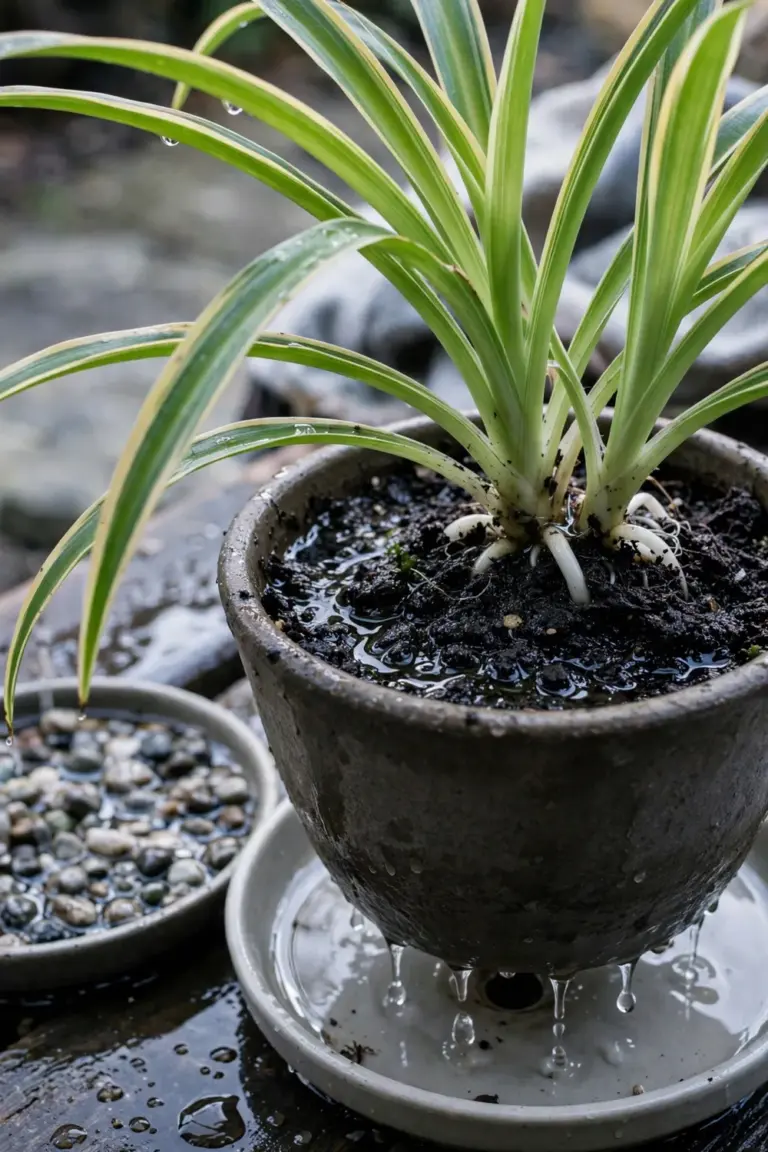
Spider plant likes its soil moist but never soggy, and it tolerates short dry spells thanks to those tuberous roots. Drench the whole root ball so every root drinks, let the excess run off, and empty the saucer. In winter, when growth slows and light drops, stretch the interval and let the mix dry a little deeper between drinks.
Watch your water source. Fluoride and chlorine in tap water burn the leaf tips brown, so North Carolina Extension advises against plain tap water for this plant. Rainwater or filtered water keeps the tips clean. If the tips still brown, flush the pot with clean water once to wash built-up salts out of the mix, then resume the deep-and-dry rhythm.
Dry heated air browns the tips too. Set the pot on a tray of pebbles holding water, with the pot base above the waterline, and the evaporating water lifts the humidity around the leaves.
5. Time Propagation to Spring and Summer on Either Hemisphere
Propagate during the active growing season: March through June in the northern hemisphere, September through February in the southern hemisphere. Warmth and long days push new roots fast, so babies taken in the growing season establish in weeks instead of months, as one detailed baby spider plant propagation walkthrough shows. You can root a baby at any time of year indoors, but spring and summer work is easier and the failure rate drops.
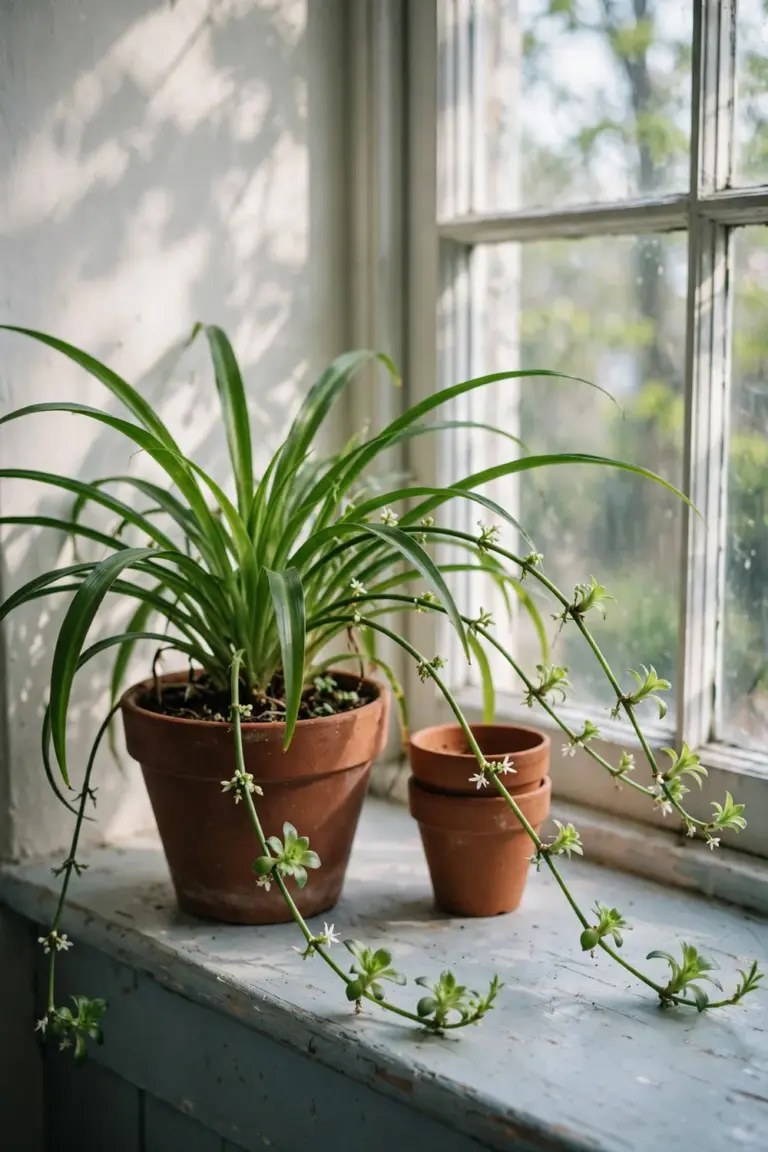
Here is the quirk that surprises people. Babies themselves form when the mother gets short days and long, unbroken nights, under 12 hours of light a day, for at least three weeks, according to North Carolina Extension. That is why indoor plants often push out runners in autumn and winter, and why a mother that never sees a real night, sitting under a lamp that stays on, may never make a single baby. A young plant spends its first season building roots and leaves; babies follow once the crown matures and the roots fill the pot. Let the plant feel the seasons through a window and the runners follow.
6. Root Spider Plant Babies in Water and Watch Roots in 7 to 10 Days
Cut a baby with visible white root nubs and stand its base in a jar of water. Roots show in 7 to 10 days.
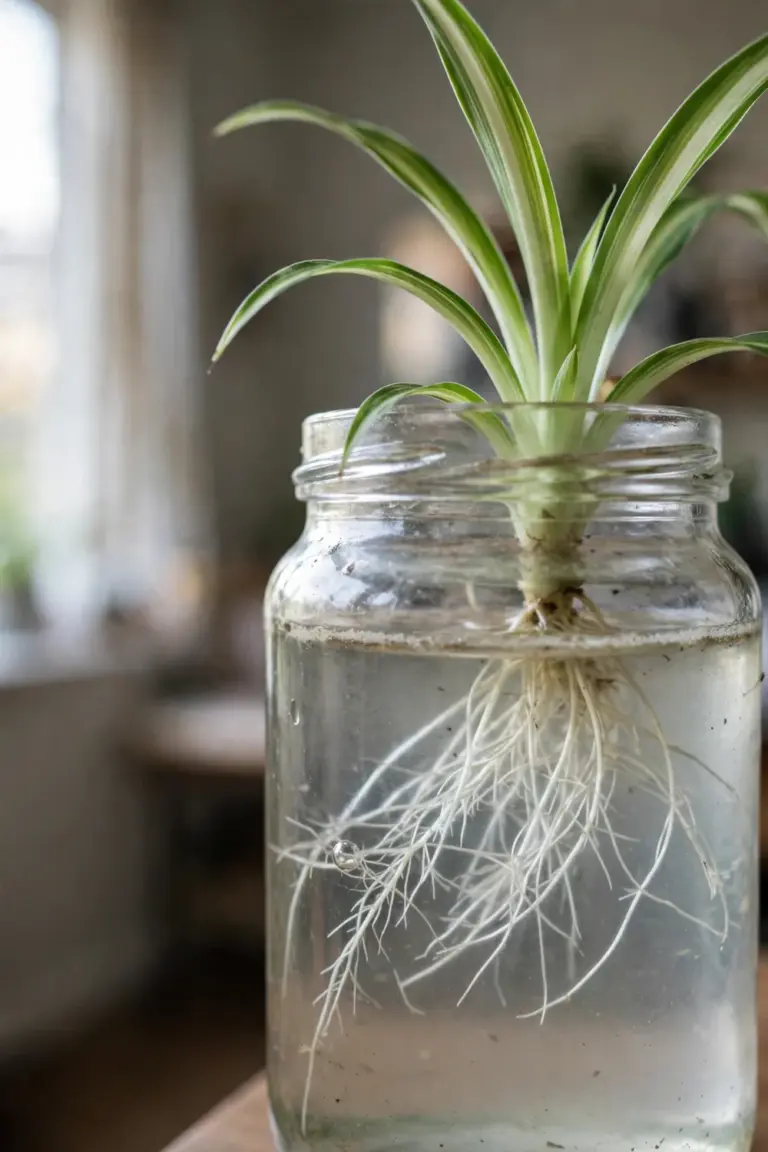
Pick a baby that already shows tiny white nubs on its underside. Those nubs are young roots, and a baby carrying them roots far faster than one without. Snip the stolon with clean sharp scissors, cutting as close to the baby as you can.
Fill a small glass or jar with room-temperature water and let it sit out overnight first, which lets fluoride escape. Set the baby in so its base stays submerged and its leaves stay dry. Park the jar in bright, indirect light and swap the water when it turns cloudy. After around 7 to 10 days you will see white roots pushing from the base, and you pot the baby up once those roots reach several centimeters long, with the base sitting at soil level.
Water propagation can shock new spider plants when they get transplanted into the soil, and too much water risks rot. Once settled, they grow just as strong as soil-rooted ones.
7. Pin Plantlets Into Soil While They Stay Attached
Lay a baby’s base on moist mix in a small pot next to the mother, without cutting the stolon. Sever the runner only after new growth shows.
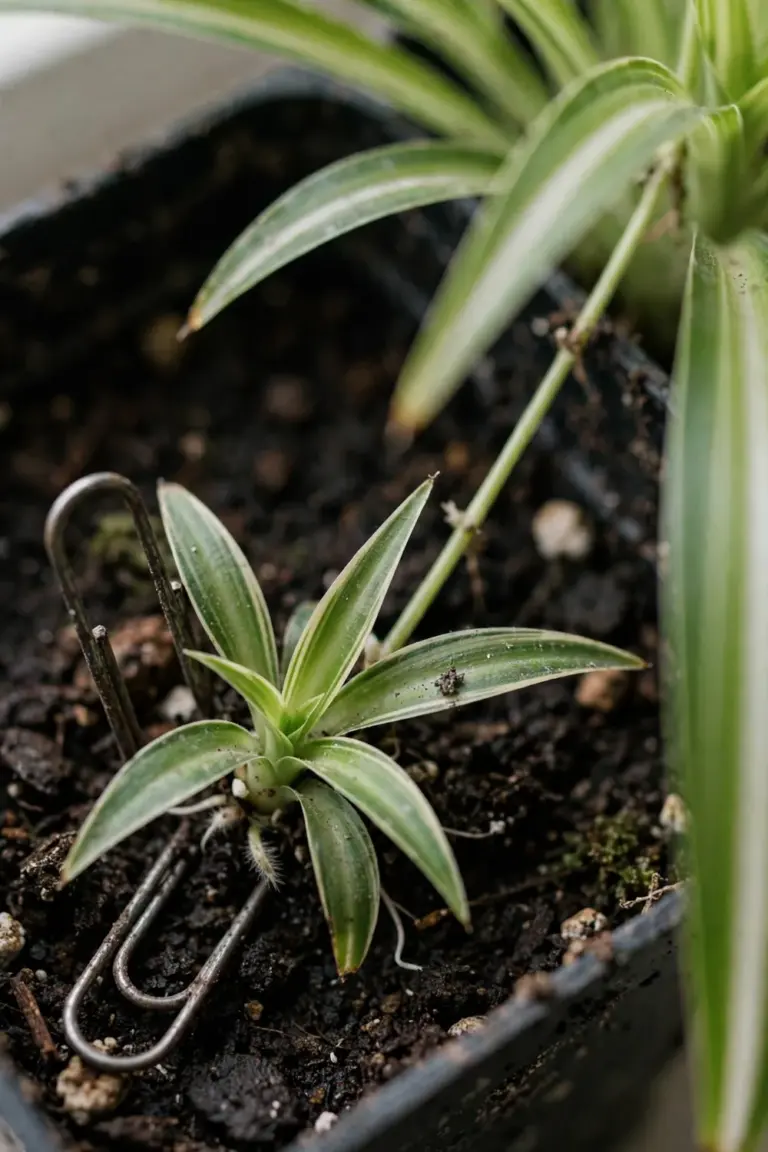
This is the method that copies what the plant does in the wild, where a stolon reaches the ground and the baby roots where it lands. Set a small pot of well-draining mix beside the mother plant, or use the mother’s own pot if there is room. Rest the baby’s base on the mix at soil level and pin it down with a bent paperclip so the root nubs touch the soil. The stolon stays intact and acts as a supply line, feeding the baby while its roots form. Keep both pots lightly moist.
Sever the stolon once the baby shows new leaves, which tells you its own roots have taken over. The baby barely notices the separation because it never depended on the jar-to-soil transition. This method takes the longest to show roots, but it produces the least stressed new plant of the three.
8. Pot Detached Babies Straight Into Moist Potting Mix
Snip a baby off the runner and plant it directly into a small pot of moist mix. Check it with a gentle tug after a few weeks.
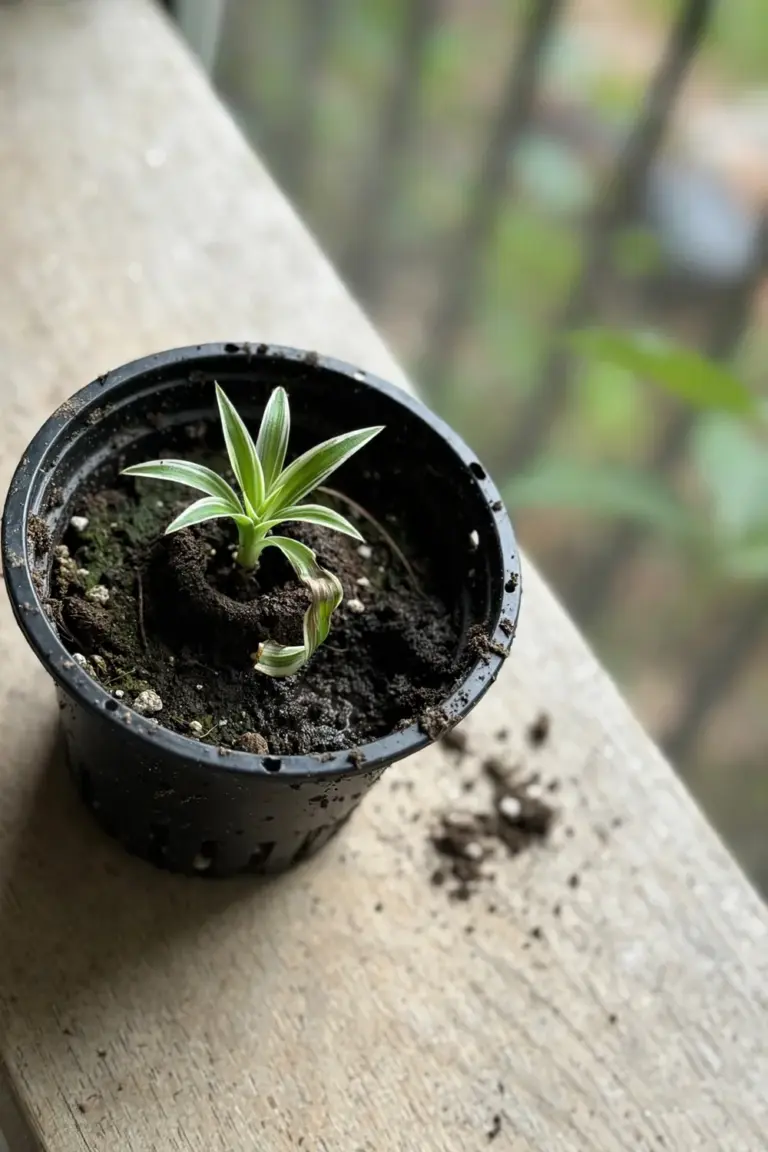
Choose a baby with visible root nubs and cut it free with clean sharp scissors. Fill a small pot that has drainage holes with well-draining potting mix and poke a hole in the center. Set the baby in with its base at soil level, covering any roots that have already formed, then moisten the mix and place the pot in bright, indirect light.
The trade-off is blindness. You cannot watch the roots the way you can in a jar, so you test by tugging gently after a few weeks. If the baby resists, roots have anchored it. If it lifts straight out, give it more time and keep the mix lightly moist. This is the fastest hands-on method and the best one when you have a dozen babies to pot at once.
9. Compare the 3 Propagation Methods Side by Side
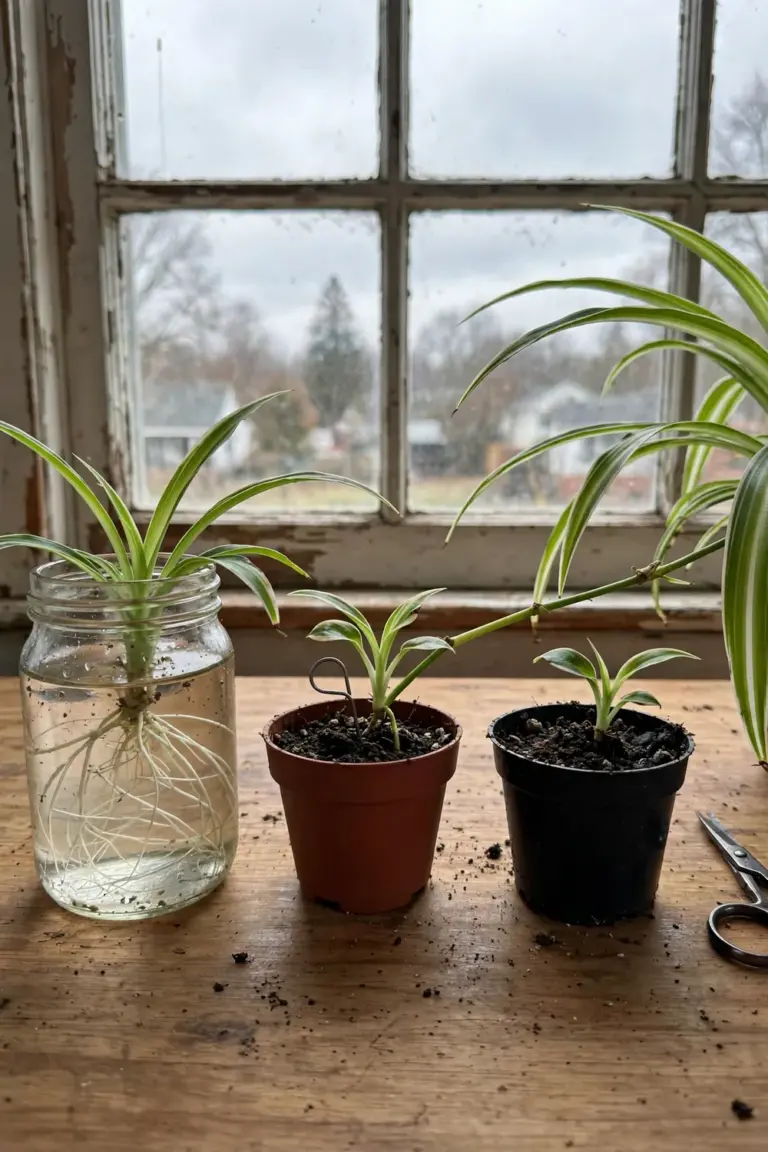
All three methods make healthy plants. Pick by your patience and how many babies you are rooting.
| Method | First roots | Watch the roots? | Transplant stress | Best for |
|---|---|---|---|---|
| Water | 7 to 10 days | Yes, through the glass | Highest, at the move to soil | Beginners who want to see it happen |
| Still attached | Slowest of the three | No | Lowest | The babies you most want to keep |
| Straight into soil | A few weeks | No, use the tug test | Low | Quick batches with no jar juggling |
The timing row comes from side-by-side experience: water shows roots in about 7 to 10 days, soil takes a few weeks, and the still-attached baby takes the longest while suffering the least. Water babies can look weak for a week or two after potting, while soil and attached babies skip that sulk entirely. That transplant shock is the one real cost of the jar method, and the same walkthrough calls it out directly.
One thing no method can do: grow a spider plant from a leaf cutting. Leaves carry no bud tissue that can regenerate, and a leaf stood in water or soil rots. Babies, division, and seed are the only routes, and babies are the reason anyone bothers.
10. Keep the Mother Slightly Root-Bound for More Babies
Do not rush to repot. A slightly root-bound spider plant throws out more runners and babies than one swimming in fresh mix.
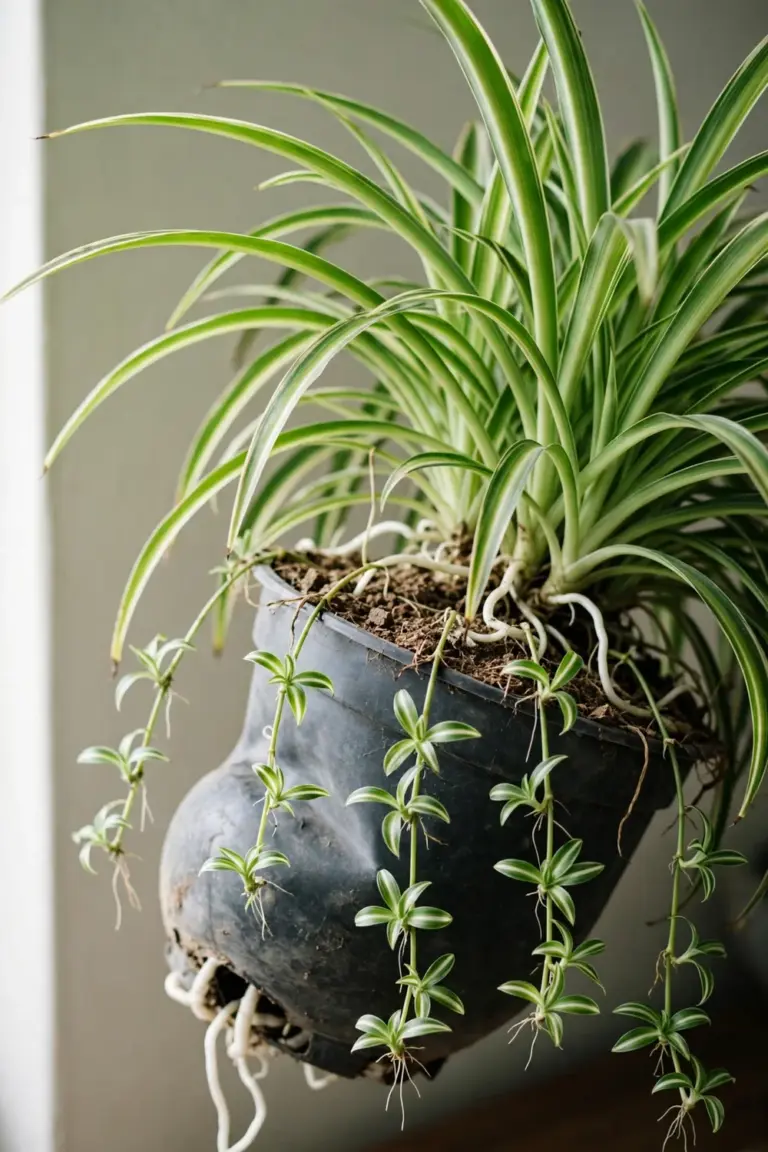
This is the counterintuitive trick behind every prolific mother plant. A snug pot nudges the plant toward flowering and runner production instead of more leaves. Growers who move the plant up too eagerly get a big leafy plant with no babies, then wonder what went wrong.
Repot only when the plant tells you it must. The signals are roots pushing out of the drainage holes, the crown lifting up out of the pot, or the container bulging and warping. The tuberous roots are strong enough to crack a plastic pot, so North Carolina Extension warns to divide and repot before the roots burst the container. When the time comes, go up one pot size with fresh well-draining mix, and expect the baby production to pause briefly while the roots colonize the new space.
11. Divide an Overgrown Spider Plant Into 2 or 3 Plants
Divide a crowded spider plant at repotting time. Tease the root ball into 2 or 3 sections, each with roots and leaves, and pot each one up.
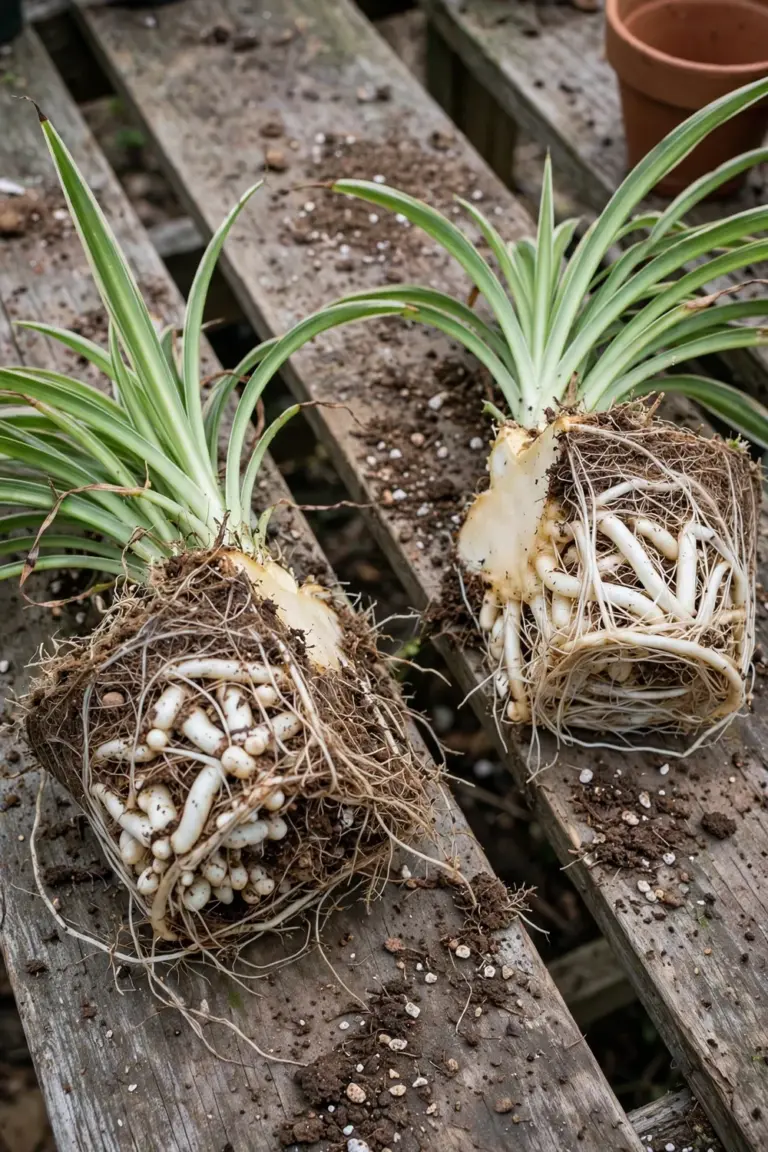
Division is the instant-gratification method. Slide the plant out of its pot and shake or rinse the loose mix from the roots. The thick white tubers untangle with gentle pulling; where the crown resists, cut straight through it with a clean sharp knife. Each division needs a healthy tuft of leaves and a share of the roots. Pot each piece into its own container at the same depth it grew before, water it in, and keep it out of direct sun for a week while it settles.
This is also the rescue for a mother that has gone completely root-bound past the productive stage, the one cracking its pot and drying out every two days. Division gives you two or three vigorous plants and resets the root-bound clock on all of them.
12. Feed Lightly: Heavy Fertilizer Cuts Baby Production
Feed every couple of weeks in spring and summer with an all-purpose liquid houseplant food. Stop in winter. Heavy feeding cuts baby production.
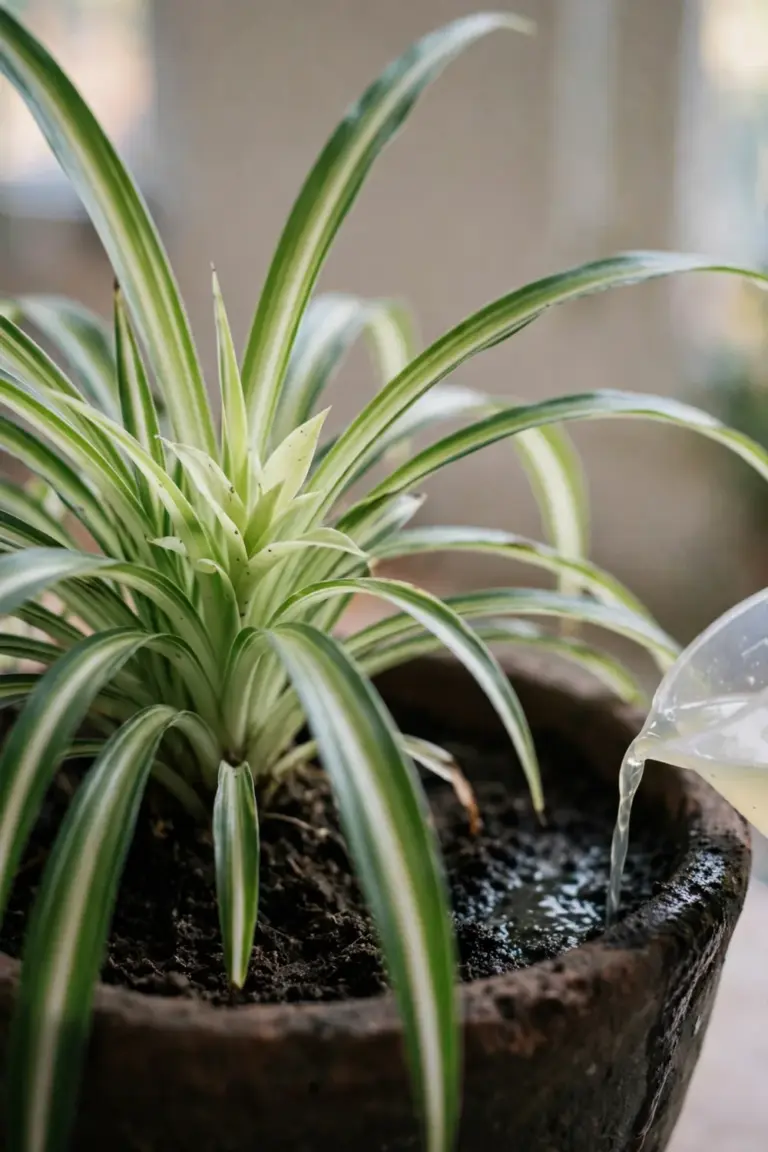
This is the second counterintuitive lesson after the root-bound trick. A well-fed spider plant pours its energy into leaves, not runners. North Carolina Extension states it plainly: do not over-fertilize, because heavy feeding decreases plantlet formation. If your plant is leafy and baby-free, the fertilizer bottle is the first suspect, not the light.
Use the label’s indoor-plant rate and skip the winter months entirely, when short days and slow growth mean the plant cannot use the extra food. A pinch of worm castings scratched into the surface in spring does the same job for growers who prefer organic feeding. Pale new leaves in summer usually mean the plant wants food; dark green leaves and no runners mean it has had enough.
13. Fix 5 Common Problems: Brown Tips, Pale Stripes, No Babies
Most spider plant problems trace to water, light, or pot size. Match your symptom below.
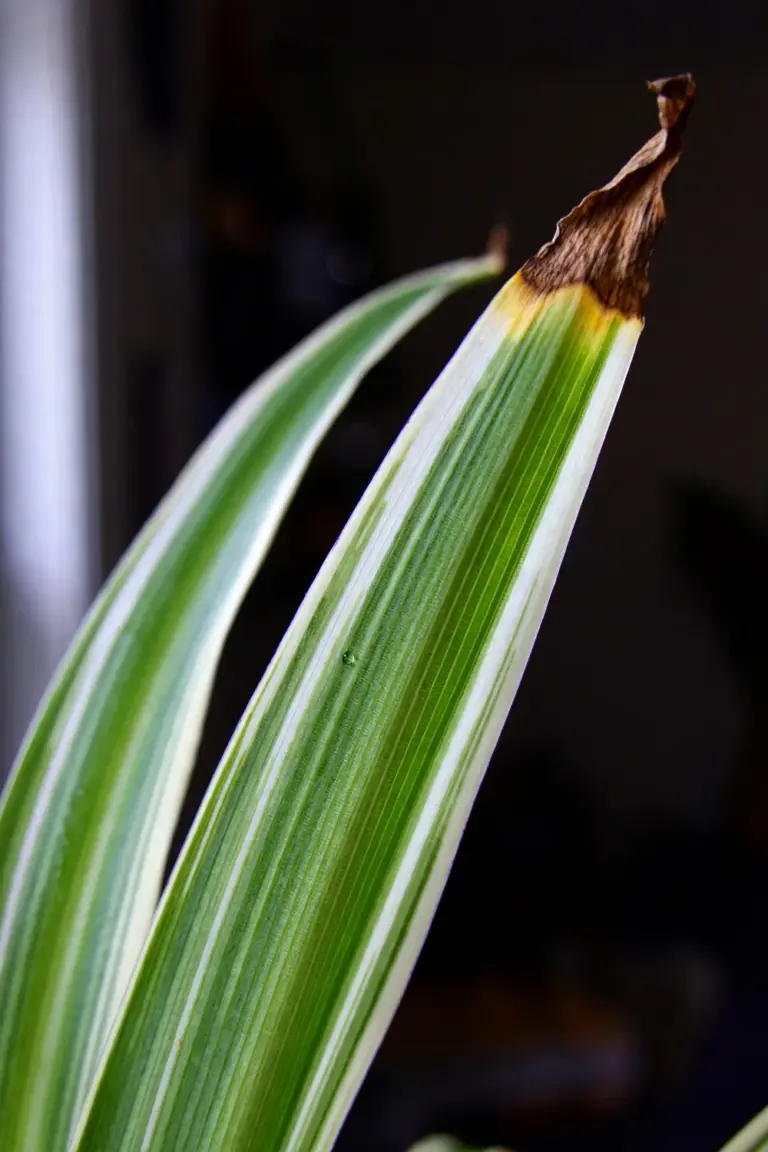
Brown Leaf Tips
Fluoride or chlorine in the water is the usual cause, and dry indoor air makes it worse. Switch to rainwater or filtered water and the new leaves emerge clean. Trim the dead tips with sharp scissors, cutting at an angle that follows the leaf’s natural point. A trimmed leaf never heals. The plant outgrows the damage fast.
Stripes Fading to Green
The plant needs more light. Variegated forms hold their white stripes only in bright indirect light, and deep shade pushes them back toward plain green. Move the pot closer to the window in small steps over a week. Direct sun is the other extreme and scorches the leaves, so stop at bright and indirect.
No Babies on a Healthy Plant
Check four things in order. The pot may be too roomy, since snug roots trigger runners. The plant may be overfed, since heavy fertilizer suppresses plantlets. The mother may sit under lights that never switch off, since babies need under 12 hours of light a day for at least three weeks. Or the plant may be young and still building its root system. Fix the true cause instead of repotting on a schedule.
Yellow Leaves and a Mushy Base
You are overwatering. Let the mix dry deeper between drinks and check that the pot drains freely. Pull the plant out, cut away any black mushy roots with clean scissors, and repot into fresh dry mix. Hold water for a few days after surgery, then resume the deep-and-dry rhythm.
Scorched Patches on the Leaves
Direct sun did this. Spider plant is intolerant of direct sunlight, and the pale bleached patches will not recover. Move the plant back and trim the worst leaves. New growth from the center replaces the damage within weeks in the growing season.
14. Keep Cats and Dogs Safe Around Spider Plants
Spider plant is non-toxic to cats, dogs and horses. Hang it where curious mouths cannot reach it anyway.
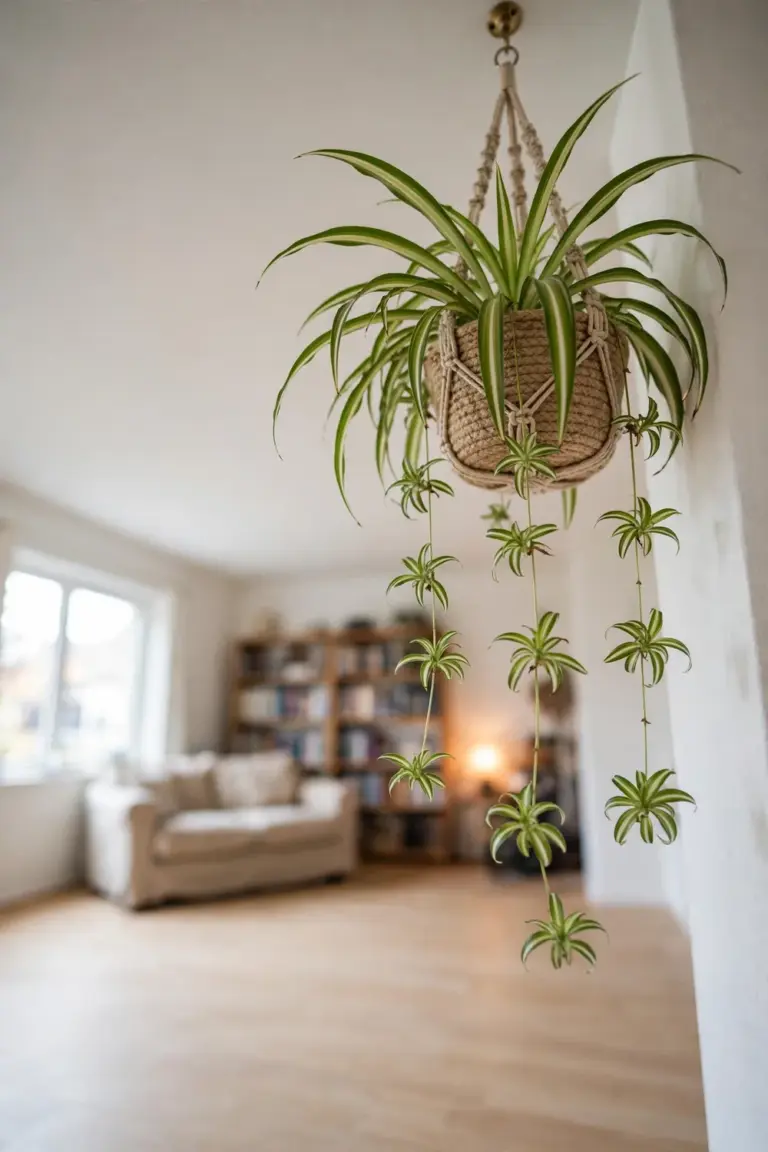
The ASPCA’s animal poison control center lists Chlorophytum comosum as non-toxic to pets and people, and it even appears on the organization’s list of pet-safe houseplants, as Better Homes and Gardens reports. That classification means the plant contains no poison, not that a cat should eat it as a salad. Chewed leaves can still cause mild vomiting or loose stools from the fiber alone, and the ASPCA’s senior toxicologist notes that stomach upset from plant material is common and usually passes on its own.
The dangling babies are the real temptation. They sway in air currents at exactly cat height when the basket hangs low, and cats chew them the way they chew grass. Hang the basket high or move it to a room the animals do not patrol. That one habit prevents nearly every pet incident with this plant.
Frequently Asked Questions
No. A spider plant leaf carries no bud tissue that can regenerate into a plant, so a leaf stood in water or soil rots instead of rooting. The working routes are babies from the runners, division of the root ball, and seed. Snip a baby with visible root nubs and you have a new plant in weeks.
First roots appear in 7 to 10 days in room-temperature water kept in bright, indirect light. Change the water when it turns cloudy. Pot the baby into mix once the roots reach several centimeters long, setting the base at soil level. Expect a short sulk after transplanting, then normal growth resumes.
The four usual causes are a pot with too much room, heavy fertilizer suppressing plantlets, lights that never switch off so the plant never gets short days, or a young plant still building roots. Snug the pot, cut the fertilizer, give it real nights under 12 hours of light, and wait. Most healthy mothers produce once these four line up.
No. The ASPCA lists spider plant as non-toxic to cats, dogs and horses. A pet that chews a large amount may still vomit or get loose stools from the leaf fiber, so hang baskets out of reach. If your pet shows severe symptoms like lethargy or breathing trouble, suspect a different plant and call your vet.
Repot only when the plant demands it: roots escaping the drainage holes, the crown lifting out of the pot, or the container bulging from tuber pressure. Slightly root-bound plants produce more babies, so waiting is a strategy. Move up one pot size with fresh well-draining mix.
Pot One Baby and Grow a Whole Collection
Start with a single baby in a jar of water and you will understand the whole plant in a month. Spider plant asks for bright indirect light, a deep drink followed by a dry spell, and the discipline to leave the pot a little snug. It pays back with runners, babies, and a plant you can divide and share for years. For the wider case for filling your rooms with forgiving greenery, see our benefits of indoor plants.