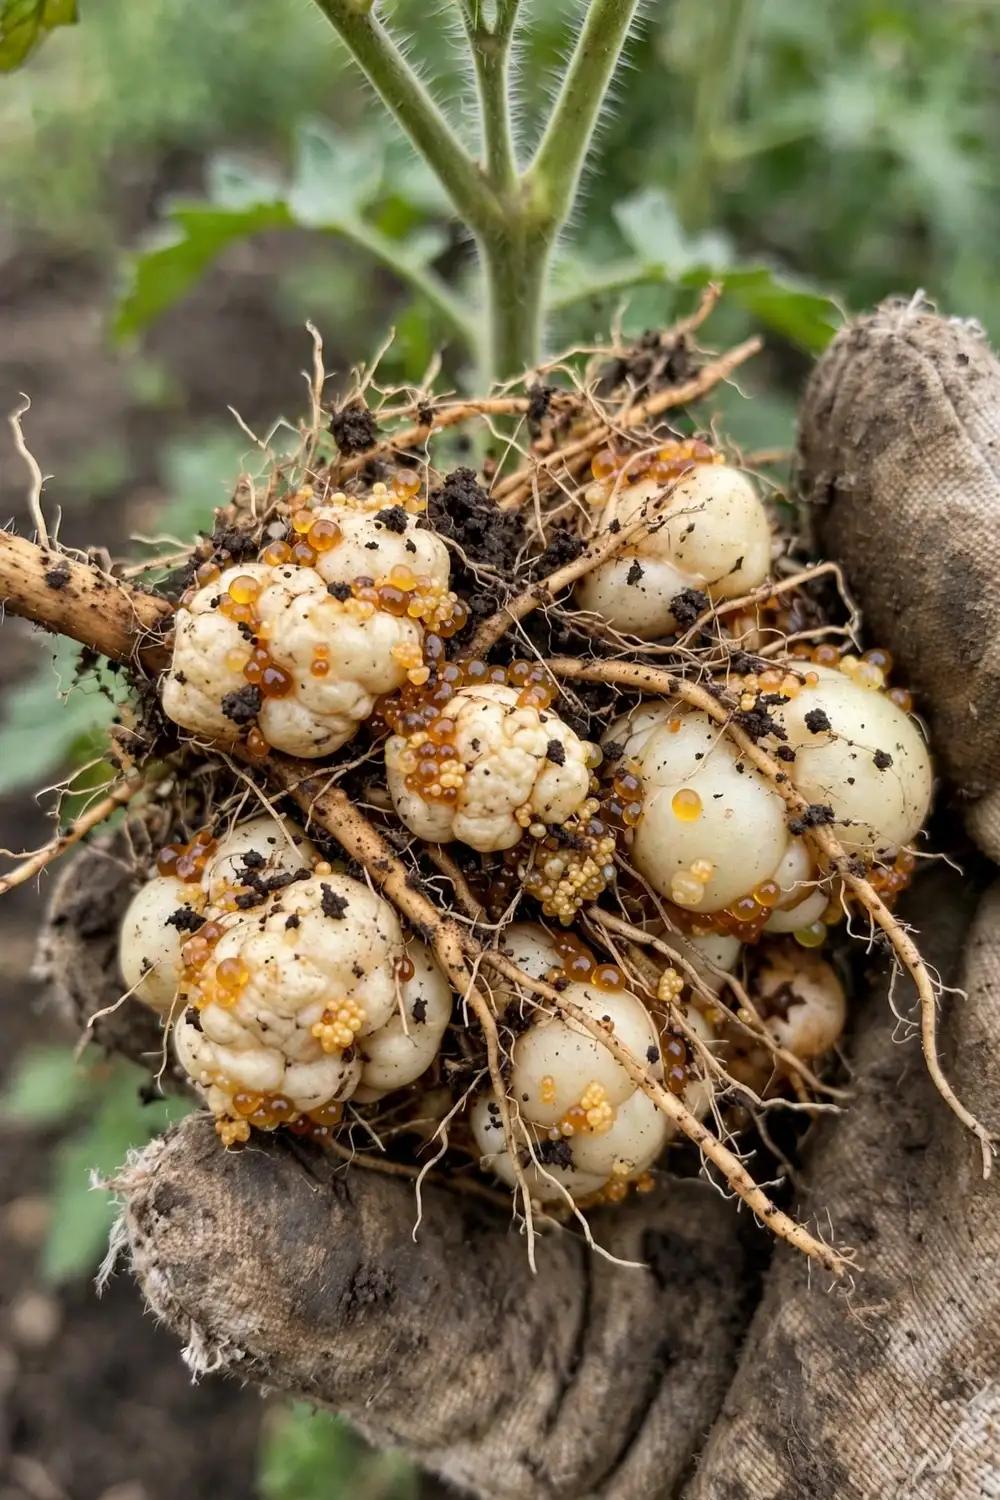

Your tomato plants look thirsty no matter how much you water them. They yellow from the bottom up, stay stunted while the neighbor’s plants tower, and when you finally pull one up in frustration, the roots are covered in lumpy knots the size of peas. Those knots are the calling card of root-knot nematodes, and a single female can lay up to 1,000 eggs inside one root system. Once you learn to recognize the knots, you will never mistake them for anything else.
Root-knot nematodes are microscopic roundworms, not fungi and not bacteria, which means every fungicide on your shelf is useless against them. They live in the soil, slip into young roots, and trick the plant into building them a permanent feeding station. The swollen knots are the plant’s own tissue, distorted around the feeding female. What follows is the honest root-knot nematode treatment picture: no cure exists for an infested bed, but nine practical steps can drive populations down far enough that your garden produces again.
What Root-Knot Nematodes Actually Are
Root-knot nematodes are plant-parasitic roundworms in the genus Meloidogyne, members of the animal kingdom in the phylum Nematoda. The most widespread species, Meloidogyne incognita, attacks more than 3,000 plant species, which ranks it among the most damaging garden pests worldwide. Its cousin M. hapla, the northern root-knot nematode, tolerates cold winters that kill the tropical species. A single female lays up to 1,000 eggs inside the root, and the juveniles that hatch move less than 6 inches per year on their own, so infestations spread mostly on your boots, tools, transplants, and shared compost.
Four species cause most home-garden damage. M. incognita, the southern root-knot nematode, is the global heavyweight with more than 3,000 recorded hosts. M. javanica dominates tropical soils. M. arenaria is the peanut root-knot nematode, common across the Southeast. M. hapla, the northern species, survives freezing winters that kill the other three. Species identification is optional for treatment. Knowing that a northern gardener faces M. hapla still explains why advice written for Florida sometimes underperforms in Ohio, since the northern species tolerates cold that kills its tropical cousins. The critical consequence of their animal status: fungicides, bactericides, and most organic sprays do nothing to them. You are fighting an animal that lives inside root tissue and inside the soil, which is why every real treatment works on the soil or the plant, never on a sprayed leaf.
How to Identify Root-Knot Nematodes on Roots
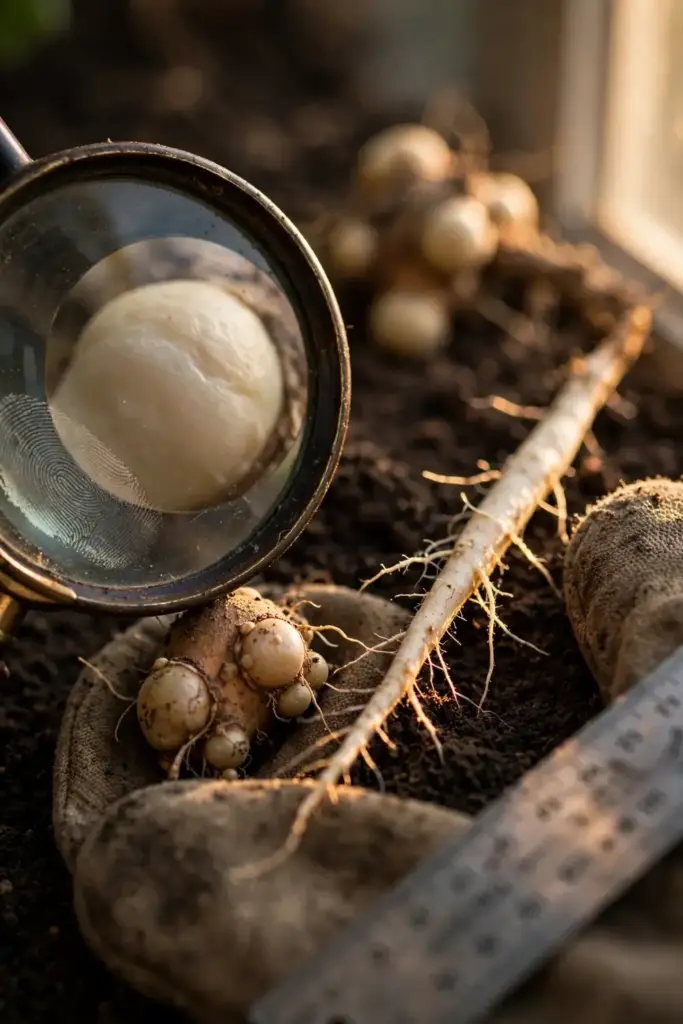
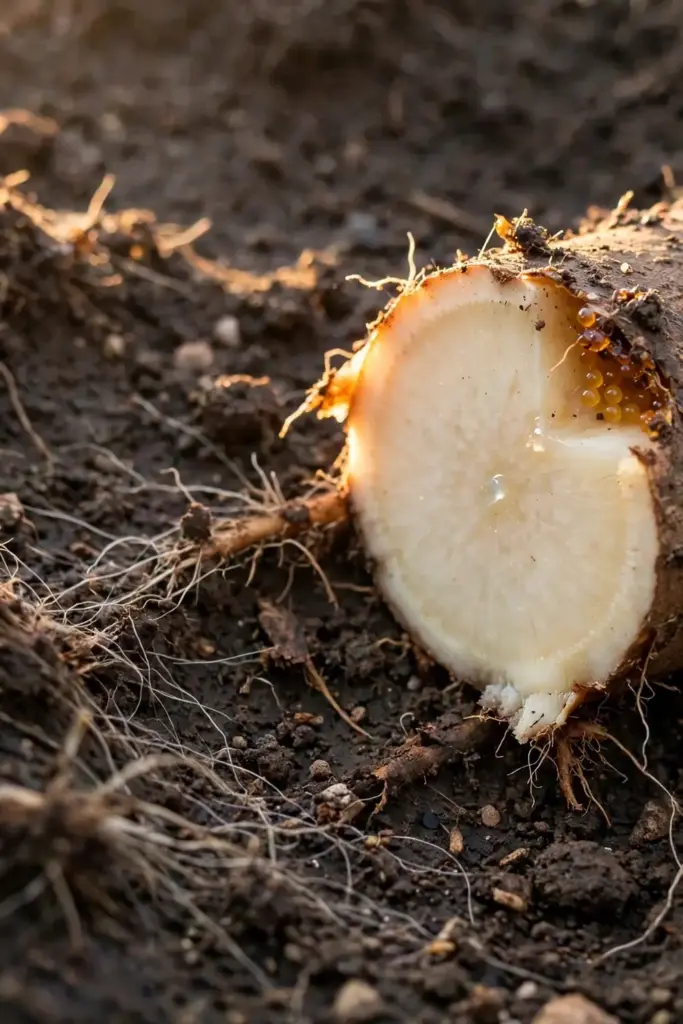
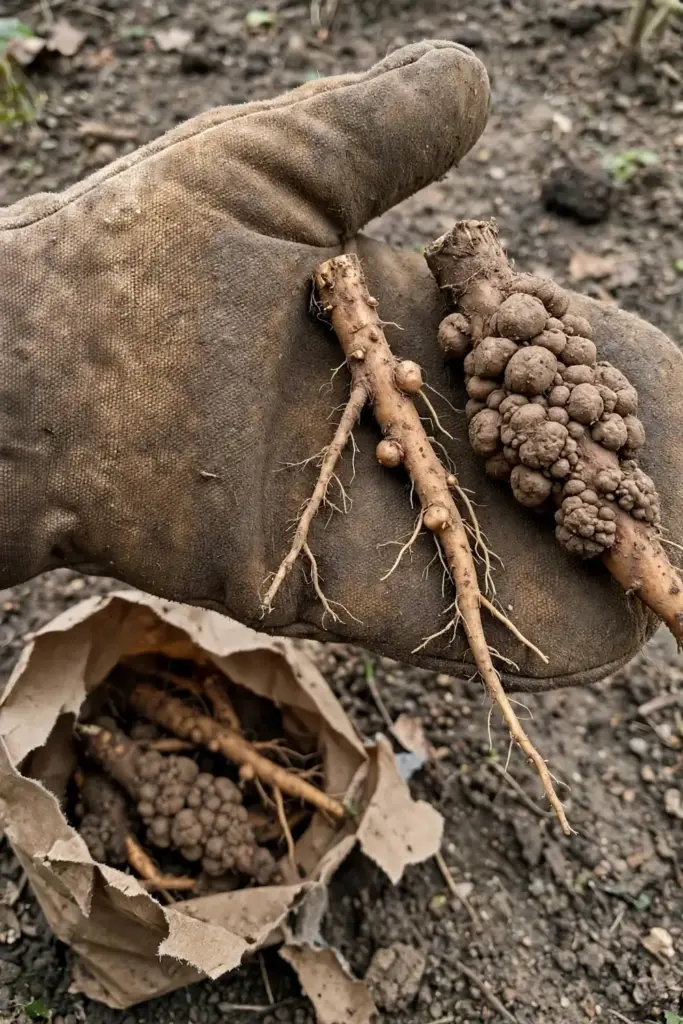
Pull up a struggling plant and rinse the roots. Root-knot galls are irregular swellings on the roots themselves, ranging from pinhead bumps to lumps the size of a pea, and they feel firm because they are plant tissue, not attached growths. Cut one open and the flesh inside looks like normal root tissue, just swollen. That firm, integrated swelling is the diagnostic sign. Heavy infestations produce a root system that looks like a string of beads, with fine feeder roots missing because the plant abandoned them.
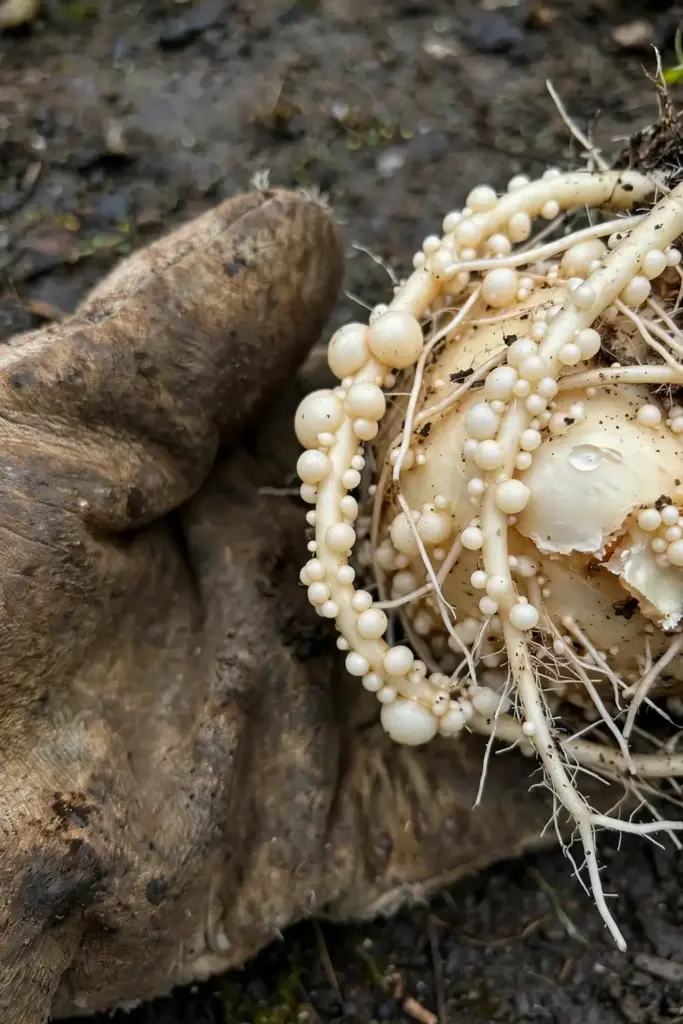
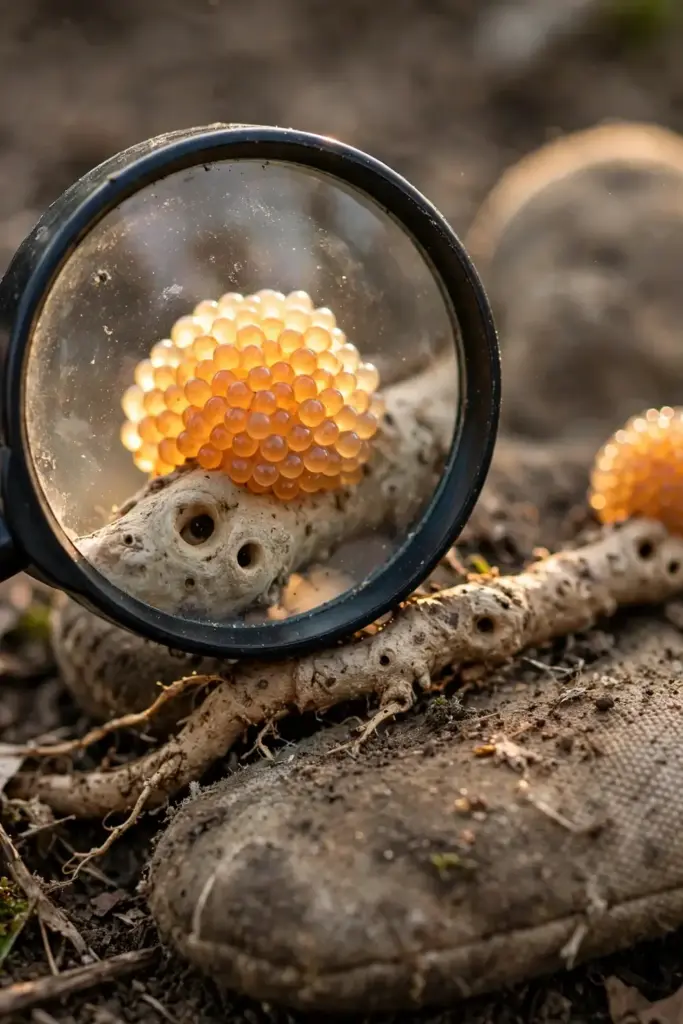
Look closely at a mature gall and you may spot the egg masses: tiny, shiny, amber-colored blobs protruding from the gall surface, each holding hundreds of eggs. One female produces one egg mass, so counting masses gives you a rough census of the breeding population in that root zone. Compare that against the normal: healthy tomato roots are white, fibrous, and covered in fine hairs. A plant with root-knot damage has fewer fine roots and more thick, knotted ones. If you garden in containers with fresh mix and see knots, the nematodes arrived on a transplant or in reused soil, which tells you exactly where your sanitation failed. Our seed starting guide shows how to raise clean transplants from seed so you never import the problem in the first place.
How to Identify Root-Knot Nematode Damage Above Ground
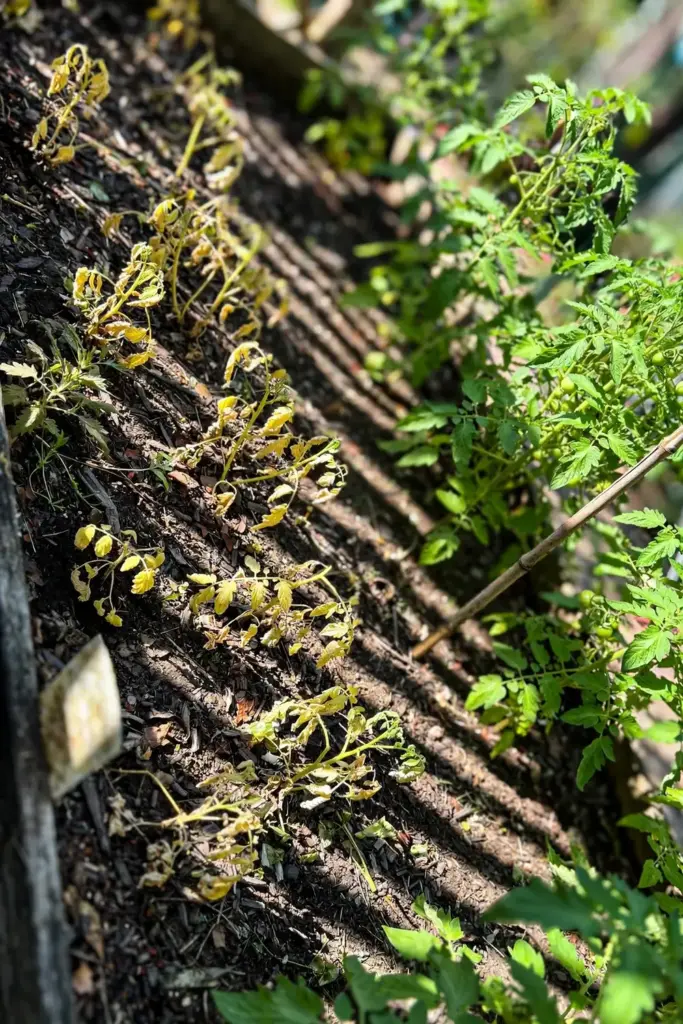
Above ground, the plant looks like it has a water or nutrient problem that never responds to water or fertilizer. Leaves yellow from the bottom up. Growth stalls in hot weather and recovers slightly on cool mornings, which mimics drought stress. The whole plant wilts at midday even when the soil is moist. Fruit stays small and ripens unevenly.
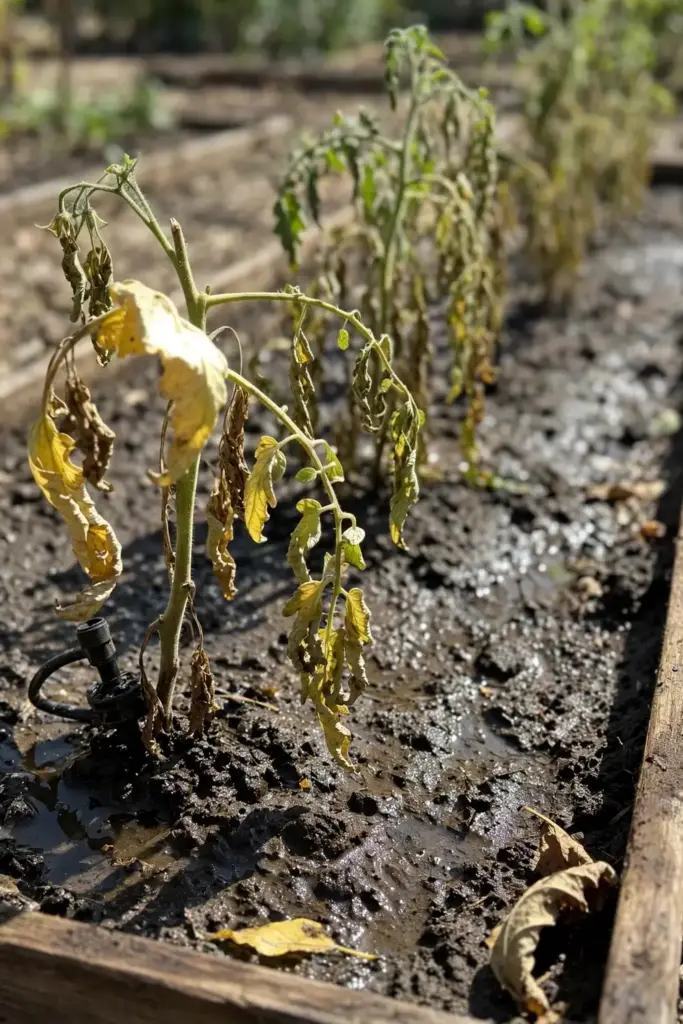
The pattern across the bed is the tell. Nematode damage appears in patches, not rows, because the worms move only inches per year and ride on whatever you carried. One end of the bed thrives while the other sulks. If the damage follows your wheelbarrow path or starts where you dumped last year’s compost, suspect nematodes before you suspect fertilizer.
Which Vegetables Get Hit Hardest
Tomatoes are the classic victim, which is why most home-garden nematode advice centers on them. Peppers, okra, cucumbers, squash, melons, carrots, and beans all rank as highly susceptible. Lettuce and most leafy greens suffer less but still host the pest. Sweet potatoes and carrots show the damage in the harvest itself, with forked, stubby, or cracked roots that look nothing like the seed packet photo.
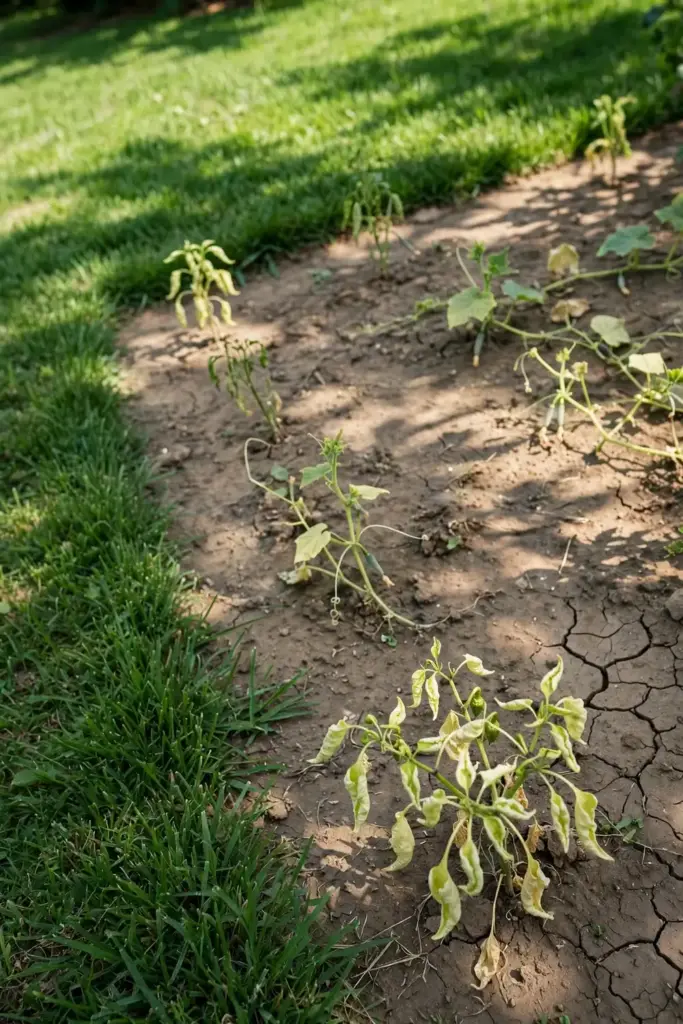
Grasses are generally poor hosts, which is why rotating a vegetable bed to a grass cover crop or even lawn for a season starves the population. Sweet corn is the notable vegetable exception: it suffers little damage and makes a good rotation partner for a bad bed. Marigolds get recommended constantly and are covered honestly in Step 7 below. Perennial herbs like rosemary and thyme are rarely bothered, so they can hold a bed’s edges while the center recovers. Knowing your most susceptible crops matters because Step 4 puts resistant varieties exactly where the susceptible ones failed, and Step 3 fills the gaps with crops the nematodes cannot use.
Root-Knot Nematodes vs Cyst Nematodes vs Root Aphids vs Nutrient Deficiency
Four problems produce stunted, yellowing plants with unhappy roots. The table sorts them so you stop guessing.
| Sign | Root-Knot Nematodes | Cyst Nematodes | Root Aphids | Nutrient Deficiency |
|---|---|---|---|---|
| Root symptom | Firm swellings that are part of the root | Tiny lemon-shaped cysts attached to the surface | White waxy clusters of insects on roots | No root swelling; roots look normal but sparse |
| Cut the swelling open | Normal-looking plant tissue inside | Hollow cyst containing eggs | Insects scatter or smear | Nothing to cut open |
| Above-ground pattern | Patchy stunting, midday wilt in moist soil | Patchy stunting, similar wilt | Stunting plus ants farming the aphids | Uniform yellowing, often whole-bed |
| Responds to fertilizer | No | No | Partially (plant outgrows light attack) | Yes, the one that fixes it |
| Host clue | Vegetables, 3,000+ hosts | Soybean, potato, sugar beet cyst species | Often greenhouse or container plants | Any plant, worse in poor soil |
If the swelling is part of the root and the bed damage is patchy, you have root-knot nematodes. If fertilizer fixes it, you never had nematodes at all.
Why the Gall Is the Whole Management Problem
The gall exists because the nematode is a sedentary endoparasite. A second-stage juvenile enters a young root tip, settles permanently, and injects signals that turn nearby root cells into giant feeding cells. The female swells into a pear shape, lays her egg mass inside or beside the root, and never moves again. Those giant cells are the plant’s own plumbing rewired to feed the worm, which is why the knots are firm plant tissue rather than something attached.
This biology defeats every fantasy of a quick kill. The feeding female sits inside the root, shielded from anything you drench into the soil. The eggs sit in the soil by the millions, waiting years if they must. Juveniles only spend a short window exposed in the soil before they find a root. So management is never about killing the worm in the plant. It is about making the soil hostile during that exposed window, denying them hosts, and planting varieties they cannot feed on.
What Makes Root-Knot Nematodes Worse in a Home Garden
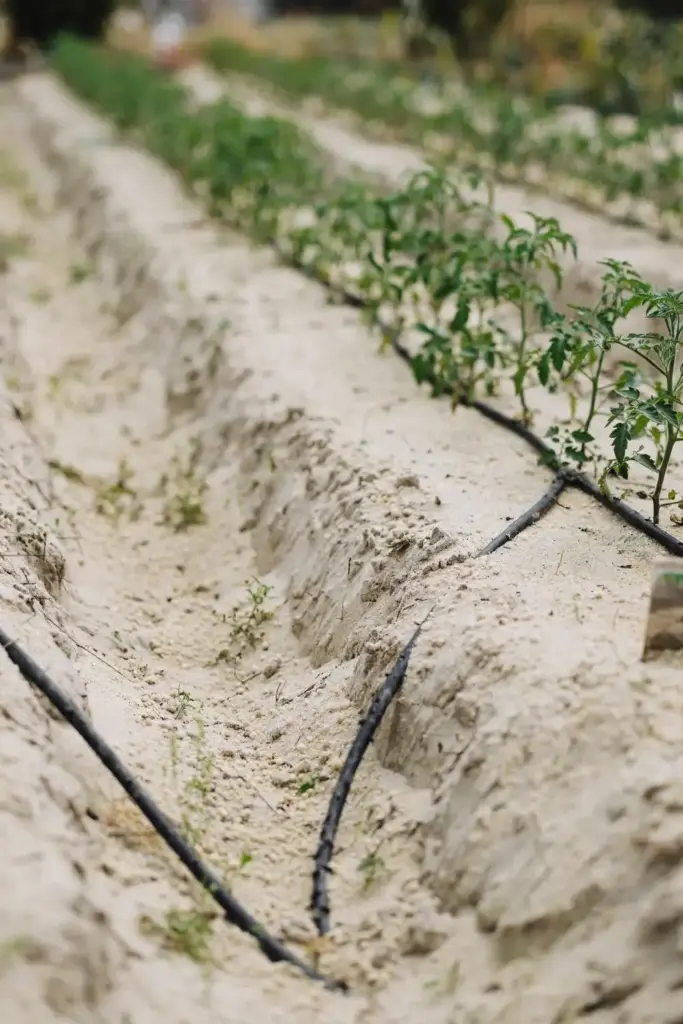
Sandy soil is the worst case. Nematodes move and survive best in light, sandy soils with good pore space, and they struggle in heavy clay. Warm soil accelerates everything: tropical species cycle fastest above 75°F, and southern gardens can see multiple generations per season. Continuous tomatoes or peppers in the same bed year after year is the classic amplifier, because every season multiplies the egg bank.
The home-garden habits that spread them deserve a blunt list. Moving soil on boots and tools between beds. Reusing potting mix for a second round of vegetables. Accepting transplants from a friend whose garden has the same knots. Dumping infested roots in the compost pile, where a cool pile preserves the eggs instead of killing them. Every one of these is fixable, and Step 8 makes the fixes systematic.
Step 1: Decide Whether This Bed Is Worth Saving
Start with the economics, not the treatment. Dig up roots from several spots in the bed and score the galling. A few small knots on an otherwise vigorous plant means a manageable population; a solid mass of beaded roots on every plant means a heavy infestation. Heavy infestations in a small bed rarely justify heroic measures. The honest math: a 4-by-8-foot bed can be solarized, rebuilt, or converted to containers in a single season, while fighting a heavy population with half-measures costs you two seasons of disappointing harvests.
Choose your tier now. Light infestation: run Steps 2 through 8 as your root-knot nematode treatment plan and keep gardening in the bed. Heavy infestation: go straight to Step 9 and stop throwing good seasons after bad. There is no shame in the container route. Some of the most productive tomato growers in nematode country gave up on native soil years ago and never looked back.
Step 2: Solarize the Soil During the Hottest Weeks
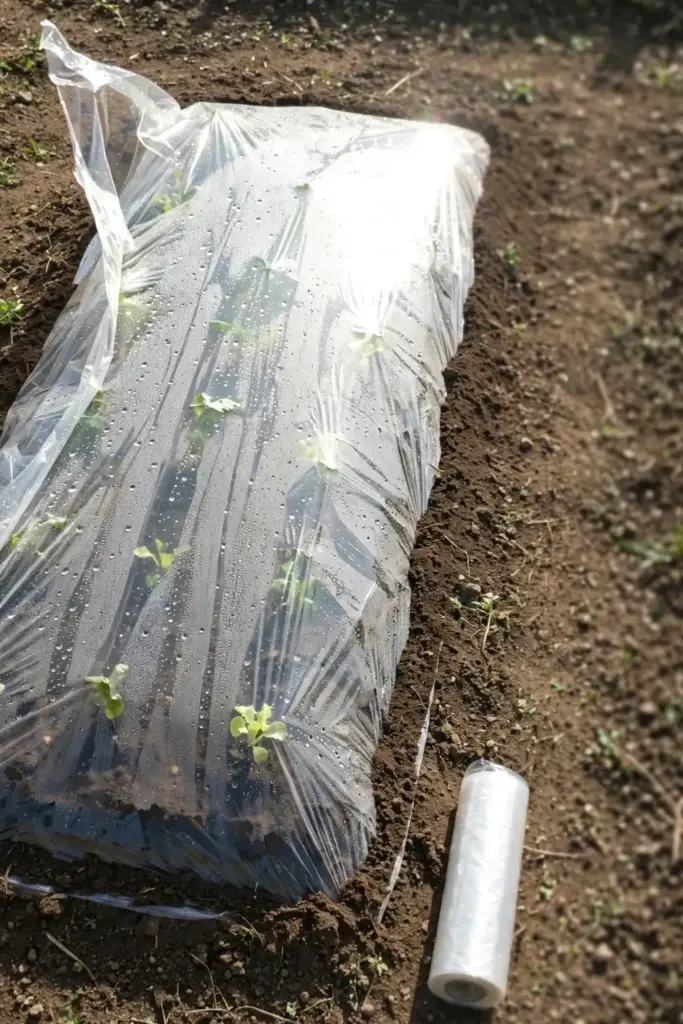
Soil solarization is the most proven non-chemical weapon a home gardener has. Start with a clean, weed-free bed, because weeds shade the soil and host the nematodes you are trying to cook. Moisten the bed deeply, since heat conducts through wet soil far better than dry. Cover it with clear (not black) plastic, 1 to 4 mil thick, sealed tight at the edges by burying them in a shallow trench. Leave it through the hottest 4 to 6 weeks of summer, ideally June into August in most climates. Walk the edges weekly and re-bury any plastic the wind lifts, because a gap vents the heat you are paying for in lost growing time. Root-knot nematodes and their eggs die when soil temperatures exceed 125°F for 30 minutes or 130°F for 5 minutes, and a well-sealed clear tarp in full sun reaches those temperatures in the top 12 inches of soil.
The honest limits matter. Solarization works best in hot-summer climates and struggles in cool coastal areas where summer soil stays below 80°F. It only heats the top foot, so deep-rooted perennials keep a reservoir below. And populations rebound over time, so treat solarization as a reset button you press before planting your most susceptible crops, not a permanent cure. Research in Kentucky high tunnels found six weeks of spring solarization significantly cut juvenile counts for months afterward, especially when followed by resistant varieties. NC State’s root-knot nematode guide adds that biocontrol products can suppress galling further, though their effects build slowly compared with heat and resistance.
Step 3: Starve Them With Rotation and Fallow
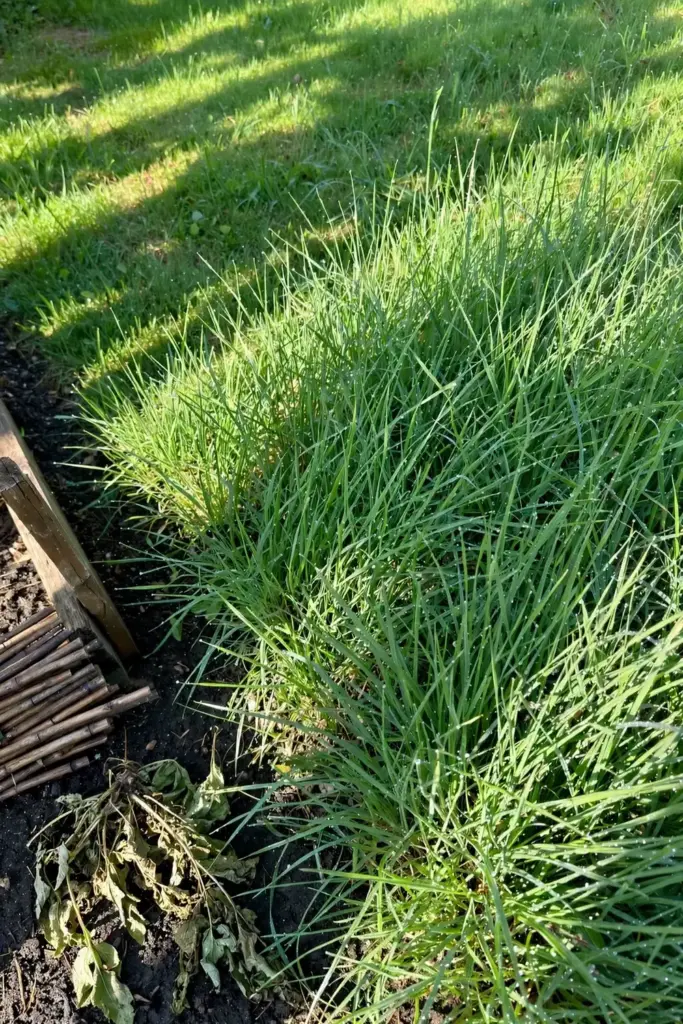
Nematodes need living roots to reproduce. A season with no host plants breaks the cycle. The simplest version: rotate your worst bed out of susceptible vegetables for a full season and plant a grass cover crop instead. Grasses are poor hosts for Meloidogyne, so a season of annual ryegrass or sudangrass actively shrinks the population while improving the soil. Our cover crops guide walks through species and timing for fall planting.
Fallow works too, but bare fallow has a catch: keep it weed-free, because weeds are hosts. A weedy fallow is just a nematode nursery with better PR. For small gardens, the practical rotation is a three-year loop: heavy feeders (tomatoes, peppers) followed by light feeders (beans, lettuce) followed by a grass cover or fallow year. Write it down. Rotation only works if you remember what grew where.
Step 4: Plant Resistant Varieties and Rootstocks
This is the highest-impact step for tomato growers. The Mi resistance gene, bred from a wild tomato relative in the 1940s, blocks the three major root-knot species (M. incognita, M. arenaria, M. javanica) by triggering a localized cell-death response where the juvenile tries to feed. The University of Florida’s nematode resistance guide explains how juveniles still enter resistant roots but starve instead of reproducing. Juveniles still enter the roots, but most cannot feed or reproduce, so the egg bank collapses instead of compounding. Varieties like Sanibel, Daytona, and Mariana carry strong resistance, and grafting a favorite heirloom scion onto a resistant rootstock such as RST-04-105-T gives you the flavor you want on roots the nematodes cannot use.
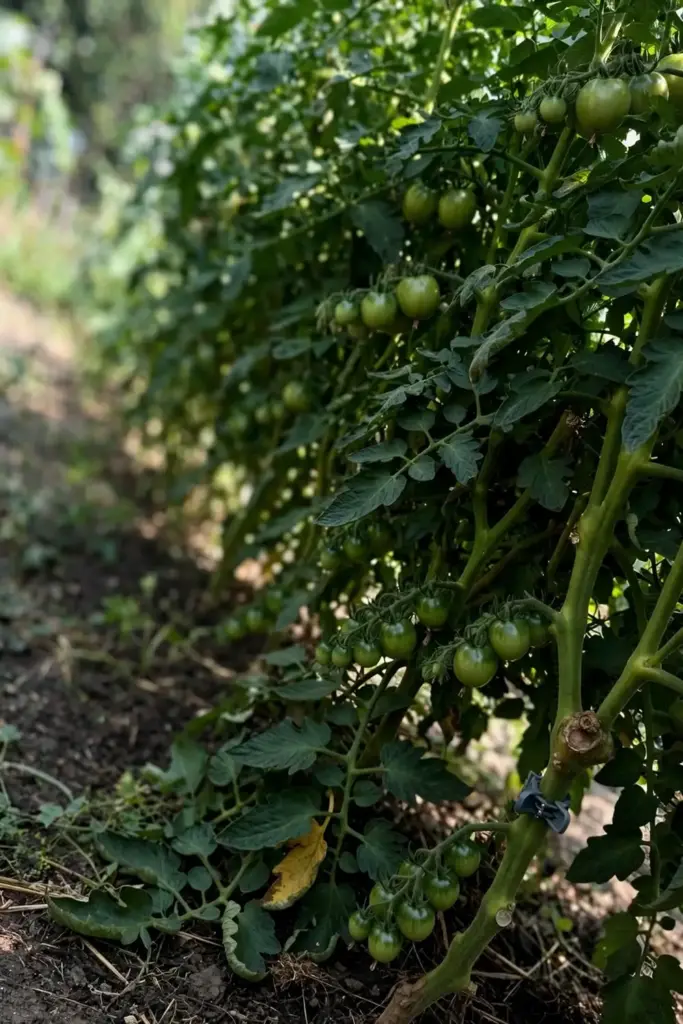
Two honest caveats. First, the Mi gene loses effectiveness when soil temperatures exceed 90°F (32°C), which matters in the hottest southern summers. Second, resistance is not immunity to every species: aggressive species like M. enterolobii can break it. Buy seed labeled with nematode resistance, and treat resistance as one layer in the system, not a force field.
Step 5: Biofumigate With Mustard
Certain mustard varieties release nematode-suppressing compounds when their chopped foliage is tilled into moist soil and sealed with a tarp or water. The mechanism is real: glucosinolates in the tissue convert to isothiocyanates, the same chemical family as some commercial fumigants. Plant a biofumigant mustard in the shoulder season, chop it at flowering, incorporate it immediately, and seal the bed for a week or two.
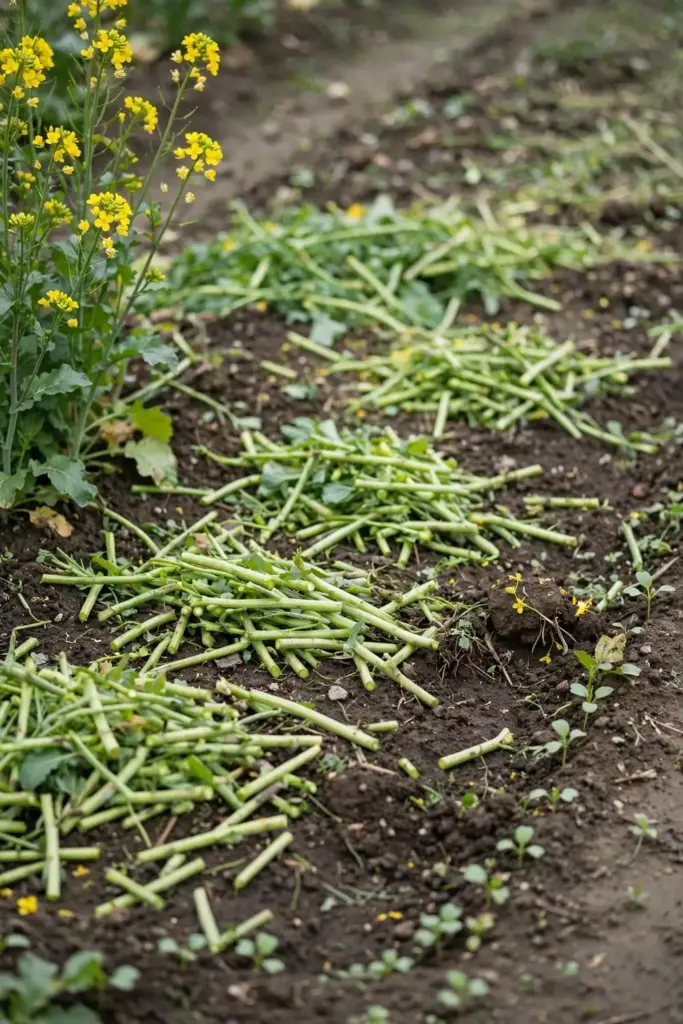
The honest framing: biofumigation suppresses populations, it does not sterilize soil, and results vary with variety, biomass, soil temperature, and sealing. It shines as a complement to solarization or rotation, not as a standalone cure. Plan it for the shoulder season when the bed would otherwise sit empty, so it costs you no growing time. If you are choosing between one strong intervention and three weak ones, pick solarization or resistance first and treat mustard as the bonus round.
Step 6: Add Organic Matter and Beneficial Biology
Compost, manure, and organic amendments improve soil structure and feed the microbial community that preys on nematodes, including trapping fungi and predatory nematodes. University trials show consistent population suppression from heavy organic amendment, and the mechanism is believable: a diverse soil food web is a dangerous neighborhood for a juvenile nematode.
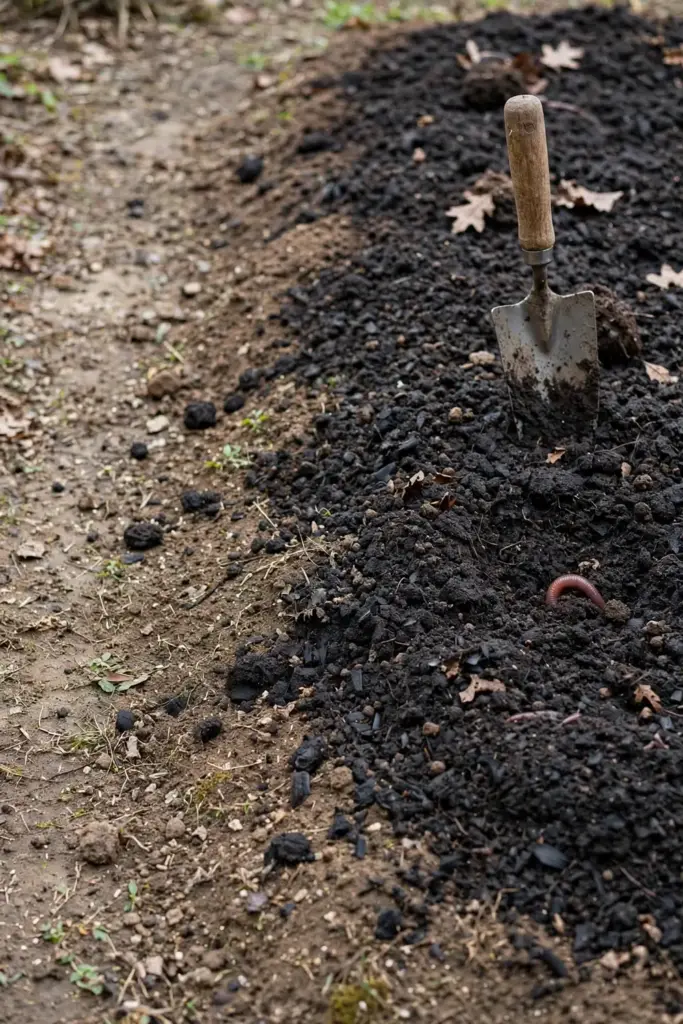
Keep the claims proportional. Organic matter suppresses; it does not eradicate. It works over seasons, not weeks. And never add infested plant material to the compost unless your pile reliably holds thermophilic temperatures, because a cool pile is a nematode preservation chamber. Chitin-rich amendments like crab meal have shown particular promise in trials, since chitin feeds the microbes that attack nematode eggshells. Feed the soil every season and let the biology compound like interest.
Step 7: Marigolds and Neem Oil: What the Evidence Actually Says
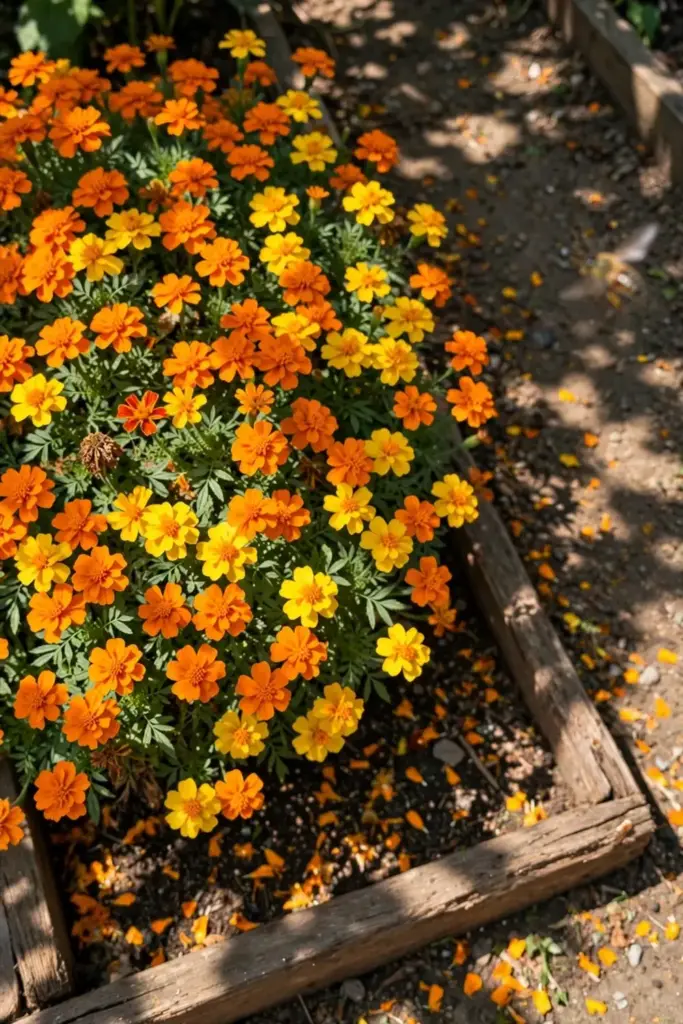
Marigolds are the most repeated nematode advice in home gardening, so here is the straight version. French marigolds (Tagetes patula) do release thiophenes that are toxic to nematodes in laboratory studies, and some field trials show suppression. But the effect is variety-specific, requires dense planting and full-season incorporation, and many trials show weak or inconsistent results. Planting a border of marigolds around your tomatoes and expecting control is theater. A solid block of the right variety, grown a full season and tilled in, is a real (if modest) intervention. Most gardeners do the former and claim the latter.
Neem oil is the other frequent question, and the answer is simpler. Neem oil is a leaf insecticide and fungicide. It has no meaningful effect on nematodes living inside roots and soil. Drenching neem into the soil wastes money and can harm the beneficial biology you are trying to build in Step 6. Skip it for this problem.
Step 8: Keep Infested Soil From Traveling
Nematodes move inches per year on their own and miles on your equipment. Clean soil off boots and tools when moving between beds, and keep one set of hand tools for the infested bed if you can. Do not share transplants, divisions, or soil with other gardeners until you know your status. Quarantine new plants: grow suspicious transplants in containers for a season before they touch your good beds.
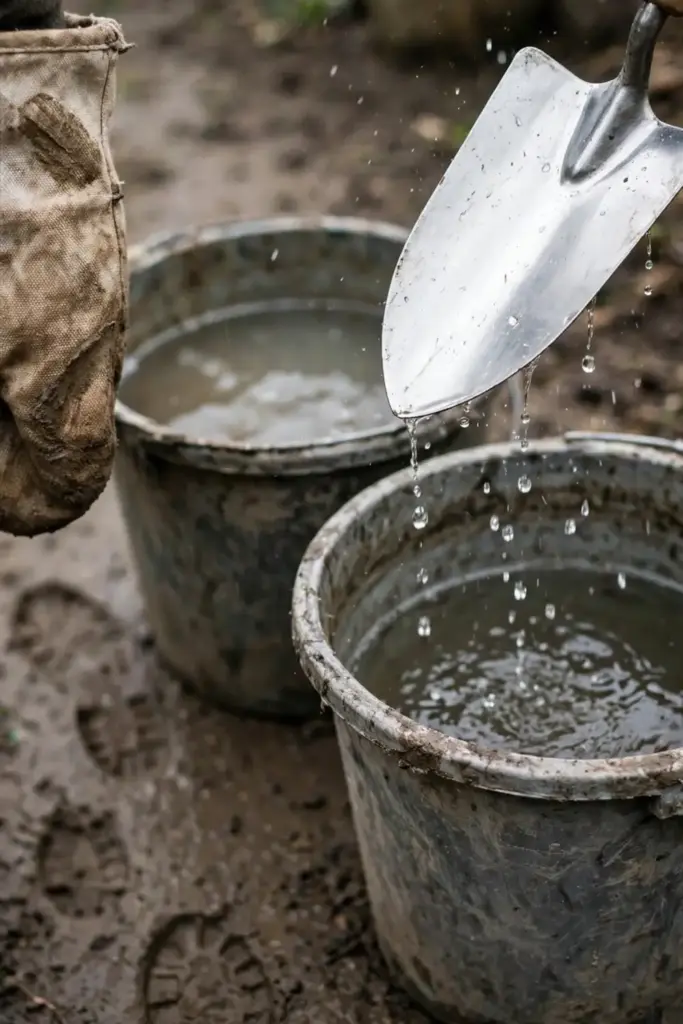
The compost rule is absolute. Roots with galls go in the trash or the municipal green bin, never in the home compost, unless you run a hot pile that holds above 140°F for weeks. The same goes for the soil clinging to those roots: shake it off over the infested bed, not over the compost or the clean bed. Wash pots and trays that held infested plants with a dilute bleach solution before reuse, then rinse and dry them in full sun. One careless compost addition can undo a season of solarization. Sanitation is unglamorous and it is the step most gardeners skip, which is exactly why infestations keep coming back.
Step 9: Know When to Start Over With Containers or Raised Beds
Sometimes the right treatment is a new battlefield. If the bed scores heavy galling two seasons running, stop fighting the soil and garden above it. Raised beds filled with fresh, clean mix on top of landscape fabric give you a nematode-free root zone, provided you never introduce infested soil or transplants into them. Containers are the ultimate quarantine: a tomato in a 10-gallon pot of fresh potting mix grows in soil the nematodes never reach.
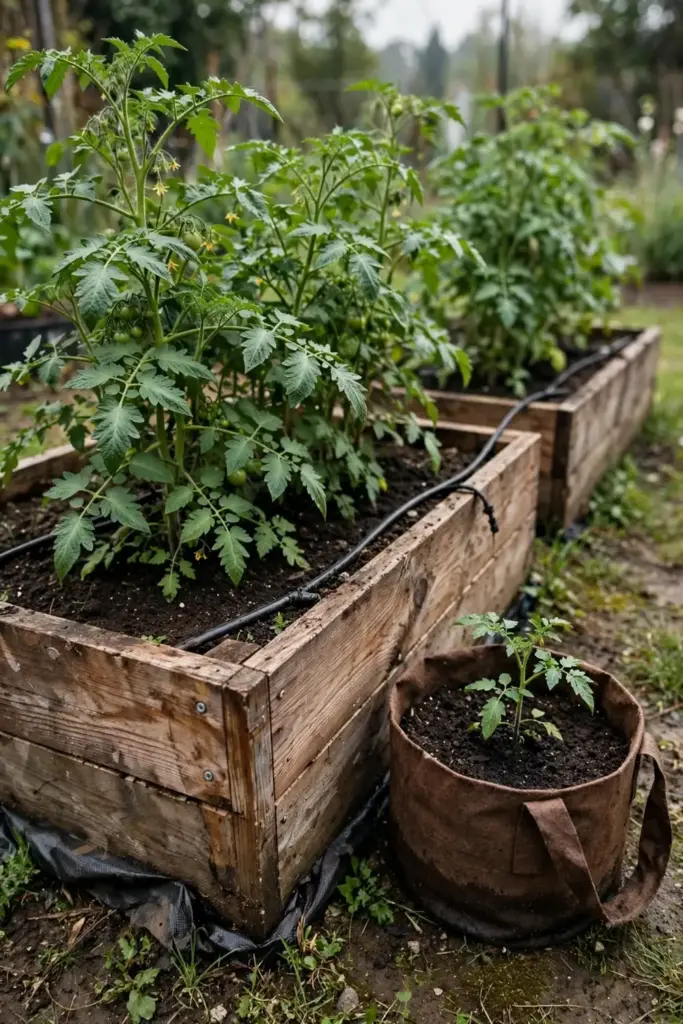
This is not defeat. It is the highest-yield option for small spaces in nematode country, and it pairs perfectly with resistant varieties for a two-layer defense. Our potting mix guide covers what to fill those beds and pots with so you start genuinely clean.
Living With a Garden That Has Root-Knot Nematodes
You cannot eradicate them from open soil, so the long game is management. Expect to repeat solarization every few years in hot climates, rotate susceptible crops on a written three-year plan, and default to resistant varieties for tomatoes. Our fall garden bed prep guide helps you fold sanitation and amendment into the same autumn routine. Keep a garden map with infestation notes per bed so you stop relying on memory. Test new beds before you invest in them: plant a few susceptible indicator seedlings (cucumber is fast and honest) and check their roots after six weeks.
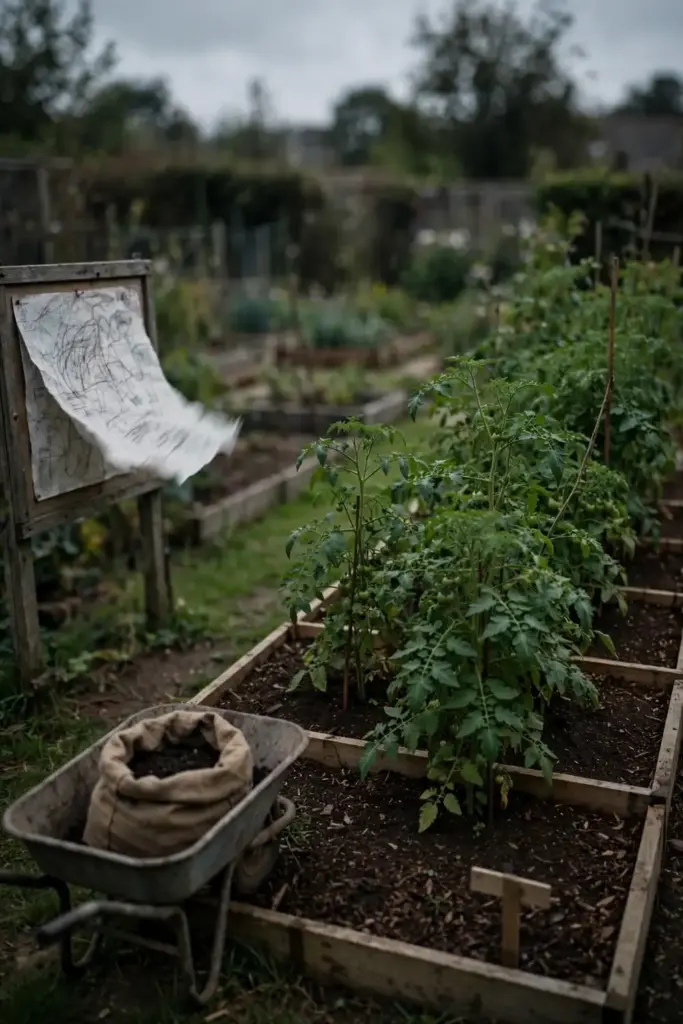
If you want certainty before you invest a season, get a lab diagnosis. Your state extension service will assay a soil sample for nematode counts, usually for a modest fee, and the report tells you which species you have and how heavy the pressure is. That turns Step 1 from a guess into a measurement. The mindset shift is the real treatment. Gardeners who accept management grow full harvests in nematode country every year. Gardeners waiting for a cure grow disappointment. The nine steps above are the management system; run it every season and the knots become a footnote instead of the headline.
Frequently Asked Questions
No single natural product wipes them out. The effective natural strategies are heat (solarization at 125°F-plus soil temperatures for 4 to 6 weeks), starvation (rotation to non-host grasses or fallow), resistant varieties carrying the Mi gene, and biofumigant mustards tilled into the soil. Marigolds help modestly when grown as a dense full-season block and incorporated. Manage expectations: these suppress populations, they do not sterilize soil.
No vegetable is truly immune, but grasses are very poor hosts, which makes them the backbone of rotation plans. Among vegetables, varieties bred with the Mi resistance gene (certain tomatoes) strongly resist the three major Meloidogyne species. Sweet corn and most grasses suffer little damage. Everything else sits on a spectrum of susceptibility, so check resistance labels when buying seed for infested beds.
No. Neem oil works as a leaf insecticide and fungicide, but it has no meaningful effect on nematodes living inside roots and soil. Soil drenches of neem waste money and can harm the beneficial soil biology that actually suppresses nematode populations. Save neem for aphids and powdery mildew, and use solarization, rotation, or resistant varieties for nematodes.
In open garden soil, no. Eggs survive for years and juveniles persist at low levels even after strong interventions. The realistic goal is driving populations below the damage threshold so crops produce normally. Solarization plus resistant varieties plus rotation can keep a bed productive indefinitely. Complete elimination is only realistic in containers with fresh, clean mix that never contacts infested soil.
Partially, and only done right. French marigolds release nematode-toxic thiophenes, but the effect is variety-specific and requires dense, full-season planting followed by tilling the plants into the soil. A decorative border around tomatoes does almost nothing. Treat marigolds as a modest supporting player alongside solarization, rotation, and resistant varieties, not as the main event.
Yes, with the right system. Plant Mi-gene resistant varieties or graft heirlooms onto resistant rootstocks, solarize the bed in summer before planting, and rotate that bed out of tomatoes the following year. Many gardeners in nematode-heavy regions grow excellent tomatoes this way every season. If galling stays heavy despite all of it, move tomatoes to raised beds or containers with fresh mix.
Where to Go From Here
Walk your garden this week and pull up one struggling plant from each bed. Rinse the roots, look for the knots, and score every bed honestly before you spend a dollar on root-knot nematode treatment. Light infestations get the nine-step system starting with summer solarization; heavy ones get containers or raised beds plus resistant varieties. Either way, write down what grew where this year, because rotation only works on paper, not in memory.
Start with Step 1 today. The bed you diagnose correctly is the bed you can actually fix, and the knots on those roots just told you where to begin.