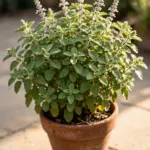

Yes, you can treat Phomopsis canker at home. Cut out every cankered branch 6 to 12 inches below the visible damage, disinfect your tools between cuts, and destroy the debris. Do the work in dry weather. That prune-out-and-dispose protocol is the entire treatment, because no spray reaches the fungus living under the bark. It works on every host the disease attacks, from spruce to blueberry canes.
I have learned that dry weather is not a suggestion with canker pruning, since the spores that spread this disease move in rain and wet spring air. If your trees or shrubs show sunken, discolored patches on the bark with dying shoot tips above them, work through the steps below in order. Clean pruning technique matters more here than any product you could buy.
What Phomopsis Canker Actually Is
Phomopsis canker is a bark and wood disease caused by fungi in the genus Phomopsis, the asexual stage of the ascomycete genus Diaporthe. It is a true fungus, not a bacterium and not an oomycete, which matters because the treatments that work on water molds do nothing here.
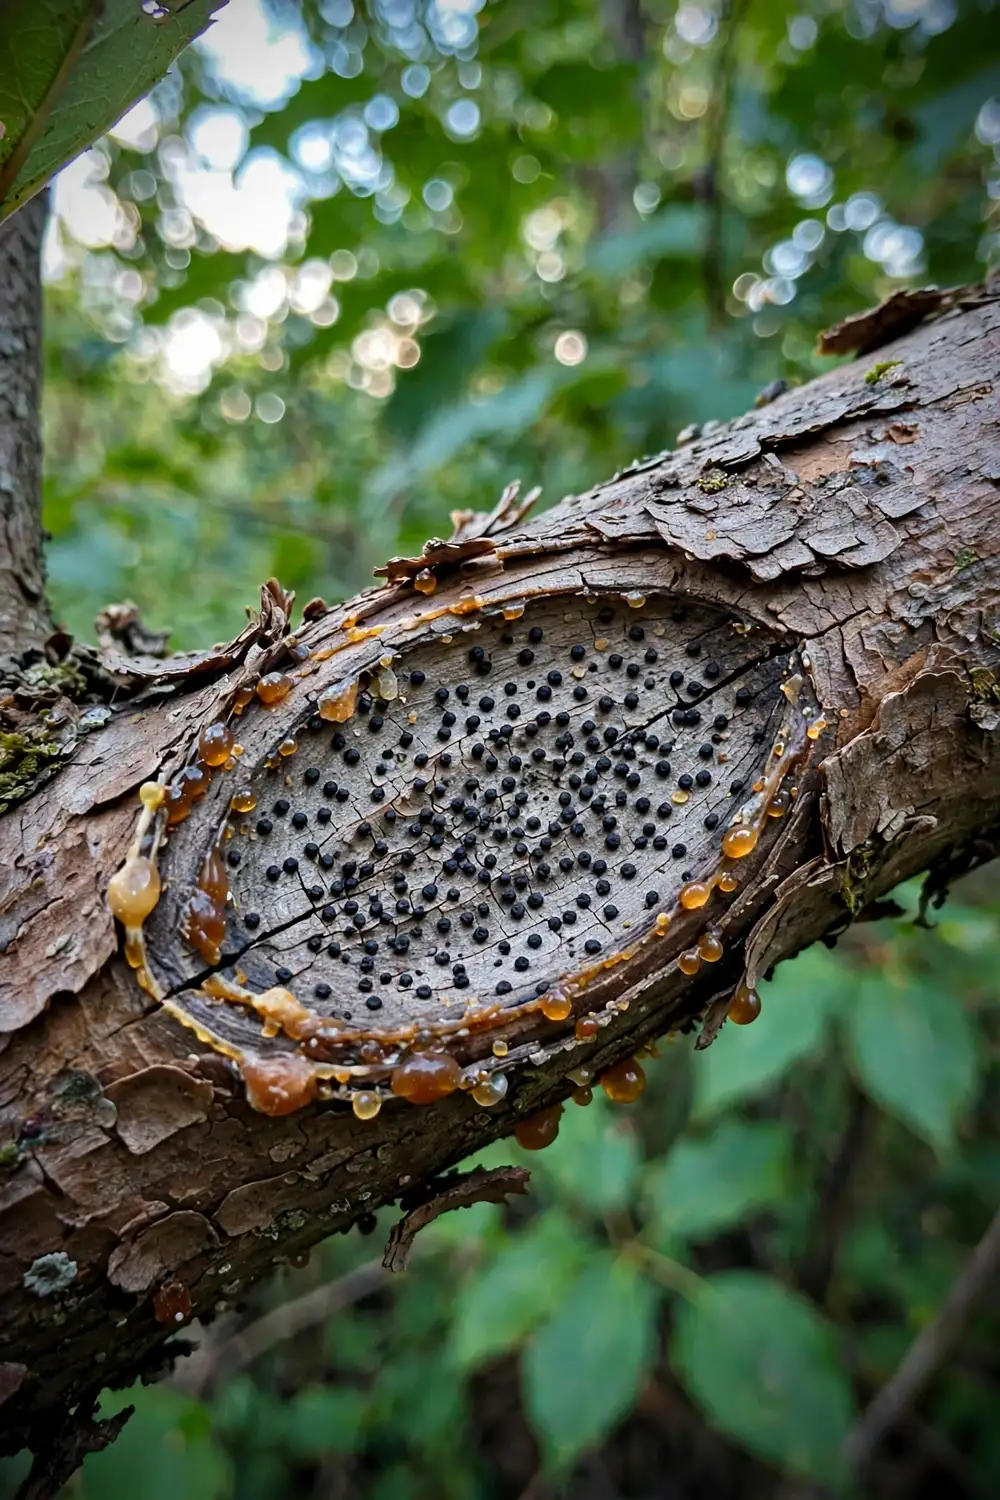
The fungus enters through wounds: pruning cuts, broken branch stubs, hail damage, and cracked bark. Once inside, it kills the bark and the wood beneath it in a spreading, sunken lesion called a canker. Small twigs can be girdled and killed within a month of infection, while large structural limbs may take a year or more to die, according to the University of Illinois plant disease report.
Phomopsis canker never heals on its own. The infected wood stays infected, and the fungus keeps producing spores from the dead bark for as long as the canker remains on the tree. Treatment means physically removing the diseased wood, not nursing it back to health.
How to Identify Phomopsis Canker on Branches and Bark
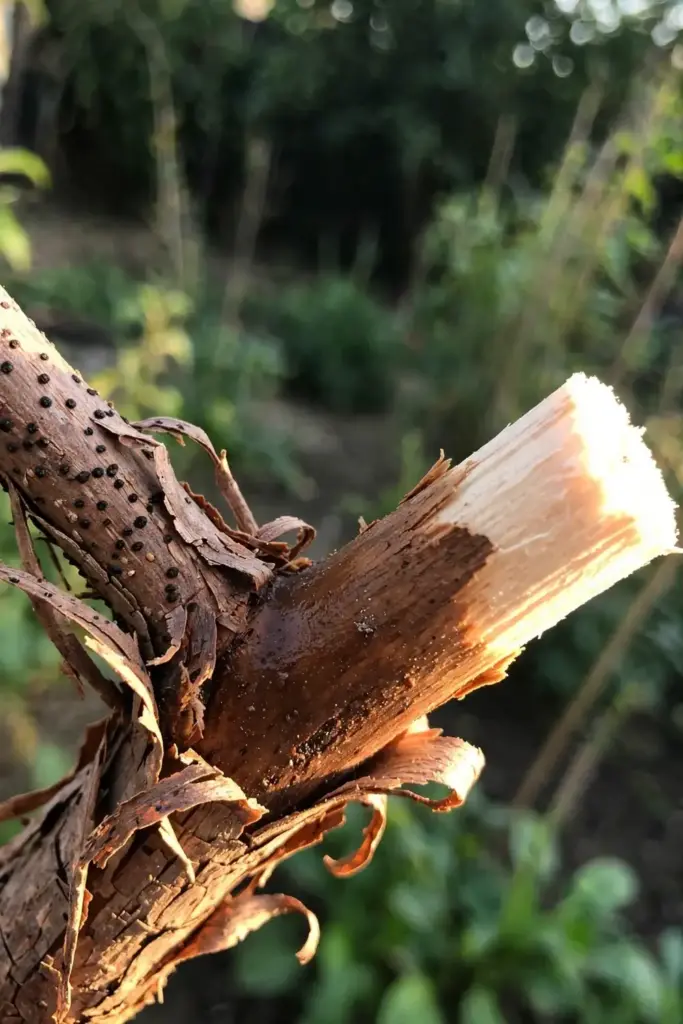
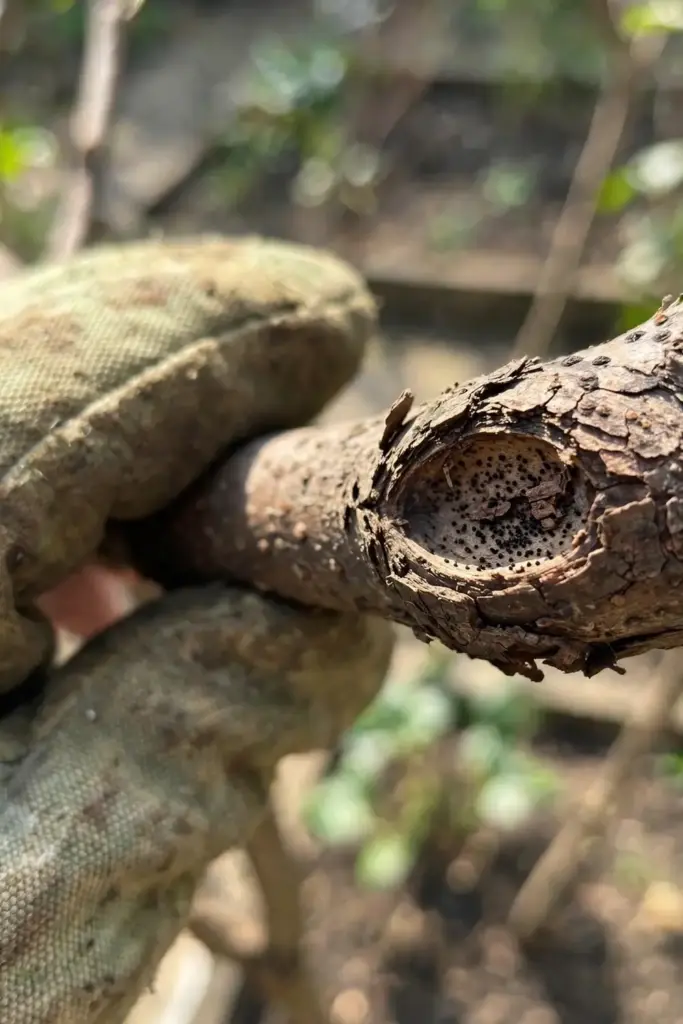
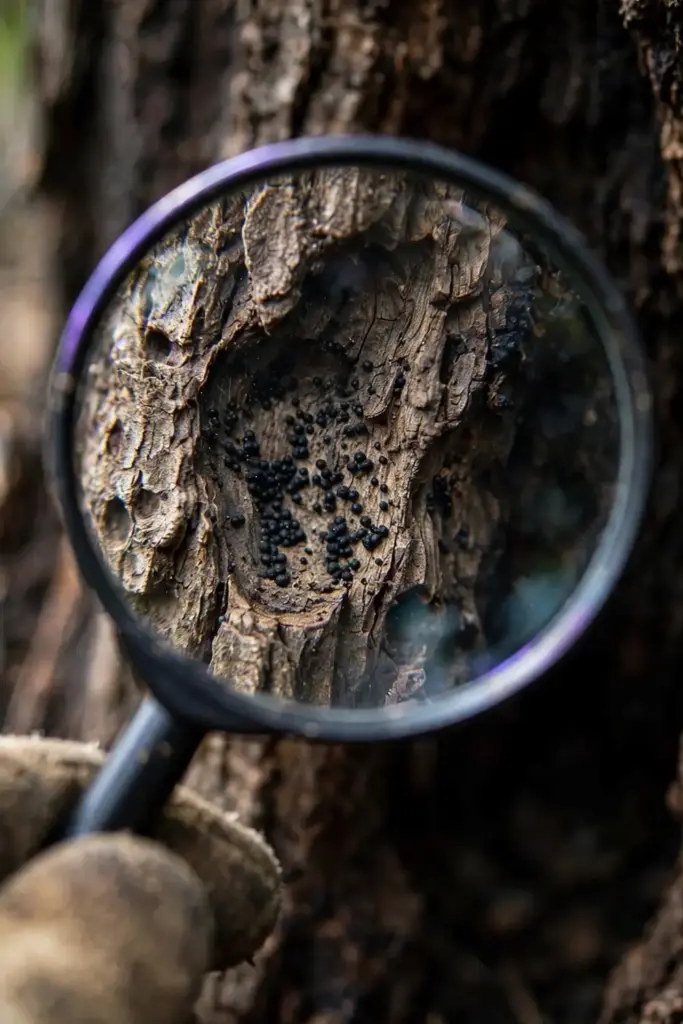
Phomopsis canker shows up as a sunken, discolored area on a branch or stem, often with cracked or peeling bark at the edges. The dead bark in the center may carry tiny black dots, which are the pycnidia, the spore-producing fruiting bodies of the fungus. An amber to brown gummy exudate sometimes oozes through cracks in the dead bark, especially at the margins of the canker.
Run your thumb near the edge of a suspect lesion. Healthy bark feels firm and tight. Cankered bark feels loose, papery, or slightly spongy, and it often separates from the wood underneath. The wood beneath a fresh canker looks brown and water-soaked instead of pale and solid.
The single best field mark is the black dots. Few other common cankers produce the pepper-like pycnidia embedded in dead bark, and they confirm you are looking at a fungal canker rather than winter injury or mechanical damage. Use a hand lens in good light; the dots are small but unmistakable once you have seen them.
How to Identify Phomopsis Dieback on Shoots and Tips
Above the canker, the story is dieback. Shoots wilt, flag, and turn brown from the tip downward as the canker girdles the stem and cuts off water flow. On spruce and juniper, whole branch tips brown out while the rest of the branch still looks green, which confuses many gardeners into blaming drought.
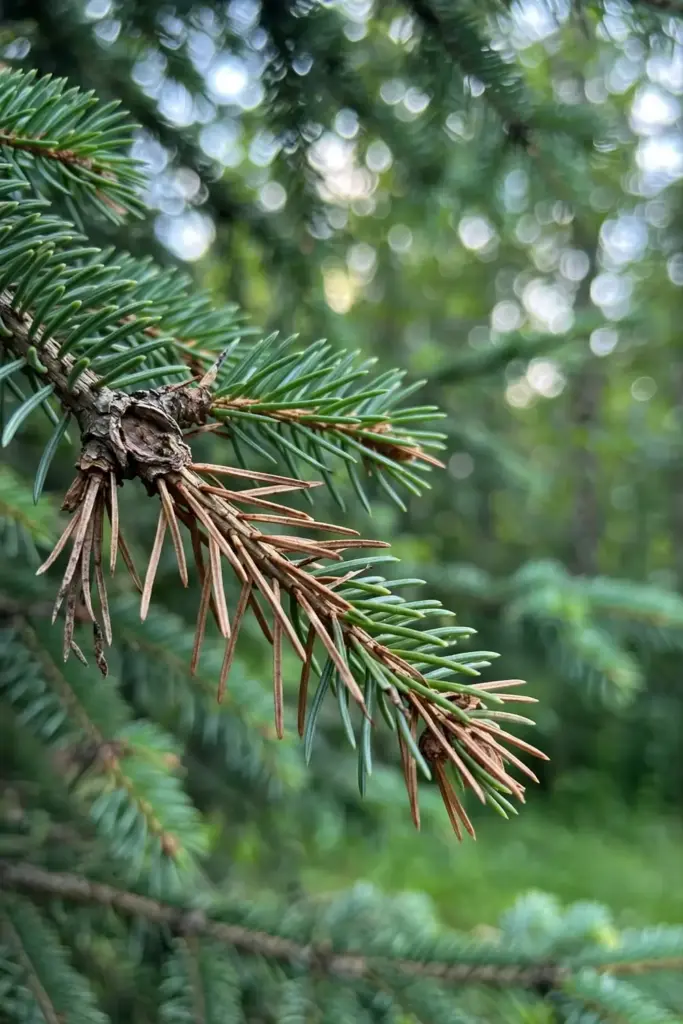
On spruce, the cankers often appear first at a branch whorl and then extend down the branch, a pattern Ohio State University’s plant diagnostic lab describes as characteristic of Phomopsis canker of spruce. If you see dieback starting at whorls and marching inward, suspect Phomopsis before you suspect anything else.
Check the timing too. Phomopsis sporulates most actively in wet spring weather, so new dieback that appears after rainy stretches in spring is more suspicious than dieback that appears in dry summer heat. The disease cycle runs on moisture, and the symptoms follow the rain.
Which Trees and Shrubs Get Hit Hardest
Phomopsis attacks a wide range of landscape trees and shrubs, and stressed or wounded plants suffer most. Spruce, juniper, and other conifers are frequent victims in home landscapes, along with Russian olive, which the Illinois report uses as its primary example because the fungus infects trees of all sizes throughout the growing season.
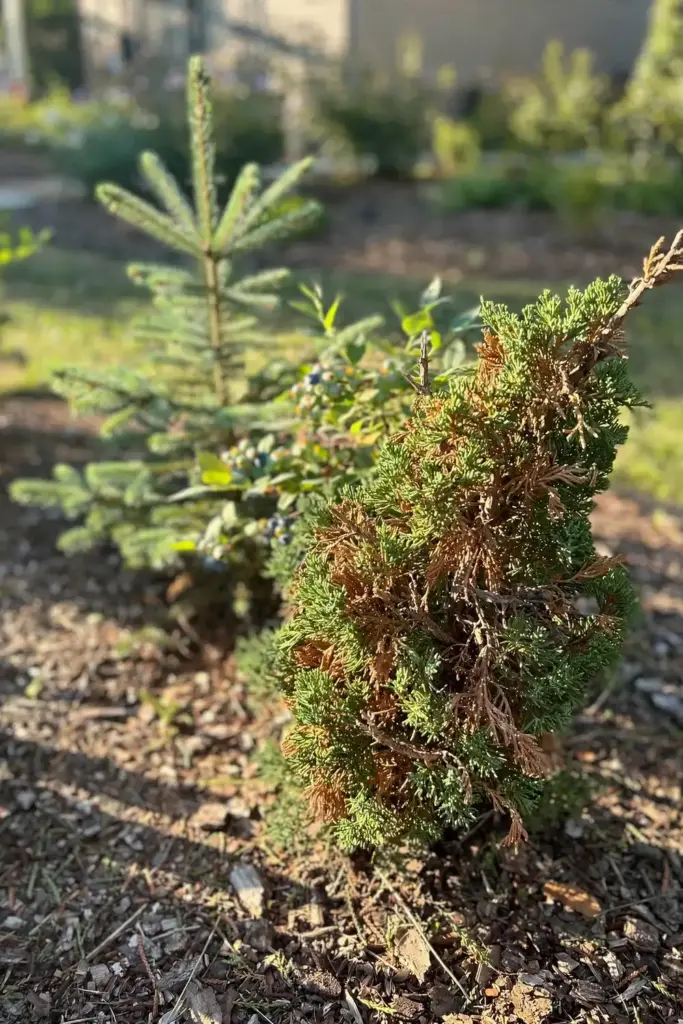
Deciduous shrubs and small trees with thin bark get hit where pruning wounds and winter cracks give the fungus an entry point. Blueberries are a notable fruit host; North Carolina State Extension documents Phomopsis on blueberries, and Penn State’s home-fruit guidance covers it as a cane disease. Home blueberry growers should watch for cane dieback in spring and prune out affected canes the same way landscape shrubs are treated.
Grapes suffer a related Phomopsis cane and leaf spot that grows into the wood and produces cankers, per Illinois Extension. Vineyard management leans on fungicide programs because pruning alone cannot keep up at commercial scale, but home gardeners with a few vines do better with the sanitation-first approach in the steps below.
Newly planted trees deserve a special warning. Nursery stock can carry latent Phomopsis infections that show no symptoms at planting time, then erupt into cankers during the first stressful summer. Inspect new trees at purchase: reject any with sunken bark patches, oozing cracks, or dead shoot tips, and buy only from reputable nurseries that rogue diseased stock.
One host is deliberately absent from this article. Rose canker that gardeners call Phomopsis is usually caused by Coniothyrium, a different fungus, so rose-specific canker advice belongs elsewhere. If your roses have cankers, search for Coniothyrium canker guidance rather than following the steps below.
Phomopsis vs Cytospora vs Fire Blight vs Winter Injury
Four problems look like Phomopsis canker from a distance. This table sorts them before you cut, because the treatment differs.
| Feature | Phomopsis Canker | Cytospora Canker | Fire Blight | Winter Injury |
|---|---|---|---|---|
| Black dots (pycnidia) in dead bark | Yes, the key field mark | Sometimes, but with amber gum | No | No |
| Gumming | Amber-brown, at canker margins | Heavy amber gum, often streaming | Milky to amber ooze in warm wet weather | None |
| Dieback pattern | Tip dieback above the canker | Branch dieback, often on stressed trees | Shepherd’s crook on shoot tips | Browning on the windward or sun side |
| Pathogen type | Fungus (Phomopsis/Diaporthe) | Fungus (Cytospora/Leucostoma) | Bacterium (Erwinia amylovora) | No pathogen, weather damage |
| Core treatment | Prune out and dispose | Prune out, reduce stress | Prune out, disinfect, resistant varieties | Wait, prune dead wood in spring |
| Pruning weather | Dry weather only | Dry weather | Dry weather, dormant season best | Any dry day |
Bacterial canker deserves special care in the differential because it looks similar on fruit trees and the management differs in the details. Read the bacterial canker guide if your cankers ooze in cool wet weather and lack the black pycnidia dots, since bacterial cankers need their own protocol.
Why Wet Weather and Pycnidia Drive the Whole Disease
The entire disease runs on one mechanism: pycnidia release spores in wet weather, rain splash carries them to fresh wounds, and new infections start. Pycnidia form in cankers about 4 to 6 weeks after infection, so a canker you missed in spring is already manufacturing next month’s infections.
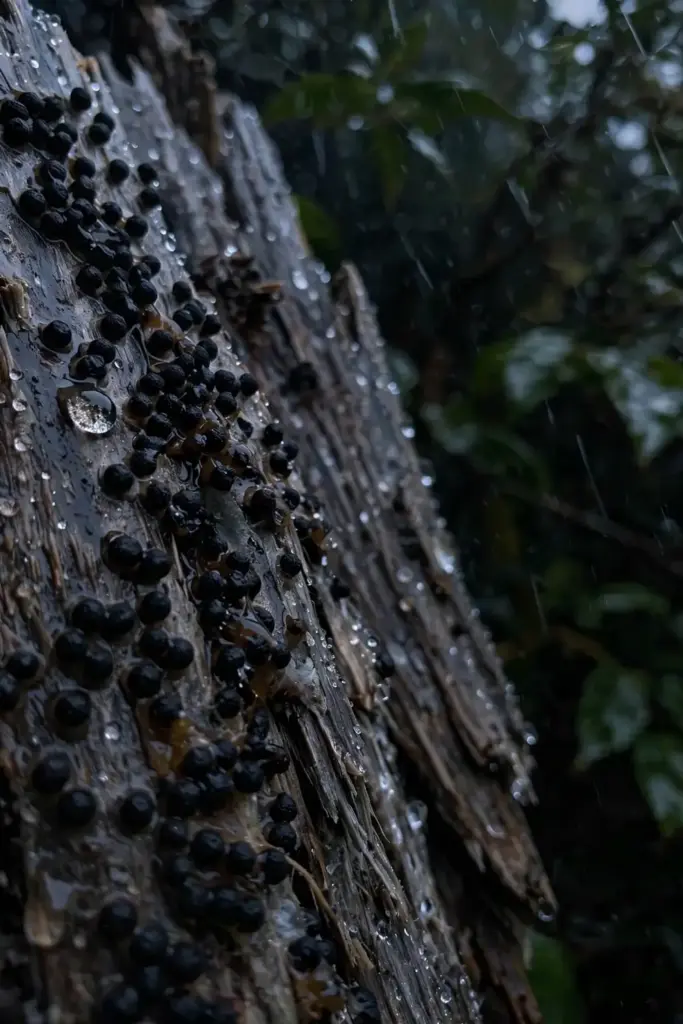
Every timing rule in the steps below exists for this reason. Pruning in wet spring weather, when the fungus is most actively sporulating, risks landing spores on your fresh cuts. UMass Extension’s Phomopsis canker guide advises avoiding pruning during wet spring periods for exactly this reason and sanitizing tools after working with infected plants.
The fungus overwinters as mycelium and pycnidia inside the canker, not in the soil. That single fact simplifies the whole strategy: remove the cankers and you remove the overwintering population. Soil treatments, drenches, and root-zone products have no target here, so skip them entirely.
The infection window opens whenever three things coincide: viable spores, a fresh wound, and wet weather. Spring delivers all three at once, which is why the disease explodes in rainy Aprils and Mays and goes quiet in dry summers. Every recommendation in the steps below is really a way of breaking one leg of that triangle: fewer spores through sanitation, fewer wounds through careful pruning, and less wetness through timing and spacing.
What Makes Phomopsis Worse in a Home Landscape
Wounds are the main risk factor, because the pathogen’s main avenue of entry is through injuries. Every unnecessary bark wound is an invitation: flush cuts that leave stubs, string-trimmer damage at the base, and pruning during wet weather all raise the odds.
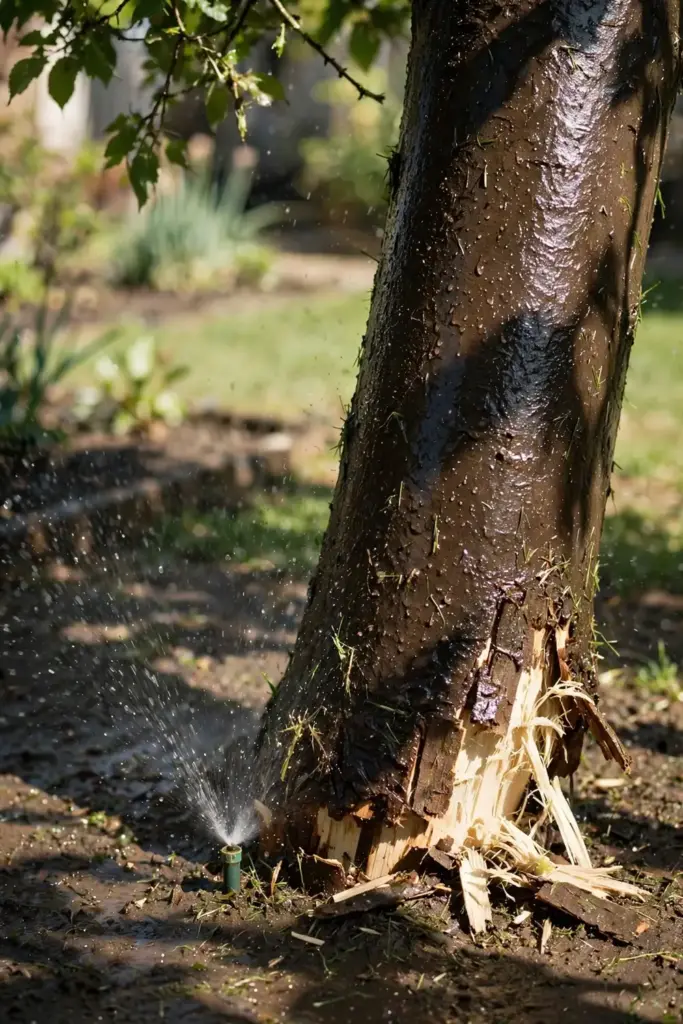
Stress is the second risk factor. Drought-stressed, overcrowded, and poorly sited trees compartmentalize wounds slowly, giving the fungus more time to establish. A vigorous tree walls off small infections with callus tissue; a stressed tree lets the canker keep spreading.
Debris is the third risk factor. Pruned cankered branches left on the ground keep sporulating, and chipping diseased wood into mulch spreads the pycnidia around the garden. The Illinois report is blunt about this: destroy debris after pruning by shredding, disking, plowing it in, or burning it.
Overhead watering that keeps bark wet for long stretches completes the risk picture. Wet bark plus a wound plus spring temperatures is the full recipe, and home landscapes deliver it through sprinklers aimed at trunks.
Finally, watch for the human risk factor: well-meaning but sloppy pruning. Topping, flush cuts that remove the branch collar, and pruning with dull tools that crush bark all create the ragged wounds Phomopsis prefers. A sharp tool, a correct cut at the branch collar, and dry weather turn pruning from the disease’s best friend into its worst enemy.
Step 1: Decide Whether the Branch Is Worth Saving
Before you cut anything, decide whether the infected branch has a future. A canker that girdles more than half the circumference of a branch will kill everything above it, and no amount of pruning above the canker changes that. Trace the canker with your eyes and estimate how much of the branch’s circle it covers.
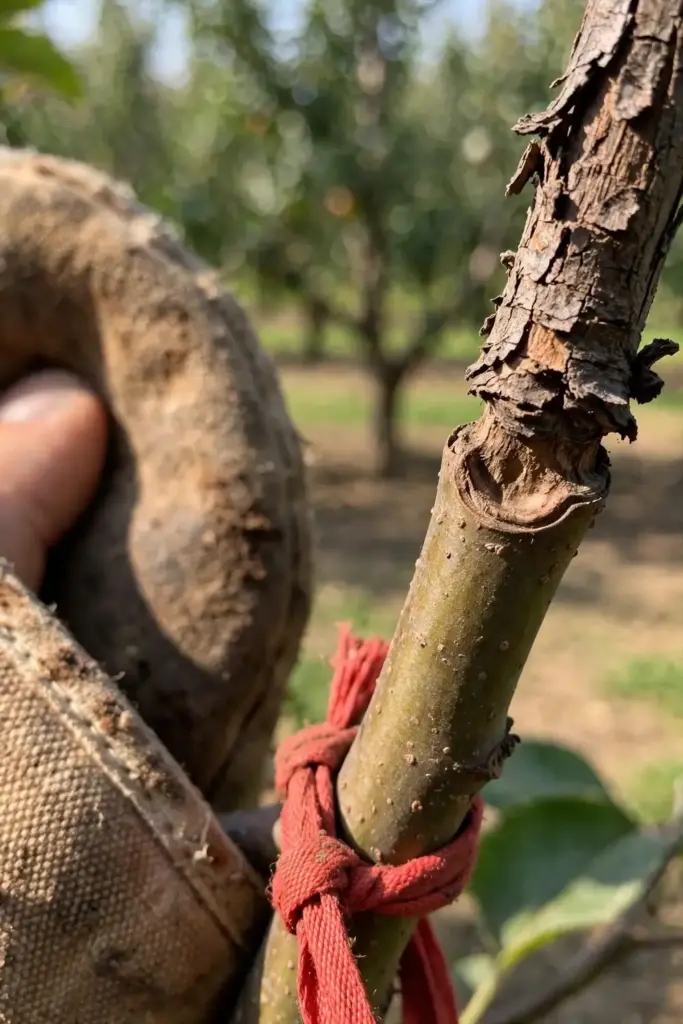
If the canker sits on a small side branch, remove the whole branch at its point of origin. If it sits on a main scaffold limb and girdles less than half, you can cut below it and save the limb. If the trunk itself is cankered near the base on a young tree, the honest answer is removal of the whole tree; the Illinois report recommends cutting seriously infected trees off near the soil line.
Do this triage in daylight with the tree dry. Mark every canker you find with a ribbon or chalk so you can plan your cuts before you start. A tree with three cankers needs a plan, not improvisation.
Step 2: Wait for Dry Weather Before You Cut
Do not prune cankers in the rain or during a wet spring stretch. The fungus sporulates most actively in wet weather, and spores landing on your fresh pruning wounds start new infections, which is the opposite of treatment. Wait for a dry spell of at least two to three days.
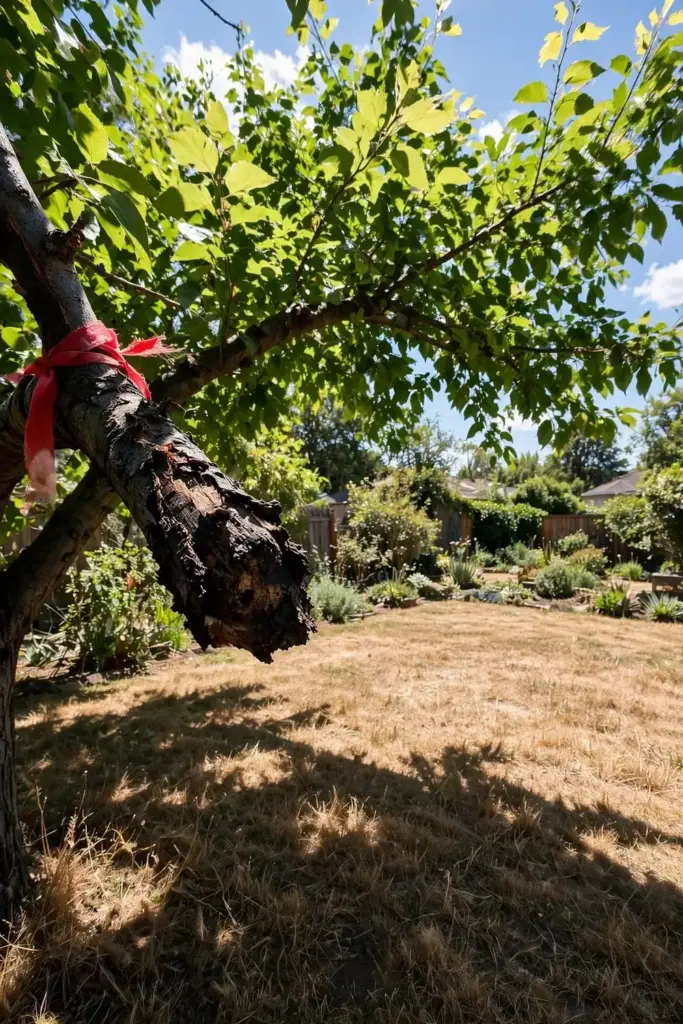
The Ohio State diagnostic lab warns that pruning during active sporulation can cause additional infections when spores extruded from the pycnidia land on fresh wounds. Dormant-season pruning is ideal for deciduous trees because the fungus is quiet and the wounds are easy to see without leaves.
If a cankered branch threatens to break or hangs over a walkway, remove the hazard limb immediately regardless of weather, then return in dry conditions for the careful therapeutic cuts. Safety outranks disease protocol.
Step 3: Cut 6 to 12 Inches Below the Damage
Make each pruning cut 6 to 12 inches below the lowest visible edge of the canker, into healthy wood. The infection extends beyond the discolored bark you can see, so cutting at the visible margin leaves infected tissue behind. UMass Extension gives this 6 to 12 inch margin as the best management practice for cankered stems and branches.
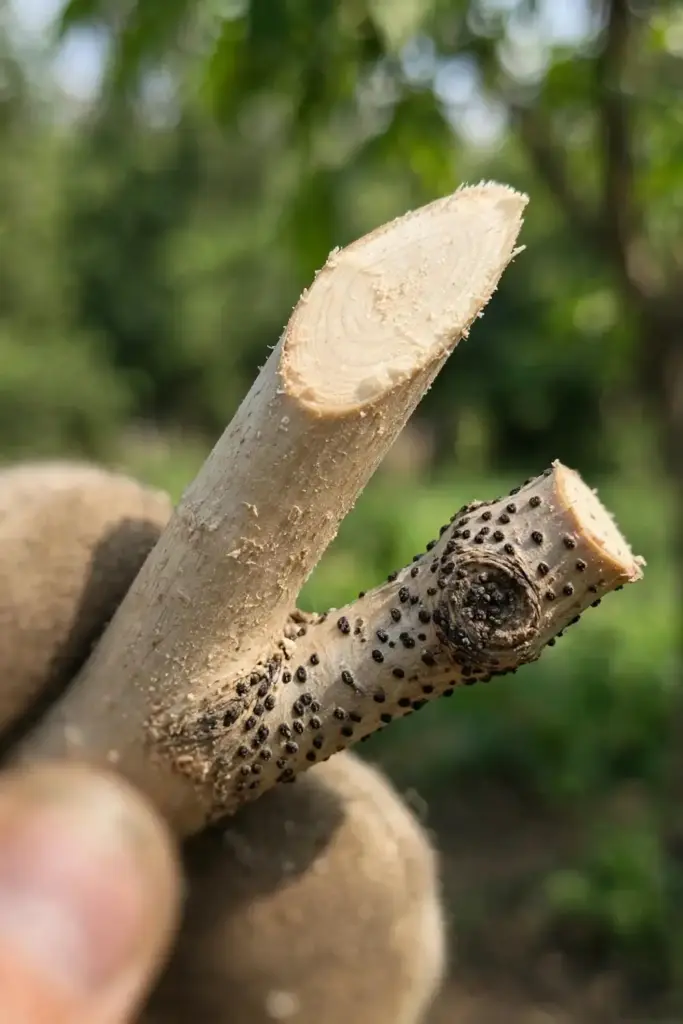
Cut to a healthy lateral branch or bud, never to a stub. Stubs die back and become new entry points, which is exactly what the fungus wants. Angle the cut so water sheds off the wound surface instead of pooling on it.
On conifers like spruce, prune according to good conifer practice and do not leave a stub; where dieback is extensive it may be necessary to remove entire branches back to the trunk. Check the cut surface as you go: healthy wood looks pale and solid, while infected wood shows brown discoloration. If the cut surface is discolored, cut lower and check again.
Step 4: Disinfect Your Tools Between Every Cut
Disinfect your pruning tools between every cut when working on Phomopsis canker, not just between trees. A 1:10 dilution of household bleach in water, a 1:10 Lysol solution, or undiluted Lysol all work as tool disinfectants, per university extension guidance. Dip or wipe the blades, let the disinfectant contact the metal for at least 30 seconds, then cut.
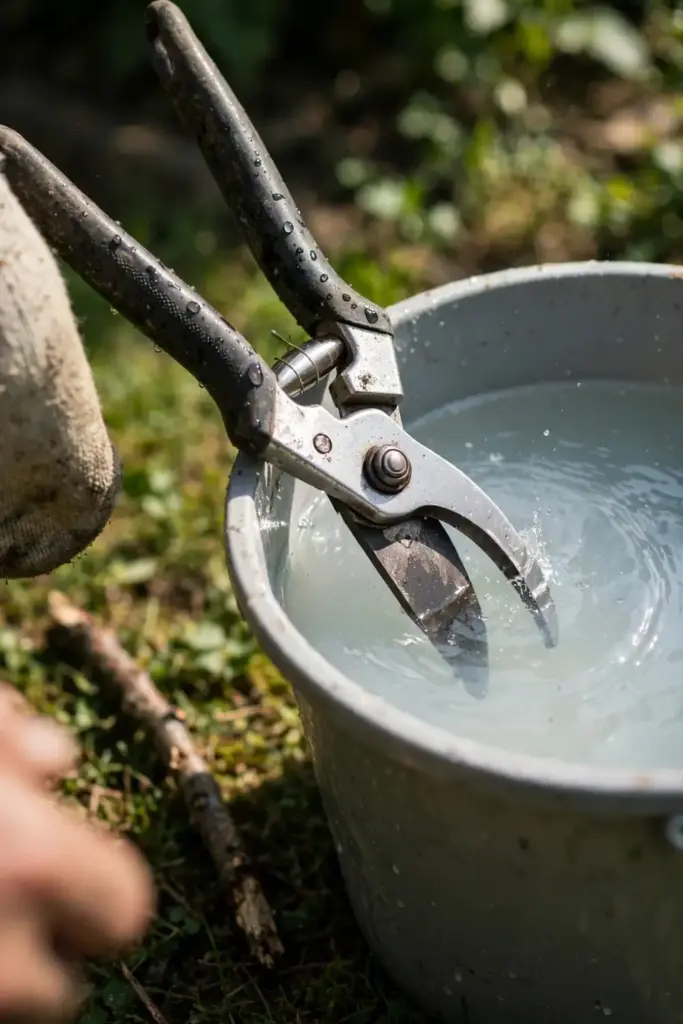
This step feels tedious and it is the step most home gardeners skip. Skipping it turns your pruners into a delivery service, moving spores from the canker you just cut to the healthy branch you cut next. The few seconds per cut are the cheapest insurance in this whole protocol.
Keep two sets of tools if you have many cuts to make: one in the disinfectant bucket while you cut with the other. Rinse and oil your tools afterward, because bleach corrodes steel. Dry them fully before storage.
Step 5: Destroy the Debris and Never Compost It
Every piece of cankered wood you remove is still infectious. Bag it, burn it where burning is legal, or bury it. Do not compost it, do not chip it into mulch, and do not leave it in a brush pile at the edge of the yard. Pycnidia survive in dead bark and keep releasing spores.
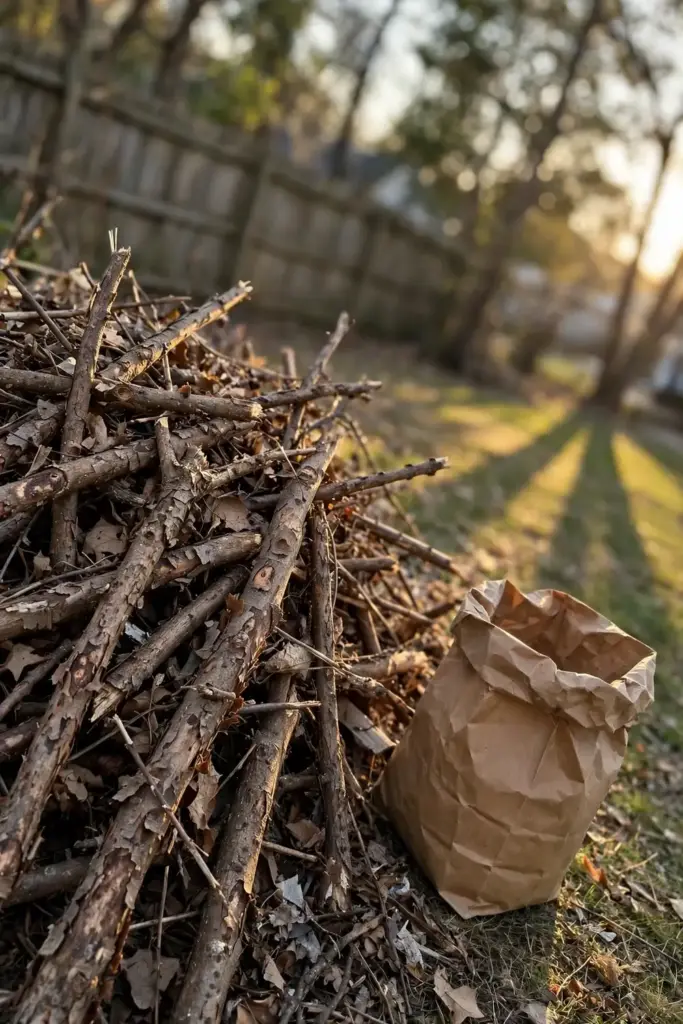
Rake up fallen twigs and bark flakes from under infected trees too. Small debris carries the same fruiting bodies as the branches, and rain splash moves spores from ground debris back up into the canopy. A clean site after pruning is part of the treatment, not just tidiness.
Wash your gloves and disinfect any saws, loppers, and pole pruners at the end of the session. Spores hitchhike on equipment into the next job, and the next job might be a healthy tree.
Step 6: Protect New Growth the Honest Way
Here is the honest limit of chemical help. Fungicides can protect newly developing tissue from becoming infected, but they cannot cure wood that is already infected, because the fungus lives beneath the bark where sprays do not reach. UMass Extension lists registered actives including copper, mancozeb, and thiophanate-methyl, with applications timed in spring to protect new growth before it hardens off.
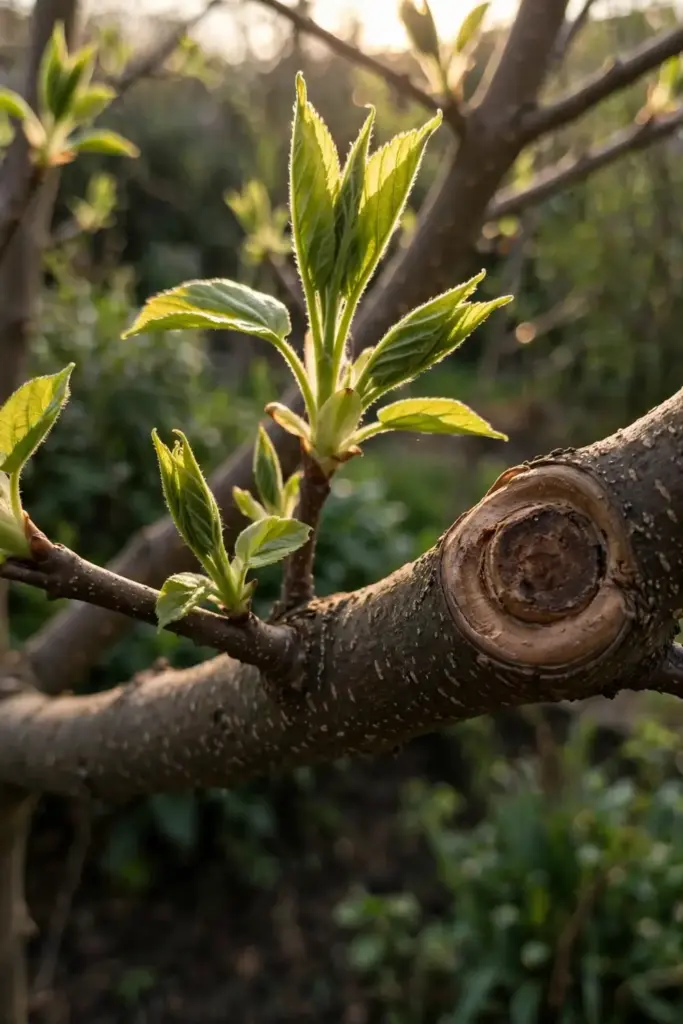
For most home landscapes, pruning alone is the treatment, and fungicide is unnecessary if you removed all the cankered wood. Reserve fungicide for high-value specimen trees where you could not remove every canker, and follow the label exactly. Spraying on a calendar without removing cankers is theater.
Timing matters more than product choice. Applications must go on in spring to protect newly developing tissues before they mature and harden off, because mature bark resists infection on its own. A spray applied after the new growth has hardened does almost nothing. Read the label for the specific tree species, since not every product is registered for every landscape plant, and never spray plants in active bloom: the chemicals harm pollinators, a point UMass Extension makes explicitly.
Skip wound sealants and pruning paint. Research on grapevine cankers found that latex paint and other wound dressings did not reduce infection, and the principle holds for landscape cankers: a sealant traps moisture against the wound and does not stop a fungus that is already inside. Let cuts dry and callus naturally.
Step 7: Build Tree Vigor So Wounds Close Faster
A vigorous tree compartmentalizes wounds with callus tissue and walls off small infections before they become cankers. A stressed tree cannot. Water deeply during dry stretches, mulch the root zone with 2 to 3 inches of wood chips kept away from the trunk, and avoid string-trimmer and mower wounds at the base.
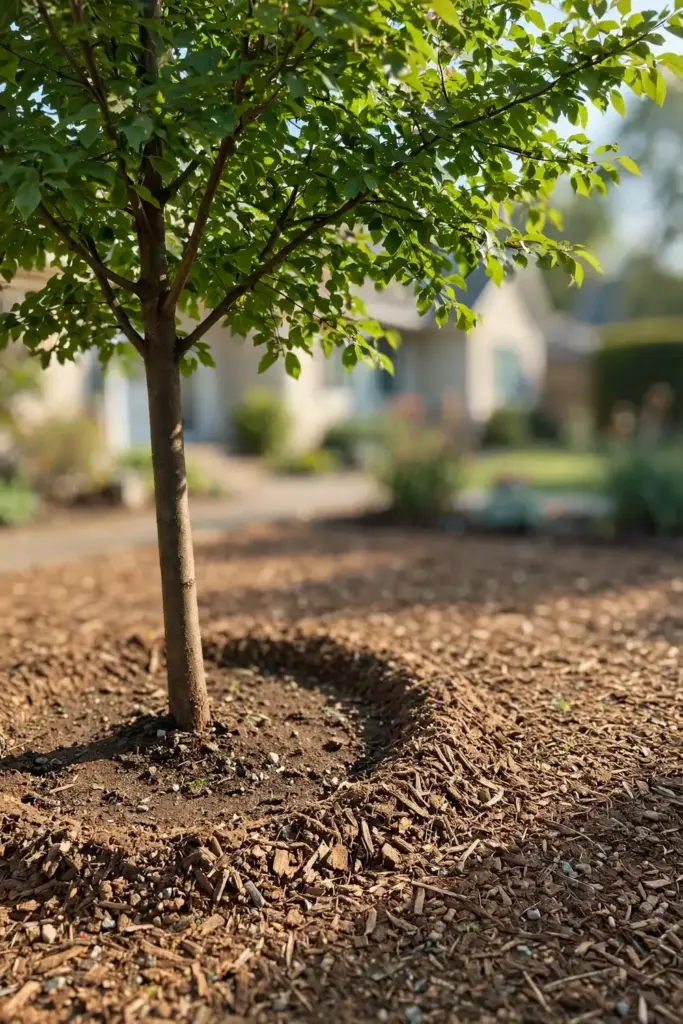
Do not overfertilize. Heavy nitrogen pushes soft, succulent growth with thin bark that wounds easily and compartmentalizes slowly. A soil test every two to three years tells you what the tree actually needs, and the soil health guide covers building the soil biology that supports steady, resilient growth.
Correct the site problems that stressed the tree in the first place: improve drainage where water pools, thin overcrowded plantings for airflow, and move sprinklers so they water the root zone instead of wetting the trunk and bark.
Step 8: Scout Monthly and Repeat Until It Is Gone
Phomopsis canker is rarely a one-and-done job. The Illinois report notes that repeated scouting and pruning are often required, and complete eradication is difficult because the fungus is common in the environment. Plan on monthly checks through the growing season for the first year.
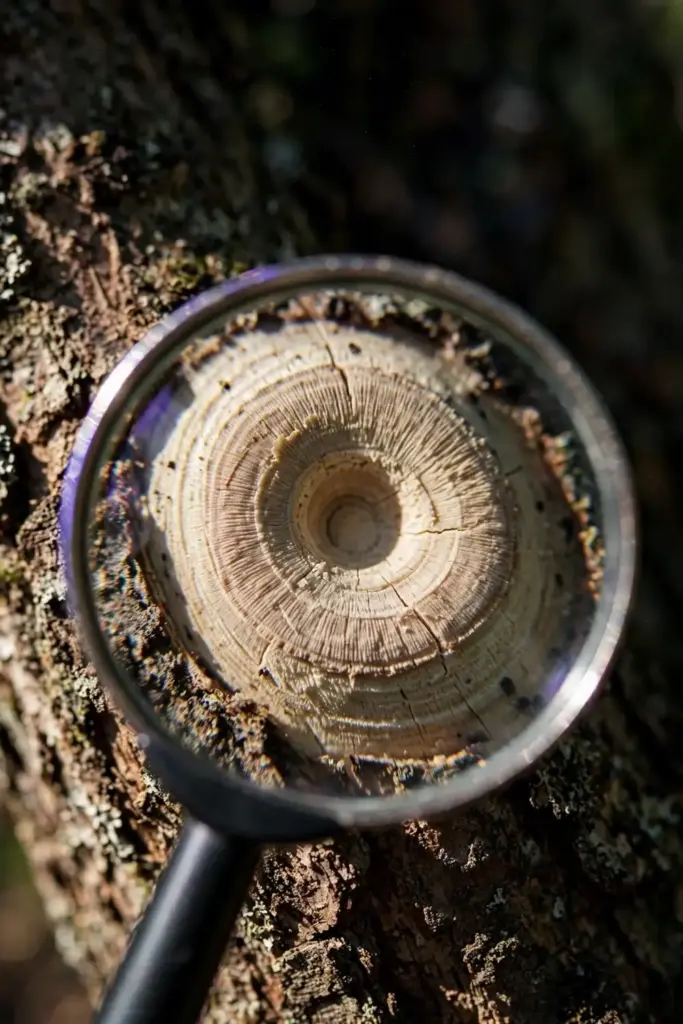
Walk each treated tree once a month from spring through fall. Look for new flagging tips, fresh gum at old cut sites, and any cankers you missed. Cut out new infections promptly in dry weather using the same protocol: 6 to 12 inches below, disinfect, destroy.
Keep a simple log: tree, date, number of cankers removed. If the count drops to zero for a full growing season, you have won. If new cankers keep appearing on the same tree year after year despite good pruning, the tree is losing and replacement with a less susceptible species is the rational call. Photograph each canker before you cut; the photos make next year’s comparison honest instead of hopeful.
Living With a Tree That Survived Phomopsis Canker
A tree that lost branches to Phomopsis canker but kept its trunk and scaffold limbs will usually recover its canopy within two to three growing seasons. Do not try to “fill in” the gaps with heavy pruning of the remaining branches; let the tree’s own regrowth do the work, and remove only crossing or damaged shoots.
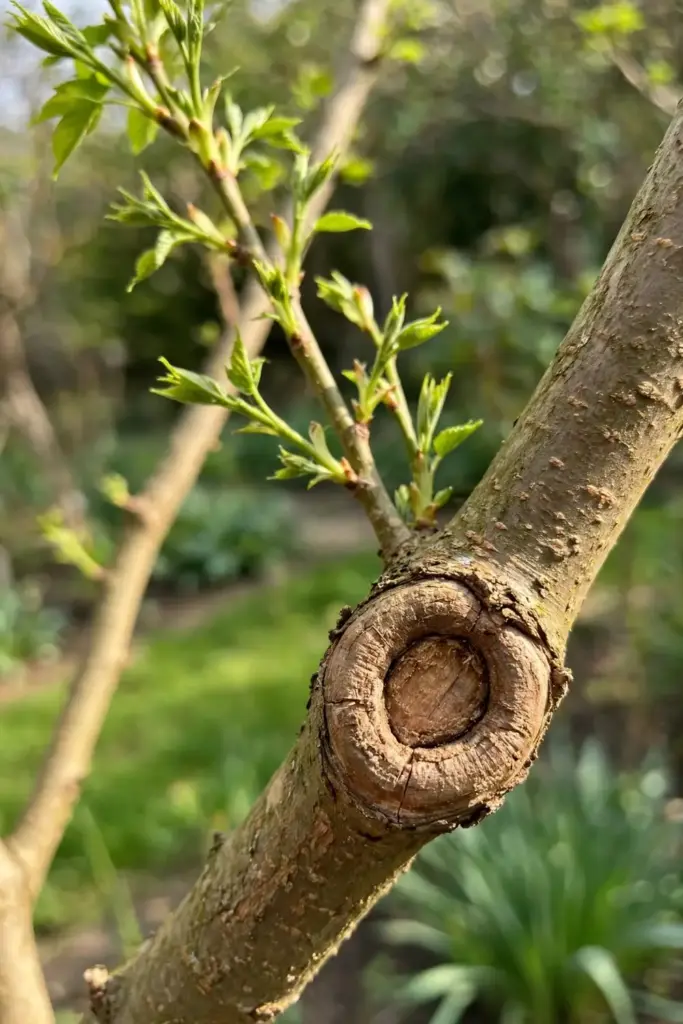
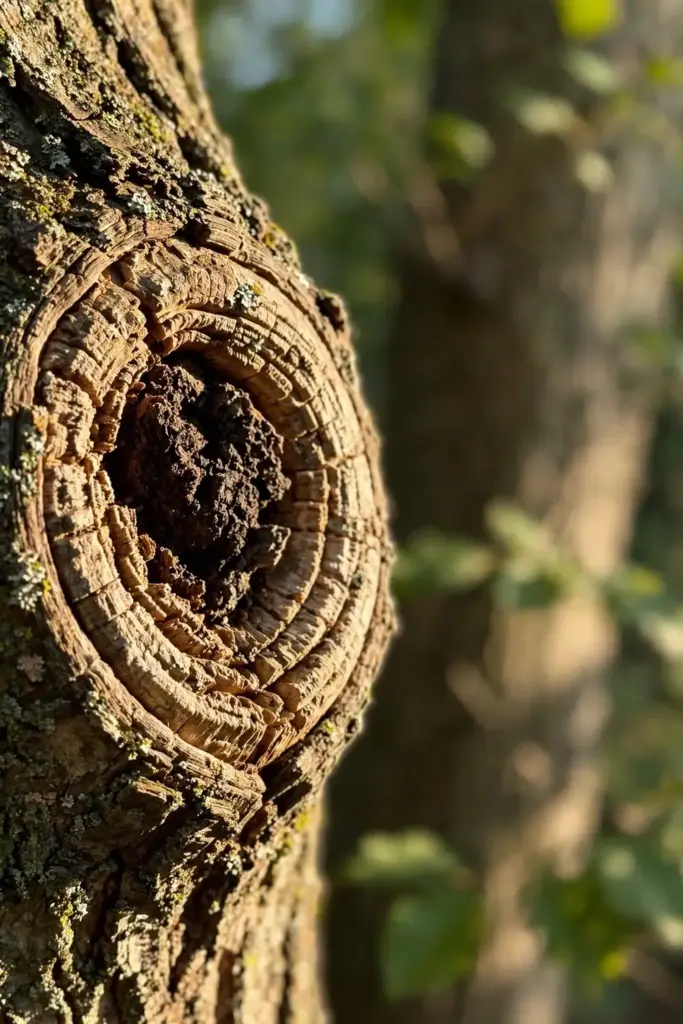
Old pruning wounds need no aftercare beyond observation. Check each cut site in spring for gum or sunken margins, which signal a canker you missed. Healthy callus forms a smooth doughnut of new wood around the wound within one season. If a wound has not started closing after two full growing seasons, the tree lacks the vigor to compartmentalize, and the site problems from Step 7 need attention.
Young replacement trees planted where a Phomopsis-killed tree stood need no soil treatment, since the fungus overwinters in cankers rather than in soil. Plant the replacement with clean nursery stock, give it proper spacing and mulch, and prune it correctly from the start. The disease does not lurk in the ground waiting for the new tree.
If the tree lost more than a third of its canopy, reduce its water stress with deep watering during dry spells but skip the fertilizer spike. The tree needs steady resources, not a growth flush it cannot support. The blossom blight guide covers a different disease with a similar prune-and-dispose rhythm, useful reading if you manage fruit trees alongside ornamentals.
Frequently Asked Questions
Yes, if the cankers are confined to branches. Prune each cankered branch 6 to 12 inches below the damage in dry weather, disinfect tools between cuts, and destroy the debris. Trees with trunk cankers near the base, or cankers girdling major scaffold limbs, are usually not worth saving, and replacement is the honest recommendation.
Cut 6 to 12 inches below the lowest visible edge of the canker, into healthy wood. The fungus extends beyond the discolored bark you can see, so cutting at the visible margin leaves infection behind. Always cut to a healthy lateral branch or bud, never to a stub, and check that the cut surface shows pale, solid wood.
No. Wound sealants, pruning paint, and tar do not stop canker fungi and can trap moisture against the wound, which favors infection. Research on grapevine cankers found latex paint and wound dressings ineffective at reducing infection. Make a clean cut at the right place, let it dry, and allow the tree to form its own callus tissue.
Yes, between every cut when working on cankered wood. Use a 1:10 bleach solution or Lysol, with at least 30 seconds of contact on the blades. Spores on your pruners move from the canker you just removed to the healthy branch you cut next. Rinse and oil tools afterward since bleach corrodes steel.
No. Fungicides protect new, uninfected growth but cannot reach the fungus living beneath the bark of an existing canker. UMass Extension lists registered products for spring applications on high-value trees, but states plainly that control is difficult because the fungus may be present on symptomless branches. Pruning out cankers is the cure; fungicide is at most a shield.
Yes. Spores ooze from pycnidia in dead bark during wet weather and travel by rain splash, insects, and contaminated tools to wounds on nearby trees. The fungus is common in the environment, so complete eradication is difficult. Removing cankers promptly, disinfecting tools, and destroying debris are how you break the cycle in your yard.
Where to Go From Here
Phomopsis canker treatment comes down to four actions: cut 6 to 12 inches below each canker in dry weather, disinfect tools between cuts, destroy every piece of debris, and scout monthly until a full season passes with no new cankers. No spray substitutes for the pruning, and no sealant substitutes for a clean cut.
Start this weekend with a dry-weather walk of your trees and shrubs. Mark every suspect canker, gather your pruners and disinfectant, and work through the steps in order. Your trees will thank you with callus, new growth, and a canopy that fills back in season after season.