
You can grow perilla from seed in a single season and start picking leaves about five to six weeks after sowing. Perilla (Perilla frutescens) is a warm-season annual in the mint family, and the whole project, from seed packet to a bushy plant loaded with leaves, takes 80 to 85 days from seeding to a mature plant, according to Johnny’s Selected Seeds. The hardest part is the seed itself: perilla seeds germinate slowly and need light to sprout, so surface sowing is the rule that decides everything.
This guide to how to grow perilla covers all of it: which type to grow (perilla, shiso, kkaennip, or zi su), the 24-hour soak that speeds up germination, the surface-sow technique, thinning, pinching, container growing, and the self-seeding habit you need to manage. Difficulty is beginner-friendly once you understand the seed. The season window is after the last spring frost until the first hard fall frost.
1. Climate & Location: Where Perilla Grows Best
Perilla grows as a summer annual everywhere in the United States, because it only needs one frost-free season. Johnny’s Selected Seeds lists its hardiness as “annual,” meaning you plant it fresh each spring after the last frost and let the cold kill it in fall. There is no overwintering to manage.
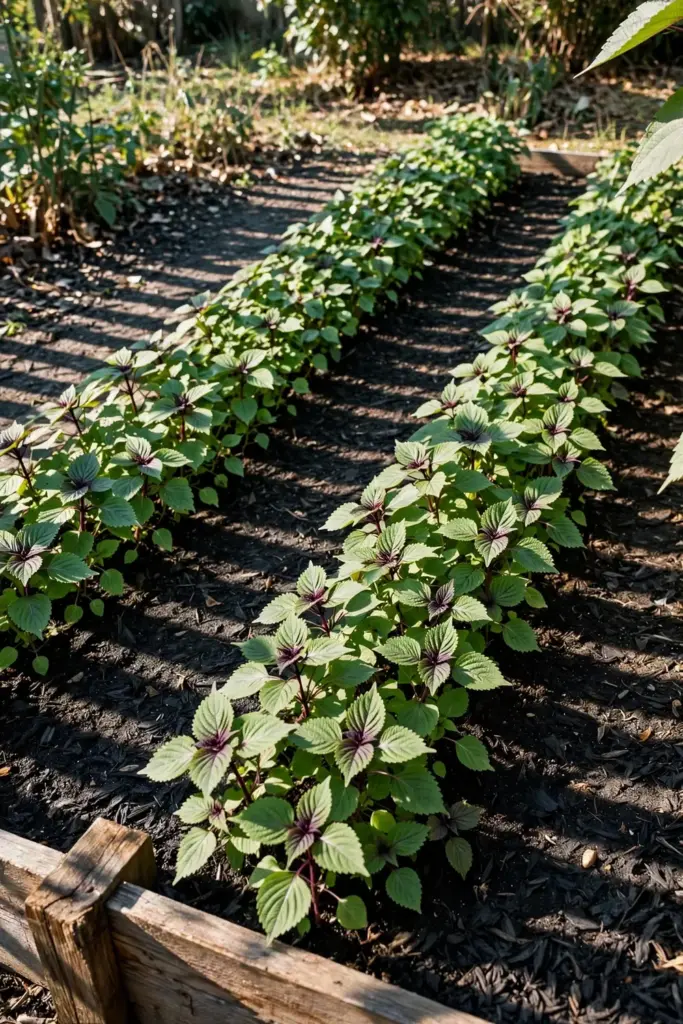
Give it full sun for the biggest harvests. Perilla tolerates light shade, and in hot climates a little afternoon shade keeps leaves from scorching, but shade-heavy spots produce smaller, less flavorful leaves. The plant is heat and drought tolerant once established, and it also handles a surprising amount of neglect. Gulley Greenhouse calls it “an absolute must for herb gardens” partly because it survives where fussier herbs quit.
The one climate fact that matters most is timing: do not plant before the last frost. Wait one to two weeks after your average last frost date, and make sure the soil has warmed to 65 to 75 degrees Fahrenheit. Nighttime temperatures below 45 degrees stall young plants.
| Spec | Number | Source |
|---|---|---|
| Days to germination | 5 to 21 (some packets say 7 to 21) | Johnny’s Selected Seeds; Gulley Greenhouse |
| Days to maturity | 80 to 85 from seeding | Johnny’s Selected Seeds |
| Leaf harvest starts | About 5 to 6 weeks after sowing | Heirloom Seeds Canada |
| Plant height | 18 to 30 inches | Johnny’s Selected Seeds |
| Plant spacing | 6 to 12 inches | Johnny’s Selected Seeds |
| Soil temperature for sowing | 65 to 75°F | Gulley Greenhouse |
2. Choose Your Perilla: Shiso, Kkaennip, or Zi Su
The variety question is where how to grow perilla really starts, because “perilla” is a broad category and the flavors differ. This is the single most useful distinction in perilla growing, and the one competitors conflate.
| Name | Botanical form | Leaf look | Flavor | Used as |
|---|---|---|---|---|
| Perilla (general / zi su) | Perilla frutescens | Green or purple, broad | Warm, minty, slightly bitter | Chinese herb and vegetable (zi su) |
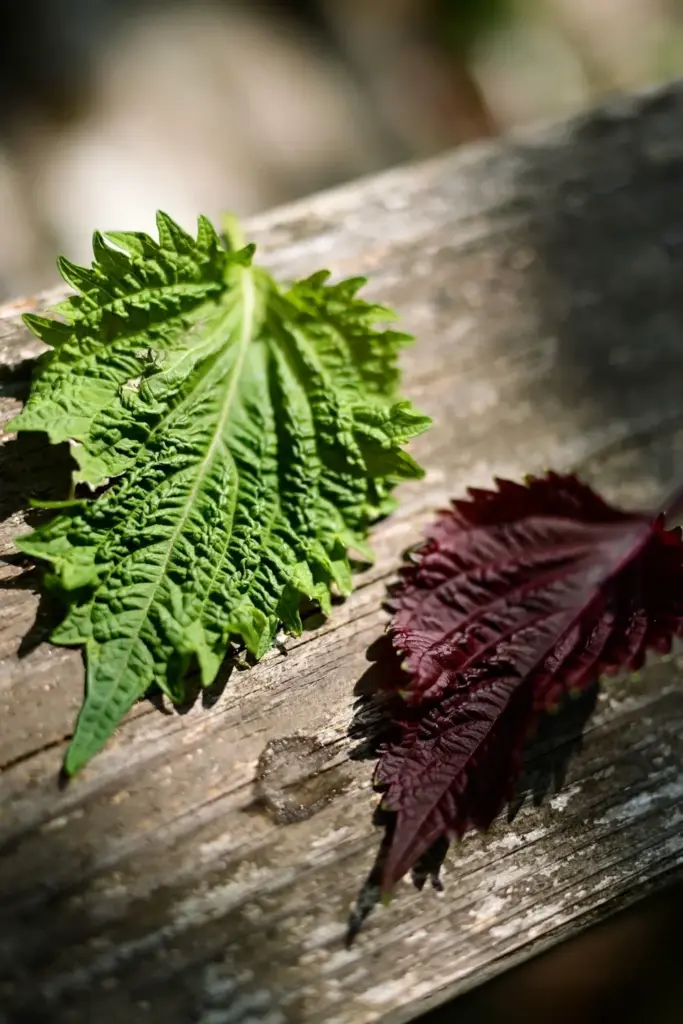
| Shiso, green (ao-jiso) | P. frutescens var. crispa | Bright green, ruffled | Mint, basil, clove, cumin | Japanese garnish, sushi, salads |
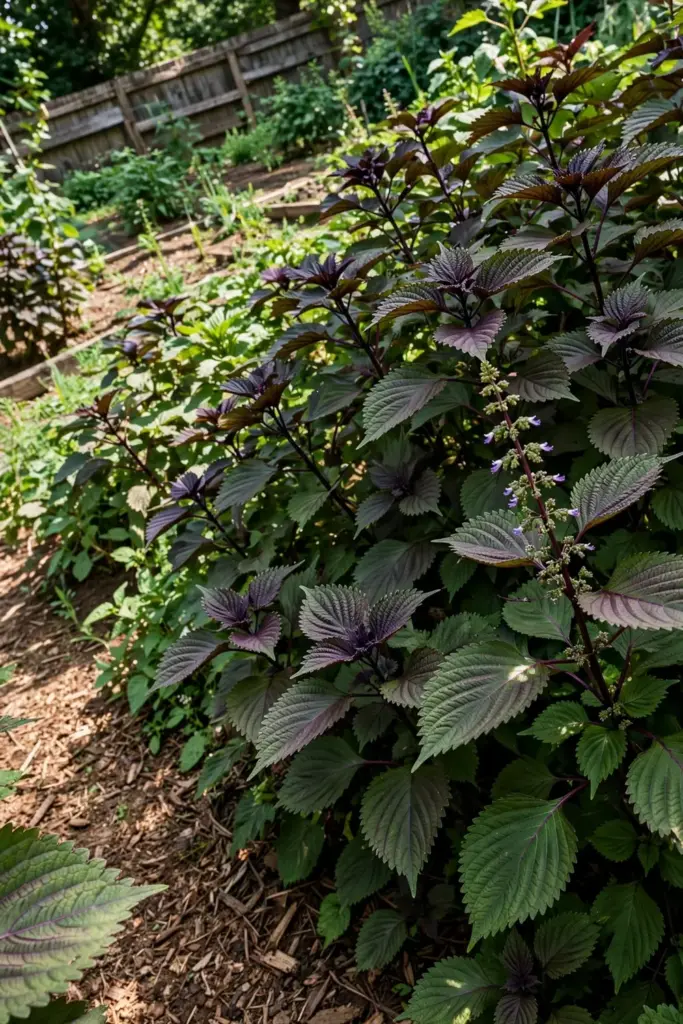
| Shiso, red (aka-jiso) | P. frutescens var. crispa | Deep burgundy, ruffled | Stronger, cinnamon-like | Pickles, umeboshi coloring, salads |
| Kkaennip | P. frutescens (Korean form) | Broad, flatter, green | Bold, nutty, sesame-like | Korean wraps (ssam), kimchi |
The rule of thumb: if you want Japanese dishes, grow shiso (var. crispa); if you want Korean wraps, grow kkaennip; if you want the Chinese herb zi su, grow the general frutescens type. Seed sellers like Johnny’s sell named shiso varieties (Britton, Asia Ip), while general “perilla” packets are usually the broader frutescens type.
Red shiso is worth a special mention: its burgundy leaves add brilliant color to pickles and salads, and the flavor runs more toward cinnamon than the green types.
3. Tools and Materials for Growing Perilla
You need less gear than you think. Here is the plain list:
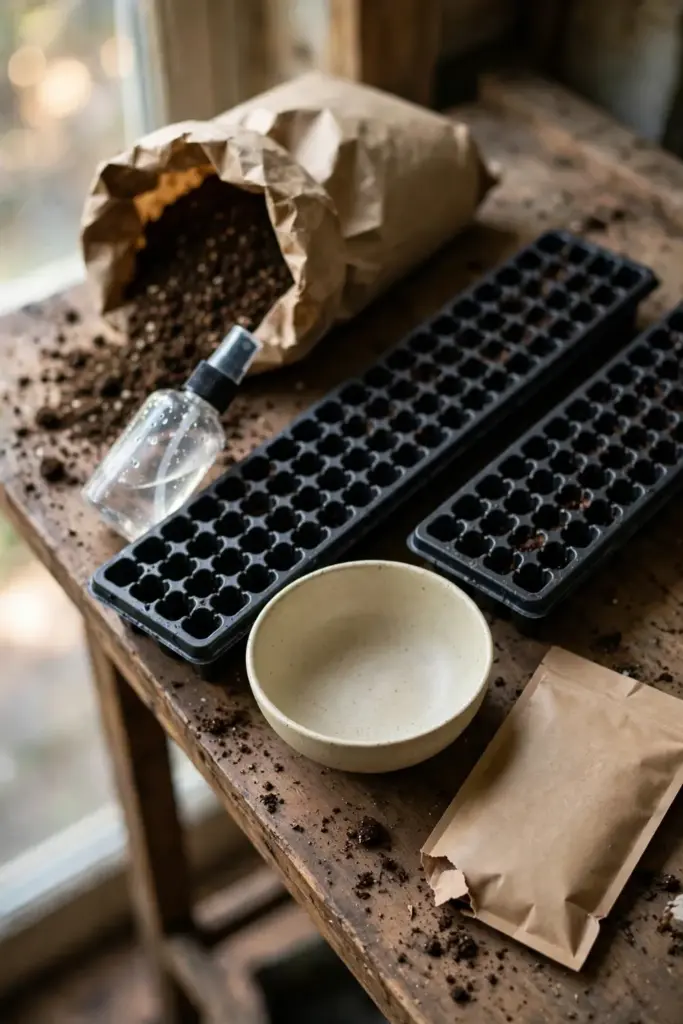
- Fresh perilla seeds (this season’s packet; old seed germinates poorly)
- A shallow bowl for soaking
- Seed trays or small pots with drainage holes
- Fine seed-starting mix
- A spray bottle or mister
- Clear plastic dome or plastic bag (for humidity)
- A warm spot or heat mat (65 to 75°F)
- A sunny windowsill or grow light
- A 5-gallon pot per plant for container growing (or a garden bed)
- Balanced liquid fertilizer (half strength)
- Scissors or small snips for pinching and harvest
Skip the seed-starting heat lamp if your room is already warm. Bottom heat matters more than top light until the seeds sprout.
4. Seeds: Buy Fresh and Store Them Cold
Perilla seeds lose viability faster than most herb seeds, so buy a fresh packet each year from a reputable seed house. Check the packet date and prefer this season’s stock. One 200-seed packet from a major supplier covers a family garden with seed to spare.
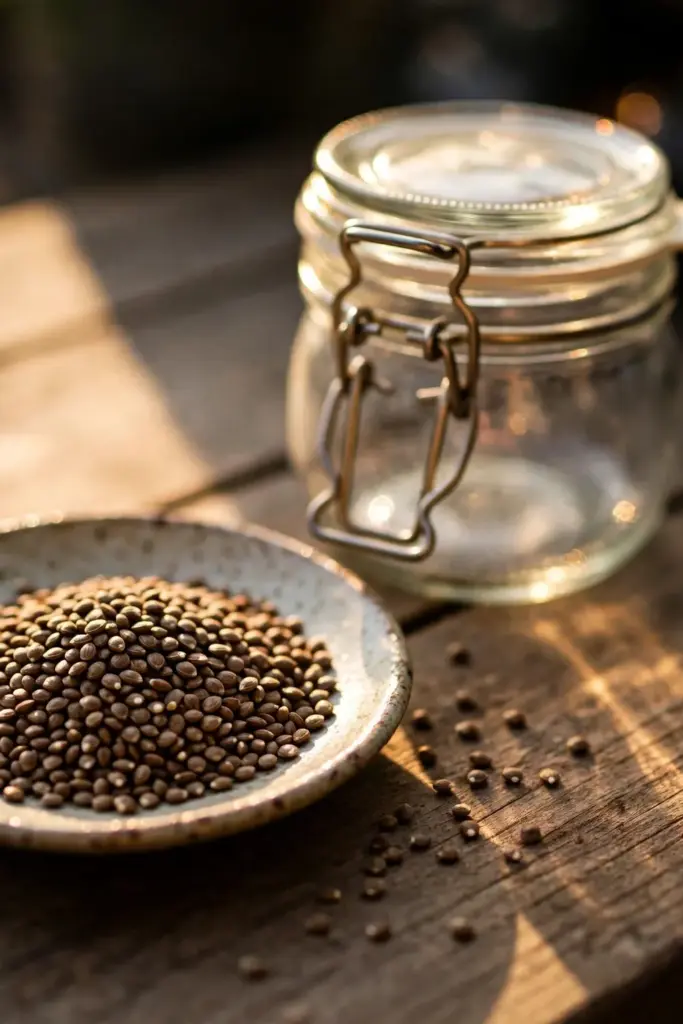
Until sowing day, store the seeds in the freezer. Johnny’s Selected Seeds recommends freezer storage for best germination, because cold keeps the seed’s internal clock from running down. A sealed packet or jar in the freezer works; just let it come to room temperature before you open it, so condensation does not wet the seeds prematurely.
Do not save your own seeds unless you accept surprises. Perilla cross-pollinates readily, and the seedlings from a mixed bed come back as hybrids of whatever you grew. If you only grow one variety and let it self-seed (see step 14), the volunteers stay reasonably true.
5. The Soak Protocol: 24 Hours in Water
Soak your perilla seeds in room-temperature water for 12 to 24 hours before sowing. JustHungry’s shiso guide soaks for 12 or more hours, seed sellers suggest up to 24, and the soak softens the seed coat so moisture reaches the embryo faster. Drop the seeds in a shallow bowl, cover them with water, and leave them on the counter.
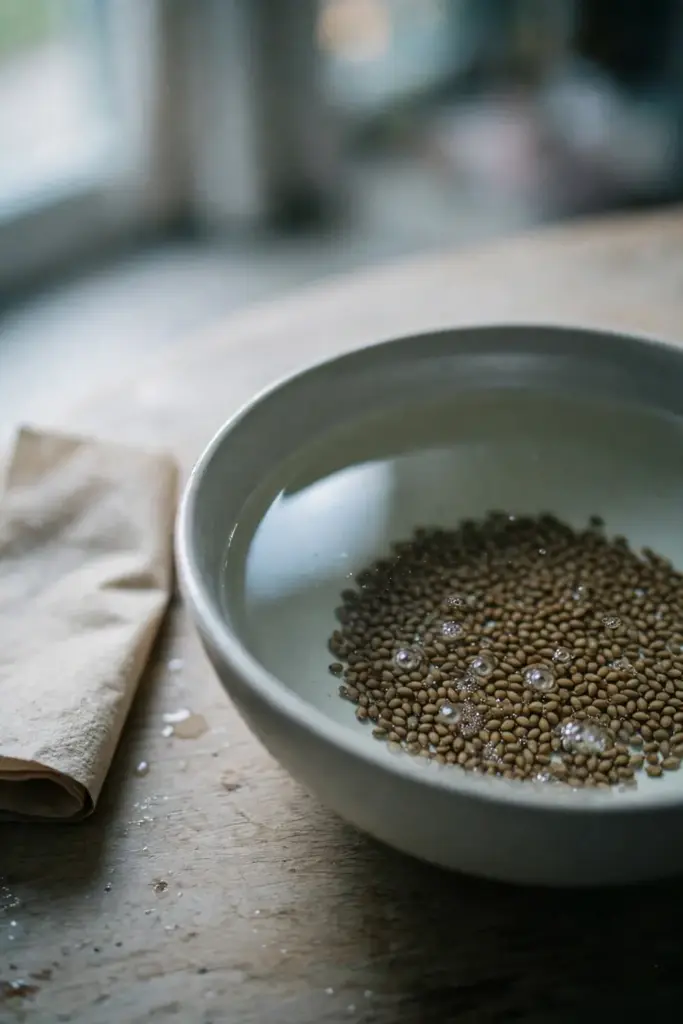
Drain the seeds through a fine strainer or coffee filter before sowing. Wet seeds stick together, which makes even sowing harder, so spread them on a paper towel for a few minutes after draining. They should be damp, not dripping.
Soaking is not strictly required. Some growers sow dry and still get plants, but soaking narrows the 5 to 21 day germination window and raises the percentage that sprout. When your seeds cost money and your season is short, the soak is worth the day.
6. Surface Sow: Why Burying Seeds Is the Number One Mistake
Perilla seeds need light to germinate. Buried seeds stay dark, and dark seeds mostly stay asleep. This is the mistake that kills more perilla crops than any other, and the fix is simple: press the seeds onto the surface and barely cover them, if at all.
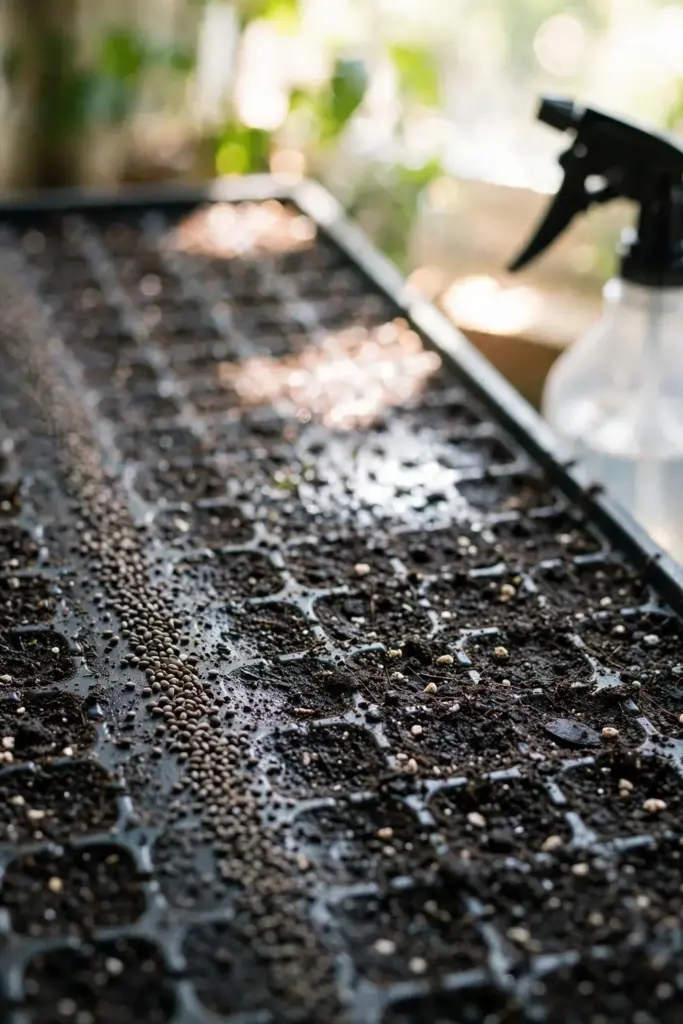
Here is the technique that works. Fill your tray or pot with moistened seed-starting mix and press it flat. Scatter the soaked seeds on the surface. Johnny’s suggests 1 to 2 seeds per inch in rows 18 inches apart for direct sowing; in trays, space them about an inch apart. Press each seed gently into the surface so it makes contact with the mix. Then either leave them uncovered or dust them with the thinnest possible layer of mix, no more than a sixteenth of an inch. Heirloom Seeds Canada lists 5 millimeters as the maximum depth and warns not to bury them deeper.
Mist the surface with your spray bottle until it glistens, then cover the tray with a clear dome or plastic bag to hold humidity. Put the tray somewhere warm (65 to 75°F) with bright indirect light. Direct hot sun on a covered tray cooks the seeds, so keep it out of the blast zone until they sprout.
Start seeds indoors 4 to 6 weeks before your last frost date, or sow directly outside 1 to 2 weeks after the last frost when the soil is warm. Indoor starts give you a head start in short-season climates; direct sowing skips transplant shock. Both work.
7. Warmth and Light for Germination
Expect sprouts between day 5 and day 21. Johnny’s lists 7 to 21 days; Gulley Greenhouse lists 5 to 21. The spread is normal. Temperature and seed age drive it. Fresh soaked seed in 70°F soil pops in about a week; older dry seed in a cool room can take three.
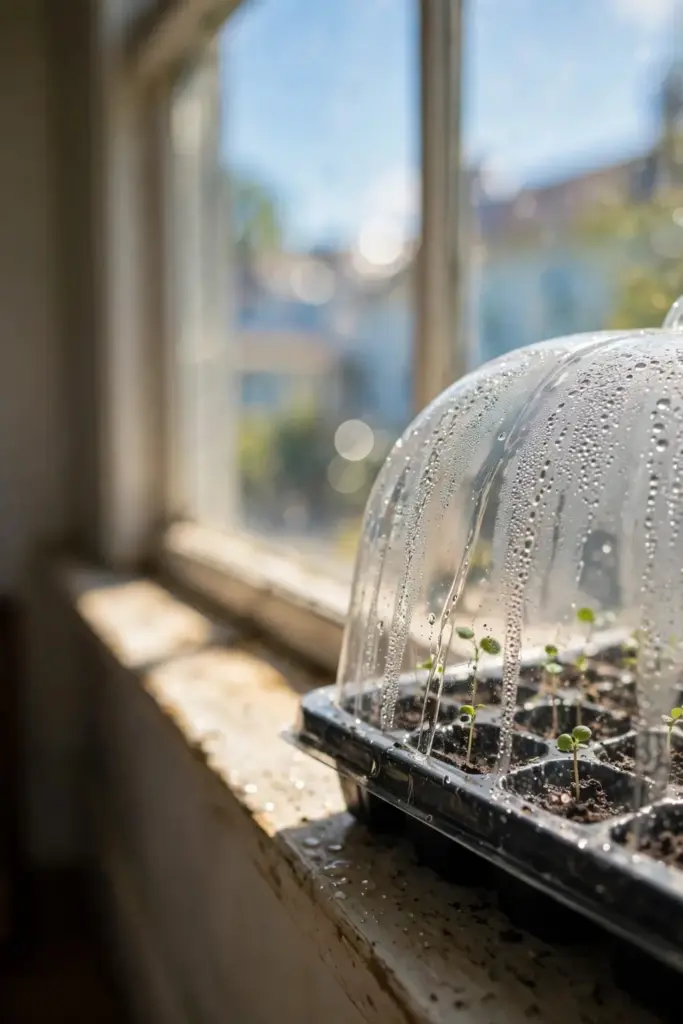
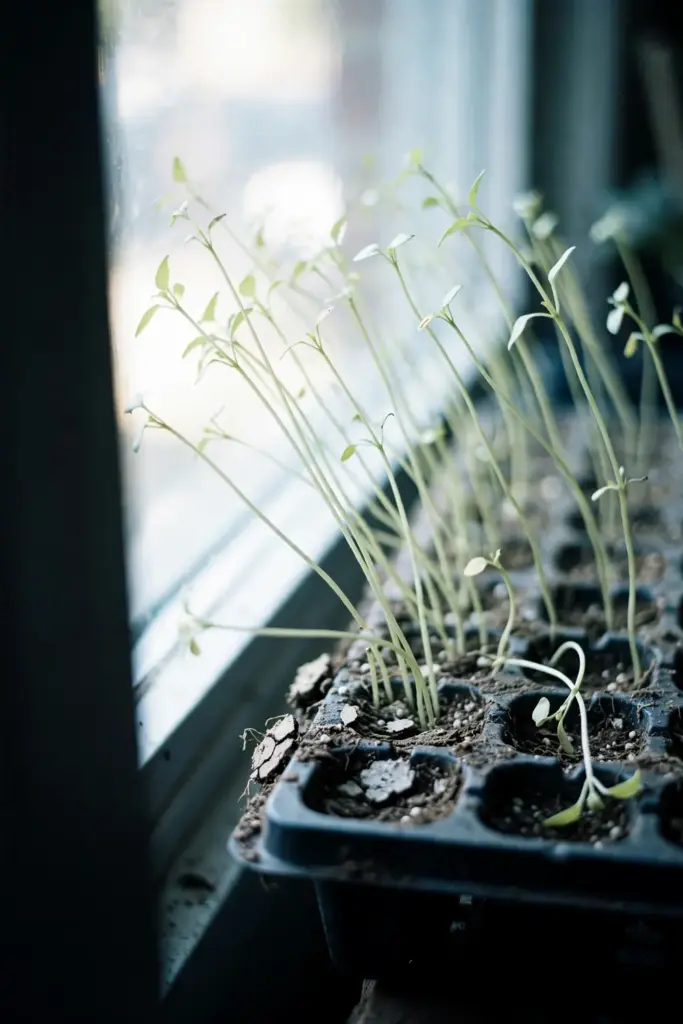
Check the tray daily. The moment you see the first green hook, remove the dome or bag and move the tray into bright light: a south-facing windowsill or a grow light 2 to 3 inches above the seedlings, running 14 to 16 hours a day. Leggy, pale seedlings mean not enough light, and the fix is immediate: more light, closer light.
Keep the surface evenly moist but never waterlogged. Mist when the top looks dry; bottom-water the tray if the mix pulls away from the edges. Damping off (seedlings collapsing at the soil line) is the main killer at this stage, and it comes from too-wet mix plus poor air flow. If you want a refresher on starting seeds cleanly, the seed starting guide walks through a sterile routine.
8. Thin and Transplant to 6 to 12 Inches
When the seedlings are about an inch tall, thin to one plant every 12 inches in the tray, or transplant the strongest ones into individual 3-inch pots. Johnny’s recommends thinning to 6 to 12 inches apart in the garden; wider spacing gives bigger individual plants, tighter spacing gives a fuller bed faster. Choose 12 inches if you are growing for maximum leaf size.
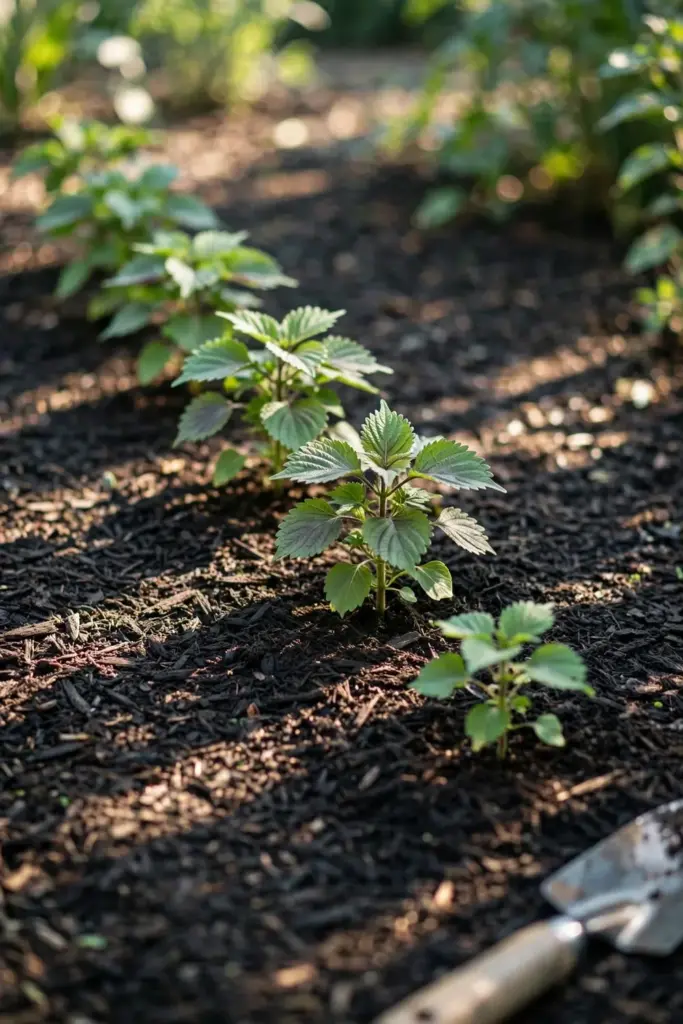
Harden off indoor seedlings for 7 to 10 days before they move outside: a few hours of outdoor shade at first, building to full days. Transplant after all frost danger has passed and nights stay above 50°F. Set each seedling at the same depth it was growing in the tray. Perilla does not need deep planting.
For direct-sown beds, thin the row when seedlings hit an inch tall. Pull the extras gently or snip them at the base; yanking disturbs the neighbors’ roots. The thinnings are edible. Toss them in a salad instead of the compost bin.
9. Soil That Perilla Loves
Perilla grows in medium to rich, sandy, well-drained soil. Johnny’s specifies medium to rich sandy soils; Heirloom Seeds Canada adds well drained, humid, and rich. The plant is forgiving about texture as long as water does not stand around the roots.
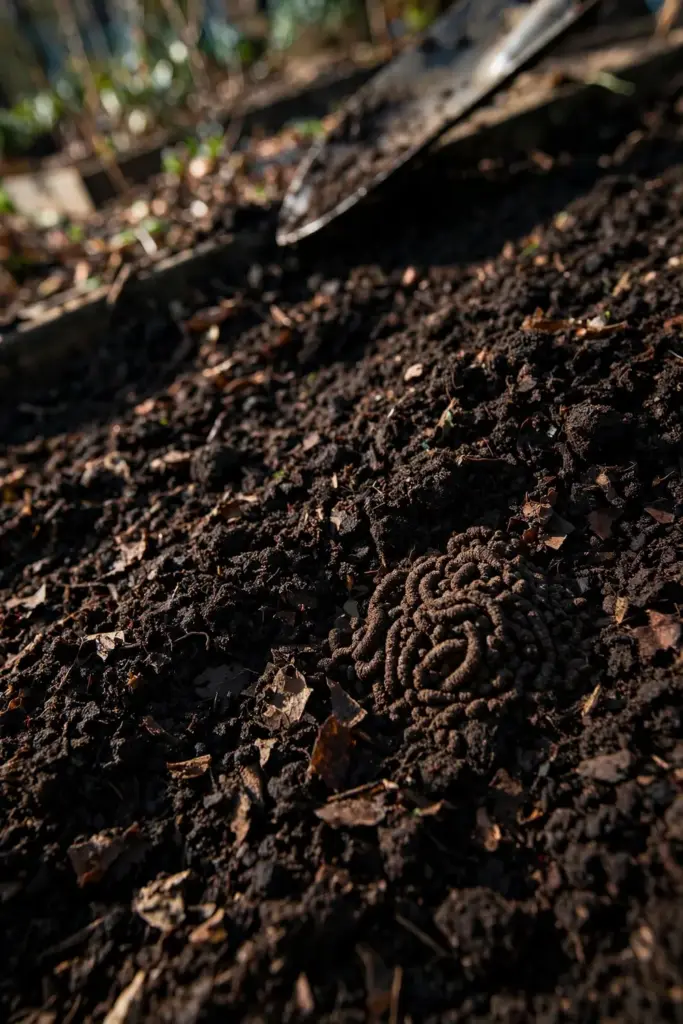
Work 2 to 3 inches of compost into the top 6 to 8 inches of the bed before planting. Heavy clay? Raise it into a low mound or a raised bed for drainage. Perilla likes a pH between 6.0 and 7.0, the range most garden soils already sit in.
Rich soil matters more than fancy soil. Perilla is a leaf crop, and leaf crops want nitrogen and organic matter. A bed that grew beans or got compost last fall is ideal. If you build soil the way the soil health guide describes (compost, mulch, and minimal disturbance), perilla rewards it with bigger, glossier leaves.
10. Watering Perilla: Moist, Never Soggy
Water deeply when the top inch of soil dries out, then let it dry again before the next watering. Perilla likes steady moisture. Heirloom Seeds Canada describes the ideal soil as “humid”, but soggy roots invite the same damping-off and root problems that kill seedlings.
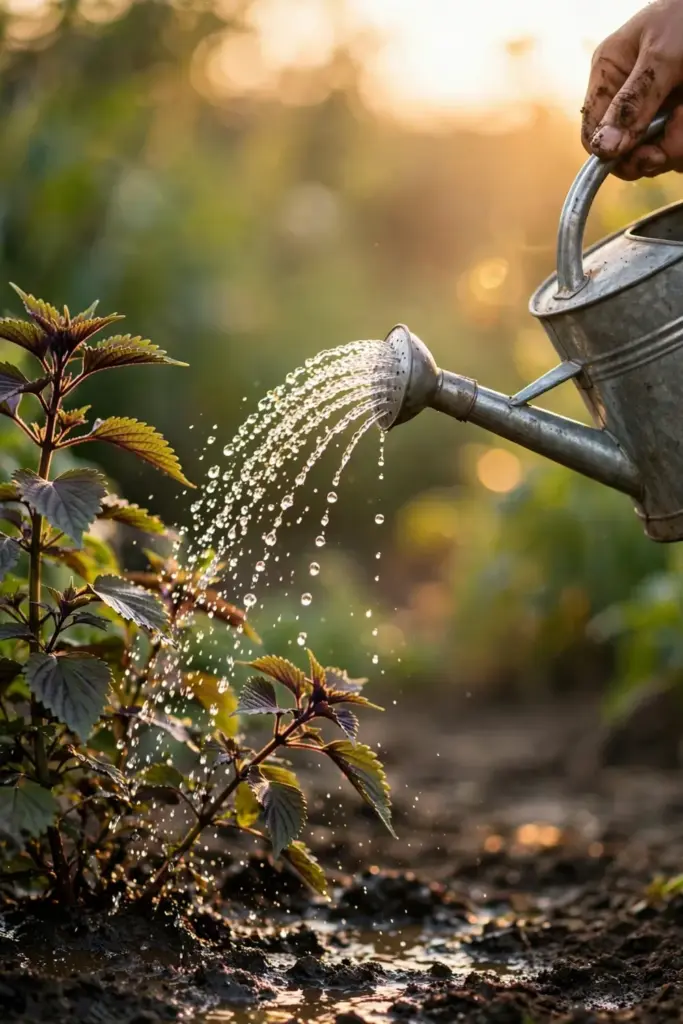
In practice, that means watering 2 to 3 times a week in normal summer weather, daily in a heat wave, and backing off after rain. Mulch with 2 inches of straw or shredded leaves to hold moisture and keep soil from splashing onto the leaves. Container plants dry out faster than bed plants; check pots daily in July and August.
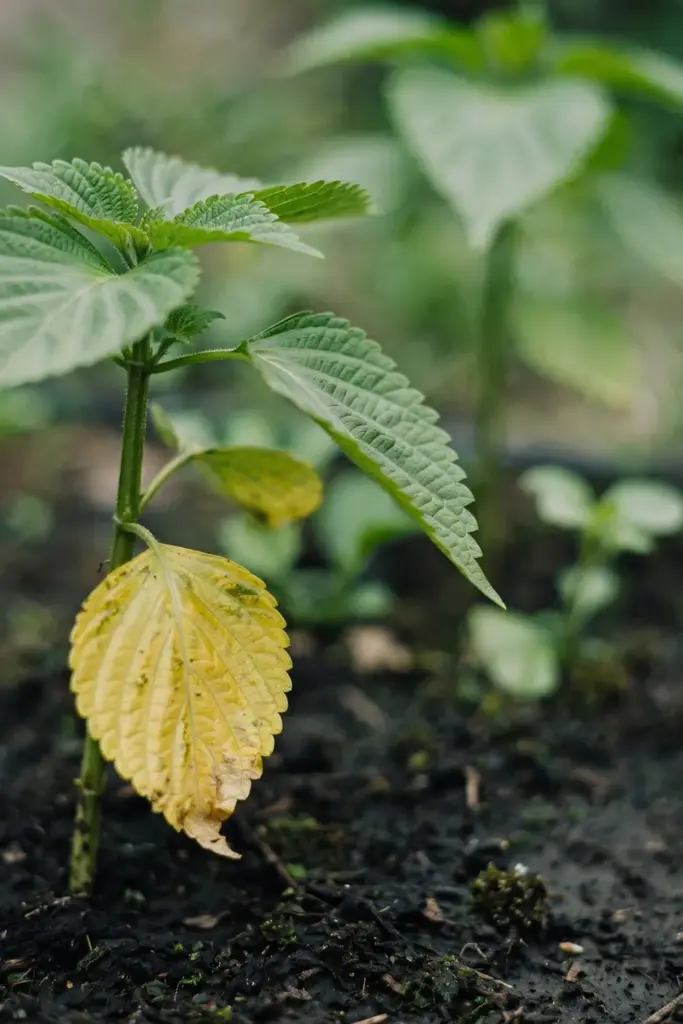
Watch the leaves: drooping in the afternoon heat is normal and they recover by evening. Drooping in the cool morning means the plant is genuinely thirsty. Water it now. Yellow lower leaves usually mean too much water, not too little.
11. Growing Perilla in Pots and Containers
Perilla is an excellent container herb. Heirloom Seeds Canada lists “grows well in pots” as a special feature, and Gulley Greenhouse calls it excellent for containers. One plant per 5-gallon pot gives you a full harvest; a 12-inch pot works for a single smaller plant.
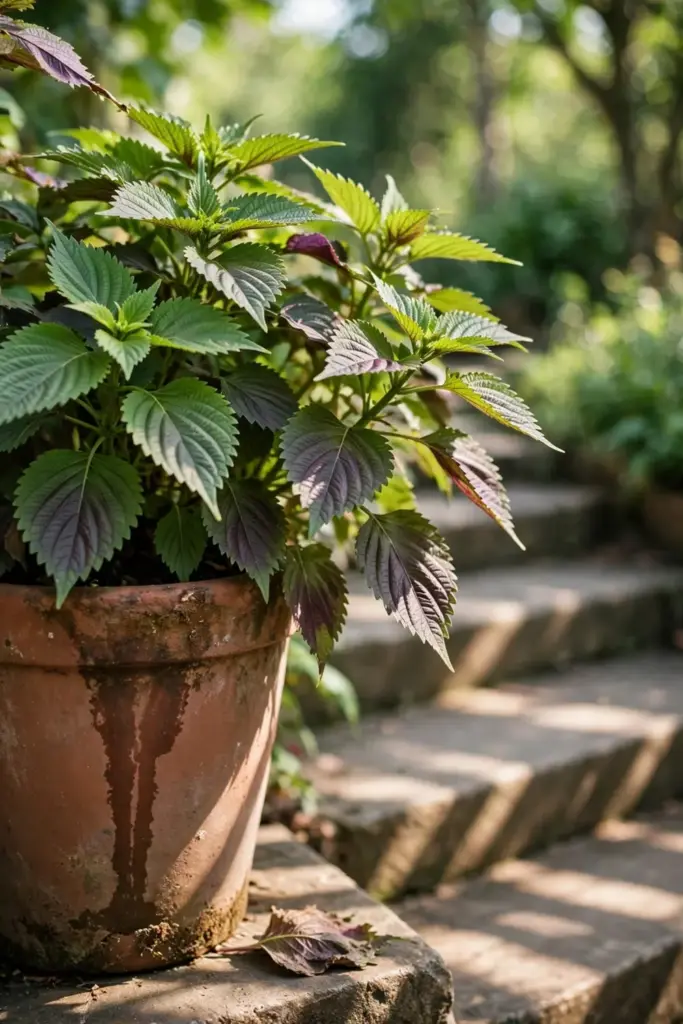
Use a quality potting mix, not garden soil. Garden soil compacts in pots and drains poorly. Fill the pot, plant one seedling per pot, water it in, and set it where it gets at least 6 hours of sun. Feed with half-strength liquid fertilizer every two to three weeks, because potting mix runs out of nutrients faster than garden soil.
Containers have two real advantages for perilla. First, you control the soil and water exactly. Second, the pot walls slow the plant’s self-seeding habit. Fallen seeds land in the pot, not across your garden (more on that in step 14). If you only want a few plants for the kitchen, pots are the cleanest way to grow them.
For container styling ideas beyond herbs, the fall planter ideas guide covers thriller-filler-spiller design that works for any potted planting.
12. Pinch to Delay Flowering
Pinch the growing tips regularly and you get more leaves for more weeks. Perilla is an annual with one goal: flower, set seed, die. Every flower head it makes is leaves it stops making. Pinching the top 2 to 3 inches of each stem forces the plant to branch sideways, doubling or tripling your leaf count.
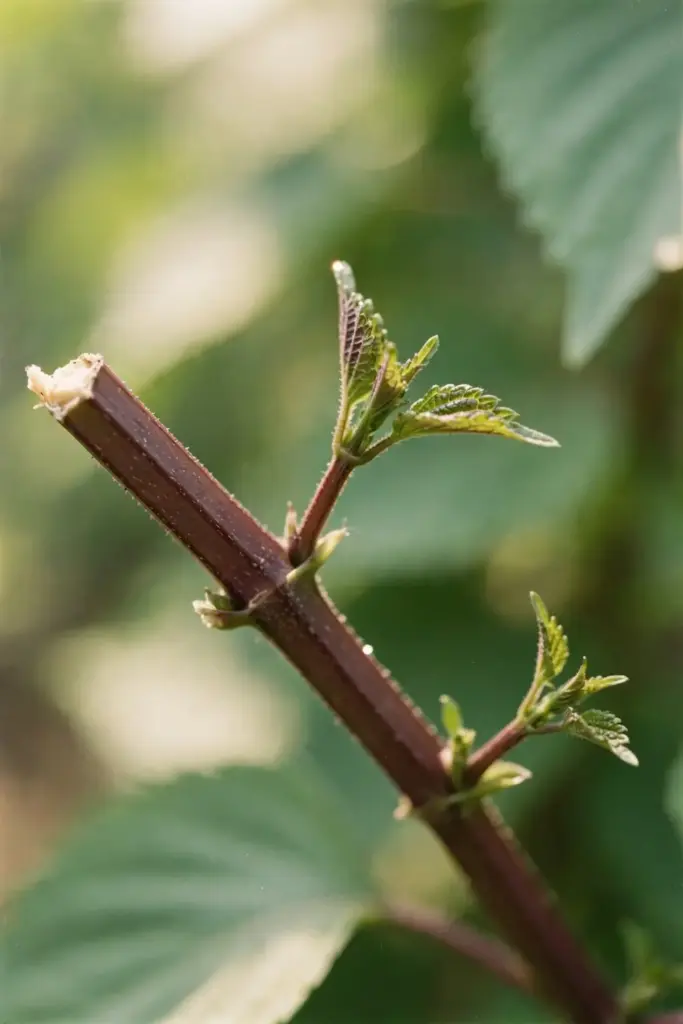
Start pinching when the plant is 8 to 10 inches tall. Use your fingers or snips to remove the top set of leaves just above a leaf node. Repeat every week or two through the season. The pinched tips are the tenderest leaves. Eat them first.
Once the plant flowers, leaf production drops and the remaining leaves turn bitter. Gulley Greenhouse notes that harvest happens “before it flowers,” and that once flowering starts, the leaves drop. So the pinching is not cosmetic; it is the difference between a two-month harvest and a five-month one. If a stem escapes you and blooms, cut it back hard. The plant usually pushes new growth.
13. Harvest Leaves the Right Way
Start harvesting when the plant is well established, a little more than a month after sowing, and the plants are at least 8 inches tall. Pick the largest outer leaves first, working from the bottom up, and never take more than a third of the plant at once. The plant replaces what you take as long as it is still growing vegetatively.
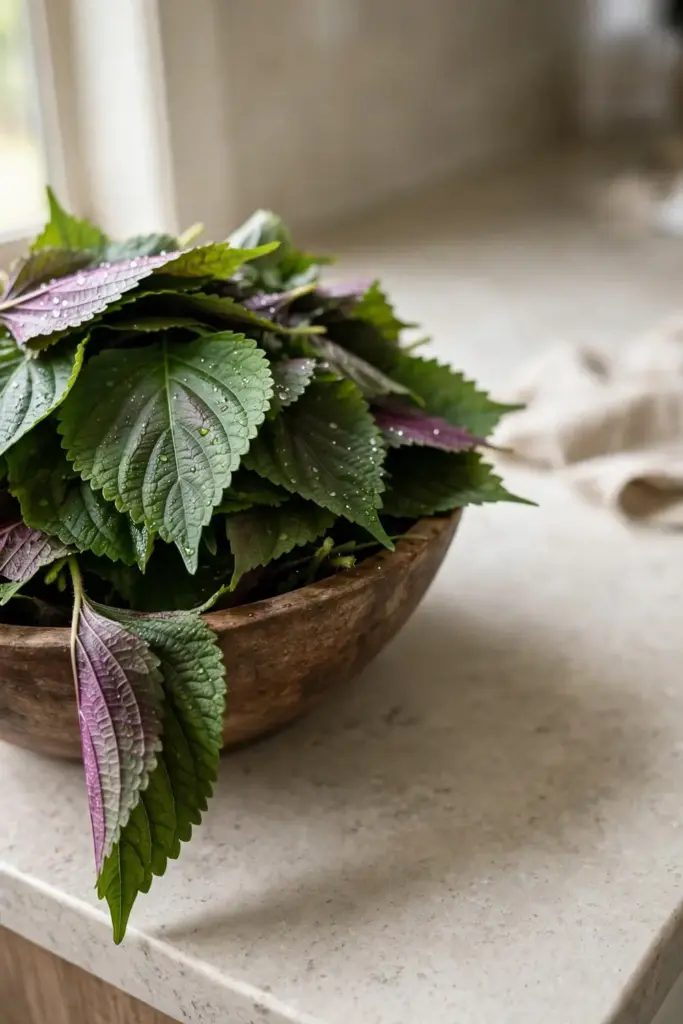
Harvest in the morning after the dew dries. That is when the essential oils are strongest and the leaves are crisp. Rinse, pat dry, and use fresh. Perilla leaves wilt within a day or two in the fridge, though a damp paper towel in a sealed bag stretches that to nearly a week.
The flowers are edible too. Johnny’s notes that shiso flowers are a flavorful addition to salads and Asian dishes, with the same minty, basil-like flavor. If you let a few stems bloom for the pollinators, snip the flower spikes for the kitchen before they set seed, unless you want the self-seeding described next.
14. Manage Self-Seeding (or It Will Manage You)
A single perilla plant can drop thousands of seeds, and they germinate next spring wherever they land. This is the plant’s superpower and its biggest management issue. Gardeners who love “free plants” leave it alone; gardeners with tidy beds cut every flower spike before seed sets.
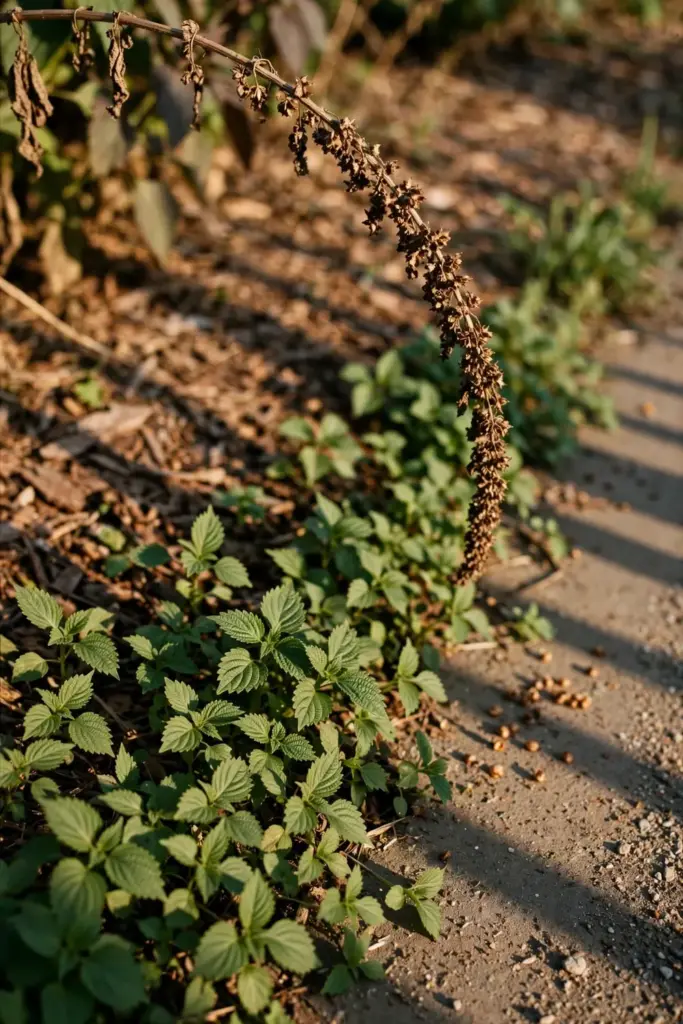
The honest picture: perilla self-seeds readily. In mild climates it can naturalize and pop up in lawn edges, paths, and neighboring beds for years. In most regions it is not classified as invasive. It still behaves like an enthusiastic volunteer. If that sounds like a problem, the solution is mechanical and simple: deadhead. Cut flower spikes the moment they fade, before the seed heads dry.
If you want volunteers, do nothing. Let one plant go to seed in fall, and next spring thin the seedlings to the spacing you want. Many gardeners run a permanent perilla patch this way and never buy seed again. Just know what you are choosing: a managed patch, or a plant that chooses for you.
One caution that belongs here, not buried: keep perilla away from grazing livestock. The flowering and seed parts of the plant contain perilla ketone, which damages cattle lungs and can kill them. Ohio State’s beef extension documents the risk, and the toxin stays active even in dried hay. Humans eating the leaves face no risk from perilla ketone. If you keep animals, grow perilla inside a fence and never let trimmings reach the pasture.
15. Pests, Diseases, and the Livestock Warning
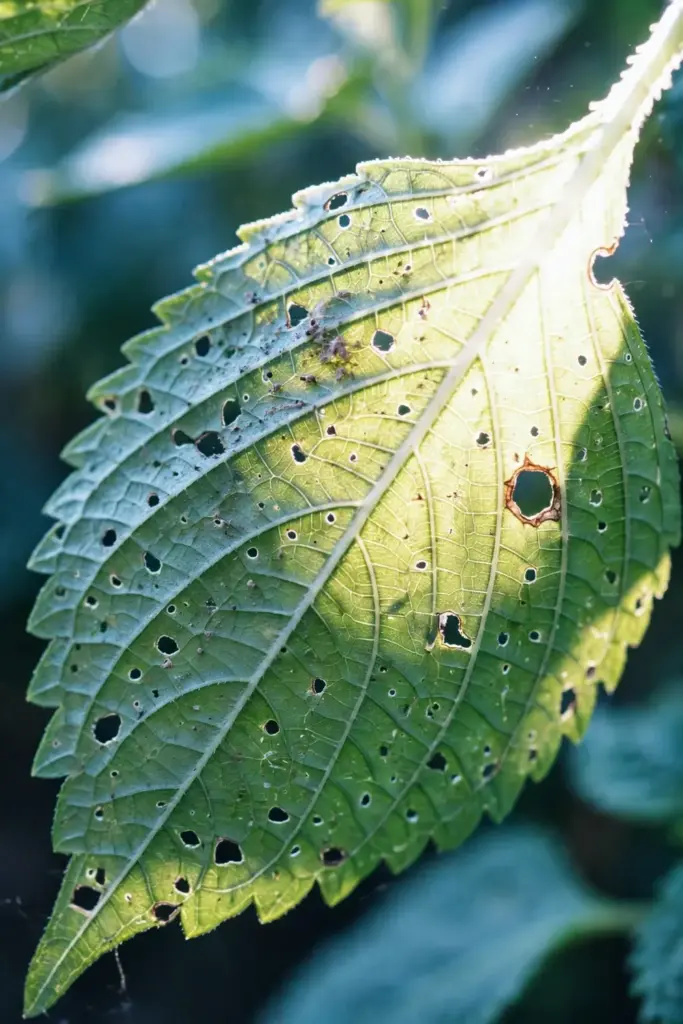
Perilla has few pest problems, which is part of its charm. Flea beetles may chew small holes in young leaves; a floating row cover in the first weeks stops them. Japanese beetles occasionally visit; hand-pick them into soapy water. Aphids cluster on tender tips. Blast them off with a strong jet of water.
Disease pressure is low. The main risk is the seedling damping-off described in step 7, plus occasional leaf spot in wet, crowded plantings. Space plants properly, water at the base, and mulch. The same sanitation that works for every leafy herb works here.
The serious warning is the livestock one from step 14, repeated because it matters: perilla ketone concentrates in the flowering and seed parts, damages the lungs of cattle and other grazing animals, and stays toxic in hay. Grow it where livestock cannot reach it, and compost trimmings rather than tossing them over the fence.
16. Common Mistakes (and the Fix for Each)
Burying the seeds. The number one killer. Perilla seeds need light. Press them into the surface and cover with almost nothing. Fix: resow on the surface; the old buried batch is done.
Skipping the soak. Dry-sown seed still sprouts, but slower and spottier. Fix: soak 12 to 24 hours next time; it is the cheapest germination insurance you have.
Starting too early in cold soil. Seed in 50°F soil sits and rots. Fix: wait until soil hits 65 to 75°F, one to two weeks after the last frost.
Never pinching. Unpinched plants shoot up, flower by midsummer, and quit. Fix: pinch the top 2 to 3 inches every week or two starting at 8 to 10 inches tall.
Harvesting after flowering. Post-bloom leaves are bitter and sparse. Fix: harvest hard before buds form; cut back bloomers and let them regrow.
Letting it seed everywhere. One forgotten plant becomes next year’s weed patch. Fix: deadhead flower spikes before they dry, or grow in pots.
Overwatering seedlings. Soggy mix brings damping off. Fix: mist, don’t drench; let the surface dry between waterings; improve air flow.
17. Storage and Use: Three Cuisines, One Plant
Fresh is best, but perilla keeps. Refrigerate unwashed leaves in a sealed bag with a damp paper towel for up to a week. For longer storage, blanch 10 seconds, squeeze dry, and freeze in portions. The flavor holds for months. Red shiso leaves can be salted or pickled; green leaves dry poorly (they lose the aroma), so freeze instead of drying.
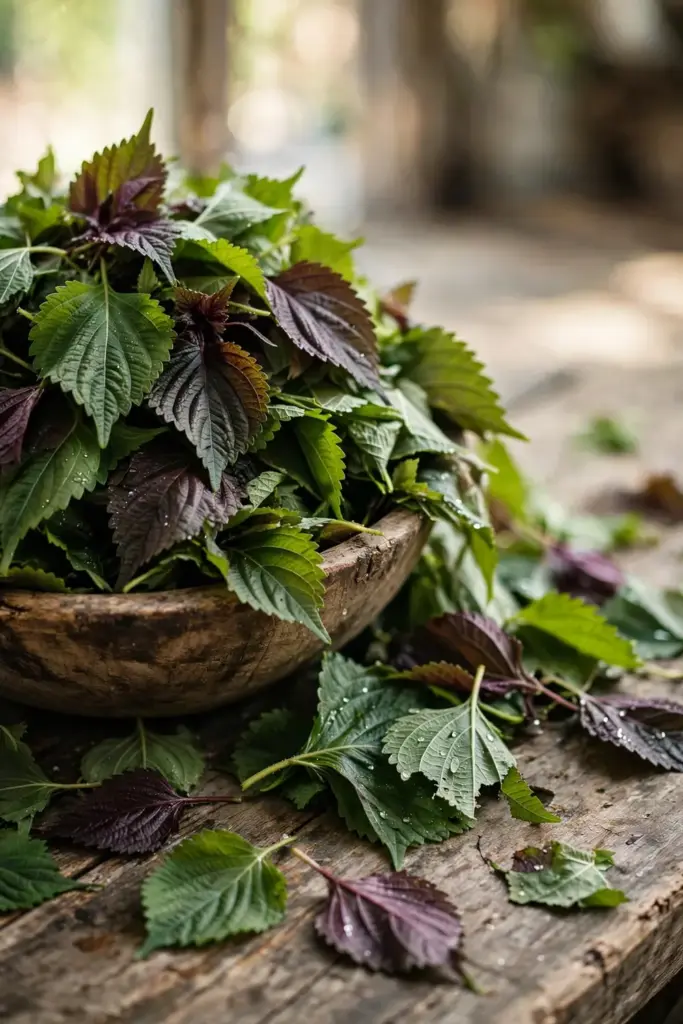
In the kitchen, the three traditions use the same plant differently. Japanese cooking uses green shiso (ao-jiso) as a garnish for sashimi and tempura, and red shiso (aka-jiso) to color pickled plums. Korean cooking wraps grilled meat and rice in broad kkaennip leaves for ssam, and salts them for banchan. Chinese cooking uses zi su in stir-fries and as a warming herb. Grow the variety that matches the food you actually cook.
A small honesty note on the medicinal side: zi su has a long history in traditional Chinese practice, but this guide makes no health claims. Grow it for the kitchen, enjoy it as food, and talk to a professional about anything medicinal.
18. Troubleshooting
Seeds did not sprout after 3 weeks. Likely buried too deep or too cold. Resow on the surface in 70°F conditions; check that the packet is this year’s seed.
Seedlings are tall and floppy. Not enough light. Move to a brighter window or lower the grow light to 2 to 3 inches above the leaves.
Leaves have small round holes. Flea beetles. Cover young plants with row cover; the damage is cosmetic on established plants.
Plant flowered in July. It got stressed or you stopped pinching. Cut it back by half, water well, and it usually flushes new leaves.
Leaves taste bitter. The plant is flowering or drought-stressed. Harvest younger leaves, pinch buds, and keep water steady.
Volunteers everywhere next spring. You let it seed. Thin to 12 inches where you want them; pull the rest while small.
Lower leaves turning yellow. Usually overwatering or nitrogen running low. Check drainage first, then feed half-strength liquid fertilizer.
19. Frequently Asked Questions
Yes, once you get past germination. The seed needs light and warmth and takes 5 to 21 days, which frustrates beginners. After that, perilla is one of the toughest herbs you can grow: heat tolerant, drought tolerant, few pests, and it practically grows itself. Most failures trace back to burying the seed.
Not as the same plant. It is a true annual and frost kills it. But it self-seeds so freely that new plants pop up in the same spot each spring, which feels like it came back. If you want that effect, let one plant go to seed in fall; if not, deadhead every flower spike.
Shiso is perilla selected into a distinct form, not a separate plant. Both are Perilla frutescens; shiso is var. crispa, bred in Japan for ruffled leaves and a mint-clove flavor. General perilla (Chinese zi su) has broader, flatter leaves. Korean kkaennip is another cultivated form of the same species with a bolder, nuttier taste.
Yes, with enough light. A south-facing window or a grow light running 14 to 16 hours a day keeps a potted plant productive through winter. Indoor plants stay smaller and need regular pinching, but the leaves taste the same. Keep the pot away from cold drafts.
Humans with no allergy to mint-family plants can eat perilla leaves freely. They are a normal food across Asia. The toxicity concern is only for grazing livestock: perilla ketone in the flowering and seed parts damages cattle lungs. Keep the plants fenced away from animals and out of hay.
Three to four plants feed a household through the season if you pinch and harvest regularly. Each plant reaches 18 to 30 inches and produces dozens of leaves over months. Start with six seedlings to allow for losses, then thin to your final spacing of 6 to 12 inches.
20. Where to Go From Here
Start with fresh seed, soak it for a day, press it onto warm soil, and let the light do the work. That is the whole secret of how to grow perilla. Pinch often, harvest the outer leaves, and decide in August whether you want volunteers or not.
If you enjoy growing Asian herbs, fall is a good time to plan the next bed: the fall herbs guide rounds up what else goes in once summer crops finish. And if containers are your style, one perilla in a 5-gallon pot on a sunny step is the lowest-effort way to keep fresh shiso, kkaennip, or zi su within arm’s reach all season.