
White leaf spot has no cure once spots appear on a brassica leaf. The plan below runs 8 prevention strategies, and the first move is a decision about whether this minor disease deserves your effort at all. The rest of this page is one decision plus 8 strategies, from the triage call to the tool cleaning that closes the season.
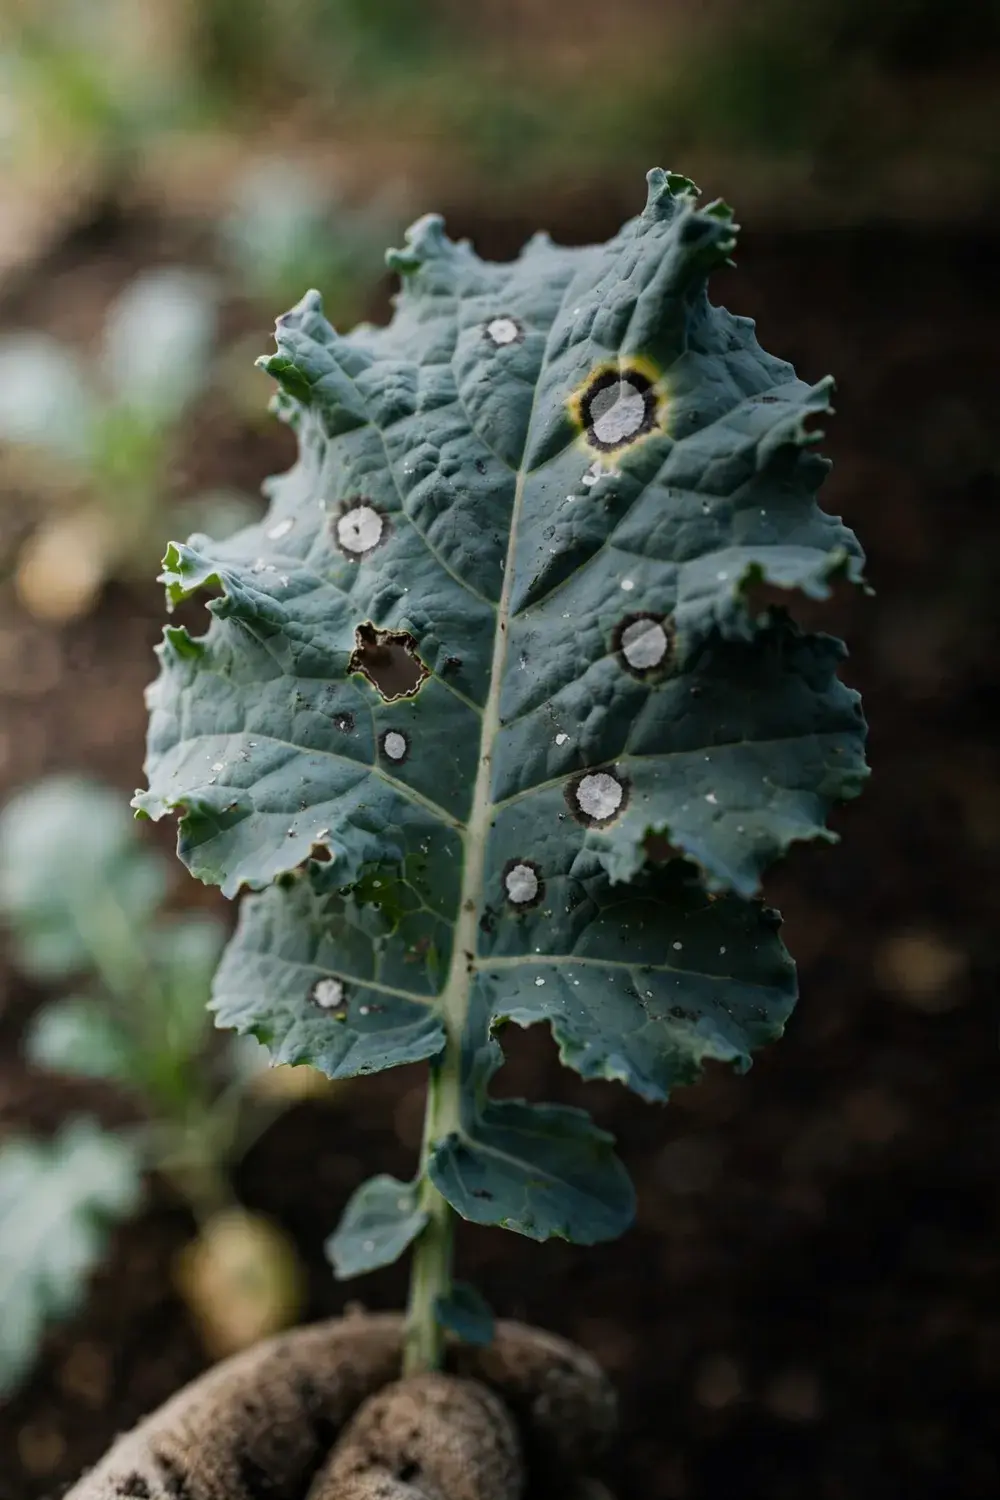
The signature is a round spot with a gray, brown, or nearly white center on a leaf, a cotyledon, or a petiole. Spots darken at the edges as they age. Leaves yellow and drop early. Seedlings hit hard at emergence can die outright. I have learned that the gardener who cleans up in fall faces less disease next spring than the gardener who sprays.
Prevention works because the fungus survives on residue, weeds, and seed. Every strategy below breaks one link in that chain, starting with the decision that tells you how much effort this disease earns.
What White Leaf Spot Actually Is
White leaf spot is a fungal leaf disease of brassicas. The name covers more than one fungus, and field identification cannot settle which one is on your plants.
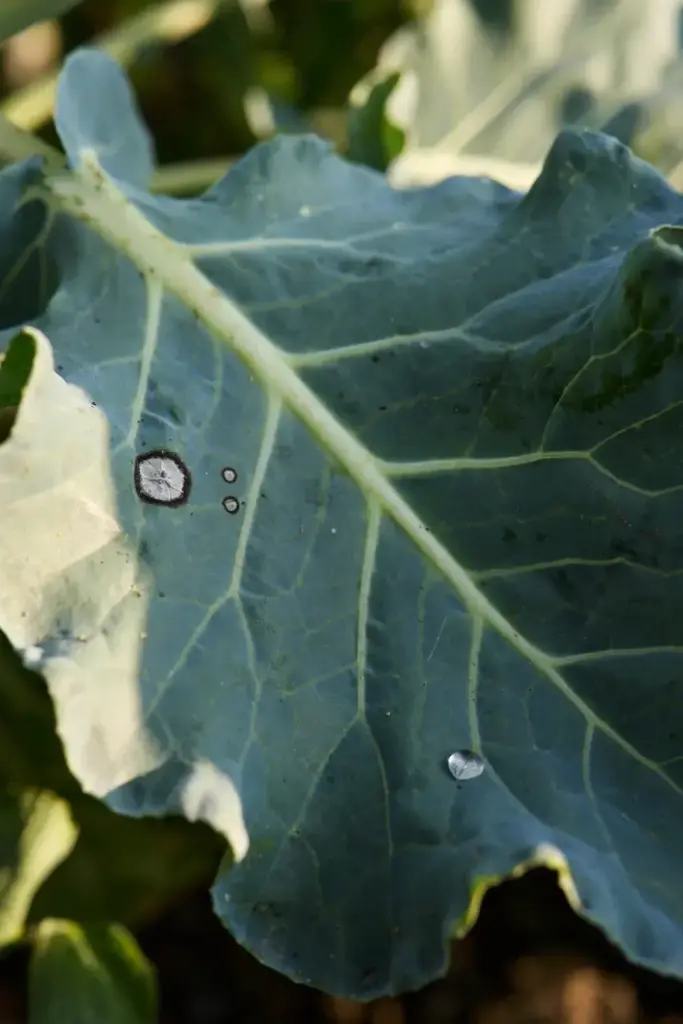
Arkansas Extension names the white spot pathogen Pseudocercosporella capsellae. The University of Maryland Extension greens guide groups white spot with the Cercospora, Alternaria, and anthracnose leaf spots that overwinter in soil. Louisiana guides list Cercospora and Cercosporella leaf spots as one group. The genera differ, and the prevention plan does not.
The practical point stays the same whatever the genus. White leaf spot is a plant disease. It does not infect people, and it does not call for rescue sprays. Prevention is the whole plan, because no spray reverses a spot that already shows.
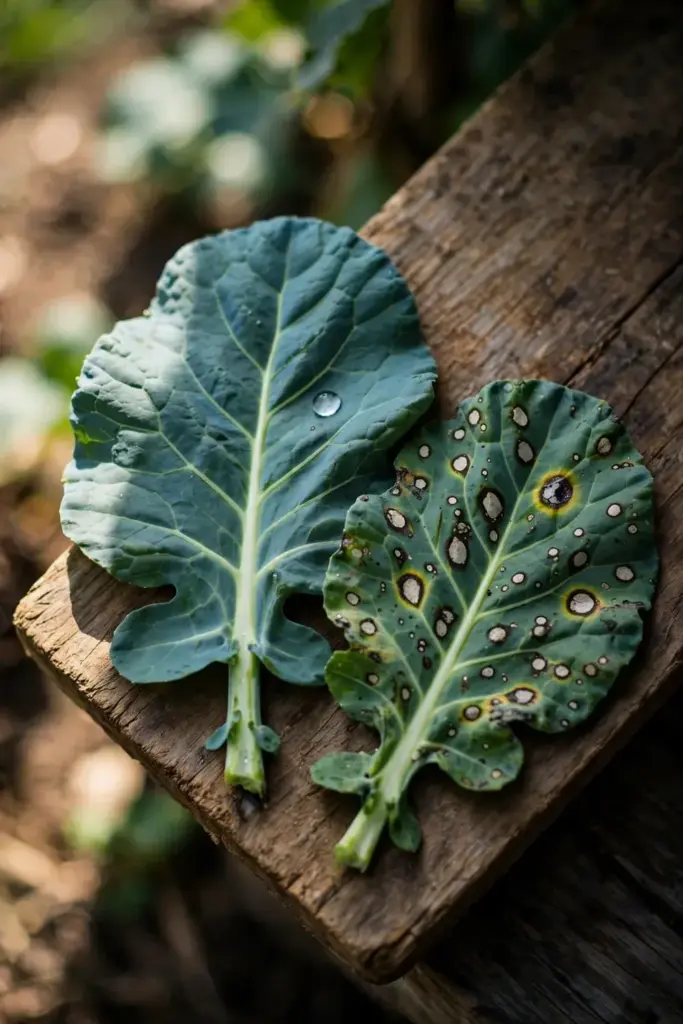
Arkansas Extension describes circular spots with gray, brown, or nearly white centers on cotyledons, leaves, and petioles. Edges darken with age. Leaves yellow and drop early, and seedlings hit hard at emergence can die outright. Mustard, collards, and turnip greens carry the named risk, and the same prevention plan covers the rest of the brassica bed.
Oilseed rape and canola carry the same disease under the same name, and field guides treat it as minor there. The home-garden picture matches: leaf quality suffers, and seedlings carry the real risk. Leaves yellow and drop early, and seedlings hit hard at emergence can die outright. Mustard, collards, and turnip greens carry the named risk, and the same prevention plan covers the rest of the brassica bed.
Stems and petioles spot too. A spotted petiole weakens the leaf it carries, and a leaf that drops early never feeds the plant again. Heavy spotting strips a young plant leaf by leaf, which is why the seedling stage carries the real risk while older plants usually grow through a few spots.
How to Identify White Leaf Spot on Leaves and Stems
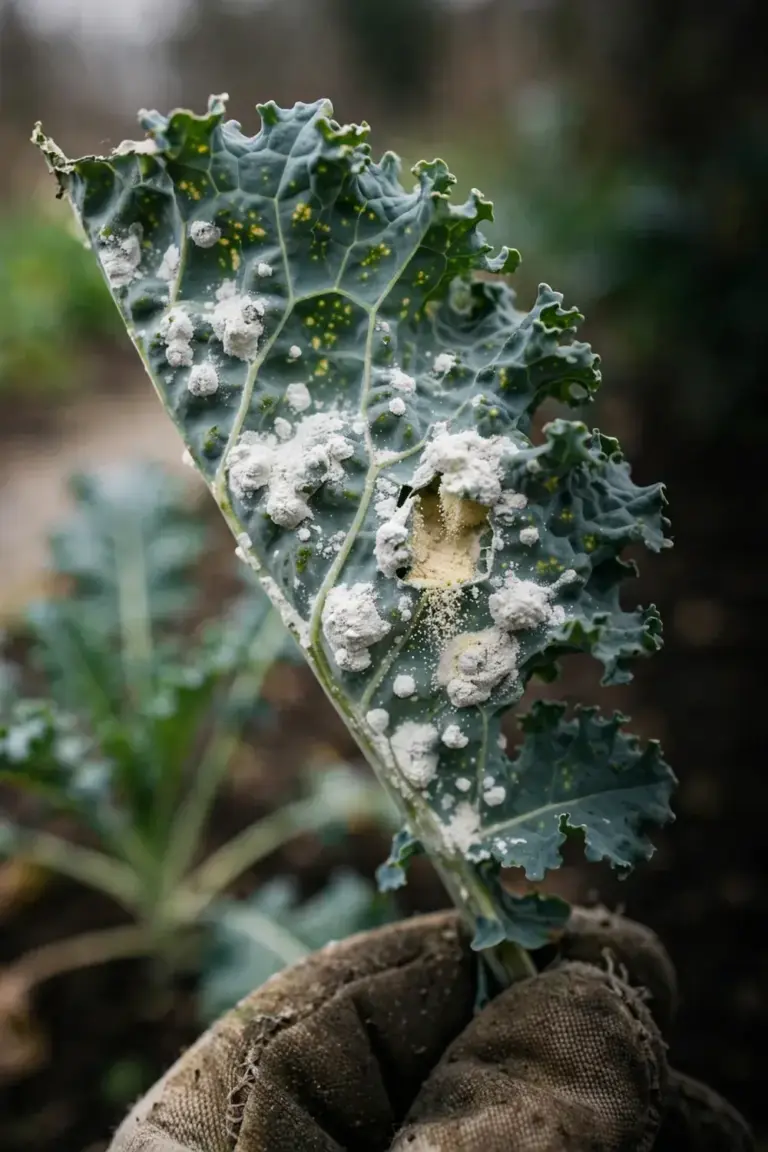
Look for round spots with pale centers on leaves, cotyledons, and petioles. The spot starts small, the center turns gray, brown, or nearly white, and the edge darkens as the spot ages.
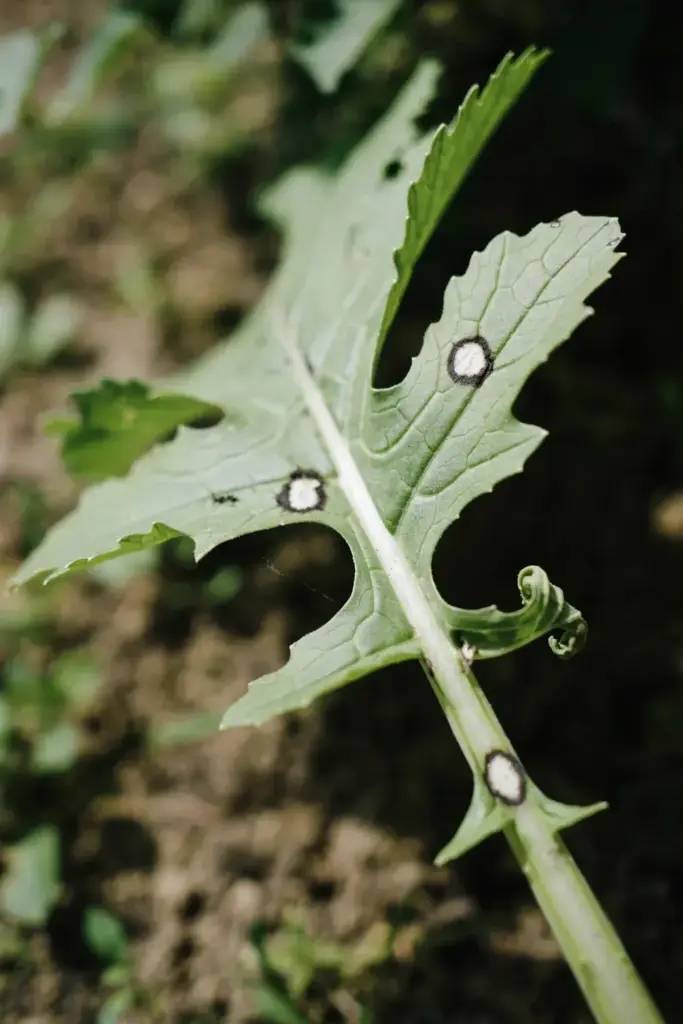
The Bayer crop guide puts the largest spots at 20 mm across, darkening to gray or black as the season moves on, with secondary spread by rain-splash spores and infected seed as a second source. The same guide traces early infection to spores released from infected residue, then rain-splash spread within the crop.
Flip the leaf. Downy mildew grows a white fungal mat on the underside in moist weather, per Arkansas Extension. White leaf spot stays a spot. That mat is the marker that separates the two diseases in the field.
One more label to keep apart. Arkansas Extension attaches the frogeye name to Cercospora leaf spot, a separate disease, not to white spot. Keep the labels apart, and the prevention plan stays honest.
Do not wait for a lab test to act. The prevention plan is the same for every candidate fungus behind the name, and lab confirmation matters only where the crop value justifies it.
Check the petioles and stems while the lens is out. A spotted petiole drops its leaf early, and a spotted stem marks a plant worth pulling. The leaf blade gets the attention, and the petiole gives the earlier warning.
Carry a hand lens on the scout walk. A lens shows the spot edge clearly, and a clear edge reading beats a guess from arm’s length. The lens also shows the underside, where the downy mildew mat either appears or stays absent.
Which Brassicas Get Hit Hardest by White Leaf Spot
Turnip greens, mustard greens, and collards carry the named risk. Arkansas Extension names all three as susceptible, and warns that seedlings hit hard at emergence can die outright.
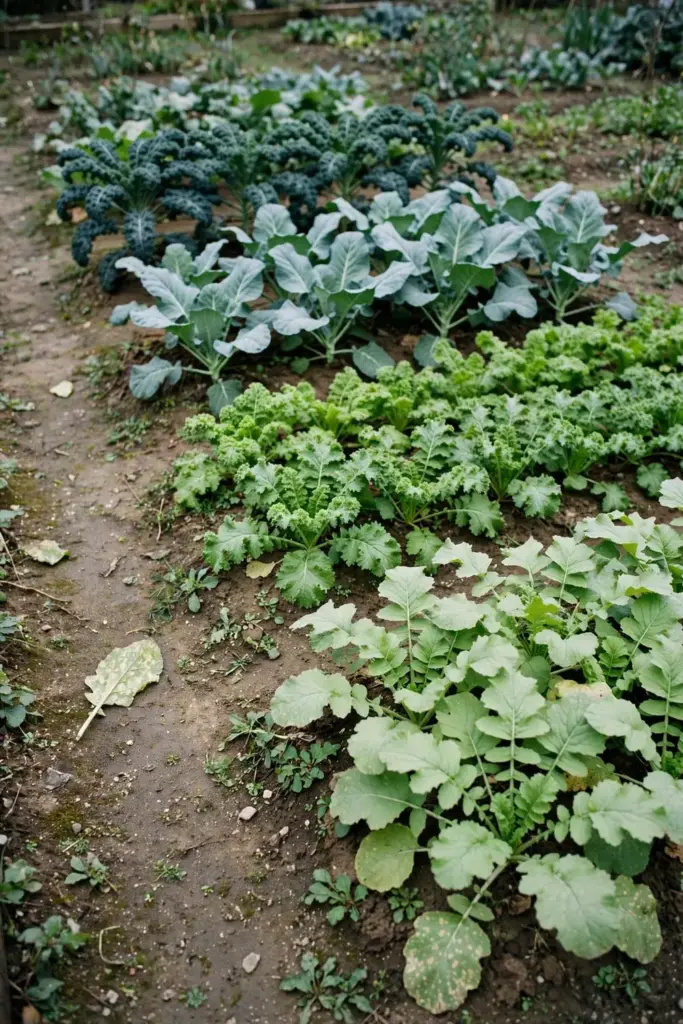
Cabbage, kale, broccoli, and cauliflower sit in the same family and the same plan. The complete kale guide covers kale growing from seed to harvest, and the same spacing, watering, and cleanup rules below protect that crop.
Rank the bed by age, not by variety. Young seedlings suffer the worst damage, and a bed of fresh transplants deserves the first scout walk. Older plants with a few spots lose leaf quality, and the harvest shrinks leaf by leaf.
Seedlings from a tray that already shows spots deserve the trash, not the bed. A spotted transplant carries the disease into clean soil on day one, and no spacing trick fixes that start.
Fall plantings face the same risk as spring ones. Cool wet fall weather matches the danger window, and a fall bed that follows a spring brassica bed in the same soil skips the rotation the fungus needs to die out. Plant fall brassicas in the bed that rested, not the bed that grew spring brassicas.
Why Wet Leaves Drive White Leaf Spot
Wet leaves drive white leaf spot. Spores need water on the leaf to germinate, and every wet hour is an open door.
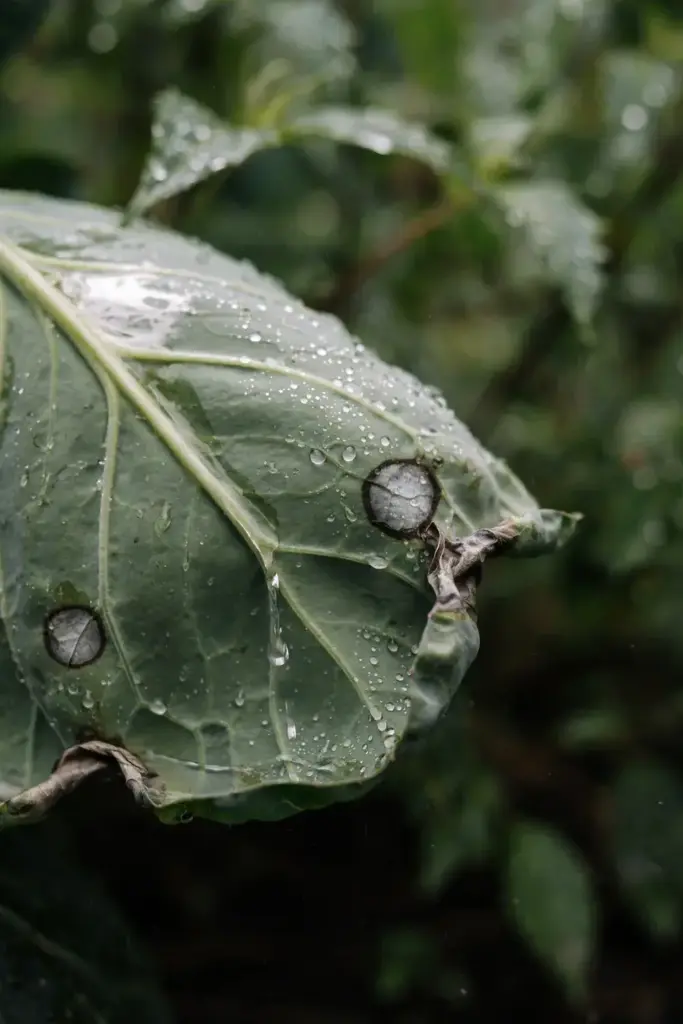
The Arkansas Extension fact sheet puts the danger window at 12.8 to 17.8 degrees Celsius (55 to 64 degrees Fahrenheit), with frequent rain, heavy dew, or overhead irrigation favoring infection. The same fact sheet answers that survival with the rotation rule: no crucifers on the same spot for at least 3 years.
The fungus survives on volunteer plants, perennial weeds, and less commonly on infected seed, per the same fact sheet. Wind and rain move spores from that residue onto healthy leaves. Wet weather does the delivery work.
Dry leaves break the chain. A leaf that dries fast after rain gives spores no germination window, and every strategy below buys drying speed: spacing, morning watering, and clean ground.
Dew counts as wet. A heavy dew leaves the canopy wet for hours after sunrise, and a still morning stretches that window further. Airflow matters on dew mornings as much as on rainy ones, which is why spacing and wind direction earn their own step.
What Makes White Leaf Spot Worse in a Home Garden
Crowding, overhead water, and dirty ground make white leaf spot worse. Each one keeps leaves wet longer or keeps spores closer.
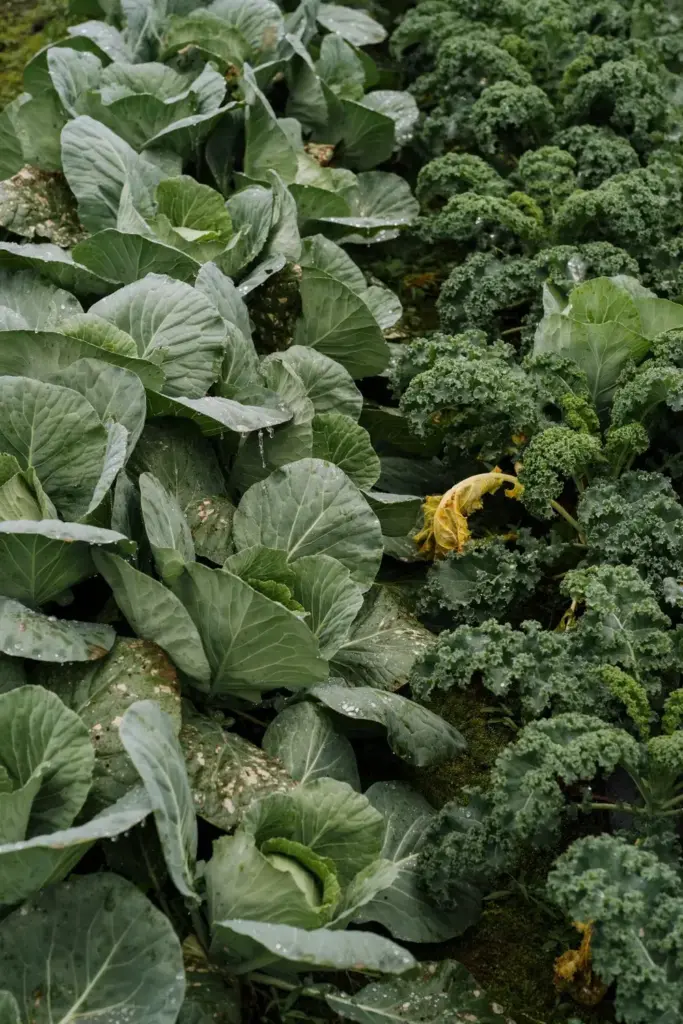
Tight spacing holds moisture after rain. Leaves in the middle of a dense stand dry later than leaves on an open row, and the middle of the stand spots first.
Overhead irrigation wets the whole plant and splashes spores upward from soil and residue. Evening watering leaves the canopy wet overnight, and wet overnight leaves are the longest infection window in the garden.
Dirty ground carries the fungus forward. Infected leaves left on the soil, volunteer brassicas at the bed edge, and tools that move from a sick bed to a clean one all carry spores to the next planting. Clean ground is prevention, not tidiness.
Watch the forecast the way you watch the bed. A week of cool rain after a dry spell is the highest-risk window, and a scout walk the day the rain clears catches the first spots. A dry windy week is the lowest-risk window, and the routine still runs, because spores wait in residue for the next wet spell.
Seed source sets the starting risk. A bed sown from saved seed of a spotted crop starts infected, and a bed sown from certified seed starts clean. The seed decision in Step 2 is a risk factor too, and it is the only one you can settle before sowing.
Step 1: Decide Whether White Leaf Spot Deserves Your Attention
Decide first, then act. White leaf spot is a minor disease, and a minor disease earns a prevention routine, not a spray program.
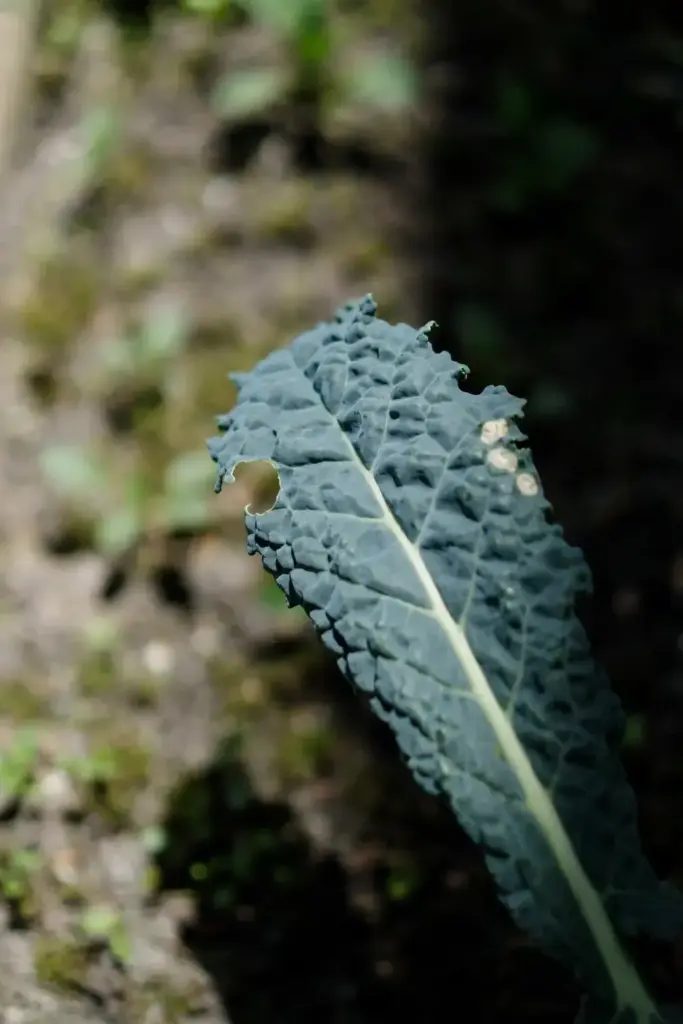
Bayer calls it of little economic importance in the United Kingdom, with control not usually necessary, and the home-garden stakes match that picture: leaf quality suffers, seedlings can die in a bad emergence, and established plants usually keep growing.
The plan below runs one decision plus 8 strategies. The table shows each strategy, the link it breaks, and its timing.
| Strategy | What It Breaks | When |
|---|---|---|
| Step 2: Clean seed and healthy transplants | Arrival on seed and seedlings | At purchase and sowing |
| Step 3: 3-year rotation | Survival in soil and residue | Every planting plan |
| Step 4: Spacing for airflow | Slow drying | At planting and thinning |
| Step 5: Base watering in the morning | Wet leaves and splash | Every watering |
| Step 6: Weed and volunteer clearing | Survival on wild hosts | Through the season |
| Step 7: Weekly scouting and removal | Buildup and spread | Every week |
| Step 8: Season-end debris cleanup | Winter survival | After final harvest |
| Step 9: Tool cleaning and young-first order | Spread on tools and hands | After every infected bed |
Run the decision this way. A bed with a few spots on older leaves earns the routine below and nothing stronger. A tray of spotted seedlings earns the trash. A bed that lost seedlings at emergence earns the full routine plus a hard look at seed source and rotation.
Escalate only when seedlings die. A bed that kills seedlings at emergence has a seed or rotation problem, not a spray problem. Change the seed source, lengthen the rotation, and start the next planting in fresh ground before you reach for any product.
Step 2: Start With Certified Clean Seed and Healthy Transplants
Start with certified clean seed and healthy transplants. Clean seed keeps the fungus from arriving at all, and no later strategy replaces a clean start.
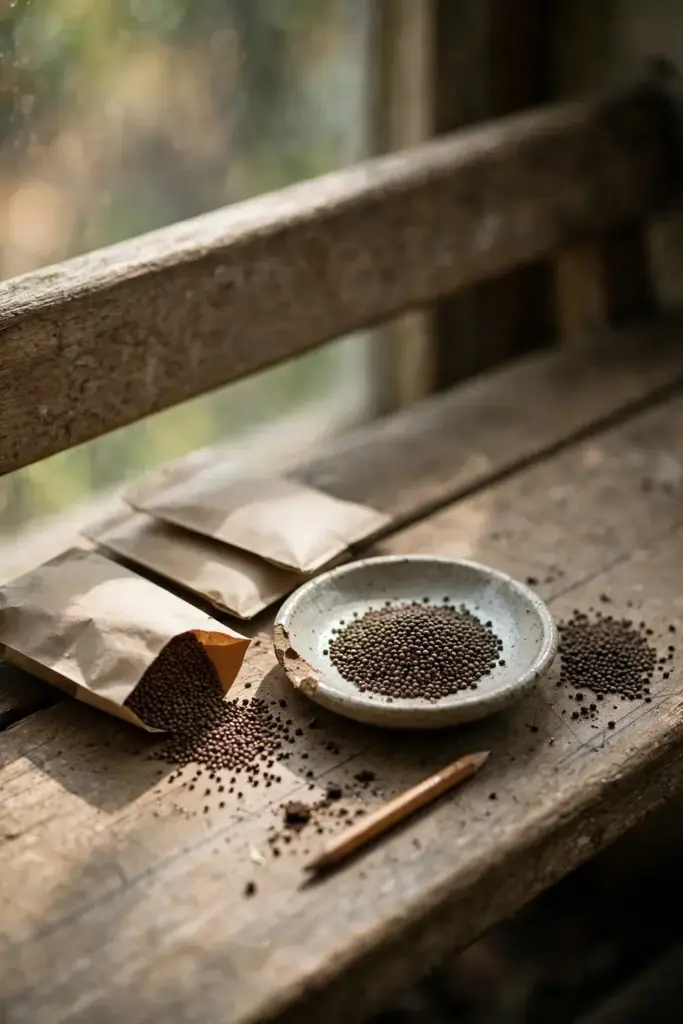
Arkansas Extension lists certified clean seed and healthy transplants first, with an approved seed treatment as the fallback where certified seed is unavailable. Ask the supplier whether the lot is certified, and keep the packet label until the bed is established.
Inspect every transplant before it enters the bed. A tray with spotted cotyledons goes to the trash, not the soil, and the seed starting steps cover the clean-start routine for seed you sow yourself.
Never save seed from infected plants. Seed from a spotted bed carries the fungus into the next season, and the saving is not worth the risk.
Buy from a supplier who certifies. A packet with a certification claim and a lot number gives you a grower to hold to account, and a packet with neither gives you a story. Keep the label until the bed is established, so a bad lot can be traced back to its source.
Step 3: Rotate Brassicas Out of the Bed for 3 Years
Keep brassicas out of the bed for at least 3 years after the last brassica crop. Rotation starves the fungus by removing its hosts.
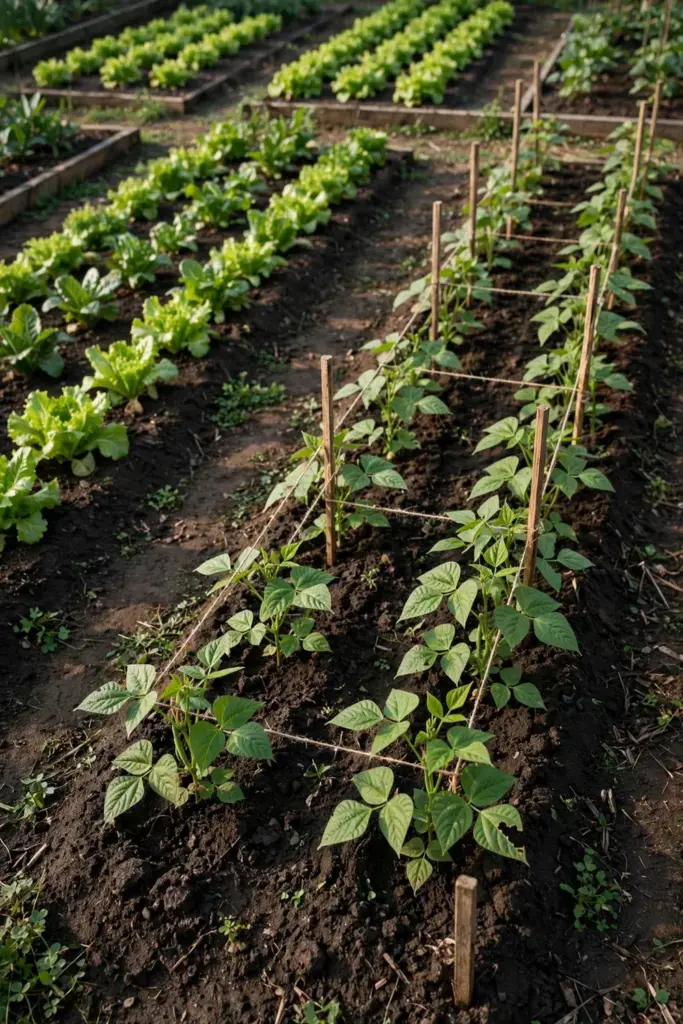
The rule covers the whole family. Cabbage, kale, broccoli, cauliflower, turnip, mustard, collards, and radish all count as brassicas for rotation, and a bed that grew any of them last year is a brassica bed this year.
Map the beds on paper before the season starts. The crop rotation guide covers the full rotation logic, and a written map beats memory when spring planting gets busy.
Small gardens need the same rule. A single bed that always grows kale is a brassica bed every year, and the fungus never leaves it. Swap in beans, lettuce, or carrots for the rotation years, and let the bed rest from brassicas.
Containers break the cycle faster. A pot filled with fresh mix starts clean, and a pot that grew spotted brassicas last year needs fresh mix before it grows them again. Dump the old mix on the trash pile, scrub the pot, and refill. The rotation clock resets with the mix.
Step 4: Space Plants for Airflow That Dries Leaves Fast
Space brassicas wide enough that air moves between plants. Airflow dries leaves fast after rain, and dry leaves deny spores their germination window.
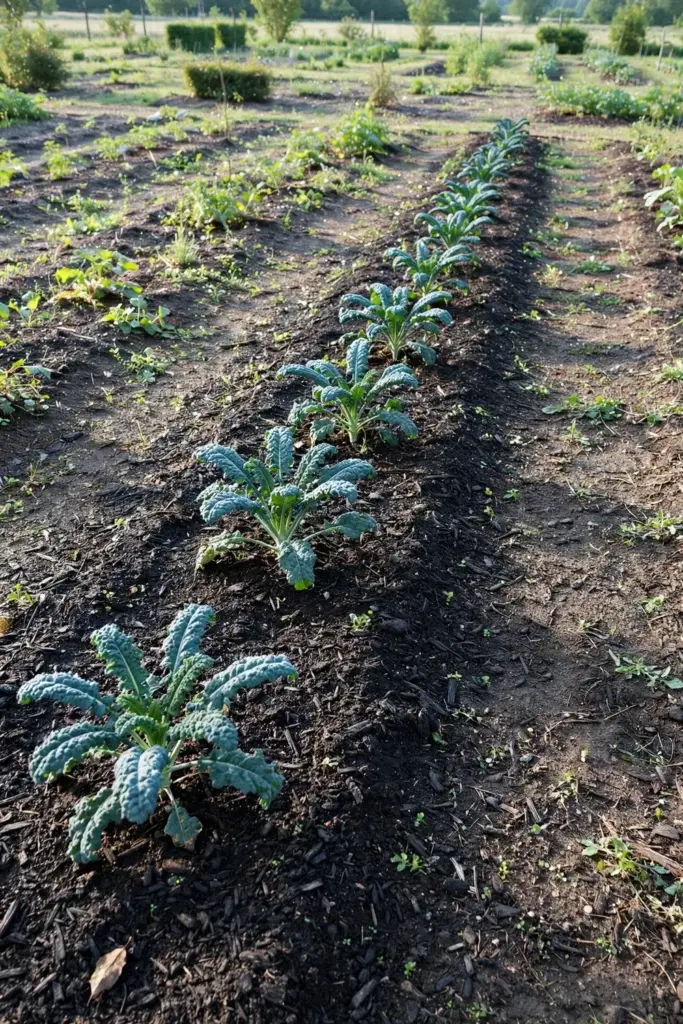
Thin seedlings on time. A crowded seedling row stays wet longest, and the middle of a dense stand spots first. Pull the weakest seedlings and leave the rest room to grow.
Orient rows to the prevailing wind where the site allows. Wind down the row dries the canopy faster than wind across it, and a row that dries by midday beats a row that stays wet until evening.
Skip the second planting in the same footprint. A fall brassica bed planted where spring brassicas came out repeats the exposure, and the rotation rule in Step 3 already bars that move.
Thin early, before leaves touch. A seedling row that already closes over has already lost its airflow, and thinning after closure means cutting through wet foliage. Thin while the gaps are still open, and the row dries from the start.
Step 5: Water at the Base in the Morning and Never Work Plants Wet
Water at the base in the morning. Base watering keeps leaves dry, and morning watering gives any splash time to dry before night.
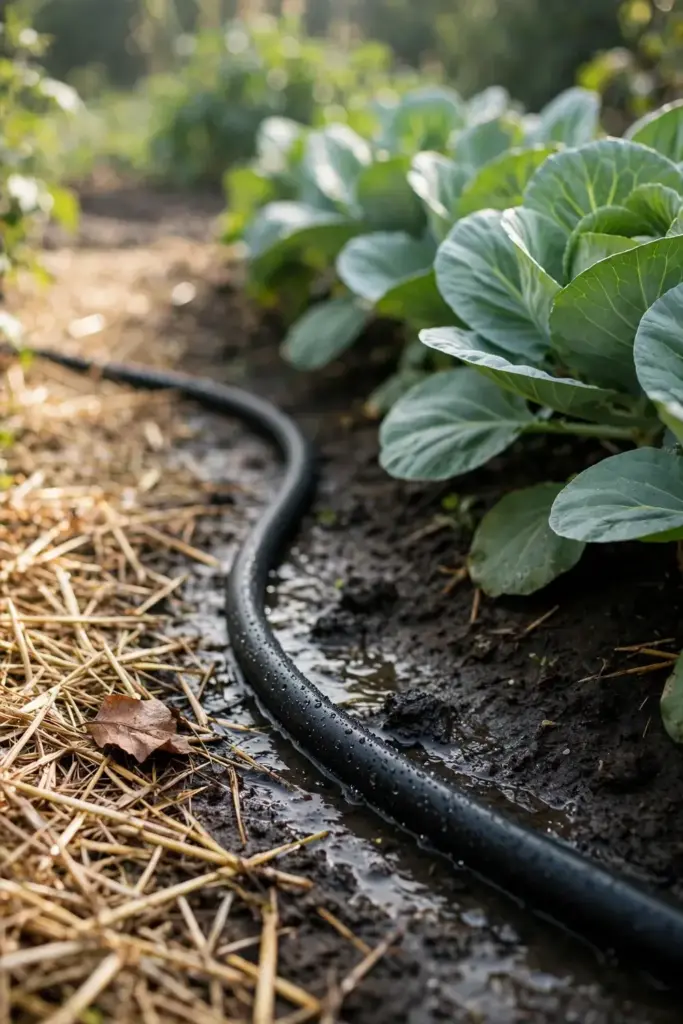
Skip overhead sprinklers on brassicas. Overhead water wets the whole canopy and splashes spores upward from soil and residue, and the Arkansas fact sheet names overhead irrigation as a disease driver.
Soaker hoses and drip lines do the job. Lay the line at the base of the row, run it until the root zone is wet, and keep the foliage dry. Mulch under the line holds soil moisture without wetting leaves.
Straw mulch helps twice. It holds moisture in the root zone, and it caps the soil so rain splash cannot lift spores onto low leaves. Keep the mulch pulled back a finger width from each stem, so the crown stays dry while the root zone stays damp.
Never work plants wet. Arkansas Extension warns gardeners to work fields only when leaves are dry, since hands, tools, and clothing move spores from sick plants to sound ones. Wait for the dew to lift, then scout, thin, and harvest.
Step 6: Clear Brassica Weeds and Volunteer Crucifers
Pull brassica weeds and volunteer crucifers from the bed and its edges. Wild hosts carry the fungus between crops, and a clean edge is part of the bed.
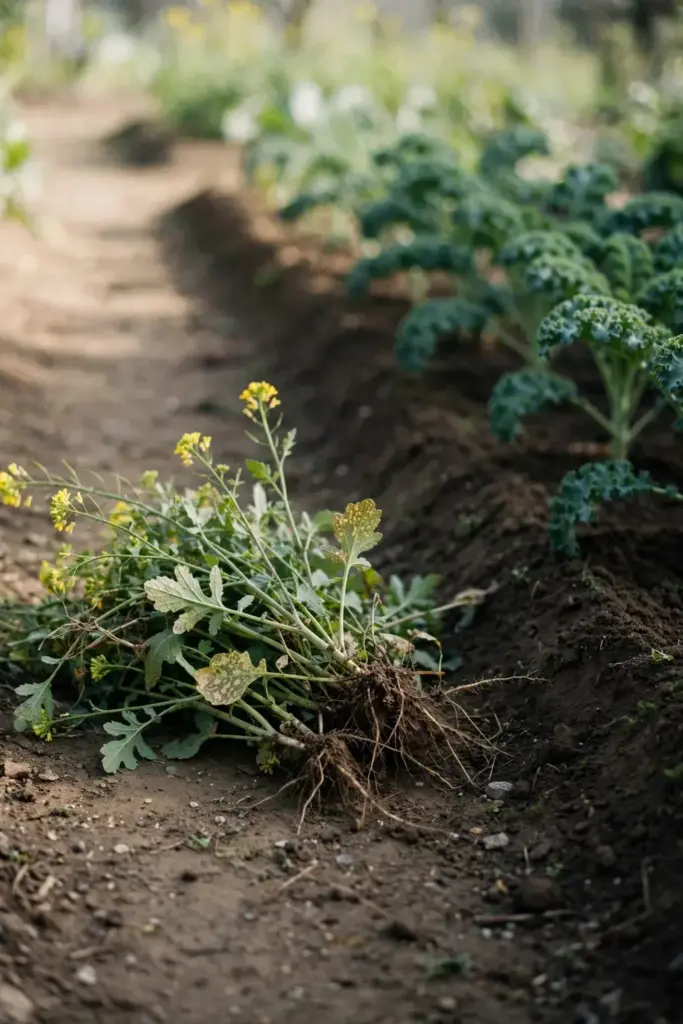
Arkansas Extension names the targets: wild mustards, shepherd’s purse, peppergrasses, and wild radish. Learn those four, and pull them wherever they appear near brassicas.
Volunteers count too. A turnip seedling from last year, a mustard plant that sowed itself, and a radish that bolted and dropped seed all carry the same risk as a weed. Pull volunteers before they flower, and keep the bed edge hoed.
Bag the pulled weeds and trash them. A weed pile at the bed edge still holds spores, and rain splashes them back onto the crop. Trash the pile.
Mow or hoe the paths too. A weedy path beside the bed is a host strip, and wind moves spores across a path in a single gust. Keep the paths bare or mowed short through the brassica season, and the bed edge stays a boundary instead of a bridge.
Step 7: Scout Weekly and Remove Spotted Leaves at Once
Walk the brassica bed every week. Start at the lower leaves. Lower leaves spot first, and a weekly walk catches spots before they build up.
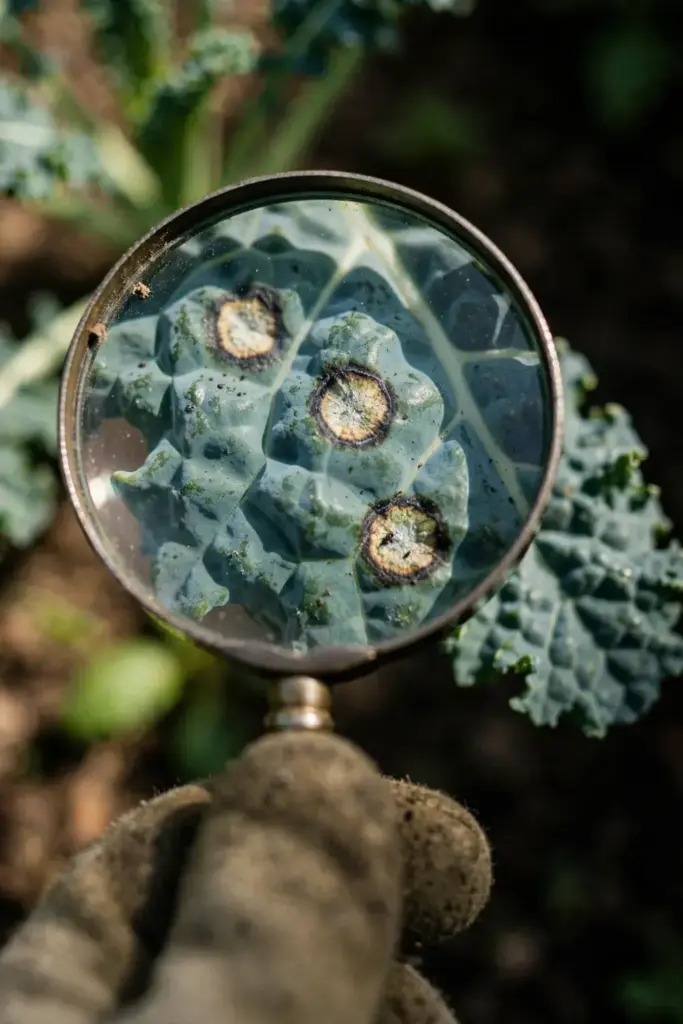
Pull spotted leaves at once, and pull whole plants when spots cover most of the foliage. The University of Kentucky cole-crop guide tells growers to remove diseased plants and debris, and never to compost them.
Bag the removed leaves for municipal waste. Trash is the safe default for diseased material, and the composting safety tips cover what stays out of a home pile.
Wash hands and tools after the removal round. Spores ride on skin, gloves, and blades, and the next bed you touch gets whatever the last bed left behind. Step 9 covers the cleaning routine.
Write the walk down. A notebook line with the date, the bed, and the leaf count tells you next week whether the disease is spreading or holding. Memory fades. The notebook shows the trend, and the trend tells you whether the routine is working.
Step 8: Clear Debris at Season End So Spores Have Nowhere to Winter
Clear every brassica remain at season end. Debris is the winter home of the fungus, and a clean bed starts spring with fewer spores.
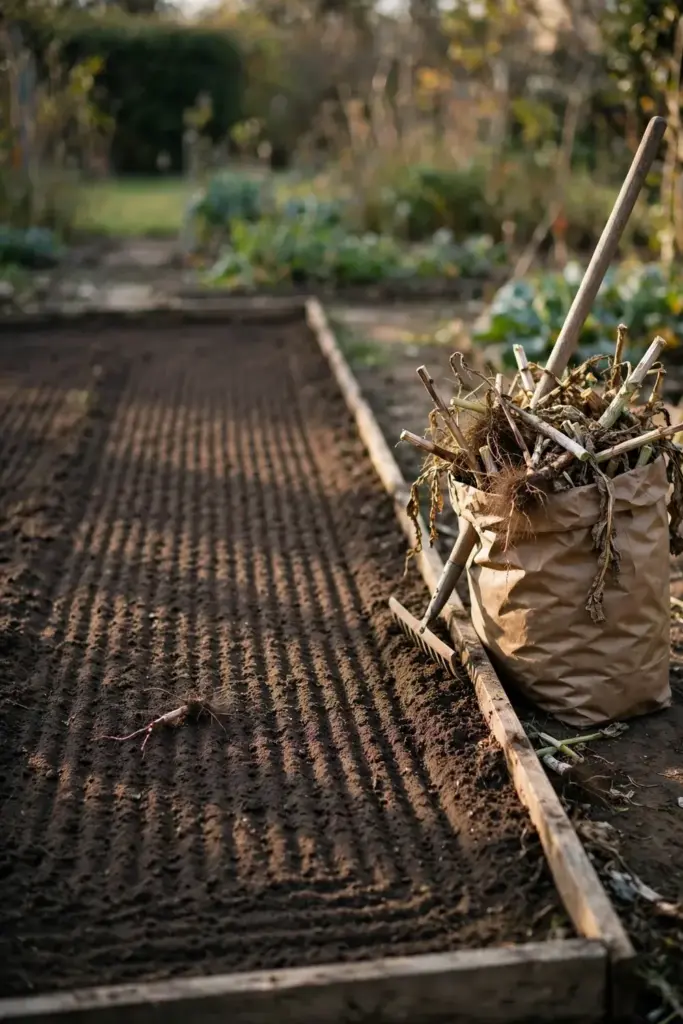
Arkansas Extension tells growers to till old crop debris right after harvest so it rots. Till the remains under, or bag them for trash where tilling is not an option. Either way, no infected leaf stays on the surface through winter.
Bayer gives the same advice for oilseed rape stubble: destroy or dispose of stubble as soon as possible after harvest. The crop differs, and the logic matches. Residue left standing feeds next season.
Check the bed edge once more after cleanup. Volunteer seedlings pop up after the first rain, and each one is a winter host. Pull them, and the bed sleeps clean.
Skip brassica cover crops on a brassica bed. A mustard cover crop sown for winter soil cover is a brassica, and it feeds the same fungus through the months the bed should rest. Sow a non-brassica cover, or leave the bed mulched and bare.
Step 9: Clean Tools and Work Young Plantings Before Old Ones
Clean tools after every round in an infected bed. Blades, gloves, and boots carry spores, and a clean tool breaks that chain.
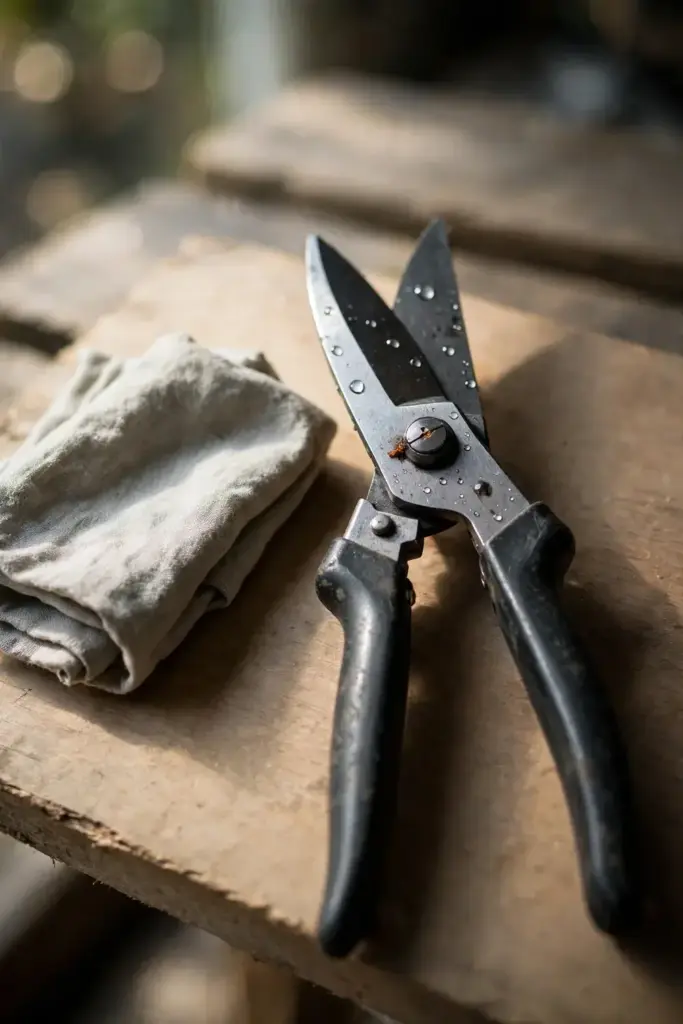
Kentucky lists tool sanitation among the core cultural practices for cole crops, beside wide spacing and debris removal. Wipe blades after the infected bed, then rinse, then move on.
Work young plantings before old ones. Young seedlings suffer the worst damage, and a visit order that touches clean beds first keeps spores off the plants with the most to lose. Finish the round at the oldest, most spotted bed, then clean up.
Keep one set of gloves for the brassica bed during an outbreak. A dedicated pair never carries spores to the tomato row, and a wash after the round resets it.
Boots and clothing count too. Soil on boots carries residue, and a shirt brushed against a spotted plant carries spores to the next bed. Brush boots off at the bed edge, and change the shirt before the next planting round.
Living With White Leaf Spot Damage You Already Have
A bed with white leaf spot is not a lost bed. Pull the worst leaves, keep the sound ones, and let the plant grow past the damage.
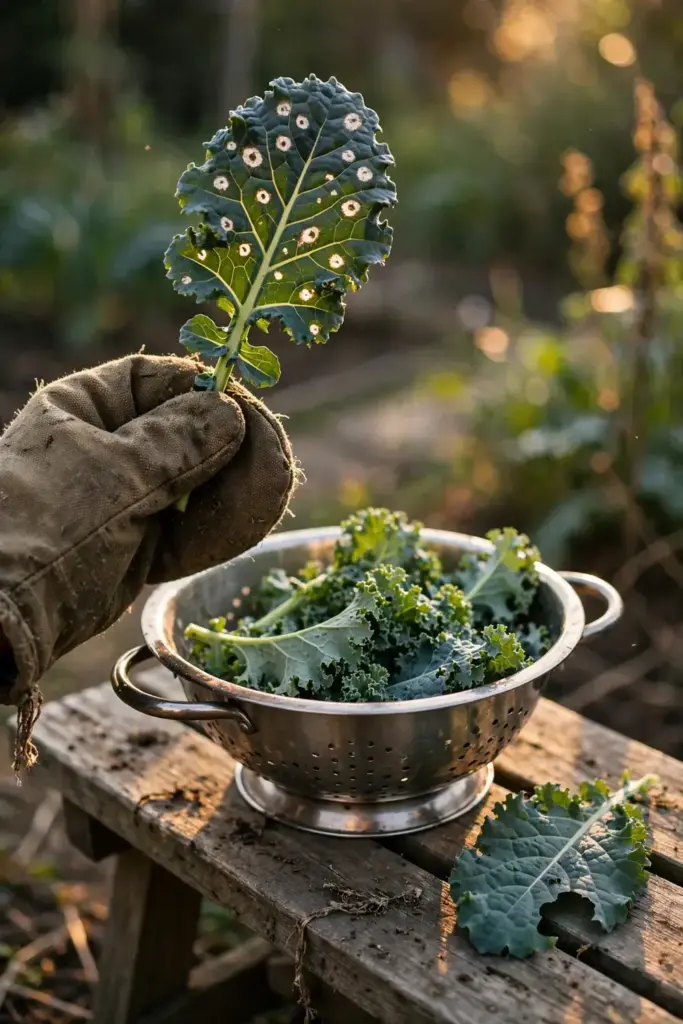
Harvest around the spots. Pick sound outer leaves for the kitchen, and leave spotted leaves out of the harvest basket. Wash the harvest well, and discard leaves that are yellowed, torn, or heavily spotted.
Feed and water the survivors normally. A plant that keeps growing outruns leaf loss, and steady base watering plus airflow gives new leaves a clean start. The disease takes leaves. It does not take the whole plant in most home gardens.
Plan the next planting from this one. Note which bed spotted, which variety spotted first, and whether the seed was certified. The note turns this season’s damage into next season’s prevention, and the rotation map starts there.
Pull the whole bed when seedlings die. A bed that loses its seedlings has no harvest to protect, and standing plants only feed the fungus. Clear it, trash the debris, and start the rotation clock from that clearing.
Save seed only from a clean bed. A bed that stayed spot-free all season earns its seed, and a bed that spotted does not. Label the packet with the bed and the year, so next spring starts from a known clean lot.
Frequently Asked Questions
No. No spray reverses a spot that already shows, and prevention is the whole plan. Pull spotted leaves to slow the buildup, keep the rest of the routine running, and protect the new leaves coming in. Sprays guard sound leaves only, and a sprayed spot stays a spot. The honest move is removal plus prevention, not a rescue product.
No. Light leaf spot is a different brassica disease, caused by Pyrenopeziza brassicae, with white spore pustules on green leaf tissue. White leaf spot shows round spots with pale centers. The two share white symptoms and a brassica host list, and gardeners mix them up. Treat the name as a label, not a diagnosis. The prevention routine above covers the shared ground: clean seed, rotation, airflow, and cleanup.
White leaf spot is a plant disease. It does not infect people, and sound leaves from a spotted plant stay edible after washing. Discard leaves that are yellowed, torn, or heavily spotted, and keep the firm green leaves. Wash the harvest well before eating. The loss is leaf quality, not food safety.
No. Do not compost spotted leaves, spotted plants, or bed debris from a diseased bed. The fungus survives on residue, and a home pile rarely gets hot enough to kill it. Bag the material for municipal waste, or till it under right after harvest so it rots in the soil. Trash is the choice that never backfires.
No. Copper is optional, preventive only, and never a cure. Kentucky lists copper among the fungicide options for cole-crop leaf spots, and Arkansas Extension lists copper hydroxide for home gardens. Copper guards sound leaves that it coats before infection. Read the label, and run the cultural routine first, since clean seed and rotation carry more weight than any spray.
Where to Go From Here
White leaf spot rewards the gardener who prevents it. Start with certified seed, rotate the bed, space for airflow, water at the base, and clean up at season end. The routine is short, and it compounds.
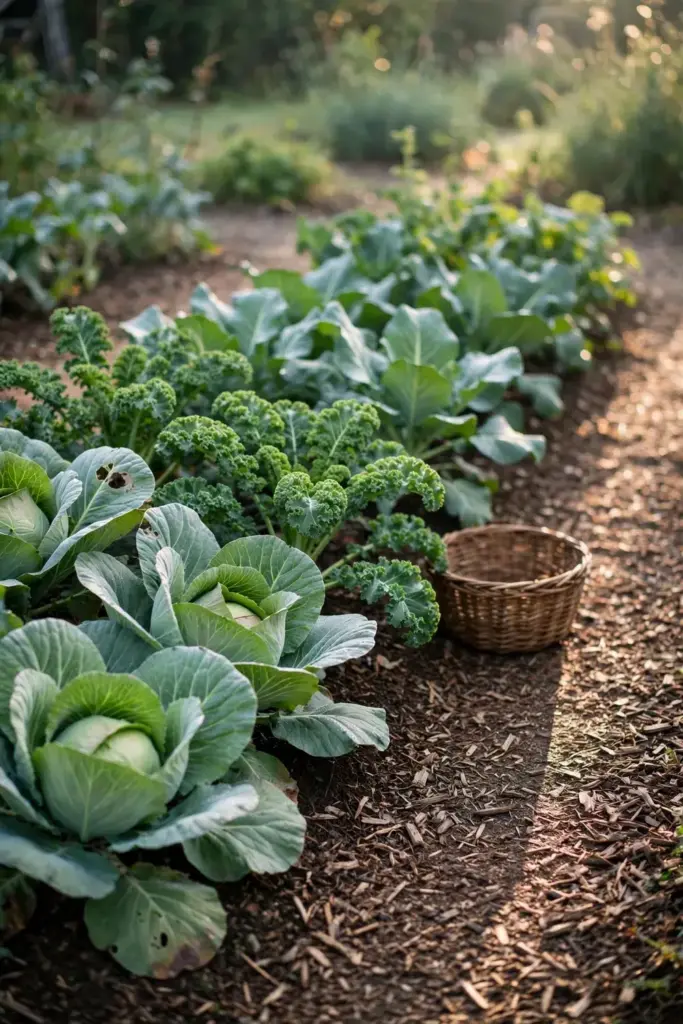
Next season, start clean. A bed that slept without debris, a map that kept brassicas out for 3 years, and seed with a certified label will show fewer spots than the bed that kept last year’s residue. The work happens in fall and at planting, not at the sprayer.
Downy mildew and white rust are the two look-alikes to learn next. Downy mildew grows its white mat on leaf undersides, and white rust is a different brassica disease with white pustules. Learn those two markers, and the brassica bed gets easier to read every season.
Run the routine once, then run it again. The first clean season cuts the spore supply, and the second clean season cuts it further. Prevention compounds the same way the disease did, one season at a time.