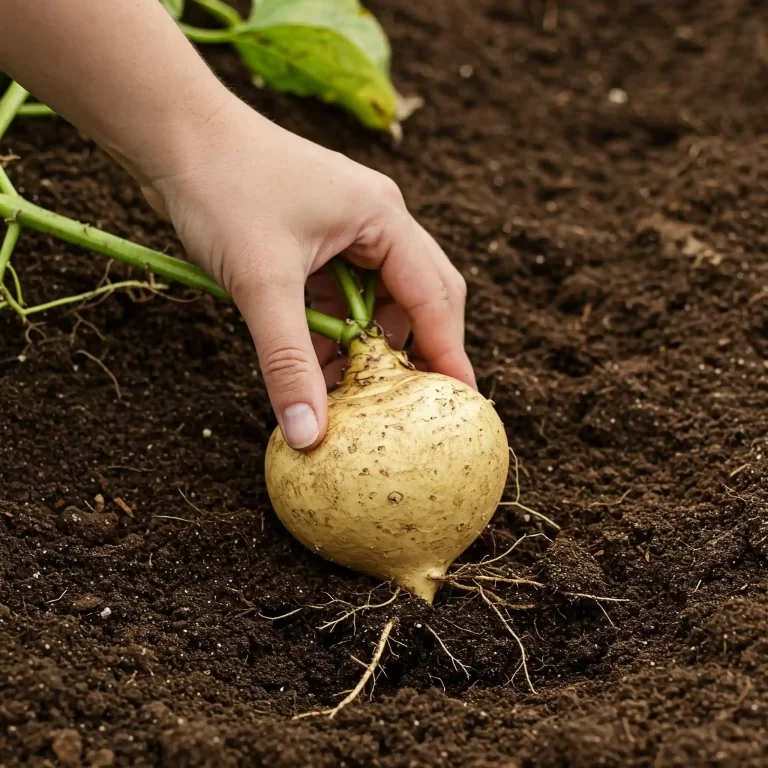
Are you tired of limp, flavorless kale from the grocery store? Do you dream of harvesting fresh, vibrant kale right from your backyard? You’re not alone. Many gardeners, just like you, crave the satisfaction of growing their own food, especially nutrient-packed greens like kale. The problem is, knowing where to start can be overwhelming. There’s a lot of conflicting information out there, and it can be frustrating to navigate. But don’t worry! I’m here to guide you through every step of the process, from seed to harvest. In this comprehensive guide, I’ll share my years of experience and knowledge to help you become a true “Kale Master,” growing thriving kale plants that will provide you with delicious and healthy greens all season long.
Why Grow Your Own Kale?
I’ve always believed that there’s something truly special about growing your own food. It’s a connection to nature, a source of pride, and a way to ensure you’re eating the freshest, healthiest produce possible. And when it comes to nutrient density and versatility in the kitchen, kale truly stands out. You might be asking yourself, “Why should I bother growing kale when I can just buy it at the store?” Let me tell you, the difference is night and day.
From my experience, homegrown kale tastes significantly better than store-bought. It’s crisper, sweeter, and has a more vibrant flavor. This is because commercially grown kale often travels long distances and sits on shelves for extended periods, losing its freshness and some of its nutritional value. When you grow your own, you can harvest it just minutes before you eat it, maximizing its flavor and nutrients.
Nutritional Powerhouse:
Kale is a nutritional powerhouse, packed with vitamins, minerals, and antioxidants. It’s an excellent source of:
- Vitamin K: Essential for blood clotting and bone health.
- Vitamin A: Important for vision, immune function, and cell growth.
- Vitamin C: A powerful antioxidant that supports immune function and skin health.
- Fiber: Promotes digestive health and helps regulate blood sugar levels.
- Antioxidants: Protect cells from damage and may reduce the risk of chronic diseases.
Freshness and Flavor:
As I mentioned, the freshness of homegrown kale is unmatched. When you harvest it straight from your garden, you’re getting the peak of flavor and nutrition. You know exactly where it came from and how it was grown, giving you complete control over the quality of your food.
The Joy of Growing:
Beyond the nutritional and flavor benefits, there’s a deep satisfaction that comes from growing your own food. It’s a connection to the natural world, a way to learn about the life cycle of plants, and a rewarding hobby that can bring you joy and a sense of accomplishment. I find that tending to my garden is a great stress reliever and a way to connect with nature.
Cost Savings:
While the initial investment in seeds or seedlings might seem like a cost, growing your own kale can save you money in the long run. A single kale plant can produce a significant amount of leaves throughout the growing season, providing you with a continuous supply of fresh greens.
Beyond the Basics: Exploring the Depths of Kale’s Nutritional Profile
Let’s delve deeper into the specific nutrients found in kale and their impact on your health:
- Glucosinolates: These sulfur-containing compounds have been studied for their potential cancer-protective properties. When kale is chopped or chewed, glucosinolates are converted into isothiocyanates, which have shown promising results in laboratory studies.
- Lutein and Zeaxanthin: These carotenoids are powerful antioxidants that are particularly beneficial for eye health. They help protect against age-related macular degeneration and cataracts.
- Kaempferol: This flavonoid has anti-inflammatory and antioxidant properties and may help protect against chronic diseases.
Comparison of Homegrown vs. Store-Bought Kale:
While store-bought kale is still a healthy option, homegrown kale offers several advantages. The following table highlights some key differences:
| Feature | Homegrown Kale | Store-Bought Kale |
| Freshness | Harvested at peak ripeness, maximum flavor and nutrients | Often travels long distances, potential nutrient loss |
| Flavor | More intense and vibrant | Can be milder or slightly bitter |
| Nutrient Content | Higher due to freshness and optimal growing conditions | Potentially lower due to storage and transportation |
| Cost | Lower in the long run | Recurring expense |
| Control | Complete control over growing practices (organic, etc.) | Limited control over growing practices |
The Environmental Impact of Growing Your Own:
By growing your own kale, you’re also making a positive impact on the environment. You’re reducing your reliance on industrial agriculture, which can have significant environmental consequences, such as:
- Transportation emissions: Transporting produce long distances contributes to greenhouse gas emissions.
- Pesticide and herbicide use: Conventional agriculture often relies on synthetic pesticides and herbicides, which can harm the environment and human health.
- Packaging waste: Store-bought produce is often packaged in plastic, contributing to plastic pollution.
By growing your own kale, you’re taking a step towards a more sustainable and healthy lifestyle. You’re connecting with nature, nourishing your body, and contributing to a healthier planet.
Getting Started with Kale
I’m excited to guide you through the initial steps of your kale-growing journey. This section will cover everything you need to know to get started, from choosing the right variety to deciding between seeds and transplants.
Choosing the Right Kale Variety
With so many different kale varieties available, it can be challenging to choose the right one for your garden. Here are a few popular options to consider:
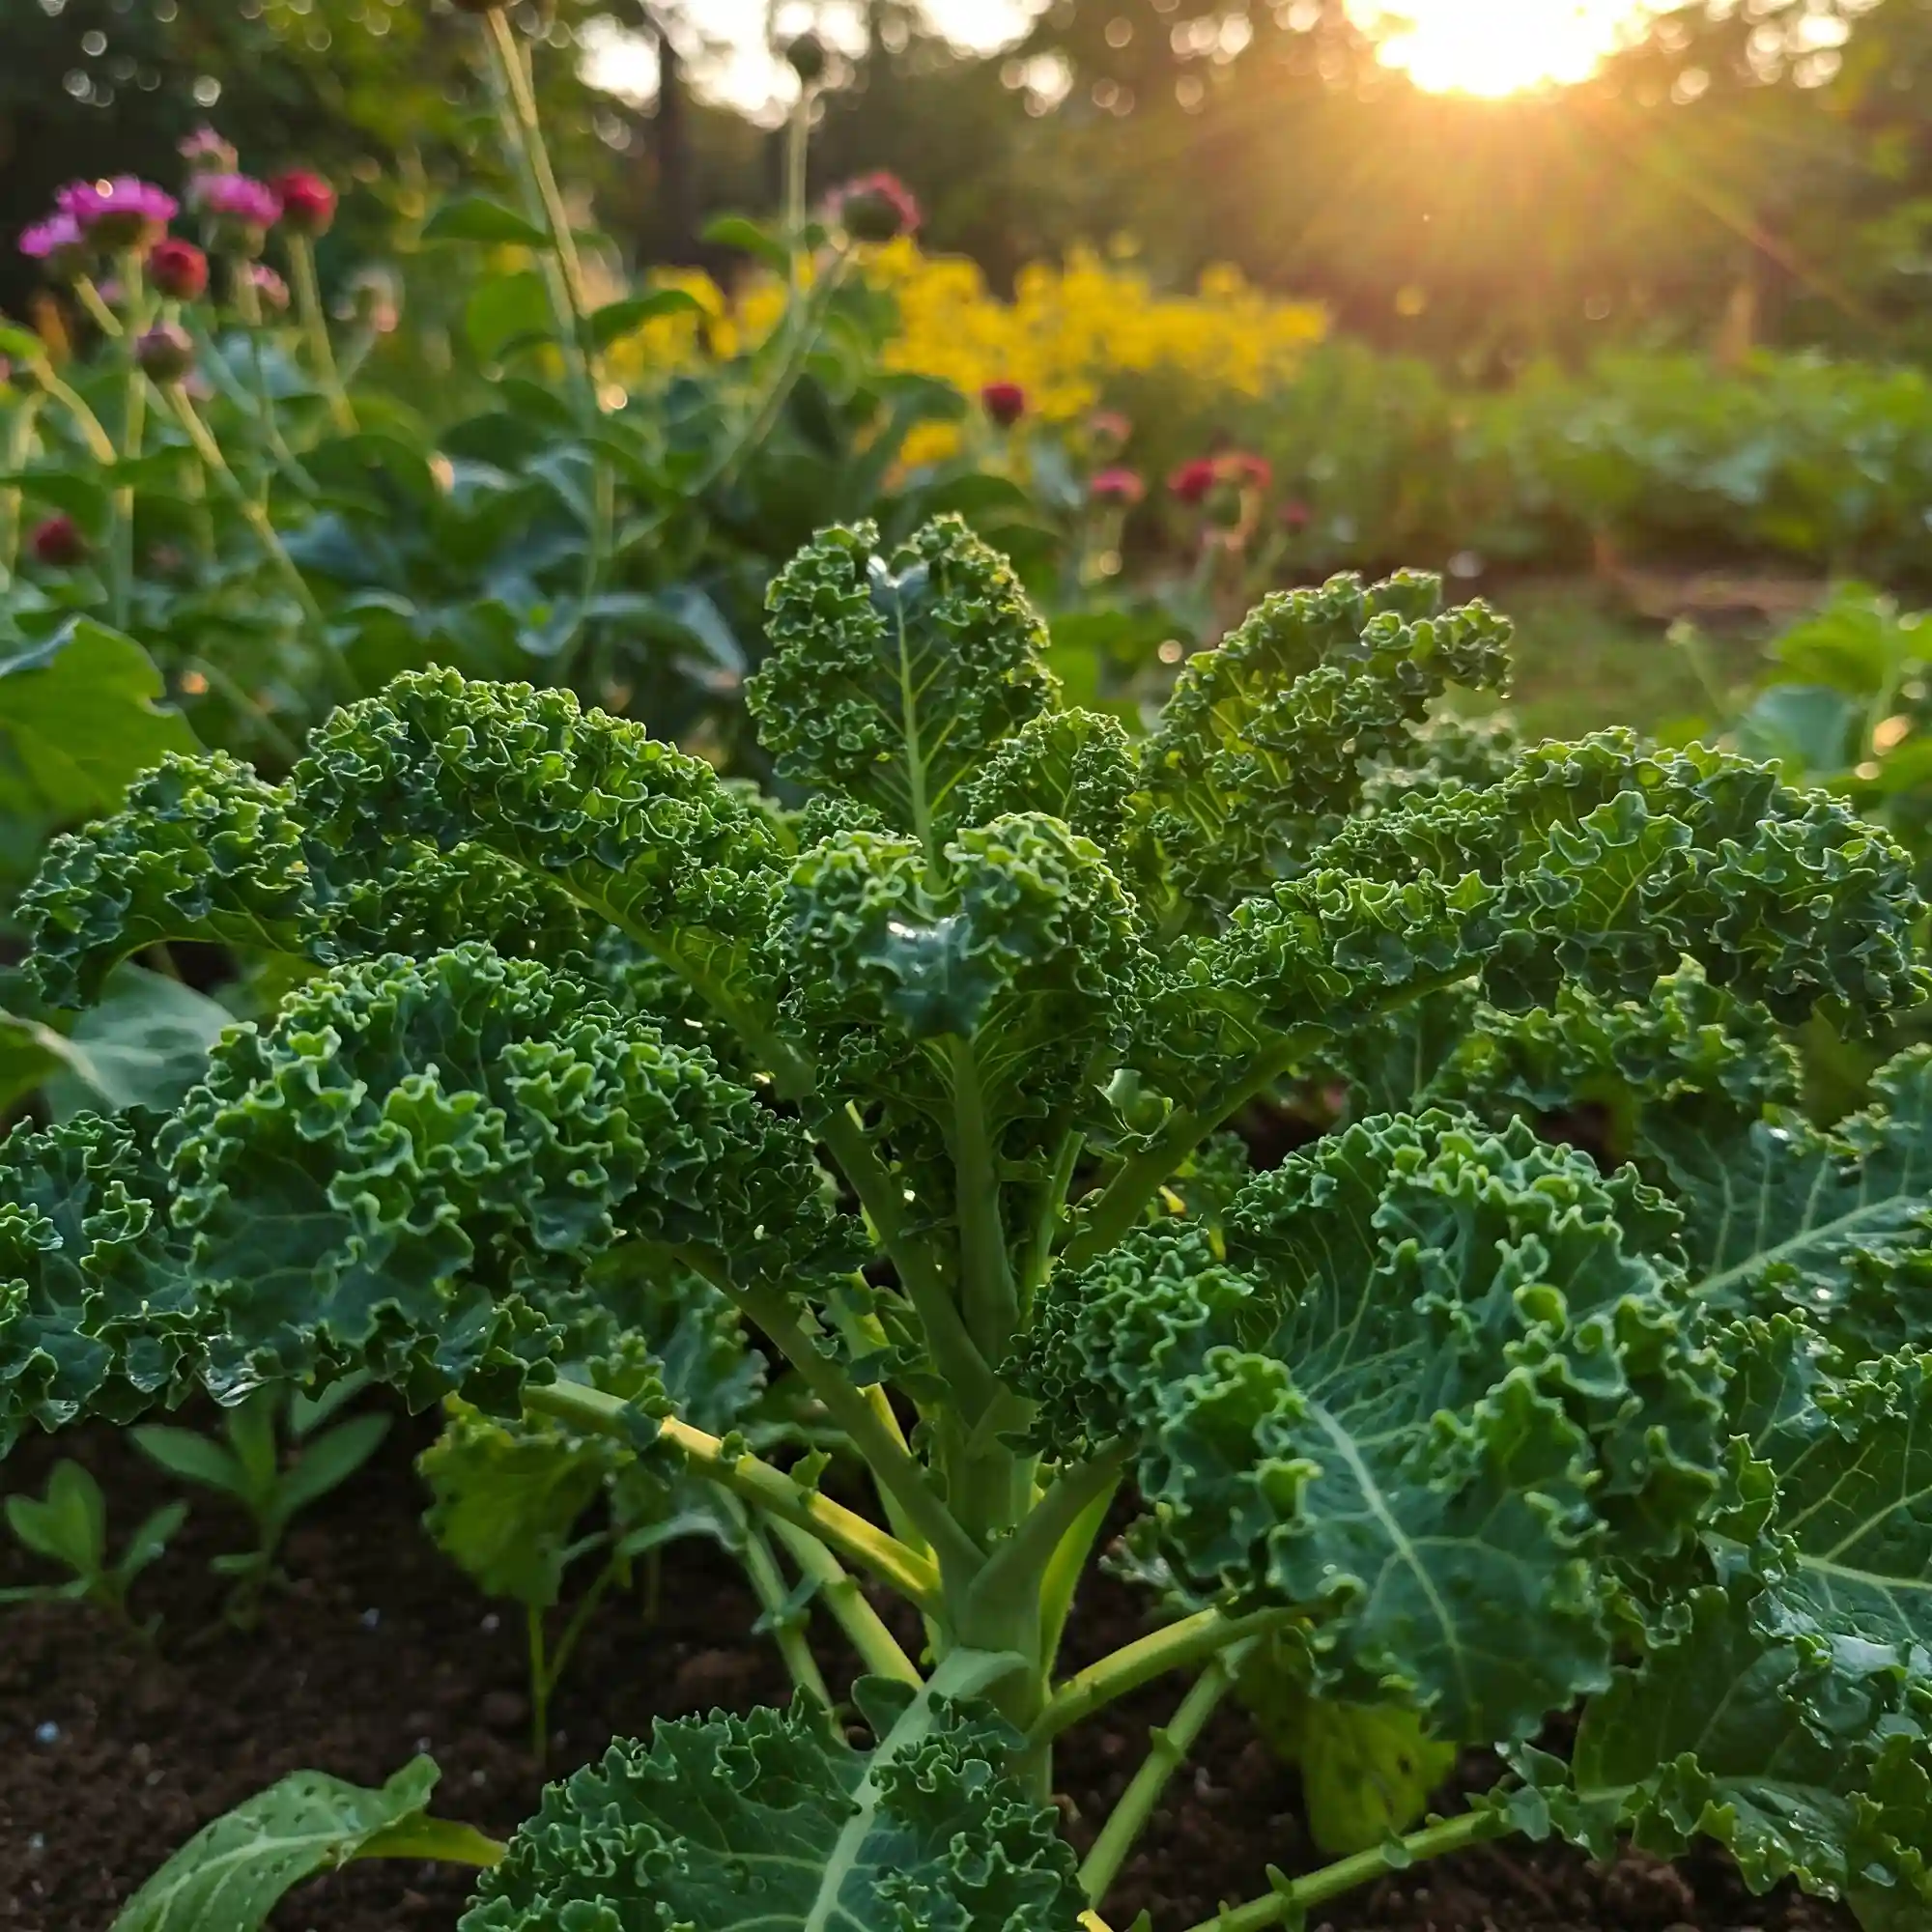
- Curly Kale: This classic variety is known for its ruffled leaves and slightly bitter flavor. It’s a great choice for salads, soups, and smoothies.
- Lacinato Kale: Also known as Tuscan kale or dinosaur kale, this variety has long, narrow leaves with a milder flavor than curly kale. It’s delicious in salads, pasta dishes, and as a side dish.
- Red Russian Kale: This variety has flat, red-tinged leaves with a slightly sweet flavor. It’s a beautiful addition to any garden and can be used in salads, soups, and stir-fries.
- Baby Kale: This variety is harvested when the leaves are young and tender. It has a mild flavor and is perfect for salads and smoothies.
Selecting Certified Organic Seeds
If you’re starting from seed, I recommend choosing certified organic seeds. This will ensure that your kale plants are free from harmful chemicals and pesticides. You can find organic kale seeds at most garden centers or online retailers.
Seeds vs. Transplants
Another decision you’ll need to make is whether to start your kale from seeds or transplants. Here’s a quick overview of the pros and cons of each method:
Seeds
- Pros: More affordable, wider variety selection, and the satisfaction of watching your plants grow from tiny seeds.
- Cons: Requires more time and effort, and seedlings may be susceptible to damping off disease.
Transplants
- Pros: Faster and easier, and you can select healthy, vigorous plants from the start.
- Cons: More expensive, and you may have a limited variety selection.
Tips for Success
No matter which method you choose, here are a few tips to help you get started with kale:
- Start seeds indoors 6-8 weeks before the last frost in your area.
- Plant transplants outdoors after the last frost, when the soil has warmed up.
- Choose a sunny location with well-drained soil.
- Space plants 18-24 inches apart.
- Water regularly, especially during dry weather.
- Fertilize with a balanced fertilizer every few weeks.
- Harvest kale leaves when they are young and tender.
Planting Kale Seeds Indoors
I’ve found that starting kale seeds indoors is a rewarding way to get a head start on the growing season. It allows you to nurture your seedlings in a controlled environment, protecting them from harsh weather and pests. Here’s a step-by-step guide to help you plant kale seeds indoors:
1. Gather Your Supplies
Before you begin, gather the following supplies:
- Kale seeds
- Seed starting trays or containers
- Seed starting mix
- Water
- Spray bottle
- Grow lights (optional)
2. Prepare the Seed Starting Mix
Moisten the seed starting mix with water until it’s damp but not soggy. Fill the seed starting trays or containers with the mix, leaving about ½ inch of space at the top.
3. Sow the Seeds
Sow the kale seeds ¼ inch deep in the seed starting mix. Gently press the mix down over the seeds.
4. Water the Seeds
Water the seeds gently using a spray bottle. Be careful not to overwater, as this can cause the seeds to rot.
5. Provide Light and Warmth
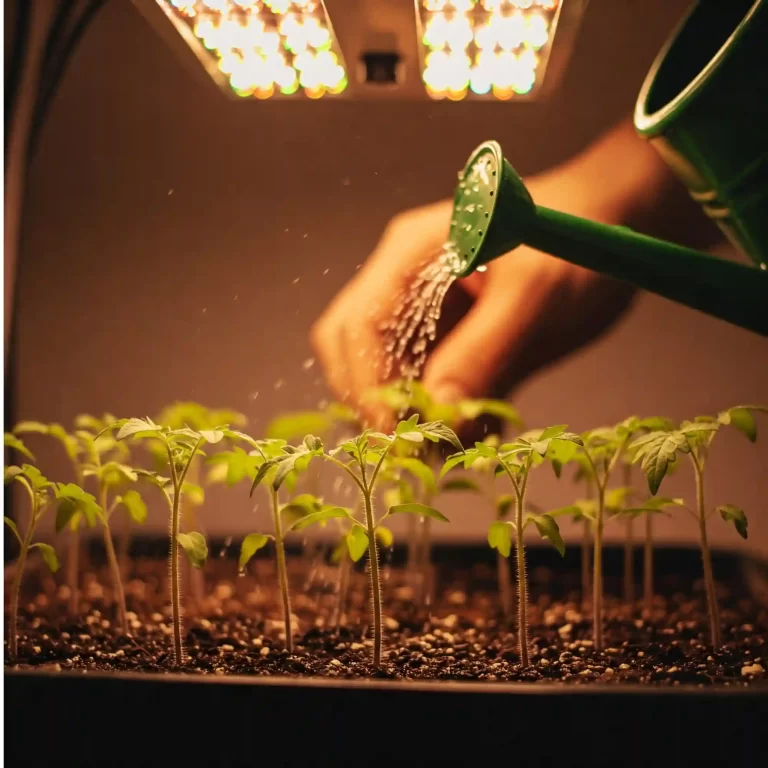
Place the seed starting trays or containers in a warm location that receives plenty of light. If you don’t have a sunny window, you can use grow lights.
6. Keep the Soil Moist
Keep the seed starting mix moist but not soggy. Water the seedlings as needed, using a spray bottle or a gentle stream of water.
7. Thin the Seedlings
Once the seedlings have emerged, thin them to one plant per cell or container. This will give the seedlings room to grow and prevent overcrowding.
8. Harden Off the Seedlings
A week or two before transplanting the seedlings outdoors, you’ll need to harden them off. This process gradually acclimates the seedlings to the outdoor environment. To harden off your seedlings, start by placing them outdoors in a protected location for a few hours each day. Gradually increase the amount of time they spend outdoors each day.
9. Transplant the Seedlings
Once the seedlings have been hardened off, they’re ready to be transplanted into your garden. Choose a sunny location with well-drained soil. Plant the seedlings 18-24 inches apart.
Tips for Success
Here are a few additional tips for starting kale seeds indoors:
- Use a heat mat to keep the soil warm.
- Provide good air circulation to prevent damping off disease.
- Fertilize the seedlings with a diluted fertilizer solution once they have their first true leaves.
I hope this information helps you successfully plant kale seeds indoors.
Transplanting Kale Seedlings
Once your kale seedlings have developed a few sets of true leaves and the danger of frost has passed, it’s time to transplant them into your garden. This process requires careful handling to ensure the delicate seedlings transition smoothly to their outdoor home. Here’s a detailed guide to help you transplant your kale seedlings successfully:
1. Prepare the Garden Bed
Choose a sunny location in your garden that receives at least 6 hours of sunlight per day. Kale prefers well-drained soil that is rich in organic matter. Before transplanting, amend the soil with compost or other organic matter to improve its fertility and drainage.
2. Dig the Planting Holes
Dig holes that are slightly larger than the root balls of your kale seedlings. Space the holes 18-24 inches apart to allow the plants plenty of room to grow.
3. Carefully Remove Seedlings from Containers
Gently remove the seedlings from their containers by squeezing the bottom of the container and carefully lifting the seedling out. Handle the seedlings by their leaves, not their stems, to avoid damaging them.
4. Place Seedlings in Holes
Place each seedling in a hole, ensuring that the top of the root ball is level with the surrounding soil. Backfill the hole with soil, gently firming it around the base of the1 seedling.
5. Water Thoroughly
Water the seedlings thoroughly after transplanting to help them settle into their new environment.
6. Protect from Pests
If pests are a problem in your area, protect your young kale plants with netting or row covers.
7. Provide Consistent Care
Continue to water and fertilize your kale plants regularly throughout the growing season.
Tips for Success
Here are a few additional tips for transplanting kale seedlings:
- Transplant on a cloudy day or in the evening to reduce stress on the seedlings.
- Water the seedlings a few hours before transplanting to help them slide out of their containers more easily.
- If the seedlings are root-bound, gently loosen the roots before planting.
- Add a layer of mulch around the base of the plants to help retain moisture and suppress weeds.
With proper care, your transplanted kale seedlings will thrive in your garden and provide you with a bountiful harvest of nutritious greens.
Growing Kale Outdoors
Once your kale seedlings are safely nestled in their garden bed, the real fun begins! This section is all about nurturing those young plants and helping them flourish into vibrant, productive kale machines. Here’s how I keep my kale happy and healthy throughout the growing season:
Watering: The Right Balance
Kale, like most leafy greens, enjoys consistent moisture. The key is finding the right balance – you want the soil to be consistently damp, but never waterlogged. Overwatering can lead to root rot, a common problem that can quickly ruin your kale crop.
I recommend watering deeply whenever the top inch of soil feels dry to the touch. This encourages the roots to grow deeper, making the plants more drought-tolerant in the long run. When you water, aim for the base of the plant, avoiding getting the leaves wet. This helps prevent fungal diseases.
Mulching: Nature’s Gift to Gardeners
Mulching is one of my favorite gardening practices, and kale absolutely loves it! A layer of organic mulch, such as straw, wood chips, or compost, provides a multitude of benefits:
- Moisture retention: Mulch helps the soil retain moisture, reducing the need for frequent watering.
- Weed suppression: Mulch acts as a barrier, preventing weed seeds from germinating and competing with your kale plants.
- Soil temperature regulation: Mulch helps keep the soil cool in the summer and warm in the winter.
- Soil enrichment: As the mulch decomposes, it adds valuable organic matter to the soil, improving its fertility and structure.
Fertilizing: A Boost of Nutrients
While kale isn’t a heavy feeder, a little supplemental fertilizer can help it reach its full potential. I prefer using organic fertilizers, such as compost tea or fish emulsion, which provide a gentle and balanced source of nutrients.
Avoid over-fertilizing, as this can lead to excessive leaf growth and make the plants more susceptible to pests and diseases. A side-dressing of compost or a diluted liquid fertilizer every few weeks is usually sufficient.
Pest and Disease Prevention: Natural Solutions
Kale, unfortunately, can be a target for various pests and diseases. Here are some common culprits and how I deal with them naturally:
- Aphids: These tiny insects can suck the sap from kale leaves, causing them to curl and distort. I control aphids by spraying them with a strong jet of water or using insecticidal soap.
- Cabbage worms: These green caterpillars can quickly devour kale leaves. I handpick them off the plants or use Bacillus thuringiensis (Bt), a natural bacteria that is effective against caterpillars.
- Flea beetles: These small beetles can create tiny holes in kale leaves. I use row covers to prevent them from reaching the plants.
Additional Tips for Thriving Kale
- Sunlight: Kale thrives in full sun, which means at least 6 hours of direct sunlight per day.
- Soil pH: Kale prefers a soil pH between 6.0 and 7.0.
- Crop rotation: To prevent soilborne diseases, rotate your kale crops every year.
- Succession planting: Plant new kale seedlings every few weeks for a continuous harvest throughout the growing season.
With these tips in mind, you’ll be well on your way to growing a thriving kale patch.
Companion Planting for Kale
I’ve discovered that companion planting is a fantastic way to enhance the growth and health of my kale plants. By strategically planting certain species together, you can create a synergistic environment that benefits all the plants involved. Here are some of my favorite companion plants for kale and why they work so well:
Aromatic Herbs:
- Rosemary: This fragrant herb repels cabbage moths, a common pest that can wreak havoc on kale leaves.
- Thyme: Another aromatic herb that deters cabbage moths and other pests.
- Sage: This herb helps to repel flea beetles, which can create small holes in kale leaves.
Flowers:
- Marigolds: These cheerful flowers repel nematodes, microscopic worms that can damage plant roots.
- Nasturtiums: These edible flowers attract aphids, which can help to keep them away from your kale plants.
- Calendula: These vibrant flowers attract beneficial insects, such as ladybugs and lacewings, which prey on aphids and other pests.
Vegetables:
- Onions: These pungent vegetables repel a variety of pests, including aphids, cabbage moths, and flea beetles.
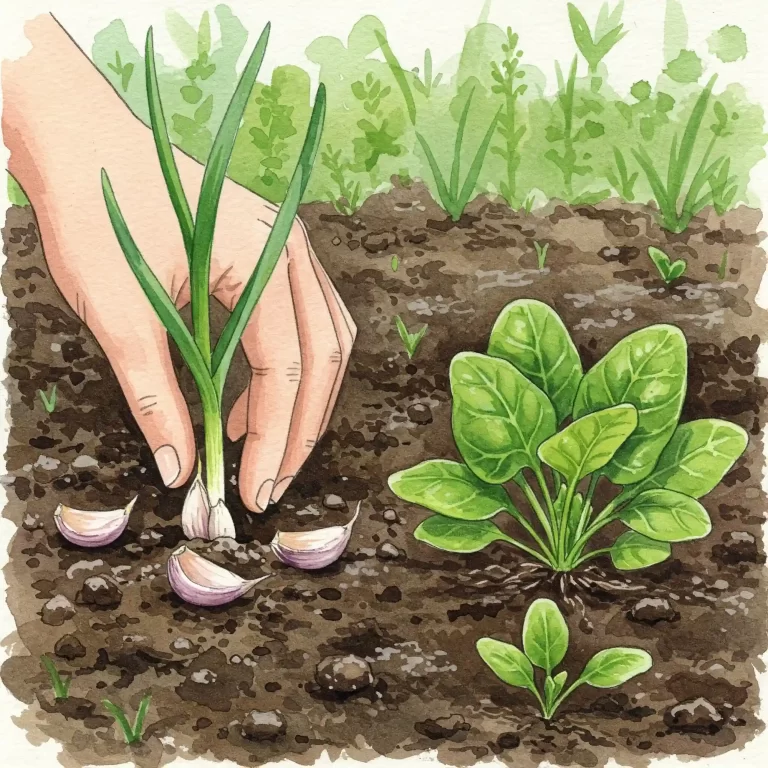
- Garlic: Similar to onions, garlic also repels a variety of pests.
- Lettuce: This leafy green can be planted as a ground cover around kale plants, helping to suppress weeds and retain moisture.
Benefits of Companion Planting:
- Pest control: Many companion plants have natural pest-repelling properties, reducing the need for chemical pesticides.
- Attracting beneficial insects: Some companion plants attract beneficial insects that prey on garden pests.
- Improving soil health: Certain companion plants can improve soil fertility and drainage.
- Increasing biodiversity: Companion planting creates a more diverse and balanced garden ecosystem.
Tips for Companion Planting:
- Consider the growth habits of each plant and ensure that they won’t compete for sunlight or space.
- Choose companion plants that attract beneficial insects or repel common pests in your area.
- Plant companion plants close enough to your kale plants to provide benefits, but not so close that they overcrowd them.
By incorporating companion planting into your kale-growing strategy, you can create a thriving and resilient garden ecosystem that will reward you with a bountiful harvest.
Harvesting Kale
I’ve reached the most rewarding stage of growing kale: harvesting those beautiful, nutritious leaves! Knowing when and how to harvest correctly will ensure a continuous supply of fresh greens throughout the growing season. Here’s my guide to harvesting kale like a pro:
When to Harvest:
- Baby Kale: You can start harvesting baby kale leaves when they are about 3-4 inches long. These tender leaves are perfect for salads.
- Mature Kale: For mature kale, wait until the leaves are about 6-8 inches long. The leaves will be darker green and slightly tougher in texture, ideal for cooking.
Harvesting Techniques:
- Outer Leaves First: Start by harvesting the outer leaves of the plant, leaving the inner leaves to continue growing. This “cut-and-come-again” method allows you to harvest from the same plant for several weeks or even months.
- Use a Sharp Knife or Scissors: Use a sharp knife or scissors to cut the leaves cleanly from the stem. Avoid tearing or ripping the leaves, as this can damage the plant.
- Harvest in the Morning: I find that harvesting kale in the morning, after the dew has dried, results in the crispest and freshest leaves.
Storing Harvested Kale:
- Wash and Dry: Wash the harvested kale leaves thoroughly and dry them with a salad spinner or paper towels.
- Store in the Refrigerator: Store the dry kale leaves in a plastic bag or container in the refrigerator. They should stay fresh for up to a week.
Tips for Continuous Harvest:
- Succession Planting: Plant new kale seedlings every few weeks to ensure a continuous supply of fresh leaves throughout the growing season.
- Overwintering: In mild climates, kale can overwinter and provide harvests well into the winter months.
Frequently Asked Questions (FAQs)
I’ve compiled a list of frequently asked questions about growing kale to further assist you in your kale-growing endeavors.
Q: How to grow kale vegetable from seed indoors for beginners?
A: Starting kale from seed indoors is a great way to get a head start on the growing season. Here are a few tips for beginners:
- Start seeds indoors 6-8 weeks before the last frost in your area.
- Use a seed-starting mix and plant seeds ¼ inch deep in the soil.
- Keep the soil moist and provide plenty of light.
- Once the seedlings have emerged, thin them to one plant per cell or container.
- Harden off seedlings before transplanting them outdoors.
Q: How to grow kale vegetable in containers on a small balcony?
A: Kale can be successfully grown in containers on a small balcony. Here are a few tips:
- Choose a container that is at least 12 inches deep and wide.
- Use a well-draining potting mix.
- Place the container in a sunny location that receives at least 6 hours of sunlight per day.
- Water regularly and fertilize every few weeks.
Q: What is the best way to grow kale vegetable in raised garden beds?
A: Raised garden beds provide excellent drainage and allow you to control the soil quality, making them ideal for growing kale. Here are a few tips:
- Choose a location that receives at least 6 hours of sunlight per day.
- Fill the raised bed with a well-draining soil mix that is rich in organic matter.
- Space plants 18-24 inches apart.
- Water regularly and fertilize every few weeks.
Q: How to grow kale vegetable and prevent common diseases like black rot?
A: Black rot is a common disease that can affect kale plants. Here are a few tips to prevent it:
- Choose disease-resistant varieties.
- Rotate your crops every year.
- Provide good air circulation around the plants.
- Avoid overhead watering.
- Remove any infected leaves immediately.
With these tips and answers to frequently asked questions, you’ll be well on your way to becoming a successful kale grower. Happy gardening!
Conclusion: Embracing the Kale-Growing Journey
As we reach the end of our kale-growing journey, I hope you feel inspired and equipped to embark on your own kale-growing adventure. Remember, gardening is a process of learning and discovery, so don’t be afraid to experiment and try new things. With a little patience and care, you’ll be harvesting delicious, homegrown kale in no time.
Key Takeaways:
- Kale is a nutritional powerhouse that is easy to grow at home.
- Choose the right variety for your garden and start with certified organic seeds.
- Provide your kale plants with plenty of sunlight, water, and nutrients.
- Protect your plants from pests and diseases using natural methods.
- Harvest kale leaves regularly to encourage continuous growth.
I encourage you to embrace the kale-growing journey and experience the joy of nurturing your own food. With a little effort and attention, you’ll be rewarded with a bountiful harvest of fresh, nutritious kale that you can enjoy in a variety of delicious ways.
