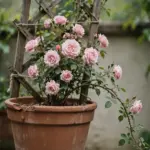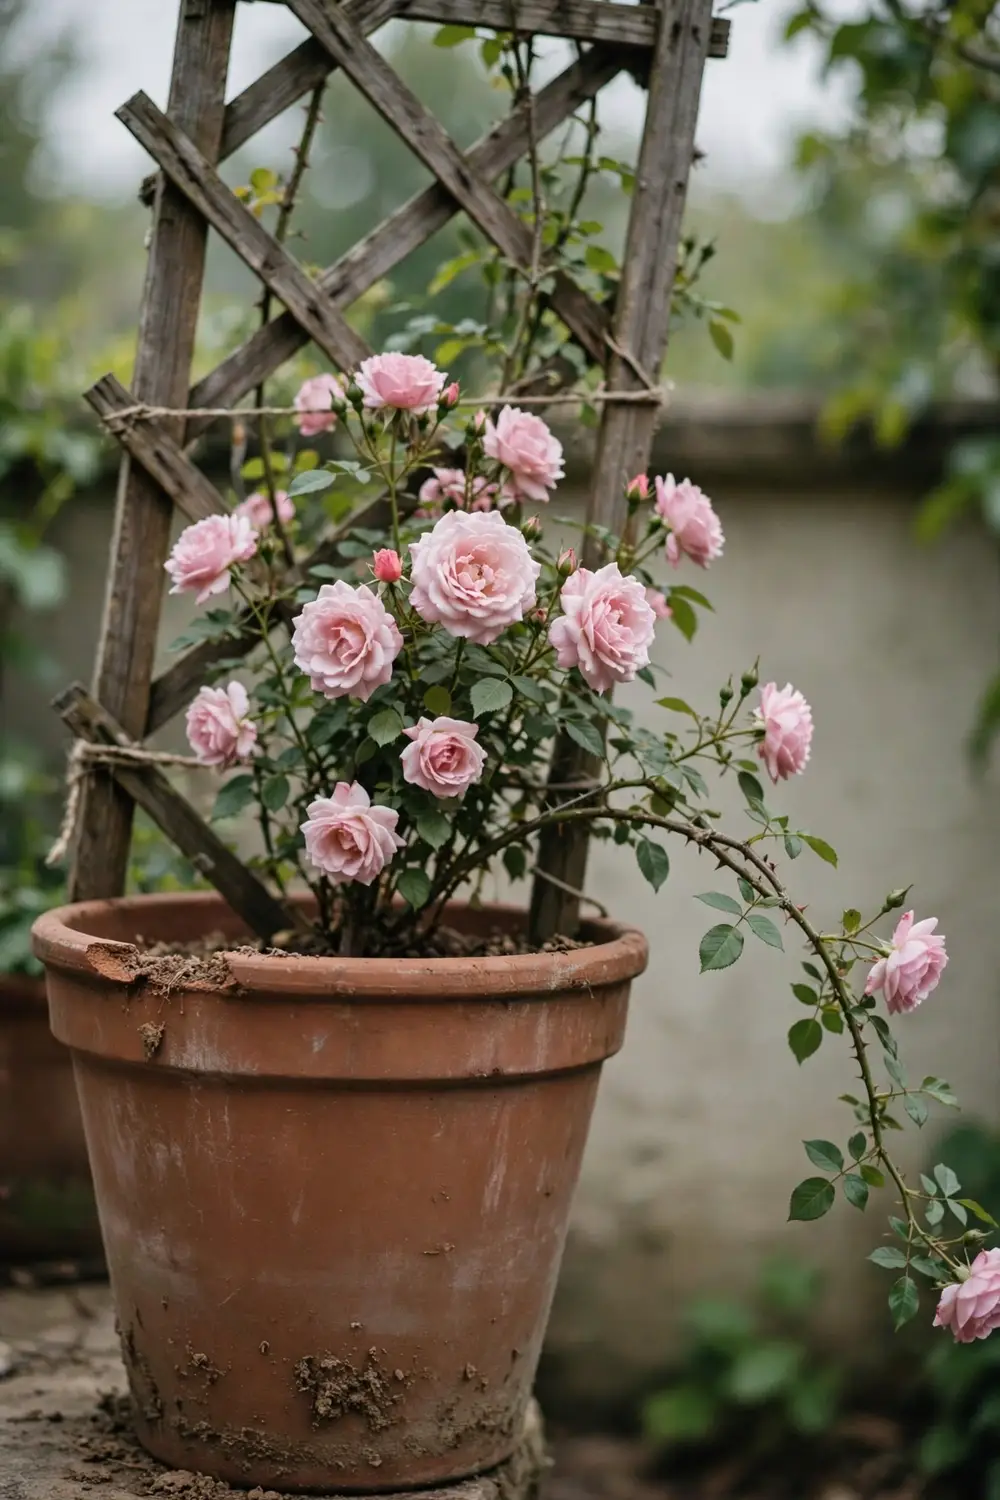

Give a climbing rose a pot 60 cm wide and 60 cm deep. That pot holds 90 liters of mix and suits climbers reaching 2.5 m. That is the whole answer to what size pot for climbing roses, and the rest of this page shows why the size works and how to keep the rose alive in it.
A climbing rose comes home in a small nursery pot, and you set it in a pretty 30 cm pot on the patio. It grows three thin canes, then stops, and the leaves stay small while the buds drop before they open. The rose is not sick. The pot is too small.
The rest of this page is 10 moves, from measuring the pot you own to the first season of care. Start with the 60 cm rule. End with a rose that has room to grow.
1. Start With the 60 cm Rule for Climbing Roses
A climbing rose needs a pot with a minimum internal width and depth of 60 cm. That size holds 90 liters of mix.
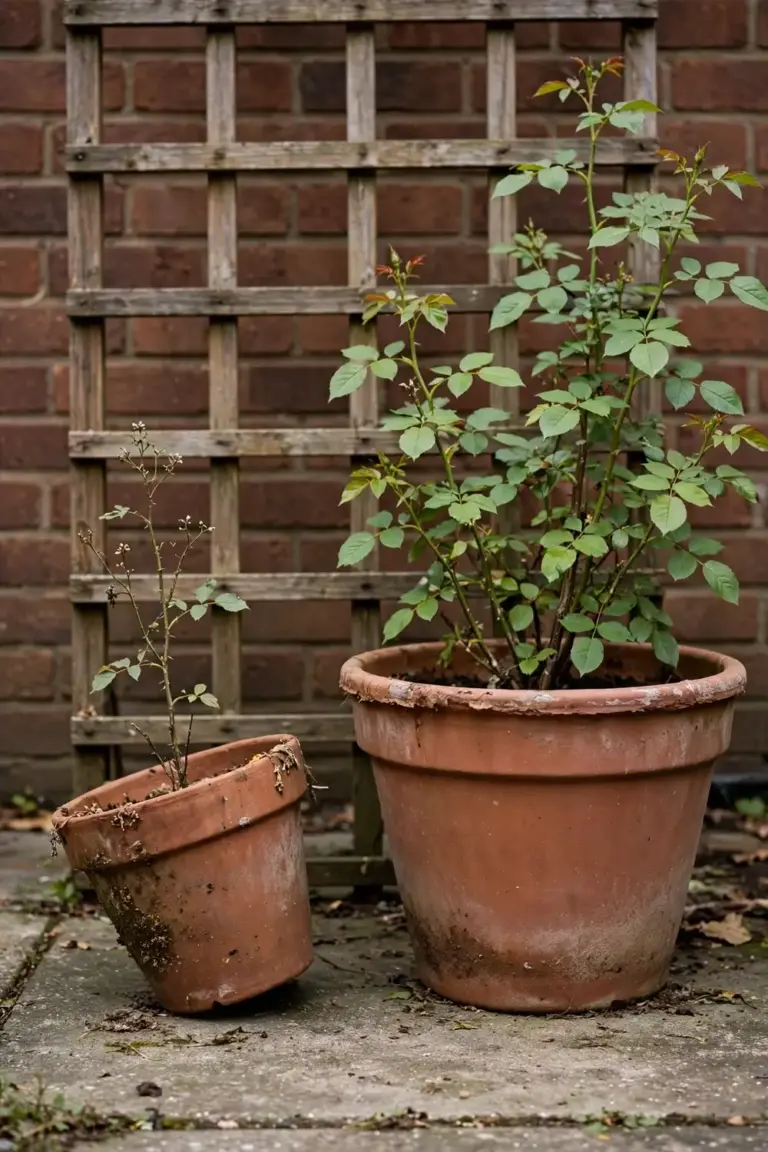
David Austin’s bare-root climbing rose guide sets the rule: a pot with a minimum internal dimension of 60 x 60 cm, holding 90 liters, with several good drainage holes. The same guide sets the suitability limit: only climbing roses reaching 2.5 m in height suit pots. More vigorous climbers belong in the ground, where their roots spread freely.
A second guide from the same breeder stretches the limit. David Austin’s rose care guide says climbing and rambling roses reaching 3.6 m can grow in pots if the container is at least 24 inches (60 cm) wide and deep. The same guide adds the catch: roses grown in pots may not reach their full height. Read the two guides together and the working rule is clear. Pick a climber that stays at or under 2.5 m for the best result. Treat 3.6 m as the outer allowance, not the target.
An Australian rose society adds a caution. The Rose Society of South Australia says vigorous climbing roses are generally difficult to grow in pots, especially at repotting time with a trellis erected. Pick a moderate climber, not the most vigorous variety on the bench. A moderate climber fills a 60 cm pot without outgrowing it in one season.
Southern Living’s rose pot guide corroborates the size from the United States. Climbing roses need pots at least 24 inches wide and deep, and 24 inches converts to 61 cm. The two sources agree within 1 cm. The 60 cm rule is not one breeder’s opinion. Two continents give the same number.
The size matters for three reasons. Roots need room to grow down and out, and a cramped pot stops them in the first season. A large volume of mix holds water longer than a small one, so the rose dries out slower between waterings, and a heavy pot stays upright when wind catches long canes. A small pot fails on all three counts at once.
| Rose Type | Minimum Pot | Mix Volume |
|---|---|---|
| Climbing rose | 60 cm wide and 60 cm deep | 90 liters |
| Bush rose | 50 cm wide and 50 cm deep | 40 liters |
| Miniature or patio rose | Smallest pot that holds 10 liters | 10 liters |
The bush and miniature figures come from the Rose Society of South Australia’s potted rose guide, which sets a minimum of 40 liters for a bush rose, at least 50 cm wide and deep, and a minimum of 10 liters for a miniature, miniflora, or patio rose. A climbing rose needs more than a bush rose. The 60 cm pot is the climber figure, not a generic rose figure.
A climber asks more of a pot than a bush rose does. The canes grow long and catch the wind, so the pot must anchor a taller plant. The root system must feed a bigger frame of leaves and flowers. A bush rose spreads its growth low and wide. A climber sends its growth up, and the pot carries the whole structure. The bigger the rose, the bigger the pot. A climber at the top of the pot range needs the biggest pot in the table.
2. Measure the Pot You Already Own
Measure the inside width and the inside depth of the pot. Both numbers must reach 60 cm.
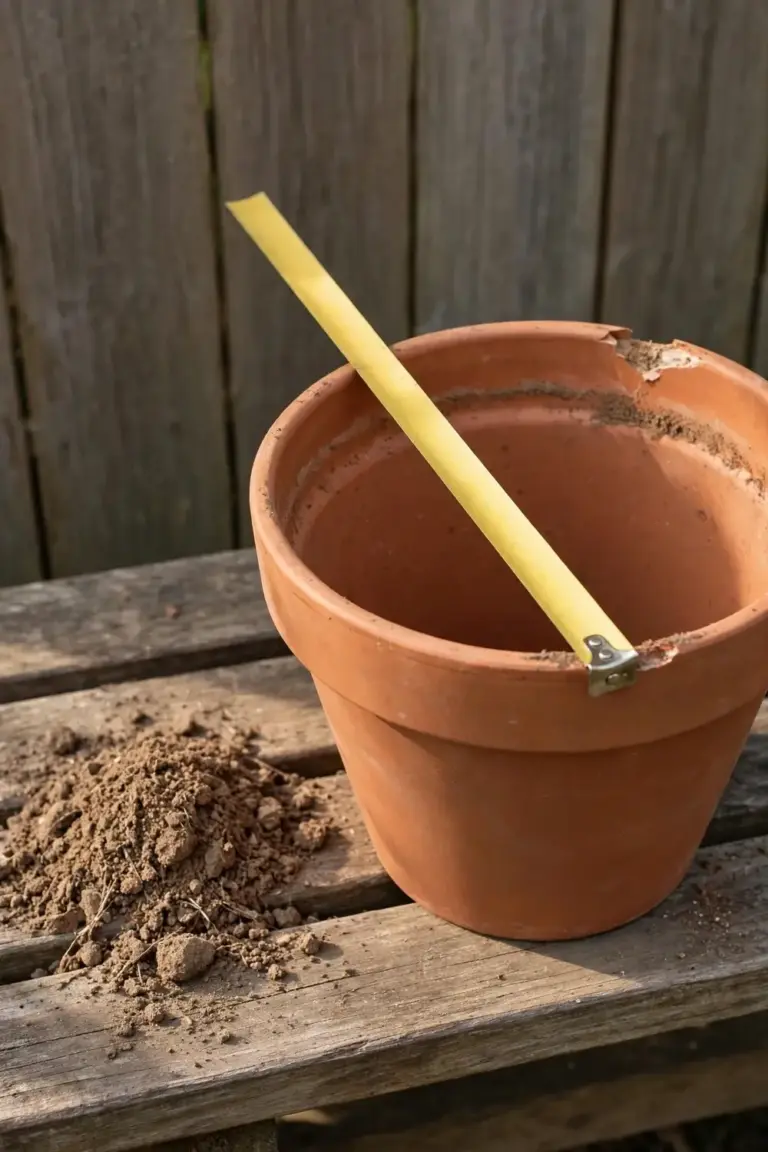
I measure the inside of the pot, not the label on the rim, because the 60 cm rule counts internal width. Labels measure the outside. Thick terracotta walls steal width from the inside. A pot labeled 60 cm across the rim can hold far less than 60 cm of soil.
Measure width at the top opening, inside rim to inside rim. Measure depth from the inside base to the rim. A pot that is wide but shallow fails the rule. Rose roots grow down. Depth counts as much as width.
Tapered pots hold less than the rim suggests. A pot with a wide rim and a narrow base holds less mix than a straight-sided pot of the same rim width. Measure the base too. A narrow base means a smaller root zone, whatever the rim says.
An 8-inch nursery pot measures 20 cm across. That is one third of the width a climbing rose needs. Nursery pots hold young plants for sale. They never hold a climbing rose for a season.
If the pot you own falls short, two options exist. Buy a 60 cm pot and repot the rose, or pick a bush rose for the pot you own. A bush rose fits a 50 cm pot. A climbing rose does not fit a 40 cm pot, however pretty the pot looks.
3. Pick a Pot That Holds the Weight
Pick a frost-resistant pot with several drainage holes. Set it where it will stay.
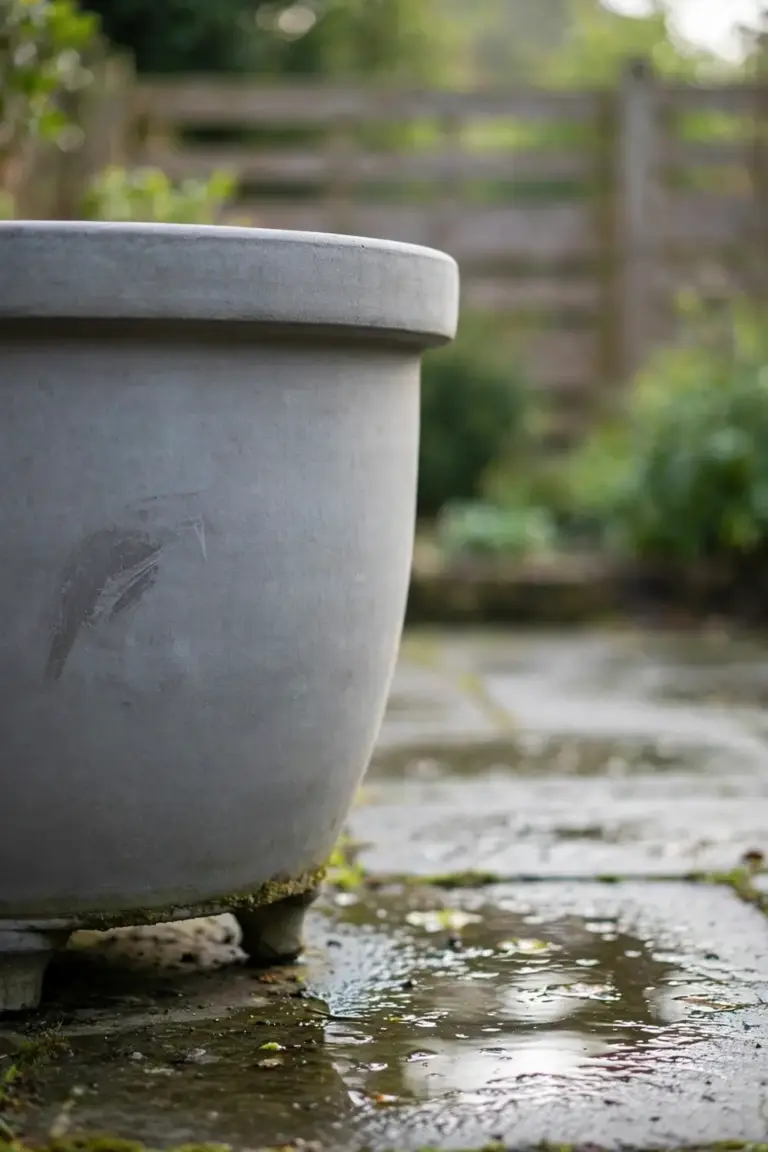
Material matters less than size and drainage. Terracotta breathes and keeps roots cool, and it dries out faster than other materials. Glazed ceramic holds moisture longer. Stone lasts for years. Frost-resistant resin is light and tough. Wood works too, and half wine barrels make excellent rose pots, as the Rose Society of South Australia notes. Every material works if the pot is big enough and drains freely.
Color matters in hot sun. Dark-colored pots absorb more heat, so the mix dries faster and the roots run hotter. Lighter colors absorb less heat. Southern Living makes the same point: lighter colors absorb less heat in warm weather, which helps with watering. A dark pot in full Australian sun needs closer attention with watering. A light pot gives the rose a margin.
Weight decides placement. A 60 cm pot filled with wet mix is heavy. You will not want to move it once planted. David Austin says the same thing in plain terms: position the pot where it will not need to be moved later. Choose the spot first. Set the pot second. Plant third.
Mobility still matters on the day you plant. Set the empty pot on pot feet or a low wheeled stand before you fill it. The Rose Society of South Australia recommends a pot on a low stand with wheels, so the rose can shift for sun or shelter. Feet lift the base off the ground and let water drain freely. Wheels let one person move a heavy pot on paving.
Shape changes how a pot uses space. A square pot fits flush against a wall or a fence and wastes no paving. A round pot of the same width holds less mix in the corners it does not have, yet it turns easily on a stand. Straight sides hold more mix than a tapered pot with the same rim width. A tapered pot looks generous at the rim and pinches at the base, where the roots live. Measure the base, not the rim, when comparing two pots of the same labeled size.
Drainage holes are non-negotiable, and several holes beat one hole. A pot with a single small hole clogs. Check the holes before planting, and drill more if the base looks stingy.
4. Mix Soil That Drains and Feeds
Fill the pot with a 50/50 mix of loam-based compost and multi-purpose compost. Garden soil stays out of the pot.
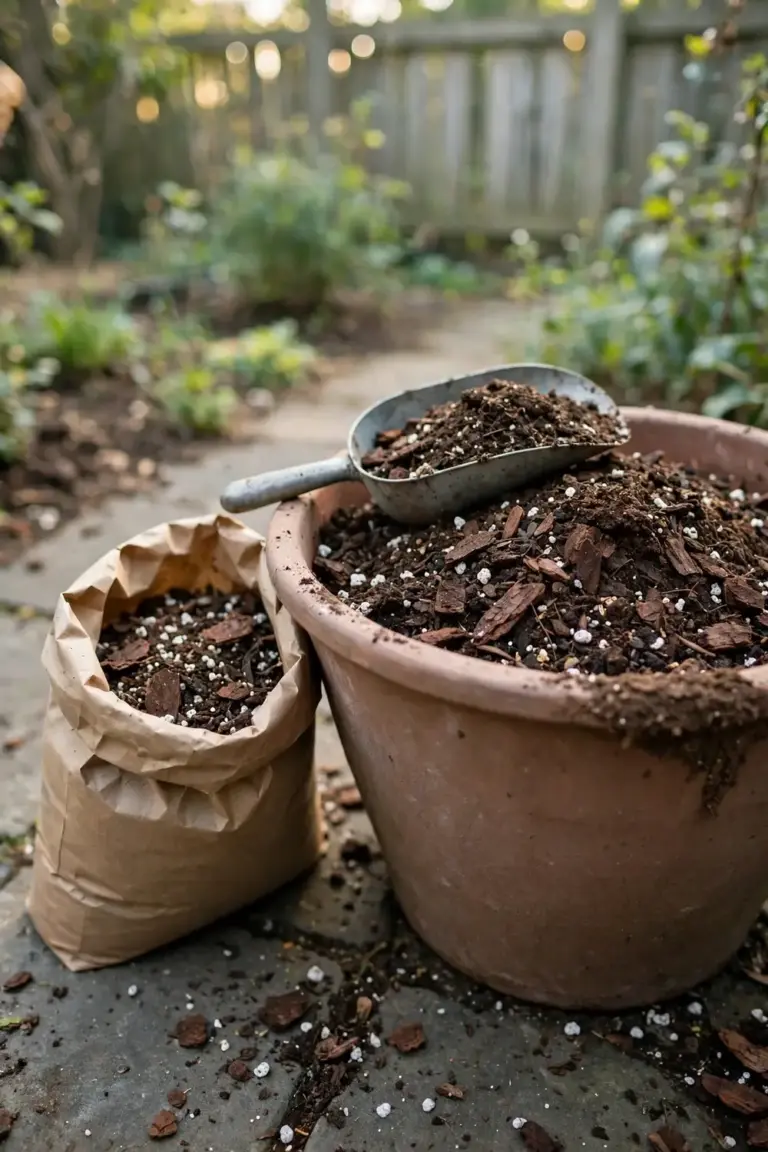
David Austin’s bare-root guide gives the mix: a 50/50 combination of John Innes No. 3 and high-quality multi-purpose compost. John Innes No. 3 is a UK loam-based compost. Australian garden centers rarely stock it under that name. Use a premium potting mix labeled for roses or containers as the loam-based half. In Australia, look for a premium potting mix with the 5 ticks for Australian Standard certification, as the Rose Society of South Australia recommends. The ratio stays the same. Half structure, half nutrition.
Press the mix down lightly as you fill the pot. Pressing removes air pockets. Air pockets leave roots hanging in empty space. Firm the mix gently. Do not stamp it down hard. Compacted mix drains poorly and roots struggle to push through it.
Add a drainage layer at the base. A shallow layer of gravel, broken crocks, or re-used polystyrene blocks sits under the mix. David Austin recommends all three. The layer keeps the drainage holes clear and stops the mix from sealing the base. The Rose Society of South Australia recommends the same shallow layer of stones.
Garden soil has no place in a pot. Garden soil compacts in a container. It drains slowly and holds too much water around the roots. Potting mix holds its structure and drains freely. The pot is a container, not a garden bed, and the soil inside it must behave like container soil.
Healthy mix feeds the rose through the season. Building soil health in a pot means refreshing the mix, not feeding the ground, so top up the mix each spring as it settles and replace the top layer when it crusts. A pot cannot rebuild its own soil the way a garden bed does.
Mix breaks down over time, so each spring, scrape off the top 5 to 7 cm of old mix and replace it with fresh mix. The fresh layer restores drainage at the surface and feeds the shallow roots. Every 4 to 5 years, lift the rose, shake out the old mix, trim any circling roots, and replant in fresh mix in the same pot, as David Austin’s rose care guide recommends. A rose that has lived in one pot for years perks up after a mix refresh, because the roots get air and food again.
5. Plant the Climber at the Right Depth
Soak bare-root roses for 2 hours before planting. Set the graft union slightly below the soil surface.
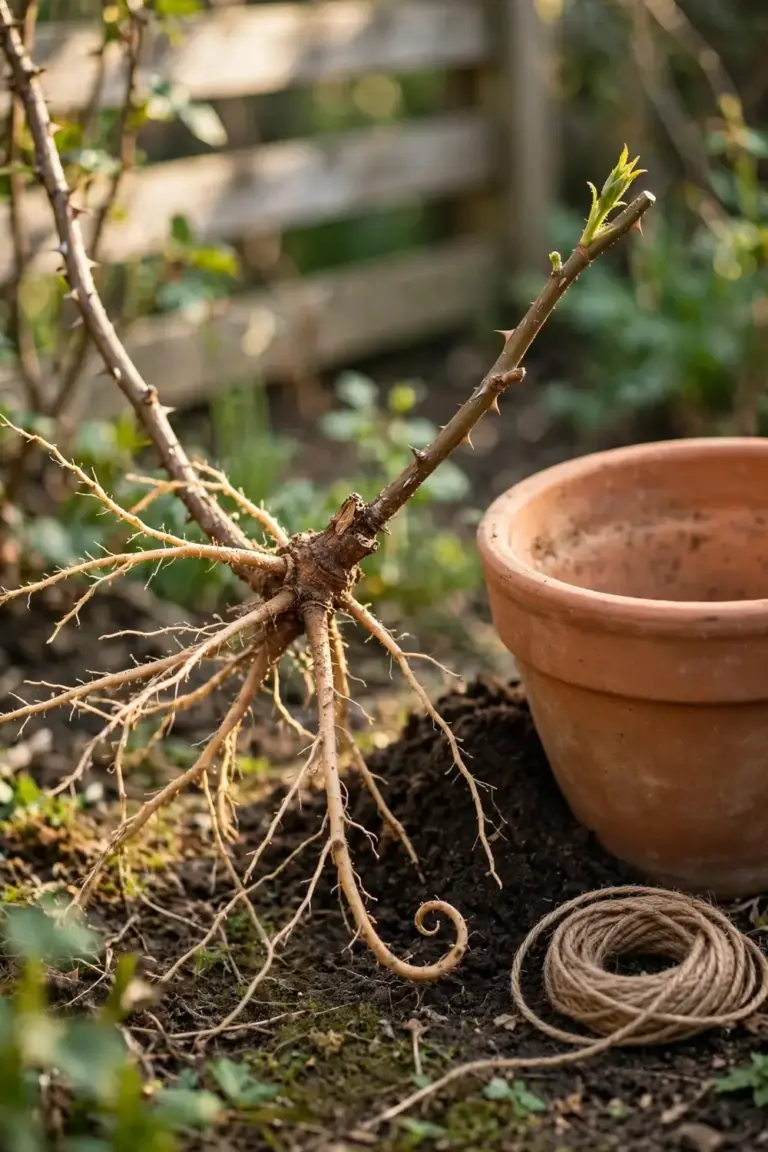
Soaking rehydrates the roots. David Austin’s bare-root guide says to soak the rose in a bucket of water for at least two hours. Dry roots settle poorly. Soaked roots spread naturally into the mix. Dust the roots with mycorrhizal fungi if you have it. The fungi partner with the roots and help the rose establish, but the rose still establishes without them.
The graft union is the swollen knob where the rose variety joins the rootstock. Set it slightly below the soil surface. David Austin’s bare-root guide says the graft union should sit slightly below the surface of the soil. The breeder’s care guide goes deeper: the base of the stems sits roughly 5 cm below the final soil level. Both guides bury the union. Neither leaves it exposed. Use slightly below the surface for bare-root planting. Use the deeper setting for potted stock that arrives with long stems.
Spread the roots naturally as you position the rose. Do not bunch them into a knot. Fill around them with mix, firming gently, and water generously to settle the mix around the roots.
Install the support at planting time. A climbing rose needs an obelisk, a trellis, or wires to climb. A support installed later disturbs roots. Tie the canes gently to the support with soft ties. Tight ties cut into growing canes. Loose ties hold the cane without strangling it.
Plant bare-root roses while they are dormant. Plant potted roses any time the compost is not frozen, waterlogged, or parched. Avoid planting in hot weather. The Rose Society of South Australia warns against planting in hot weather. A rose planted in a heatwave spends its energy surviving, not establishing.
Potted stock and bare-root stock need different handling. Potted stock arrives growing in a nursery pot. Slide it out, tease apart any roots circling the base, and plant it at the same depth it grew in the nursery pot. Bare-root stock arrives as a bundle of stems and roots with no soil. Soak it, spread the roots, and set the graft union at the depth this page describes. Potted stock skips the soak. Bare-root stock skips the teasing. Both end in the same 60 cm pot, fed by the same 50/50 mix and the same drainage layer.
6. Water a Potted Climber Without Drowning It
Water when the top 5 cm of mix feels dry. Water until it runs from the drainage holes.
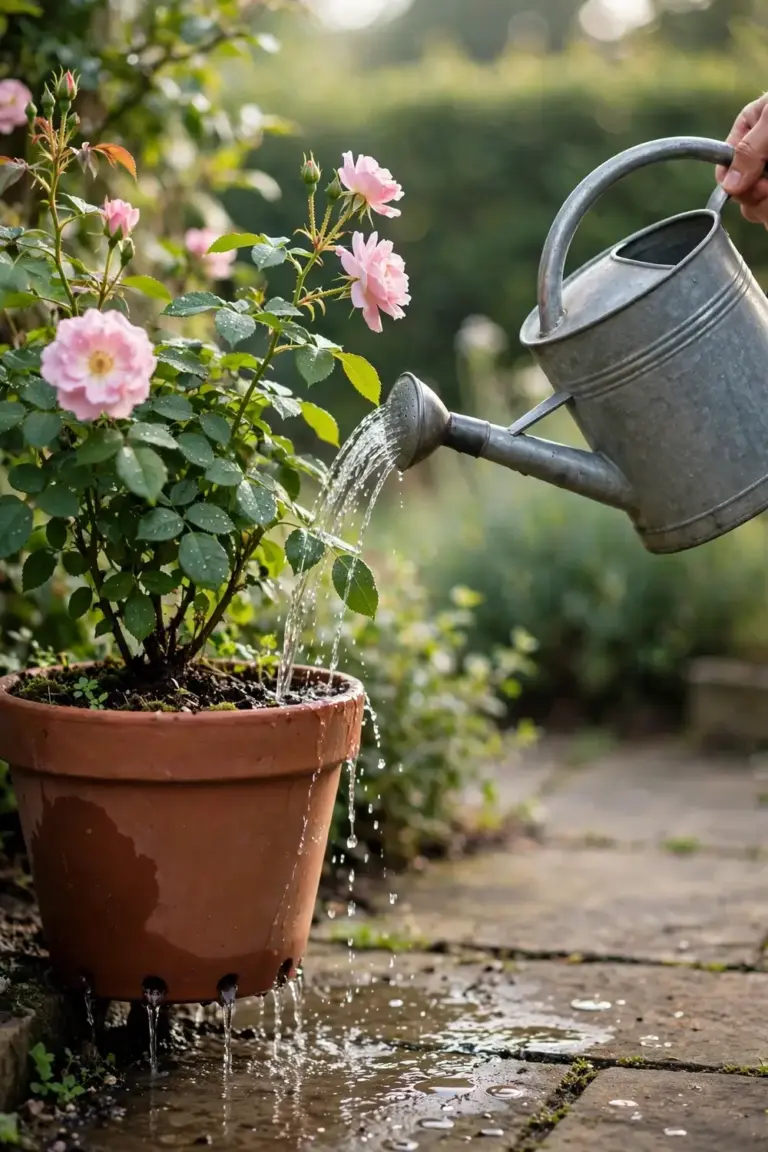
The finger test decides watering. Push a finger into the mix to the second knuckle. Dry mix at that depth means water now, while damp mix means wait another day. A schedule cannot decide, because weather decides, and a pot that dries in a day of hot wind can stay damp for days under a cool overcast sky.
The Rose Society of South Australia waters potted roses 2 to 3 days per week in summer, daily during heatwaves, once or twice per week in autumn and spring, and weekly in winter. Use that schedule as the starting point. The finger test still decides each watering.
Pots dry faster than garden beds. A pot has a small volume of mix and a large surface of exposure. Sun hits the sides, and wind strips moisture from the surface. A climbing rose in a pot needs water more often than the same rose in the ground. Check daily in summer, and twice weekly in cool weather.
Water deeply. A sprinkle wets the surface and leaves the deep roots dry, while a deep watering soaks the whole root zone. Water until it runs freely from the drainage holes, which tells you the whole pot got wet, then stop when the flow slows.
Empty the saucer after watering. A saucer full of water keeps the base wet, and wet feet rot roots. A saucer catches spills on a patio, but it is not a reservoir, so tip it out after the pot drains.
Summer heat changes the watering math. In a heatwave, move the pot to a spot that gets morning sun and afternoon shade. Group pots together so they shade each other’s sides. Shade the pot itself, not just the plant, because the mix dries from the sides as much as from the surface. A pot that wilts every afternoon in full sun stops wilting once its sides sit in shade.
Mulch slows drying. A layer of bark or straw over the mix shades the surface and cuts evaporation. Keep the mulch off the stems. Mulch piled against the stems holds moisture on the bark and invites rot. A gap of a few centimeters around each stem keeps the bark dry. What is mulching explains the full method for garden beds, and the same rules apply in a pot.
7. Feed and Prune for Flowers, Not Leaves
Feed through the growing season with a balanced rose fertilizer at the packet rate. Prune in spring and train the canes sideways.
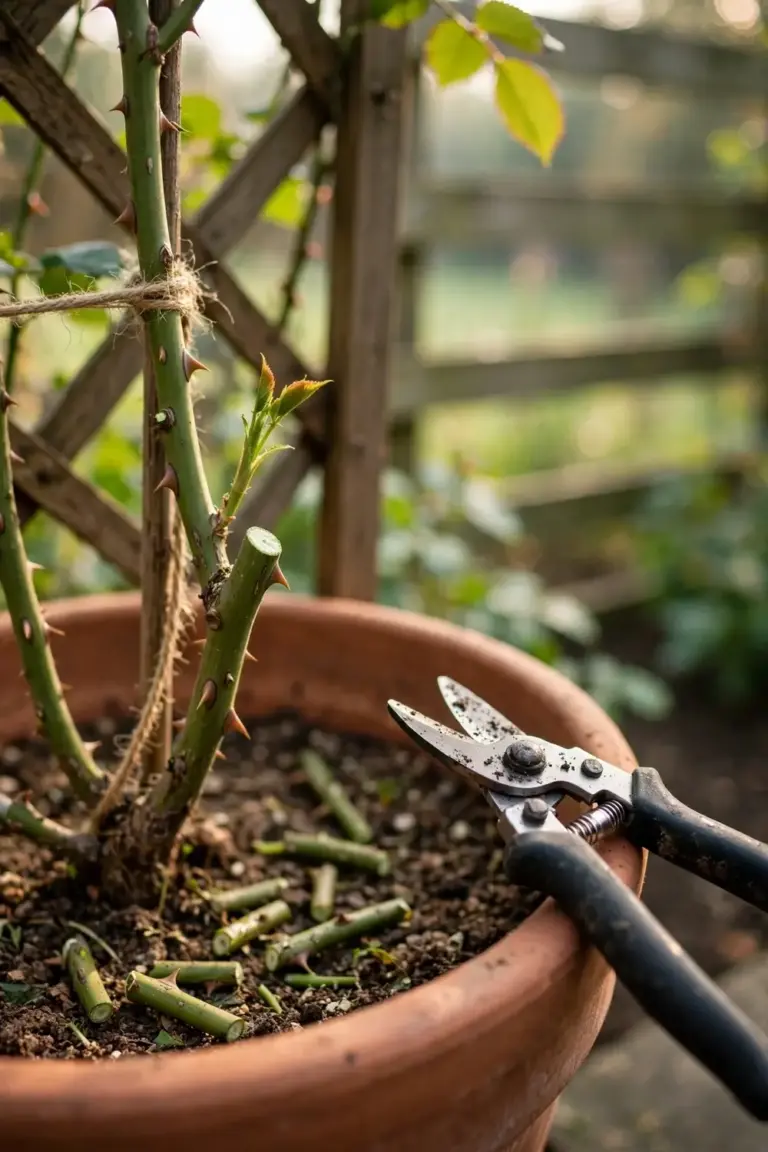
A potted rose eats what you give it. A garden rose finds nutrients in the soil, while a potted rose finds only what sits in the mix. A balanced rose fertilizer at the packet rate feeds it through the season. More fertilizer does not mean more flowers. Overfeeding grows soft leaves and fewer blooms, so follow the packet, because the packet rate is the dose.
Deadhead spent blooms through the season. Snip the faded flower back to the first strong leaf. Deadheading stops the rose from spending energy on hips. The rose puts that energy into new buds instead. A rose left to set hips flowers less.
Prune in spring. Cut out dead, crossing, and weak canes. Shorten the remaining canes to an outward-facing bud. Spring pruning techniques covers the full method for garden roses, and the same cuts apply in a pot. A potted climber needs the same spring clean-up as a garden climber.
Train the canes sideways. A cane tied flat along a support grows side shoots along its length. Side shoots carry the flowers. A cane left vertical flowers only at the tip. Fan the canes across the support. Fill the frame before the season starts.
First-year training sets the shape for years. Tie each new cane to the support as it grows, before it stiffens. A cane tied young bends easily. A cane left to harden in the wrong direction snaps when you force it later. Remove weak twiggy growth that crowds the center. Keep the strong canes and give each one room on the frame. A first season spent training beats a second season spent fixing.
8. Fix the 5 Mistakes That Starve a Potted Climber
Five mistakes starve a potted climber. Fix the pot first, then the soil, then the water.
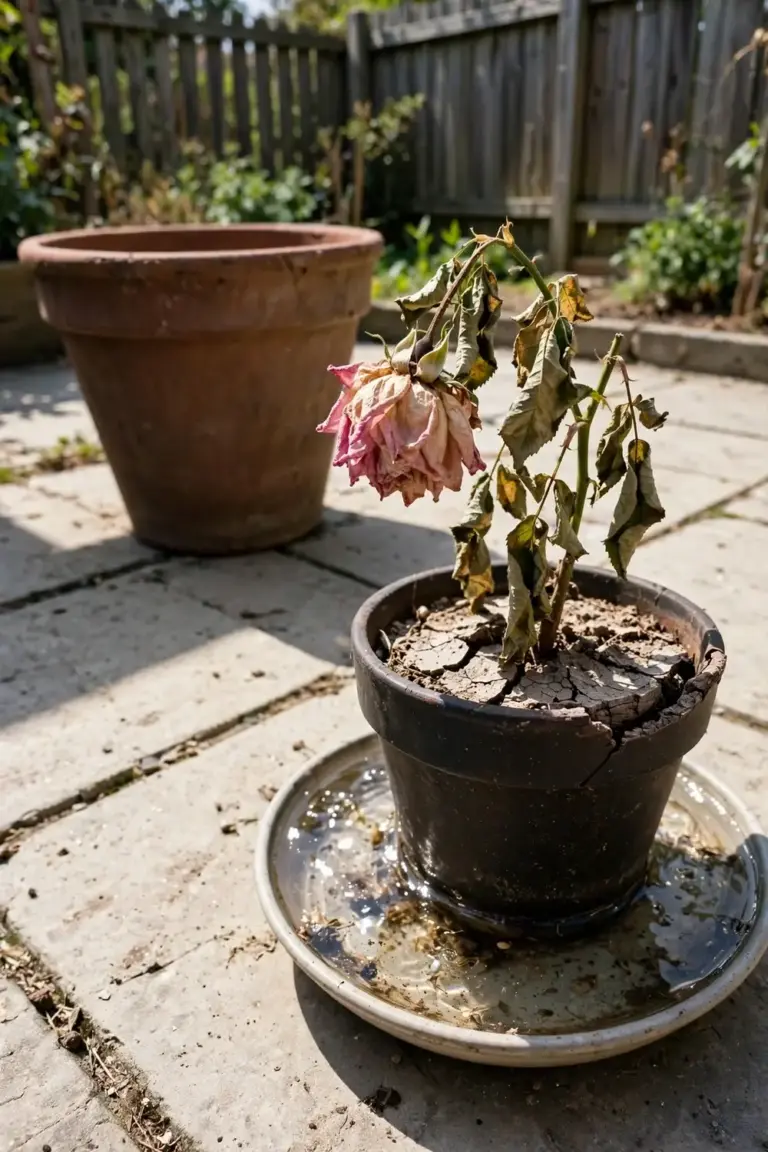
Check in that order when a potted climber sulks. Pot size first, because no amount of feeding fixes a root-bound rose. Drainage second, because wet roots rot whatever you feed them. Water third, because a pot that dries daily or stays wet tells you the pot or the mix is wrong. Feed last, because fertilizer only helps a rose whose pot, drainage, and water already work.
| Mistake | Sign | Fix |
|---|---|---|
| Pot under 60 cm | Thin canes, small leaves, buds drop | Repot into a 60 cm pot |
| No drainage holes | Mix stays wet, leaves yellow, roots rot | Drill holes or replace the pot |
| Dark pot in full sun | Mix dries daily, wilting by afternoon | Move to morning sun, shade the pot, water more |
| Planting in hot weather | Wilting, no new growth | Plant in cool weather, shade after planting |
| No support | Canes flop, snap in wind | Install an obelisk or trellis, tie loosely |
The small pot is the most common mistake. A climbing rose in a 30 cm pot grows thin canes and drops its buds. The fix is a bigger pot, not more fertilizer. Fertilizer cannot replace root room.
The missing drainage hole is the most dangerous mistake. A pot without holes holds water at the base, and roots sitting in water rot. The rose yellows from the bottom up. Drill holes or replace the pot. No rose survives a sealed pot.
The dark pot mistake is easy to miss. A black pot on a sunny patio heats the mix past what roots tolerate. The rose wilts by afternoon even when the mix is damp. The fix is shade for the pot, not more water. Move the pot to morning sun. Shade the pot itself with a screen or a larger outer pot.
Planting in hot weather is a timing mistake. A rose planted in a heatwave wilts and stalls. The Rose Society of South Australia warns against planting in hot weather. Plant in cool weather. Shade the rose for a week after planting.
The missing support is a structural mistake. Canes without support flop and snap in wind, and a snapped cane loses a season of flowers. Install the support at planting time and tie the canes loosely. The support is part of the pot setup, not an afterthought.
Frequently Asked Questions
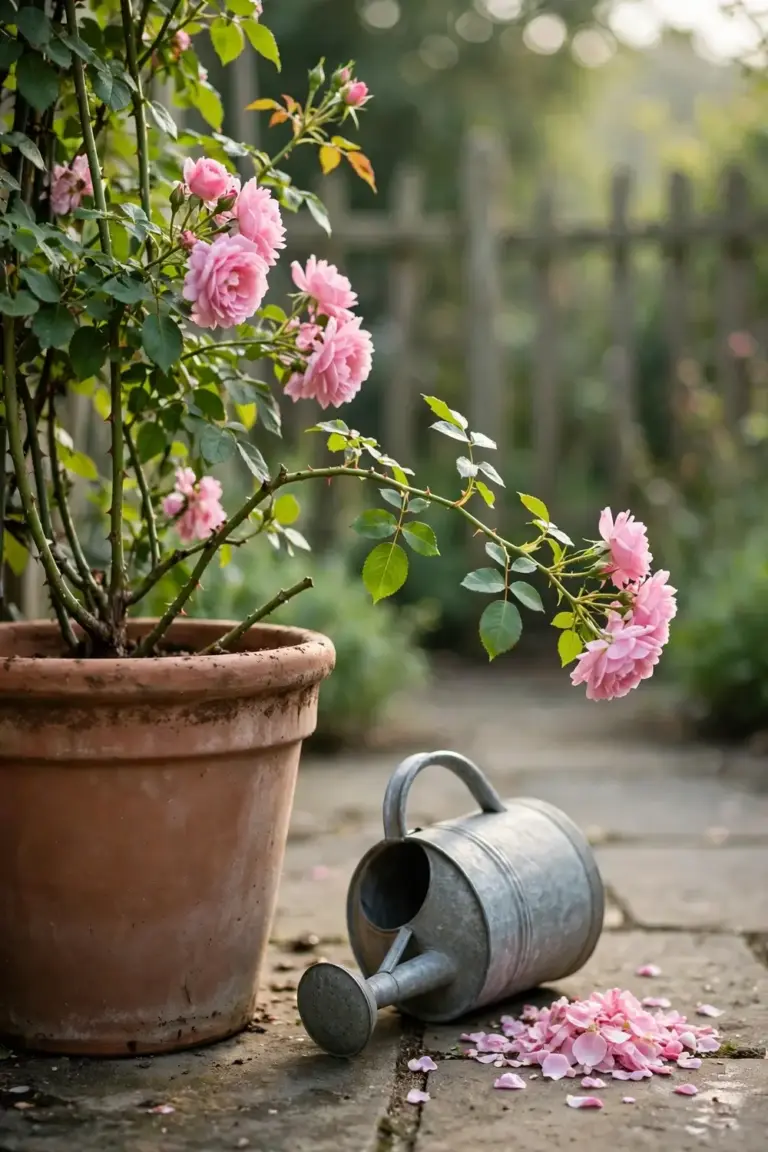
Use the 60 cm pot even in a small space. A climbing rose needs that volume whatever the size of the patio. A smaller pot starves the rose. If no 60 cm pot fits the space, pick a compact climber that stays under 2.5 m, or grow a bush rose in a 50 cm pot. A climbing rose in a 30 cm pot never thrives. The pot decides the plant, not the other way around.
No. A 30 cm pot holds too little mix and too little water for a climbing rose. The roots crowd within one season. The mix dries daily in summer. Growth stalls and buds drop. Repot into a 60 cm pot as soon as the rose shows stress. A 30 cm pot suits a miniature rose. It never suits a climber.
No. David Austin’s care guide says roses grown in pots may not reach their full height. A climber listed at 2.5 m in the ground grows shorter in a pot. The pot limits root growth, and root growth limits cane growth. Expect a shorter plant with fewer canes. The flowers still come. The frame stays smaller.
Water when the top 5 cm of mix feels dry. No fixed schedule works. Hot wind dries a pot in a day. A cool overcast week leaves it damp for days. Check daily in summer, when a pot can dry overnight, and twice weekly in cool weather.
Repot when roots circle the drainage holes, water runs straight through the pot, or growth stalls for no other reason. Repot while the rose is dormant. Move up one pot size or root-prune and refresh the mix in the same pot. A climbing rose in a 60 cm pot needs fresh mix every few seasons. The mix breaks down and compacts. Fresh mix restores drainage and feeding, which is why a mix refresh perks up a tired rose.
Buy the Right Size Pot for Climbing Roses This Weekend
Buy the 60 cm pot first. Then buy the rose.
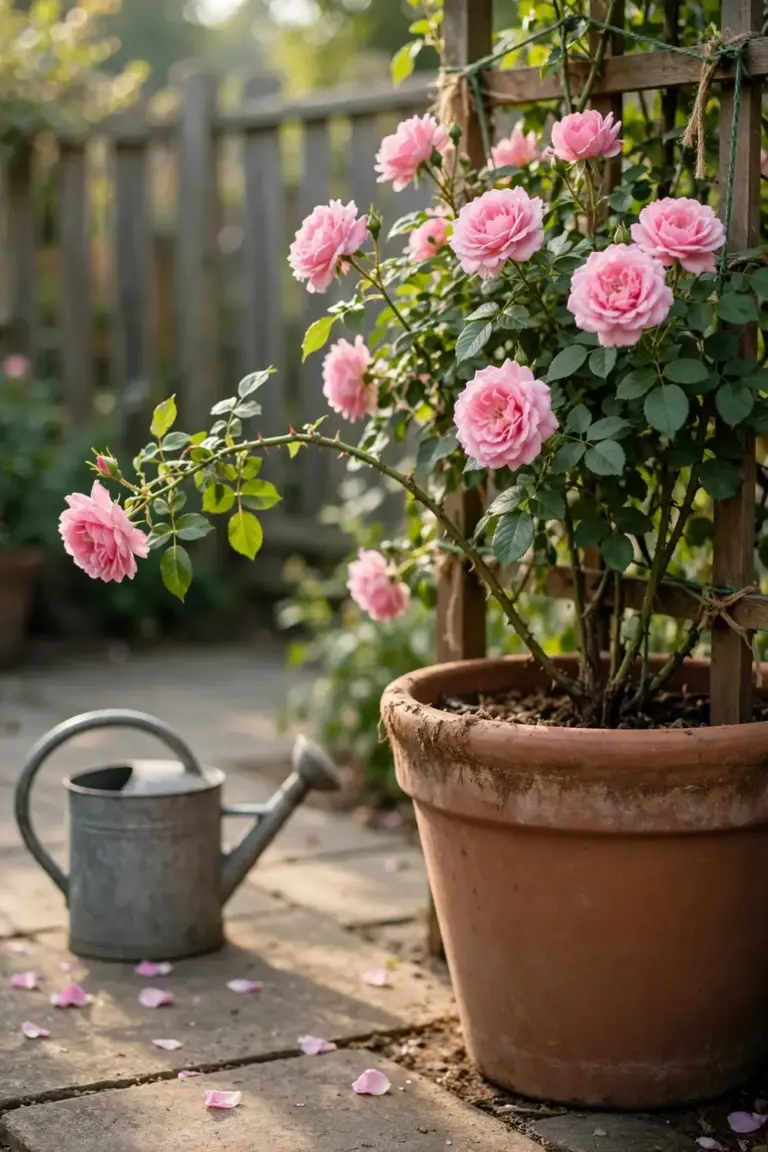
The rule is simple. A pot 60 cm wide and 60 cm deep holds 90 liters of mix, and that pot suits climbers reaching 2.5 m. Several drainage holes keep the roots dry. A support at planting time holds the canes, and a 50/50 mix feeds the rose through the season.
In the first weeks, water steadily while the roots settle. In the first spring, prune and train the canes across the support. In the first summer, deadhead spent blooms and watch the side shoots flower. A climbing rose in the right pot rewards the first season of care with years of growth, and the pot you buy this weekend holds the rose for many seasons.
Measure the spot before you shop. A 60 cm pot needs a 60 cm space, plus room for the support. Buy the pot, fill it with mix, and plant the rose at the right depth. Tie the canes loosely and water deeply. The rose does the rest.