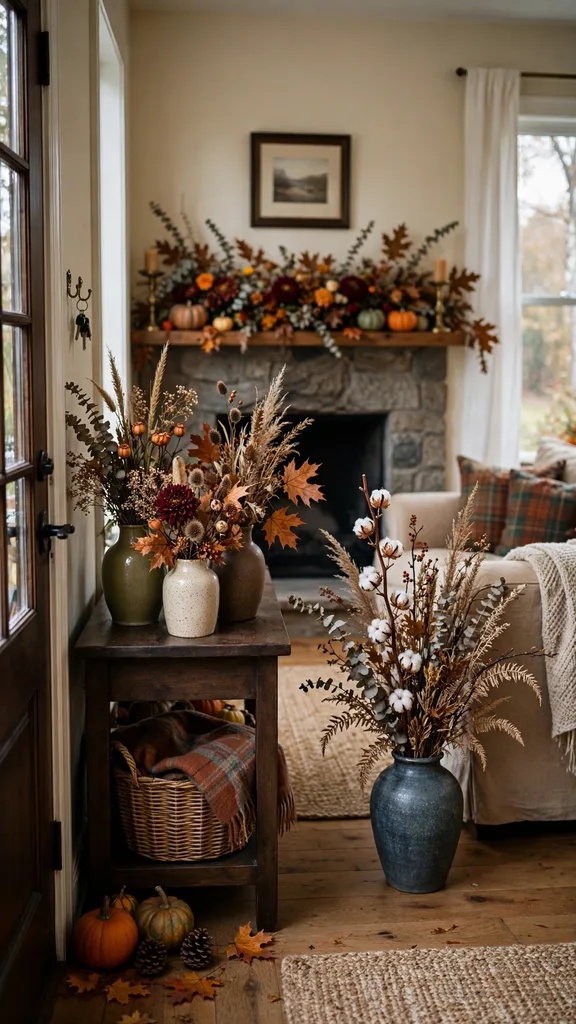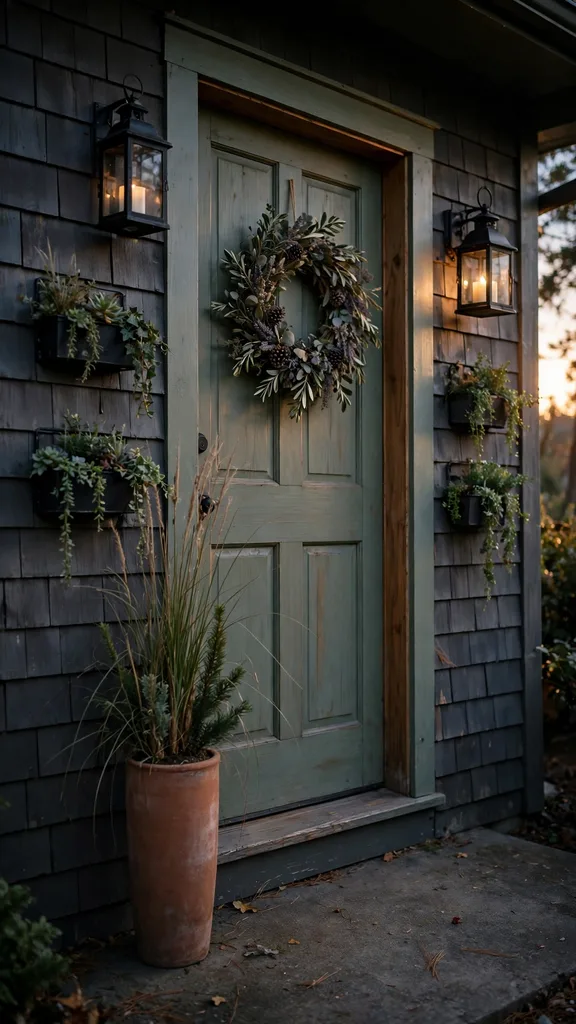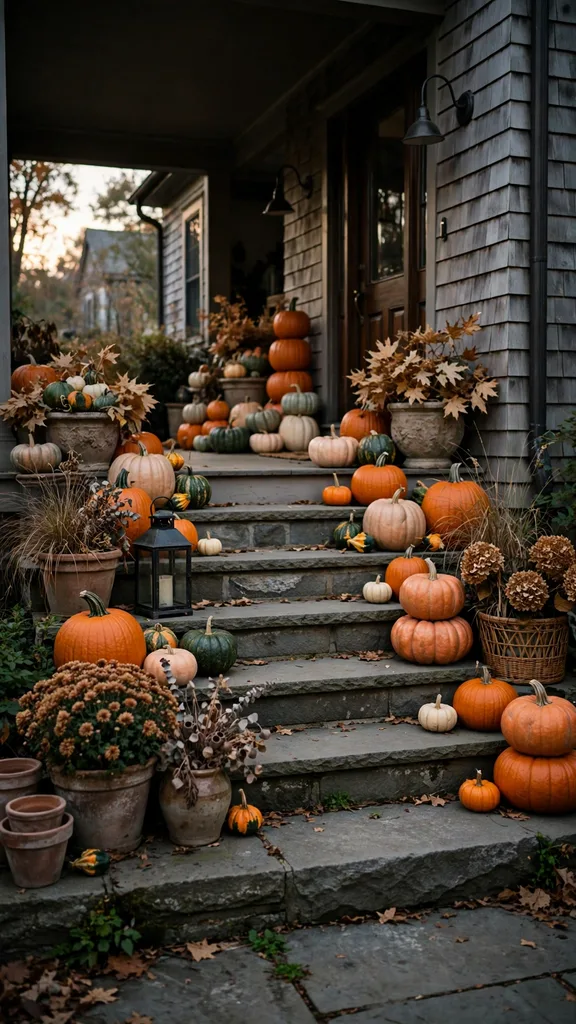

Thanksgiving crafts for kids work best when they start in the garden, since leaves, pinecones, acorns, and mini pumpkins cost nothing, look better than bought supplies, and give a child a reason to go outside before dinner. This collection gathers 45 garden crafts children can actually finish, grouped by leaf crafts, pinecone and acorn crafts, pumpkin and gourd crafts, dried flower and herb crafts, table decor, nature collage, and keepsakes, so a family can start with the material already in the garden and finish with a table full of child made work.
Each craft names its material, its steps, and its safety note, and the quick-pick table at the end of the collection gives a plain guide to which crafts suit toddlers, which suit older children, and which need an adult at the table. Leaf and paper crafts suit the youngest children, seed and bead crafts suit older children with patience, and every craft that uses cutting, heat, or small parts states its supervision note in its own item.
I watched a child carry a pinecone turkey to the Thanksgiving table like a trophy, and that turkey taught me that a craft a child finishes beats a craft an adult finishes for a child.
1. Leaf Turkey with a Cardboard Body
Cut a round body and a small head from brown cardboard, then glue five large maple leaves behind the body in a fan so the leaf stems point down and the coloured tips point up. Glue the head at the front of the body, add a paper beak and paper eyes, and stand the turkey on a folded cardboard base so it stays upright on the table.
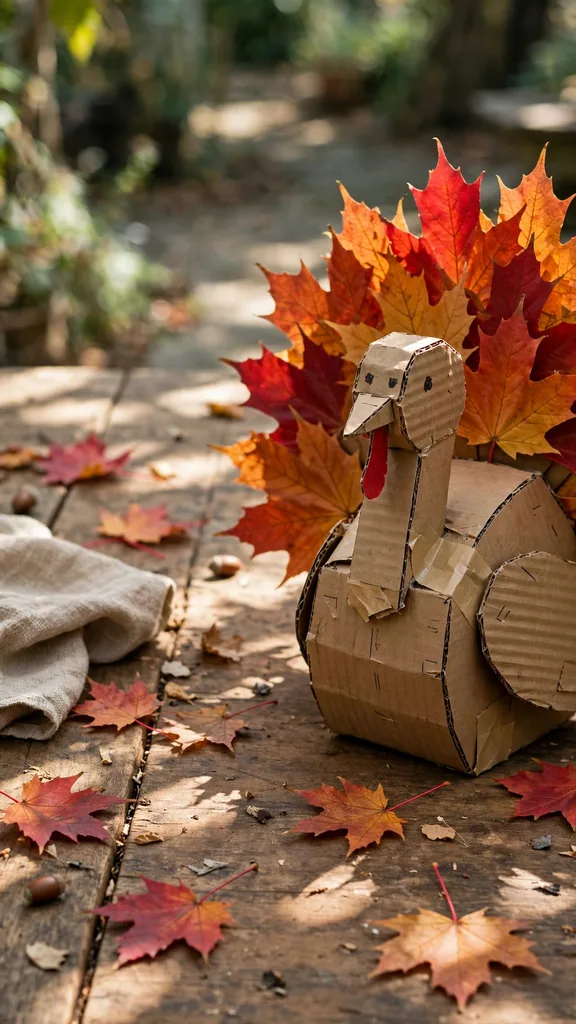
A child finishes this turkey in 20 minutes with leaves gathered on one walk, and the finished bird suits a place setting or a windowsill. An adult cuts the cardboard shapes first when the child is young, and older children cut their own shapes with blunt-tip scissors under adult supervision.
2. Pressed Leaf Placemats
Press flat autumn leaves between sheets of newspaper under heavy books for 7 days, then arrange the flat leaves on a sheet of clear contact paper with the leaf tops facing up. Lay a second sheet of contact paper over the leaves, smooth out air bubbles from the centre outward, and trim the mat to 30 centimetres by 40 centimetres (11.8 inches by 15.7 inches).
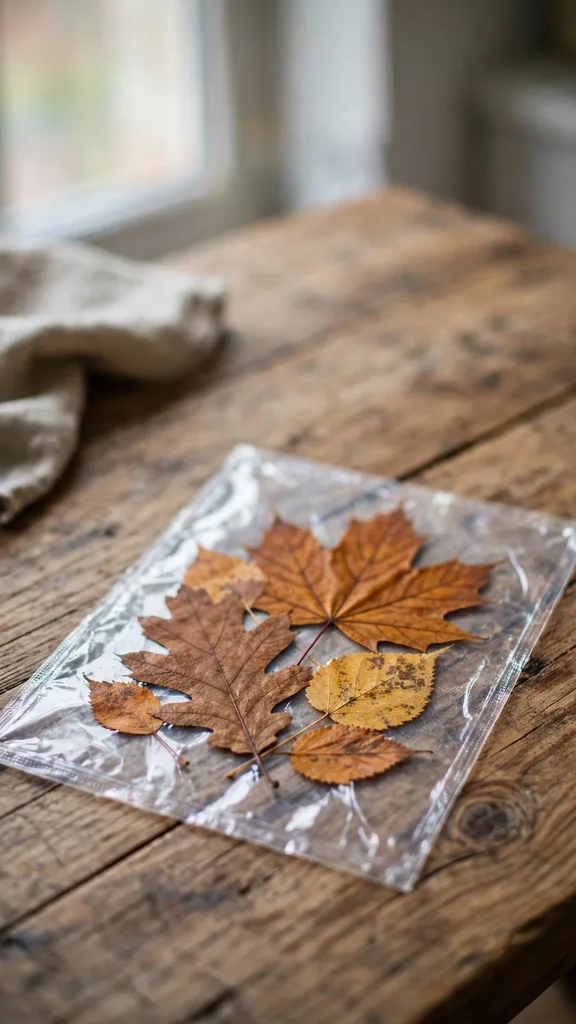
The sealed mat wipes clean after dinner and lasts through Thanksgiving week, and a child can make one mat for every guest. An adult trims the contact paper edges, since the sheets stick fast and a crooked cut shows, and no heat or glue gun is needed for this craft.
3. Glycerin Leaves That Stay Soft
Stir 1 part glycerin into 2 parts water in a shallow pan, lay autumn leaves in a single layer in the mixture, and weight them down with a second pan so every leaf stays covered, following the Missouri Department of Conservation leaf guide. The same guide states the soak takes 3 to 5 days, and the leaves come out soft and flexible instead of dry and brittle.
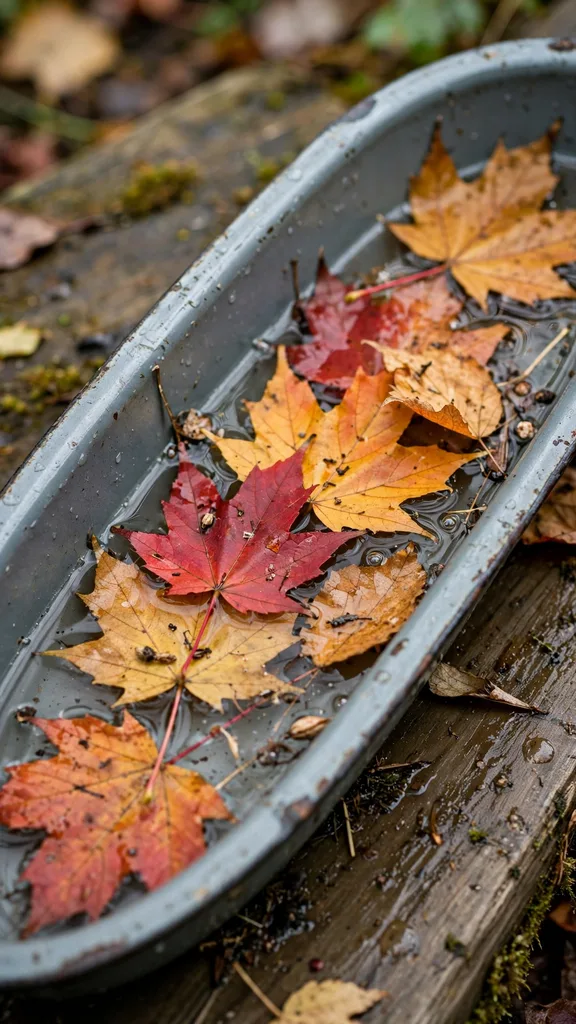
Glycerin leaves suit garlands, wreaths, and table scatter, and they keep their colour for months when stored flat in a dry box. An adult measures the glycerin and handles the pan, children place the leaves, and the same guide warns that poison ivy leaves turn red in autumn and cause a rash, so an adult checks every leaf before soaking.
4. Leaf Crown for the Thanksgiving Table
Cut a strip of cardboard 5 centimetres (2.0 inches) wide and long enough to fit the child head with 2 centimetres (0.8 inches) of overlap, then glue small oak and maple leaves along the strip with the leaf tips pointing up. Join the strip into a ring with tape, add one large leaf at the front as a centre point, and let the glue dry flat before wearing.
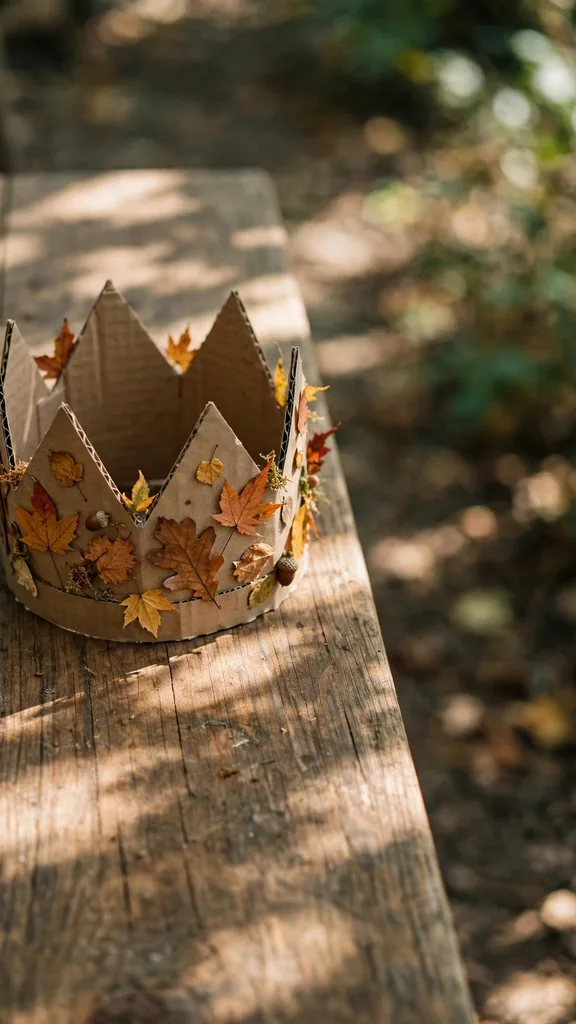
The crown suits a child who leads the table to dinner or hands out place cards, and it stores flat in a book for next year. An adult cuts the cardboard strip and checks the fit, since a tight crown slips over the eyes, and the leaves stay on the strip with school glue alone.
5. Leaf Rubbing Art in Autumn Colours
Lay a fresh leaf vein side up on a table, cover it with a sheet of plain white paper, and rub the side of a crayon across the paper until the leaf shape and veins show. Repeat with leaves of different shapes and crayon colours on one sheet, then frame the sheet in a cardboard frame cut 2 centimetres (0.8 inches) wider than the paper on every side.
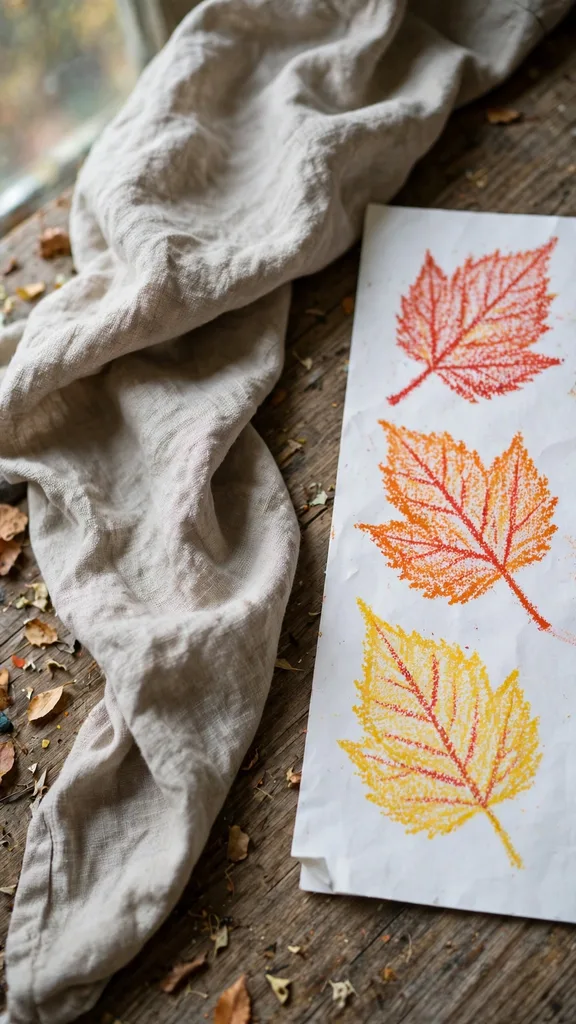
Leaf rubbing suits a child as young as 3 years, since it needs no cutting and no glue, and the finished sheet makes a Thanksgiving wall picture. An adult picks leaves with strong veins, such as oak and maple, because smooth leaves give a faint rubbing, and crayons stay washable for easy cleanup.
6. Leaf Collage Woodland Animals
Sort gathered leaves by shape, then glue small round leaves as a body, long leaves as ears or wings, and tiny leaves as feet on a sheet of dark cardboard to build an owl, a fox, or a deer. Add paper eyes and a twig branch at the base, press the collage under a book overnight, and the flat picture is ready to hang.
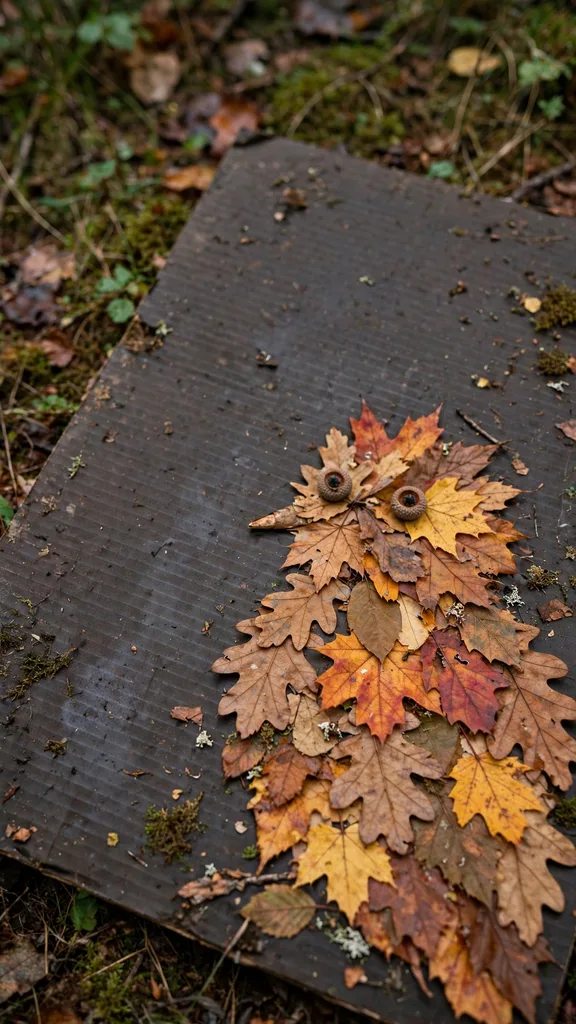
A collage suits a rainy afternoon, since every leaf shape suggests a new animal, and a child finishes one animal in 30 minutes. School glue holds every leaf, no cutting is needed when the child tears leaves by hand, and an adult checks that no leaf in the pile comes from a plant the family cannot name.
7. Mini Leaf Wreath for a Bedroom Door
Bend a paper plate into a ring by cutting out the centre, then glue small leaves around the ring with the leaf tips pointing outward and the leaf bases overlapping. Add three pinecones the size of a grape at the lower curve, tie a twine loop at the top for hanging, and let the ring dry flat overnight.
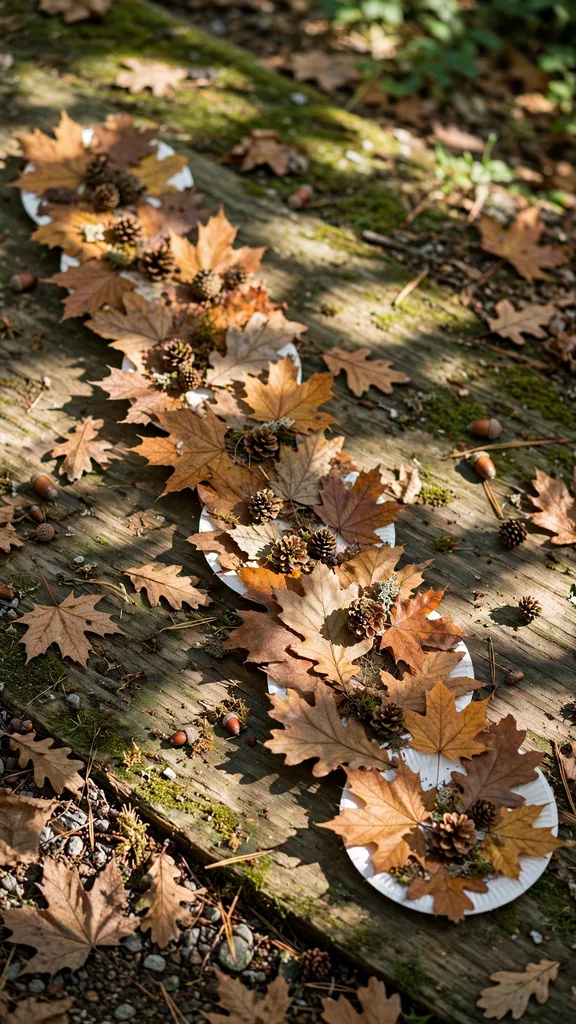
The small wreath suits a bedroom door or a cupboard door, and it weighs little enough to hang from a single adhesive hook. An adult cuts the paper plate ring and the twine, children glue the leaves, and the wreath comes down after Thanksgiving before the leaves turn brittle.
8. Leaf Garland for the Mantel
Thread a blunt tapestry needle with twine, pass the needle through the stem end of each leaf, and slide the leaves along the twine with 5 centimetres (2.0 inches) of space between leaves. String 20 leaves for a garland 1 metre (39.4 inches) long, knot both ends, and drape the garland along a mantel or a shelf edge.
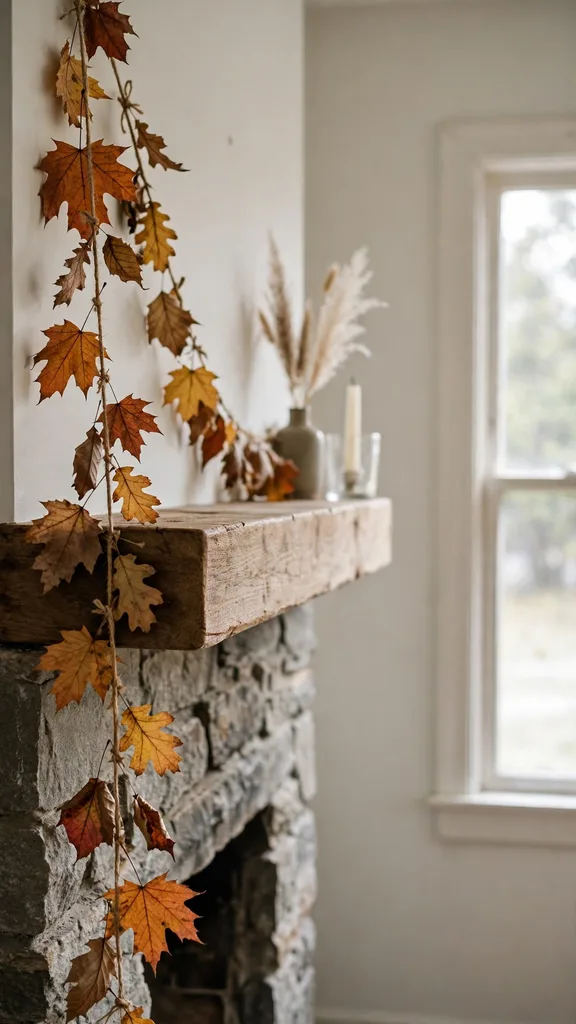
The garland suits a mantel that needs colour without a bought decoration, and glycerin leaves from item 3 keep it flexible for weeks. An adult threads the needle and knots the ends, since the needle is blunt and still needs a steady hand, and the garland hangs out of reach of toddlers who might pull it down.
9. Pinecone Turkey for the Table
Stand a pinecone upright with the wide end down, glue a small paper head at the narrow end, and tuck five craft feathers or five small leaves behind the cone as a tail fan. Glue paper eyes and a paper beak on the head, add paper feet at the base, and the turkey stands on its own on the table.
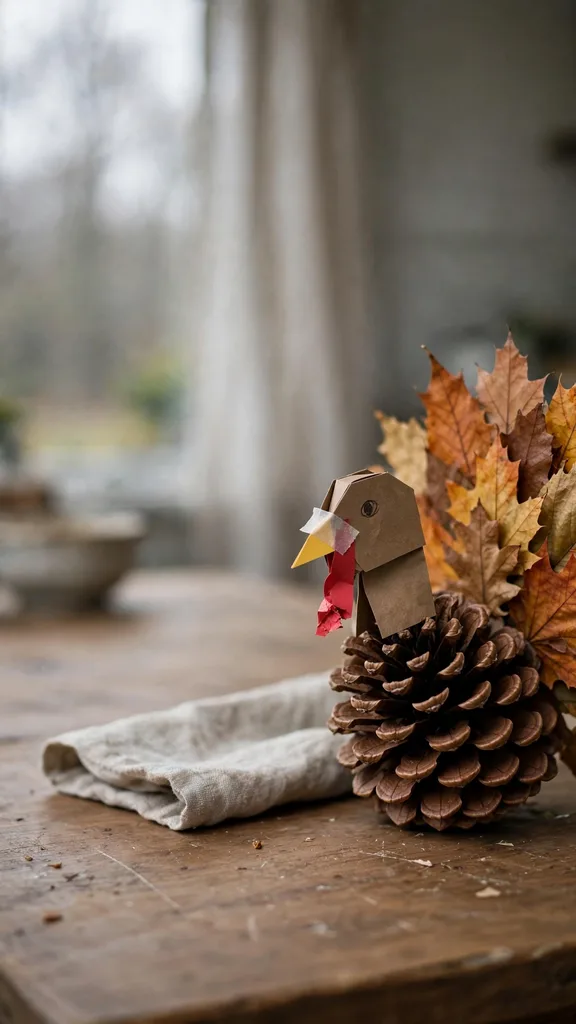
This turkey is the classic Thanksgiving kids craft, and a child finishes one in 15 minutes once the pinecone is clean and dry. An adult bakes pinecones at 100 degrees Celsius (212 degrees Fahrenheit) for 30 minutes first to dry sap and remove insects, and children never handle a hot tray.
10. Pinecone Owl with Leaf Wings
Glue two large paper eyes on the front of a pinecone, glue one small leaf on each side as wings, and glue a tiny paper beak between the eyes. Set the owl on a slice of log or a small cardboard base, add two twig feet at the front, and the owl perches without tipping.
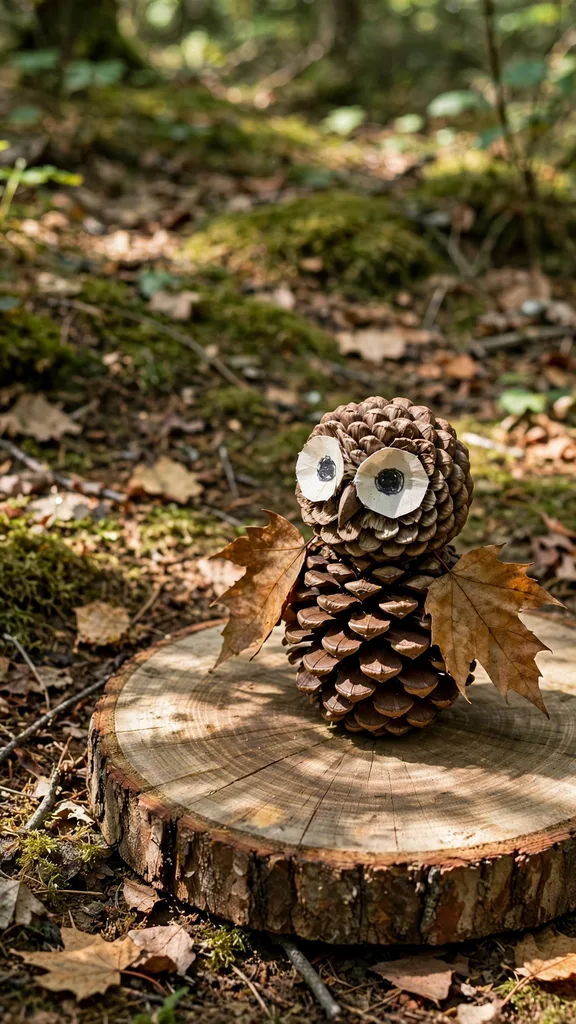
The owl suits a child who wants a woodland table guest next to the turkey, and it uses the same clean pinecone as item 9. School glue holds the paper parts, an adult trims the twig feet to equal length so the owl stands level, and the finished owl stores in a box for next year.
11. Pinecone Bird Feeder for Winter Birds
Tie twine around the top of a large pinecone, spread peanut butter or seed butter between the cone scales with a blunt knife, and roll the cone in birdseed until the scales hold a thick coat. Hang the feeder from a tree branch away from a window, and refill it when the seed runs out.
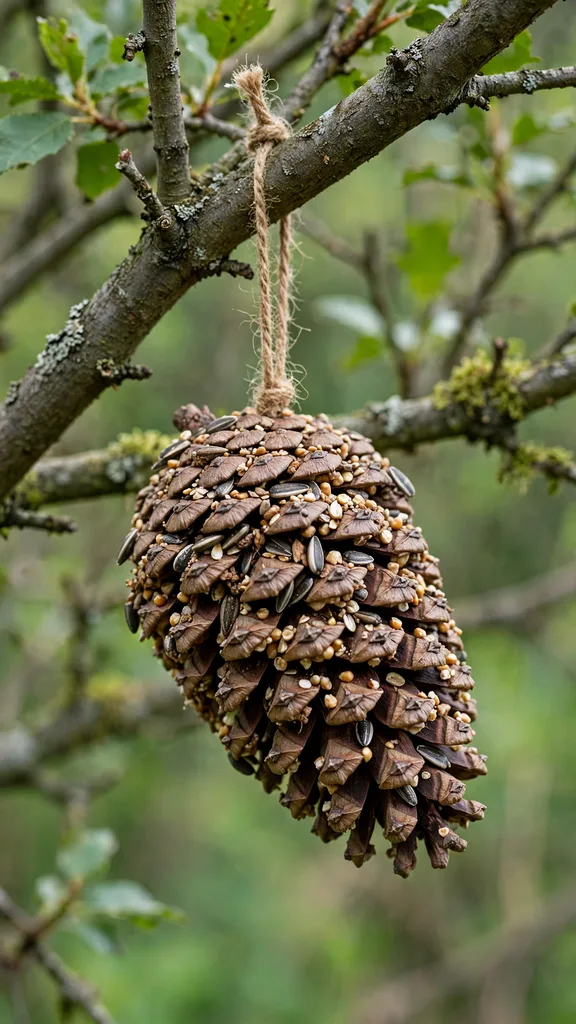
The feeder gives birds food through cold weeks, and a child watches from a window to see which birds visit first. An adult checks for nut allergies before choosing a spread, since peanut butter suits most gardens and seed butter suits a nut free house, and the feeder hangs where cats cannot reach it.
12. Pinecone Wreath on a Paper Plate Ring
Cut the centre from a paper plate to leave a ring, glue small pinecones around the ring with the cone tips pointing outward, and fill the gaps with small leaves and acorn caps. Tie a twine loop at the top, let the glue dry overnight, and hang the wreath on a door or a wall hook.
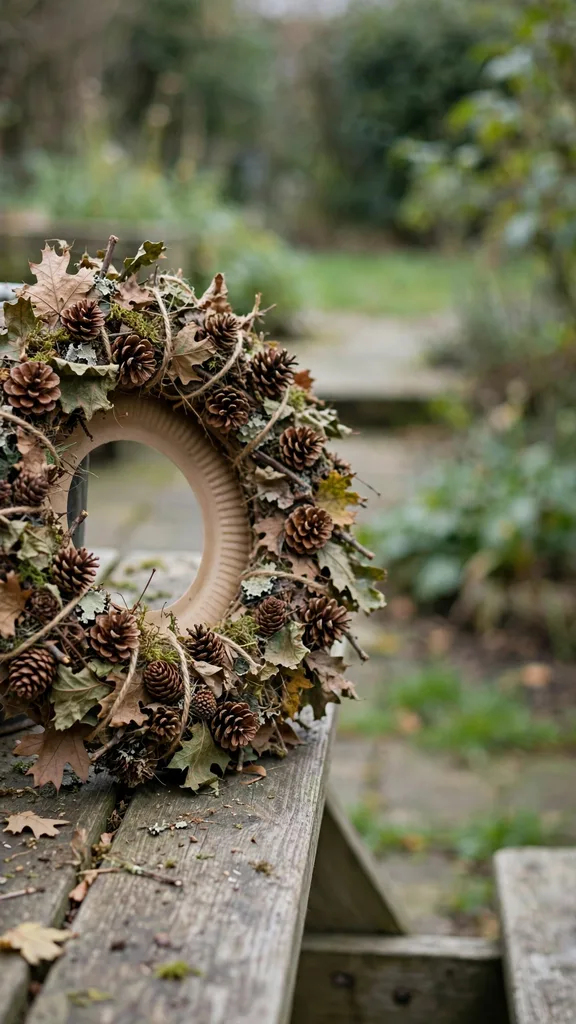
This wreath is the child size version of a full garden wreath, and it uses pinecones a child can lift with one hand. Adults who want a larger wreath can follow the grown-up version in Thanksgiving crafts for adults, while children keep this ring small and light. An adult cuts the plate ring and checks the hanging loop.
13. Acorn Cap Necklace with Large Beads
Thread large wooden beads and clean acorn caps with holes drilled by an adult onto a length of cord, alternating one bead and one cap, and knot the cord ends together. The necklace suits a Thanksgiving outfit, and the caps give a woodland look that bought beads alone cannot match.
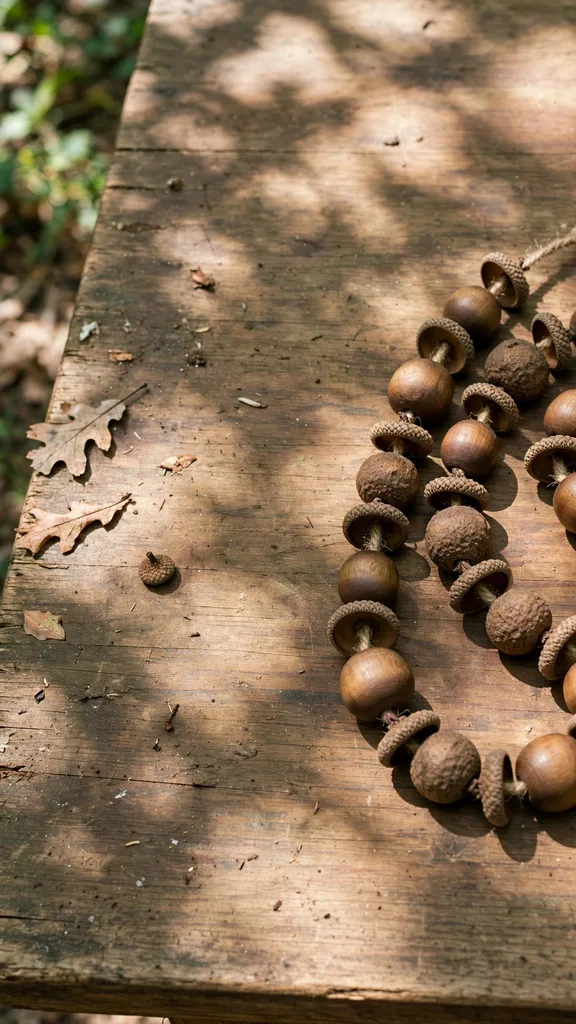
An adult drills every cap hole and knots the cord, since drilling needs a steady hand and a clamp, and children string the beads in their own pattern. Keep small beads and loose caps away from children younger than age 3, since the United States Consumer Product Safety Commission toy safety guide states small balls and toys with small parts stay away from children younger than age 3.
14. Painted Pinecone Forest
Stand five pinecones upright on a cardboard base, paint the cone tips with washable green paint, and dot the tips with white paint for a frosted look. Add a small paper star on the tallest cone, scatter paper snow at the base, and the forest becomes a table village for Thanksgiving week.
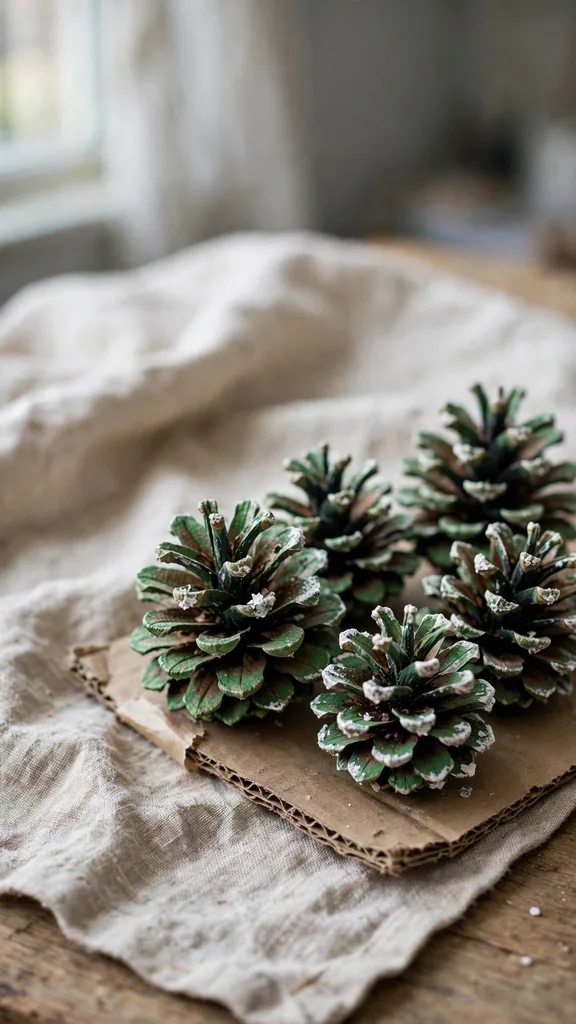
Washable paint keeps cleanup simple, and a child finishes the forest in 30 minutes plus drying time. An adult covers the table with newspaper and checks that paint stays off clothes, and the forest stores in a box with tissue between cones so painted tips do not chip.
15. Acorn and Twig Picture Frame
Glue four twigs into a square on a sheet of cardboard, glue acorn caps along the twig frame with the caps pointing outward, and tape a child drawing or a pressed leaf behind the frame. Stand the frame on a shelf with a folded cardboard easel at the back.
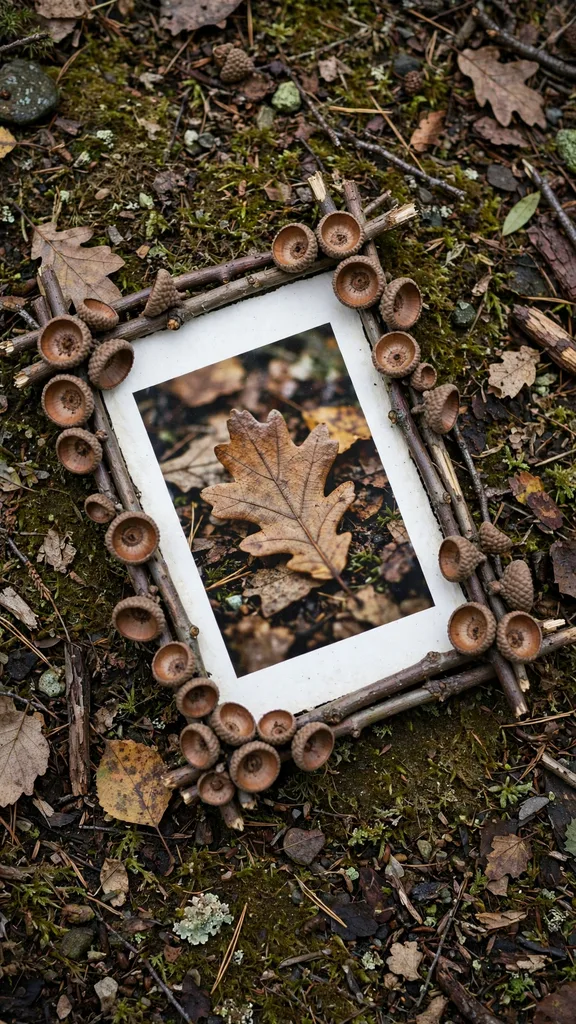
The frame suits a Thanksgiving drawing or a pressed leaf picture, and it uses twigs and caps from one garden walk. An adult snaps twigs to equal length and checks the easel fold, children glue the caps, and loose caps stay out of reach of toddlers.
16. Mini Pumpkin Painting with Washable Paint
Wash and dry a mini pumpkin, paint bands, dots, or a turkey face on the skin with washable paint, and set the pumpkin on newspaper to dry for 1 hour. Add a second coat on any thin patch, and the pumpkin keeps its paint through Thanksgiving week on a porch step or a table.
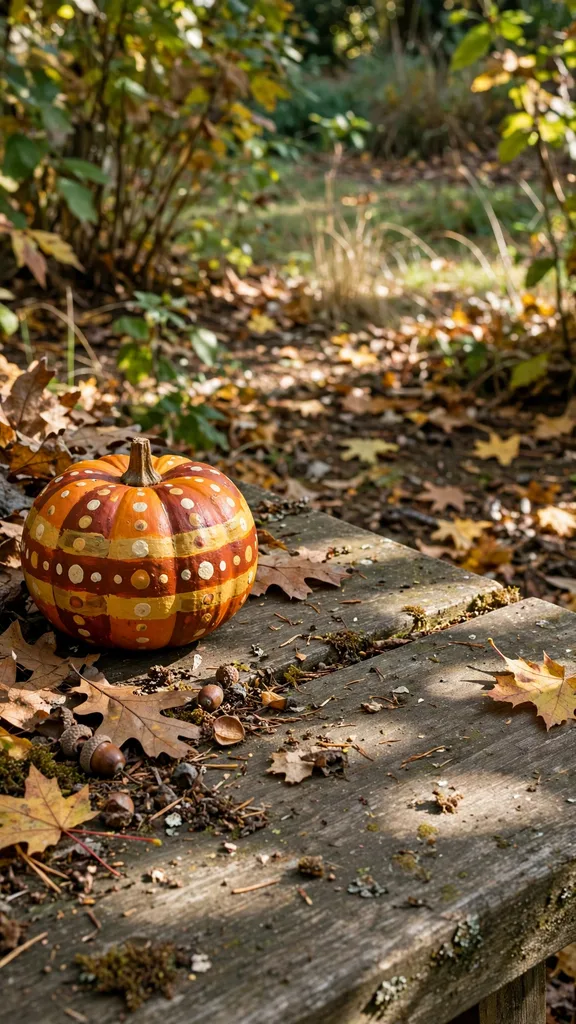
Washable paint suits children of every age, since it rinses from skin and clothes, and a child finishes one pumpkin in 20 minutes. An adult checks that the paint label states washable and non toxic, and painted pumpkins stay out of the kitchen, since paint makes the skin unsafe to eat.
17. Pumpkin Seed Mosaic on Cardboard
Wash pumpkin seeds from a carved pumpkin, dry them on paper towels overnight, and dye half the seeds with food colouring in a sealed bag. Glue the seeds in rows on a cardboard turkey shape, alternating natural and dyed seeds, and press the mosaic under a book overnight.
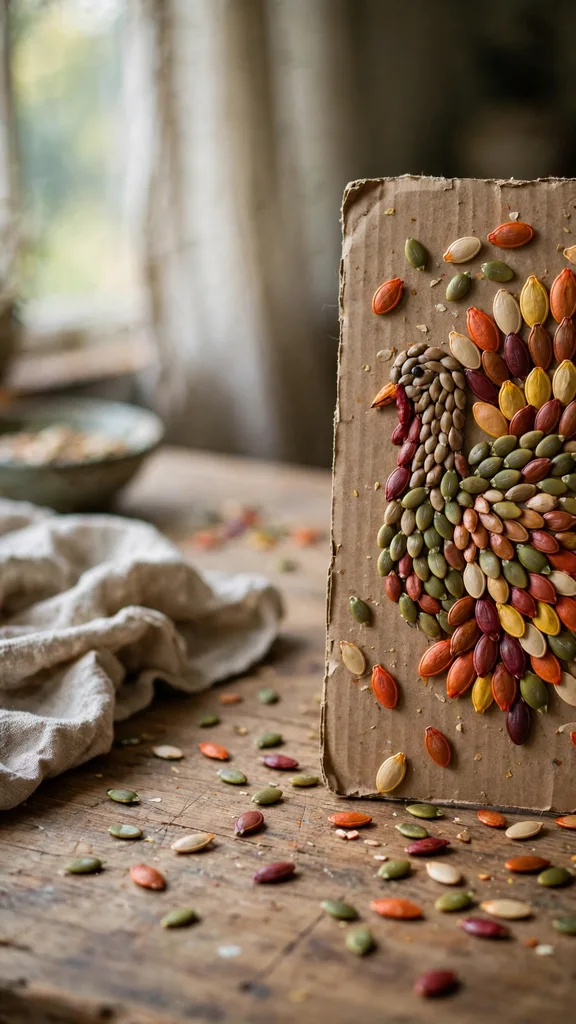
The mosaic turns carving waste into art, and a child finishes a turkey in 40 minutes once the seeds are dry. An adult handles the pumpkin cutting and the dye bags, children glue the seeds, and loose seeds stay away from toddlers, since small seeds pose a choking risk for children younger than age 3.
18. Mini Pumpkin Pot for Kitchen Herbs
Cut the top from a mini pumpkin with an adult knife, scoop out the seeds with a spoon, and fill the pumpkin with potting mix to 2 centimetres (0.8 inches) below the rim. Sow parsley or chive seeds on the mix, water lightly, and set the pot on a sunny windowsill.
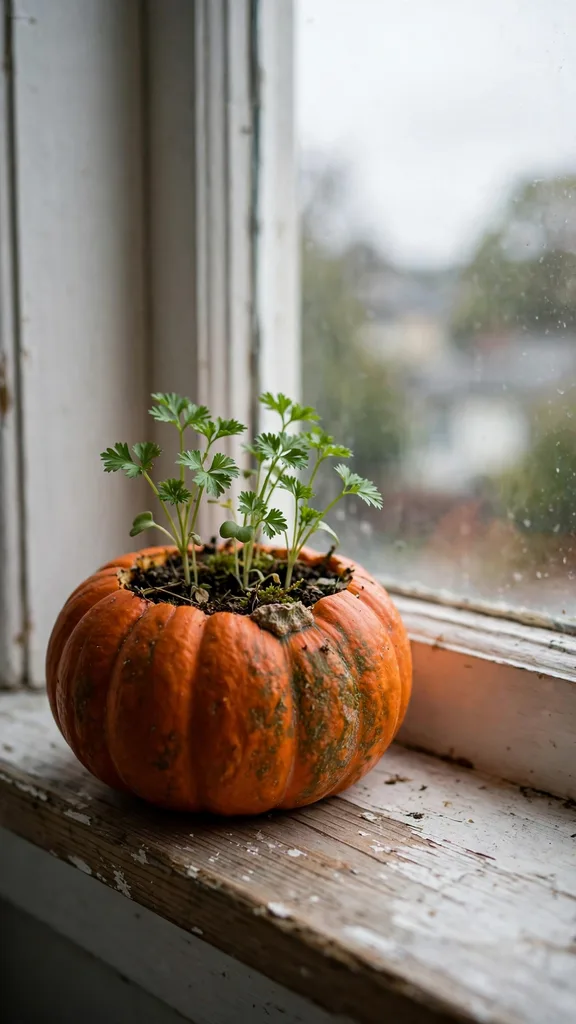
The herb pot gives a child a living Thanksgiving centrepiece, and parsley sprouts in 14 to 21 days on a warm sill. An adult cuts the pumpkin top and checks drainage, since a pumpkin pot has no holes and overwatering rots the base, and children water with a small cup only when the mix feels dry.
19. Gourd Maracas with Dried Beans
Fill a small dry gourd with 30 grams (1.1 ounces) of dried beans through a hole cut by an adult, plug the hole with a cork, and wrap the neck with twine for a handle. Shake the maraca to test the sound, add more beans for a louder rattle or fewer beans for a softer rattle, and seal the cork with school glue.
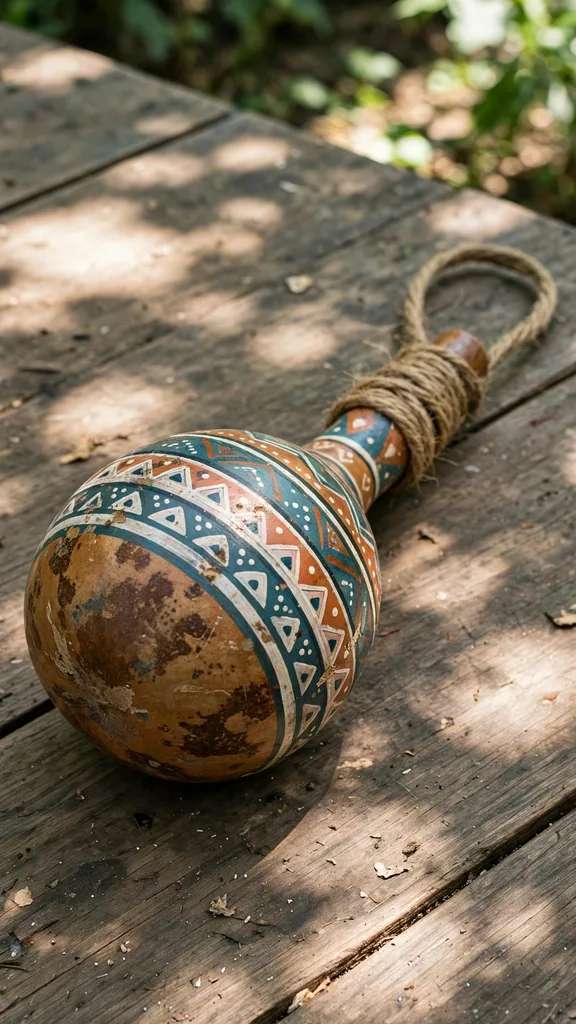
Maracas suit a Thanksgiving music moment, and a child decorates the gourd with paint once the cork is sealed. An adult cuts the hole, seals the cork, and checks the seal before play, since loose beans pose a choking risk for toddlers, and the maraca stays in adult hands when toddlers are near.
20. Pumpkin Turkey from a Mini Pumpkin
Glue paper eyes, a paper beak, and a paper wattle on the front of a mini pumpkin, glue five paper feathers in a fan at the back, and add paper feet at the base. Set the turkey on a plate with leaves around it, and the pumpkin body gives a round turkey that needs no carving.
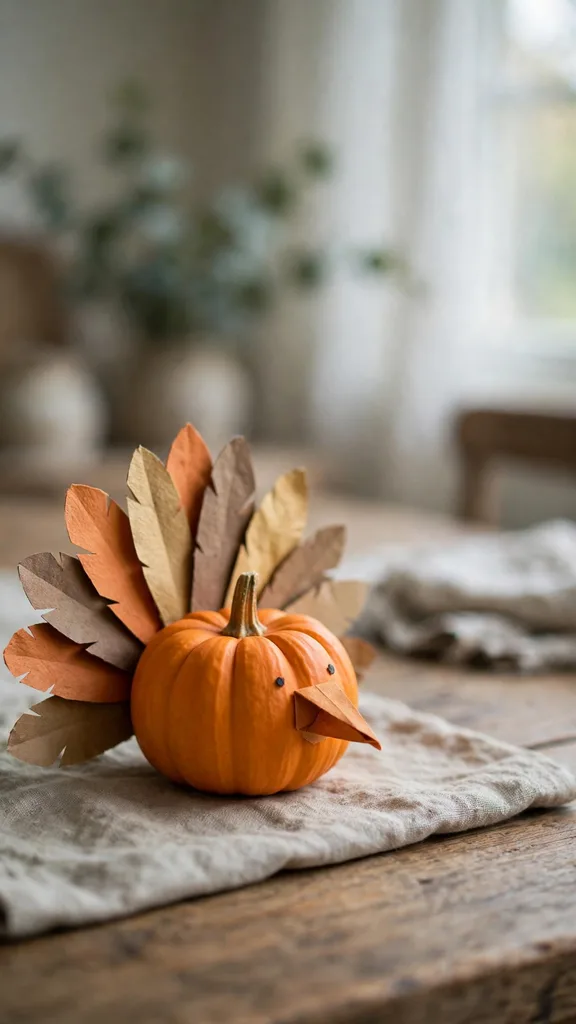
This turkey suits a child who wants a big table bird without a knife, since every part glues on with school glue. An adult checks the feather fan balance so the pumpkin does not tip backward, and the turkey keeps for a week in a cool room before the pumpkin softens.
21. Gourd Birdhouse Painted for the Garden
Paint a dry bottle gourd with washable outdoor paint in autumn colours, let it dry for 1 day, and hang it from a tree branch with twine through a hole drilled by an adult. The birdhouse suits a garden corner, and birds inspect it through winter even when no bird moves in at once.
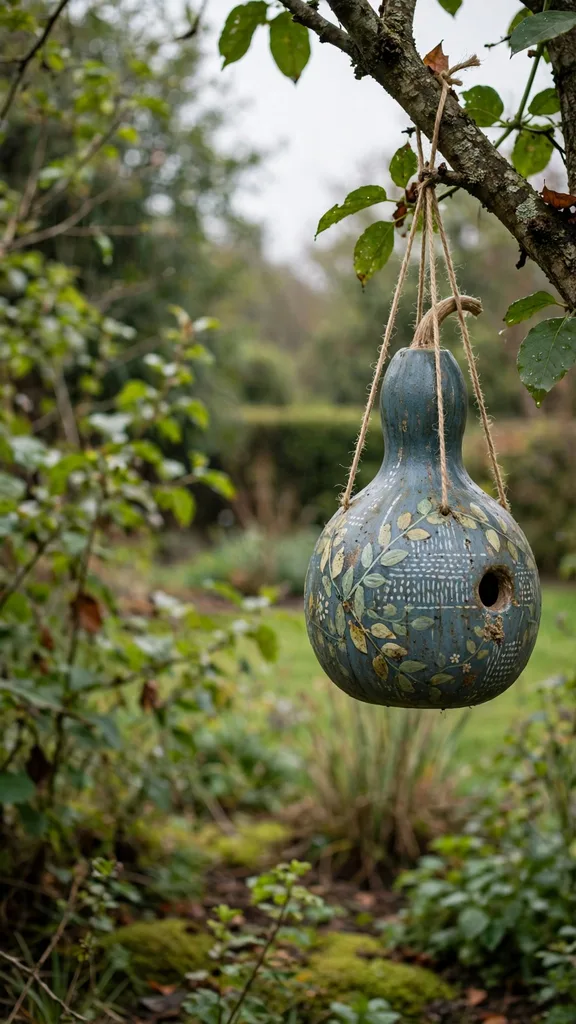
An adult drills the hanging hole and the entrance hole, since drilling a hard gourd needs a clamp and a steady hand, and children paint the outside only. Hang the birdhouse 2 metres (6.6 feet) high on a branch away from a cat route, and check the twine each spring.
22. Dried Flower Bookmark
Press small dried flowers flat between newspaper for 7 days, arrange three flowers in a row on a strip of cardboard 5 centimetres (2.0 inches) wide, and cover the strip with clear contact paper on both sides. Punch a hole at the top, thread a twine tassel through the hole, and trim the bookmark to 15 centimetres (5.9 inches) long.
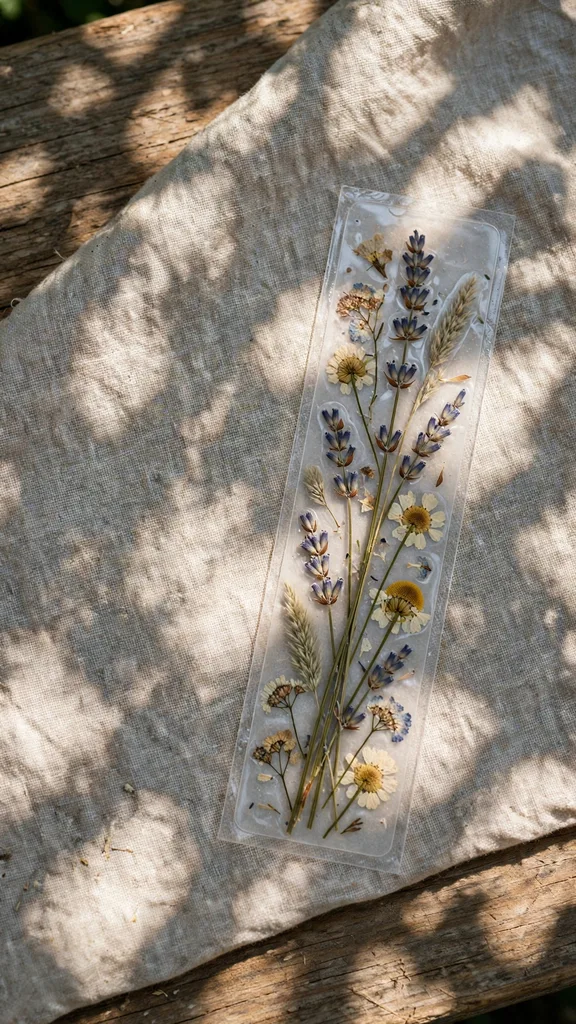
The bookmark suits a Thanksgiving guest who reads, and it preserves summer flowers for a winter book. An adult punches the hole and trims the contact paper, children arrange the flowers, and the bookmark stores flat in a book so the flowers do not crush.
23. Lavender Sachet for a Drawer
Cut two squares of cotton fabric 12 centimetres (4.7 inches) on each side, sew three sides together with a simple running stitch, and fill the pouch with 20 grams (0.7 ounces) of dried lavender buds. Sew the fourth side closed, tie a twine bow at the top, and tuck the sachet in a drawer or a gift box.
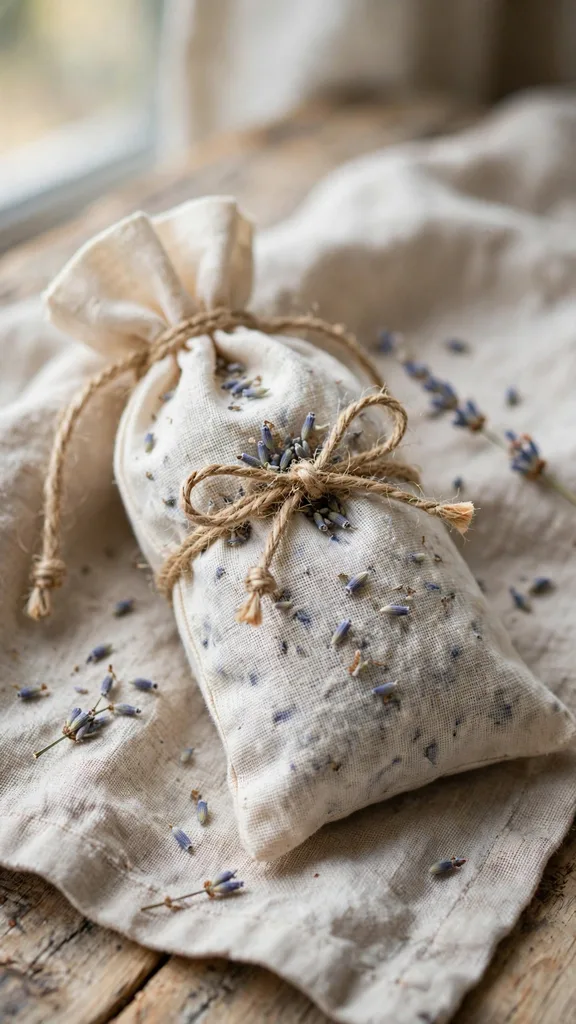
The sachet keeps clothes smelling of lavender for months, and a child fills and ties it in 20 minutes. An adult threads the needle and checks the stitches, since a loose seam spills buds, and the sachet stays out of reach of toddlers, since loose buds pose a choking risk for small children.
24. Rosemary Wreath Ring for a Chair Back
Bend a wire coat hanger into a ring 20 centimetres (7.9 inches) across, wire short rosemary sprigs around the ring with florist wire, and overlap each sprig so no wire shows. Tie a twine loop at the top, hang the ring on a chair back, and snip sprigs from the back for cooking through the week.
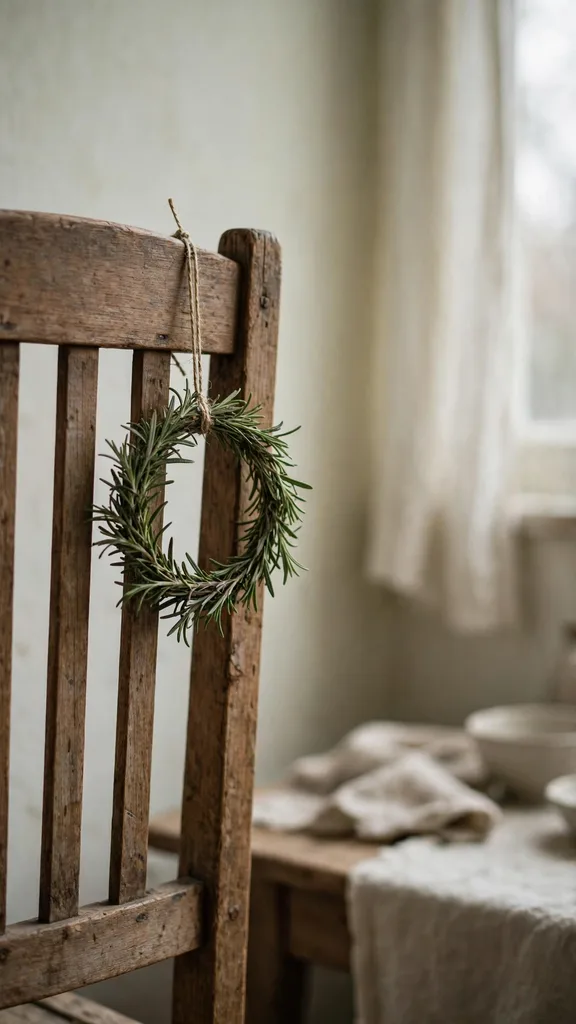
The ring gives a scented chair decoration that doubles as a cooking supply, and rosemary holds its scent for weeks indoors. An adult bends the wire and handles wire ends, since cut wire is sharp, and children wire the sprigs under supervision with the wire ends tucked inward.
25. Dried Flower Thank You Card
Fold a sheet of card 15 centimetres (5.9 inches) by 20 centimetres (7.9 inches) in half, glue two dried flowers and one dried leaf on the front, and write a thank you note inside for a Thanksgiving host or helper. Press the card under a book overnight so the flowers lie flat.
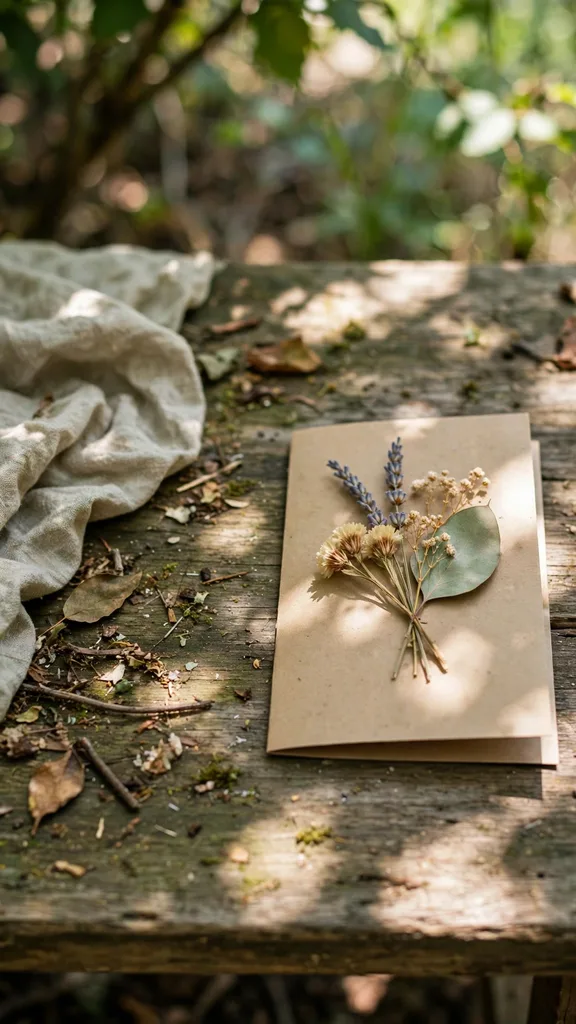
The card suits a child who wants to thank a cook, a host, or a grandparent, and it takes 15 minutes plus pressing time. School glue holds the flowers, an adult checks the fold is straight, and the card mails in a padded envelope so the flowers arrive uncrushed.
26. Herb Bundle Tied with Twine
Gather five stems each of rosemary, sage, and thyme from the garden, line up the stem ends, and tie the bundle at the stem end and again halfway up with twine. Trim the stem ends level with scissors, hang the bundle upside down in a dry room for 7 days, and the bundle becomes a kitchen gift or a table decoration.
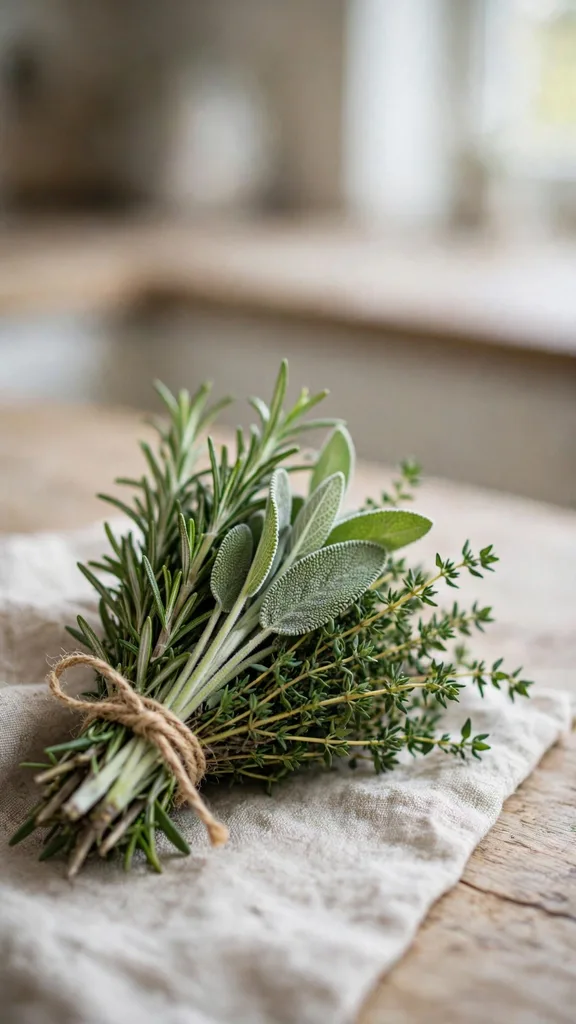
The bundle dries into a fragrant gift, and a child gathers and ties it in 15 minutes. An adult cuts the stems and checks the bundle hangs where air moves, since a damp bundle moulds, and children tie the twine knots with help when the bundle is thick.
27. Potpourri Pouch from Dried Petals
Mix 50 grams (1.8 ounces) of dried rose petals, 20 grams (0.7 ounces) of dried lavender, and 10 grams (0.4 ounces) of dried orange peel in a bowl, spoon the mix into a small cotton pouch, and tie the pouch with twine. Set the pouch on a shelf or in a drawer, and shake it gently once a week to refresh the scent.
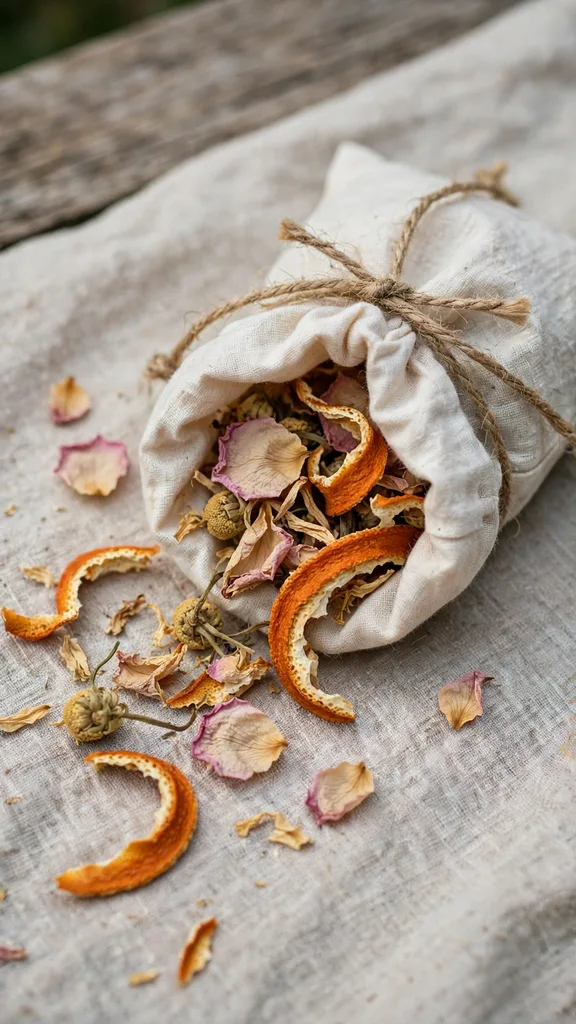
The pouch uses petals and peel that would otherwise go to compost, and a child mixes and fills it in 20 minutes. An adult dries the peel first and checks the pouch tie, children spoon the mix, and the pouch stays out of reach of toddlers, since loose petals and peel pose a choking risk for small children.
28. Leaf Place Cards for Every Guest
Press large flat leaves for 7 days, write one guest name on each leaf with a gold or white paint pen, and set one leaf on each plate with the stem pointing toward the guest. The leaf place card marks every seat, and guests take their leaf home as a keepsake after dinner.
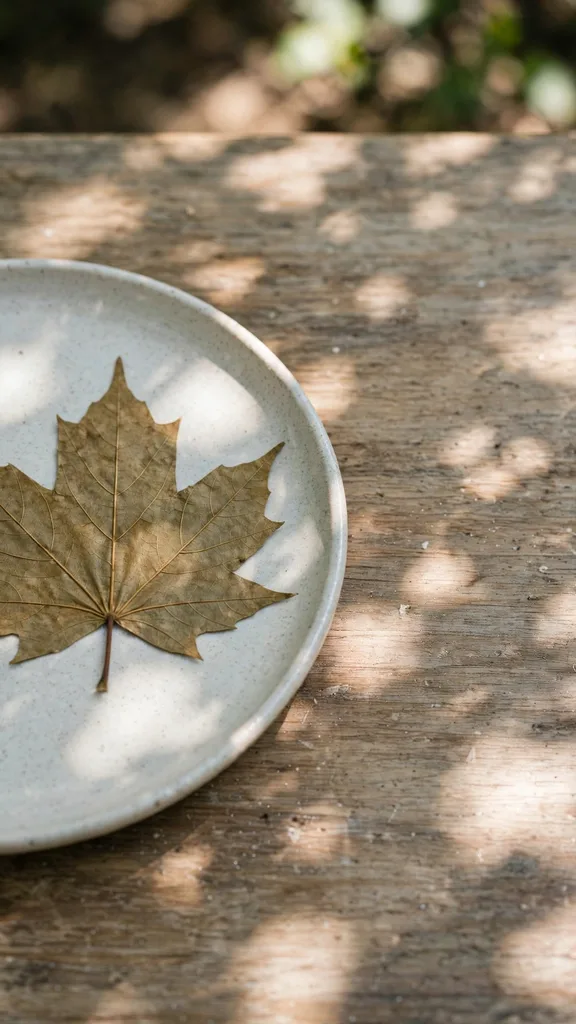
Place cards suit a table of any size, since one leaf marks one seat, and a child writes every name in 20 minutes. An adult checks the spelling of every name first, paint pens stay in adult hands when the child is young, and the leaves press flat so they lie still on the plate.
29. Pinecone Napkin Rings
Cut a strip of cardboard 4 centimetres (1.6 inches) wide and long enough to wrap a rolled napkin with 2 centimetres (0.8 inches) of overlap, glue a small pinecone and one leaf on the outside of the ring, and tape the ring closed at the back. Slide the ring over a rolled napkin and set one ring at each place.
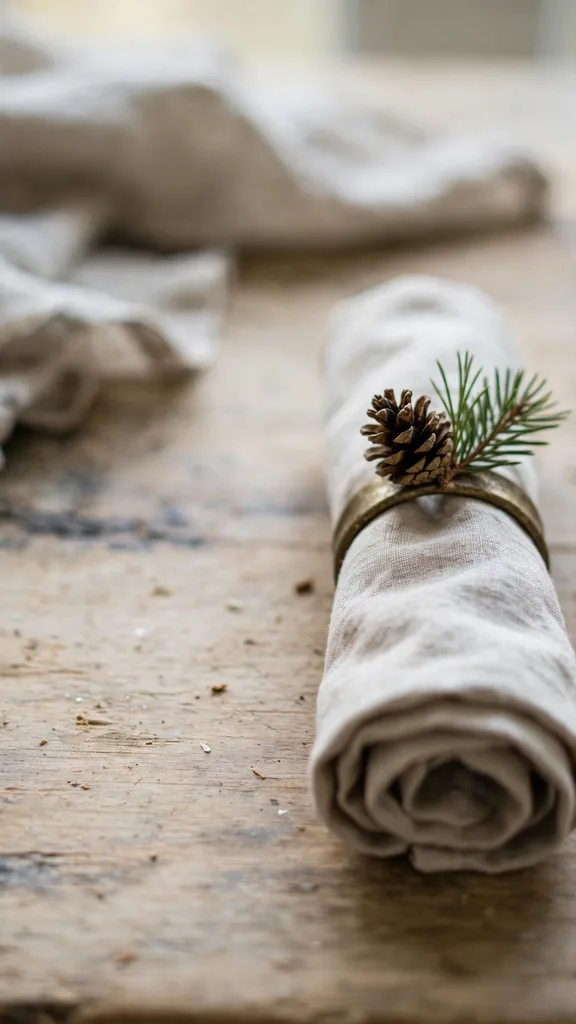
Napkin rings suit a table that needs a woodland touch without a bought set, and a child makes six rings in 30 minutes. An adult cuts the cardboard strips and checks the ring size against a rolled napkin, children glue the pinecones, and the rings store flat with the pinecones facing up.
30. Gratitude Tree for the Table
Stand a bare branch in a jar filled with pebbles, cut leaf shapes from coloured paper, and hang one leaf on the branch for every thing the family names with thanks. Add one leaf each day in Thanksgiving week, and the tree fills with thanks by dinner day.
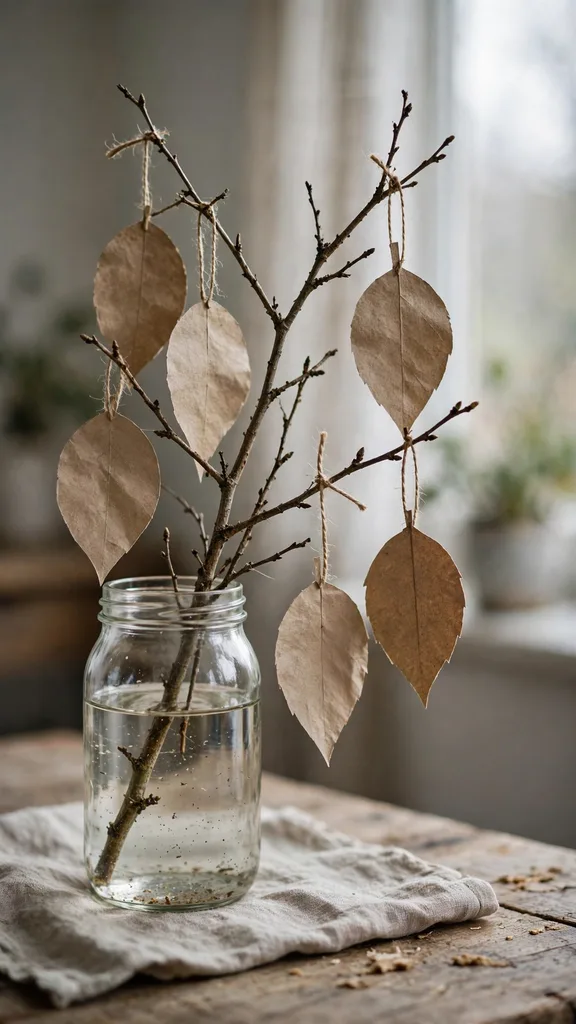
The gratitude tree gives children a daily moment to name what they value, and it becomes a table centrepiece on dinner day. An adult steadies the jar and checks the branch stands straight, children cut and hang the leaves, and paper leaves keep the tree safe for toddlers, since no small parts hang low.
31. Paper Bag Cornucopia
Cut a brown paper bag open along one side, roll it into a cone with the wide end up, and tape the seam from the inside. Fill the cone with paper leaves, mini pumpkins, and pinecones, set the cone on its side on the table with the wide end facing out, and tuck a cloth napkin under the cone so it does not roll.
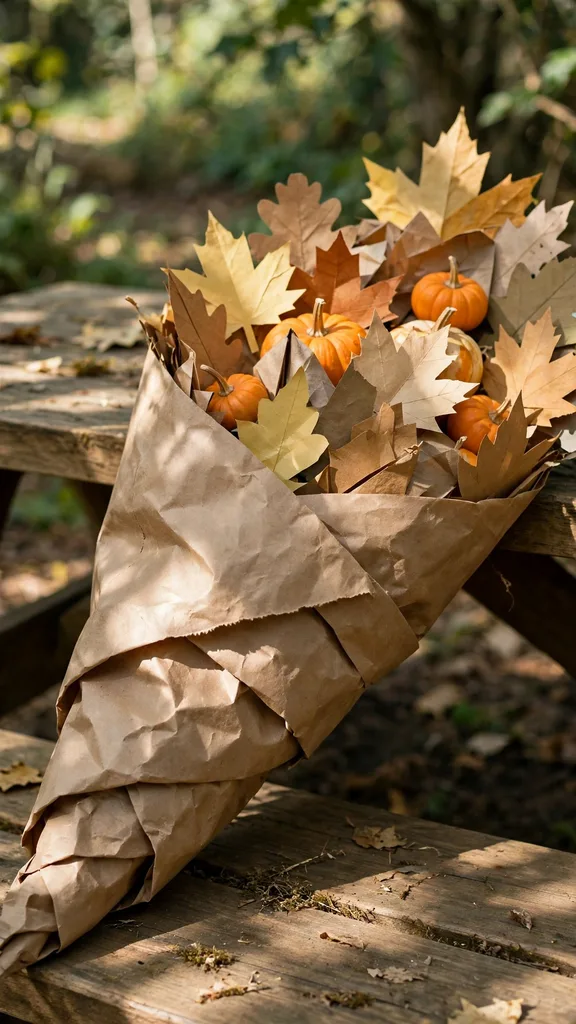
The cornucopia suits a child table centrepiece, since it holds fruit shapes and leaves without a bought horn. An adult cuts the bag and checks the cone balance, children fill it, and the cornucopia stores flat when the filling comes out after dinner.
32. Painted Paper Table Runner
Unroll a length of brown packing paper to fit the table, tape it flat at both ends, and paint leaf prints along the paper with washable paint and real leaves as stamps. Add hand drawn turkeys and pumpkins between the prints, let the runner dry for 1 hour, and dinner guests eat over the art.
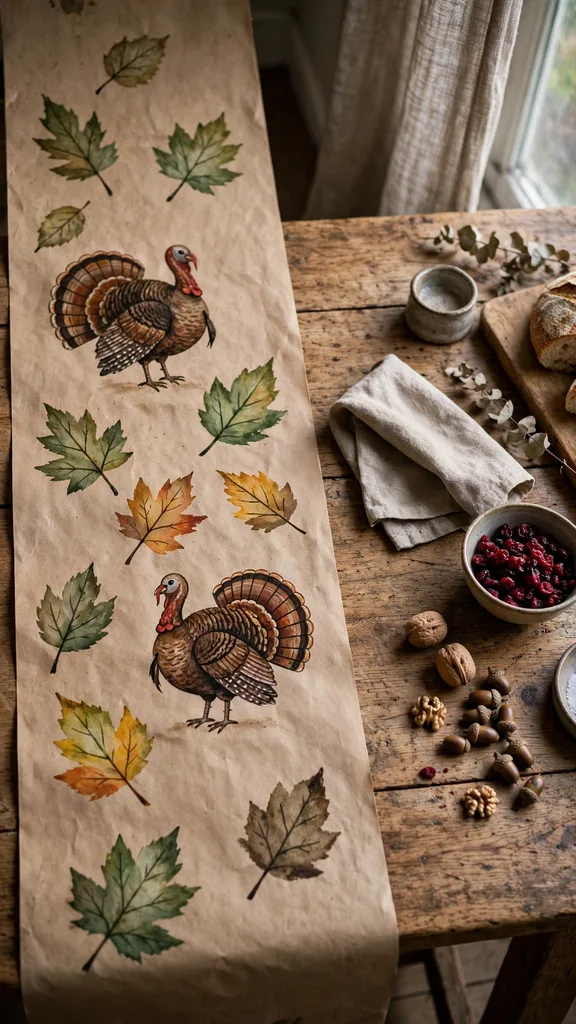
The runner turns the table into a canvas, and children paint it together on the morning of Thanksgiving. An adult tapes the paper and checks paint stays washable, children stamp leaves and draw, and the runner rolls up after dinner as a keepsake of the day.
33. Twig and Leaf Centerpiece in a Jar
Fill a glass jar halfway with pebbles, stand five twigs of different heights in the jar, and glue small leaves along the twigs with school glue. Set the jar in the middle of the table with mini pumpkins around the base, and the centrepiece gives height without blocking faces across the table. See Thanksgiving floral centerpieces for flower centrepieces that pair with a twig jar.
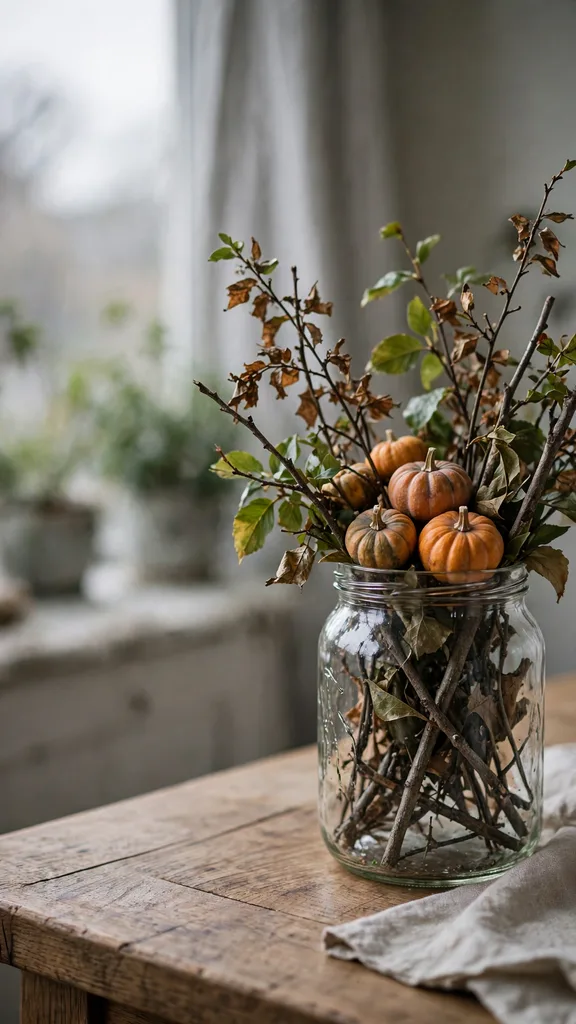
The jar centrepiece suits a table that needs height and colour, and a child builds it in 20 minutes. An adult checks the jar sits steady and the twigs stay short enough to see over, children glue the leaves, and the jar stays away from the table edge so it cannot tip onto a lap.
34. Thankful Banner for the Dining Wall
Cut seven triangles of coloured paper, write one letter of the word THANKFUL on each triangle with a paint pen, and thread the triangles on twine with 5 centimetres (2.0 inches) of space between triangles. Hang the banner on the dining wall with adhesive hooks, and the word greets every guest at dinner.
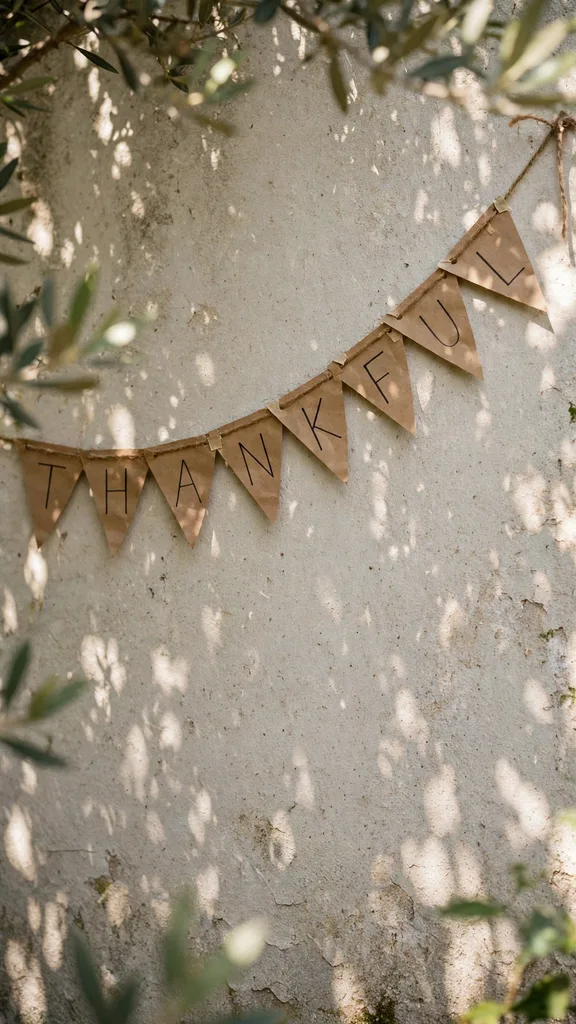
The banner suits a dining wall that needs a simple message, and a child cuts and letters it in 30 minutes. An adult checks the spelling and hangs the banner high enough that toddlers cannot pull it down, children thread the triangles, and twine ends tuck behind the last triangle.
35. Nature Collage on a Cardboard Base
Cover a sheet of cardboard with school glue, press leaves, petals, seeds, and small twigs into the glue in a scene of a garden in autumn, and press the collage under a book overnight. Frame the collage with twigs glued around the edge, and hang it on a wall with an adhesive hook.
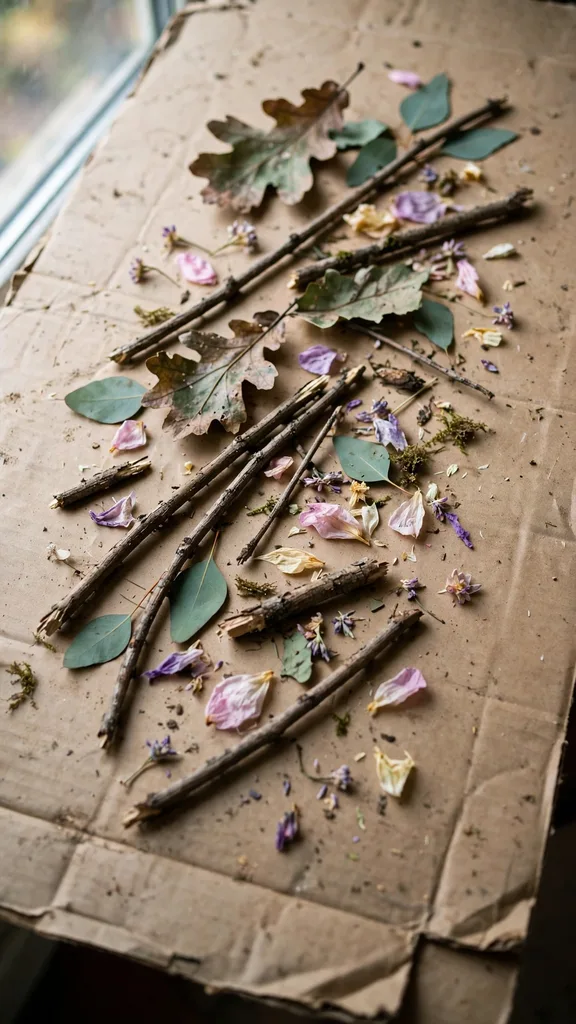
The collage suits a child who gathers more material than any single craft needs, since every leftover piece finds a place in the scene. An adult checks the glue layer is even and the frame twigs are short, children place the pieces, and loose seeds stay away from toddlers during gluing.
36. Twig Photo Frame
Glue four twigs into a rectangle on a sheet of cardboard, trim the twig ends level, and tape a Thanksgiving photo or a child drawing behind the frame. Glue a twine loop at the top back, let the frame dry flat overnight, and hang it on a wall or stand it on a shelf.
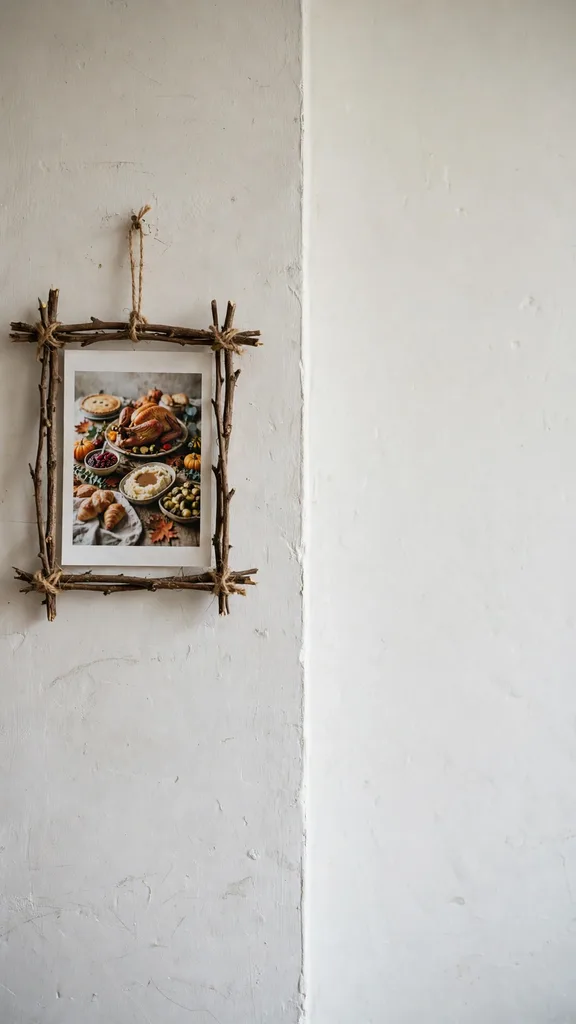
The frame suits a favourite Thanksgiving photo, and it uses twigs from one garden walk. An adult snaps twigs to size and checks the twine loop, children glue the twigs, and the frame hangs where it cannot fall on a toddler.
37. Seed Mosaic Turkey
Draw a turkey outline on cardboard, fill the body with brown lentils, the tail with yellow corn kernels and red beans, and the ground with green split peas, gluing each seed in place one row at a time. Press the mosaic under a book overnight, and the seed turkey becomes a textured wall picture.
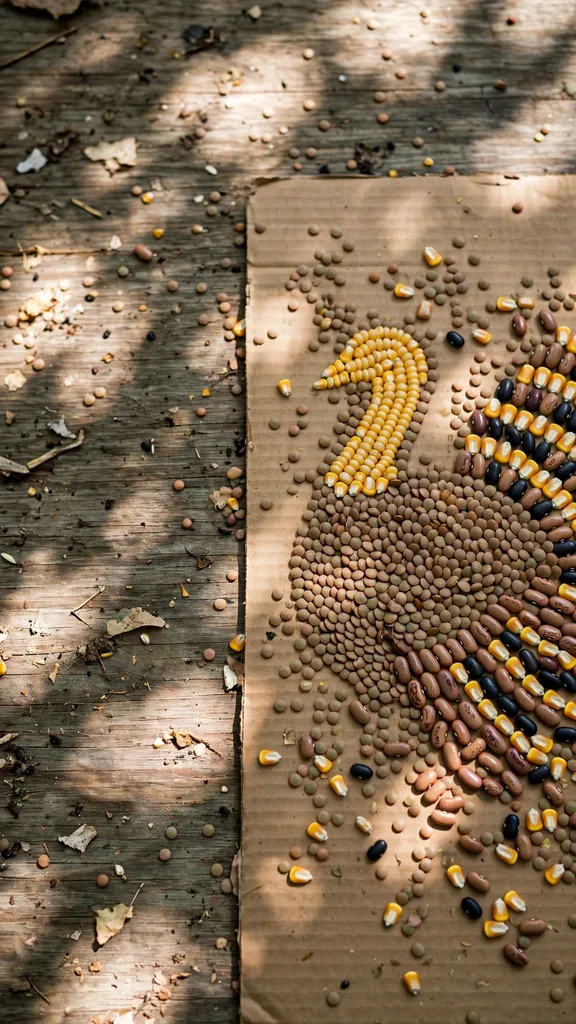
The mosaic suits an older child with patience for small pieces, since one turkey takes 1 hour of gluing. An adult draws the outline and checks the glue, children place the seeds with tweezers or fingers, and the mosaic stays out of reach of toddlers, since loose seeds pose a choking risk for small children.
38. Bark Rubbing Banner
Tape a sheet of paper around a tree trunk with painter tape, rub the side of a crayon across the paper until the bark pattern shows, and repeat on three trees for three different patterns. Cut the rubbings into strips, glue them in a row on a backing sheet, and hang the banner as a record of garden trees.
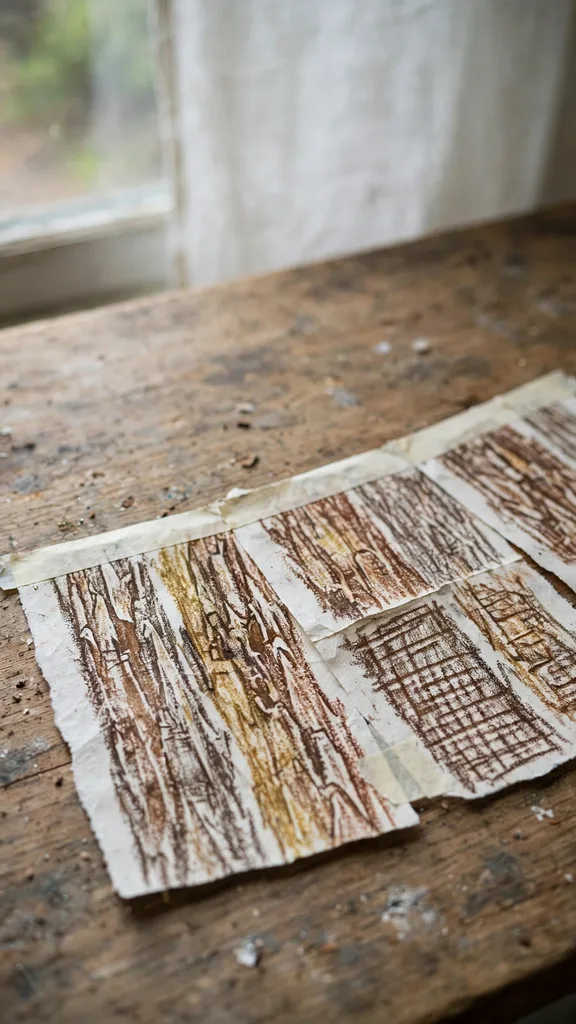
Bark rubbing suits a child who likes outdoor art, since every tree gives a different pattern, and the banner takes 30 minutes on a dry day. An adult tapes the paper and checks the tree has no thorns or sap that irritates skin, children rub with crayons, and the banner comes inside before rain.
39. Painted Rock Turkeys for the Porch
Wash flat garden rocks, paint a turkey body on each rock with washable outdoor paint, and add paper feather shapes glued at the back once the paint dries. Set the rock turkeys along a porch step or a garden path, and they greet guests on the way to the door.
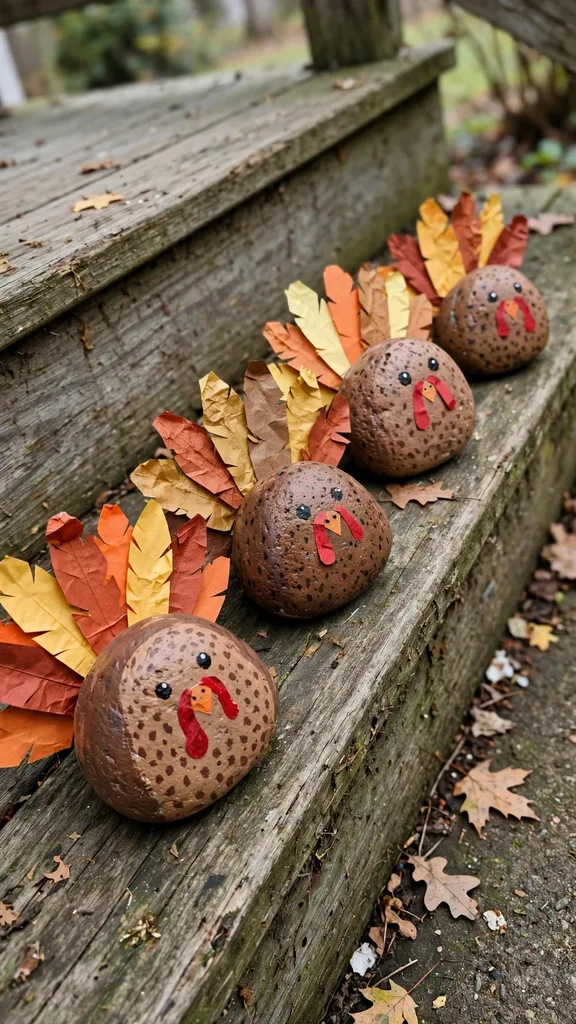
Rock turkeys suit a porch that needs a sturdy decoration, since rocks do not blow away in wind. An adult checks the rocks are flat and stable, children paint the bodies, and rock turkeys stay outside or on a low shelf, since a heavy rock hurts if it falls from a high shelf.
40. Nature Mandala on a Paper Plate
Mark the centre of a paper plate, arrange petals in a ring around the centre, leaves in a ring outside the petals, and seeds in a ring outside the leaves, working outward with school glue. Let the mandala dry flat overnight, and the symmetrical pattern becomes a table decoration or a wall picture.
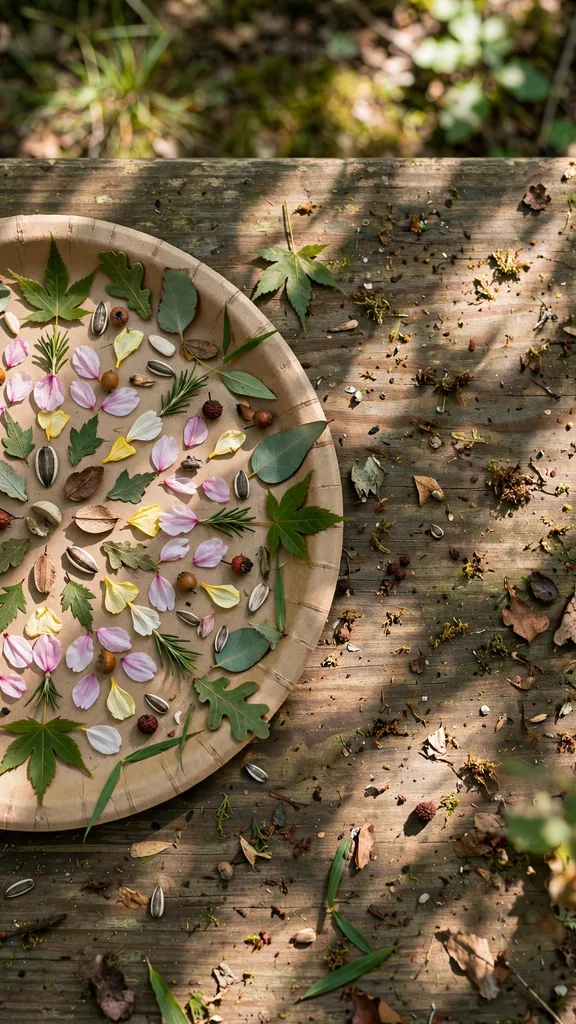
The mandala suits a child who likes patterns, since each ring repeats one material, and a child finishes one mandala in 40 minutes. An adult marks the centre and checks the glue, children place the rings, and loose seeds stay away from toddlers during the work.
41. Handprint Leaf Tree
Paint a tree trunk and branches on a large sheet of paper with brown washable paint, then press a child hand in autumn paint colours onto the branch ends as leaves, one handprint per branch tip. Let the sheet dry flat for 1 hour, frame it with a cardboard border, and hang it as a Thanksgiving keepsake.
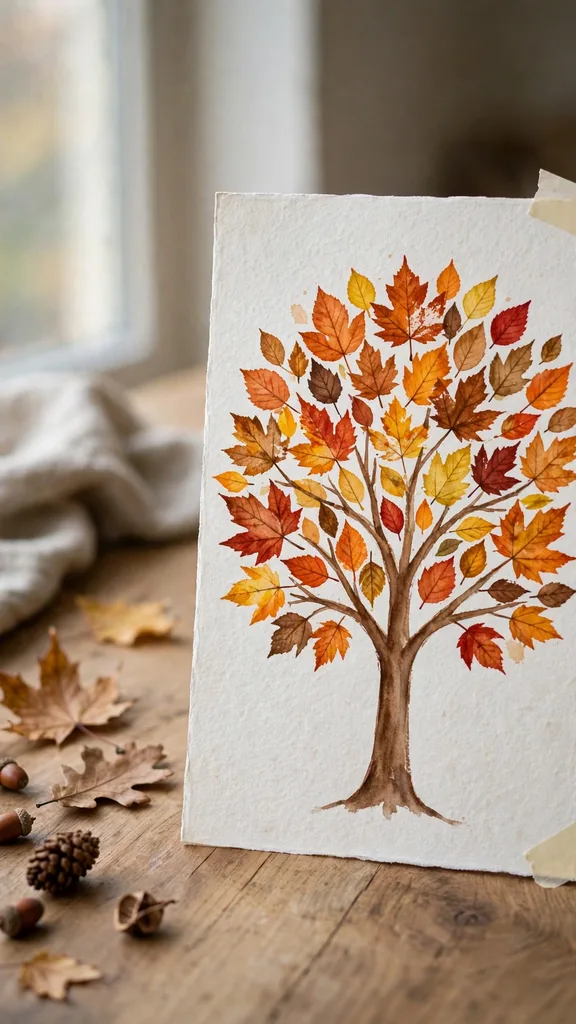
The tree keeps a record of small hands at Thanksgiving, and a family adds one handprint per child each year. An adult pours the paint and checks hands wash straight after printing, children press their own hands, and washable paint keeps skin and clothes easy to clean.
42. Thankful Paper Chain
Cut strips of coloured paper 3 centimetres (1.2 inches) wide and 15 centimetres (5.9 inches) long, write one thing to be thankful for on each strip, and loop the strips into a chain with tape or staples. Hang the chain across a doorway or along a mantel, and read one link aloud before dinner.
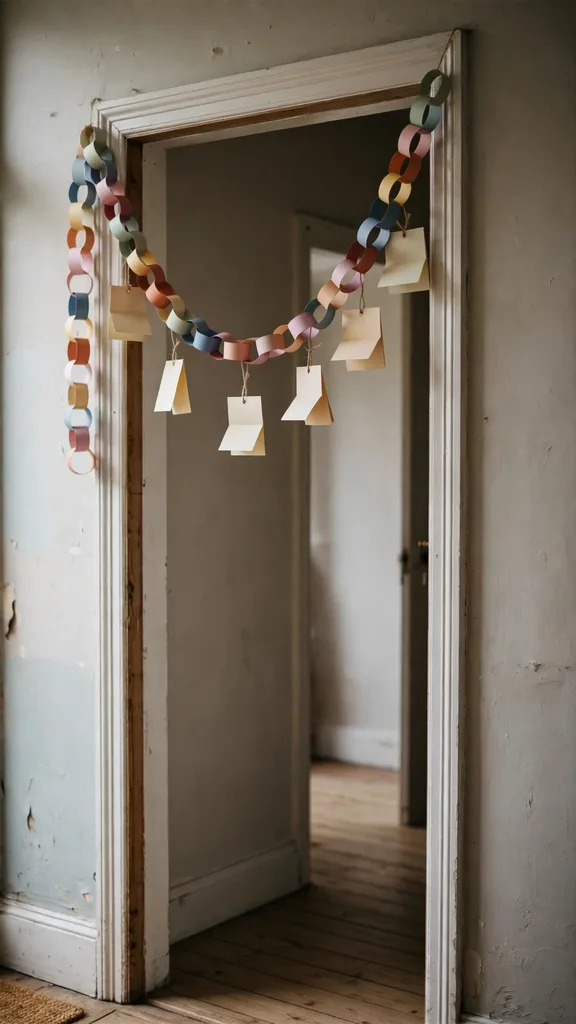
The chain suits a family that wants a daily thanks ritual in Thanksgiving week, since one link joins the chain each day. An adult staples the first links and checks the chain hangs high, children write and loop the links, and the chain comes down after dinner and stores in a box for next year.
43. Family Gratitude Book
Fold five sheets of paper in half to form a book, staple the spine with adult help, and give one page to each family member to draw or write what they value most. Add a pressed leaf to each page, press the book under a stack of books overnight, and read the book aloud on Thanksgiving evening.
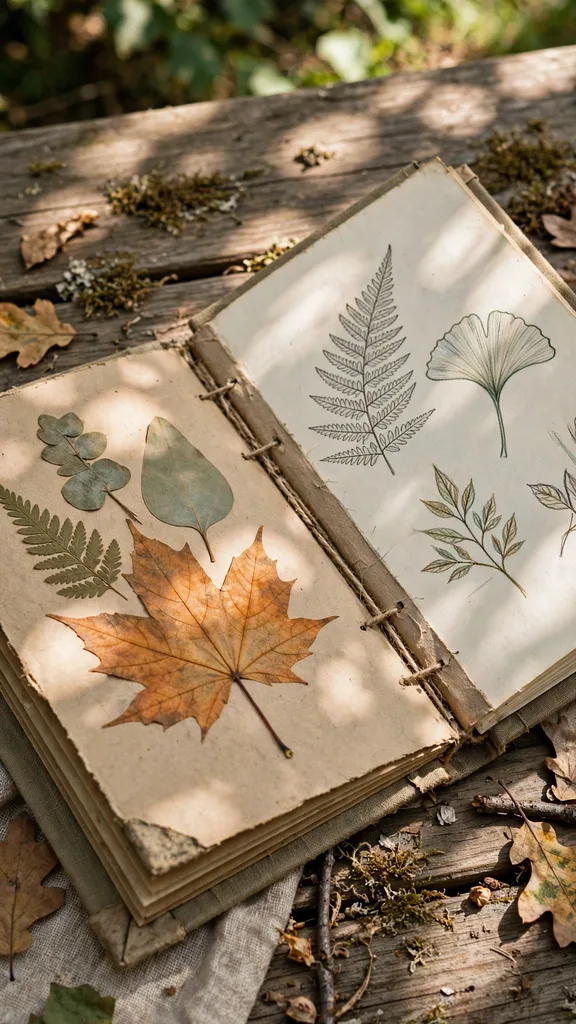
The book suits a family that wants a keepsake beyond one dinner, since it holds one page per person each year. An adult staples the spine and checks the pages lie flat, children draw and write their pages, and the book stores on a shelf where it stays dry.
44. Corn Husk Doll for the Mantel
Soak dried corn husks in warm water for 30 minutes, fold six husks over a small ball of husks for a head, and tie twine at the neck, waist, and arms to shape a doll. Dress the doll with a husk skirt and a twine belt, stand it on the mantel, and the doll keeps its shape as the husks dry.
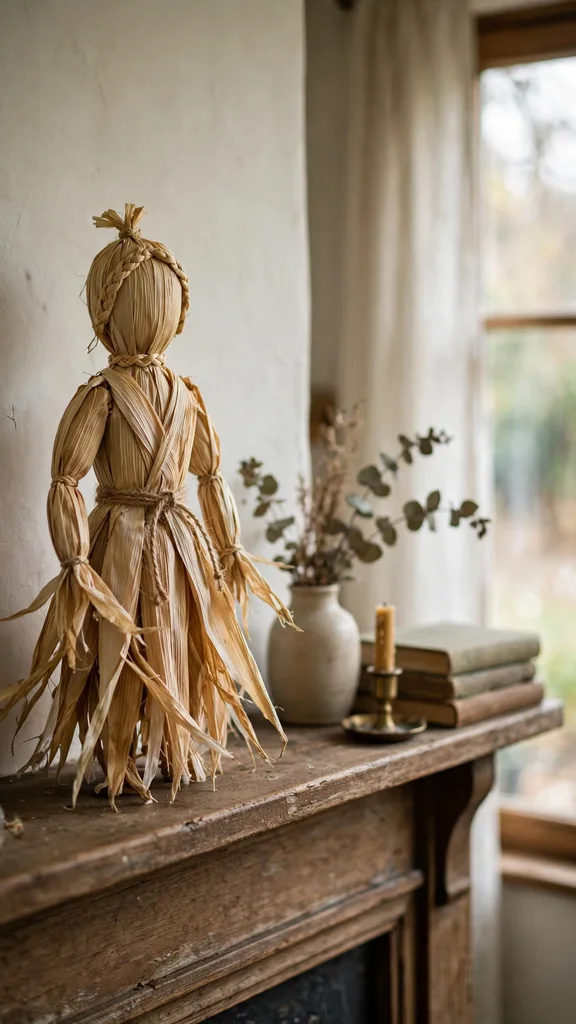
The doll suits a mantel that needs a harvest figure, and it uses husks from cooking corn or a garden corn patch. An adult soaks the husks and ties the first knots tight, children fold and dress the doll, and scissors stay in adult hands for trimming husk ends.
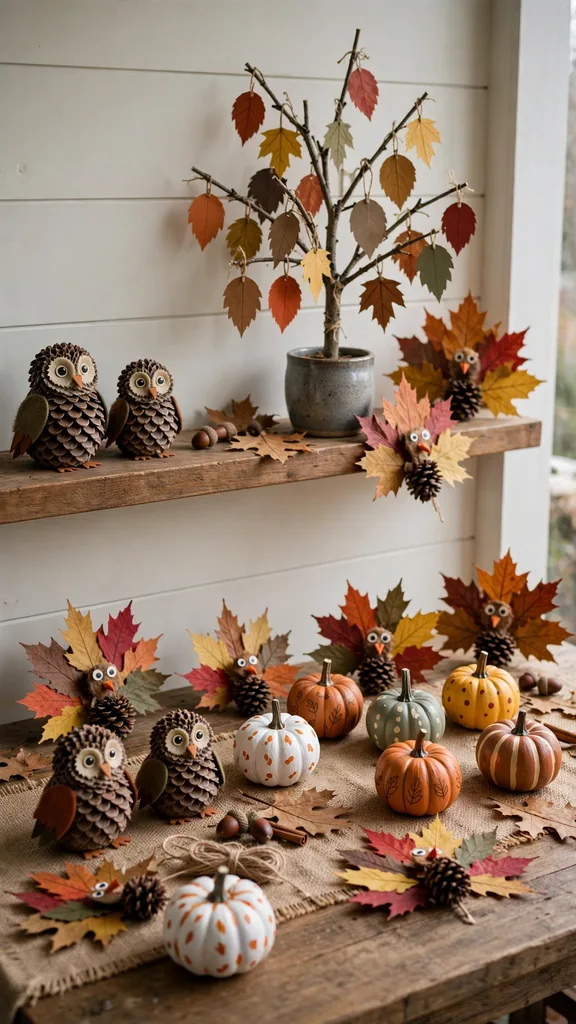
45. Thanksgiving Table Display of Finished Kids Crafts at Dusk
Gather every finished craft from this collection on one table at dusk, set the leaf turkeys and pinecone owls at the front, the painted pumpkins and rock turkeys along the back, and the gratitude tree and twig centrepiece in the middle. Light the room with lamps, step back, and check the display reads as one Thanksgiving table before guests arrive. See Thanksgiving decor for home for porch and home displays that pair with a finished kids table.
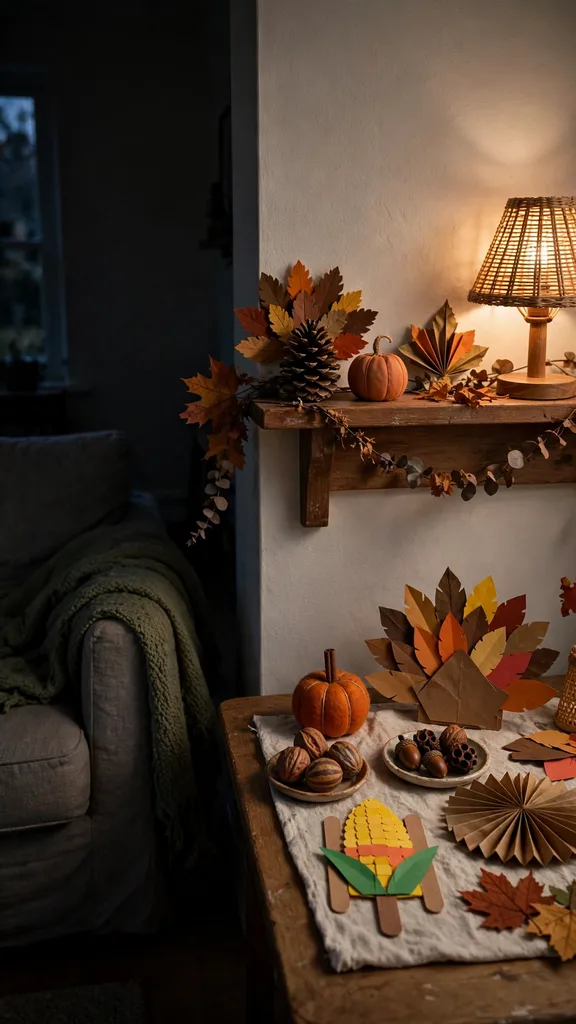
The dusk display is the proof moment for the whole collection, since every craft earns its place on one table, and a child points out each piece to guests with pride. An adult checks the table stands steady, keeps the display away from a hot lamp, and moves any small part craft out of reach of toddlers before guests arrive.
Quick Picks: Which Kids Craft Fits Your Child
| Craft Group | Best Fit | Finish Time | Safety Note |
|---|---|---|---|
| Leaf and paper crafts | Ages 3 and up, youngest children | 15 to 30 minutes | School glue only, adult cuts cardboard |
| Pinecone and acorn crafts | Ages 4 and up | 15 to 40 minutes | Adult bakes pinecones, small parts away from toddlers |
| Pumpkin and gourd crafts | Ages 4 and up | 20 to 40 minutes | Adult cuts pumpkin and gourd, washable paint only |
| Dried flower and herb crafts | Ages 6 and up | 15 to 30 minutes | Adult threads needle, small buds away from toddlers |
| Table decor kids can make | Ages 3 and up with help | 20 to 30 minutes | Adult checks balance, jars away from table edge |
| Nature collage and keepsakes | Ages 5 and up | 30 to 60 minutes | Adult staples and drills, seeds away from toddlers |
Use this table to start with the craft group that fits the child, then pick one craft from that group and finish it first. A craft that fits the child needs less adult rescue than a craft chosen for looks alone.
Frequently Asked Questions About Thanksgiving Crafts for Kids
Children aged 3 years and up can start with leaf rubbing, leaf collage, and paper crafts, since those crafts need no cutting and no small parts. Children aged 5 years and up handle seed mosaics and herb bundles with patience, and children aged 6 years and up sew simple sachets with adult help. Match the craft to the child, not to the age label alone.
Leaf rubbing, leaf collage with large leaves, and paper chains suit toddlers, since they use large pieces, school glue, and washable paint. Keep small balls and toys with small parts away from children younger than age 3, and keep deflated balloons away from children younger than age 8, following the national toy safety guide linked in this article.
Sort small parts into lidded containers, count beads and seeds at the start and end of craft time, and keep toddlers at a separate table with large piece crafts. An adult checks every finished craft for loose parts before it goes on display, and any craft with loose beads, seeds, or caps stays on a high shelf.
Yes, most crafts in this collection take 15 to 40 minutes of active work plus drying time, so a child finishes two or three crafts in one afternoon. Pressing leaves and drying paint take days or hours, so start pressed leaf crafts one week before Thanksgiving and paint crafts one day before guests arrive.
Gather every finished craft on one table at dusk, set tall pieces at the back, small pieces at the front, and one centrepiece in the middle, then step back and check the display reads as one table. Keep the display away from hot lamps and table edges, move small part crafts out of reach of toddlers, and let each child point out their own piece to guests.