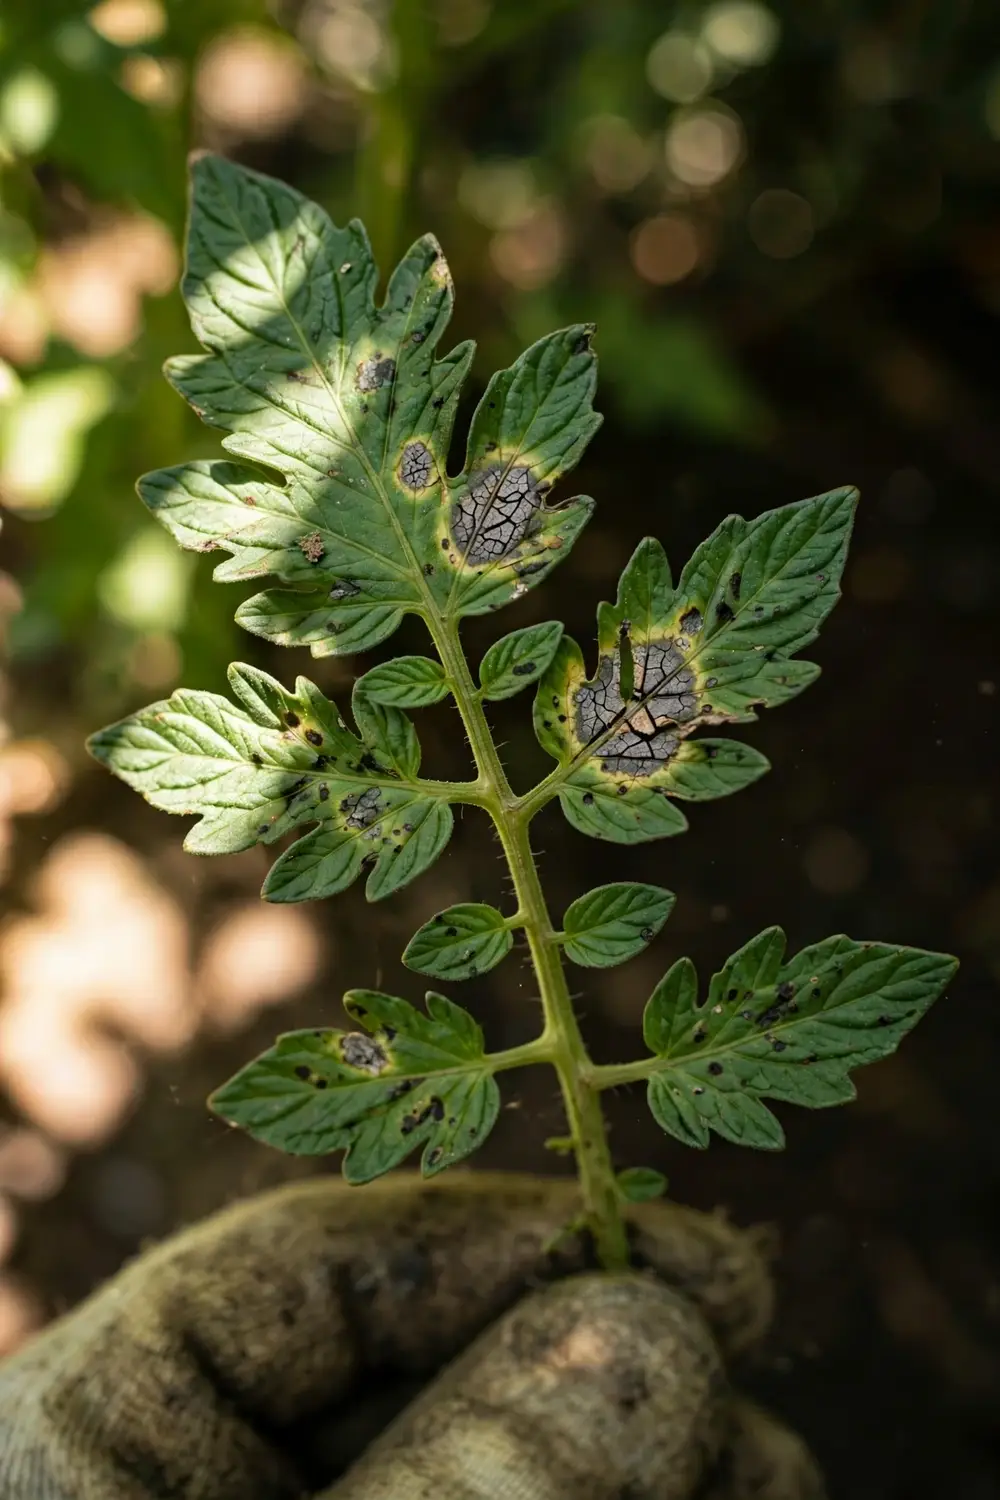

Stemphylium gray leaf spot on tomato strips leaves while leaving fruit untouched. The fungus spots lower leaves first, then dries whole leaflets gray and crispy until they drop. 9 strategies below tell it apart from early blight and save the harvest, starting with the humidity rule that separates the two diseases in the field.
This disease is easy to misread. Early blight looks close enough that growers in Maine sent photos of gray leaf spot thinking they had early blight. The difference matters because the two fungi answer to different moisture rules and different fruit risks. Learn the leaf pattern once and the rest of the plan falls into place.
One more confusion needs clearing first: lawn gray leaf spot is a different disease, caused by Pyricularia oryzae on turf grass, sharing two words with this tomato disease and nothing else. This article covers Stemphylium gray leaf spot on tomato only. The management below does not transfer to lawns, spinach, cotton, or onions.
What Stemphylium Gray Leaf Spot on Tomato Actually Is
Stemphylium gray leaf spot on tomato is a fungal leaf disease of tomato. Stemphylium gray leaf spot on tomato is a fungal leaf disease of tomato. Three species cause it. Stemphylium solani, Stemphylium lycopersici, and Stemphylium botryosum f. sp. lycopersici all appear in the Connecticut Agricultural Experiment Station fact sheet on the disease, and no field check separates them. Gardeners use the common name from here on.
The fungus survives on plant debris and on seed. It also rides on volunteer tomato plants, peppers, eggplant, potatoes, and solanaceous weeds. The Connecticut Agricultural Experiment Station lists those carriers as inoculum sources for new epidemics. An outbreak can start in an infested seedbed, then move into the garden on transplants that looked healthy at purchase.
The disease holds a wide range. The Connecticut Agricultural Experiment Station describes it as a destructive tomato disease across the southeastern United States, with spread through humid tropical and subtropical regions worldwide. The Maine Organic Farmers and Gardeners Association calls it a new tomato disease for Maine, a sign that warming summers carry it farther north each season.
How to Identify Stemphylium Gray Leaf Spot on Leaves
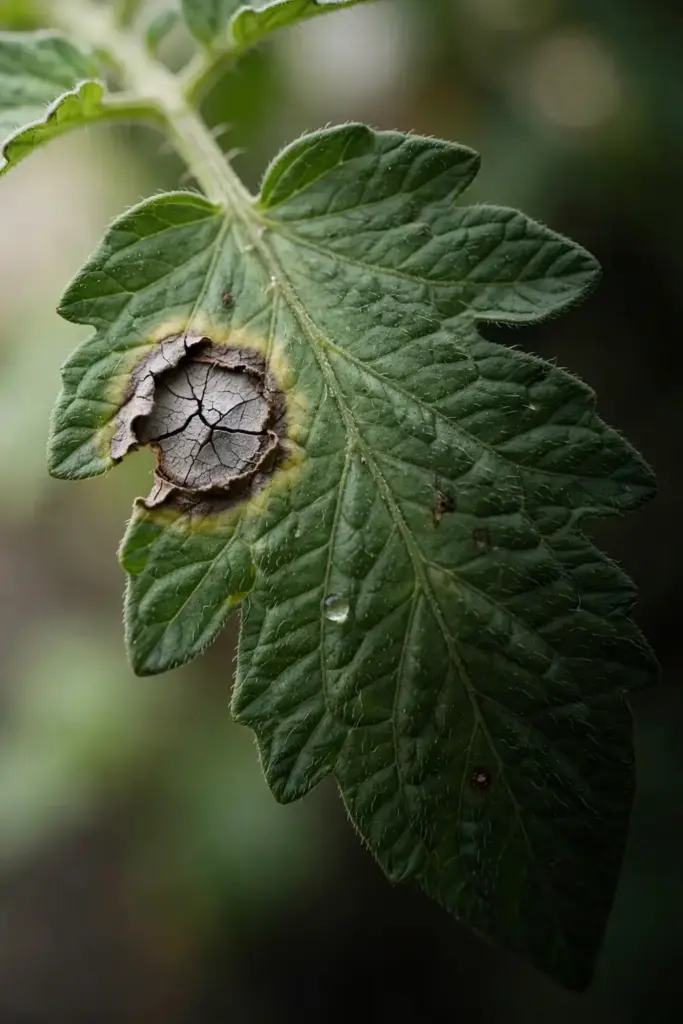
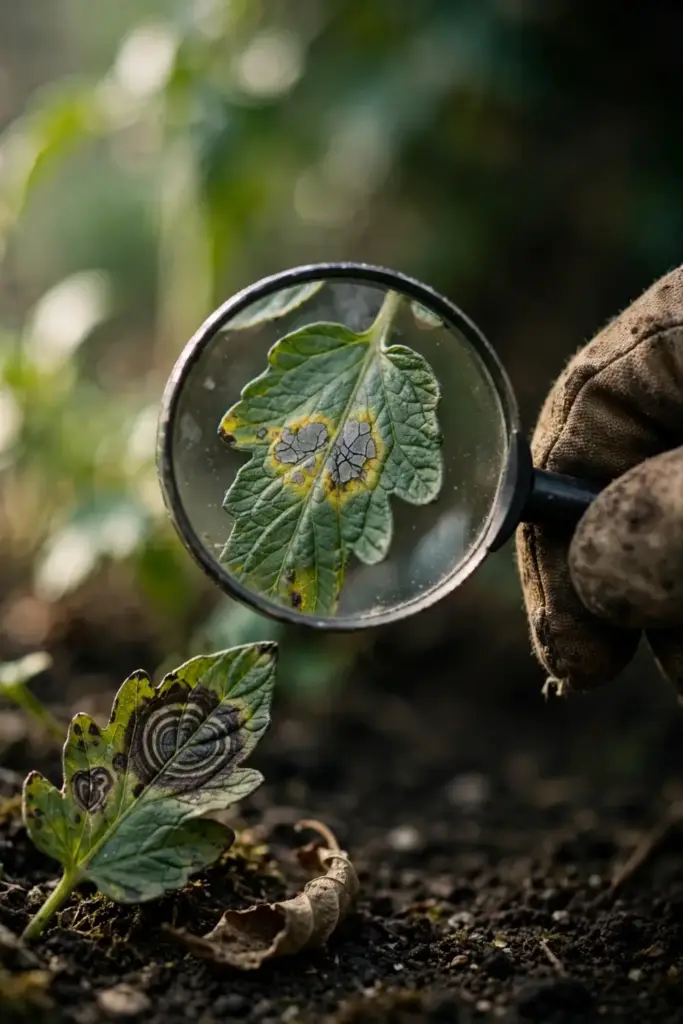
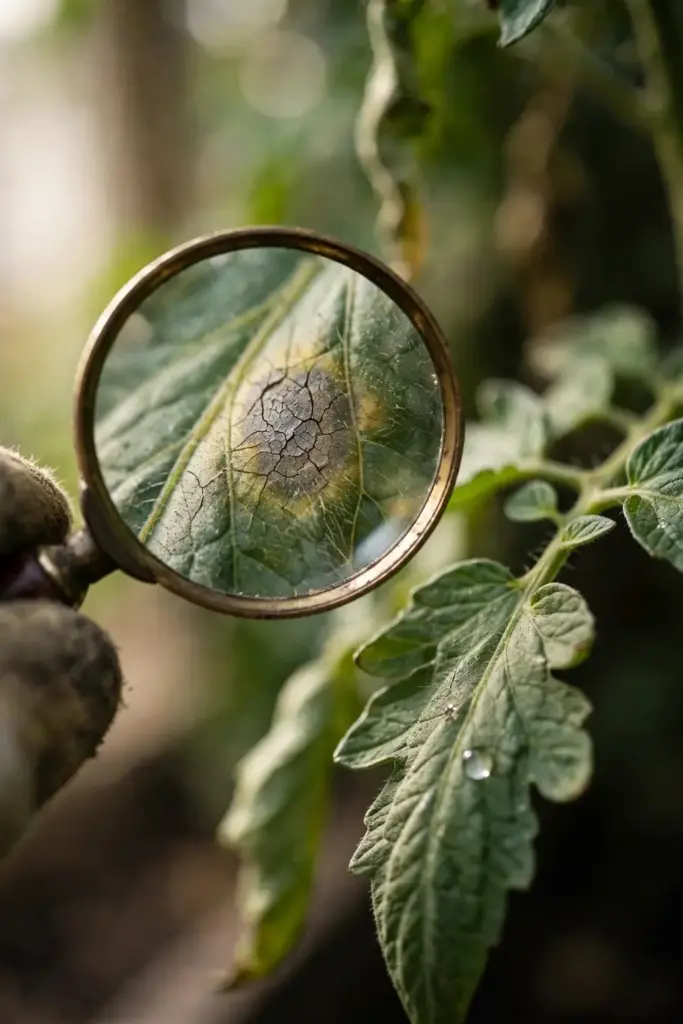
Stemphylium gray leaf spot starts as small dark brown specks on leaves. The specks expand into brown spots about one tenth of an inch across, sometimes ringed by a yellow halo. As each lesion grows, its center turns gray and cracks. The Connecticut Agricultural Experiment Station describes that exact sequence in its fact sheet.
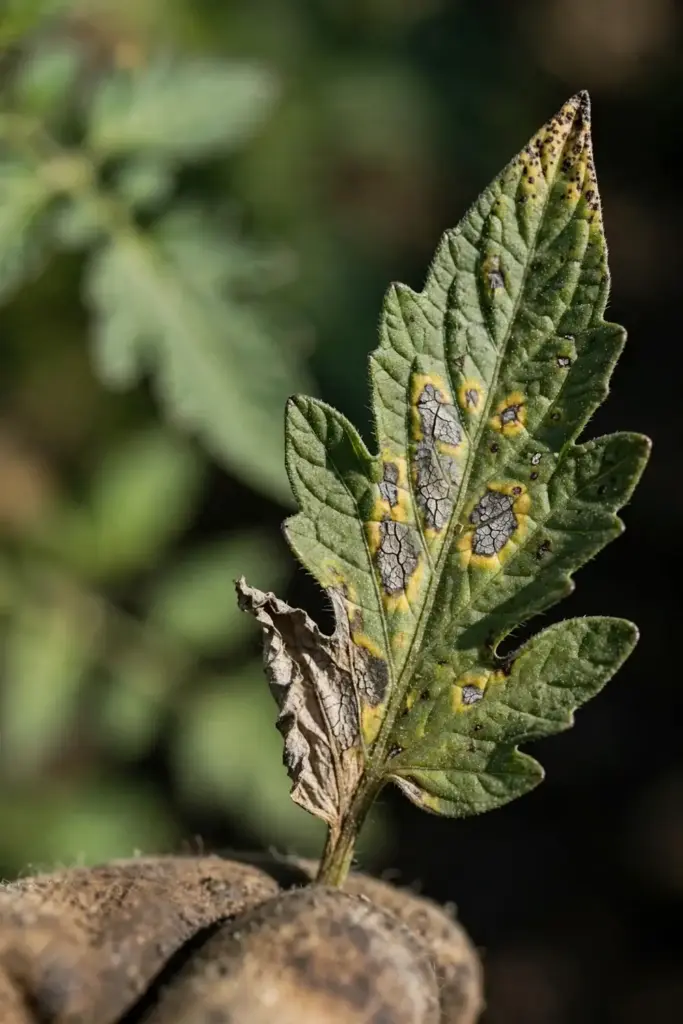
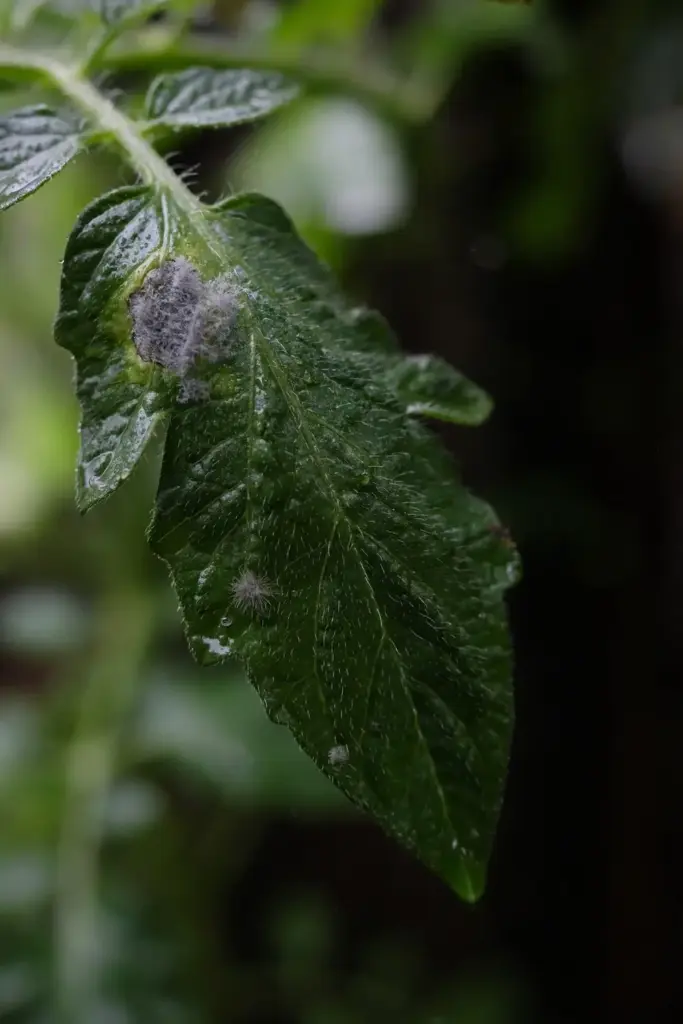
Mature lesions stay small. Bayer Vegetables puts mature lesions at 2 to 4 millimeters across, and notes that neighboring lesions can merge into larger dead patches. Centers dry out and crack open. In humid weather, a gray fuzz of fungal spores can show on the lesion surface. That fuzz is the fungus sporulating, not a second disease.
Whole leaves fail in stages. An infected leaf turns yellow, then gray, then dry and crispy. Badly infected leaves drop early, and heavy defoliation follows on susceptible plants. Defoliation is the primary damage of this disease. The plant loses the leaves that feed the fruit and shade it, and yield falls even though the fruit itself stays clean.
How to Identify Stemphylium Gray Leaf Spot on Stems and Fruit
Stems and petioles catch the disease far less often than leaves. When petioles or tender stems do get infected, the symptoms show as elongated brown lesions. The Connecticut Agricultural Experiment Station notes that the disease rarely attacks petioles and stems. Leaf symptoms still carry the diagnosis in almost every garden case.
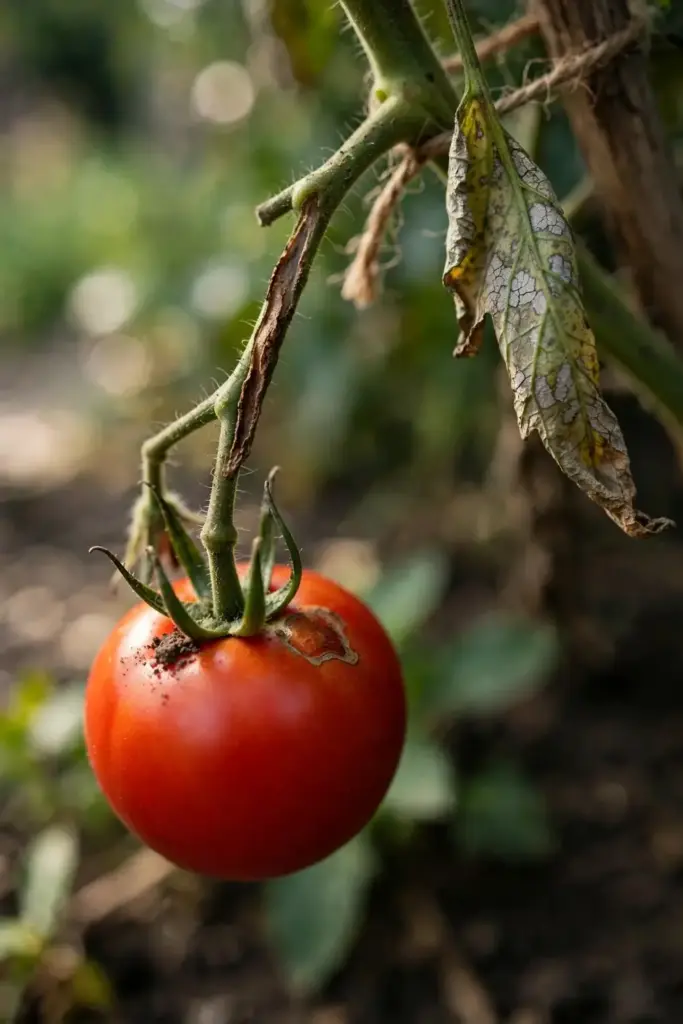
Fruit escapes entirely. The Maine Organic Farmers and Gardeners Association states the point flatly: fruit do not become infected. The Connecticut Agricultural Experiment Station agrees, writing that the disease is never found on fruit. A tomato hanging on a defoliated plant may look rough from sun exposure, and the cause of that damage is the missing leaf cover rather than infection of the fruit itself.
Seedlings are not exempt. The disease attacks tomato leaves at all growth stages, from seedling to harvest. A seedbed can carry the first infection of the season before any plant reaches the garden. Inspect transplants leaf by leaf before planting, and leave any seedling with spotted lower leaves at the store.
Which Tomatoes Get Hit Hardest by Stemphylium Gray Leaf Spot
Cherry and grape tomatoes sit at the top of the risk list. The Connecticut Agricultural Experiment Station reports that cherry and grape tomatoes are more susceptible to the disease than standard slicing types. Bayer Vegetables adds that the Sm resistance gene is less widely used in cherry and grape varieties, which leaves those types more exposed, especially under cover.
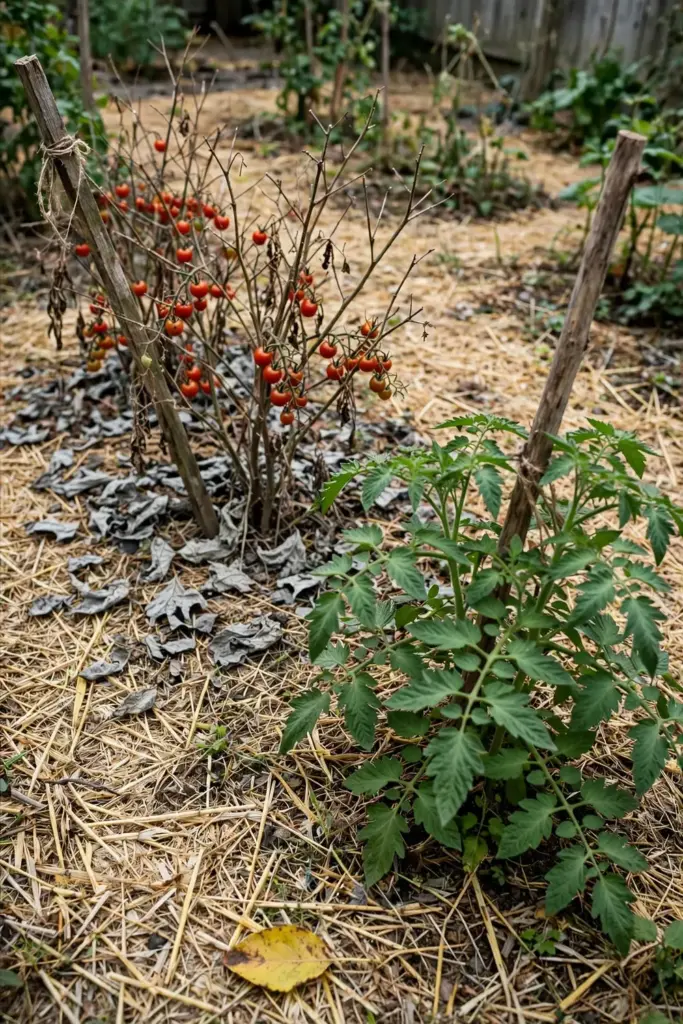
Susceptible slicing varieties follow close behind. On a susceptible cultivar, the disease causes early defoliation that strips the plant while fruit still needs weeks to ripen. The same planting can show a sharp split: a resistant variety standing green beside a susceptible neighbor going gray. That split is the clearest home-garden proof that variety choice decides the season.
Growing conditions set the third rank. Plants under cover catch it readily, since greenhouses and high tunnels hold the humidity the fungus wants. Crowded beds with still air hold wet leaves longer. Beds watered from overhead stay wet longest of all. A plant with all three disadvantages loses every edge, even in a year when the weather stays mild.
Stemphylium Gray Leaf Spot vs Early Blight
Early blight is the lookalike that causes the most confusion. The table below is compiled from parallel Extension sources, since no published head-to-head grower comparison exists. Each row is verified against the source named beside the table. Field identification stays a best judgment. Symptoms overlap heavily, mixed infections happen, and a lab culture settles close calls. The Alternaria blight guide covers early blight in full for readers who want the other side of this pair.
| Clue | Stemphylium Gray Leaf Spot on Tomato | Early Blight |
|---|---|---|
| Pathogen | Stemphylium solani, S. lycopersici, S. botryosum f. sp. lycopersici | Alternaria solani |
| First symptom | Small dark brown specks on leaves | Dark brown to black spots on lower leaves |
| Lesion look | Gray center that cracks, sometimes with a yellow halo | Concentric target rings, often with a yellow halo |
| Lesion size | About one tenth of an inch, up to 2 to 4 millimeters | Larger, with rings that keep expanding |
| Fruit | Never infected | Dark sunken lesions near the stem end, with rings |
| Moisture needed | High humidity alone can start infection | Liquid water on leaves, from rain or dew |
| Temperature sweet spot | 77 degrees Fahrenheit | 80 degrees Fahrenheit |
| Spread | Wind and splashing water from debris, seed, and volunteers | Wind and splashing water from debris and seed |
| Best defense | Sm-gene resistant varieties, sanitation, airflow | Resistant varieties, sanitation, airflow, rotation |
| Field test | Gray cracked centers plus clean fruit | Target rings plus fruit lesions |
The fruit check is the fastest separator. Stemphylium gray leaf spot never infects fruit, while early blight marks fruit with dark sunken lesions near the stem end. North Carolina State University Extension describes those early blight fruit lesions as brown to black spots at the calyx end that carry the same concentric rings as the leaf spots.
The moisture check is the second separator. Stemphylium gray leaf spot infects on humidity alone, so it appears under cover where leaves never get rained on. Early blight usually needs liquid water on the leaf. That contrast explains why gray leaf spot shows up in greenhouses and high tunnels in ways early blight typically does not.
One more lookalike deserves a single line. Septoria Leaf Spot on tomato shows spots with tiny bumps, the spore tendrils that the Maine Organic Farmers and Gardeners Association uses to separate it from Stemphylium gray leaf spot. University of Illinois Extension notes that early blight, Septoria leaf spot, and anthracnose share the same management practices, and that defoliation from the first two exposes fruit to sunscald. Septoria Leaf Spot is a separate disease with its own article, and it is named here without a link because that article is not yet live.
Why Humidity Alone Starts Stemphylium Gray Leaf Spot
Humidity alone starts Stemphylium gray leaf spot. Spores germinate on a leaf surface that holds high humidity or free water, and infection follows without a single drop of rain. The Maine Organic Farmers and Gardeners Association states that the disease requires liquid water or high humidity to infect leaf surfaces. That single fact explains the greenhouse cases, the high-tunnel cases, and the still-air corners of outdoor beds.
Warmth sets the pace. The Connecticut Agricultural Experiment Station puts the optimum temperature for disease development at 77 degrees Fahrenheit, and the Maine Organic Farmers and Gardeners Association agrees. Warm wet weather drives the fastest epidemics. Cool dry weather slows the fungus to a crawl.
Symptoms arrive fast after infection. Bayer Vegetables notes that symptoms start to appear within 2 to 5 days after infection. A plant that looked clean on Monday can show specks by Friday. That short gap is why weekly leaf checks miss the start of an outbreak. Check leaves every few days once warm humid weather settles in.
Spores keep coming all season. The fungus produces spores on living and dead plant tissue. Wind carries them. Splashing rain and overhead irrigation carry them farther. Each new batch of spores starts a new round of specks, which is why the disease keeps climbing a plant instead of burning out after the first lesions.
What Makes Stemphylium Gray Leaf Spot Worse in a Home Garden
Warm wet weather is the trigger. Humid overcast stretches with rain or dew create the exact conditions the fungus needs. A week of muggy nights with leaves that never fully dry can start an outbreak on plants that looked healthy days earlier.
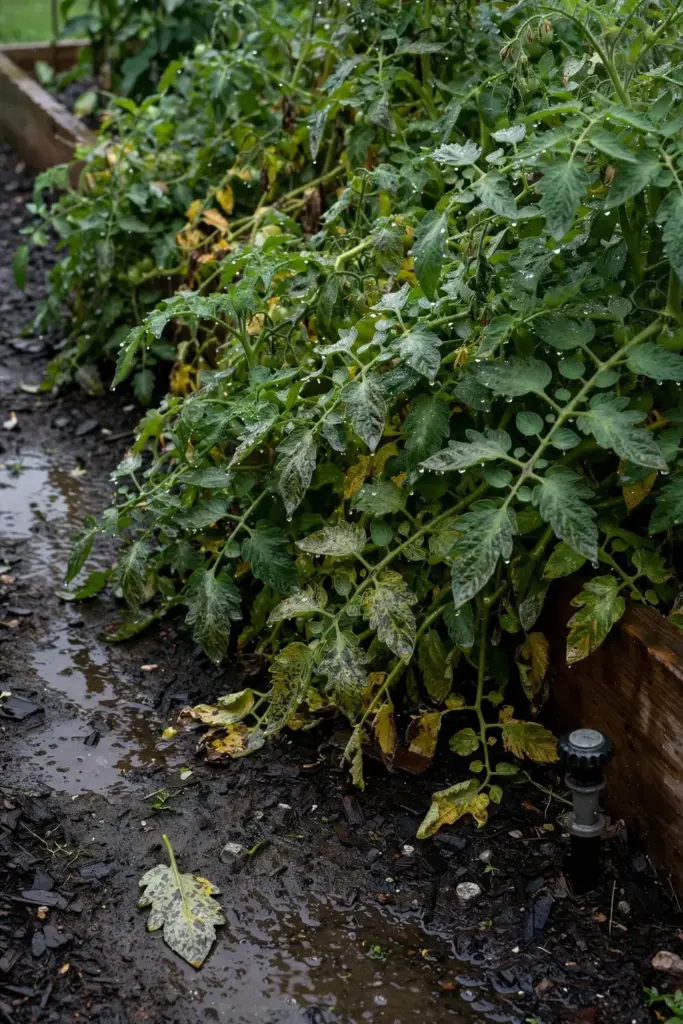
Still air is the second factor. Dense canopies trap humidity around the leaves. Suckers left to thicken the plant hold wet air in place. Plants spaced tight enough that leaves touch pass spores leaf to leaf and never dry. Airflow is disease work, not tidiness.
Overhead watering is the third factor. Sprinklers and hose-end sprayers wet the leaves and splash soil onto them. Watering late in the day leaves the canopy wet overnight. Morning watering gives leaves the full day to dry, and drip lines keep water at the soil where roots drink.
Debris and volunteers carry the fungus between seasons. Infected leaves left in the bed, volunteer tomatoes sprouting from dropped fruit, and solanaceous weeds all harbor the pathogen. Seedbeds set beside production beds pass the fungus to transplants before the season starts. Each of those carriers is a choice, and each one has a fix in the steps below.
Step 1: Decide Whether Saving This Tomato Plant Is Worth It
Count the leaves before you spend anything. A plant that still holds most of its canopy deserves the sanitation and watering steps below. A plant stripped to bare stems with fruit fully exposed will not regrow its cover in time to protect the crop. Pulling that plant frees the bed for a resistant replacement or a fall crop.
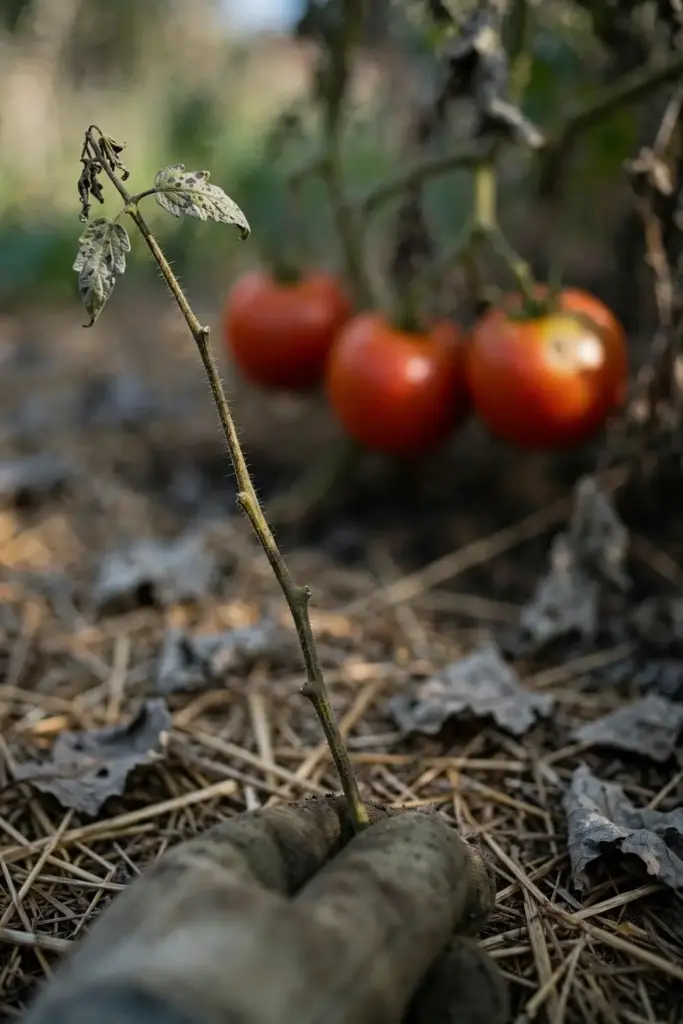
No spray cures established lesions. Preventive fungicides can protect healthy leaves, and they cannot heal spots that already show. The Maine Organic Farmers and Gardeners Association frames fungicide use as preventive for this disease. Spraying a defoliated plant wastes product on leaves that are already gone.
Make the call on fruit, not foliage. Fruit on a defoliated plant keeps ripening if it escapes sun scald. Pick fruit at first blush and ripen it indoors rather than nursing a bare plant for weeks. The season is saved at the kitchen counter, not in the sick bed.
Step 2: Strip Infected Leaves and Clean Up Debris
Pull infected leaves the day you see them. Work from the bottom of the plant upward, since the lowest leaves carry the oldest and sporiest lesions. Bag the leaves for municipal waste. Do not drop them on the bed or toss them on the compost pile.
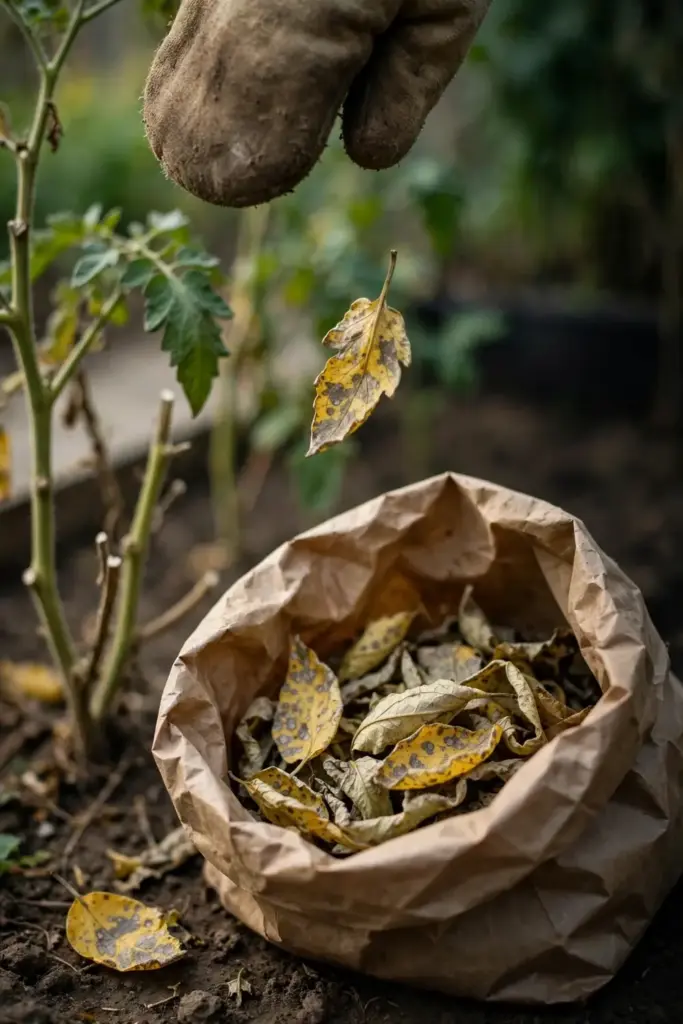
Home compost does not kill this fungus. Backyard piles rarely sustain the heat that destroys fungal spores, so composting sick leaves seeds next season’s beds with the same disease. The Maine Organic Farmers and Gardeners Association advises removing or destroying infected tomato debris, or at least incorporating it into the soil to speed its decomposition before tomatoes return to the same ground. Bagging and trashing is the safer home-garden choice.
Clear the whole bed at season end. Remove all plant material, including fallen leaves and rotted fruit. Pull volunteer tomatoes and solanaceous weeds. Wash hands and tools after handling infected plants so soil and spores do not ride into clean beds on the next job.
Step 3: Plant Sm-Gene Resistant Varieties as Insurance
Resistance is the single most effective tool against this disease. The Connecticut Agricultural Experiment Station calls the use of resistant varieties an effective and economic way to control Stemphylium gray leaf spot. A resistant plant shrugs off spores that would strip a susceptible neighbor.
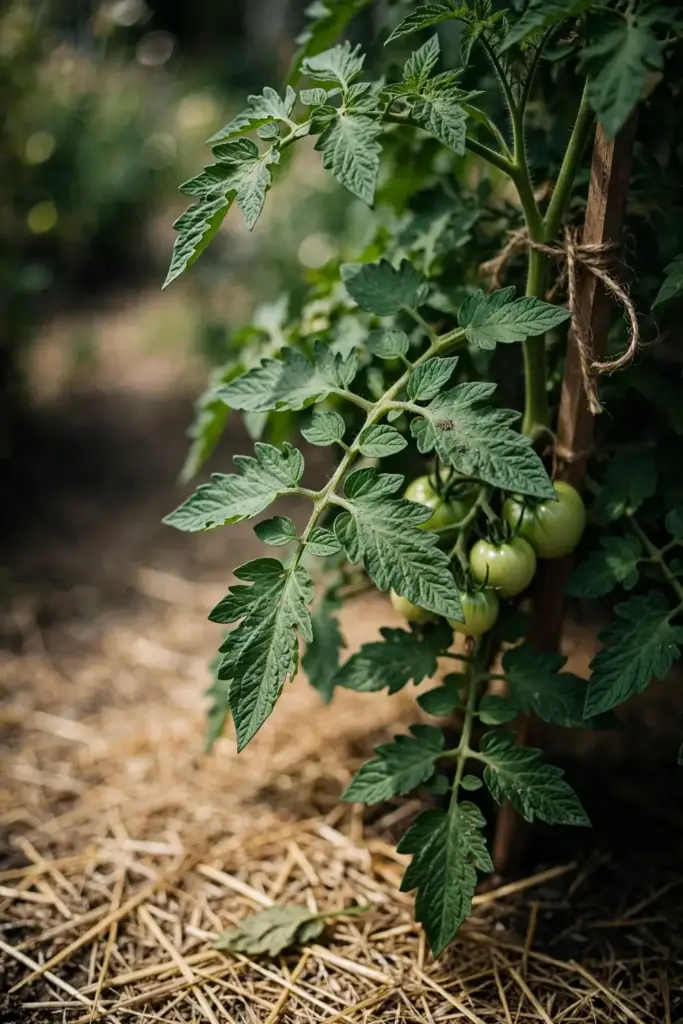
One gene carries the protection. The Maine Organic Farmers and Gardeners Association explains that resistance comes from a single gene, Sm, traditionally bred from a wild tomato relative into many modern varieties. Bayer Vegetables adds that the Sm gene was first identified on the wild species Solanum pimpinellifolium and introgressed into commercial tomatoes in the 1940s, and that it confers broad resistance with near immunity. That gene has held up for decades.
Plant resistant varieties as an insurance portion. The Maine Organic Farmers and Gardeners Association recommends growing one or more resistant varieties for at least an insurance portion of the tomato crop, especially where gray leaf spot has already appeared. Grow the heirlooms you love, and back them with resistant plants that carry the season if disease arrives.
Read the packet before you buy. Seed catalogs and plant labels mark resistance with a code. Look for Sm or Stemphylium on the label. Do not trust a variety name from memory, since two strains of one name can carry different resistance. No variety list appears here because the evidence does not support one, and a printed list would go stale within a season.
Step 4: Open the Canopy So Leaves Dry Fast
Space plants so air moves between them. Crowded plants hold humidity against every leaf. A bed with visible gaps between neighbors dries within hours of rain. A bed packed leaf to leaf stays damp into the next day.
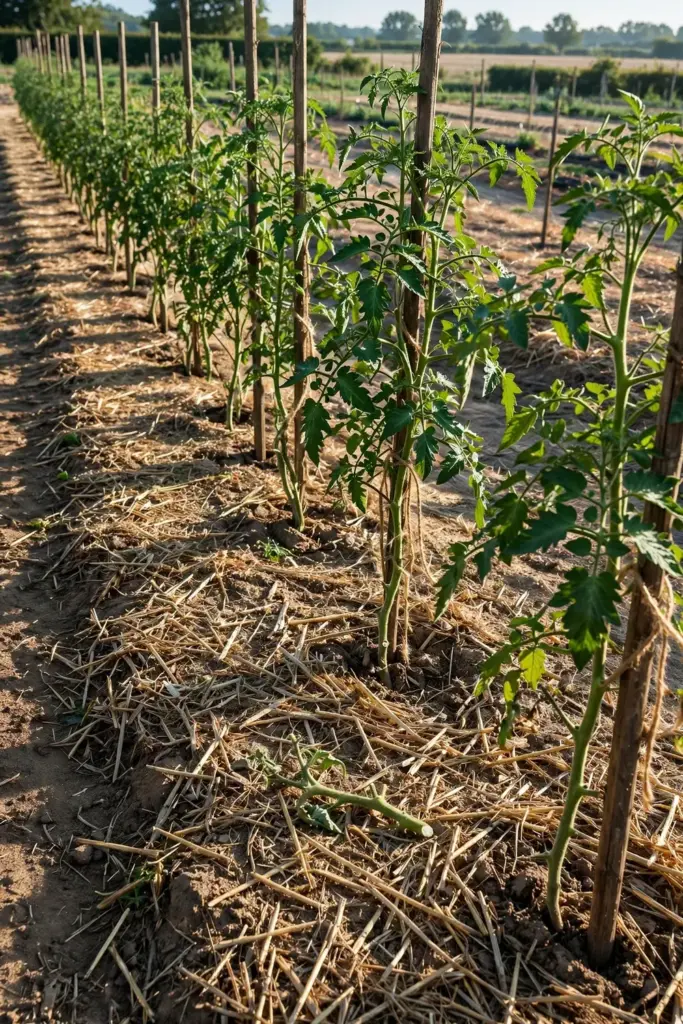
Prune for airflow. The Maine Organic Farmers and Gardeners Association points to greater plant spacing, plus sucker, stem, and leaf pruning, as practices that speed drying and limit infection. Remove suckers that thicken the canopy. Take off the lowest leaves that brush the mulch. Keep the center of each plant open enough that a breeze passes through.
Stake every plant. Staked plants stand upright with leaves off the soil. Caged plants hold their canopy in one dense column, so prune inside the cage too. Tie stems loosely. A stem tied tight enough to scar invites every stem problem in the book.
Ventilate covered growing. Open greenhouse doors and high-tunnel sides on dry mornings. Run fans when the air sits still. Covered growing holds the humidity this fungus wants, so ventilation is the price of growing under cover.
Step 5: Water at the Base and Keep Leaves Dry
Water the soil, not the plant. Drip lines and soaker hoses deliver water to the root zone and keep leaves dry. A narrow-spout watering can aimed at the mulch does the same job on a small bed. Overhead sprinklers are the one watering method that guarantees wet leaves.
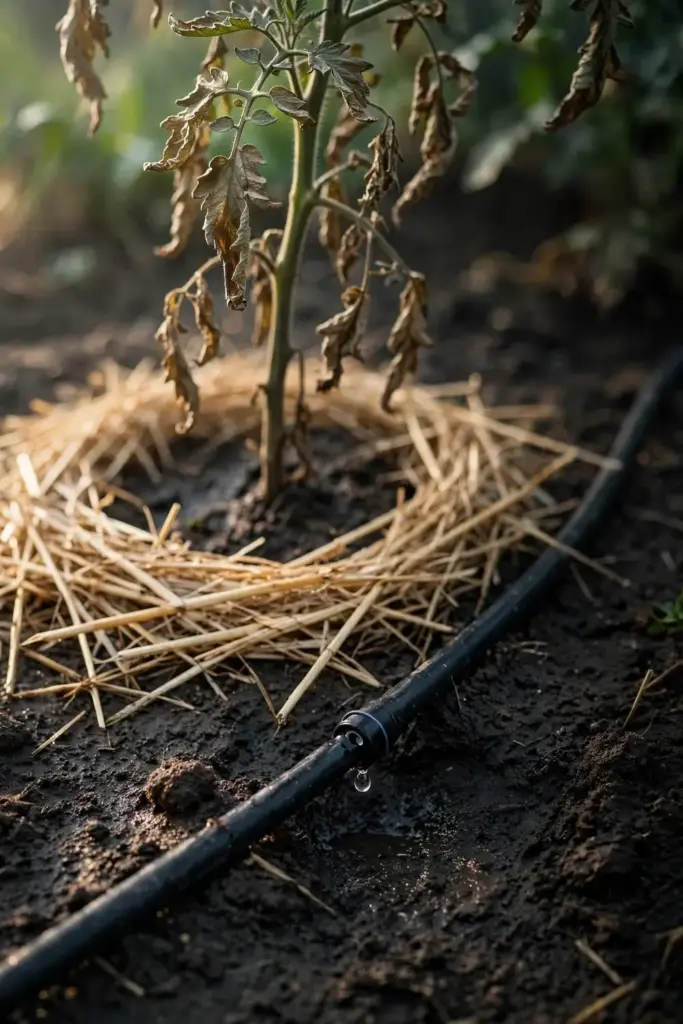
Water in the morning. The Connecticut Agricultural Experiment Station advises watering plants in the morning to allow leaf drying before evening. Morning water gives the sun and the breeze the whole day to dry any incidental wetness. Evening water leaves the canopy damp overnight, which is exactly when spores germinate.
Skip watering on humid overcast days when the soil still holds moisture. A plant in damp soil needs no extra water, and a dry leaf surface matters more than a wet root zone in a disease week. Check the soil with a finger before reaching for the hose.
Step 6: Mulch to Stop Soil Splash
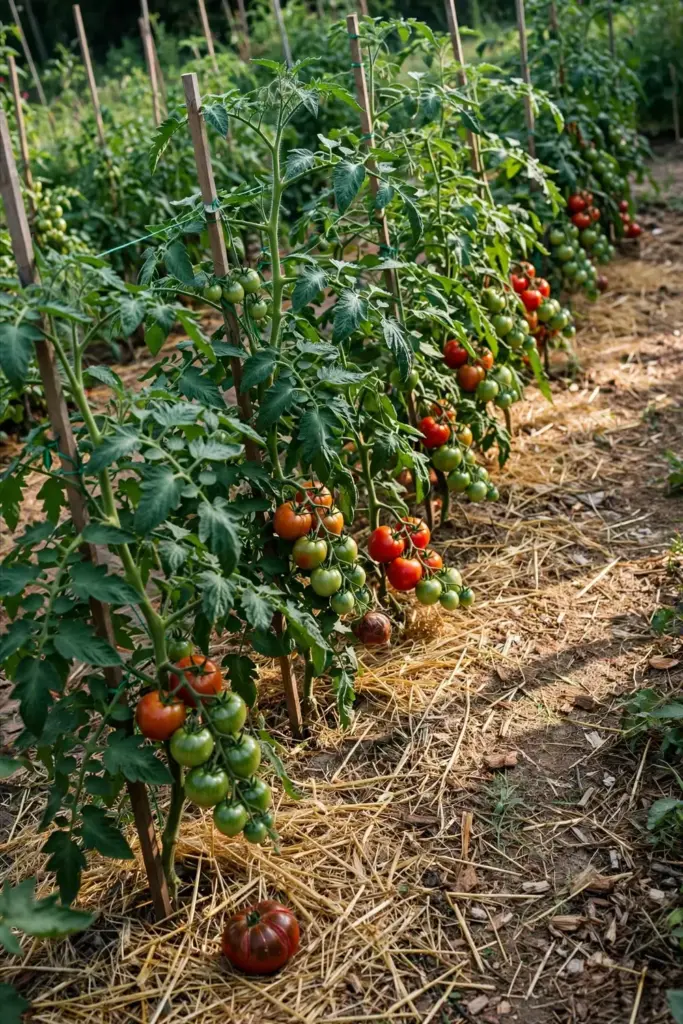
Mulch breaks the splash cycle, because rain and hose water bounce soil onto lower leaves and that soil carries spores with it. A layer of straw mulch over the bed surface stops the bounce, so lower leaves stay cleaner and the first lesions arrive later.
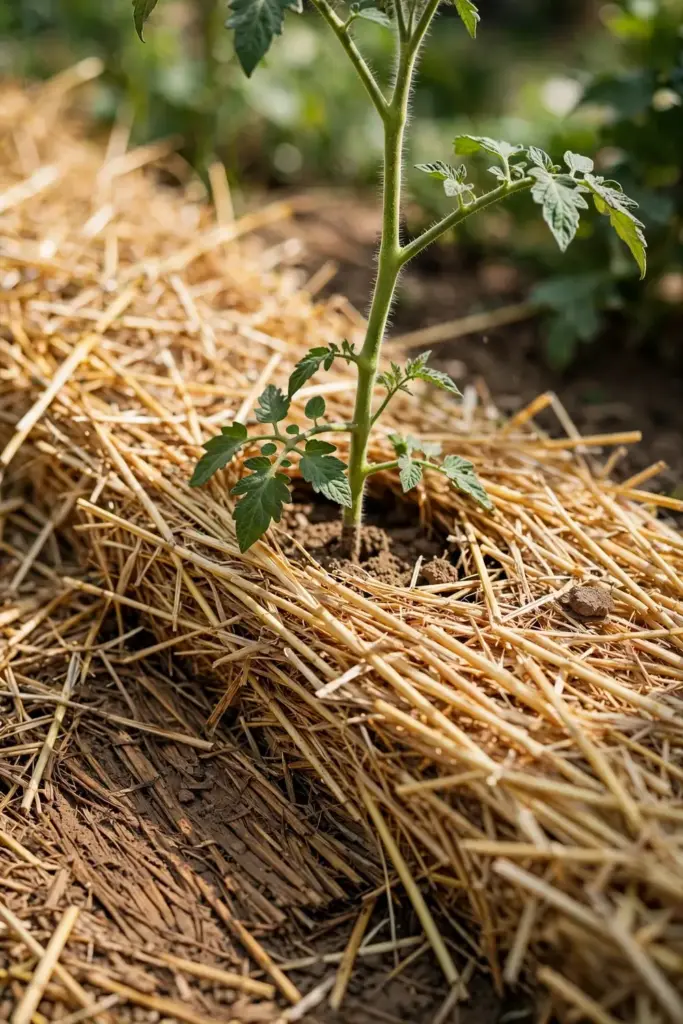
Keep mulch off the stems. Mulch piled against a stem holds moisture where stems stay soft, so leave a finger width of bare soil around each stem. The gap costs nothing and removes a rot risk.
Top up mulch after heavy rain. Storms flatten straw and wash bare patches open, and a quick top-up after a storm closes the gaps before the next wet spell. Mulch is a working layer, not a one-time dressing.
Step 7: Rotate Out of Tomato, Potato, and Pepper for 2 to 3 Years
Rotate out of tomatoes for 2 to 3 years. The Connecticut Agricultural Experiment Station gives that span for rotation with nonsolanaceous crops. A bed that grew tomatoes this year grows something unrelated next year. Two full seasons away starves the debris-borne fungus.
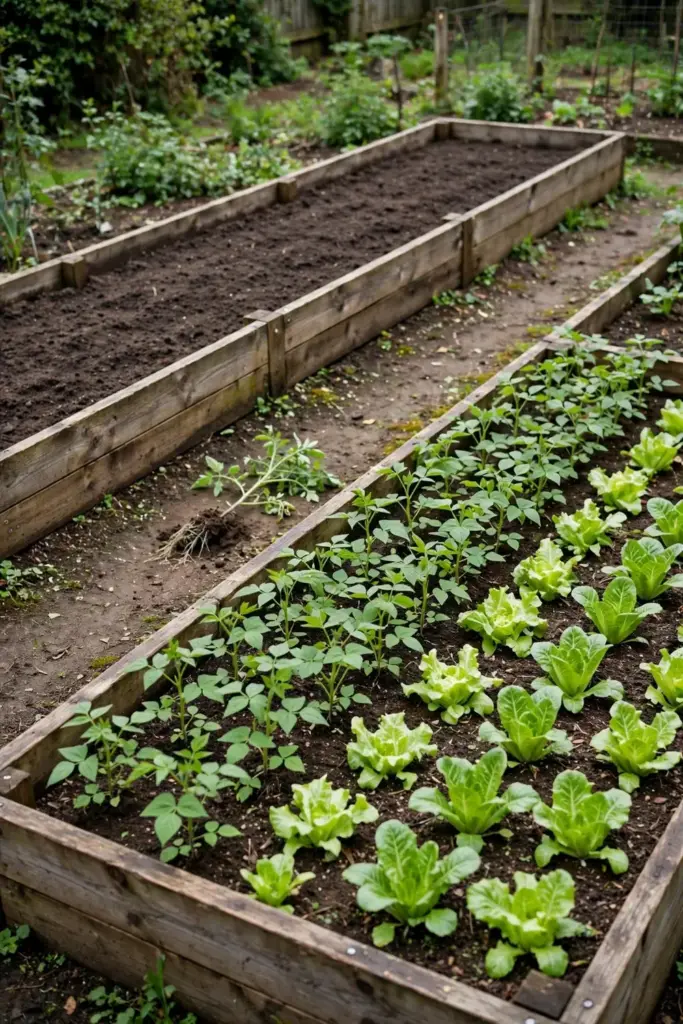
Keep the whole nightshade family out of the rotation. Peppers, eggplant, and potatoes host the same pathogen, so they do not count as rotation crops. A bed rotated from tomato to pepper is not rotated at all. Plant beans, corn, squash, lettuce, or carrots in the fallow years.
Map the bed on paper. Write down which bed held tomatoes, which resistant variety grew there, and which year. Memory fades over two winters. The map stops next spring from repeating this spring. A notebook page beats a good intention every time.
Step 8: Shade Bare Fruit After Defoliation
Protect the fruit the leaves no longer shade. Defoliation exposes tomatoes to direct sun, and sun scald follows. The Connecticut Agricultural Experiment Station warns that early defoliation leaves tomato fruit prone to sunscald. A sun-scalded patch turns pale, leathery, and inedible.
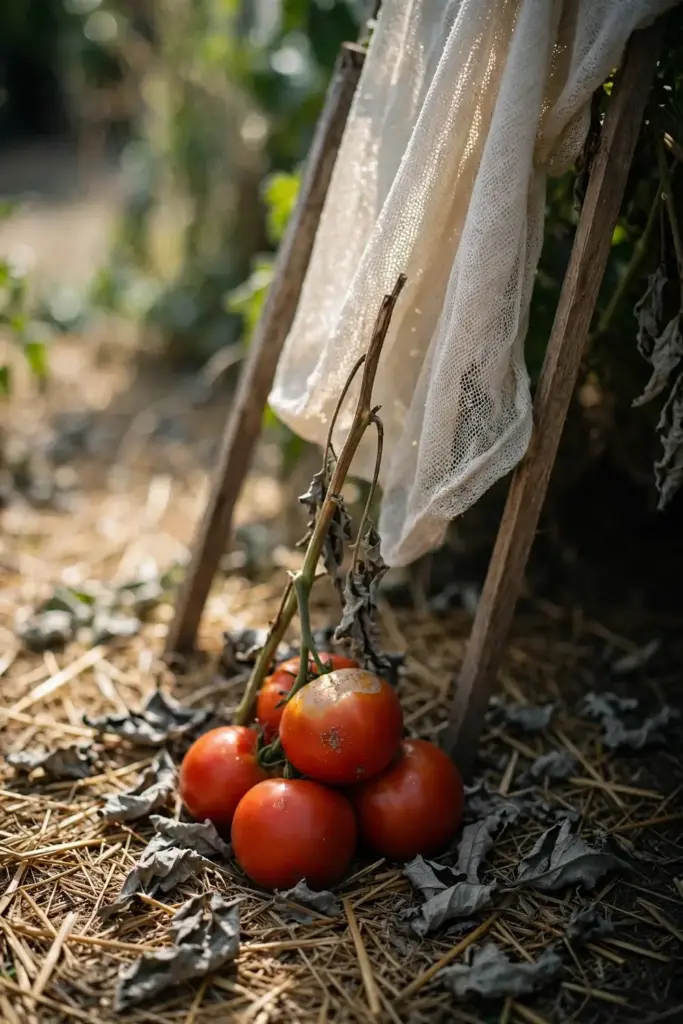
Hang shade cloth over the exposed plants. A light shade cloth on stakes cuts the worst midday sun while letting air move. Drape it high enough that it never rests on the fruit. Remove it once the harvest ends.
Pick early and ripen indoors. Fruit that shows its first blush of color finishes ripening on a counter out of direct sun. A tomato picked at first blush loses nothing in flavor, and it escapes the sun scald that would ruin it on a bare plant. Pick sun-scalded fruit for the trash, since the damaged patch rots fast.
Step 9: Start Clean Next Season With Certified Seed and Healthy Transplants
Buy certified disease-free seed and transplants. The Connecticut Agricultural Experiment Station advises using disease-free potting mix and avoiding seedbeds near tomato production fields. A clean start removes the two earliest carriers: infected seed and infected seedlings.
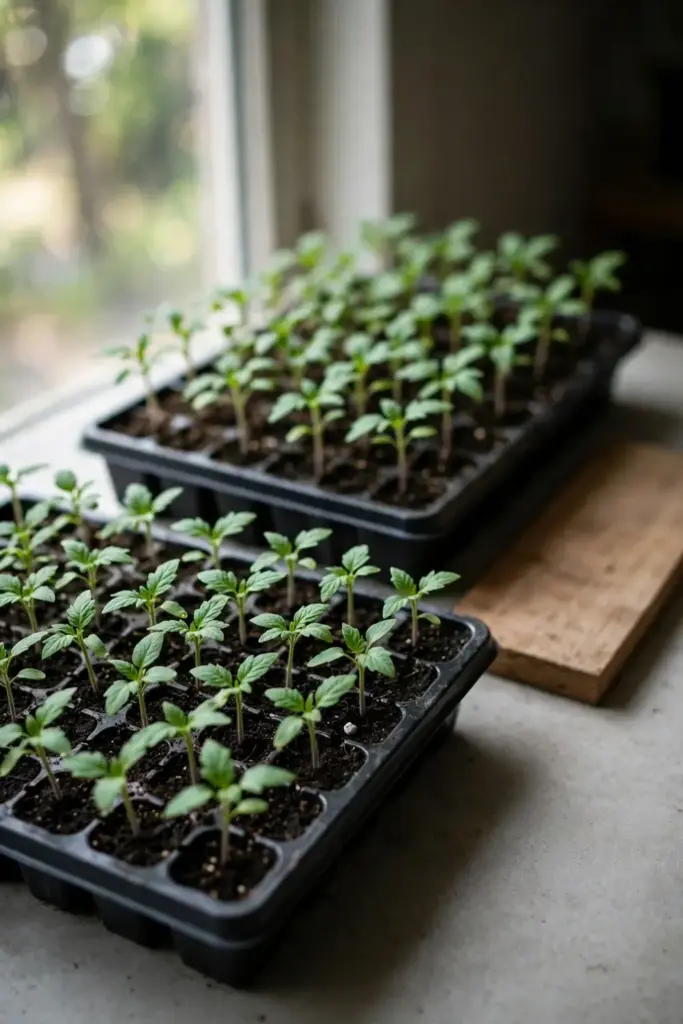
Inspect every transplant before it leaves the store. Check the lower leaves for specks and the stems for elongated brown marks. Any seedling with spotted lower leaves stays behind. One infected transplant can seed a whole bed, and the store will not warn you.
Use fresh potting mix for seed starting. Never reuse last season’s bed soil in seed trays. The seed starting guide covers clean technique from sowing to transplant. Fresh mix, clean trays, and clean water cost little and prevent the seedbed outbreak that starts the season badly.
Living With Stemphylium Gray Leaf Spot in a Bed You Already Own
A bed with Stemphylium gray leaf spot is not a dead bed. It is a managed bed. Plant resistant varieties there as the default. Keep the sanitation, watering, and rotation discipline every season, because the fungus waits in debris longer than any gardener’s memory.
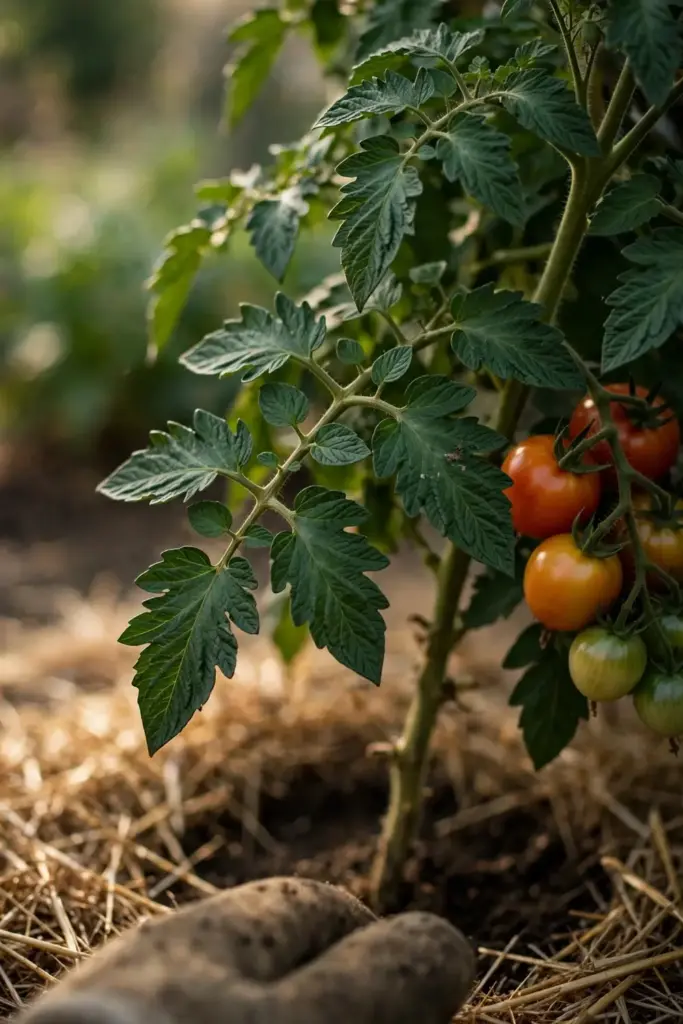
I have learned that a bed with gray leaf spot rewards patience more than products.
Stop three habits. Do not plant susceptible varieties in that bed to test it. Do not compost its sick plants. Do not water it from overhead in the evening. Keep the discipline through the fallow years too, since volunteers and weeds keep the bed infectious while it looks empty.
Build the soil while the bed rests. The soil health guide walks through structure, organic matter, and drainage in practical detail. Healthy soil grows vigorous plants that hold their leaves longer, and vigorous plants buy the time that sanitation and airflow need to work.
Frequently Asked Questions
Rarely outright, and that distinction matters. The disease strips leaves rather than rotting stems or fruit, so a mature plant usually survives with a smaller crop. Severe defoliation cuts photosynthesis, stops fruit from sizing, and exposes the remaining tomatoes to sun scald. Seedlings in an infested seedbed suffer worst, since they hold few leaves to lose. The real loss is yield and fruit quality, not the life of the plant.
Yes, if the fruit looks sound. Stemphylium gray leaf spot never infects tomato fruit, so the disease itself adds no risk to the eater. Wash the fruit as usual. Discard any tomato with a pale leathery sun-scald patch, since that damaged skin rots fast. Pick fruit at first blush from defoliated plants and ripen it indoors to dodge sun scald entirely.
No spray cures lesions that already show. Fungicides work preventively only, coating healthy leaves before spores land. The Connecticut Agricultural Experiment Station lists chlorothalonil, mancozeb, and copper products as fungicides registered for home gardens in Connecticut, and stresses following label directions. The Maine Organic Farmers and Gardeners Association calls copper the most effective organic option. Cultural steps carry the plan, and any spray plays a supporting role at most.
Check the lesion centers with a hand lens. Septoria spots carry tiny bumps, the spore tendrils that the Maine Organic Farmers and Gardeners Association uses to separate Septoria from Stemphylium gray leaf spot. Stemphylium centers turn gray, dry, and crack open without those bumps. Both diseases strip lower leaves and both leave fruit clean. When the lens leaves doubt, a lab diagnosis settles it, since the two diseases share the same cultural management.
Do not compost them. Home compost piles rarely sustain the heat that kills fungal spores, so composting sick leaves carries the disease into next season’s beds. Bag infected leaves for municipal waste instead. At season end, clear all debris from the bed and pull volunteers and solanaceous weeds. Incorporating debris into the soil speeds decomposition, and bagging remains the safer home-garden choice.
Yes. Resistant varieties are the single most effective tool a home gardener has against this disease. The Sm gene gives broad resistance with near immunity, according to Bayer Vegetables, and it has held up since the 1940s. Plant resistant varieties as an insurance portion of the crop, especially where the disease has already appeared. Cherry and grape types carry less Sm protection, so check their labels with extra care.
Where to Go From Here
Stemphylium gray leaf spot on tomato rewards fast identification and steady habits. Learn the gray cracked centers and the clean fruit, then make the honest triage call in Step 1. Then work the sequence: strip, sanitize, plant resistant varieties, open the canopy, water at the base, mulch, rotate, and shade the exposed fruit.
Next season, start clean. Fresh potting mix, inspected transplants, and morning watering will prevent more Stemphylium gray leaf spot than any product treats. The blossom blight guide is a useful companion read if you are building a broader disease-identification habit, since it trains the same look-closely-at-symptoms approach.