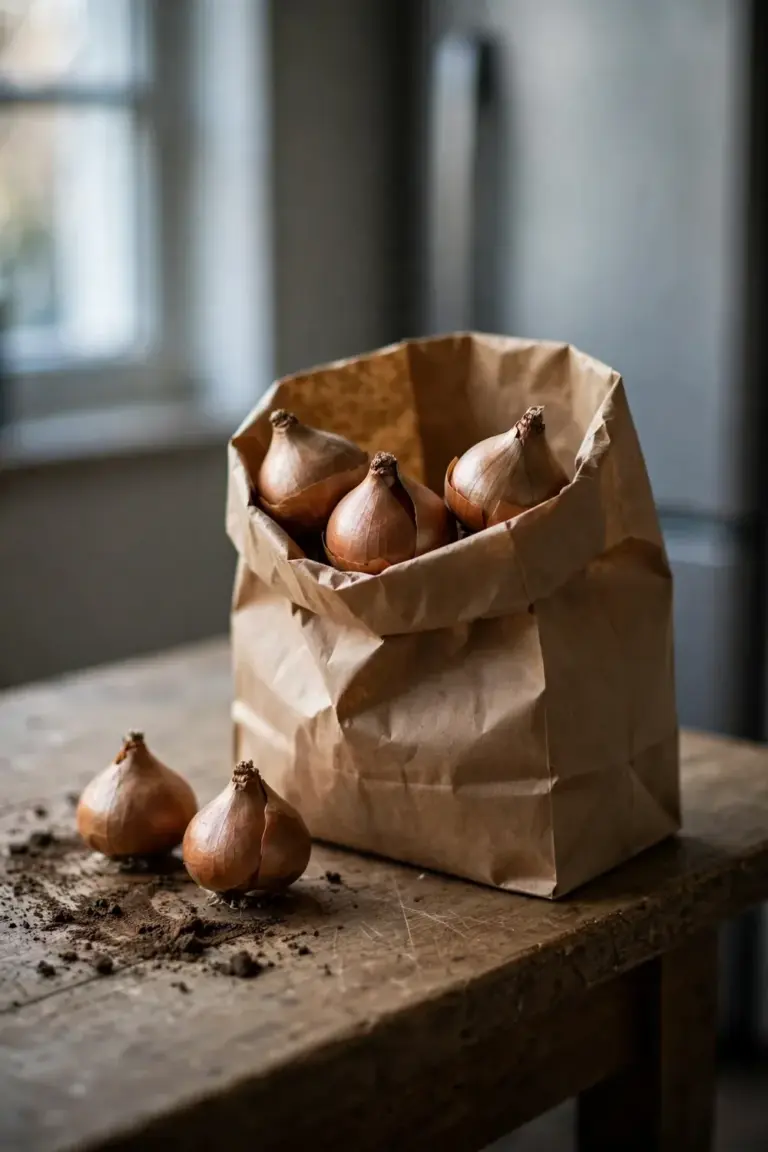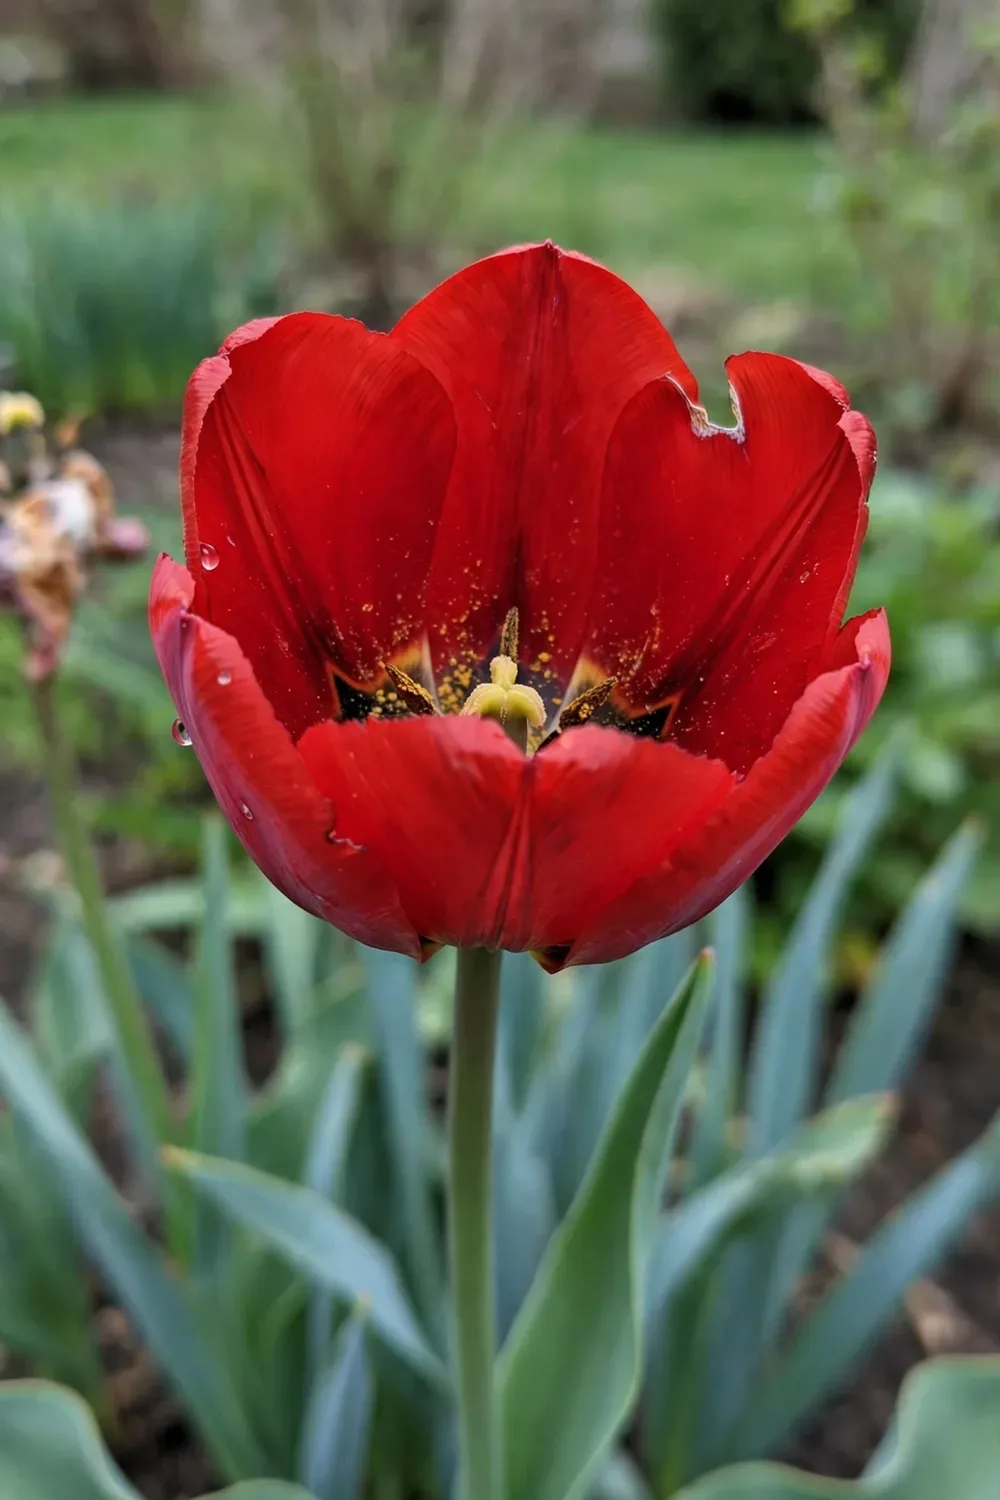

Chill your tulip bulbs 6 to 12 weeks in a paper bag in the refrigerator crisper before you plant them. That is how to grow tulips where winters stay too warm to do the job outdoors. In my experience, those refrigerator weeks matter more than anything you do after planting.
Tulip bulbs need a cold period to finish building the flower bud packed inside each bulb. Without enough cold, the bulbs push up floppy leaves and skip the blooms. Garden tulips are Tulipa hybrids bred from wild species of Central Asia, and their flowering chemistry still expects a real winter. If your winter cannot deliver one, your refrigerator can. The rest of this page runs the decision first: whether your climate earns tulips at all, then the chilling protocol, planting, care, the one-season method for warm zones, no-chill alternatives, and a spring flowerbed design. Readers looking for the layered-pot method will find that work in 21 bulbs to plant in fall, which owns the lasagna-planting lane.
1. Match the Tulip Strategy to Your Winter First
Pick the strategy before you buy a single bag of bulbs. Your winter decides everything, and each winter type has one correct move.
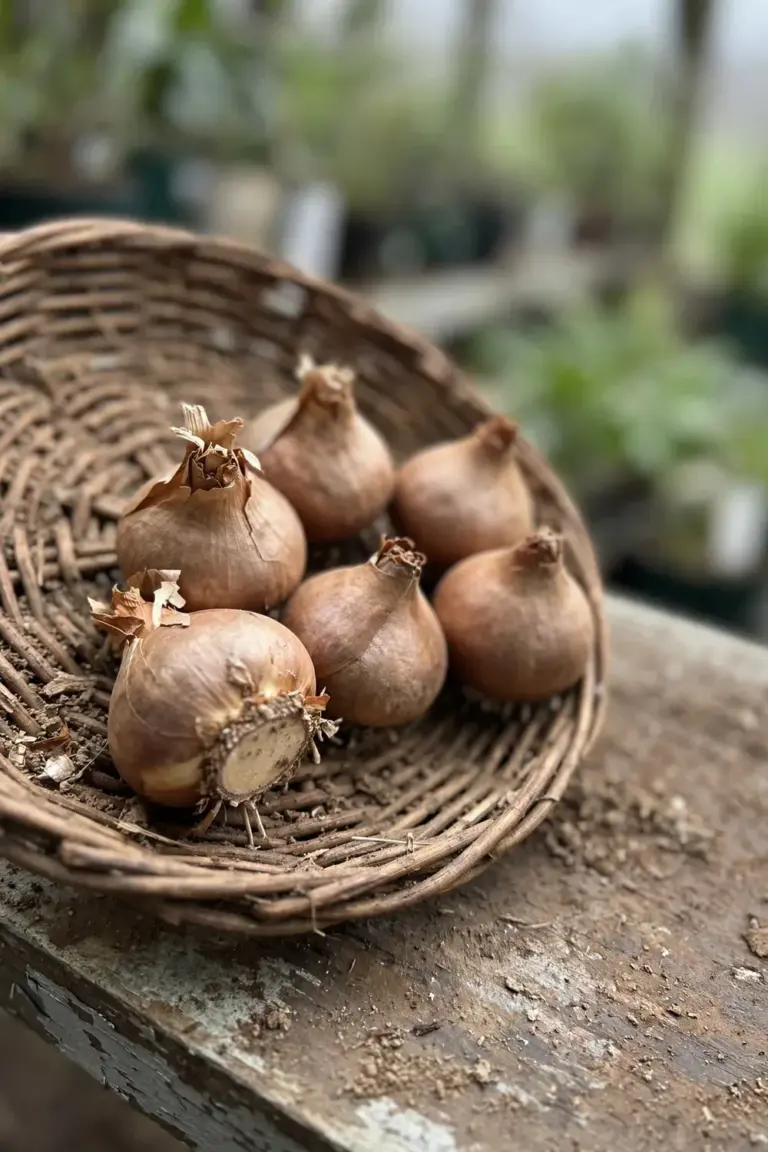
Three winters, three strategies:
| Your Winter | Strategy | The Chill Plan |
|---|---|---|
| Months of real cold, ground that freezes | Plant tulips like everyone else | Outdoors does the chilling. Plant in autumn and walk away |
| Cool nights and light frosts, never a hard freeze | Pre-chill, then plant | 6 to 12 weeks in the refrigerator at 2 to 9 degrees Celsius, then plant into cooled soil |
| Warm all year, no real winter | One-season annuals or switch bulbs | Pre-chill 6 to 12 weeks, plant, enjoy the show once, then replant fresh bulbs next year. Or choose bulbs that never need chilling at all |
Cold-winter readers have the easy path. Autumn soil temperatures do the work that a refrigerator does for everyone else, so tulips planted in autumn flower the following spring on schedule.
Mild-winter gardeners carry the whole job themselves. The refrigerator supplies the cold that the sky will not, and planting waits until autumn soil has genuinely cooled. Warm-climate gardeners who skip the chill get leaves and no flowers, the single most common tulip failure in warm zones.
No-winter gardeners face the honest question. Tulips can still flower once with a proper pre-chill, but the bulbs rarely recharge for a second year in hot soil. Grow them as one-season annuals, or plant bulbs that evolved for warm winters. The decision saves more money than any bargain bag of bulbs ever will.
Buy bulbs like the season depends on it, because it does. Choose bulbs that feel firm and heavy in the hand, with no soft spots, cuts, or visible mold, and an intact papery brown tunic protecting the outside. Larger bulbs, 12 centimeters or more around the middle, generally produce bigger flowers on stronger stems, per the beginner’s guide linked below. Soft or feather-light bulbs are already failing. Start with Darwin Hybrids if you are new to tulips, since their sturdy stems and forgiving nature beat the fussier Parrot and Fringed types in warm conditions.
2. Chill the Bulbs 6 to 12 Weeks in a Paper Bag in the Crisper
The refrigerator crisper is the winter your climate skipped. Set the temperature between 2 and 9 degrees Celsius, the band that Best Tulips Australia’s pre-chilling guide recommends for reliable flowering, with the crisper drawer holding a steady 4 to 6 degrees in most refrigerators.
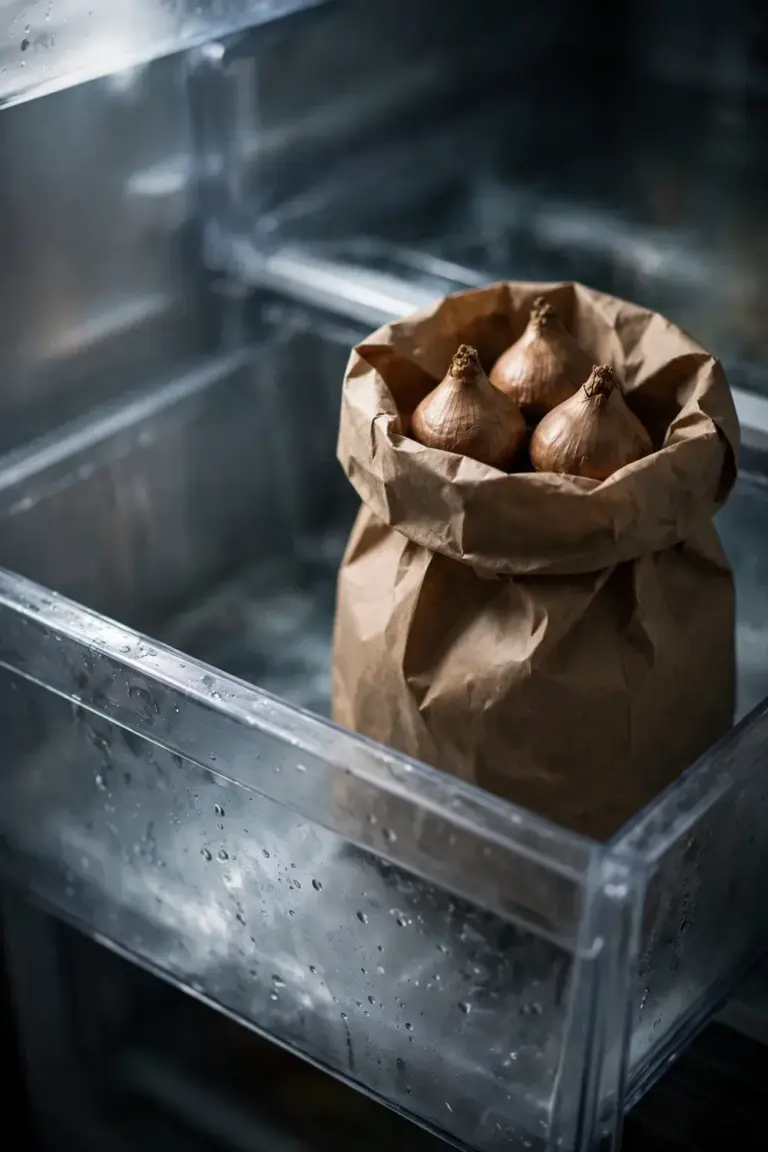
The protocol runs exactly like this. Buy firm, heavy bulbs in late summer or early autumn. Slip them into a paper bag, never plastic, because trapped moisture breeds mold. Set the bag in the crisper with the pointy end up, though orientation matters less during chilling than at planting. Label the bag with the variety and the date. Keep every piece of ripening fruit out of that refrigerator section. Apples, bananas, and stone fruit release ethylene gas, and ethylene aborts the flower buds developing inside the bulbs. A single ripe apple stored near tulip bulbs for several days can ruin the whole season’s planting, according to the same pre-chilling notes.
Time the chill to your planting date, and give it longer rather than shorter. Six weeks is the absolute minimum and may produce shorter stems with smaller blooms. Eight weeks is the standard recommendation for reliable flowering. Ten to twelve weeks is the optimal window for the biggest flowers on the strongest stems. Past fourteen weeks the gains stop and premature sprouting becomes the new problem, so the useful band stays 6 to 12 weeks. Insufficient chilling is the most common mistake beginners make, and it cannot be fixed after planting.
Check the bag once a week. Small white root nubs at the base are normal and expected. A shoot under 2 centimeters is acceptable. Pull out any bulb that turns soft or moldy immediately, and swap in a fresh paper bag if condensation appears. Move the chilled bulbs straight from the refrigerator to the planting site, with no warm layover on the bench.
3. Plant When Autumn Soil Has Cooled, Not on a Calendar Date
Warm soil tells a chilled bulb to grow roots before it is ready, and roots that start in warm soil run out of steam before spring. Plant into soil that has cooled after summer heat has passed, which in the southern hemisphere means autumn, roughly March to May, once the days shorten and the nights cool.
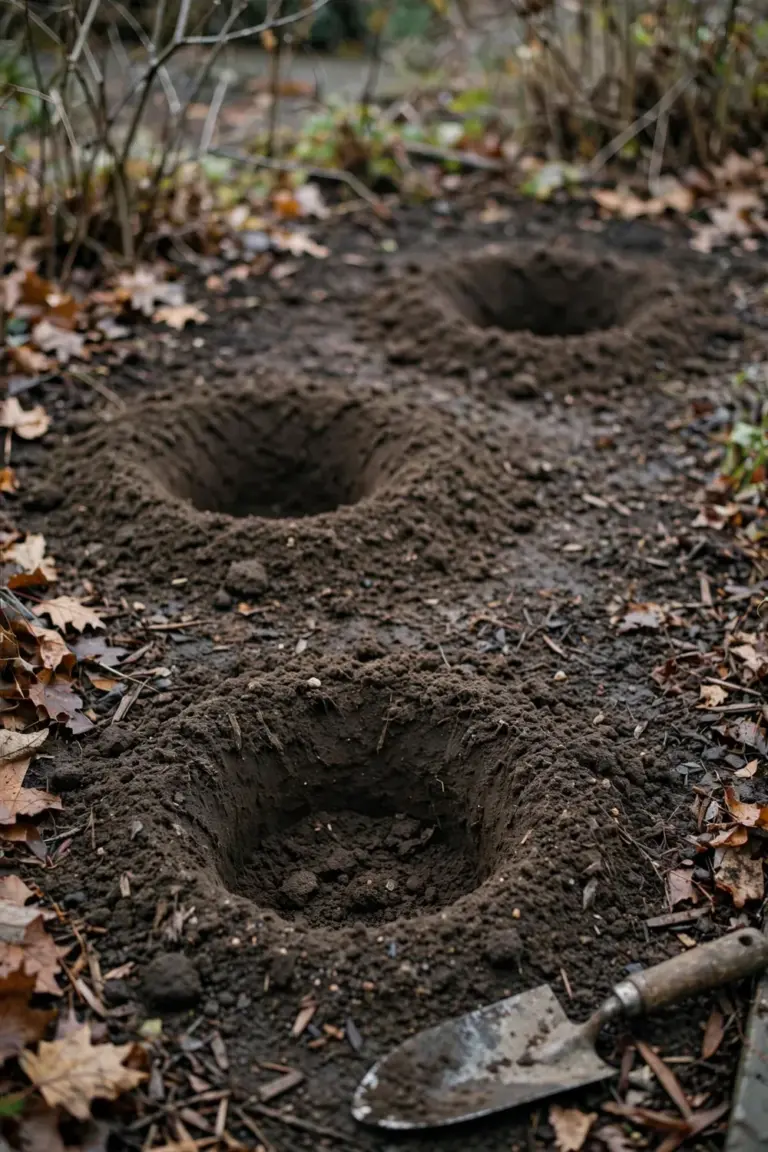
The timing rule differs by hemisphere, so anchor to your own autumn. In Australia, gardeners typically buy bulbs in February or March, chill through the warm months, and plant in May when soil has cooled. The Diggers Club’s spring bulb planting notes place southern-hemisphere planting between March and May with pointed ends up. In the northern hemisphere, wait until late autumn soil has cooled, commonly late November or December in warm-winter regions. The bulb does not care about your calendar. It cares about cool soil and cool nights after planting.
Site the bed in full sun or light shade with genuinely free drainage. Standing water rots tulip bulbs faster than almost any other mistake, so heavy clay gets amended with compost and coarse material before a single bulb goes in, or the whole planting moves to raised beds and pots. For readers planning the wider autumn garden, the fall planting guide sequences bulbs alongside vegetables and perennials so one season’s work serves every bed.
In regions with hot summers, give tulips the coolest bed you have. Morning sun with afternoon shade keeps the soil cooler through the growing season, and the spring-bulb guide recommends exactly that placement where summers run hot. Low spots where cold air settles, beds on the shaded side of a fence, and anywhere the soil stays workable and cool into late autumn all beat the sunniest corner of a hot garden. Cool soil after planting matters as much as cool soil at planting.
4. Set Each Bulb Three Times Its Height Deep in Free-Draining Soil
Depth is the cheapest insurance in a tulip bed. Plant each bulb at a depth of three times its own height, measured from the bulb base to the soil surface. A 5-centimeter bulb sits 15 centimeters deep. Deep planting keeps the bulb cooler in warm-zone soil, anchors the long flower stem against wind, and sits beyond the reach of scratching birds.
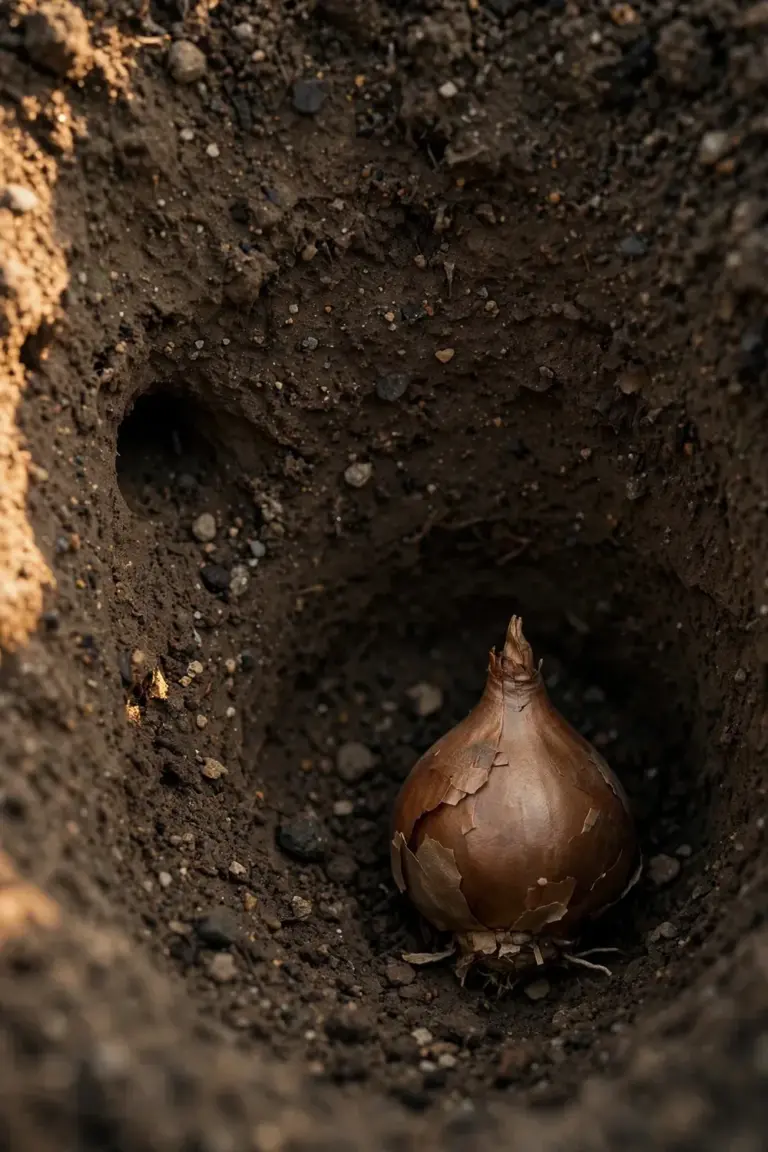
Dig the bed to a loose, crumbly texture first, because a bulb set into a hard pan sits in a puddle. Place the bulb with the pointed end up and the flat basal plate touching the soil below. Space standard tulips 10 to 15 centimeters apart, per the Diggers Club’s spacing for spring bulbs, which gives each plant air and keeps a dense display from turning into a moldy mat.
Prepare the planting zone deeper than the bulbs sit. Loosen the soil to 20 or 25 centimeters, work in a bucket of compost per square meter, and mix coarse grit or washed sand through heavy soil so water moves away from the bulb base. Never plant into a slick of fresh manure or a hollow that holds water after rain. Set each bulb, firm the soil gently to remove air pockets without compacting it, and water once.
Mulch after planting with a 5-centimeter layer of shredded leaves or bark, and count the mulch inside the depth calculation so the bulb does not end up too deep. Water the bed thoroughly once after planting to settle the soil around the bulbs and start root growth. In dry regions, weekly watering through the growing season keeps the roots moving. Warm-climate tulip advice from Palen Smith’s bulb guide follows the same depth rule, the same paper-bag chill, and the same warning about fruit in the refrigerator, which confirms the protocol across both hemispheres.
5. Water for Root Growth Without Waterlogging the Bulbs
Tulip roots grow through autumn and winter, then the plant draws on that root system for its spring sprint. Keep the soil lightly and consistently moist from planting until the foliage dies back, then back off. A bulb sitting in soggy soil through summer dormancy rots from the base upward.
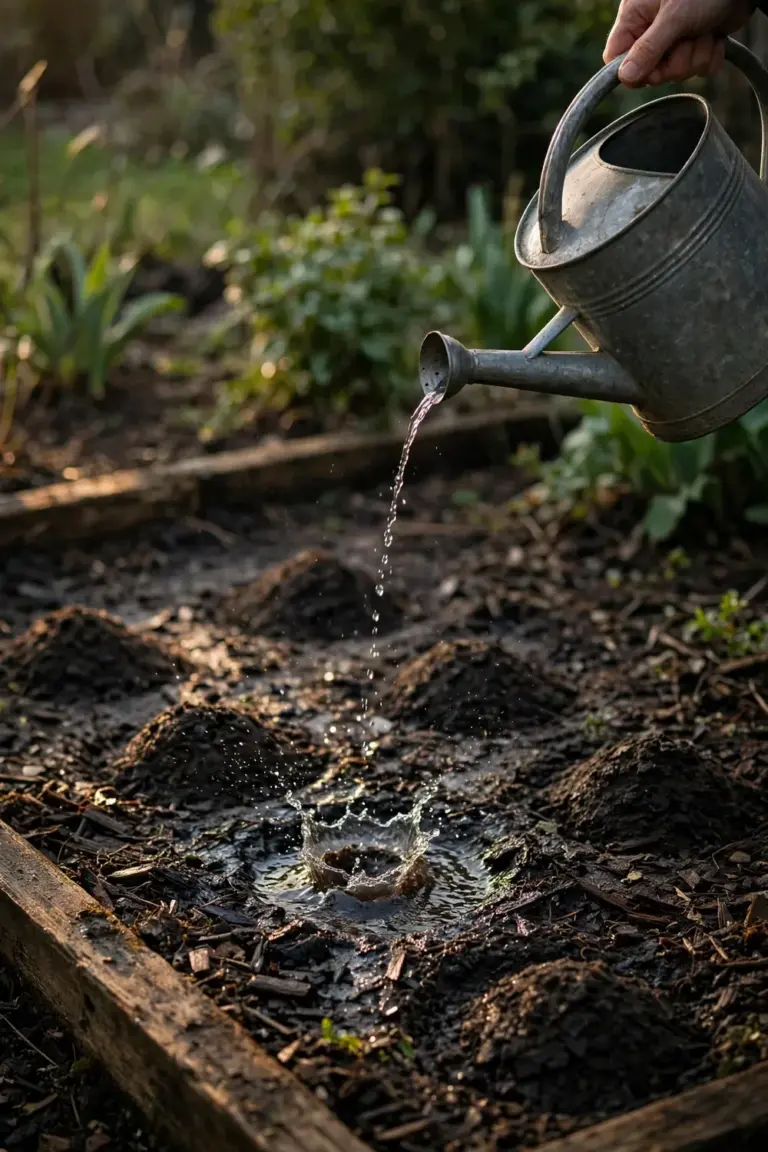
In containers, the rule tightens. Pots dry out faster than beds and also hold water at the bottom, so use a premium potting mix with sharp drainage, keep the pot in a shaded spot until shoots appear, then move it into full sun when the leaves show. Water when the top 3 centimeters of mix dry out. Empty the saucer after watering. Container bulbs run out of room for a second year, which is why potted tulips in warm climates are almost always one-season plantings.
Feed lightly or not at all in the first year. The bulb carries its own packed lunch, and heavy fertilizer in warm soil pushes soft leaf growth that flops. A light sprinkle of balanced slow-release fertilizer at planting covers the season. Stop watering once the foliage yellows, because a summer-wet bulb in hot soil is a rotting bulb.
Learn the early signs of a bulb in trouble. A shoot that emerges yellow and collapses, foliage that flops flat while the neighbors stand, or a sour smell when you check the soil all point to rot at the base. Dig up the suspect bulb and inspect it. A firm bulb with white roots goes back in. A soft, brown, or hollow bulb goes in the trash, never the compost, and the hole gets fresh soil before anything else goes in.
6. Leave Every Leaf Standing Until It Collapses
The flower fades and the work shifts to the leaves. Snip off the spent flower head so the plant stops feeding seed production, then leave every leaf alone until it yellows and collapses on its own, roughly six weeks. The foliage is recharging the bulb for whatever comes next, and cutting it early starves the bulb mid-meal.
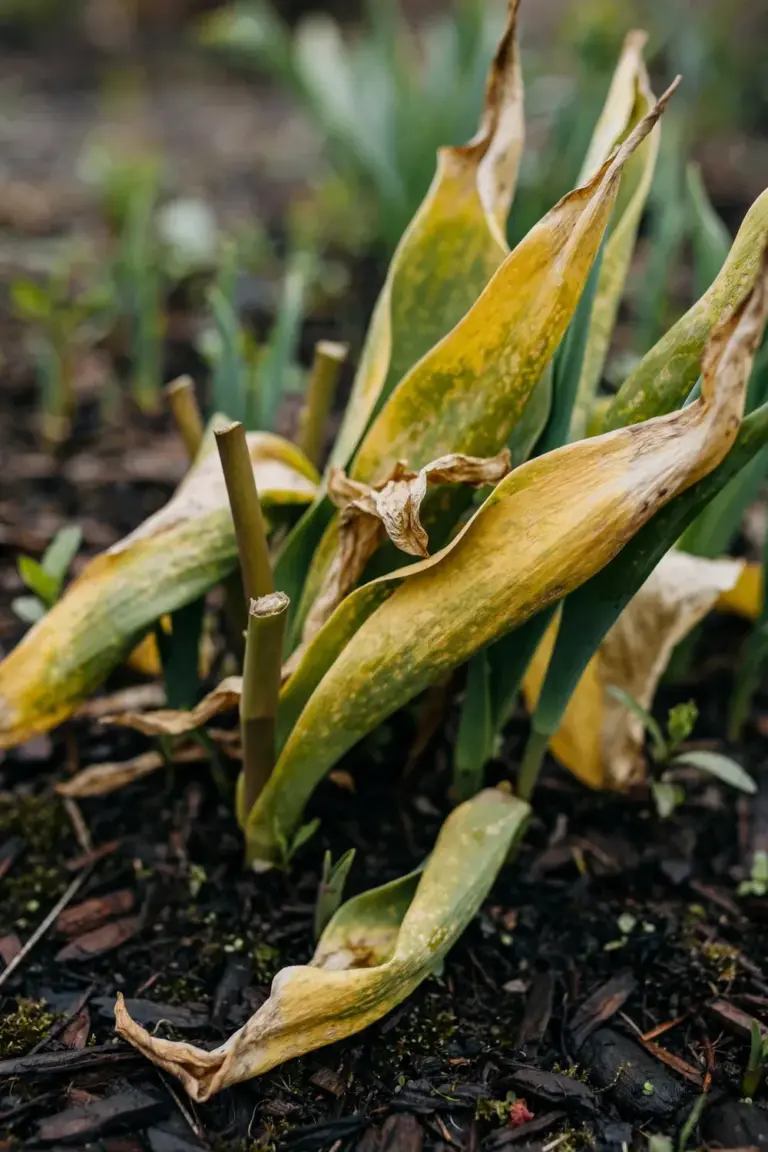
Lifting is optional and climate-dependent. In cool climates with dry summers, bulbs can stay in the ground. In warm or wet-summer regions, lift the bulbs once the foliage has browned, shake off the soil, let them dry in a shaded airy spot, and store them in a paper bag or old stocking with airflow in a place that stays below 20 degrees Celsius, never in an airtight container. Discard any bulb that feels soft. Most warm-zone gardeners who lift find the second-year show weaker than the first, which is why the one-season method below usually wins on results per hour.
7. Run the One-Season “One Shot” Method in Warm Zones
Warm zones, meaning winters without real cold, get the honest version of tulip growing: buy fresh bulbs every year, chill them, plant them, enjoy one season, and compost them after flowering. Palen Smith’s warm-climate notes state it plainly, because in most warm parts of the country tulips behave as annuals regardless of what the bag label implies.
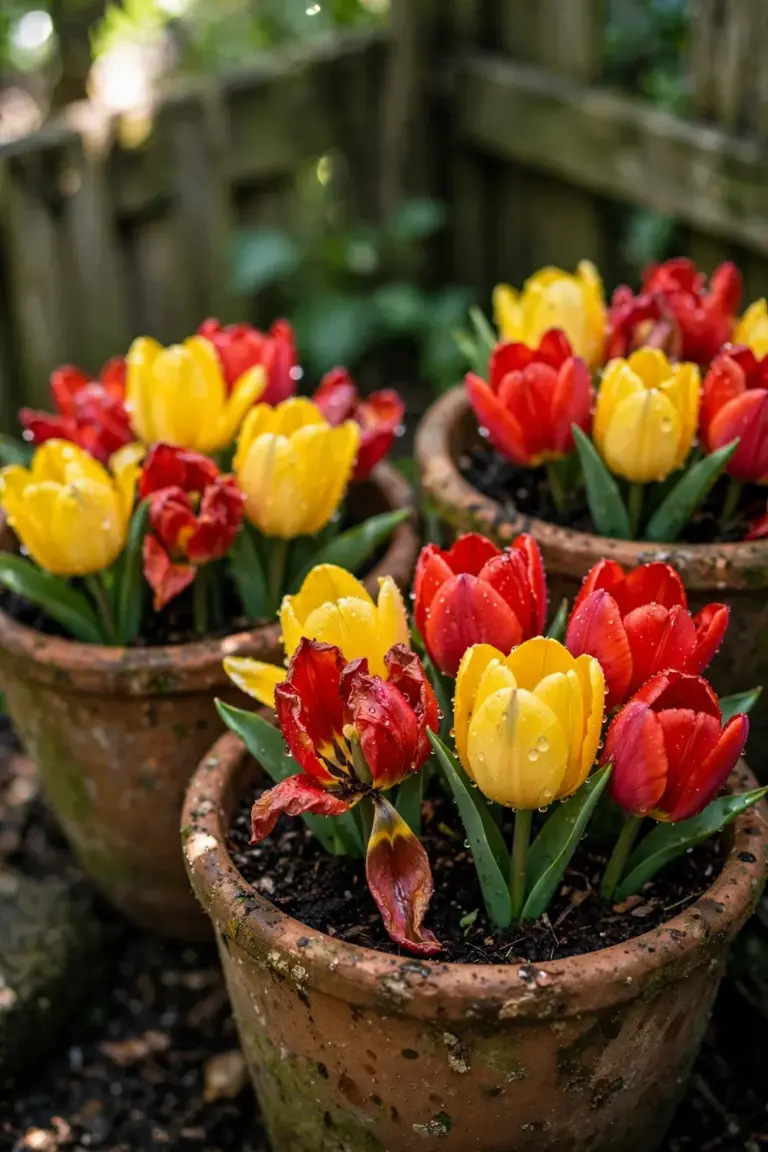
The method works because the first-year bloom is the spectacular one. Pre-chill the bulbs 8 to 12 weeks for maximum flower size. Plant them a little closer than the spacing rule allows, since second-year crowding never becomes a problem. Pots suit the method especially well: fill a large pot in late autumn, set it in the coolest, shadiest corner of the garden until shoots reach 5 centimeters, then move the pot to the display position. After the flowers fade and the foliage dies back, tip the spent bulbs into the compost and start fresh next autumn.
If refrigerator space is tight, buy pre-chilled bulbs. Some suppliers sell bulbs that have already received their cold treatment, which lets you skip the crisper entirely and plant straight into cooled soil. Check the label for the chill length, since a bulb chilled only 3 or 4 weeks will underperform one chilled 8 to 12. Pre-chilled stock costs more per bulb, and the premium buys back your refrigerator shelf for two months. Either route ends at the same place: cold-treated bulbs in cool soil, flowering once and flowering well.
The economics favor the method. A bag of 20 bulbs costs less than most nursery perennials, and one season of full-size tulip flowers beats three seasons of dwindling ones. Darwin Hybrid tulips are the best pick for the one-season method, because their sturdy stems and large flowers deliver the biggest first-year show. The beginner’s guide from Best Tulips Australia recommends Darwin Hybrids specifically for beginners in warm conditions, noting their forgiving nature compared with the fussier Parrot and Fringed types.
8. Switch to No-Chill Bulbs Where Winters Never Arrive
Some gardeners do the honest math and skip tulips entirely. Warm-winter regions have spring bulbs that flower reliably without any refrigerator work, and a bed of reliable flowers beats a bed of failed experiments.
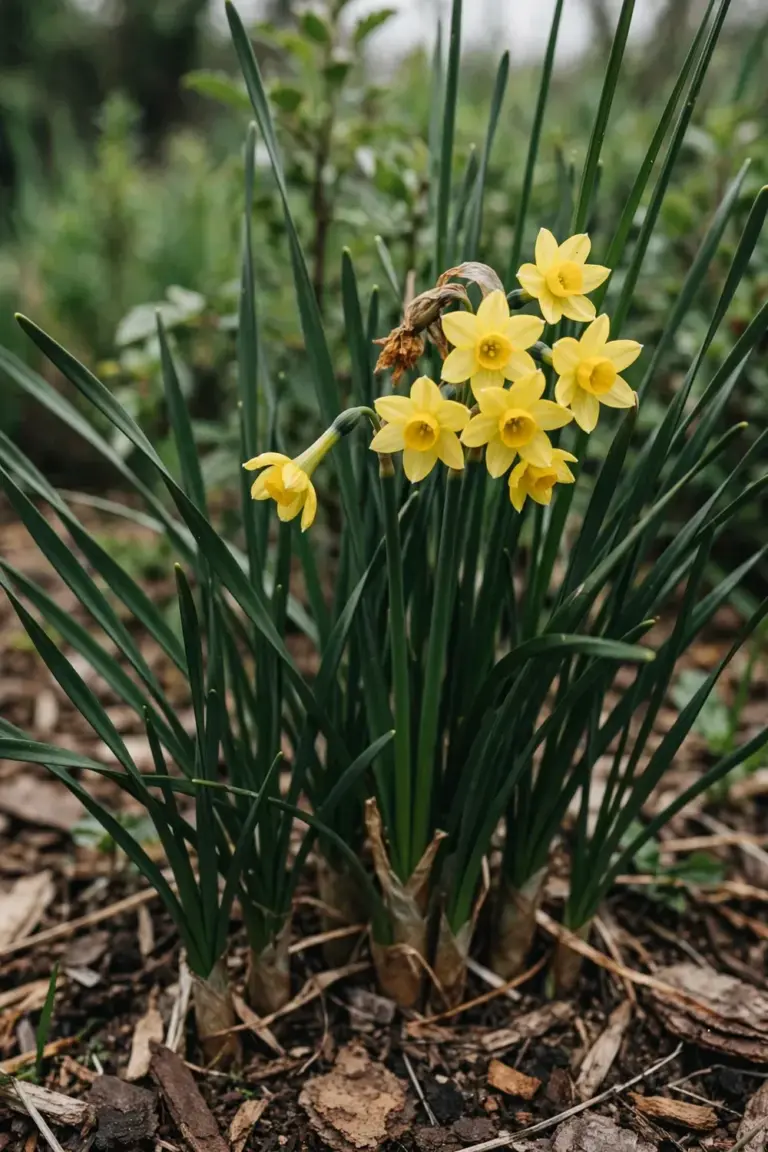
Jonquils are the classic warm-climate substitute. Jonquils belong to the Narcissus family, and unlike tulips they naturalize in warm regions, multiply into clumps, and return for years with no chilling. The Diggers Club lists jonquils among the bulbs that grow in warmer areas without chilling or lifting, alongside ixias, tritonias, scilla, and veltheimia. Fragrant old jonquil types have flowered in warm farm gardens for generations with zero special treatment. Plant them once in autumn at the same 10 to 15 centimeter depth, leave them alone, and they thicken into drifts that ask nothing of you but admiration.
Species tulips offer a middle path. Small wild-type tulips such as Tulipa clusiana, the lady tulip, and Tulipa sylvestris need little or no winter chilling and naturalize into colonies in mild climates. Their flowers are smaller and daintier than the big hybrids, but they return on their own, which is the trade the one-season method never gives you.
Match the bulb to the winter you actually have. Tulips reward gardeners who chill properly. Jonquils and species tulips reward gardeners who would rather plant once and watch the show repeat. Both are correct answers in different gardens.
9. Design a Tulip Flowerbed in 3 Layers for a 6-Week Show
A tulip bed designed in layers carries color for weeks instead of days, and the design defends its space whether the reader calls it a flowerbed, a border, or a spring bed. The method is simple: tall tulips at the back, mid-height tulips and narcissi in the middle, and short spring bulbs at the front, so each layer hides the fading foliage of the one in front of it.
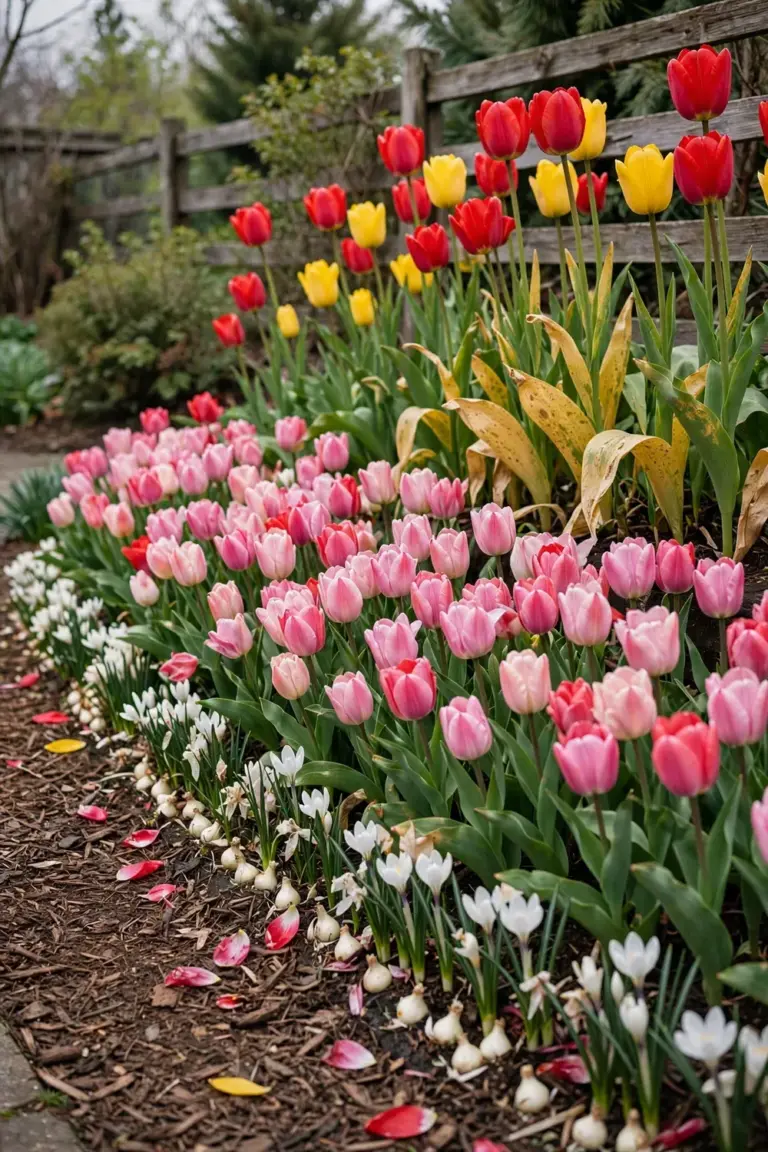
Build the bed 60 to 90 centimeters deep so the layers have room to read. Set the back row with tall Darwin Hybrids at the full 15-centimeter depth. Fill the middle with mid-height tulips and jonquils at 10 to 12 centimeters. Edge the front with short bulbs such as crocus or grape hyacinths at 8 to 10 centimeters. Plant in drifts and generous clumps, not in straight soldier rows, because clumps read as a natural sweep and rows read as a fence. The Diggers Club’s 10 to 15 centimeter spacing gives each clump enough air to stay healthy while looking full.
Stretch the season by mixing early, mid, and late tulip types in the same bed. Early tulips open first, mid-season Darwin Hybrids carry the peak, and late singles close the show, which turns two weeks of color into six. Tuck the tulip bed behind or among perennials whose spring leaves emerge as the bulb foliage yellows, because rising perennial foliage hides the dying leaves that the bulb needs to keep. One last practical note: the layered-pot method, bulbs stacked at different depths in one container, is a different job with its own rules, and that work belongs to the fall bulb listicle linked at the top of this page.
Design the color the way a camera sees it. Drifts of one color read as a bold sweep from across the garden, while mixed bags of every color read as noise. If you want mixed color, mix within one family, such as warm reds, oranges, and yellows together, or cool pinks, purples, and whites. Plant each drift as a generous clump of 12 to 20 bulbs of one variety, because a clump that size holds together visually while the 10 to 15 centimeter spacing keeps it healthy. Repeat the same drift two or three times along the bed for rhythm instead of scattering single bulbs like confetti.
10. Avoid the 5 Mistakes That Stop Warm-Climate Tulips Flowering
Skipping the chill or cutting it short. A 3-week chill produces leaves and no flowers. The minimum is 6 weeks, the standard is 8, and the best results come at 10 to 12. Mark the start date on the bag and count forward. There is no shortcut and no recovery.
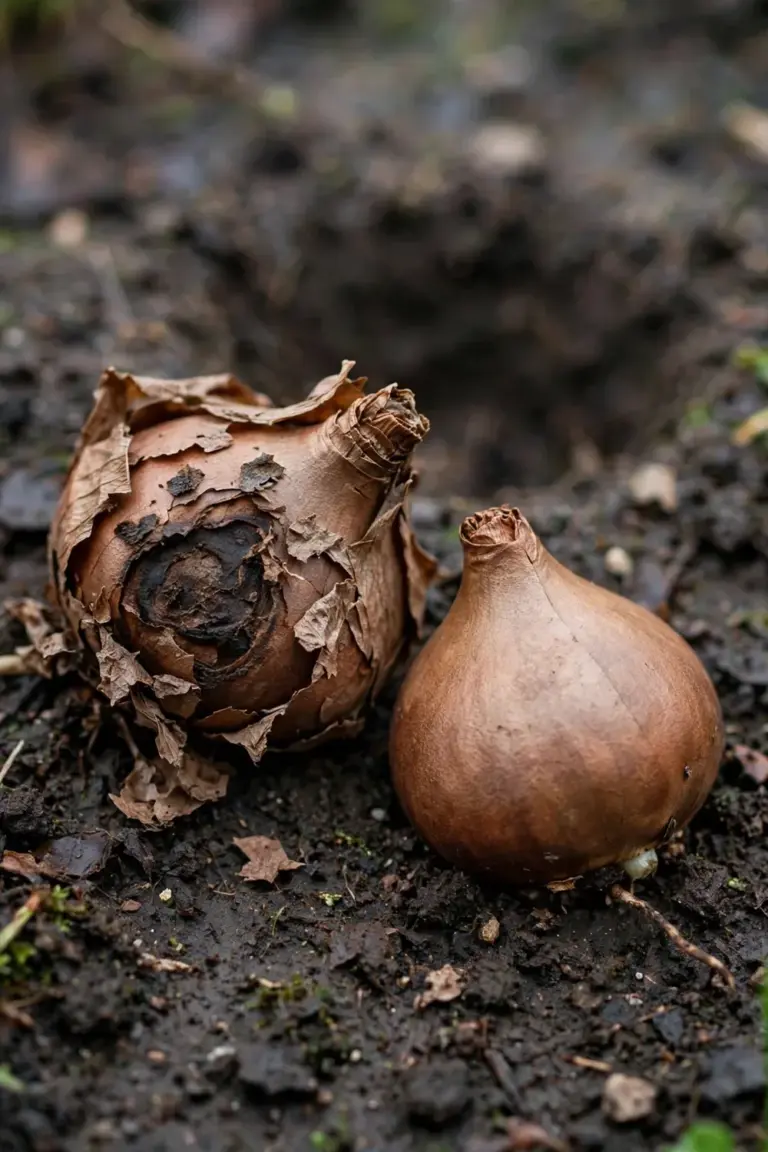
Chilling in plastic or next to fruit. Plastic bags trap moisture and breed mold. Fruit emits ethylene that aborts flower buds. Paper bag, crisper drawer, no fruit, full stop. The pre-chilling notes call insufficient chilling the most common beginner mistake, and the fruit mistake runs a close second.
Planting too shallow. A bulb sitting 5 centimeters deep in warm soil cooks, dries, and gets knocked over by wind. Three times the bulb height, every time, with the mulch counted inside the depth.
Planting into hot September soil. Soil that is still holding summer heat starts root growth too early and exhausts the bulb. Wait until autumn nights have genuinely cooled. Southern-hemisphere gardeners plant roughly March to May; northern-hemisphere warm zones wait for late autumn.
Cutting the foliage after flowering. The leaves look untidy for six weeks and every instinct says to tidy them. Cut them and the bulb starves. Snip the spent flower, leave the leaves, and hide the mess behind emerging perennials or a deeper mulch layer.
Tulip FAQ: 5 Questions Every Warm-Climate Grower Asks
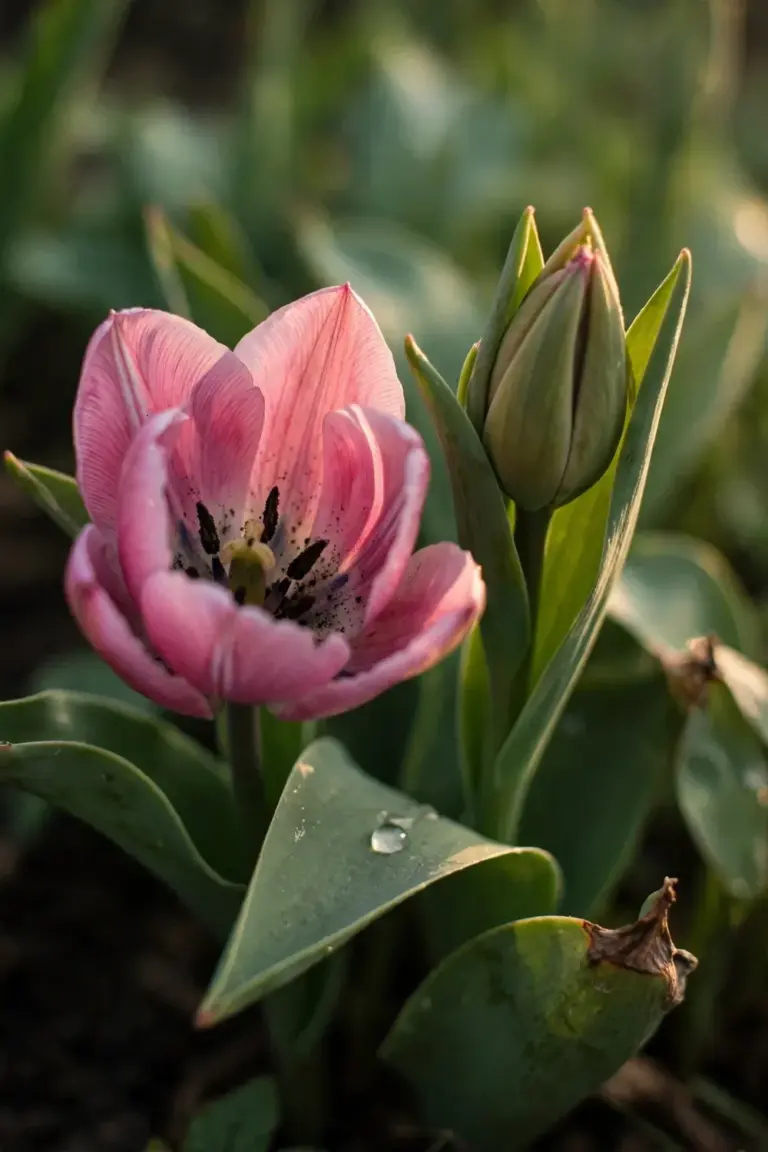
Yes. Tulips need a cold period to finish developing the flower bud inside the bulb, and warm winters cannot supply it. Pre-chill bulbs 6 to 12 weeks at 2 to 9 degrees Celsius in a paper bag in the refrigerator crisper, away from ripening fruit. Without that cold stretch, bulbs produce leaves and skip the flowers entirely.
Give them 6 to 12 weeks, and aim for the longer end. Six weeks is the absolute minimum and may give shorter stems with smaller blooms. Eight weeks is the standard recommendation for reliable flowering. Ten to twelve weeks is the optimal window for the largest flowers on the strongest stems. Beyond fourteen weeks the gains stop and premature sprouting becomes the new problem.
You can, but the second year usually disappoints. Warm, wet summer soil rots bulbs and starves them of the dry dormancy they evolved for, so repeat flowering weakens sharply. Most warm-zone gardeners get better results by treating tulips as one-season annuals: chill fresh bulbs each autumn, enjoy the show, and replant next year.
The bulbs did not get enough cold. Insufficient chilling is the most common cause of leafy, flowerless tulips in warm climates. Fruit stored in the same refrigerator is the second suspect, because ethylene gas aborts developing flower buds. Shallow planting and cutting the previous year’s foliage early also weaken flowering. Fix the chill first, since nothing else compensates for it.
Rarely, and never reliably. Tulips evolved for cold winters and dry summers, and warm climates give them neither. The first-year show is the spectacular one, and each following year brings shorter stems and fewer flowers as the bulbs weaken in warm, often wet soil. That is why warm-zone gardeners buy fresh bulbs every autumn. Darwin Hybrids return more often than other types in cool climates, but even they usually fade within a few seasons where winters stay warm.
Jonquils lead the no-chill list for warm regions, since they naturalize, multiply, and return yearly with no refrigerator work. Species tulips such as Tulipa clusiana and Tulipa sylvestris also need little or no chilling. Ixias, tritonias, scilla, and veltheimia round out the warm-climate bulb palette. Match the bulb to the winter you actually have.
Start Your Chill Countdown Today
Count backward from your autumn planting date and start the chill now. Buy firm, heavy bulbs with intact papery skins. Bag them in paper, label the date, keep the fruit away, and plant into cooled soil at three times the bulb depth. Do that and a warm-climate garden earns the same spring show as a cold one. For the rest of the autumn bulb plan, the fall planting calendar sequences every planting window so the tulips land on schedule alongside everything else.