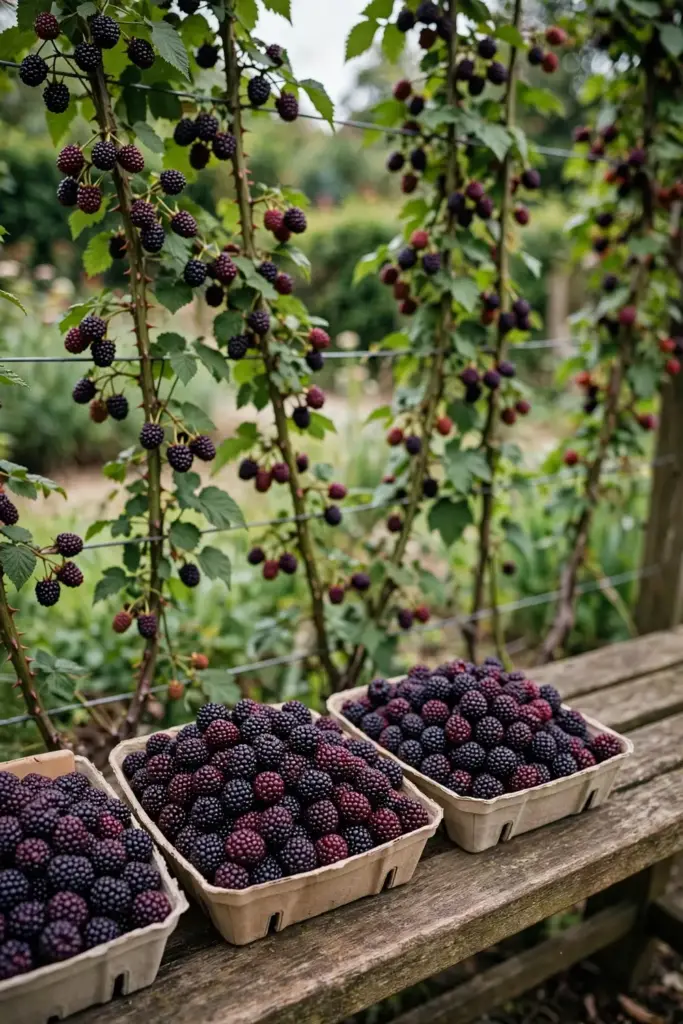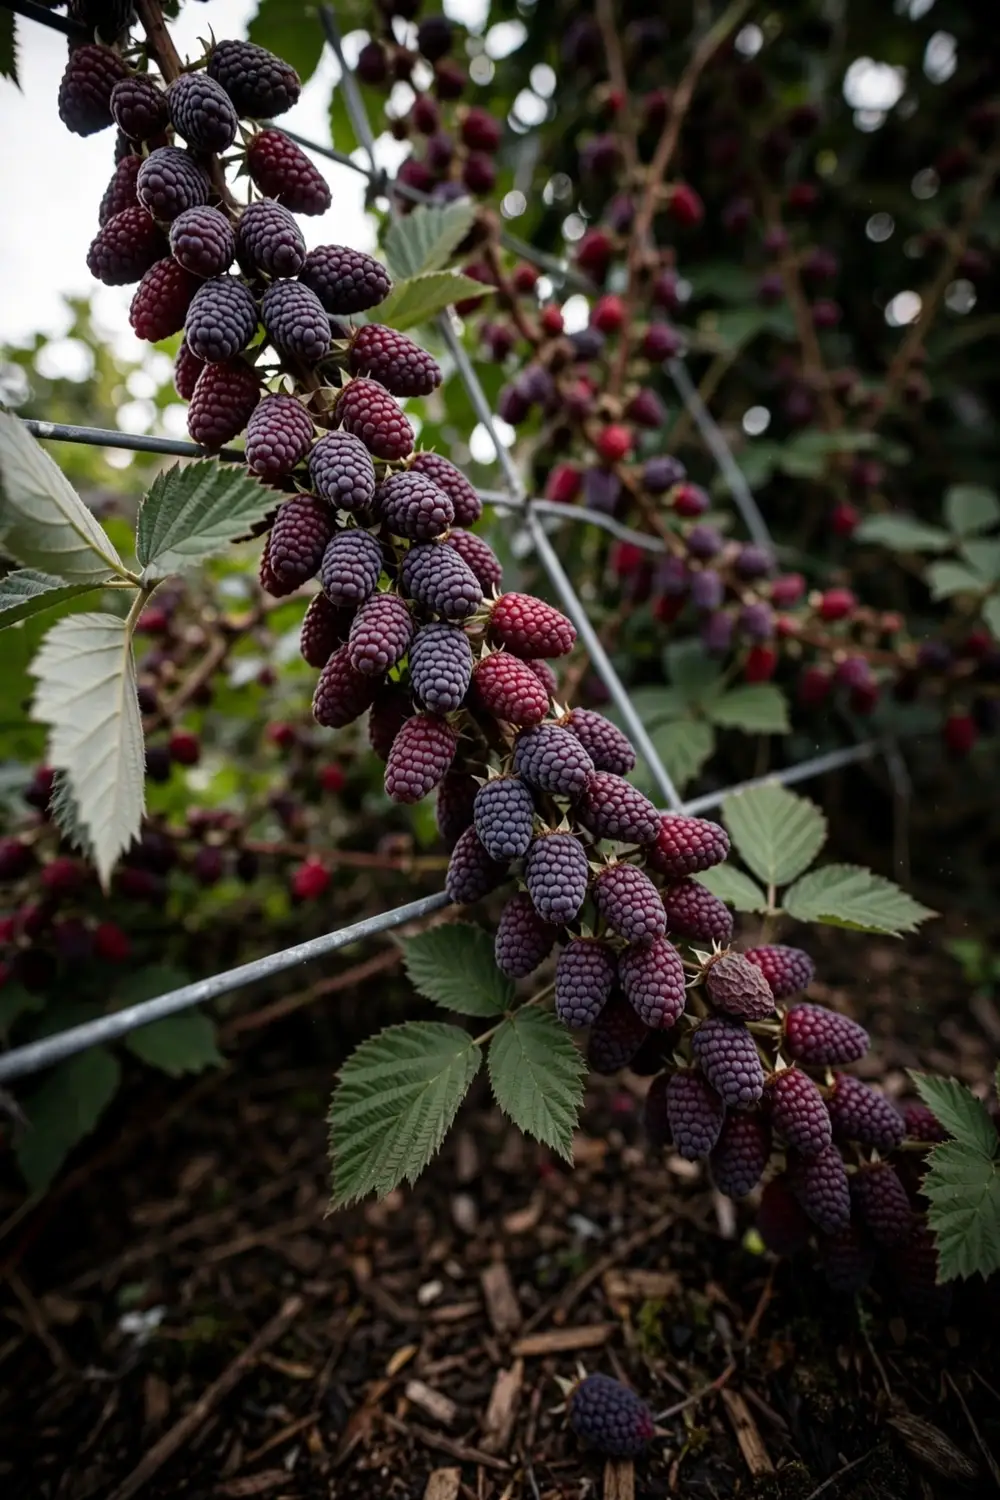

Yes, tayberries need support. Their canes grow 2 metres or more in a single season, and a plant carrying up to 20 lb of fruit will drag itself to the ground without wires. A simple set of wires or a sturdy fence line is the difference between a clean harvest and a tangled thicket.
The tayberry is a Scottish hybrid of raspberry and blackberry, named for the River Tay and patented in 1979. It carries large, sharp-sweet berries that can reach 4 cm long, and a well-run plant can crop heavily from its second season onward. I have watched growers treat it like a raspberry and wonder why the canes flop over everything nearby, so I train mine like a blackberry: to wires, one direction, no shortcuts.
This guide walks through the full routine: deciding on support, training canes three ways, pruning after harvest, and making new plants by tip layering. It also busts the from-seed myth, covers pots and spreading, and compares the tayberry with its berry cousins.
Tayberry at a Glance
| Item | Detail |
|---|---|
| Plant | Tayberry (Rubus fruticosus x idaeus), deciduous bramble |
| Origin | Scotland, bred and patented in 1979 |
| Parentage | Raspberry (European) x blackberry |
| Height | 1.5 to 2.5 m on support |
| Spread | 1.5 to 2.5 m per plant |
| Hardiness | RHS H5; fully hardy through cold winters |
| Light | Full sun to partial shade, sheltered spot |
| Soil | Fertile, moist but well drained |
| Time to crop | Fruit in the second year after planting |
| Yield | Up to 20 lb (9 kg) per plant from the second season |
| Fruiting | Floricane: fruit on second-year wood |
1. Answer the Trellis Question Directly
Yes. Tayberry canes grow 2 m or more in a single season, and a fruiting cane loaded with berries is heavy enough to drag itself to the ground. On the ground, fruit rots, slugs move in, and picking turns into a wrestling match.
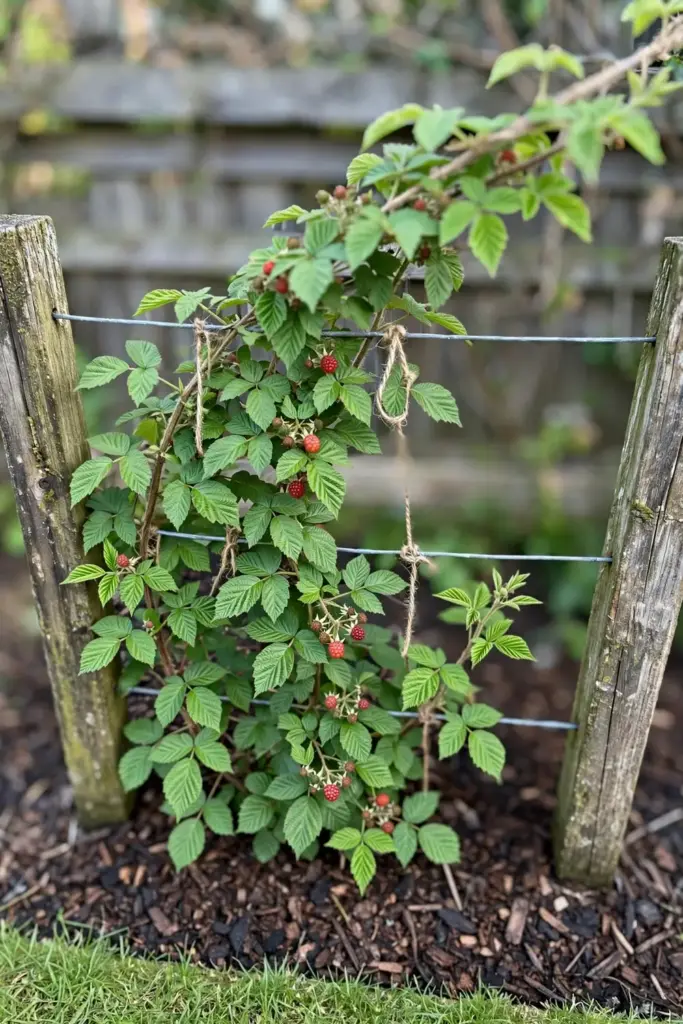
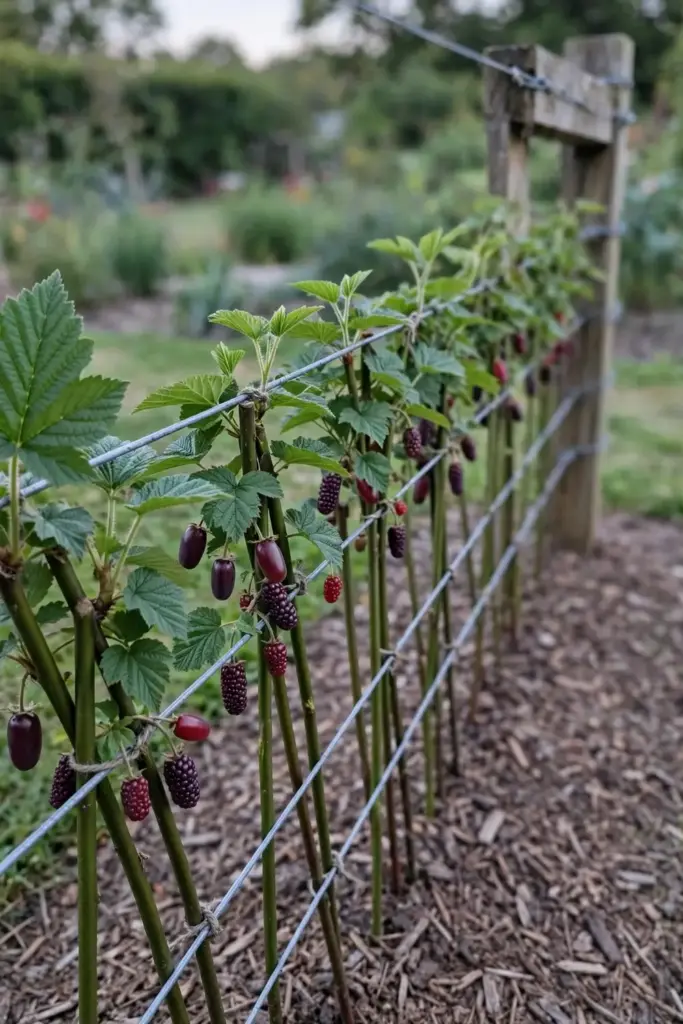
A trellis fixes all of that at once. The simplest version is two or three horizontal wires stretched between sturdy posts along a sunny wall or fence. Set the wires 40 to 60 cm apart, starting 60 cm from the ground. The RHS recommends training tayberries to wires on the sheltered side of a fence or wall, and this simple setup is exactly what they mean.
You do not need a pergola or an expensive kit. A fence panel with horizontal battens works. So does a row of straining posts with galvanized wire. The posts matter more than the wire: the plants are heavy when fruiting, and flimsy uprights will lean under the load, a point every allotment grower learns the hard way.
2. Know Your Plant: Scotland’s Hybrid Berry
The tayberry was bred in Scotland as a cross between the European raspberry (Rubus idaeus) and the blackberry (Rubus fruticosus). It was patented in 1979 and named for the River Tay. That parentage explains almost everything about how it behaves.
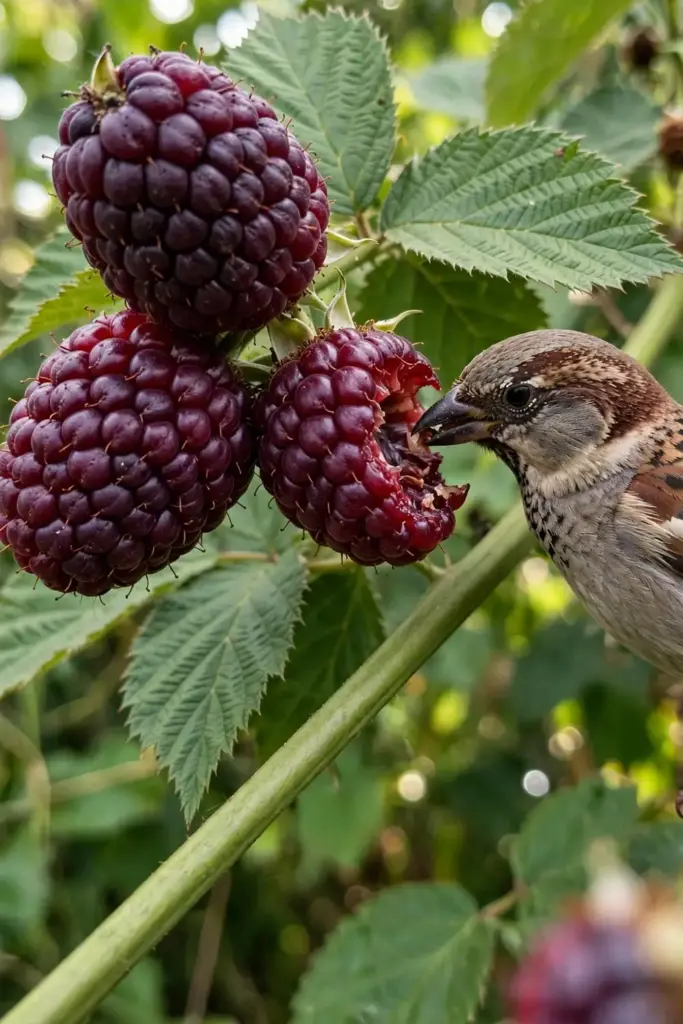
From the raspberry side it takes the long, arching canes and the sharp-sweet aromatic flavor. From the blackberry side it takes vigor, big fruit, and the habit of fruiting on canes grown the previous year. The RHS tayberry group page confirms the key facts: a trailing habit, hardiness to H5, and fruit on second-year wood.
One more thing matters for choosing stock. The original unnamed type carries thorns. Buckingham is the widely sold thornless variety, with dark purple-red cone-shaped fruit up to 4 cm long, and handling it is far easier during training and harvest. Medana is a different case again: it is a primocane type that flowers and fruits on growth made in the same year, which changes the pruning completely.
3. Set Up Your Trellis the Simple Way
Pick the location first. Tayberries want full sun and a sheltered spot, and they hate waterlogged ground in winter. Against a south-facing fence or wall is the classic position, and the wall also serves as your support structure.
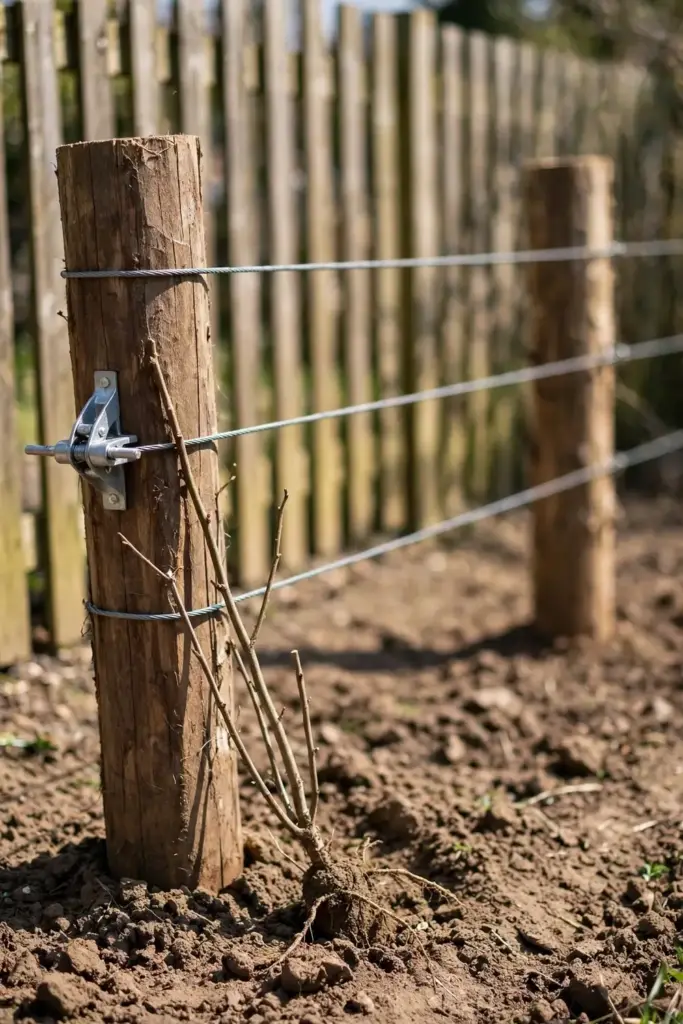
For a free-standing row, sink posts at least 7 cm thick and 2.2 m long, burying 60 cm, every 3 to 4 m along the row. Stretch three wires: at 60 cm, 1.2 m, and 1.8 m. Tension each wire properly with a strainer. Loose wire sags under the first crop and never straightens again.
Space the plants 2.5 m apart, which the RHS suggests for tayberries grown on wires or against a sunny wall. Each plant eventually needs 4 square metres of cane room, but the footprint at the base is small: the canes go up and out along the wires rather than sprawling across the bed.
Set up the wires before planting if you can. Wrestling posts into position around a plant that is already growing is awkward, and you will damage the young canes you are trying to protect.
4. Train Tayberries Three Ways
Training means directing each cane to a wire and tying it loosely so the plant stays open, airy, and easy to pick. Three methods work, and the best one depends on your space.
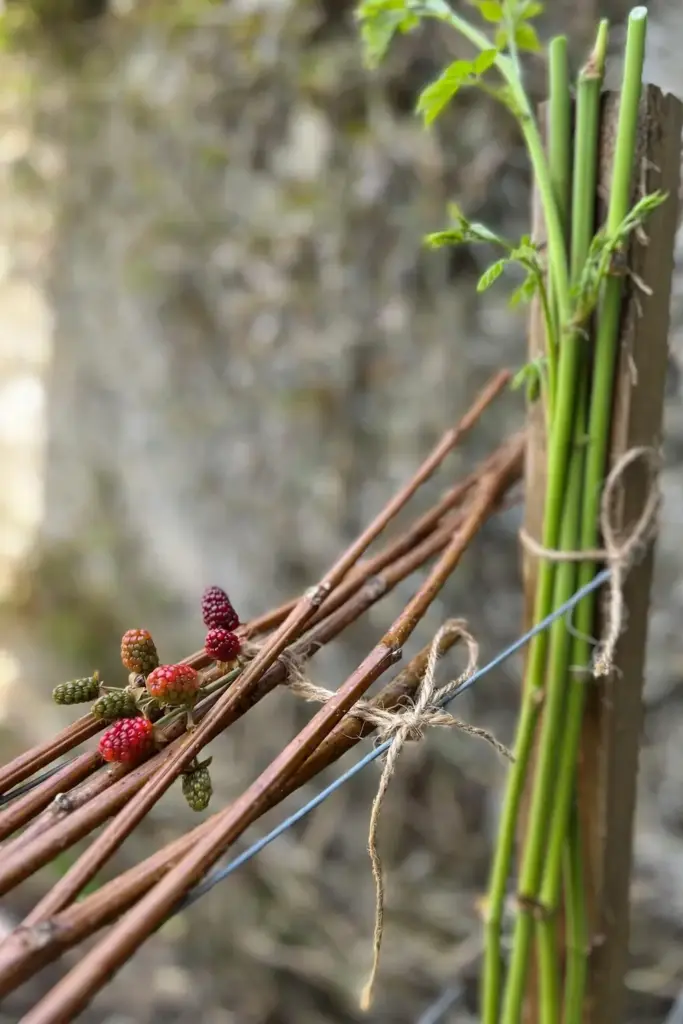
Fan training is the RHS default. Spread the canes like a fan from the base, tying each to the nearest wire so they cover the support evenly. This suits a wall or a short fence run and looks tidy.
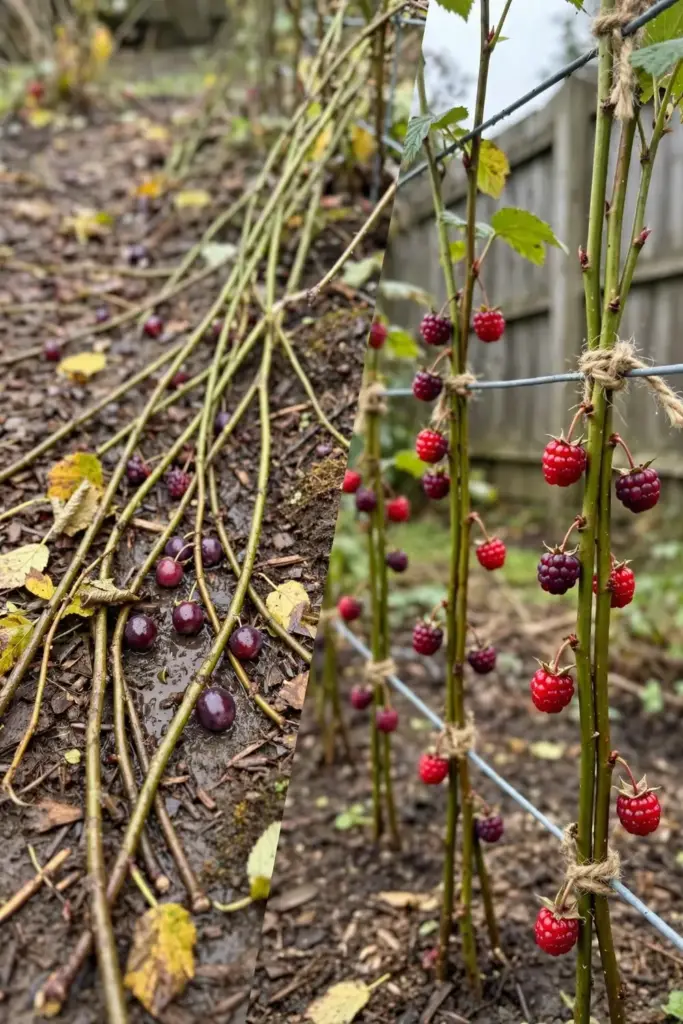
One-direction training is the practical favorite. Each year, tie all the new canes to one side of the support and let the fruiting canes occupy the other. When harvest ends, the fruited side is obvious, so you cut it down without studying each cane. Several veteran growers swear by this because it takes the guesswork out of the autumn pruning.
Two-way alternating uses both sides of a long run, sending new canes left one year and right the next. It suits a long fence with several plants and gives a heavier crop along a hedge-like row.
Whichever method you choose, tie canes loosely with soft twine or plant ties. Tight ties cut into the stems as they thicken. Space fruiting canes 10 to 15 cm apart along the wire so air moves through and the fruit dries quickly after rain.
| Method | Best For | Why It Works |
|---|---|---|
| Fan training | Walls and short fence runs | Even coverage, tidy look, easy picking |
| One-direction training | Beginners and small rows | Fruited canes isolated on one side; pruning is obvious |
| Two-way alternating | Long fence runs, several plants | Maximum crop along a hedge-like row |
5. Prune Fruited Canes Right After Harvest
Tayberries fruit on second-year wood. The canes that grow this summer carry next summer’s crop, and the canes that fruited this summer are finished forever. The whole pruning job is telling the two apart and removing the finished ones.
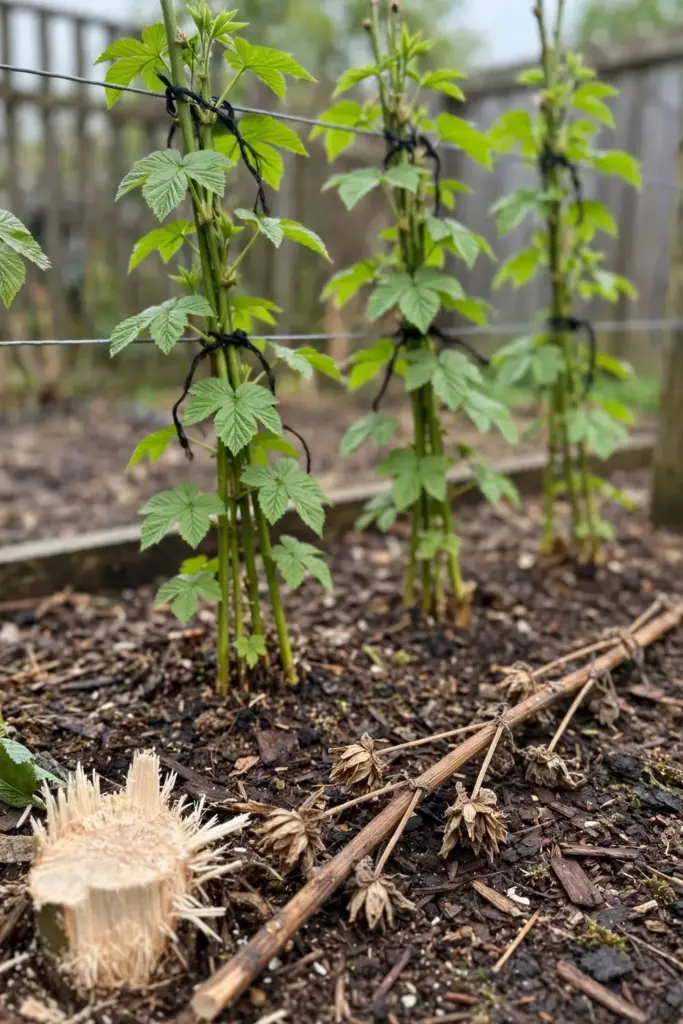
Once the last berries are picked, cut every fruited cane down to ground level. The RHS gives this exact instruction for the tayberry group, and it is the single most important cut you will make all year. Leaving dead canes invites disease and crowds the new growth that needs light and air.
Then untie the new canes that grew over the summer and tie them in to replace the ones you removed. If you used one-direction training, the new canes are already waiting on their own side. If you used a fan, retie them to spread evenly across the wires. The same remove-and-renew rhythm shows up in many fruit crops, and our spring pruning techniques guide walks through the clean-cut basics that apply here too.
Watch one exception. Medana is a primocane variety that fruits on the growth made in the same year, so its canes can be cut down to the ground completely once fruiting ends, exactly like an autumn raspberry. Do not treat Medana like a floricane type or you will cut off nothing useful and miss the real work.
6. Thin the New Canes in Late Autumn
After harvest pruning, look at the new canes. A vigorous tayberry can throw up more shoots than the wires can hold, and crowded canes mean small fruit and gray mold. Keep the strongest 6 to 8 canes per plant and cut the weak or damaged ones out at the base.
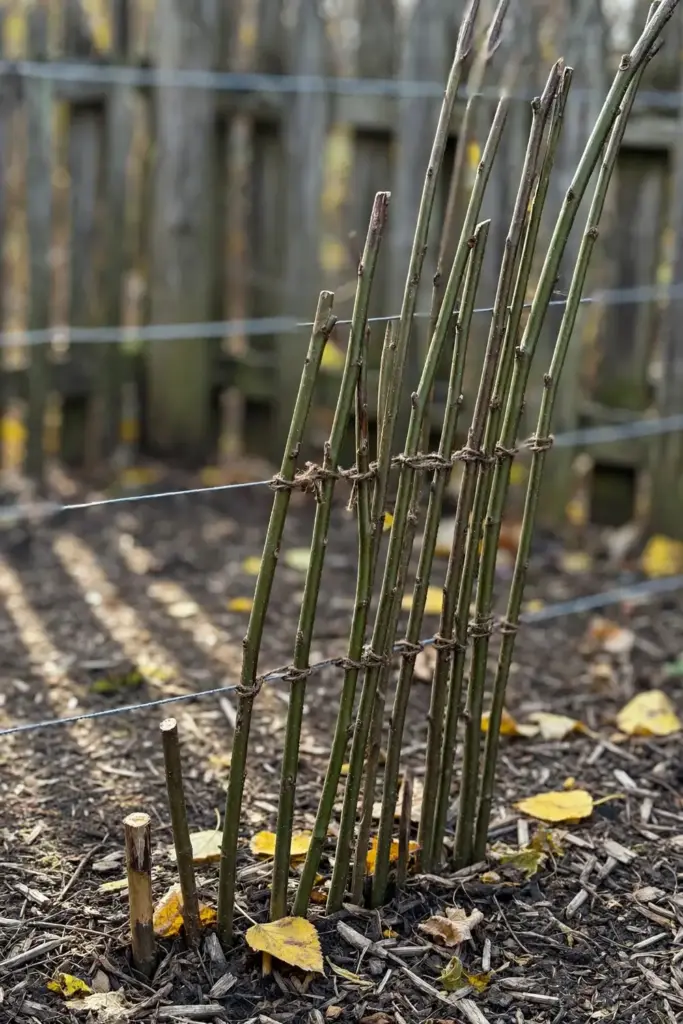
Do this thinning in late autumn when the leaves have dropped and the structure is visible. It is much harder to judge cane quality in midsummer when everything looks green and promising.
In spring, you can tip-prune the laterals, the short side branches on each cane, to 20 to 30 cm. This concentrates the plant’s energy into fewer, larger fruit clusters. Growers in cool-summer climates report this small step pays off noticeably at harvest.
7. Tip-Layer New Plants in Late Summer
Tip layering is the standard way to multiply a tayberry, and the RHS lists it alongside cuttings as the recommended propagation. The technique uses the plant’s own habit: a cane tip that touches soil wants to root.
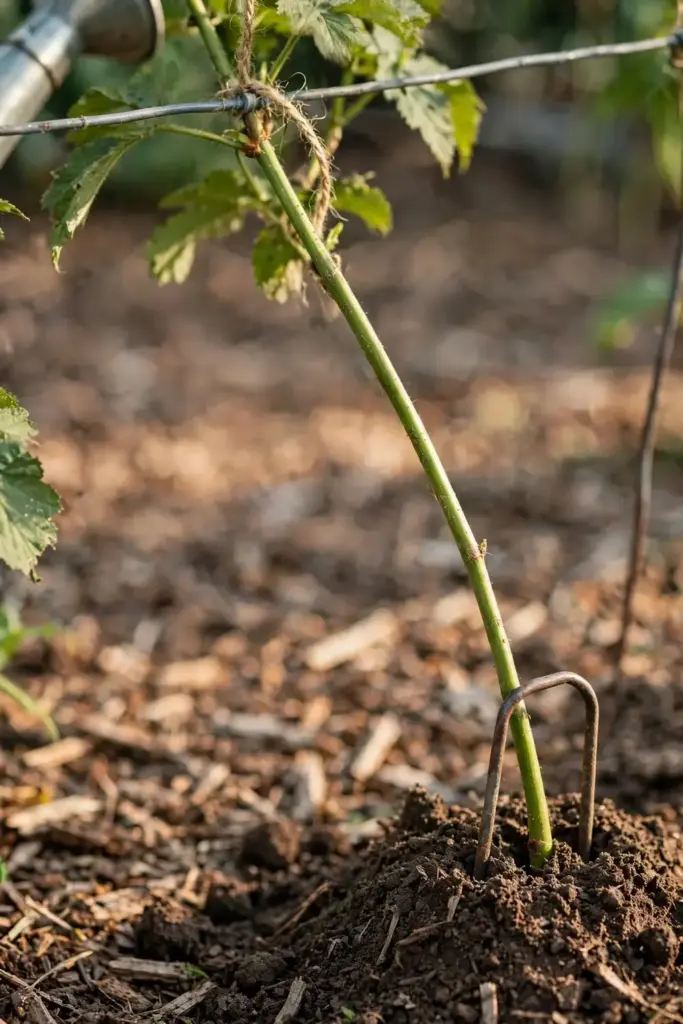
In late summer, pick a healthy new cane that has not fruited. Bend the tip down to the ground a short distance from the plant and bury 10 to 15 cm of the tip in a shallow hole, firming the soil around it. A bent wire peg holds it in place. Water it in.
Leave it alone through autumn and winter. By spring, the buried tip has grown its own roots. Cut the new plant free from the parent cane and lift it with its root ball, then plant it in its final spot or a large pot. One tip-layered plant usually fruits the following year.
Take layers from healthy plants only. Viruses pass through propagation, and starting a new bed from a sick parent multiplies the problem along with the plant.
8. Face the Seed Truth: Seeds Will Not Grow True
Searches for growing tayberries from seed appear on every engine, and the answer is disappointing. Tayberry seeds do not produce true-to-type plants. A seedling will be some unknown raspberry-blackberry shuffle, and it will almost certainly be worse than the named variety you wanted.
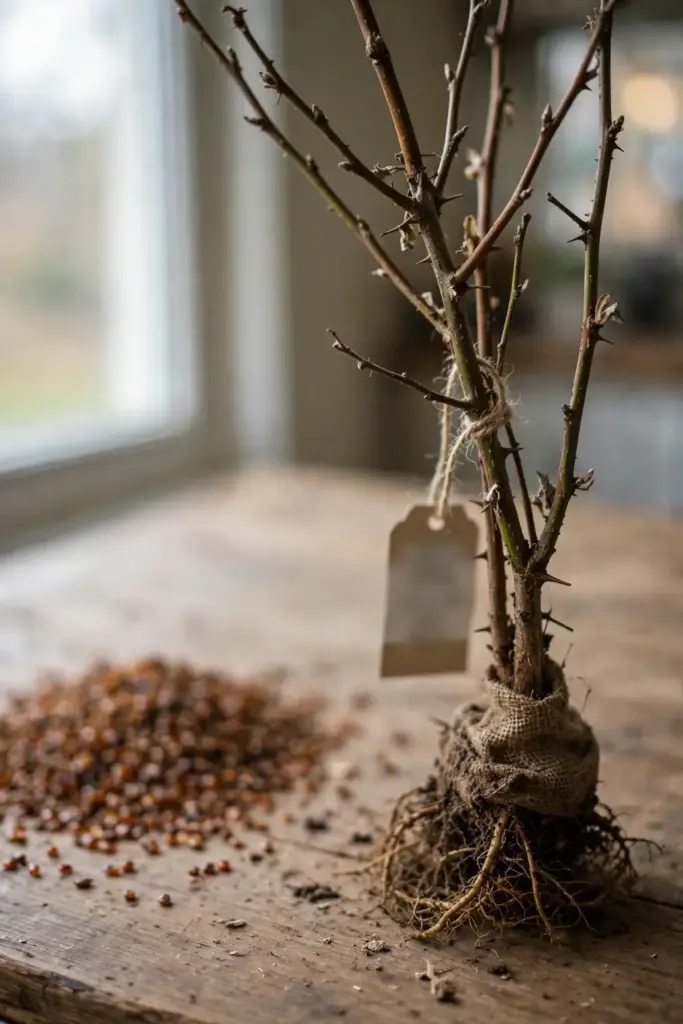
Hybrid berries are propagated vegetatively precisely because their genetics do not breed true. Tip layering, cuttings, or a bought bare-root cane all give you the exact plant. Seeds give you a gamble.
This is the one place where from-seed advice misleads. If you want the Buckingham thornless fruit or the Medana cropping habit, buy the cane. Starting vegetables or flowers from seed is a different skill entirely, and our seed-starting guide covers that step by step.
9. Plant Bare-Root Canes at the Right Time
Buy bare-root canes in winter and plant them as soon as conditions allow, when the soil is not frozen or waterlogged. The RHS plant suppliers note that tayberries establish best when planted promptly into ground that drains freely.
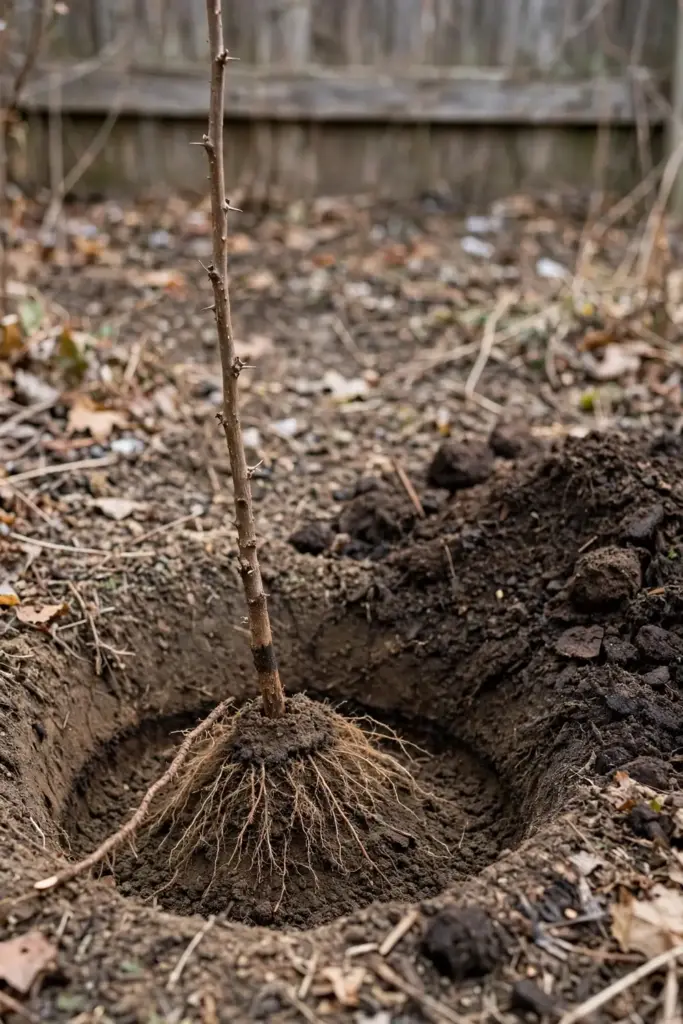
Dig a hole wide enough to spread the roots without bending them. Set the cane so the old soil mark on the stem sits at ground level, backfill with the excavated soil mixed with compost, and firm it well. Soil preparation matters more than the hole itself, and our soil-health foundation guide explains the compost-first approach. A deep mulch of compost or well-rotted manure around the root area helps the first season, kept clear of the stem itself.
Water the new plant in thoroughly, and keep it well watered through the first year while the roots establish. After that, established tayberries manage without extra water unless conditions turn extreme, though the RHS notes yields improve when organic matter keeps the root zone evenly moist through flowering and ripening.
Give the young plant just one or two canes to start. Its job in year one is root, not fruit, and removing early flowers in the first season builds a stronger plant for the years ahead.
10. Space Plants for Airflow
Tayberries are vigorous, and crowding is the fastest route to disease. Keep 2.5 m between plants along the row. Each plant ultimately wants 4 square metres of trained cane space, which sounds like a lot until you see a mature plant in July.
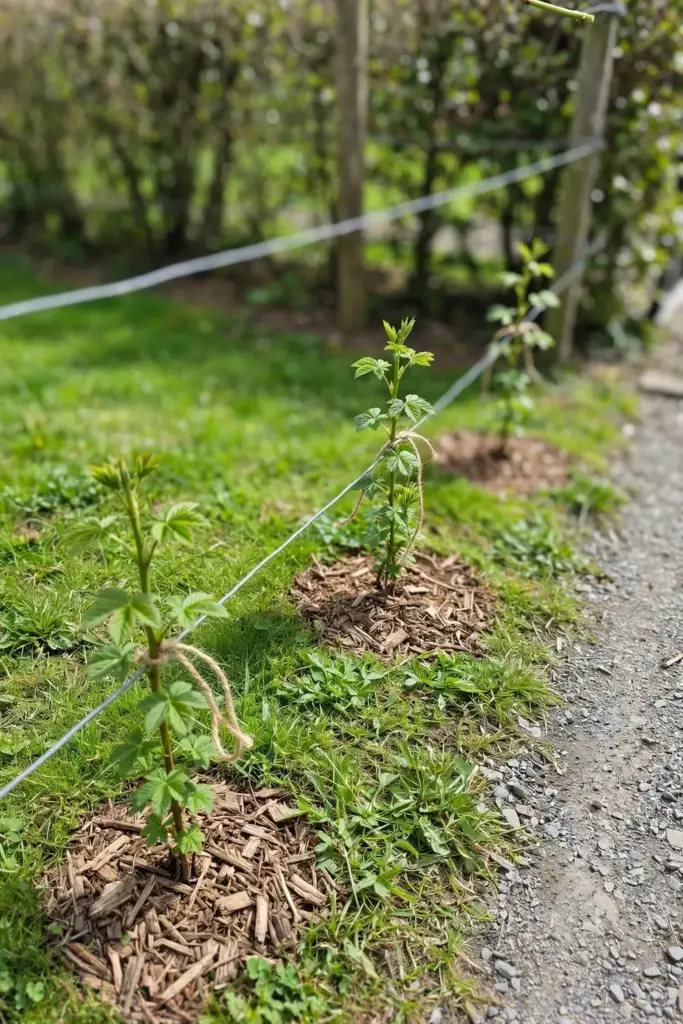
Air circulation matters because the fruit hangs in clusters that stay wet after rain. Gray mold loves damp, crowded canes, and the RHS flags it as one of the few diseases tayberries face. Good spacing, thin canes, and an open training pattern are the prevention.
If space is tight, the circular tying method helps. Train the fruiting growth in a rough circular pattern on a fence or obelisk, which compresses the footprint without packing the canes. Several long-term growers report cropping a tayberry on a wall in this style for decades.
11. Water Deeply in the First Year
The first-year rule is simple: do not let the young plant dry out. Newly planted canes have small root systems, and a dry spell in the first summer can set the plant back a full year.
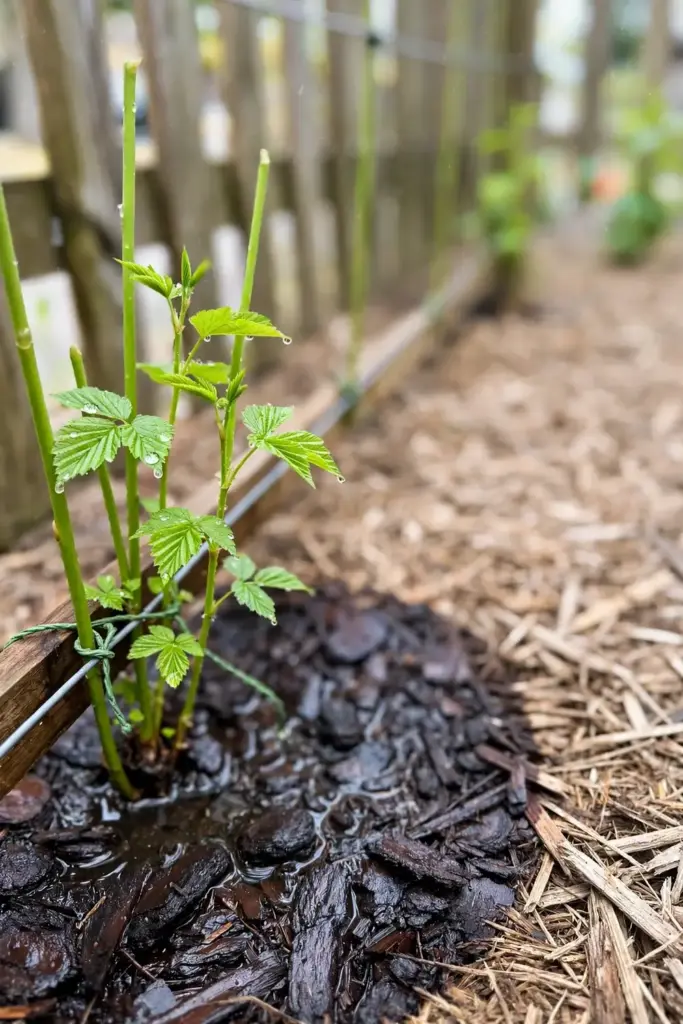
Water deeply once a week during dry weather rather than sprinkling daily. Deep watering drives roots down, and deep roots make the drought-tolerant mature plant you are aiming for. A 5 cm mulch of compost or bark around the root zone holds moisture in and keeps weeds down.
Once established, tayberries are forgiving. Water during prolonged dry spells while fruit is swelling, since berries size up on available water, but a mature plant in decent soil will coast through ordinary summers.
12. Feed Once in Spring and Mulch Every Year
Tayberries are not heavy feeders, and overfeeding does more harm than good. Excess nitrogen pushes soft, leafy growth that flops, shades the fruit, and invites aphids.
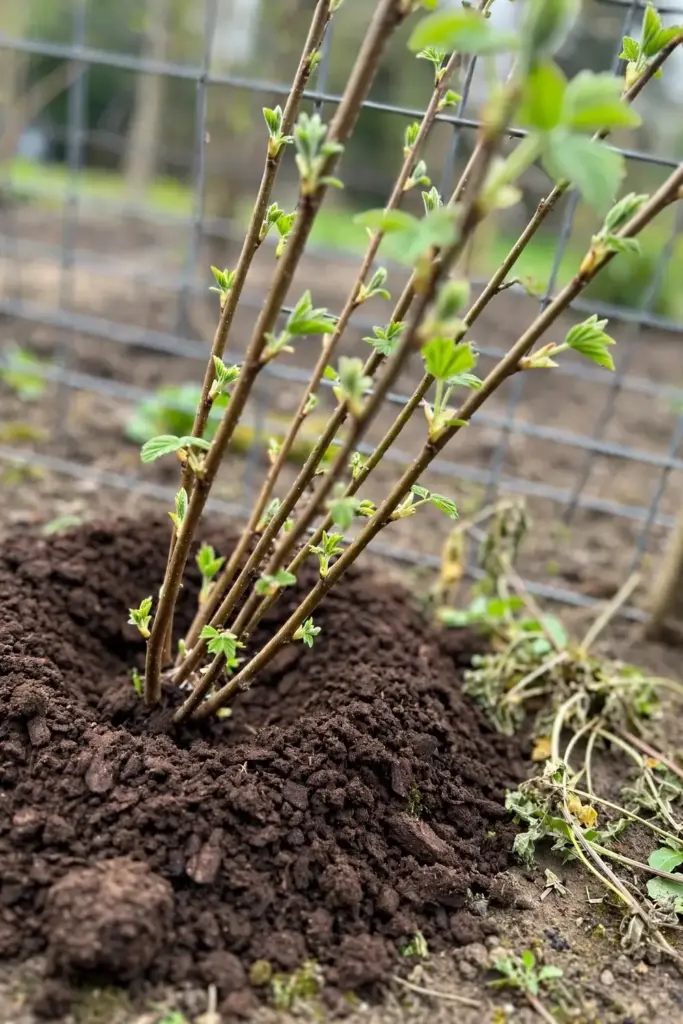
Feed once in spring with a general balanced fertilizer or an organic equivalent such as blood, fish and bone. Our guide to the best fertilizer for fall vegetables covers slow-release organic options in detail, and the same products suit a spring bramble feed. Then mulch the root area with well-rotted compost or manure, 5 cm deep. The mulch feeds slowly, holds moisture, and keeps the crown from sitting in wet soil.
Avoid fresh manure and avoid piling mulch against the stem. The crown rots in persistent damp, and raised beds or a slight mound help where winter ground stays wet.
13. Choose Full Sun in a Sheltered Spot
Full sun gives the sweetest, heaviest crop, and the RHS lists full sun as the prime position with partial shade acceptable. East, south, or west facing aspects all work, with shelter from strong wind the real requirement.
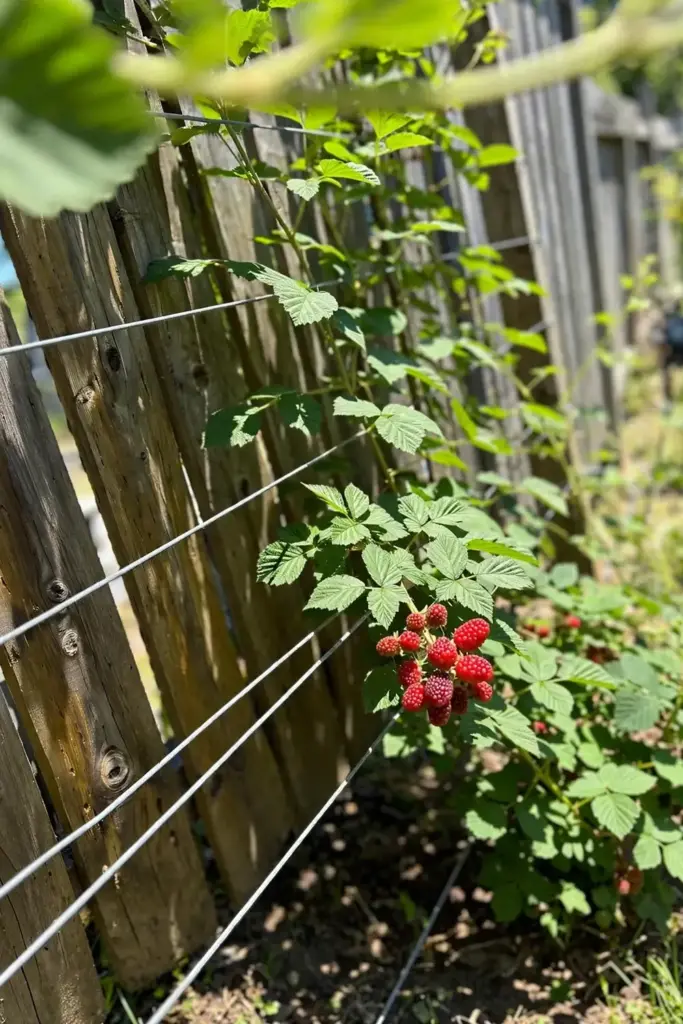
Shelter matters for two reasons. Wind snaps the long canes and shreds the leaves, and it dries the flowers just when pollination needs calm air. A fence or wall that also carries your wires solves both problems at once.
The plant is fully hardy through cold winters, with nursery stock rated to minus 20 degrees Celsius, so winter protection is not part of the routine. Spring frost on the flowers is the only cold worry, and a sheltered position handles most of that.
14. Try Tayberries in Large Pots
Containers are possible, and several growers report success with the Buckingham thornless type in big pots. Be honest about the limits: a potted tayberry will never match a ground-grown plant for crop size, and it needs more attention.
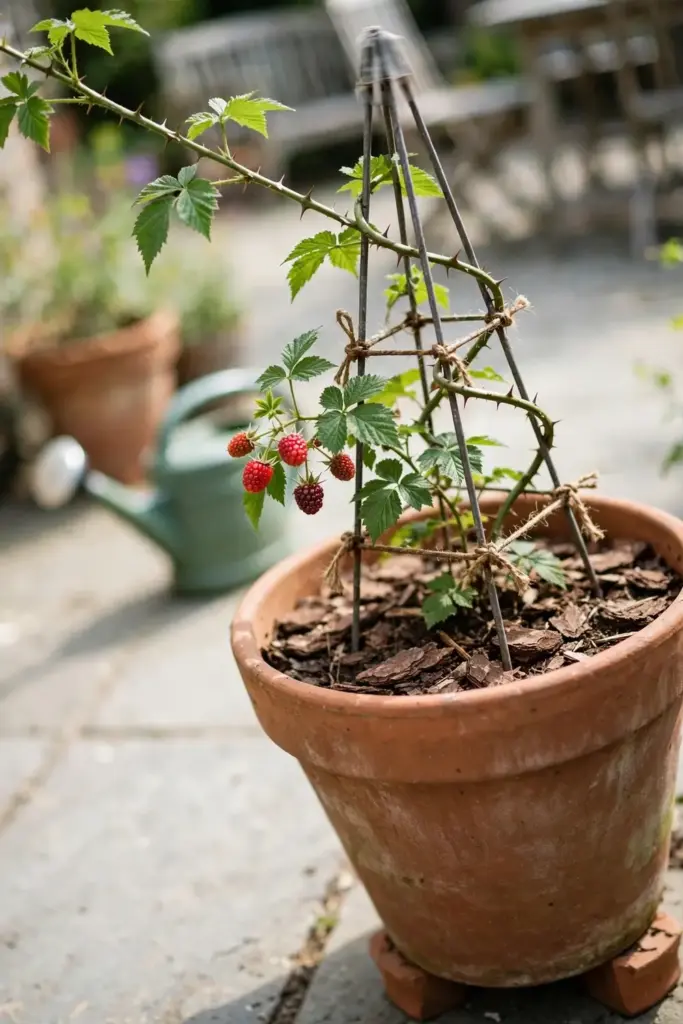
Use the largest container you can manage, at least 50 litres, with a loam-based compost and plenty of drainage holes. Tayberries hate waterlogged roots, and a pot makes waterlogging easy. Raise the pot on feet so it drains freely.
Support is still required. Push two or three bamboo canes or a small obelisk into the pot and tie the canes in as they grow. Water daily in summer, feed monthly through the growing season, and mulch the surface to slow drying.
Repot or root-prune every two to three years, since a pot-bound bramble fruits poorly. In cold regions, move the pot to a sheltered corner for winter or wrap it, because roots in containers freeze harder than roots in the ground.
15. Keep Spread Under Control
Will tayberry spread? It suckers, the RHS notes, and it can send up new shoots a short distance from the crown. But it spreads far less aggressively than its blackberry parent, which is the reassuring part of the story.
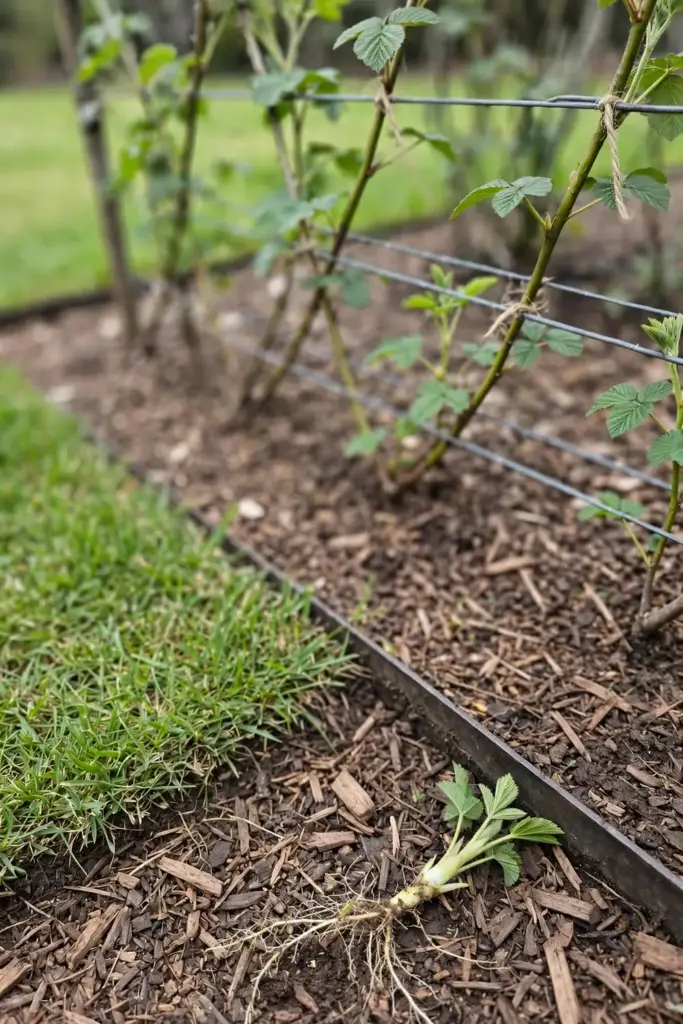
Most spreading comes as new canes from the base, which you want anyway for renewal. True wandering suckers are modest in most soils. If yours throws them, sever them with a spade in winter and replant or discard.
For tight spaces, a root barrier helps. Sink a 30 cm deep strip of thick plastic or metal edging around the planting area before the plant establishes. It will not stop the canes, which is what the trellis is for, but it will keep the roots where you put them.
Digging a tayberry out entirely is straightforward in the first couple of years and harder later, so choose the spot with the long term in mind.
16. Harvest When the Berries Turn Deep Purple
Tayberries ripen from mid-summer into August, deepening from red to a dark purple that signals full ripeness. The flavor follows the color: picked red they are sharp, picked dark they are sweet and aromatic.
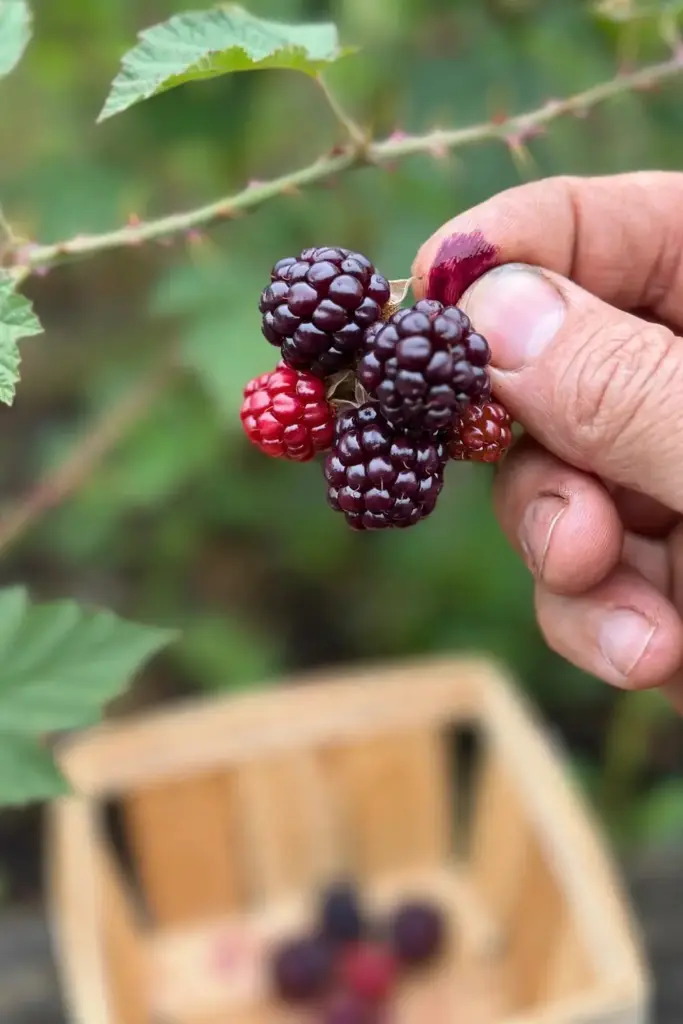
Ripe berries pull off the plant easily, keeping the plug they are attached to, in the same way as blackberries. If a berry resists, leave it another day. Tugging unripe fruit damages the cluster and the flavor is not there yet.
Pick every two to three days through the season. Regular picking keeps the plant producing and beats the birds to the ripest fruit. A morning pick into a shallow punnet, berries only one or two deep, avoids crushing the soft fruit.
17. Store and Use the Harvest
Fresh tayberries keep only a day or two in the fridge, so plan the harvest around use. They freeze extremely well: spread them on open trays, freeze, then bag. Frozen berries stay separate and cook like fresh ones.
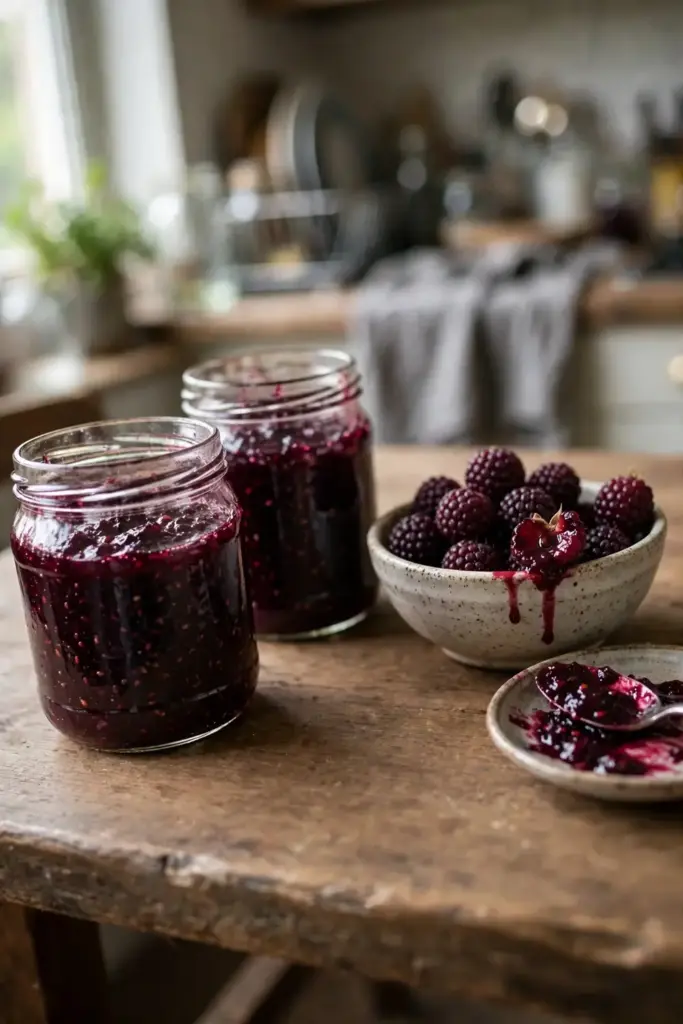
The classic uses are jam, jelly, crumble, and pie filling, where the sharp-sweet flavor shines. They also work in cooked fruit sauces and, fully ripe, in uncooked desserts such as summer pudding or over ice cream. The tray-freezing method that keeps berries separate is detailed in the allotment gardener’s tayberry growing guide.
Yield is generous. Growers commonly report 12 lb per plant, and the RHS suppliers suggest up to 20 lb (9 kg) from the second season onward with good training. One plant feeds a jam-making household; two plants feed the neighbors too.
18. Watch for the Usual Bramble Pests
Tayberries are easy plants and, in the RHS wording, generally pest-free. A few usual bramble suspects can still show up, so know what to look for.
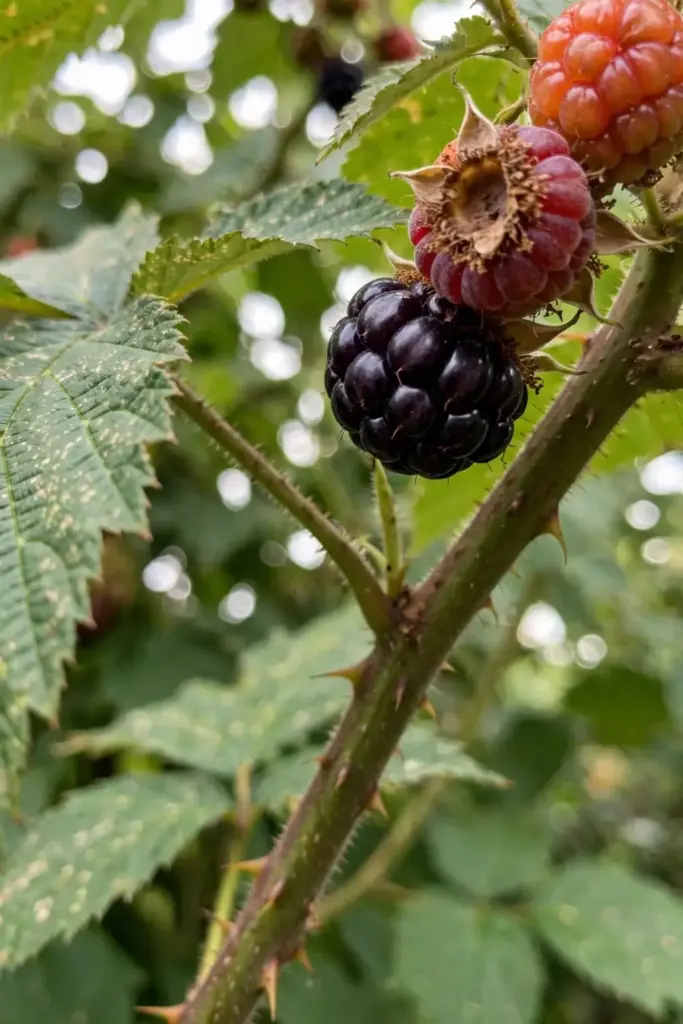
Raspberry beetle is the main one. Its grubs cause dried patches at the stalk end of the fruit. Picking affected berries and keeping the bed clean of fallen fruit breaks the cycle for most home growers.
Aphids cluster on the shoot tips, leafhoppers stipple the leaves, and gall mites distort the buds. A strong jet of water handles light aphid pressure, and healthy plants outgrow most of it. Gray mold is the disease to watch in wet summers: thin canes, space plants, and pick in dry weather to keep it rare. Honey fungus is listed as a rare possibility; there is no cure, so plant in fresh ground if it has struck before.
Birds love the ripe fruit. Growing the canes vertically on wires makes the berries harder for birds to reach, and most growers find netting unnecessary, though a hungry blackbird will test that claim.
19. Tayberry vs Raspberry vs Boysenberry
The berry-hybrid family confuses everyone, so here is the quick comparison.
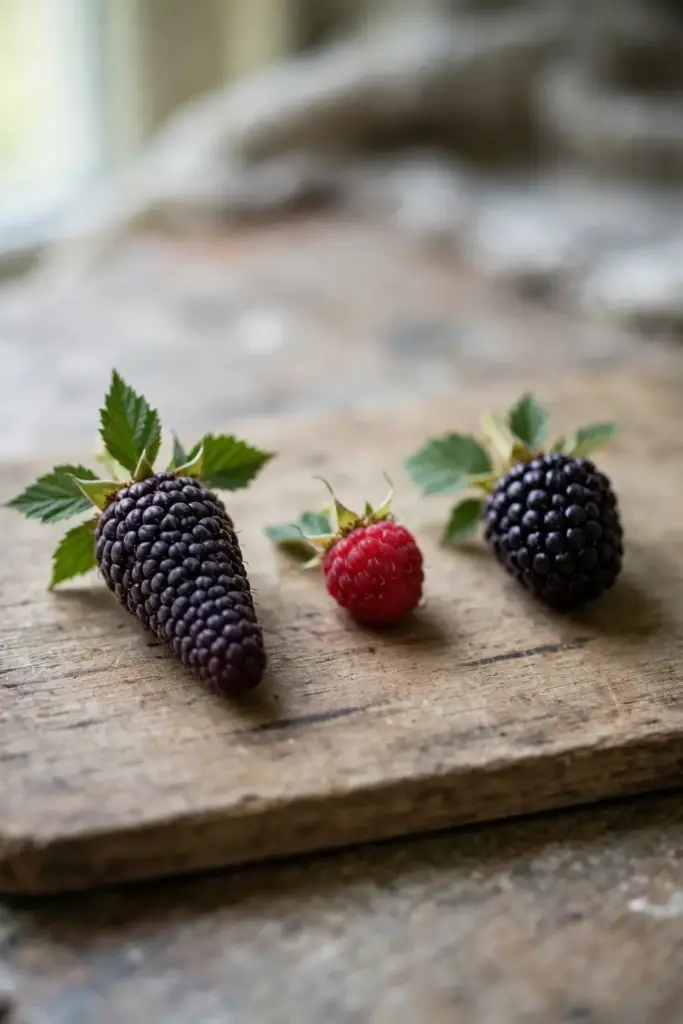
| Berry | Parentage | Thorns | Fruit | Vigor |
|---|---|---|---|---|
| Tayberry | Raspberry x blackberry | Thornless types exist (Buckingham) | Large, cone-shaped, dark purple-red | Very vigorous, needs trellis |
| Raspberry | Rubus idaeus | Small prickles | Small, round, red or gold | Moderate, self-supporting canes |
| Boysenberry | Blackberry x raspberry x loganberry | Usually thorny | Large, dark, soft | Very vigorous, trailing |
| Loganberry | Blackberry x raspberry | Thorny | Long, dark red | Vigorous, trailing |
Tayberry beats raspberry on fruit size and beats boysenberry on thornless options and tidier growth. If you only have room for one hybrid berry and you want big fruit without the thorn wrestling, the tayberry is the easy recommendation.
20. Fix the Common Mistakes
Skipping support. The classic beginner error. Canes flop, fruit rots on the soil, and the plant becomes a thicket. Put the wires up before the canes need them.
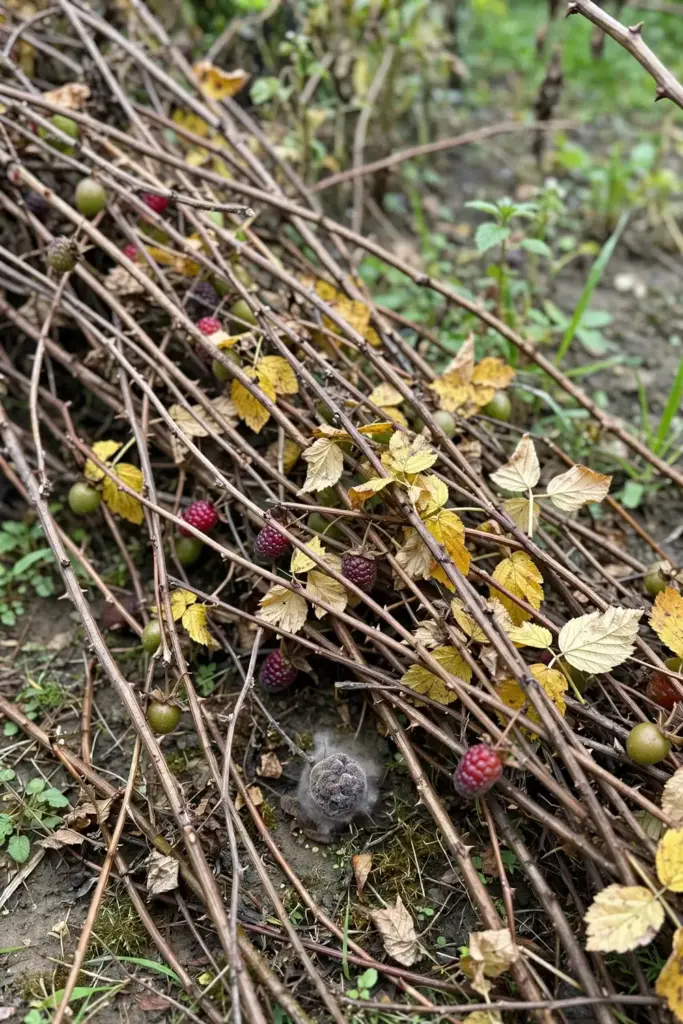
Pruning the wrong canes. Cutting the new canes instead of the fruited ones removes next year’s crop. After harvest, the fruited canes look tired and often still carry old flower stalks; those are the ones to cut.
Planting too deep or too wet. The crown rots in winter-wet soil. Plant at the old soil mark, mulch wide rather than deep, and use a raised mound where drainage is poor.
Picking too early. Red tayberries are sharp enough to put you off the plant forever. Wait for deep purple and the fruit practically falls into your hand.
Ignoring the spread. A tayberry left untrained for three years becomes a neighborhood. Train from year one, thin every autumn, and the plant stays a plant instead of a hedge.
Frequently Asked Questions
Yes. Tayberries are among the easiest bramble fruits: fully hardy, tolerant of most soils, and, in the RHS wording, generally pest-free. The work is all structural. Put up wires, tie canes in, cut the fruited ones after harvest, and the plant largely looks after itself.
They need support, and a trellis is the simplest form. The canes grow 2 m or more and carry heavy fruit, so unsupported canes flop and rot. Two or three wires between sturdy posts, or a sunny fence with horizontal battens, is enough. The posts must be firm because a fruiting plant is heavy.
Cut the fruited canes to ground level after harvest in late summer or autumn, then tie in the new canes for next year. Thin the new canes to 6 to 8 of the strongest per plant. The primocane variety Medana is the exception: cut all its canes to the ground after fruiting.
It suckers modestly but spreads far less aggressively than its blackberry parent. Most new growth comes from the crown where you want it. Sever wandering suckers with a spade in winter, or sink a 30 cm root barrier at planting time if space is tight.
Yes, with limits. Use at least a 50-litre container, loam-based compost, and a small obelisk or canes for support. Expect a smaller crop than a ground-grown plant, water daily in summer, and repot every two to three years. The thornless Buckingham suits pots best.
Tayberries are larger, more vigorous, and need training on wires, while raspberries have smaller fruit on self-supporting canes. The tayberry’s flavor is a sharper, more aromatic raspberry-blackberry blend, and its berries grow up to 4 cm long. Both fruit on second-year wood in their floricane types.
A Berry Worth the Wires
The tayberry asks for one thing, support, and pays back with some of the largest, most flavorful berries a home garden can grow. Put the wires up in year one, learn the two-cane rhythm of fruit and renewal, and tip-layer a few new plants for friends. Few garden investments repay as reliably as a well-trained tayberry row.