
Plant 5 cm kencur rhizome pieces 15 cm apart on a 25 cm raised bed in spring, keep the bed half-shaded and evenly moist through summer, then stop watering when the leaves die back in autumn. That is how to grow kencur as a home gardener: one warm season, one dry rest, and a harvest of aromatic rhizomes at 6 to 7 months. The rest of this guide walks through 13 moves, from telling kencur apart from galangal to storing dormant rhizomes through winter.
Kencur (Kaempferia galanga) is a low-growing perennial herb in the ginger family. The plant grows 2 to 3 broad leaves flat against the ground in a tight rosette, with no upright stem at all. Its underground rhizome smells of camphor and carries the peppery bite that defines Javanese and Balinese cooking.
In Indonesia, cooks pound the fresh rhizome into sambal and spice pastes, and jamu sellers blend dried kencur powder into beras kencur, a traditional herbal drink. Kencur grows from rhizome pieces set in warm soil, much like its better-known cousin in the guide to growing ginger at home. Buy the right species, respect the dry winter rest, and this small plant pays you back every year.
1. Understand the Kencur Name Trap Before You Buy Rhizomes
The word galanga in the botanical name Kaempferia galanga does not make kencur a galangal. Kencur belongs to the genus Kaempferia, while true galangals belong to Alpinia. A Hawaii-based herbal supplier explains the confusion in its kencur FAQ: although galanga appears in the botanical name, the plant is no galangal, and any recipe calling for galangal means an Alpinia species.
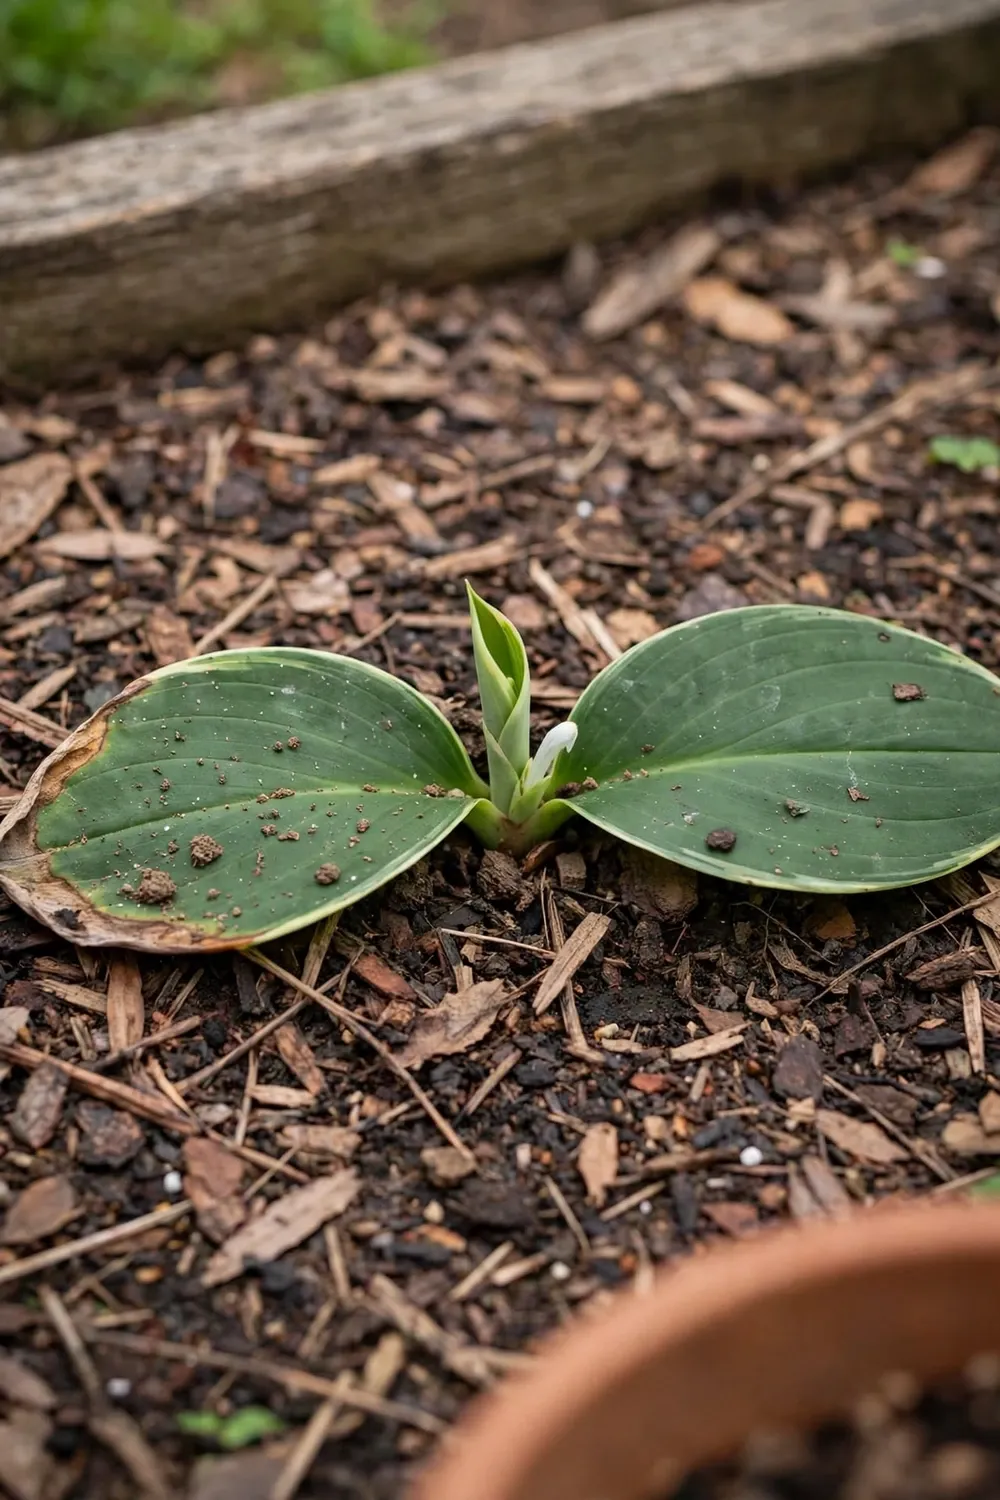
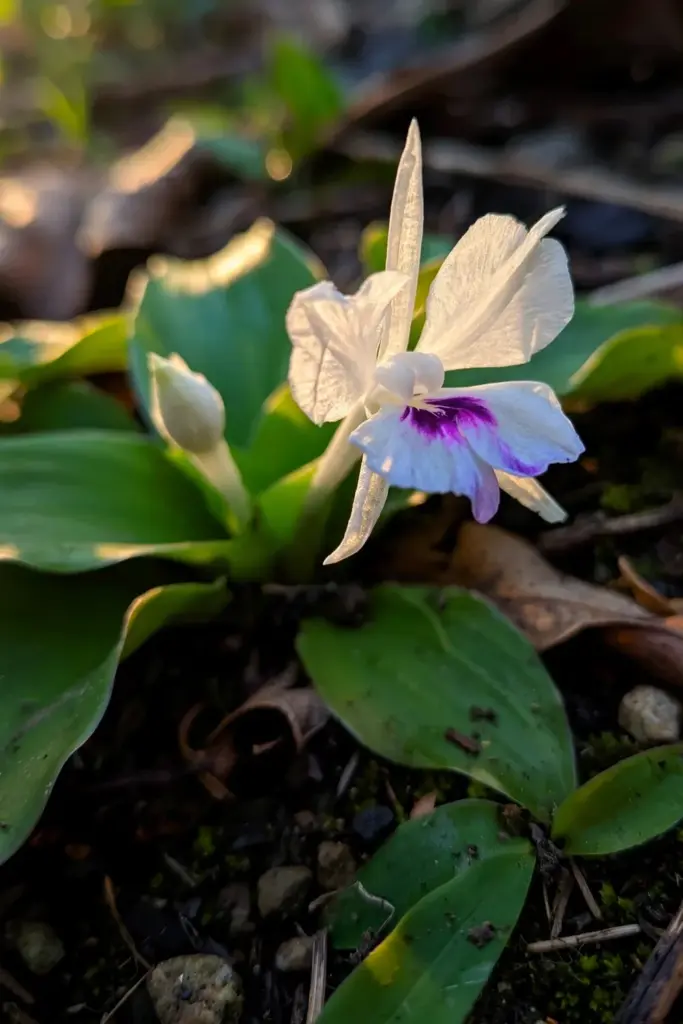
Singapore’s National Parks Board plant database lists the common names as cekur, kencur, sand ginger, and resurrection lily, and describes a stemless herb with 2 to 3 leaves held horizontally close to the ground. That flat rosette is the fastest field ID. Every true galangal grows tall stems; kencur never does. Its native range runs from India through China and Indo-China, and it grows wild at forest margins and in open forest, reaching 1000 m elevation.
Anyone starting a how to grow kencur project should learn the four look-alikes below before ordering rhizomes, because suppliers mix up the names constantly.
| Plant | Botanical Name | What Sets It Apart |
|---|---|---|
| Kencur | Kaempferia galanga | No stem; 2 to 3 leaves flat on the ground; dark brown rounded rhizome with pale camphor-scented flesh |
| Greater galangal | Alpinia galanga | Tall reed-like stems; pale rose-brown rhizomes; the plant most recipes mean by galangal |
| Lesser galangal | Alpinia officinarum | The name lesser galangal properly belongs to this species, not to kencur |
| Black ginger | Kaempferia parviflora | Same genus as kencur, different species, with a dark-colored rhizome |
| Fingerroot | Boesenbergia rotunda | A third genus entirely, common in the same Southeast Asian cuisines |
| Common ginger | Zingiber officinale | Different genus; the familiar supermarket rhizome |
The garden name resurrection lily gets applied to Kaempferia species grown as ornamentals, which is a different context again. When you buy planting stock, check the label for the full botanical name Kaempferia galanga, not just the word galangal. A rhizome sold only as galangal is almost always an Alpinia, and it will grow into a tall plant that never tastes like kencur.
2. Match Your Climate to Kencur’s Tropical Monsoon Range
Kencur thrives in tropical and warm subtropical climates with a wet growing season and a dry rest. Its wild range sits in the tropical to monsoonal belt, and in the garden it wants the same rhythm: heat and rain while it grows, then dryness while it sleeps.
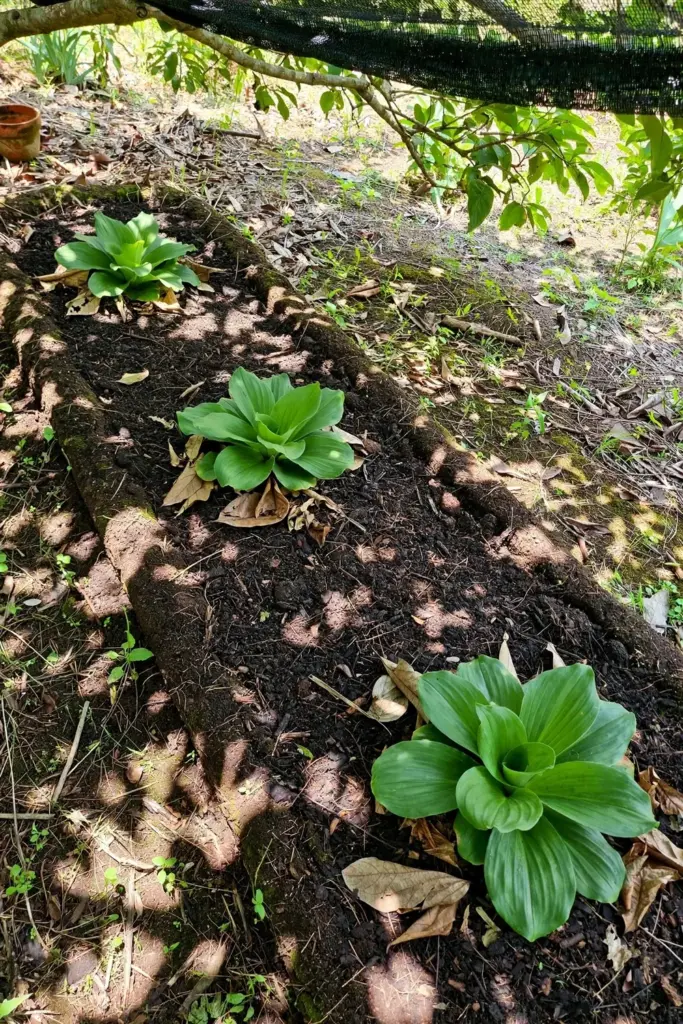
Outdoor planting works where winters stay mild and frost-free. In cooler zones, kencur grows as a container plant that moves under cover for winter, which the dormancy section below covers in full. The plant has no frost tolerance to speak of, so treat the first cold nights of autumn as the signal to stop watering and prepare the rhizomes for their rest.
Rainfall patterns matter more than total rainfall. Kencur wants generous water while the leaves are up and dryness when they die back, which mirrors the monsoon cycle of its native range. A garden that stays soggy through winter will rot the rhizomes even in a warm climate, so drainage decides success more than temperature does. If your winters are wet rather than cold, lift the rhizomes and store them dry instead of leaving them in the ground.
Microclimate buys you a zone. A bed against a warm east-facing wall, under the light canopy of a deciduous tree, runs warmer in spring and shadier in summer than an open plot. Cold air pools in low spots, so plant kencur on a slight rise or a raised bed rather than at the bottom of a slope. In marginal climates, these small choices decide whether the rhizomes wake up vigorous or struggle.
3. Choose Mother Rhizomes with at Least One Visible Shoot
Buy firm, plump mother rhizomes with at least one visible shoot bud, and skip shrivelled finger pieces. Agricultural guidance from Kerala prefers mother rhizomes over finger rhizomes for planting, because the larger piece carries more stored energy for the first flush of leaves. Each piece you plant should feel heavy and solid, with smooth skin and no soft spots.
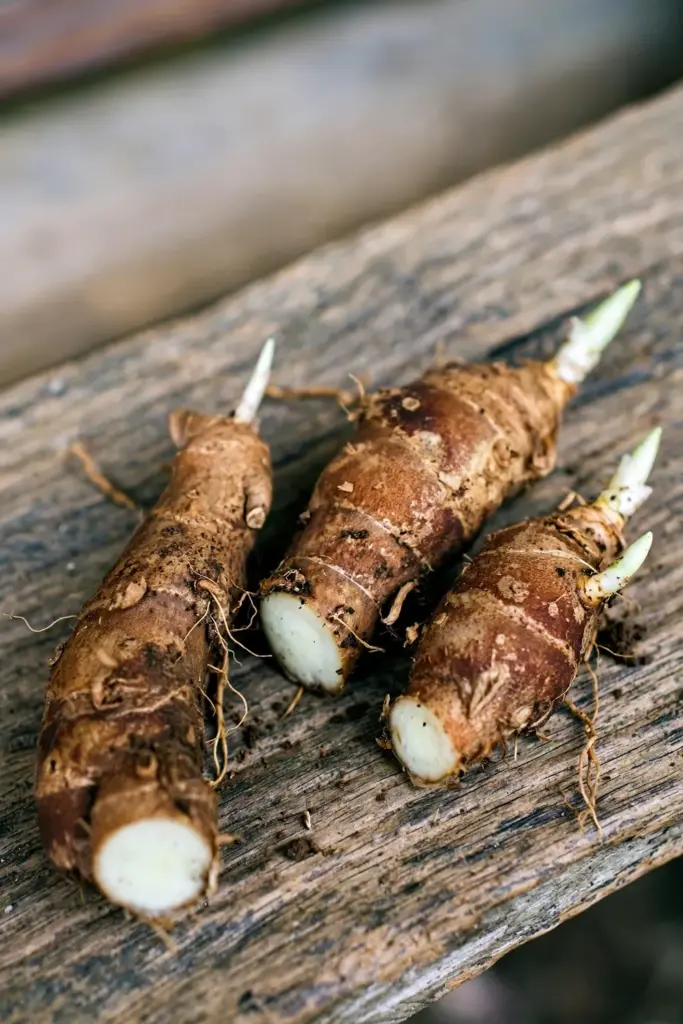
Fresh rhizomes from an Asian grocery work when nursery stock is unavailable, provided they show live buds. Look for the small pointed nubs where shoots will emerge, usually clustered at one end of the piece. A rhizome with no visible buds can still sprout, but it adds weeks of uncertainty to the season, so choose pieces that already show life.
Store planting rhizomes in a cool, dry, shaded spot until the soil warms. The Kerala station stores seed rhizomes in cool dry places or in pits dug under shade, which tells you the two enemies during storage: heat and moisture. A paper bag in a dark cupboard beats a plastic bag in the fridge, because trapped condensation starts rot. Rhizome division follows the same logic as growing turmeric from rhizomes: each division needs a bud and enough flesh to feed it.
4. Plant 5 cm Rhizome Pieces on 25 cm Raised Beds
Set 5 cm rhizome pieces, each with at least one shoot, into a 25 cm high raised bed at 15 to 30 cm spacing, in spring once the soil has warmed. Kerala’s aromatic-plants research station plants sprouted pieces on beds 1 to 2 m wide and 25 cm high at 15 to 30 cm spacing, and harvests 6 to 7 months later when the leaves start drying up.
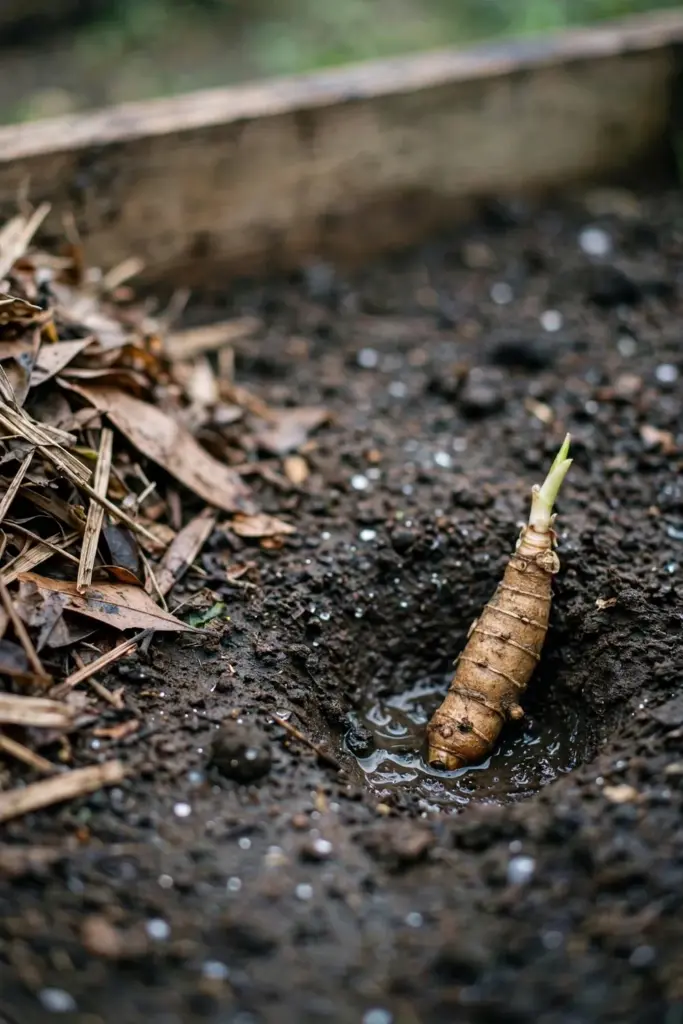
I set my pieces 15 cm apart because the station’s trials put the working range at 15 to 30 cm on raised beds. Tighter spacing suits rich soil and regular feeding; wider spacing suits poorer ground where each plant needs more room to forage.
| Step | Action | Time |
|---|---|---|
| 1 | Break or cut rhizomes into 5 cm pieces, each with a shoot | Planting day |
| 2 | Build a raised bed 25 cm high and work compost through the top layer | Planting week |
| 3 | Set pieces 5 cm deep, shoots pointing up, 15 to 30 cm apart | Planting day |
| 4 | Cover with a 5 cm mulch of leaves or straw | Right after planting |
| 5 | Water deeply to settle the soil around each piece | Planting day |
| 6 | Keep the bed evenly moist until shoots emerge | First 2 to 3 weeks |
The raised bed matters more than it looks. Kencur rhizomes sit shallow, and a 25 cm bed drains fast after heavy rain while keeping the root zone warm. On flat ground, the same rain pools around the pieces and invites rot. Mulch with leaves or straw right after planting; the mulch holds moisture through the warm weeks and feeds the soil as it breaks down.
5. Give Kencur Half Shade, Never Full Sun
Kencur wants bright indirect light under open trees or shade cloth, never baking full sun. Its wild habitat at forest margins and in open forest translates to filtered light in the garden, and the low rosette of leaves scorches when exposed to harsh afternoon sun.
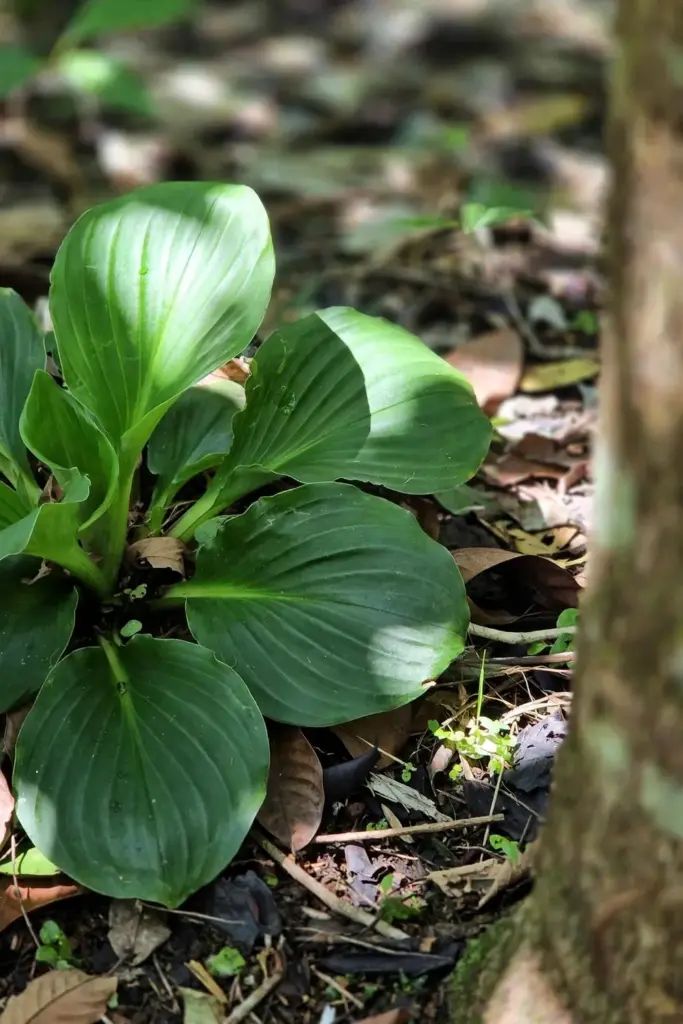
Morning sun with afternoon shade suits kencur in most gardens. An east-facing bed under light tree cover gives the leaves enough energy without burning their edges. In very hot climates, a shade cloth over the bed through the peak of summer keeps the foliage deep green. In milder regions, dappled light all day works, and the plant tolerates deeper shade at the cost of slower growth.
Watch the leaves and they will tell you about the light. Edges that brown and crisp in midsummer signal too much sun, while pale stretched leaves in deep shade signal too little. Move containers until you find the middle, or add shade cloth over a bed that burns. Kencur joins the short list of food plants that genuinely prefer shade, alongside the fruits that crop in shade on cooler sites.
6. Water Like the Monsoon: Soak in Summer, Dry in Winter
Water deeply through the warm growing season and taper to almost nothing once the leaves yellow. The Kerala station’s agrotechnology calls for 1500 to 2500 mm of rain across the growing period with dry spells at land preparation and harvest, and it flags kencur as susceptible to waterlogging. That single warning explains most home-garden failures.
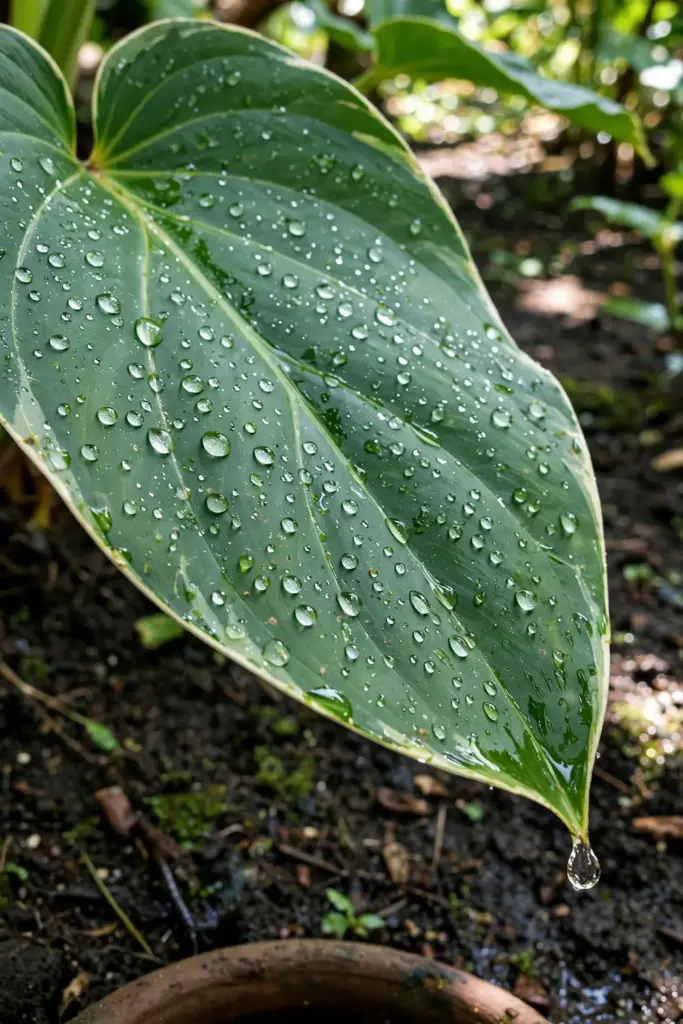
While the leaves are up, keep the soil evenly moist but never soggy. A deep watering twice a week in hot weather beats a daily sprinkle, because it drives roots down into the bed. The leaf mulch from planting helps here, holding moisture between waterings. In containers, water when the top 3 cm of mix dries, and empty the saucer so the pot never sits in water. Potted kencur dries faster than bed-grown plants, so check pots daily in heatwaves and water in the morning so foliage dries before nightfall.
The watering calendar has two sharp turns. When shoots first emerge in spring, increase water steadily as the leaves expand. When the leaves start yellowing in autumn, cut water hard and let the bed dry. Continuing to water a dying-back plant keeps the rhizome wet with no leaves to use the moisture, which is exactly how rot starts. A kencur bed in winter should look neglected. That neglect is the care.
7. Feed with Compost at Planting, Then Twice More
Work about 3 kg of compost per square metre into the bed at planting, then feed lightly twice more during the season. The Kerala station works 30 tonnes of farmyard manure per hectare into the soil at bed formation, which converts precisely to 3 kg of compost per square metre, and divides its nitrogen, phosphorus, and potassium across 2 to 3 applications through the season.
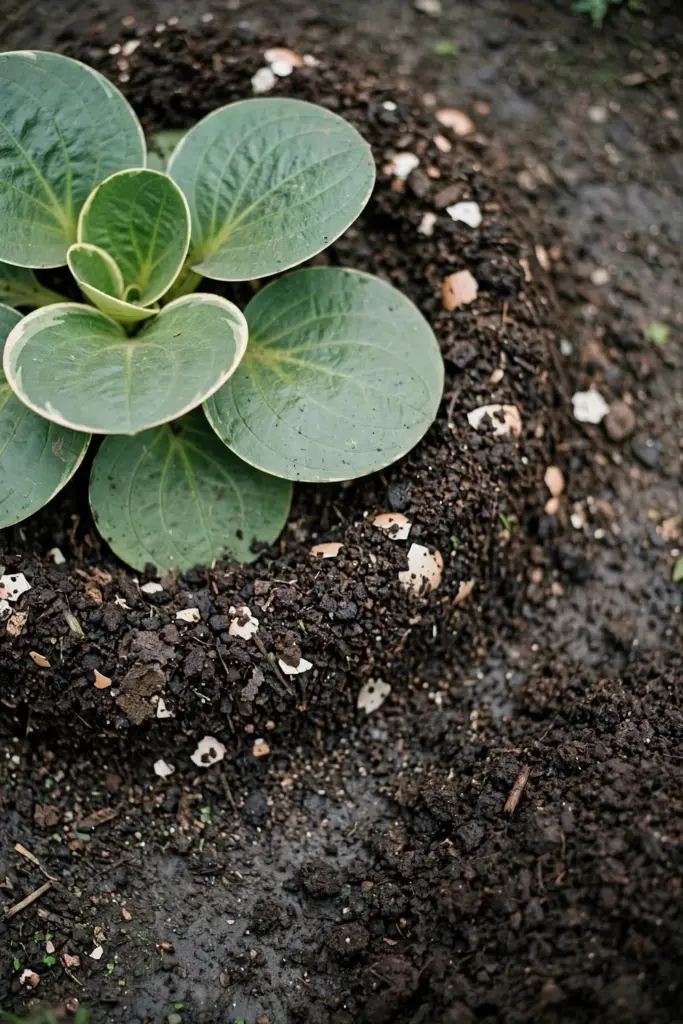
For a home bed, the compost at planting does most of the work. Spread it through the top 15 cm of the raised bed before setting the rhizome pieces, so young roots meet food immediately. The first side-dress comes when the leaves are fully expanded, about 2 months after planting: a 2 cm compost top-up or a balanced organic fertilizer around each plant. The second comes as flowering finishes, to feed the rhizomes while they swell.
Containers need steadier feeding because pots leach nutrients with every watering. A half-strength liquid feed every few weeks through summer keeps container kencur growing evenly. Stop all feeding when the leaves begin to yellow in autumn. Late fertilizer pushes soft growth that the coming dormancy cannot support, and it wastes money on a plant that is shutting down.
8. Harvest Rhizomes at 6 to 7 Months When Leaves Die Back
Start harvesting 6 to 7 months after planting, when the leaves yellow and collapse onto the bed. That die-back is the plant’s own signal that the rhizomes have finished sizing up, and the Kerala station uses exactly this sign for its harvest timing.
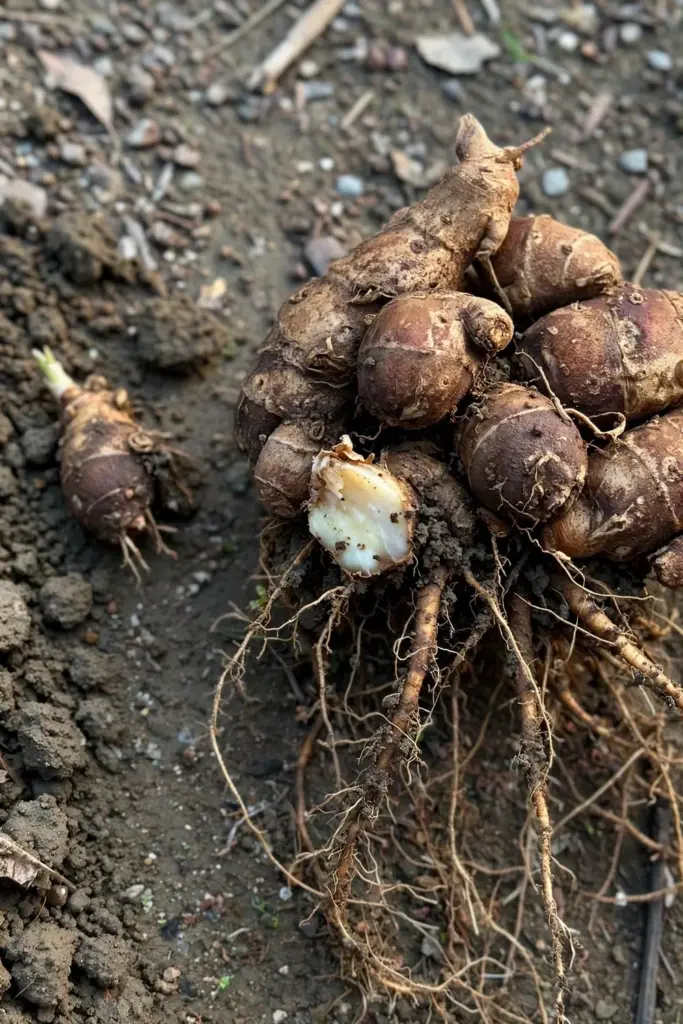
Dig with a fork well outside the plant’s footprint, then work inward, because kencur roots ramify strongly and snap if you lever too close. Lift the whole clump, shake off the soil, and separate the rhizomes from the spent tops. Wash them clean and set aside any damaged pieces for the kitchen first, since bruised rhizomes store poorly.
Replant immediately while you harvest. Twist off one firm piece with a live shoot from each clump and set it aside in the shade for next season’s planting, following the same 5 cm piece rule from the planting section. The rest goes to the kitchen: scrubbed fresh for sambal and spice pastes, or sliced and dried for powder.
Store fresh rhizomes like ginger. Unwashed pieces keep for 2 to 3 weeks in a paper bag in the refrigerator crisper, and longer when sliced and fully dried. Freeze grated kencur in teaspoon portions for cooking through winter; the camphor aroma survives freezing well. Keep the replanting pieces separate from the kitchen pieces, and never replant anything soft or mouldy.
Commercial oil growers wait far longer. The same Kerala station lifts its field crop at 36 to 42 months for the oil harvest, a timeline that suits field growers, not home kitchens. For cooking, the 6 to 7 month harvest gives aromatic rhizomes at their peak flavour, and replanting one piece per clump keeps the cycle rolling every year.
9. Store Dormant Rhizomes Dry Through Winter
When the leaves die back, stop watering and let the bed go dry. An Australian nursery growing kencur advises keeping dormant plants on the dry side over winter, or lifting the whole plant and dry-storing the rhizomes until warm weather returns. In colder areas the leaves die off completely, and wet soil at that stage rots the rhizomes fast.
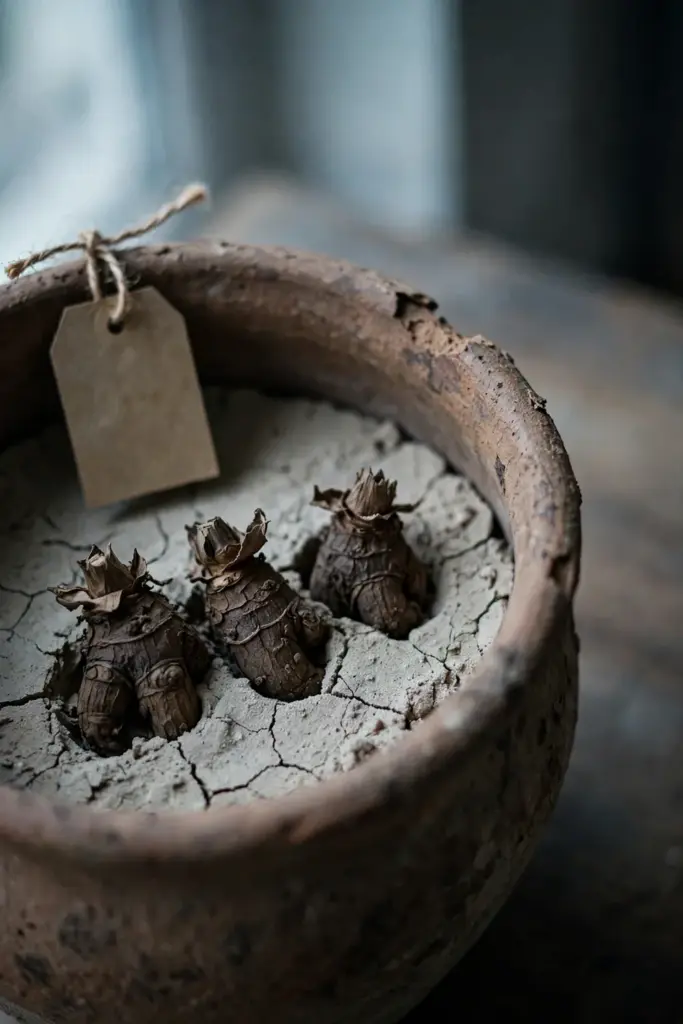
In mild frost-free climates, leave the rhizomes in the ground under their mulch and stop watering. The dry bed mimics the dry season of the plant’s native range. Mark the bed clearly, because a dormant kencur bed looks empty and invites accidental digging.
In cold or wet-winter climates, lift and store. Shake the soil off the rhizomes, let them air-dry in the shade for a day, then pack them in dry sand, sawdust, or paper bags in a cool dark spot. Check the stored pieces once a month and discard any that turn soft. Replant when spring soil warms and the buds begin to swell, which usually follows the last cold nights by a few weeks.
10. Cook with Kencur the Indonesian Way: Jamu, Sambal, and Nasi Ulam
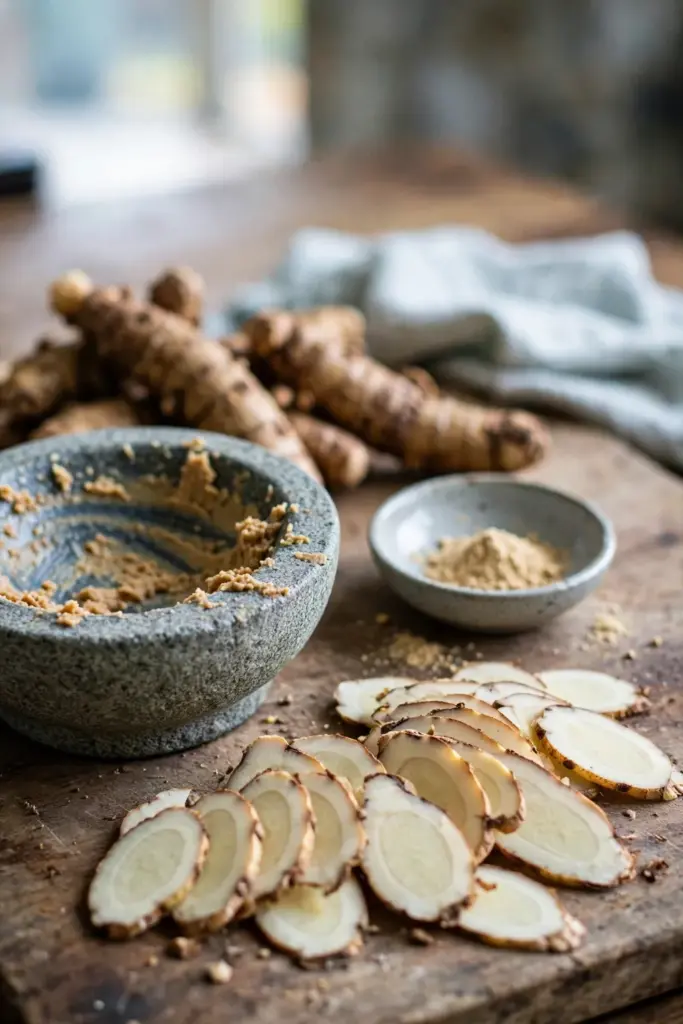
Pound fresh kencur rhizome into sambal and Javanese or Balinese spice pastes, or dry and powder it for the jamu drink beras kencur. The rhizome carries a peppery camphor flavour that reads as warm and aromatic rather than hot, and a little goes a long way in a spice paste.
The National Parks Board’s ethnobotany notes give the regional picture. In Malaysia, cooks chop the leaves finely and add them to salads for flavour. In Bali, the rhizome gets pounded into various dishes. In Thailand, cooks add rhizome and leaves to fish curry, and young leaves are eaten raw alongside spicy shrimp paste. The Malay rice dish nasi ulam uses the leaves too, which makes the foliage as useful as the rhizome in the kitchen.
Start with the fresh rhizome in the kitchen before you invest in drying. Grate a thumbnail-sized piece into a sambal or a stir-fry spice paste and taste the difference against common ginger: kencur brings camphor and pepper where ginger brings heat. Once you know the flavour, dry a batch for powder and keep the fresh pieces for the dishes where the aroma matters most.
Beras kencur blends dried kencur powder with rice flour into one of Indonesia’s most popular jamu drinks. Drying is simple: slice fresh rhizomes 3 mm thin, dry the slices fully in sun or a dehydrator, then grind to powder. This guide covers growing and cooking only. Questions about jamu as anything beyond food belong to a qualified practitioner, not a gardening article.
11. Fix 5 Common Kencur Growing Failures
Most kencur failures trace to water: rot from winter wet, and stalled sprouts from cold soil. The other three are sunburn, hungry soil, and planting shootless pieces. Each one has a fast fix.
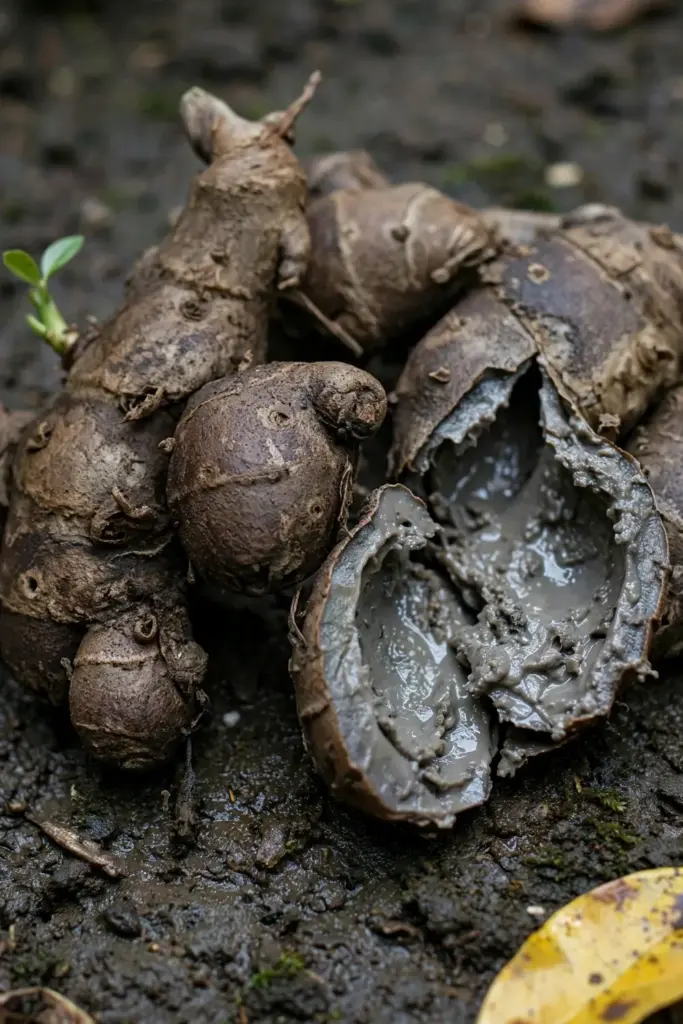
Rhizomes rot over winter. The bed stayed wet after the leaves died. Lift the survivors, cut away soft tissue, and dry-store the firm pieces. Next year, stop watering at the first yellowing and lift the rhizomes if your winters run wet.
Pieces never sprout. The soil was too cold, or the pieces had no live buds. Wait until spring soil feels warm to the touch before planting, and check every piece for a shoot bud at planting time. A piece with no bud can sit for months doing nothing.
Leaf edges scorch and crisp. Too much direct sun. Add shade cloth over the bed or move containers to afternoon shade. Scorched leaves stay scorched. New growth comes in clean once the light is right.
The harvest is small and thin. The plants were hungry, or you dug too early. Feed per the compost schedule, keep the bed moist through summer, and wait for full die-back before lifting. Patience adds more weight than fertilizer does in the final month.
Leaves vanish overnight. Slugs and snails graze the low rosette, especially under damp mulch. Pull mulch back 5 cm from the plant crowns and set traps at dusk through the wettest weeks. Aphids sometimes cluster on new shoots; a hard water spray knocks them off without chemicals.
12. Answer 6 Kencur Questions Before You Plant (FAQ)
Kencur and galangal are different plants in different genera. Kencur is Kaempferia galanga, a stemless herb with leaves flat on the ground. Greater galangal is Alpinia galanga, a tall plant with reed-like stems. The shared word galanga in the botanical name causes the confusion, but a recipe calling for galangal always means an Alpinia, never kencur.
Kencur grows well in pots of 35 litres or more, with rich free-draining mix and bright indirect light. Containers suit cold climates because the pot moves under cover for winter while the rhizomes rest dry. Water when the top 3 cm dries, feed lightly through summer, and stop watering when the leaves die back. One pot yields enough rhizome for a household’s sambal through the year.
Expect the first harvest 6 to 7 months after planting, when the leaves yellow and collapse. That die-back signals the rhizomes have finished sizing up. Commercial oil producers wait 36 to 42 months for the oil harvest, but home cooks get peak flavour at the first die-back. Replant one firm piece from each clump immediately to keep the yearly cycle going without buying new stock.
Kencur survives winter outdoors only where winters stay mild, dry, and frost-free. In colder areas the leaves die off completely, and wet winter soil rots the dormant rhizomes. The safe method is lifting the rhizomes after die-back and dry-storing them in sand or paper bags in a cool dark spot until spring soil warms. Check stored pieces monthly and discard soft ones.
Kencur tastes peppery and camphorous, warm and aromatic rather than hot like chilli or sharp like common ginger. The flavour concentrates in the fresh rhizome and carries into dried powder. Indonesian cooks use it sparingly in sambal and spice pastes, where it adds depth without heat. The young leaves add a milder version of the same flavour to salads and rice dishes.
Buy from nurseries that label the full botanical name Kaempferia galanga, from Asian grocery stores selling fresh kencur with visible buds, or from specialist herb growers. Avoid rhizomes sold only as galangal, which are usually Alpinia species. Choose firm mother rhizomes with at least one shoot bud, and skip shrivelled pieces with no visible life.
These are the six questions readers ask before starting a how to grow kencur project, answered from the sources this guide cites.
13. Save One Rhizome for Next Season
Kencur rewards the gardener who thinks one season ahead. Every harvest ends the same way: one firm piece with a live shoot goes back into storage or straight into a prepared bed, and the cycle starts again. A single healthy clump can seed next year’s bed many times over, because each rhizome piece becomes a new plant.
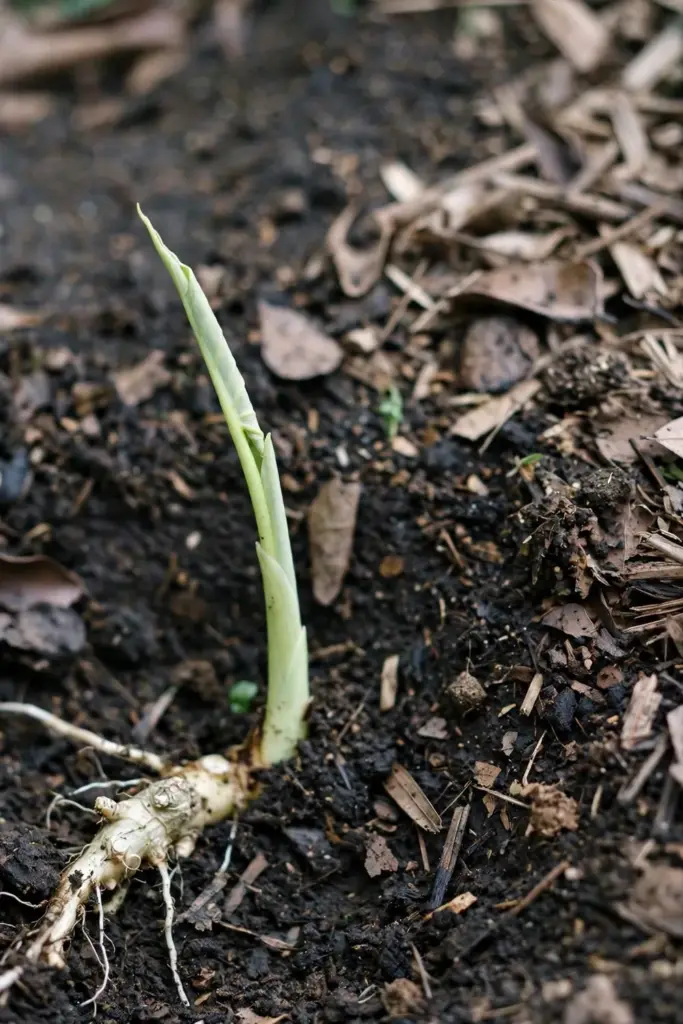
The yearly rhythm is simple once you feel it. Warm soil and shade cloth in spring, steady water and compost through summer, dry neglect in winter. Few herbs ask so little while giving so much: a spice for sambal, leaves for salads, and a jamu ingredient from a plant that fits in one pot. Start with the right species, honor the dry rest, and kencur becomes a permanent resident of the garden.