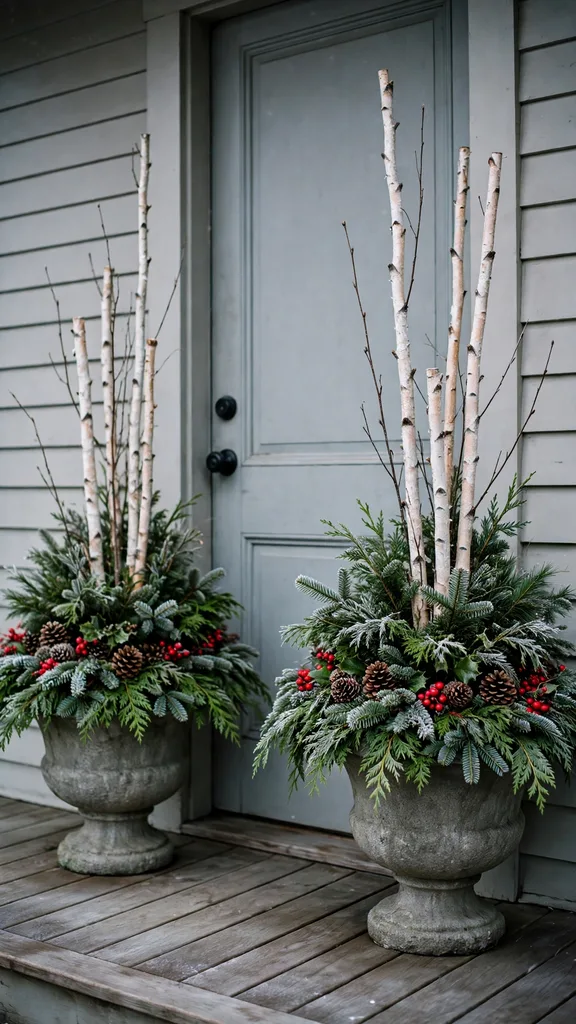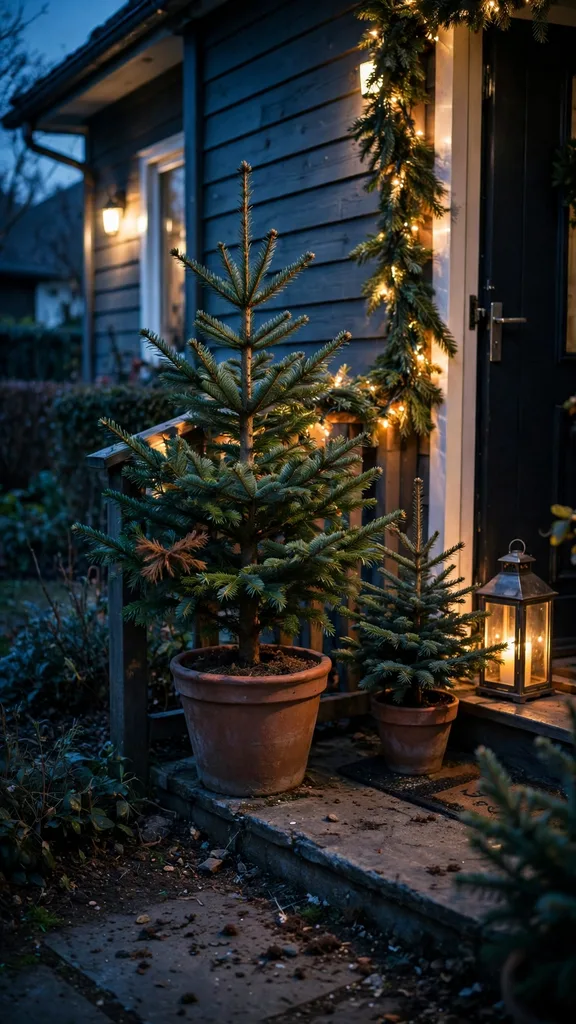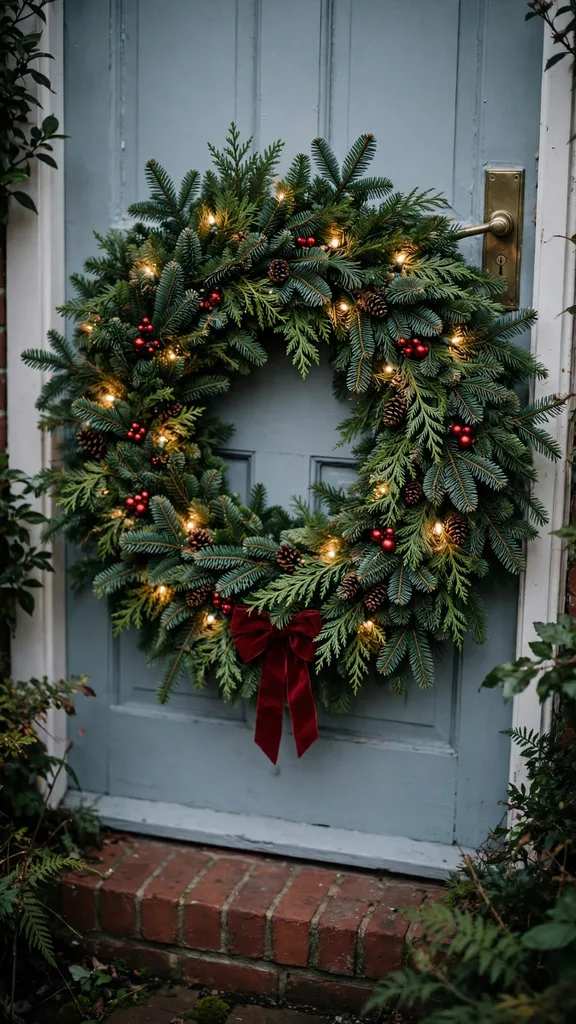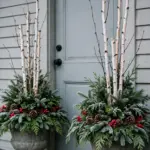

A Christmas window box can hold living plants through winter when the box drains, the soil stays moist without staying wet, and the plants suit the light at that window. The 21 ideas below plant live winter plants in boxes, protect those boxes from freeze, fit small boxes to apartment rails and indoor-facing windows, and answer the reader who wants a box with no plants at all.
I check the soil with a finger before watering a winter box, because frozen soil cannot absorb water and wet soil in a freeze harms roots. That single check shapes the whole approach below. Plant first for survival in a shallow, exposed box. Decorate second, and only with materials that leave air and drainage in place.
The living plantings lead the guide. Winterberry gives red berries on bare stems. Hellebores flower in cold air. Vinca trails green from the front edge. Dogwood stems work two ways, as living plants or as cut color, and the guide states which use applies each time. Poinsettia stays indoors behind glass. Apartment treatments use small boxes, indoor-facing windows, and fixings that need no yard and leave no holes. Readers who want no plants get a full answer too, with cut greenery in one idea and artificial greenery in the next, so that choice stays inside the same guide.
Pick a Christmas Window Box in 5 Minutes With This Table
Use the table to match a box to a window before buying plants. A north-facing window needs shade-tolerant plants. A south-facing window needs plants that tolerate winter sun and wind. A box under a roof overhang needs more watering than a box in open rain, because the overhang blocks rain from the soil.
| Window | Box Size | Living Planting | Water Check |
|---|---|---|---|
| Sunny porch rail | 60 cm to 90 cm long, 20 cm deep | Winterberry dwarf, vinca trailer | Finger test every 7 days in mild weather |
| Shaded apartment rail | 45 cm to 60 cm long, 18 cm deep | Hellebore, vinca trailer | Finger test every 10 days in mild weather |
| Indoor-facing window | 30 cm to 45 cm long, 15 cm deep | Poinsettia in a pot inside the box | Finger test every 5 days |
| Rented wall, no drilling | Rail-hung box, 45 cm to 60 cm long | Hellebore, evergreen cuttings in soil | Finger test every 7 days in mild weather |
| No-plants window | Any box with drainage holes | Cut greenery or artificial greenery | No watering for artificial, none after cut stems set |
1. Plant a Dwarf Winterberry for Red Berries Through Winter
Winterberry is Ilex verticillata, a deciduous shrub that drops leaves in fall and holds bright red berries through winter. Winterberry is dioecious, so male flowers and female flowers grow on separate plants, and only a female plant produces berries when a male plant pollinates it, according to Penn State Extension winterberry guidance. Penn State Extension lists winterberry hardiness as zones 3 to 9 and its height as 3 feet to 12 feet, which converts to 0.91 m to 3.66 m, so a full-size shrub outgrows a window box fast and a dwarf cultivar belongs in the box instead. Buy a dwarf female plant with a dwarf male plant nearby in a second pot if berries matter, and keep both plants where bees reached the flowers in summer, because berry set starts months before the berries color.
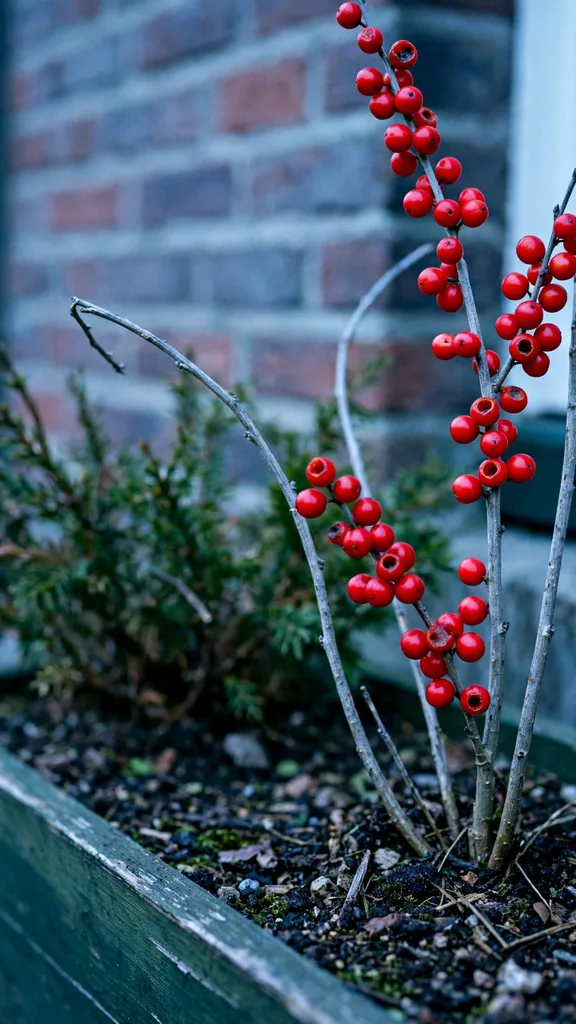
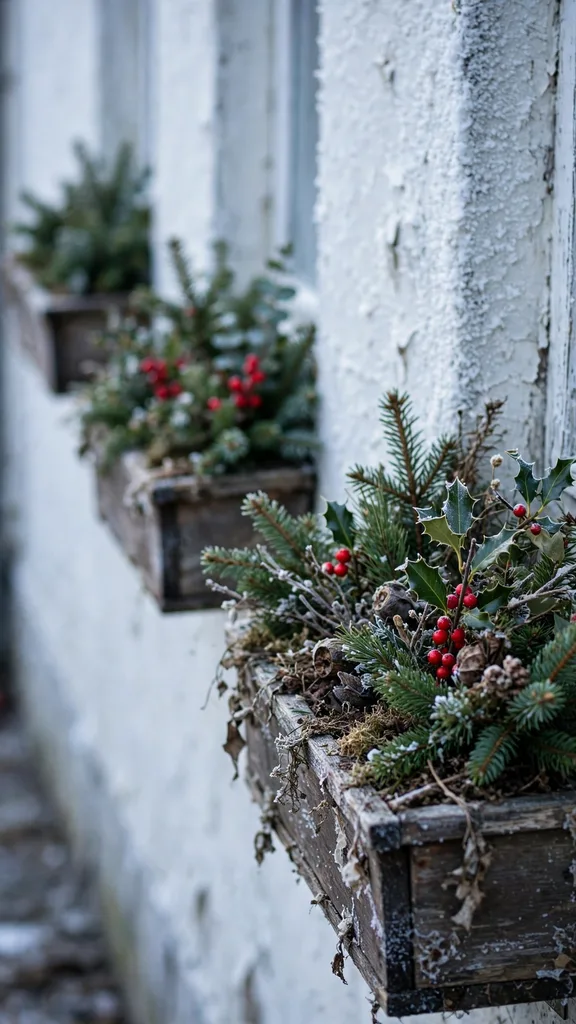
Set the dwarf winterberry at the back of the box so berries sit above the trailer at the front edge. Water the soil until water leaves the drainage holes, then let the top 2.5 cm dry before watering again in mild weather. Birds eat winterberry berries in late winter, so berries that vanish in February show wildlife use rather than plant failure. Cut no berry stems for indoor vases until January, and leave at least half the berries on the plant for birds and for the display itself.
2. Grow Hellebores for Flowers That Open in Cold Air
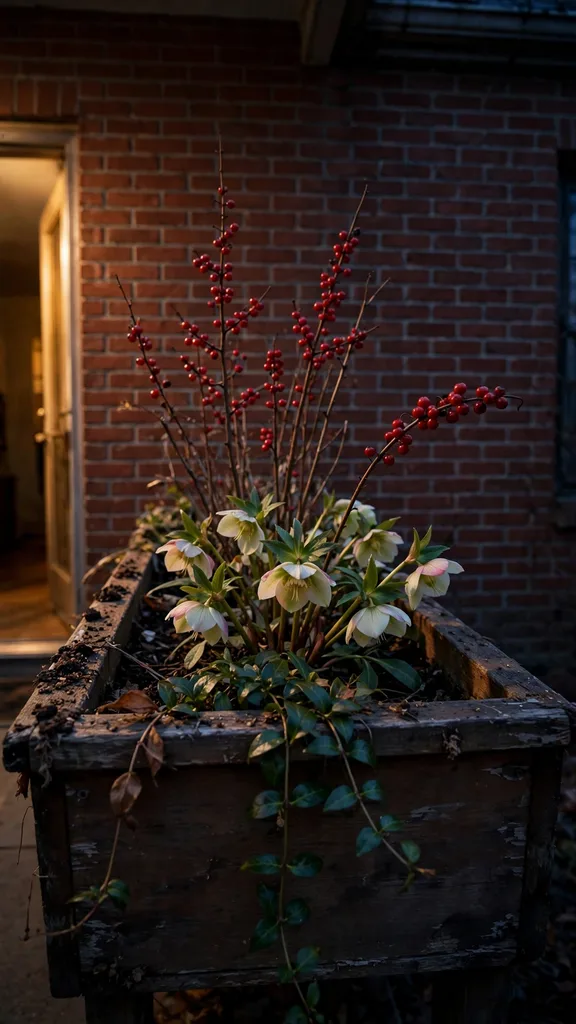
Hellebores flower while most garden plants stand dormant, and that timing makes a hellebore the center of a winter window box. Plant one hellebore per 45 cm of box length so leaves have room to spread without crowding the soil surface. Set the crown level with the soil surface, never buried, because a buried crown rots in wet winter soil. Face the flowers toward the window or the street by turning the box after planting, since hellebore flowers nod downward and a wrong angle hides the flower faces from view.
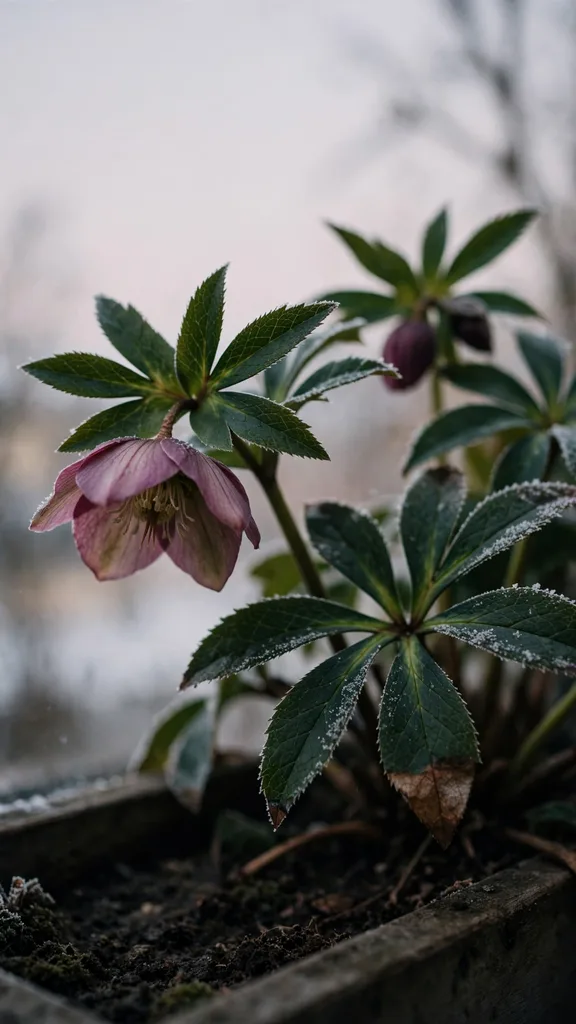
Keep hellebore soil evenly moist through fall so roots establish before hard freeze. Stop feeding when growth slows in late fall, and remove only brown or damaged leaves in winter, leaving green leaves to feed the plant. Snow on hellebore leaves causes no harm on its own, and the plant resumes growth as the snow melts. Replace a hellebore that shows black, mushy crown tissue in spring, because that tissue signals crown rot rather than cold damage that the plant outgrows.
3. Trail Vinca From the Front Edge for Winter Green
Vinca trails evergreen stems from the front edge of a box and softens the hard line of the box rim. Plant vinca at the front edge with stems hanging 20 cm to 30 cm below the rim in the first season. Vinca roots at stem nodes where stems touch soil, so tuck two stem nodes into the soil at planting time to thicken the trail. Vinca tolerates shade, and that tolerance suits north-facing windows where flowering plants fail to color.
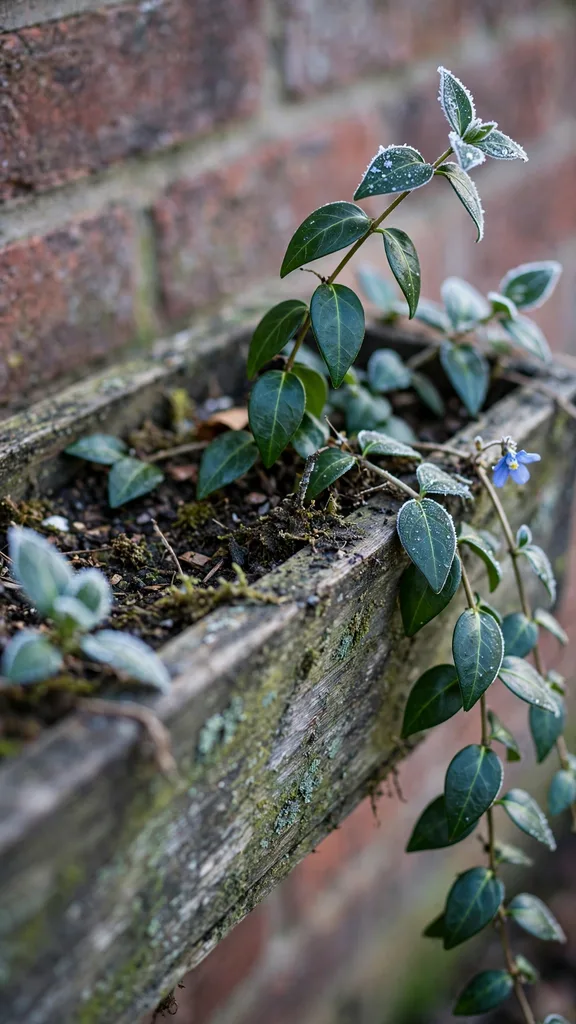
Trim vinca stems in late winter to keep growth inside the box footprint and to stop stems rooting into gutters or wall joints. Water vinca on the same finger-test schedule as the rest of the box, and watch for dry soil at the front edge first, because wind dries the front edge faster than the back of the box. Vinca leaves stay green through most winters in mild zones, and a vinca stem that browns after a hard freeze regrows from the base in spring when roots stayed alive.
4. Set Dogwood Stems as Living Plants or Cut Color
Dogwood works in a window box in two distinct ways, and the guide keeps those uses separate. A living dogwood plant grows roots in the box soil and leafs out in spring, while cut dogwood stems give red winter color with no roots and no spring growth. Cut stems belong in soil as decoration only, and the soil around cut stems still needs drainage so the cut ends do not sit in standing water. Living dogwood belongs in a box at least 20 cm deep, because shallow soil dries fast and a living shrub needs root room through winter.
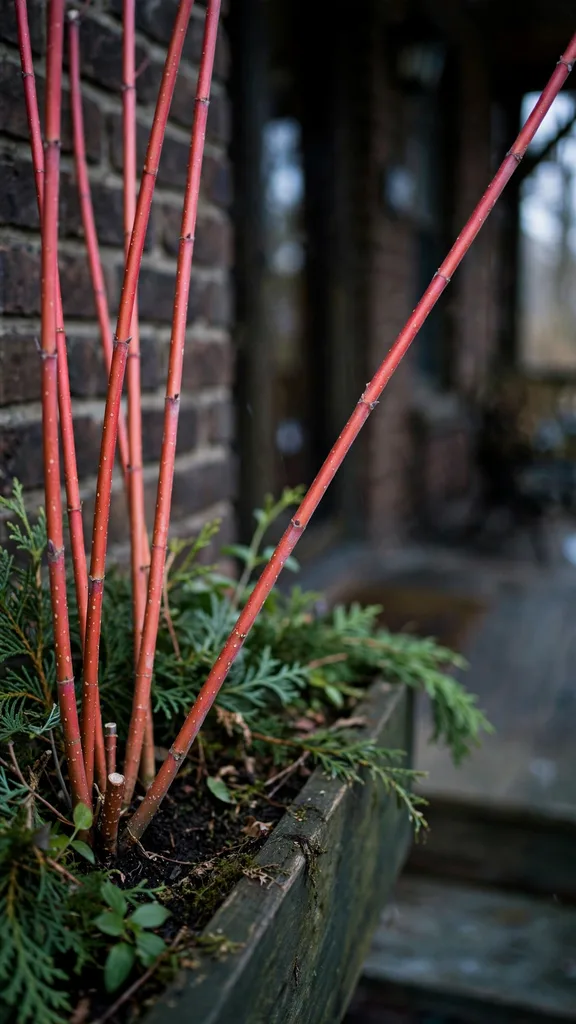
Choose cut red-twig dogwood stems for instant color in a box that already holds live evergreens, and push each stem 10 cm into the soil so wind cannot lift it. Choose a living dwarf dogwood only when the box stays in place through spring, because moving a rooted shrub midwinter breaks roots. Label the box at planting time with a small marker under the soil surface if both uses sit in one display, so spring cleanup removes cut stems and keeps living plants.
5. Keep a Poinsettia Behind Glass for Indoor Color
Poinsettia gives red indoor color at Christmas, and a window box on the indoor side of a window suits poinsettia better than an outdoor box in frost. The University of Maryland Extension states that poinsettias prefer daytime temperatures from 60 degrees Fahrenheit to 70 degrees Fahrenheit, which converts to 15.6 degrees Celsius to 21.1 degrees Celsius, and night temperatures in the mid-50s Fahrenheit, according to University of Maryland Extension poinsettia care. That temperature range matches a heated room, and it explains why poinsettia fails outdoors in frost. Keep poinsettia bracts clear of cold glass, because contact with a cold window damages bract tissue.
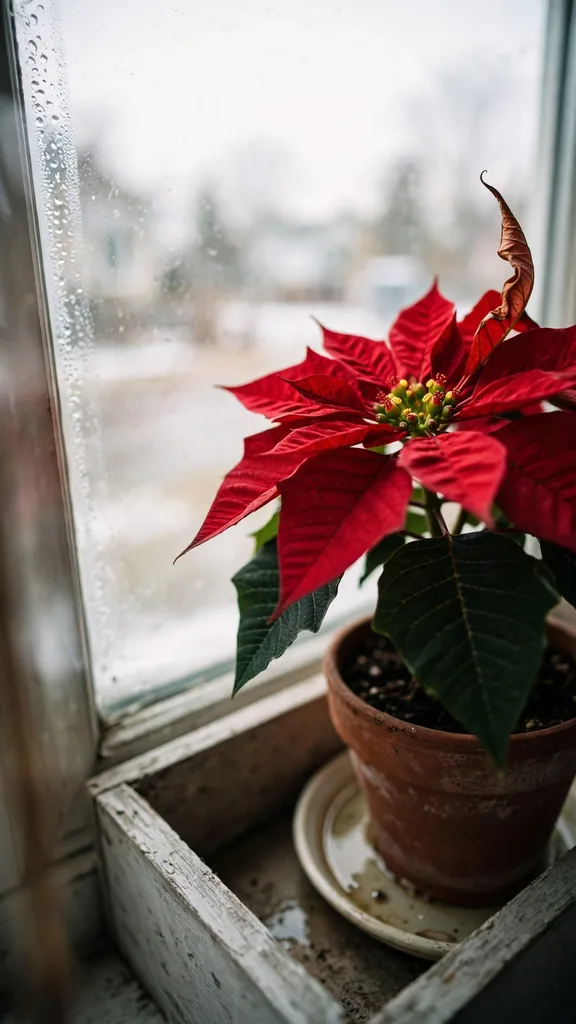
Water poinsettia only when the soil surface feels dry, and let excess water drain freely from the pot, because poinsettia roots rot in standing water. Punch holes in decorative foil around the pot so water escapes, and empty the saucer after watering. Place the poinsettia pot inside the window box rather than planting it loose in box soil, so the plant lifts out cleanly after Christmas and the box takes a new planting. Skip fertilizer while poinsettia blooms, and start feeding only if the plant stays past the holiday season.
6. Build a Box That Drains Before the First Freeze
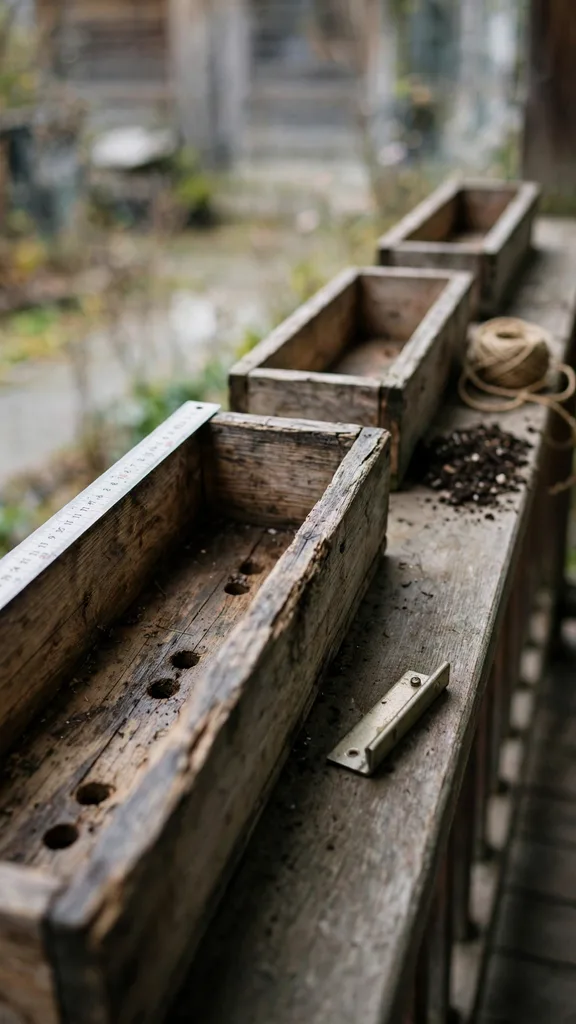
Drainage decides whether a winter window box survives, because frozen standing water expands and splits roots and box boards. Drill at least three drainage holes of 1.3 cm diameter in a 60 cm box, and add one hole for each extra 30 cm of box length. Cover each hole with a piece of broken pot or coarse mesh so soil stays in the box while water leaves. Set the box on small feet or brackets that lift the base 1 cm above the rail, because a box sitting flat on a rail traps water under the base.
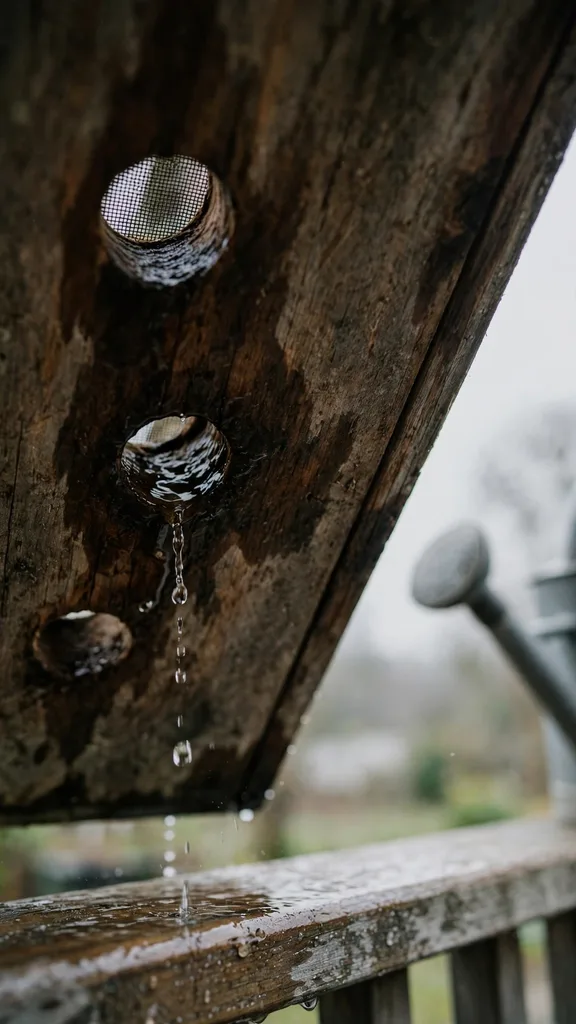
Test drainage before planting by pouring 2 L of water into the empty box and watching the holes. Water must leave within 60 seconds and no puddle may stand on the box floor after 5 minutes. Clear blocked holes with a stick from below in winter, and never seal a drainage hole to stop drips onto a path below, because that seal trades a wet path for dead roots. A box that drains well in October drains well in January, unless soil or roots block a hole, so check holes again after the first hard freeze.
7. Mix Soil That Holds Water Without Staying Wet
Window box soil must hold water for roots and still drain fast, and garden soil alone fails that test because garden soil compacts in a shallow box. Mix 2 parts potting mix, 1 part coarse perlite, and 1 part compost by volume for a winter window box. Perlite opens air spaces in the mix, compost holds moisture and feeds soil life, and potting mix gives structure that garden soil loses after repeated watering. Fill the box to 2.5 cm below the rim so watering stays inside the box and mulch sits below the rim line.
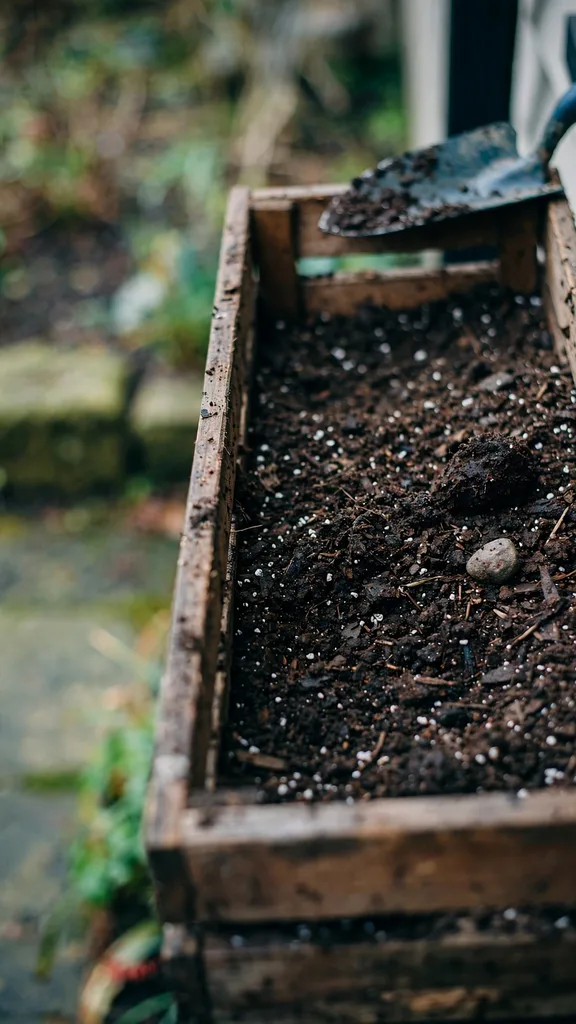
Press the mix gently around roots without packing it hard, because packed soil holds water against roots and starves them of air. Water the mix after planting until water leaves the drainage holes, then check the top 2.5 cm before watering again. Replace the top 5 cm of mix each fall if the box stays planted year round, because old mix compacts and salts build up at the surface. Fresh mix each fall gives winter roots air, moisture, and room in equal measure.
8. Water on Mild Days and Skip Frozen Soil
Winter watering follows soil condition rather than a calendar, because a box in sun dries faster than a box in shade and a frozen box absorbs nothing. Water early in the day on a mild day when the top 2.5 cm of soil feels dry and the soil surface is not frozen. Colorado State University Extension advises watering again when 4 weeks pass without snow cover, during months from November through March, when temperatures stay above freezing and the soil is not frozen, according to Colorado State University Extension fall and winter watering guidance. Water slowly so water soaks into the mix instead of running off the surface and down the wall.
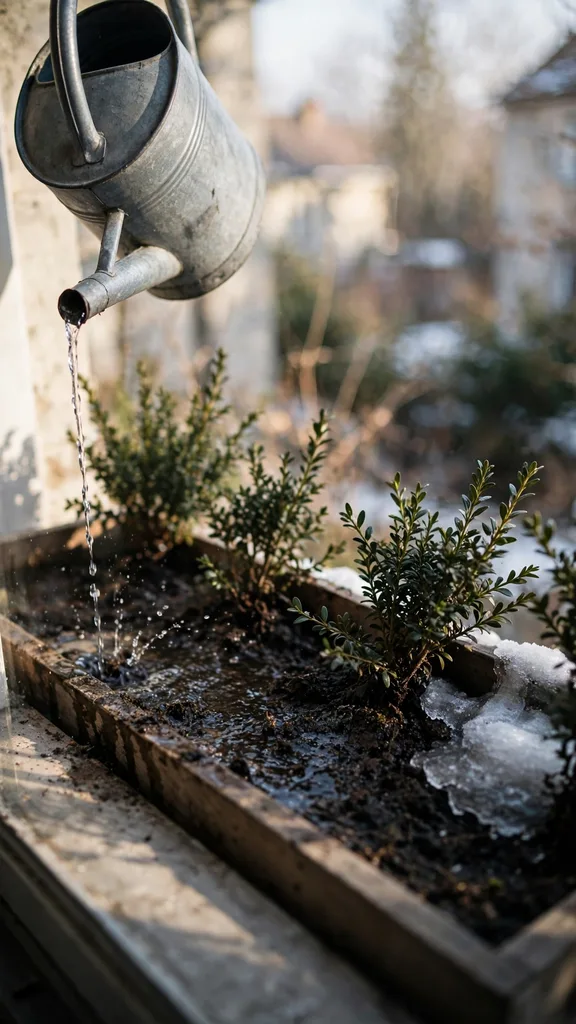
Skip watering when the soil surface feels frozen hard, and wait for a thaw before watering again. Frozen water in soil cannot reach roots, and extra water on frozen soil pools at the surface and freezes into an ice cap. Check soil with a finger or a wooden skewer pushed 5 cm deep, and water only when the probe comes out dry at that depth. A box under a roof overhang needs checking more often than a box in open rain, because the overhang blocks rain from the soil.
9. Wrap Box Sides Against a Hard Freeze
Box sides expose roots to cold from five directions, while ground soil insulates roots from below and from the sides. Wrap the sides of an outdoor box with hessian or bubble wrap before the first hard freeze, and tie the wrap at the back so the front display stays visible. Leave the drainage holes open at the base, because wrapped sides with blocked holes trap water and freeze it against roots. Add a 5 cm mulch layer of bark on the soil surface after wrapping, keeping mulch clear of plant crowns by 2.5 cm.
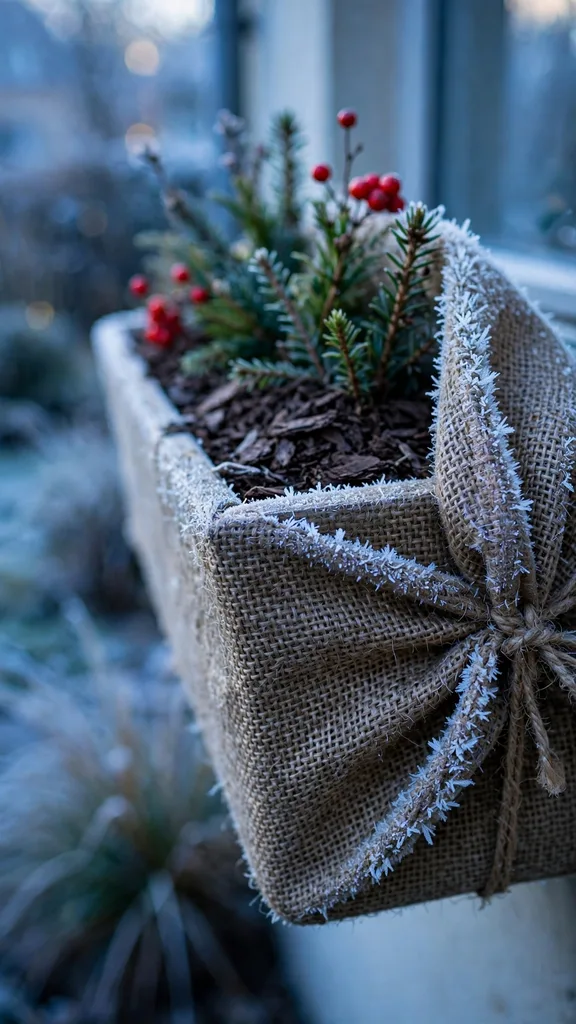
Move a small box to a sheltered wall for a forecast hard freeze when the box lifts off its brackets without breaking stems. Return the box to its display position after the freeze passes, because a sheltered corner gives less light for daily growth. Group two or three boxes together on a porch during a cold snap, because grouped boxes shade each other from wind and share a pocket of still air. Unwrap sides in spring when night temperatures stay above freezing for 7 consecutive nights.
10. Fit a 60 cm Box on a Narrow Apartment Rail
A 60 cm box fits most apartment balcony rails and still holds a full winter planting. Measure the rail width and the rail depth before buying, and choose a box that sits inside the rail depth with 2.5 cm to spare on each side. Hang the box with rail brackets rated for a wet soil load, because wet soil weighs far more than dry soil and a bracket failure drops the whole planting. Test the bracket hold by pressing down on the empty box with 10 kg of force before planting, and tighten every bracket bolt after that test.
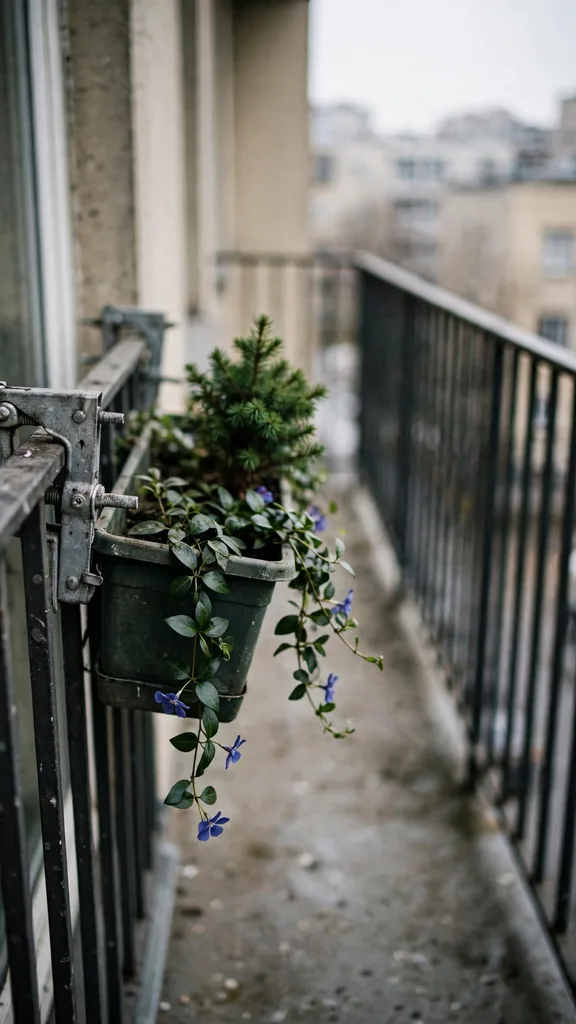
Plant a 60 cm apartment box with one dwarf shrub at the back, two trailing plants at the front, and one filler evergreen between them. That count fills the box without crowding roots, and crowding causes fast drying and root competition in a small volume. Water an apartment rail box from a watering can with a narrow spout, and catch drips in a tray on the balcony floor during watering. A tray under the box stops drips onto the balcony below and keeps neighbours dry.
11. Plant One Small Box for One Small Window
One small window needs one small box, and a small box planted well beats a large box planted thin. Choose a box 30 cm to 45 cm long for a single small window, with a depth of 15 cm to 18 cm. Plant one hellebore or one dwarf evergreen as the center, plus one vinca trailer at one front corner, and leave the other front corner open for a pinecone or a small lantern in December. That open corner stops the display from looking crowded and gives the trailer room to grow through winter.
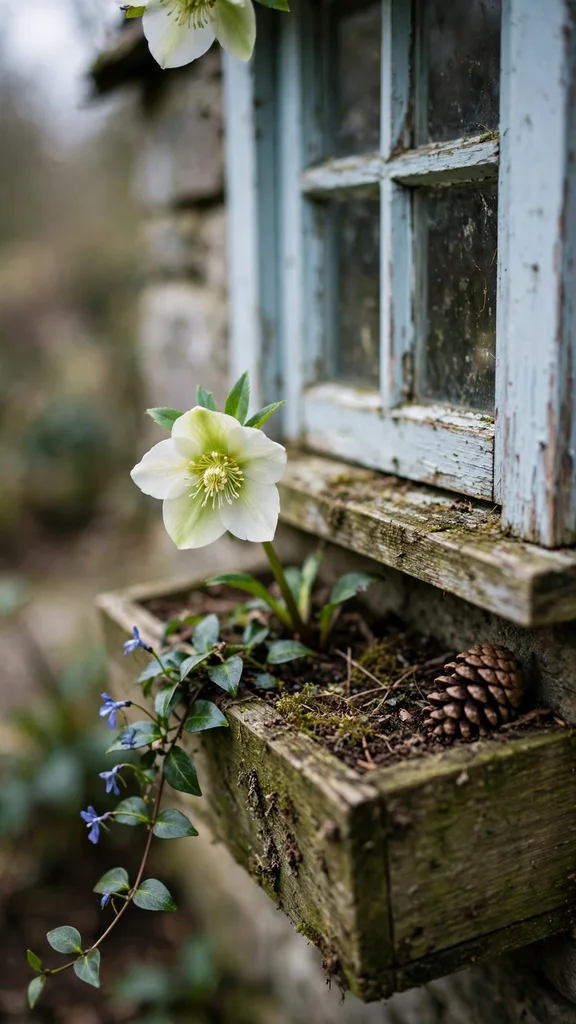
Water a small box little and often in mild weather, because small soil volumes dry faster than large volumes and also freeze faster. Check a small box every 5 days in mild weather and every 3 days in wind, using the finger test at 2.5 cm depth. Bring a small box indoors overnight during a hard freeze forecast when the box lifts easily, and return it outdoors the next morning. Small boxes suit renters, beginners, and anyone with one window and no garden beds.
12. Dress an Indoor-Facing Window With No Yard at All
An indoor-facing window needs no yard, no balcony, and no outdoor access, because the box sits inside on the sill or on a sill bracket. Place a shallow box on the indoor sill with a waterproof tray under it, and plant poinsettia in pots inside the box rather than loose in box soil. Indoor light through glass runs weaker than outdoor light, so choose plants that tolerate low winter light and keep the box within 30 cm of the glass. Turn the box a quarter turn every 7 days so all sides receive light and growth stays even.
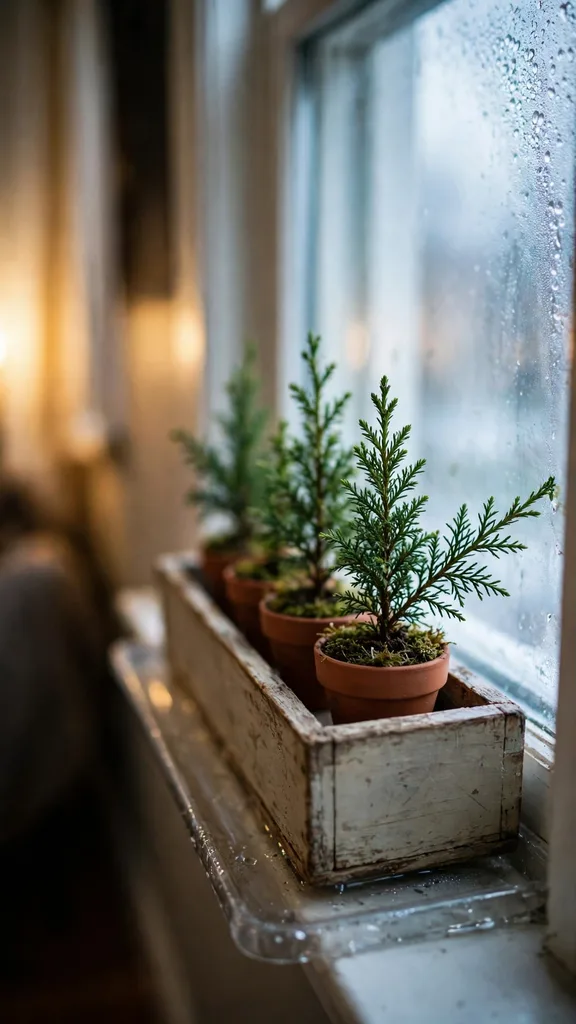
Keep indoor box soil barely moist, because indoor air stays warm and still, and wet soil in a warm room breeds fungus gnats fast. Check soil every 5 days with a finger test, and water only when the top 2.5 cm feels dry. Wipe condensation from the glass each morning when it forms, because standing condensation drips into the box and wets leaves. An indoor-facing box gives Christmas color to a flat with no outdoor space, and the same box takes a spring planting when days lengthen.
13. Choose a Renter-Friendly Box That Leaves No Holes
Renters need a window box that leaves no holes in walls, rails, or window frames at move-out time. Rail-hung boxes hook over a balcony rail with no screws, and suction or clamp brackets grip a window frame without drilling. Read the bracket load rating before buying, and match it to the wet weight of the planted box, because a bracket rated for an empty box fails under wet soil. Photograph the rail and frame before fitting brackets, so move-out inspection shows the original condition clearly.
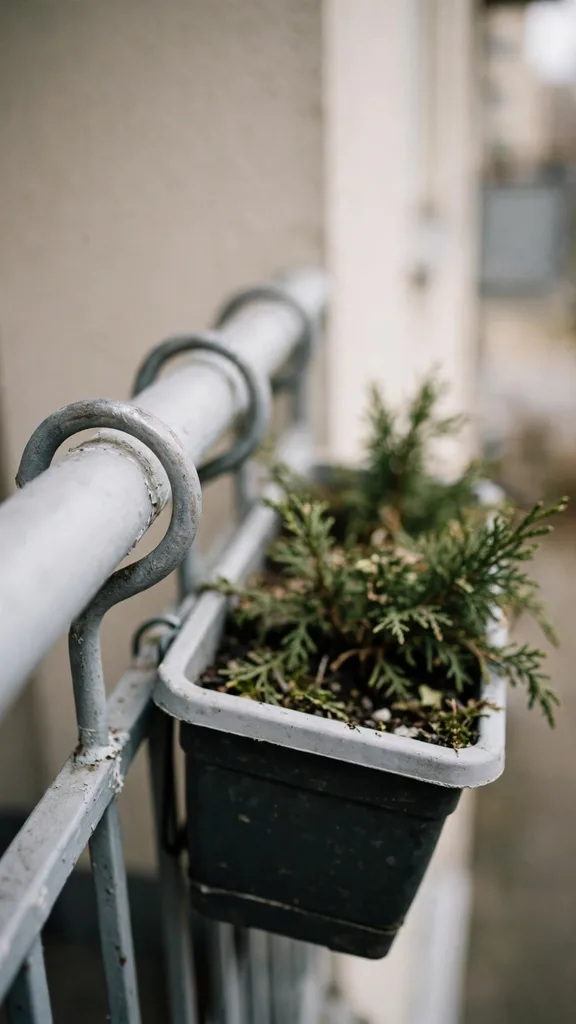
Line a renter-friendly box with a plastic liner that has drainage holes cut to match the box holes, so water leaves the box without staining the rail. Remove the box for wall cleaning once a month, and wipe the rail dry after watering to stop rust marks. Choose plants that lift out in pots at move-out time, so the whole display moves to the next flat in one trip. A renter-friendly box costs less than a wall repair, and it keeps the deposit safe while the display stays full.
14. Layer Evergreen, Berry, and Trailer in One Box
Layering gives a window box depth in winter, with evergreen height at the back, berry color in the middle, and a trailer spilling from the front. Plant a dwarf evergreen at the back center of the box, set a dwarf winterberry female at one back corner, and trail vinca from both front corners. That triangle reads as a full display from the street and from the window, because each layer sits at a different height and depth. Space plants so leaves touch lightly at full growth without overlapping crowns, because overlapped crowns trap moisture and invite mold.
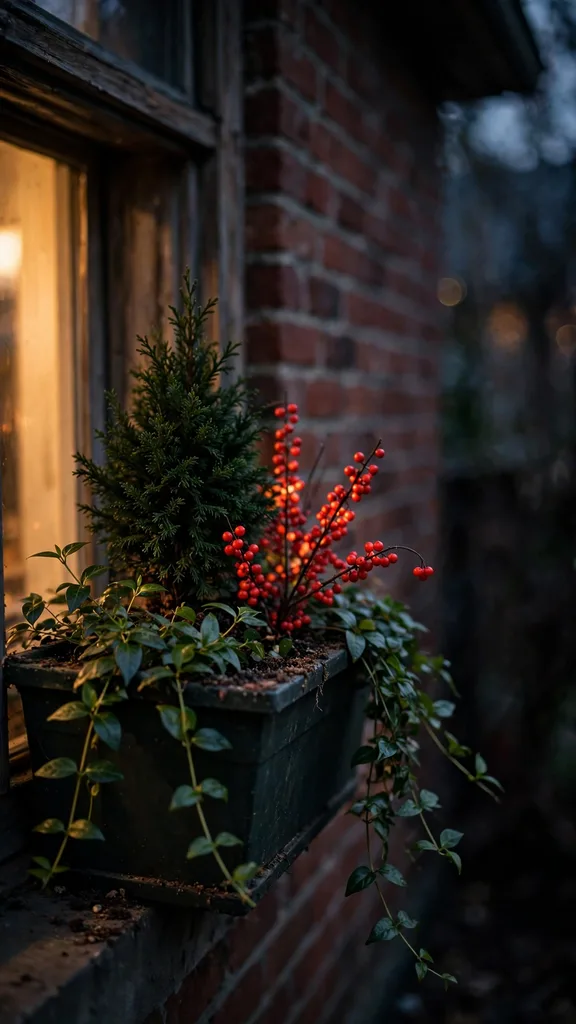
Water a layered box from the back so water reaches the evergreen roots first, then check the front edge separately, because the front edge dries faster in wind. Prune the evergreen lightly in late winter to hold its shape inside the box, and cut no berry stems until January so the berry layer lasts through Christmas. A layered box needs no extra decoration in December, because evergreen, berry, and trailer already give green, red, and movement in one planting. For porch pots that use the same layering idea at a larger scale, see 21 fall planter ideas.
15. Add Pinecones and Moss Without Smothering Live Roots
Pinecones and moss add Christmas texture to a live box, and both materials harm live roots when they smother the soil surface. Set pinecones on the soil surface with gaps between them, and press each pinecone only 1 cm into the soil so air still reaches the mix. Lay moss in patches rather than a full blanket, covering no more than half the soil surface, because a full moss blanket holds water against crowns and hides dry soil from the finger test. Wire pinecones to a short stick pushed into the soil when wind threatens, instead of gluing them to the soil surface.
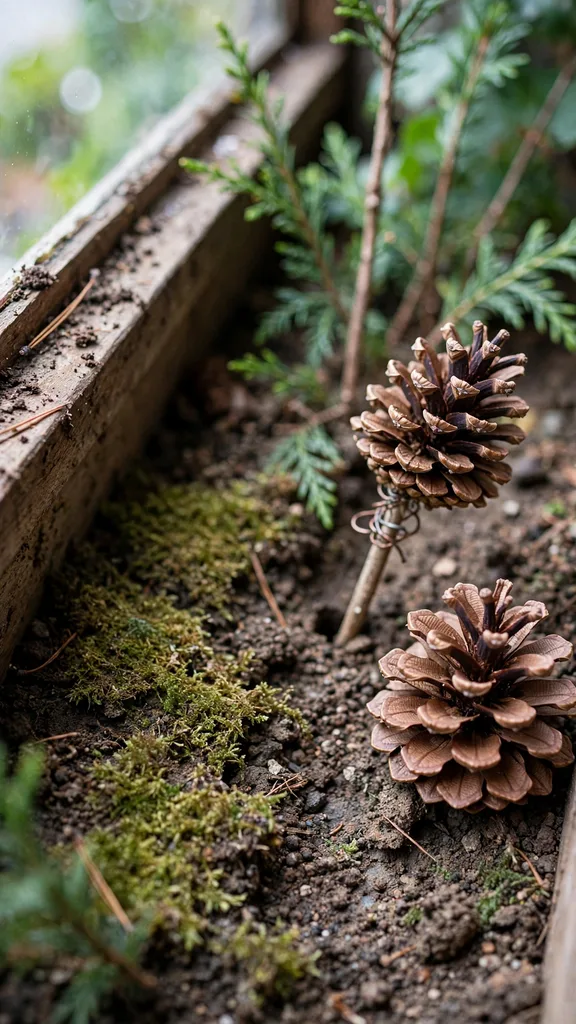
Remove pinecones and moss in January when the Christmas display ends, and check the soil surface under each piece for mold or slugs. Compost pinecones that show mold, and dry reusable pinecones indoors before storage. Keep moss away from hellebore crowns by 2.5 cm at all times, because moss against a crown holds moisture and starts rot. Pinecones and moss decorate a live box well when air, drainage, and the finger test stay in place.
16. Light a Living Box With Battery Lights After Dark
Battery lights give a living box evening color without mains cables near wet soil. Choose warm white LED lights on a battery timer, and set the timer for 4 hours after dusk so lights switch off before midnight. Drape the light string over the evergreen at the back of the box, keeping bulbs clear of dry moss and pinecones by 2.5 cm, because bulbs generate heat against dry material. Run the battery pack inside a waterproof pouch hung at the back of the box, with the pouch opening facing down so rain drains out.
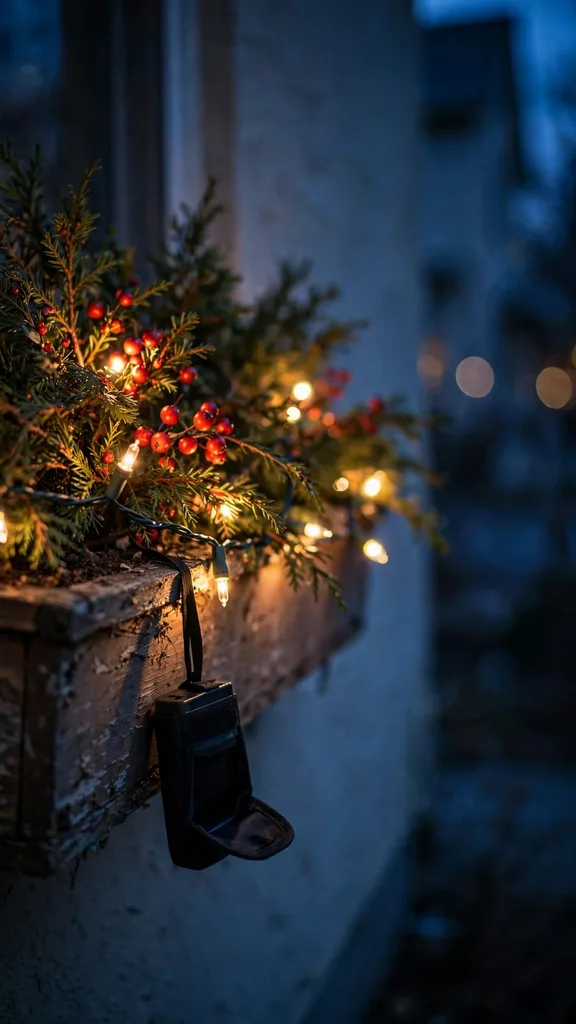
Check batteries every 14 days in cold weather, because cold shortens battery life and a dead string mid-December leaves the box dark. Remove lights in January with the rest of the Christmas decoration, and store the string loosely coiled to stop wire breaks. Never run mains extension cables to a window box, because wet soil, rain, and mains power form a shock risk that battery lights avoid. Battery lights suit rented flats well, because no wiring work and no drilling enter the installation.
17. Stop Feeding in Deep Winter and Resume in Spring
Feeding in deep winter pushes soft growth that frost kills, so stop feeding when night temperatures fall below freezing on a regular basis. A plant fed in December grows tender leaves that blacken in the first hard freeze, and that damage costs the plant stored energy. Let the plant rest through deep winter on the nutrients already in the mix, and water only for moisture, never as a feed carrier, during that rest. Resume feeding in spring when new growth shows and night temperatures stay above freezing for 7 consecutive nights.
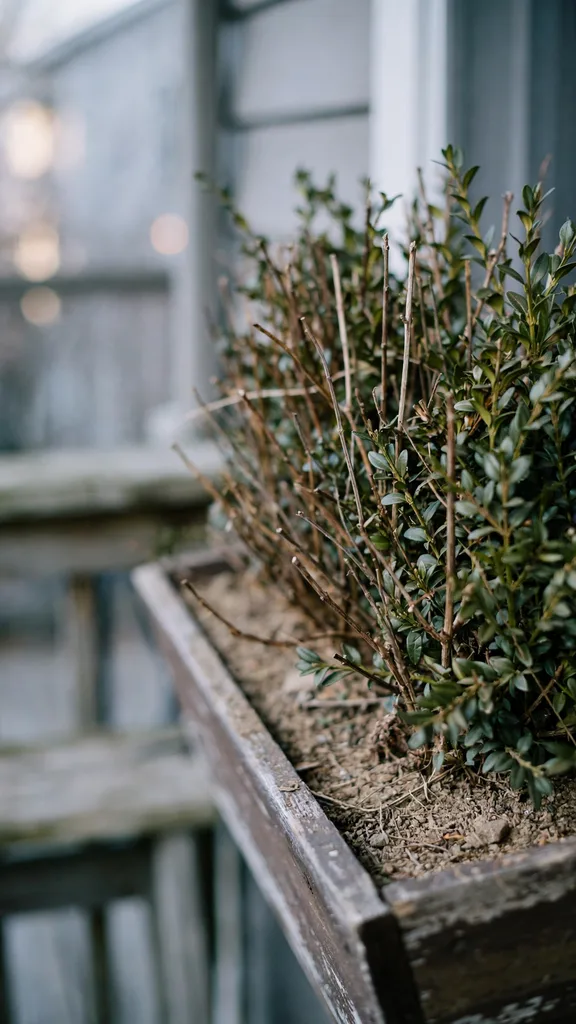
Use a balanced liquid feed at half the label rate for the first spring feed, because winter roots absorb slowly and full-rate feed burns root tips. Feed a window box every 14 days through spring growth, then stop again when summer heat stresses the box. Compost in the winter mix feeds soil life slowly through the cold months, so a box with fresh fall compost needs no winter feed at all. Feeding discipline keeps winter plants hardy and spring growth strong.
18. Check Roots in January and Replace Failures Fast
January gives the clearest picture of winter survival, because failures show after the coldest weeks while replacement plants still sell at garden centers. Lift one edge of the root ball gently in January and look for white root tips, which signal live roots, and brown mushy roots, which signal rot. Replace a plant with brown mushy roots at once, because rot spreads to neighbours in shared box soil. Keep a plant with firm roots and brown leaves, because leaves regrow from live roots in spring while dead roots never recover.
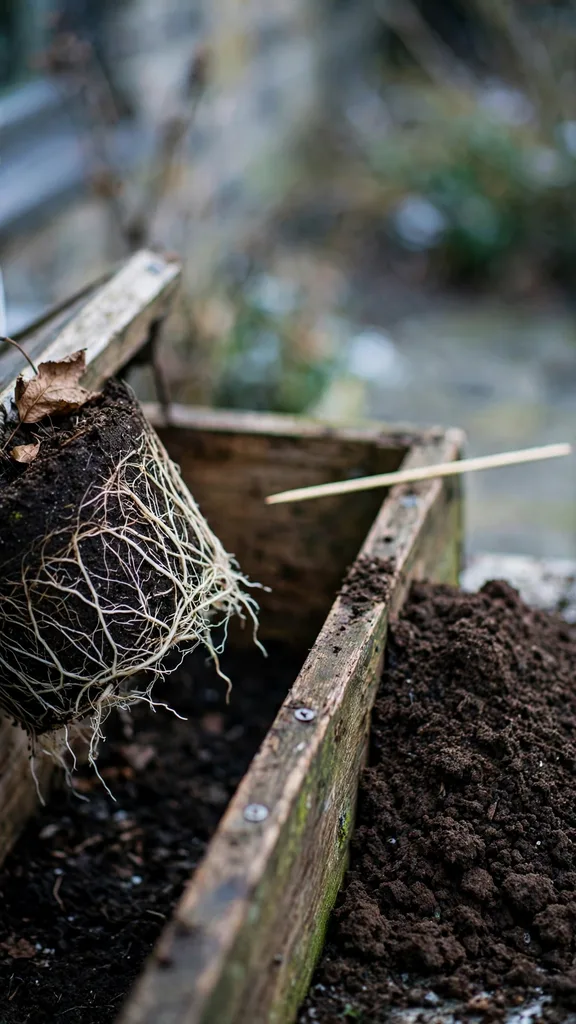
Wash the empty planting hole with fresh mix before setting a replacement, and water the replacement on a mild day. Record which plant failed and where it sat in the box, because a repeated failure at the same spot points to a drainage or wind problem at that spot rather than a weak plant. January checks stop a small failure from emptying a whole box by February, and they keep the display full through the rest of winter.
19. Answer a No-Plants Window Box With Cut Greenery
A window box with no plants still gives a full Christmas display when cut greenery fills it well. Cut evergreen branches, cedar sprays, and pine boughs push into the box soil at varied heights, with tall branches at the back and trailing cedar at the front. Soak cut stems in water for 12 hours before pushing them into soil, because hydrated stems last longer in a cold box. Push each stem 10 cm into the soil and pack soil around the base so wind cannot lift the arrangement.
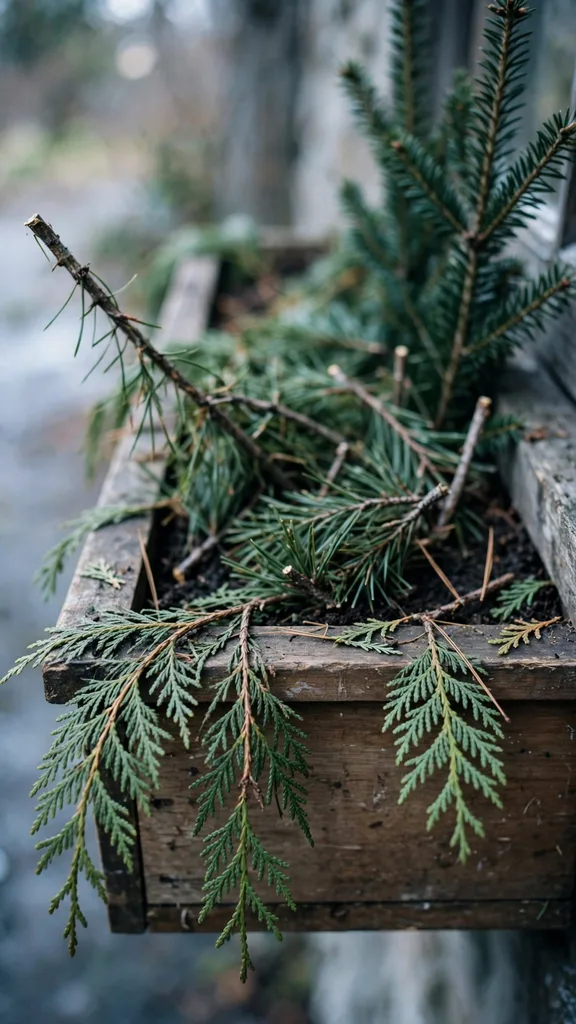
Water cut greenery soil lightly every 10 days in mild weather to keep stems from drying, and stop watering when the soil freezes. Cut greenery lasts 4 weeks to 6 weeks outdoors in cold weather, and stems that brown early need replacing one by one rather than a full rebuild. Remove cut greenery in January before stems drop needles into the soil, because dropped needles acidify the mix for the next live planting. Cut greenery suits readers who want no watering routine, no spring care, and no live plant responsibility through winter.
20. Choose Artificial Greenery That Survives Wind and Rain
Artificial greenery suits a window box that faces high wind, deep shade, or a long absence over Christmas. Choose artificial branches with wired stems and UV-stable foliage, because unwired stems bend in wind and non-UV foliage fades in winter sun. Push wired stems 10 cm into the box soil or into floral foam fixed inside the box, and bend each stem to vary height and direction so the display avoids a flat, uniform look. Mix two shades of green in the box, because one shade reads flat from the street while mixed shades read as foliage depth.
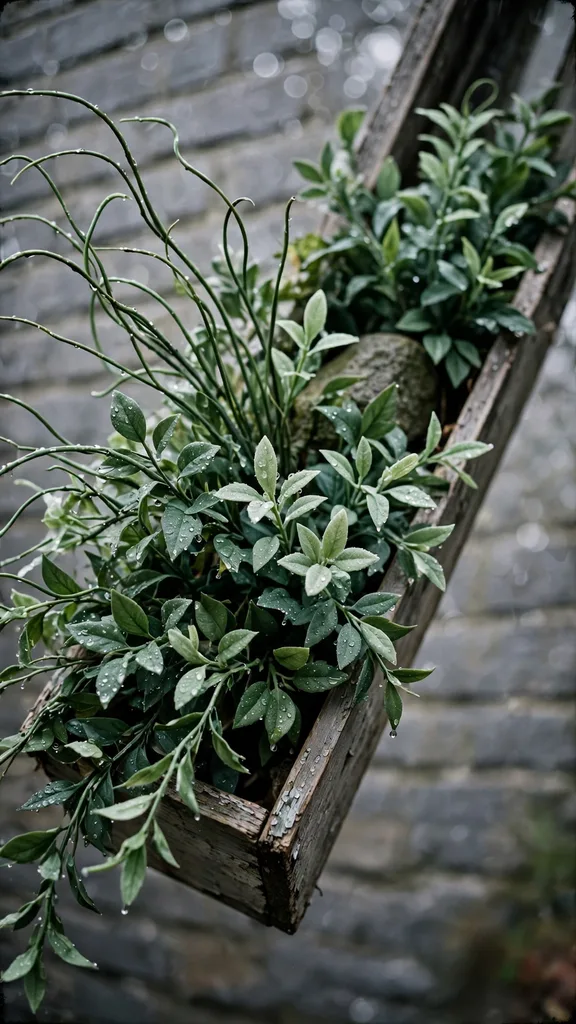
Anchor the whole arrangement with a brick or a stone hidden at the back of the box, because wind lifts a light artificial display out of a box fast. Bring artificial greenery indoors during a storm forecast with winds above 60 km per hour, and return it after the storm passes. Wash artificial foliage in January with plain water and dry it before storage, so dust and salt do not stain the next display. Artificial greenery gives Christmas color with no water, no feed, and no freeze risk to roots, because no roots exist in the box.
21. Switch the Box From Christmas to Plain Winter Green
Christmas decoration leaves a window box in January, and plain winter green carries the display to spring without a bare box. Remove lights, pinecones, ribbons, and ornaments in the first week of January. Leave the live evergreen, berry, and trailer planting in place, and let plain winter green carry the display from here. Prune broken stems and brown leaves at removal time, and top up the soil surface with 2.5 cm of fresh mix where watering washed soil away. That tidy-up takes 20 minutes for a 60 cm box and resets the display for the next 8 weeks.
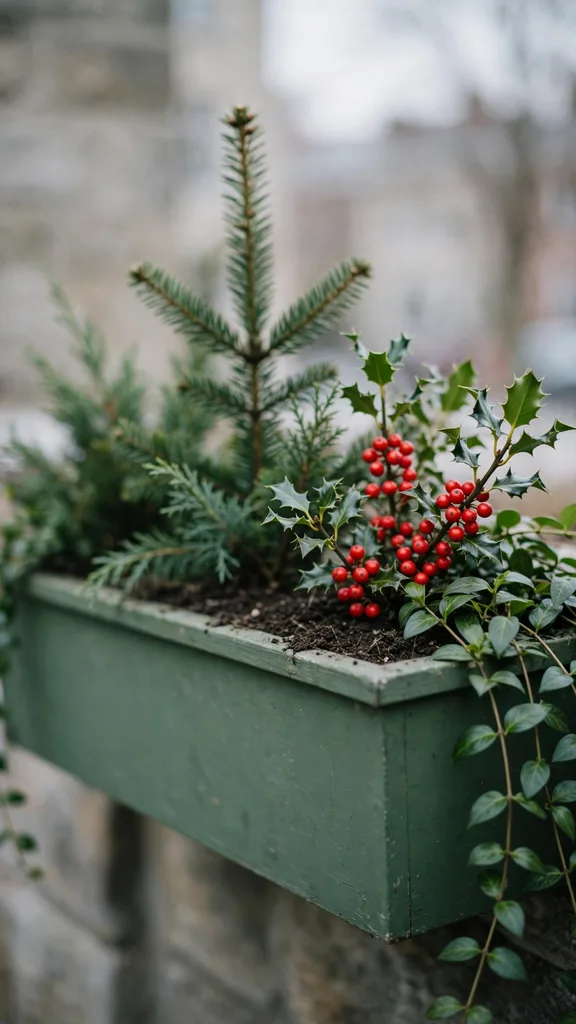
Add one fresh evergreen spray at the back of the box if a gap shows after decoration removal, using a cut spray pushed 10 cm into the soil. Water the box on the next mild day after the tidy-up, and check drainage holes for blockages from fallen needles. A plain winter green box looks calm from the street after the bright Christmas weeks, and it keeps live roots growing toward spring. For the full seasonal range of box styles beyond winter, see 21 window boxes for fall.
Frequently Asked Questions
Yes, when the box drains freely, the soil holds moisture without staying wet, and the plants suit the light and cold at that window. Choose dwarf shrubs and hardy trailers for outdoor boxes, and keep tender plants such as poinsettia indoors behind glass. Water only on mild days when soil feels dry at 2.5 cm depth, and wrap box sides before a hard freeze. A box that fails usually fails from wet frozen soil rather than cold air alone.
Dwarf winterberry gives red berries on bare stems, hellebores flower in cold air, and vinca trails evergreen stems from the front edge. Dogwood gives red stems as cut color or as a living dwarf plant, depending on the use chosen at planting time. Evergreen shrubs give the green backbone behind berries and trailers. Match each plant to the window light, and keep tender poinsettia indoors for red color without frost risk.
Check soil every 5 days to 10 days in mild weather, and water only when the top 2.5 cm feels dry and the soil surface is not frozen. Water early in the day so water soaks in before night frost, and water slowly to stop runoff down the wall. Small boxes and boxes under roof overhangs dry faster than large boxes in open rain, so check those boxes more often. Skip watering entirely while soil stays frozen hard.
Yes, rail-hung boxes hook over a balcony rail with no screws, and clamp brackets grip a window frame without drilling. Check the bracket load rating against the wet weight of the planted box before buying, because wet soil weighs far more than dry soil. Use a liner with matching drainage holes to protect the rail from stains, and choose plants in pots that lift out at move-out time. Photograph the rail before fitting brackets for a clear move-out record.
Cut evergreen branches, cedar sprays, and pine boughs fill a box and last 4 weeks to 6 weeks in cold weather. Soak cut stems for 12 hours before pushing them 10 cm into box soil, and replace browned stems one by one. Artificial greenery with wired stems and UV-stable foliage suits high wind, deep shade, and absences, and it needs no water or feed. Both keep drainage holes open and leave the box ready for live planting later.
A finished window box earns its place when living plants survive winter and the display still reads clearly from the street. Start with drainage, soil, and the right plant for the window light, and let decoration follow those choices rather than lead them. The ideas above work as single boxes on apartment rails and as rows of boxes across a porch, because the same rules govern soil, water, and freeze in every size.
For the wider seasonal garden, with living evergreens, lit pathways, and decor grown or foraged at home, explore these christmas garden ideas. That wider guide sets window boxes among porches, paths, beds, and trees, so a single box joins a whole garden display instead of standing alone.