
Beginner gardening in Australia starts with 6 hours of sun, a ribbon test on your soil, and one small bed. A first garden fails when the gardener plants first and reads the site later. Read the site first and the plants get a fair start.
I have learned that a small bed watered well beats a big bed watered in a rush.
The rest of this page is 12 moves, from mapping your climate to running a first-month plan. Each move names one action and the sign it worked. Nothing here needs a big budget or a big block.
Map Your Climate and Frost Before You Buy a Plant
Your climate zone decides which plants survive your summer and your winter. Australia runs from tropical in the far north through subtropical in the middle to temperate in the south-east and south-west, according to the Bureau of Meteorology climate zone guide. Cairns and Darwin sit in the tropical zone. Brisbane and Longreach sit in the subtropical zone. A plant that loves Cairns can die in a Canberra frost. A plant that loves Hobart can fry in a Darwin wet season.
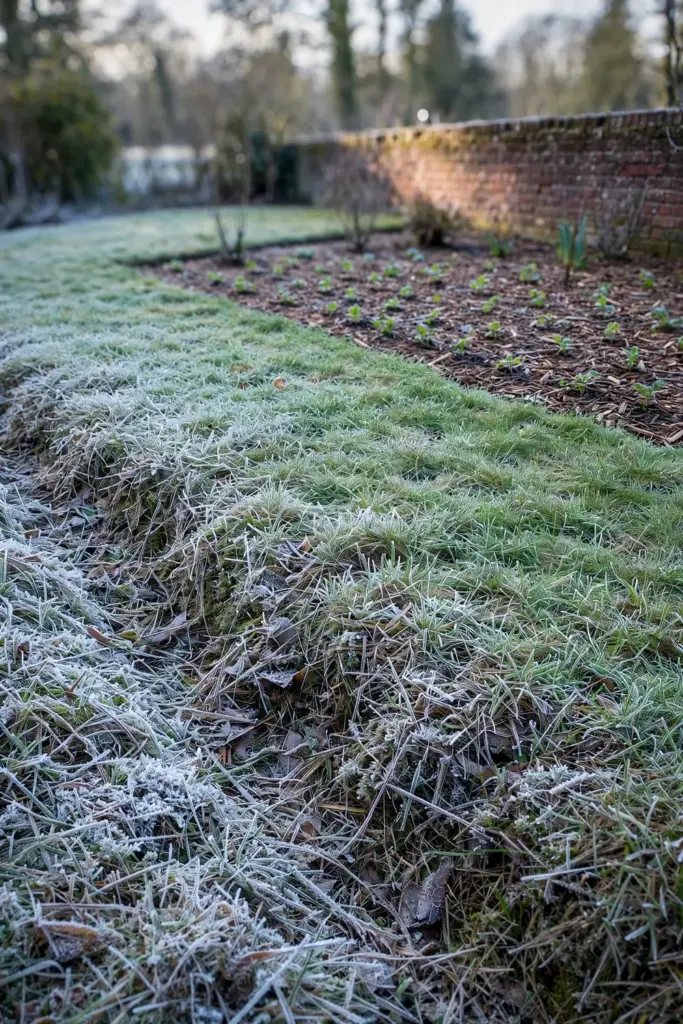
Find your zone before you buy anything. The Bureau of Meteorology guide names the three zones and the cities inside each one. Match your suburb to the nearest city on that list. Then ask one more question: does your garden get frost? A low spot collects cold air on clear winter nights. A garden on a slope drains cold air downhill. Watch your lawn on the coldest mornings, when frost shows as white grass in the low spots first.
Buy plants for the climate you have. A nursery tag that says tropical means tropical. A tag that says cool temperate means cool temperate. The tag is a promise about frost and heat tolerance. Believe it. The wrong plant in the wrong zone needs constant rescue. The right plant in the right zone mostly looks after itself.
Microclimate shifts the picture inside one yard. A brick wall that faces north stores daytime heat and releases it at night, which shelters a frost-tender plant through a cold snap. A windy ridge dries soil faster than a sheltered hollow two streets away. Walk your yard in a cold wind and in a hot afternoon. The warm corner behind the shed and the cold dip at the bottom of the slope are different growing spots, even though they share one address.
Watch the Sun for One Weekend Before You Dig
Sun decides where the bed goes. Vegetables need at least six hours of direct sunlight each day, according to University of Georgia Extension garden siting advice. Ten to 12 hours is ideal in summer. Leafy crops cope with less sun. Fruiting crops like tomatoes, zucchini, and capsicum need the full six hours or more to set fruit.
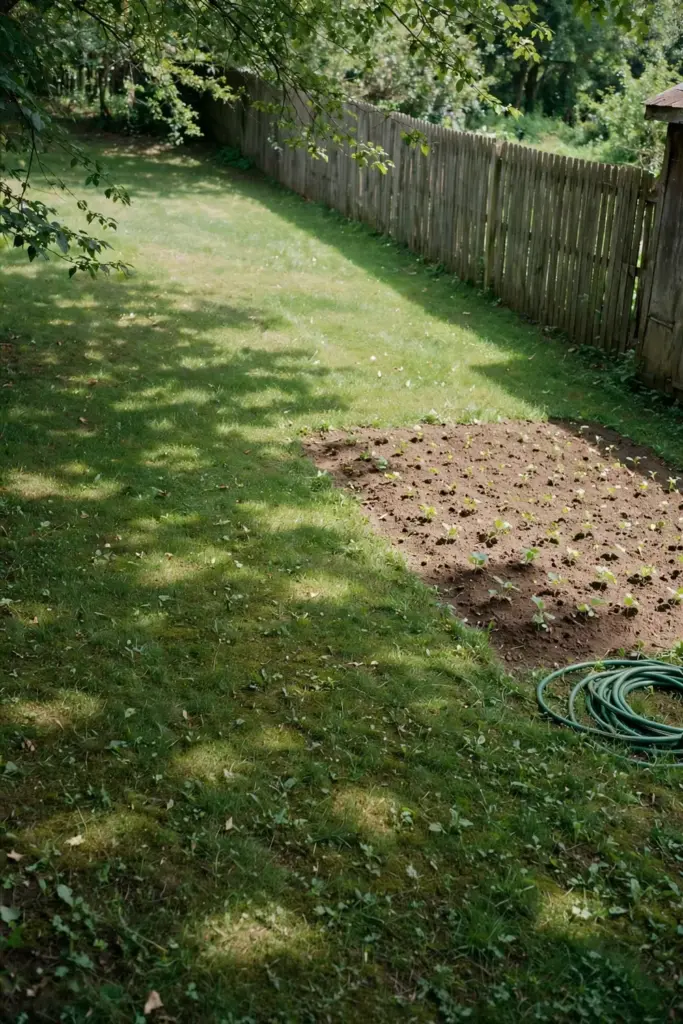
Spend one weekend watching light move across your yard. Stand outside in the morning, at midday, and in the late afternoon. Note which patches stay sunny all day and which patches fall into shade by noon. A fence, a shed, or a tree can steal the afternoon sun from a bed that looked sunny at breakfast. Winter sun sits lower and throws longer shadows than summer sun. A bed that gets six hours in January can get three hours in July.
Put the vegetable bed in the sunniest patch. Put herbs and leafy greens in the next sunniest patch. Shade suits a seat, a compost bin, or a fern corner. It does not suit tomatoes. If the only sunny patch is a strip along a fence, build a narrow bed there. Sun beats shape every time.
Part shade still grows food. Lettuce, spinach, silverbeet, mint, and parsley crop with a few hours of direct sun plus bright shade for the rest of the day. A bed that loses sun at noon in summer can be a gift, because leafy crops bolt slower in afternoon shade. Match the crop to the light you have instead of fighting the light you want. A lettuce bed in part shade that gets watered beats a tomato bed in part shade that never fruits.
Read Your Soil With a Ribbon Test
Soil decides what grows without a fight. Dig one small hole with a trowel and look at what comes up. Healthy soil crumbles in the hand and holds moisture without turning to mud. Clay soil sticks together and dries into hard clods. Sandy soil falls apart and dries fast. Each type grows plants. Each type needs different handling.
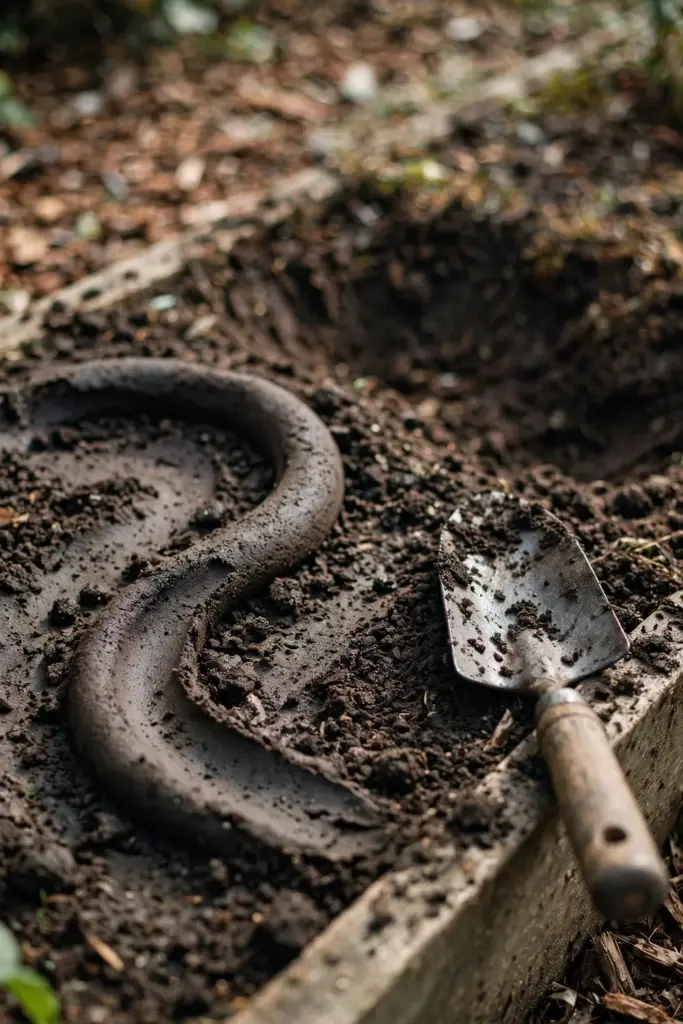
Run a ribbon test on moist soil by taking a handful and pressing it between thumb and forefinger into a ribbon. A long ribbon that holds together without breaking means clay soil. A ribbon that breaks almost at once means loamy soil. Soil that refuses to form a ribbon at all means sandy soil. The test takes two minutes, needs no kit, and deserves three spots, because soil changes across one yard.
Clay soil holds water and nutrients well and drains slowly. Work compost through the top layer to open it up. Never add sand to clay soil. Sand plus clay sets like concrete. Sandy soil drains fast and loses nutrients with every watering. Compost and mulch slow that loss. Loam sits between the two and grows most plants with the least fuss. Soil health shapes everything that follows, and building soil health covers the long game in full.
Start With One Bed or Three Pots
One bed teaches more than four beds planted in a panic. A beginner who starts with one bed learns watering, weeding, and harvesting on a patch small enough to walk around in a minute. A beginner who starts with four beds learns exhaustion. The first garden should fit the time you actually have, not the time you wish you had.
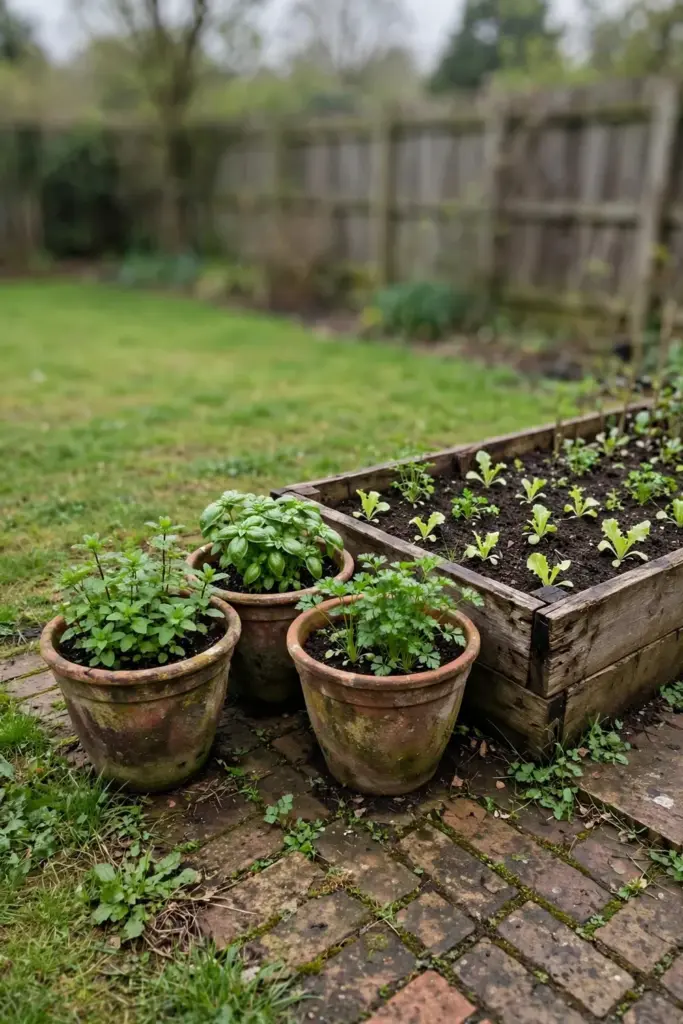
Pick one bed about the size of a door laid flat. That size grows salad for two people and fits a weekend watering routine. A bed wider than your arm span forces you to step on the soil to reach the middle. Stepped-on soil compacts and roots hate it. Keep the bed narrow enough to reach from both sides without stepping in.
Pots suit renters, courtyards, and balconies. Three large pots grow herbs, lettuce, and one tomato between them. A pot needs drainage holes in the base and a saucer only if the floor below stains. Pots dry faster than beds. Check pot soil with a finger every day in summer. A pot garden that fits a balcony beats a bed garden that never gets built.
Five tools cover a first garden: a trowel, a hand fork, a watering can, a bucket, and a pair of gloves. A trowel digs planting holes and lifts seedlings, and a hand fork loosens soil without flipping the layers. A watering can puts water at the base of each plant. A bucket carries weeds out and compost in, and gloves keep blisters off soft hands. Buy the trowel first if money is tight. Borrow the rest until the habit sticks.
Build One No-Dig Bed on Lawn or Gravel
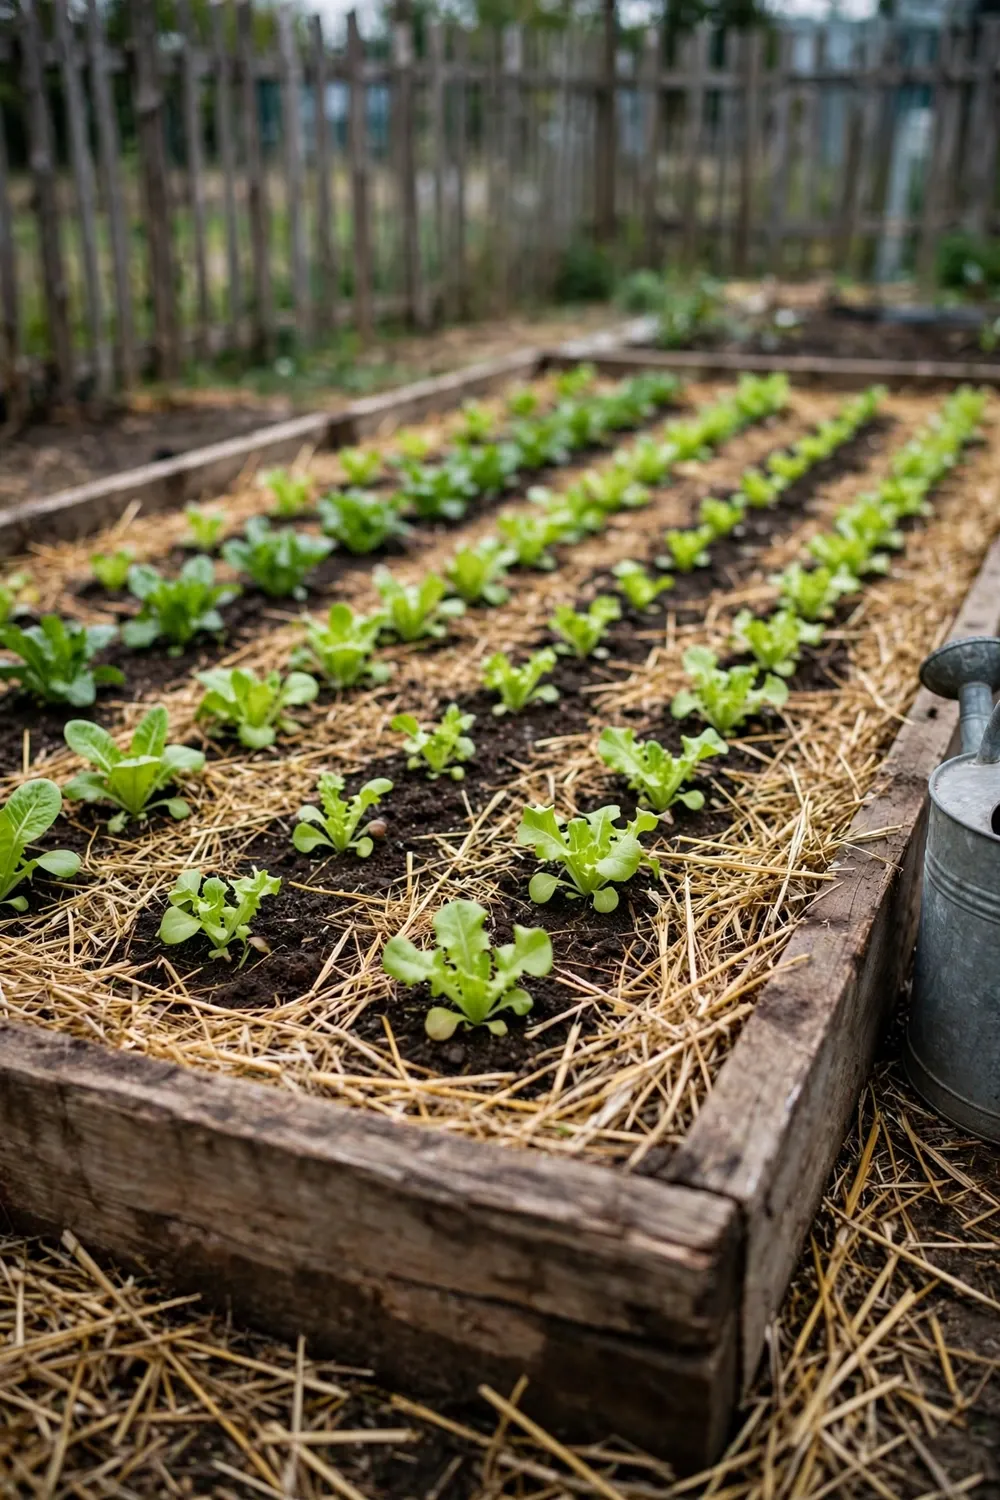
A no-dig bed starts on top of the ground you already have. No digging is required. The method layers cardboard, compost, and mulch over lawn, gravel, or paving and lets worms and microbes do the digging. The cardboard smothers the grass below. The compost feeds the plants above. The mulch holds moisture and blocks weeds.
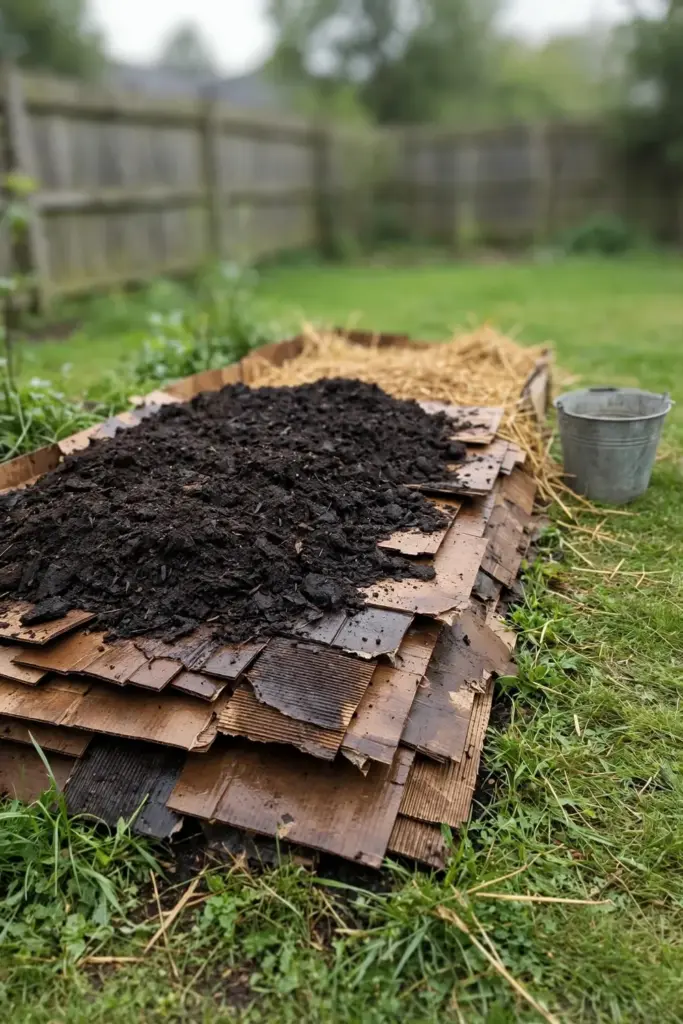
Lay cardboard flat over the bed area with the flaps overlapping. Wet the cardboard until it lies flat and dark. Spread a thick layer of compost over the cardboard. Top the compost with mulch. Plant straight into the compost layer. Seedlings with small roots settle in fast. Big transplants need a pocket of compost deep enough to hold the root ball.
A no-dig bed suits a first garden because it skips the hardest job. Digging clay in summer breaks backs and shovels. A no-dig bed starts in an afternoon with a box, a bag of compost, and a bale of mulch. The bed improves every season as the lower layers rot down. Top it up with fresh compost before each new planting round. Bed preparation details live in the fall garden bed prep guide, which covers the same ground for a cool-season start.
Water the finished bed well before planting. Wet cardboard settles flat and stays put in wind. Wet compost gives seedlings moist soil from day one. A bed that goes in dry pulls water away from young roots. Soak it, wait an hour, then plant.
Pick 6 Forgiving First Plants
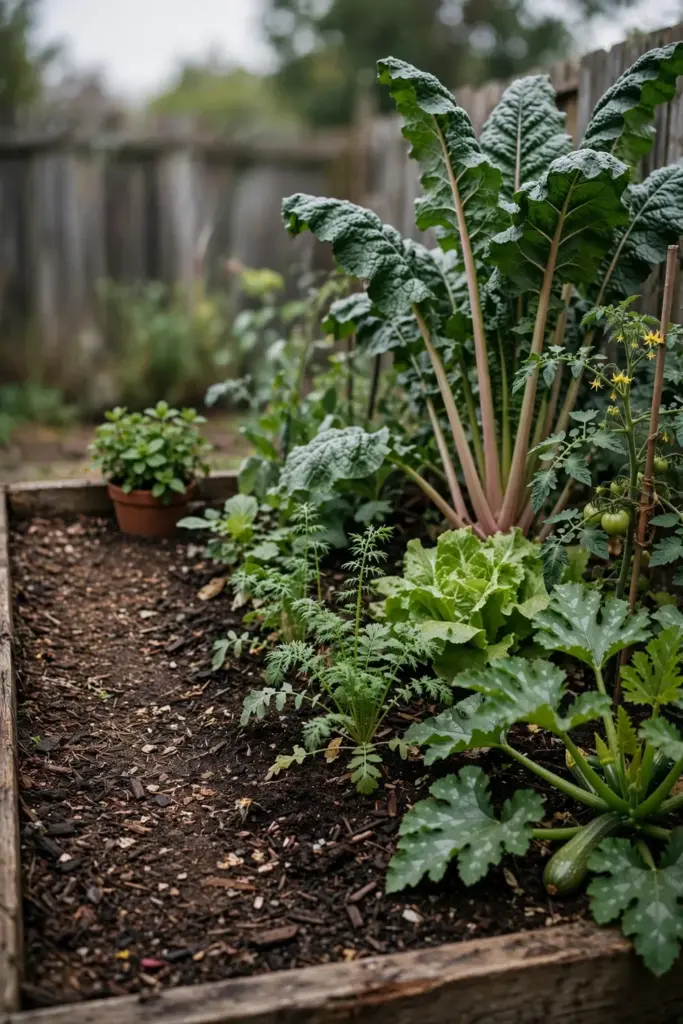
Forgiving plants grow fast, show their needs plainly, and survive a missed watering. Fast growth keeps a beginner interested. Plain signals teach the eye. A plant that dies quietly after one dry weekend teaches nothing. Pick plants that shout when they need water and bounce back after a drink.
| First Plant | Why It Forgives a Beginner | First Job |
|---|---|---|
| Lettuce | Grows fast in sun or part shade and shows wilting early | Sow a short row every 2 weeks for steady leaves |
| Radish | Ready in weeks and grows in shallow soil | Sow thinly and pull young for crisp roots |
| Zucchini | One plant feeds a household and fruits fast | Give it room and pick small fruits often |
| Cherry tomato | Fruits over months and recovers from a dry day | Stake it early and water at the base |
| Silverbeet | Grows in most soils and crops leaf after leaf | Pick outer leaves and leave the crown growing |
| Mint in a pot | Grows almost anywhere and warns of dry soil by wilting | Keep it in its own pot so it cannot spread |
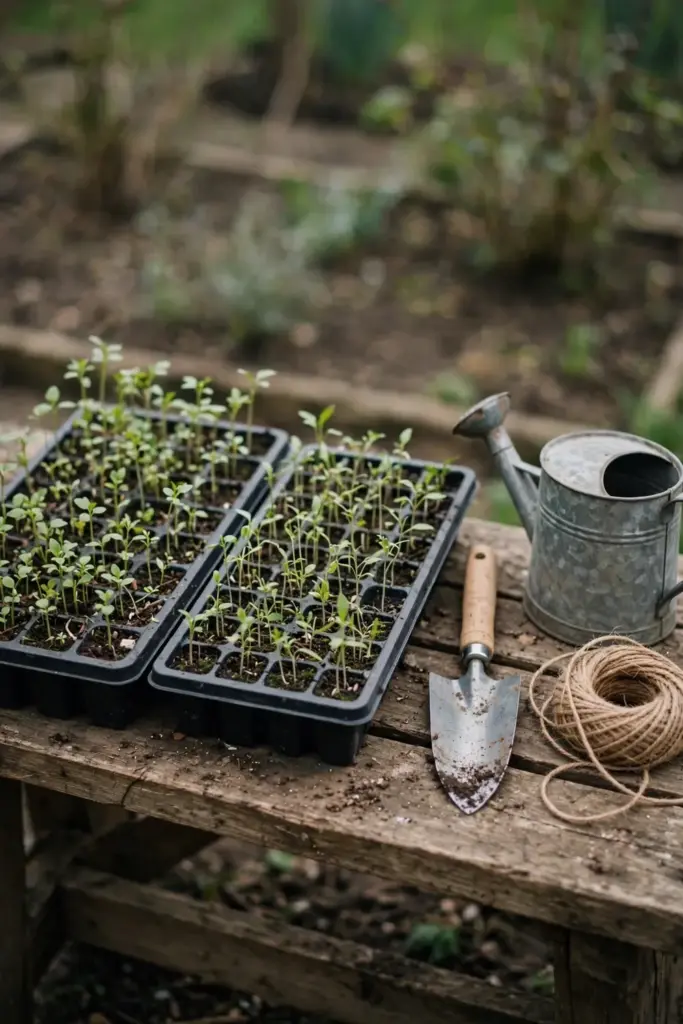
Grow what your household eats. A bed full of plants nobody eats is a chore. A bed with two salad crops and one fruit the family loves gets watered. Buy seedlings for the first round if seed sowing feels slow. Seedlings cost more and fruit sooner. Seeds cost less and teach patience. Either path works.
Plant at the Right Time for Your Zone
Timing beats effort in a first garden. A tomato planted into a cold snap sulks for weeks. Lettuce planted into a heatwave bolts to seed before it makes a head. Each crop has a season window. Plant inside the window and the weather does half the work.
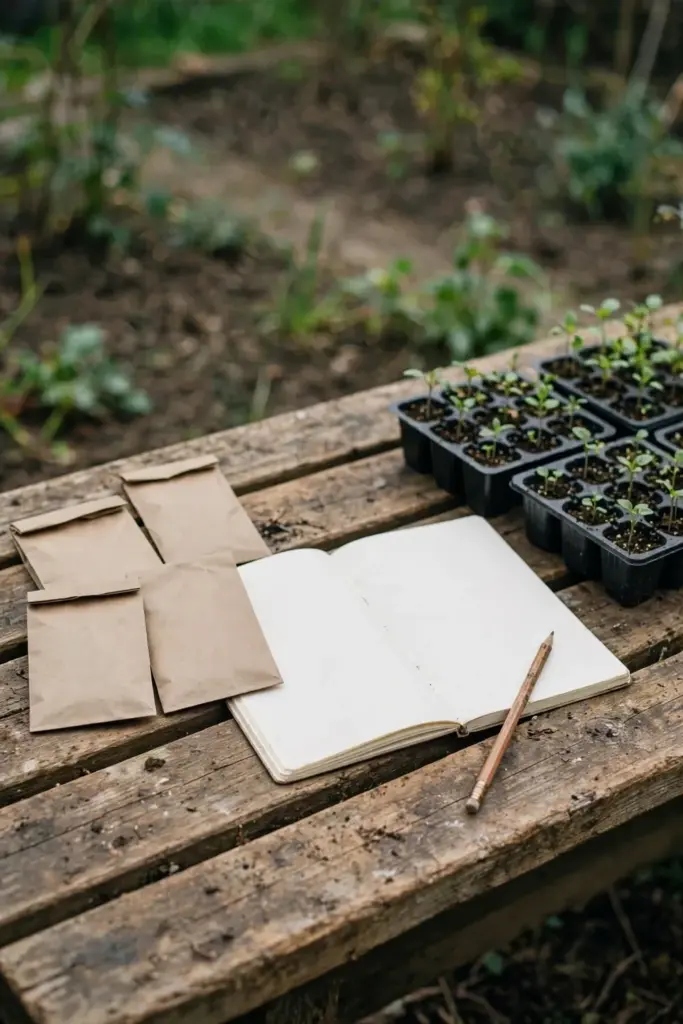
Tropical gardens plant most crops through the dry season when humidity drops and fungal pressure eases. Subtropical gardens plant warm-season crops after the last frost and cool-season crops through the mild winter. Temperate gardens plant warm-season crops after the last frost and cool-season crops in early spring and autumn. Cold temperate gardens wait for soil to warm before planting heat lovers. Your local nursery knows your last frost date. Ask for it before you buy seedlings.
| Climate Zone | Warm-Season Crops | Cool-Season Crops |
|---|---|---|
| Tropical | Most of the dry season | Wet-season breaks and shade |
| Subtropical | After the last frost through summer | Mild winter months |
| Temperate | After the last frost through autumn | Early spring and autumn |
| Cold temperate | After soil warms in late spring | Early spring and late summer |
Read the seed packet before you sow. The packet names the months for your climate and the days to harvest. A packet that says 60 days to harvest means 60 days from sowing in warm soil, not 60 days from the day you feel like planting. Sow a short row first. Sow the next row when the first row shows true leaves. Staggered sowing gives steady harvests instead of one glut. Seed starting steps live in the seed starting guide, which covers trays, depth, and first leaves.
Water Deep and Less Often
Deep watering grows deep roots. Shallow watering grows shallow roots. A plant watered deeply once or twice a week sends roots down into cool soil. A plant sprinkled daily keeps its roots near the surface, where the soil dries first. Deep roots survive a hot weekend. Shallow roots do not.
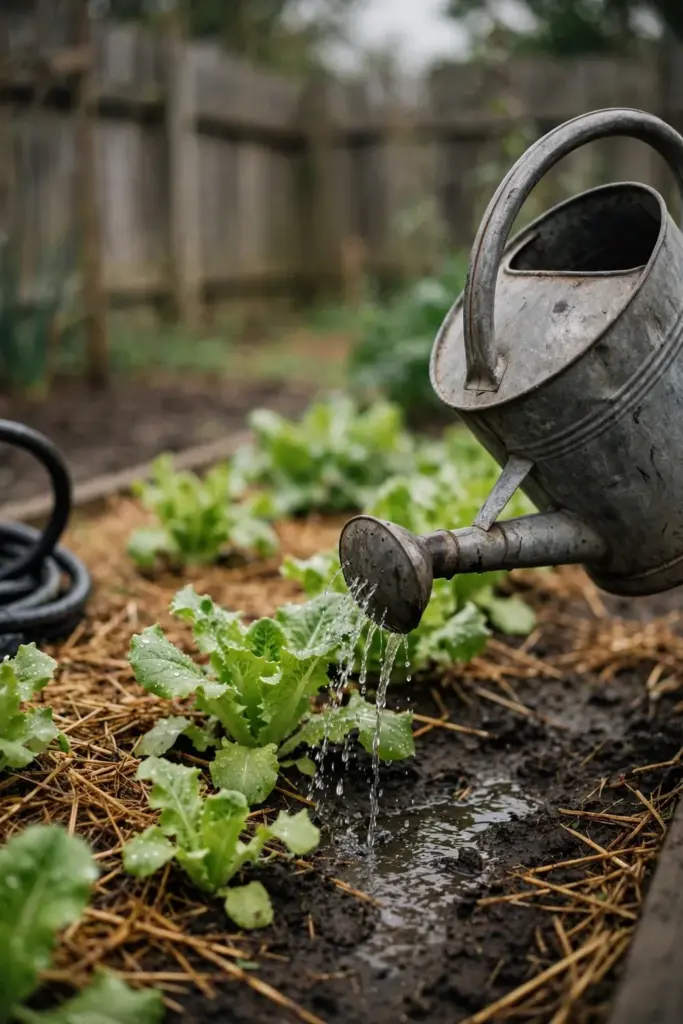
Check the soil before you water. Push a finger into the soil to the second knuckle. Dry soil at that depth means water now. Damp soil at that depth means wait a day. The finger test beats any fixed schedule because weather changes weekly. A week of rain needs no watering. A week of hot wind needs more than usual.
Water in the morning. Morning watering puts moisture at the roots before the heat arrives. Leaves dry fast in morning sun, which cuts fungal disease. Evening watering leaves leaves wet overnight, which invites disease. Water at the base of the plant, not over the leaves, with a watering can or a hose on a slow trickle. A sprinkler wets leaves and paths and wastes water on both.
Pots need a different rhythm. A pot holds little soil and dries from all sides, so a pot in full sun can need water every day in a heatwave. Check pot soil each morning with a finger. Water until it runs from the drainage holes, then stop. A saucer that stays full drowns roots. Empty the saucer after half an hour.
Feed Lightly and Test pH Before You Lime
A first garden needs little fertilizer, because compost and mulch feed most first crops. A small side dressing of balanced organic fertilizer helps heavy feeders like tomatoes and zucchini once they start fruiting. Overfeeding grows leafy plants with few fruit, and underfeeding grows pale plants that stall, so feed lightly and watch the response.
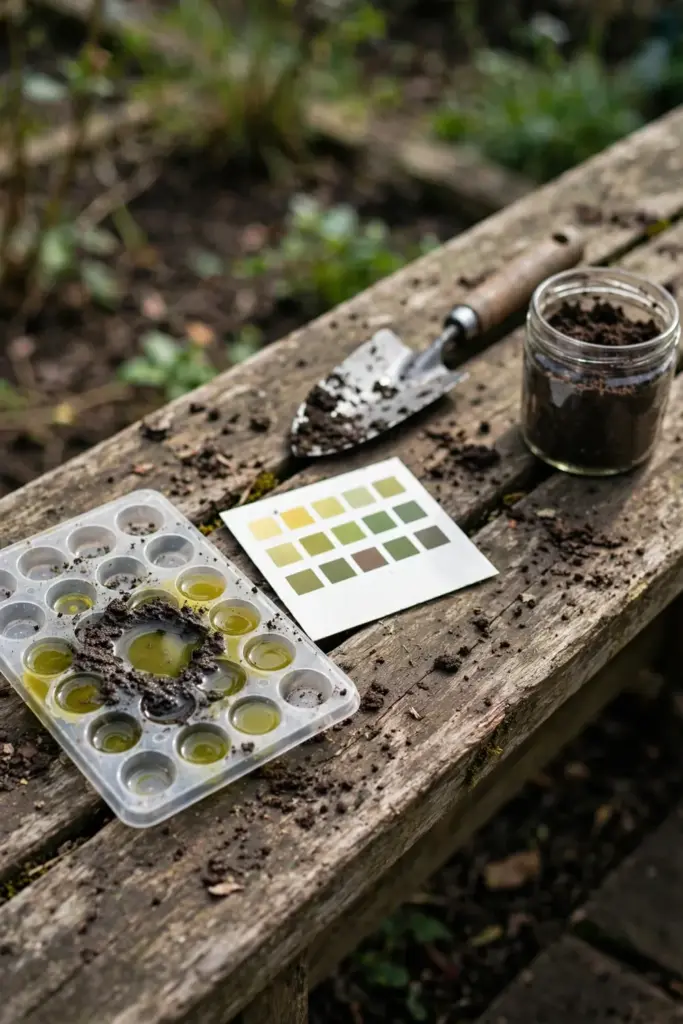
Test soil pH before adding lime. Most vegetables benefit from a pH of 5.5 to 6.5 on a kit test, according to the NSW Department of Primary Industries healthy soil guide. At that level, most soil nutrients stay available to plant roots. A cheap field test kit from a farm supply store reads pH well enough for a first garden. Mix lime into the soil at least a week before planting if the test shows acid soil. Lime needs time to react.
Native plants play by different rules. Many Australian natives are sensitive to phosphorus, and the same NSW guide warns against standard fertilizers for native beds. Keep vegetable fertilizer in the vegetable bed. Keep native beds on native fertilizer or plain compost. One fertilizer does not fit both.
Mulch Every Bed 5.1 to 10.2 cm Deep
Mulch is the cheapest water saver a beginner owns. A mulch layer shades the soil, slows evaporation, blocks weeds, and steadies soil temperature. Bare soil dries fast, crusts, and grows weeds. Mulched soil stays damp longer and needs less watering.
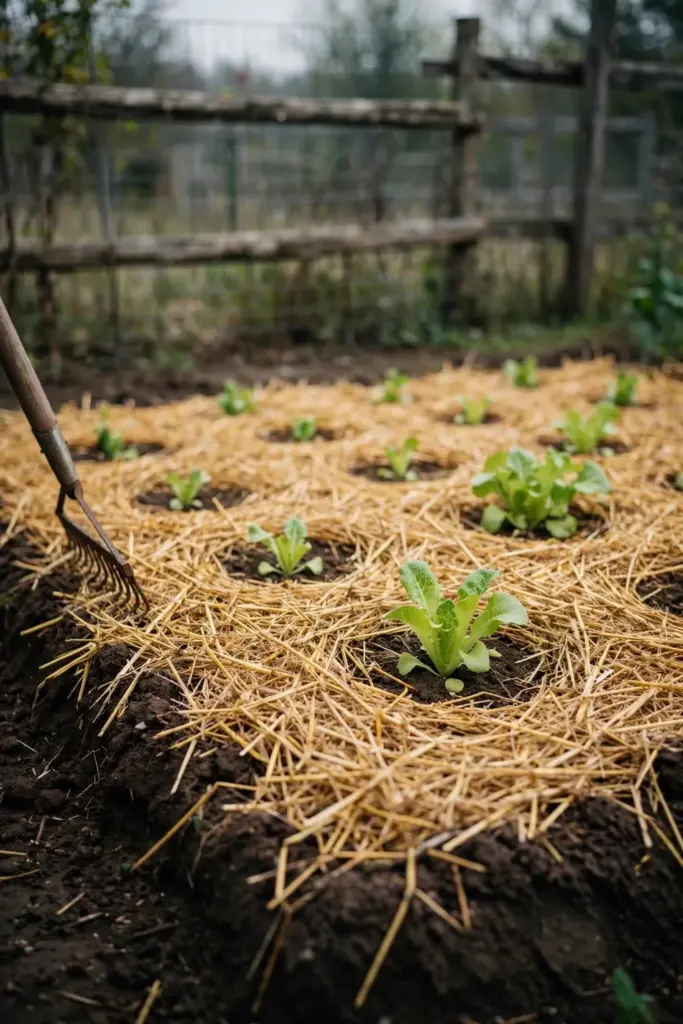
Spread mulch 5.1 to 10.2 cm deep over every bed. That range converts the University of Minnesota Extension advice to apply 2 to 4 inches of mulch, as set out in the University of Minnesota Extension mulching guide. Too little mulch fails to block weeds. Too much mulch can suffocate roots. A layer inside the range does the job. Top it up once or twice a year as it breaks down, because organic mulch rots into the soil and feeds it.
Keep mulch off stems and trunks. Mulch piled against a stem holds moisture against bark and invites rot and pests. Leave a small bare ring around each stem. Water the soil before mulching, not after, so the moisture sits under the blanket. Straw, wood chips, bark, and leaf litter all work. Pick the mulch your local supplier stocks. Mulching details live in the mulching explainer, which covers types and weed control.
Check mulch depth twice a year. Organic mulch breaks down into the soil, which is the point, and the layer thins as it feeds the bed. Top up the thin patches in spring and autumn. A bed that stays mulched year-round holds moisture through summer and keeps weeds down through winter.
Meet the First Pests and Weeds Without Panic
Every garden gets pests. Aphids cluster on soft shoot tips. Caterpillars chew holes in brassica leaves. Slugs and snails come out on wet nights and rasp seedlings. None of these mean failure. They mean the garden is alive. A first garden that never sees a pest has not grown long enough.
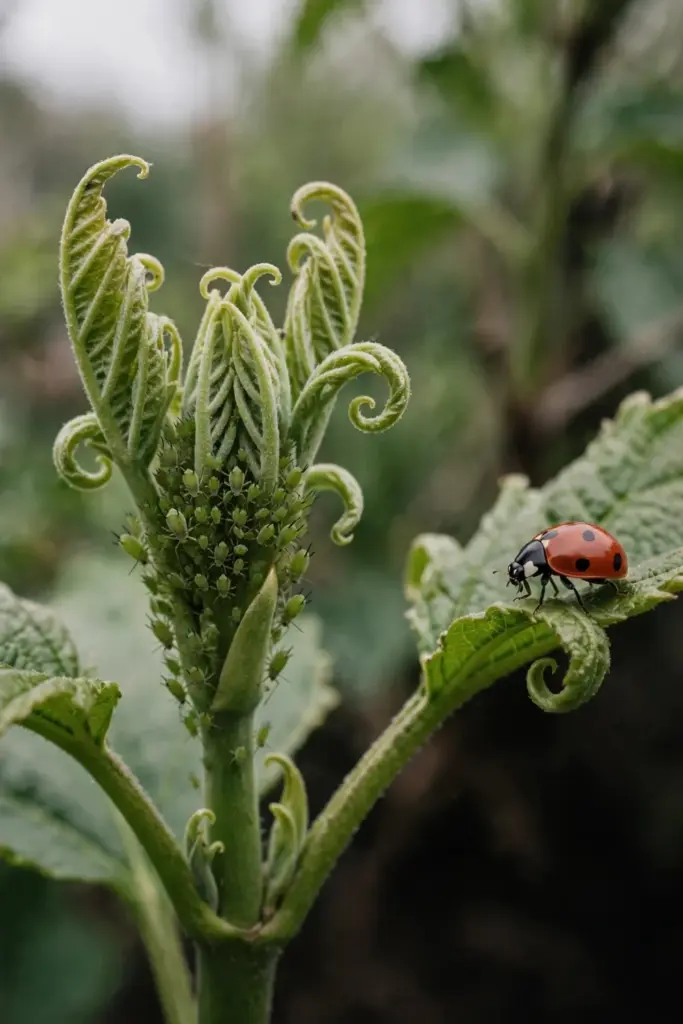
Check plants twice a week. Look under leaves, where aphids and caterpillar eggs hide. Knock aphids off with a firm jet of water from the hose. Pick caterpillars and slugs off by hand and drop them in a bucket of soapy water. A healthy plant outgrows light pest damage. A stressed plant cannot. Water, mulch, and sun do more pest control than any spray.
Weeds need the same calm routine. Pull weeds when they are small, before they set seed. One weed left to seed becomes hundreds next season. Pull after rain, when roots slide out easily. Mulch blocks most weeds before they start. A garden weeded for ten minutes twice a week stays clean. A garden ignored for a month needs a weekend.
Leave room for the helpers. Ladybirds eat aphids. Hoverflies eat aphids too, and their larvae eat more than the adults. Bees pollinate zucchini and tomatoes. A garden sprayed at the first aphid kills the predators with the pests. Tolerate light pest damage and the predators move in. Plant a few flowering herbs like dill or coriander among the vegetables and the helpers find food and shelter close to the pests.
Run the First-Month Plan and Fix the 5 Beginner Mistakes
A first month with a plan beats a first month of guessing. Week 1 is observation and soil. Walk the yard, watch the sun, and run the ribbon test. Week 2 is building the bed and planting the first row. Lay the no-dig layers, water them in, and set out seedlings. Week 3 is watering, mulching, and watching. Check the soil with a finger, pull weeds while they are small, and note which plants look hungry. Week 4 is the first harvest of radish and lettuce leaves, plus a second sowing. Four weeks of small jobs build a habit. Four weeks of big jobs build a sore back.
Five mistakes catch most beginners. First, planting too much at once. One bed beats four beds. Second, watering a little every day instead of watering deep twice a week. Third, planting sun lovers in shade. Sun decides the bed site. Fourth, burying stems under soil or mulch. Stems rot when buried. Fifth, skipping the soil test, when a ten-minute ribbon test and a pH kit answer the two questions that shape every other decision.
Fix mistakes fast and keep going. A wilted seedling wants water, not a new fertilizer. A yellow leaf on a lower stem often means age, not disease. A bed that dries out wants mulch, not a new bed. Gardening rewards the gardener who watches and adjusts, and it punishes the gardener who plants and walks away.
Frequently Asked Questions About Beginner Gardening in Australia
A one-bed first garden needs about two hours a week in the growing season. Watering takes the biggest share, then weeding, then harvesting. A pot garden needs less time but more frequent watering checks. Start with the time you have. A garden that fits two hours a week thrives. A garden that needs six hours a week dies when life gets busy.
Lettuce is the easiest first vegetable for most Australian gardens. It grows fast, crops in sun or part shade, and shows wilting early enough to save. Radish runs close behind because it matures in weeks. Silverbeet suits gardeners who want one plant that keeps giving leaves for months. Pick one of the three and grow it well before adding more.
Seedlings suit a beginner who wants early success. A seedling skips the fragile germination stage and fruits sooner. Seeds suit a beginner who wants low cost and more choice. A packet of seeds costs less than one seedling punnet and sows many rows. Grow seedlings for tomatoes and zucchini in round one. Grow lettuce and radish from seed in the same round.
Run the ribbon test on moist soil. Press moist soil between thumb and forefinger into a ribbon. A long ribbon that holds together means clay soil, a ribbon that breaks at once means loamy soil, and soil that refuses to form a ribbon means sandy soil. Confirm with a pH kit test. Clay holds water and nutrients and drains slowly. Sand drains fast and loses nutrients with watering.
Yes. A balcony garden grows herbs, lettuce, radish, and one cherry tomato in three large pots. Pots need drainage holes and daily water checks in summer. Use a quality potting mix, not garden soil, because garden soil compacts in pots and starves roots. Place pots where they get at least six hours of direct sun. A pot garden fits renters and small spaces.
Start Small, Watch, and Grow From There
A first garden is a skill, not a shopping list. Sun, soil, water, mulch, and patience grow more food than any gadget. Start with one bed or three pots. Plant six forgiving crops. Water deep, mulch well, and pull weeds while they are small.
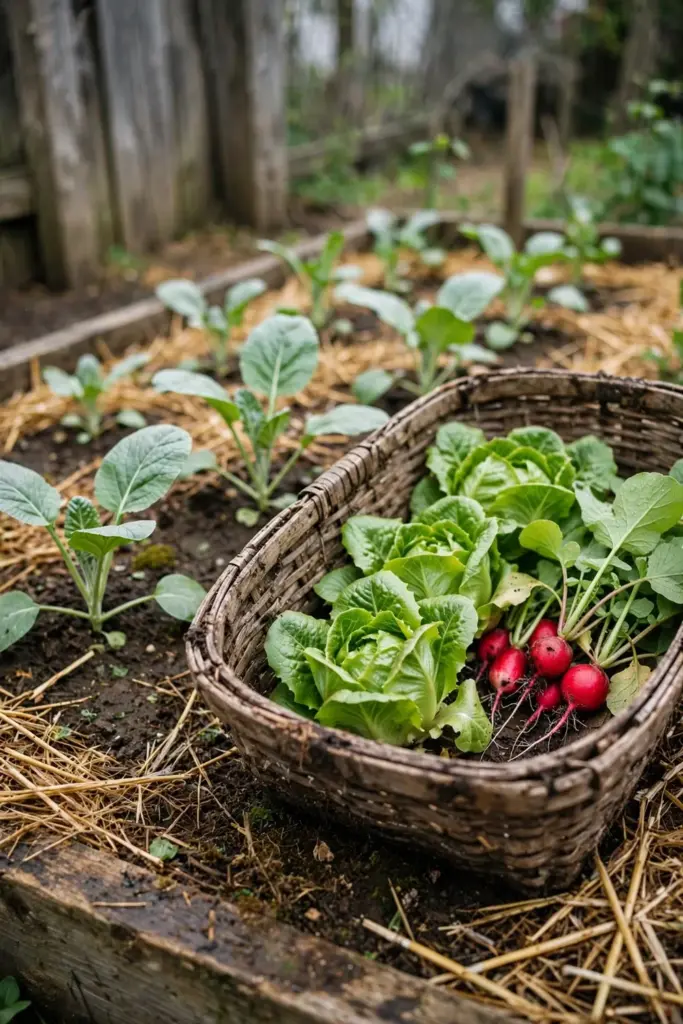
The second season gets easier. The soil improves. The eye learns to read a wilted leaf and a dry bed. The gardener who starts small finishes the season with food on the table and a habit that lasts. Plant the first row this weekend.
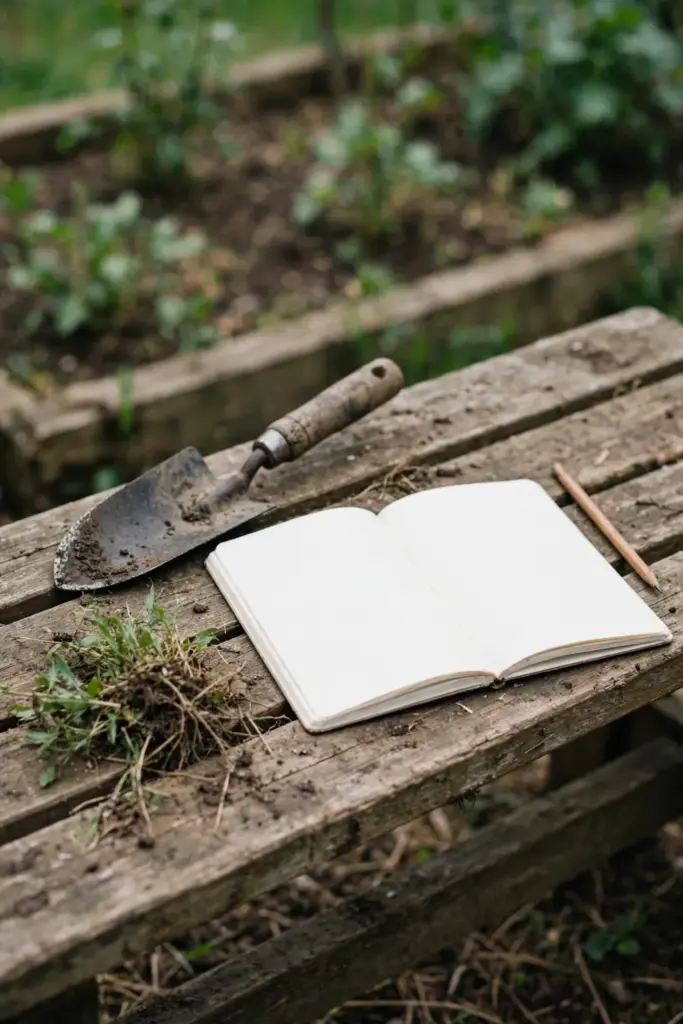
Keep one habit from the first season into the second: write down what worked. A notebook line per crop, sowing date, and harvest, beats a perfect memory every time. The note that says lettuce sown in March bolted in April saves next year from the same mistake. The note that says zucchini fed a family from one plant stops next year from planting three.