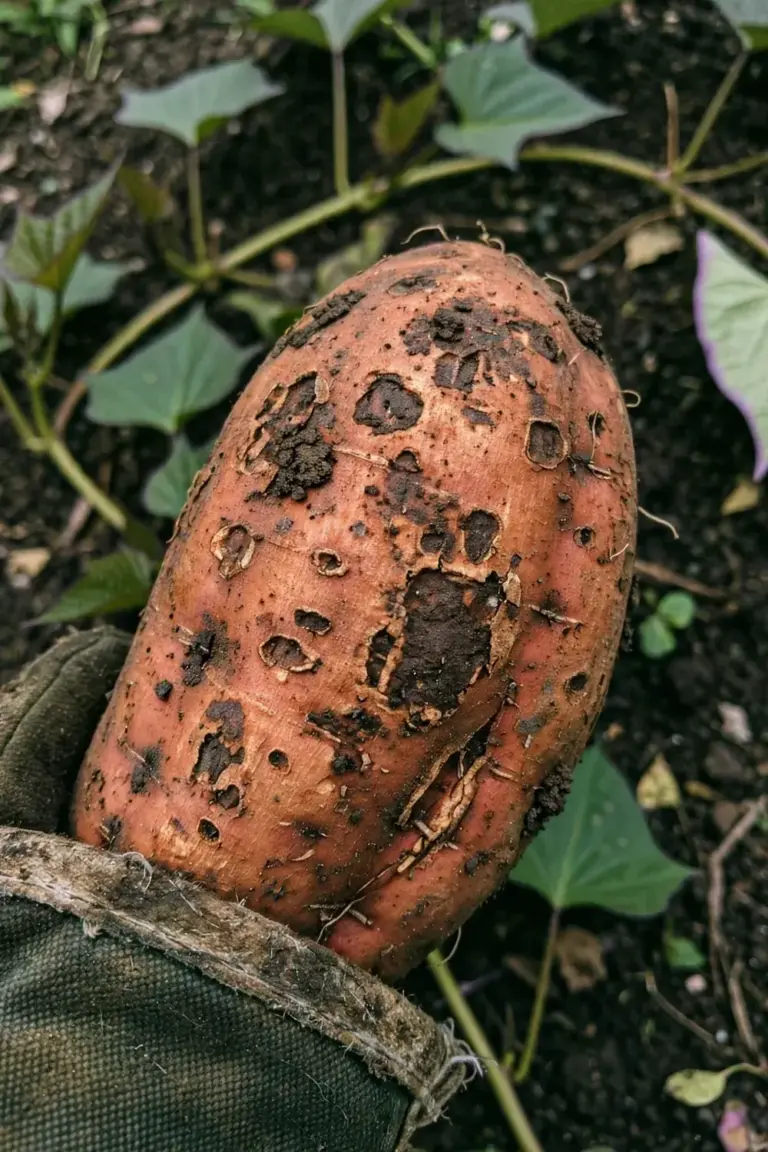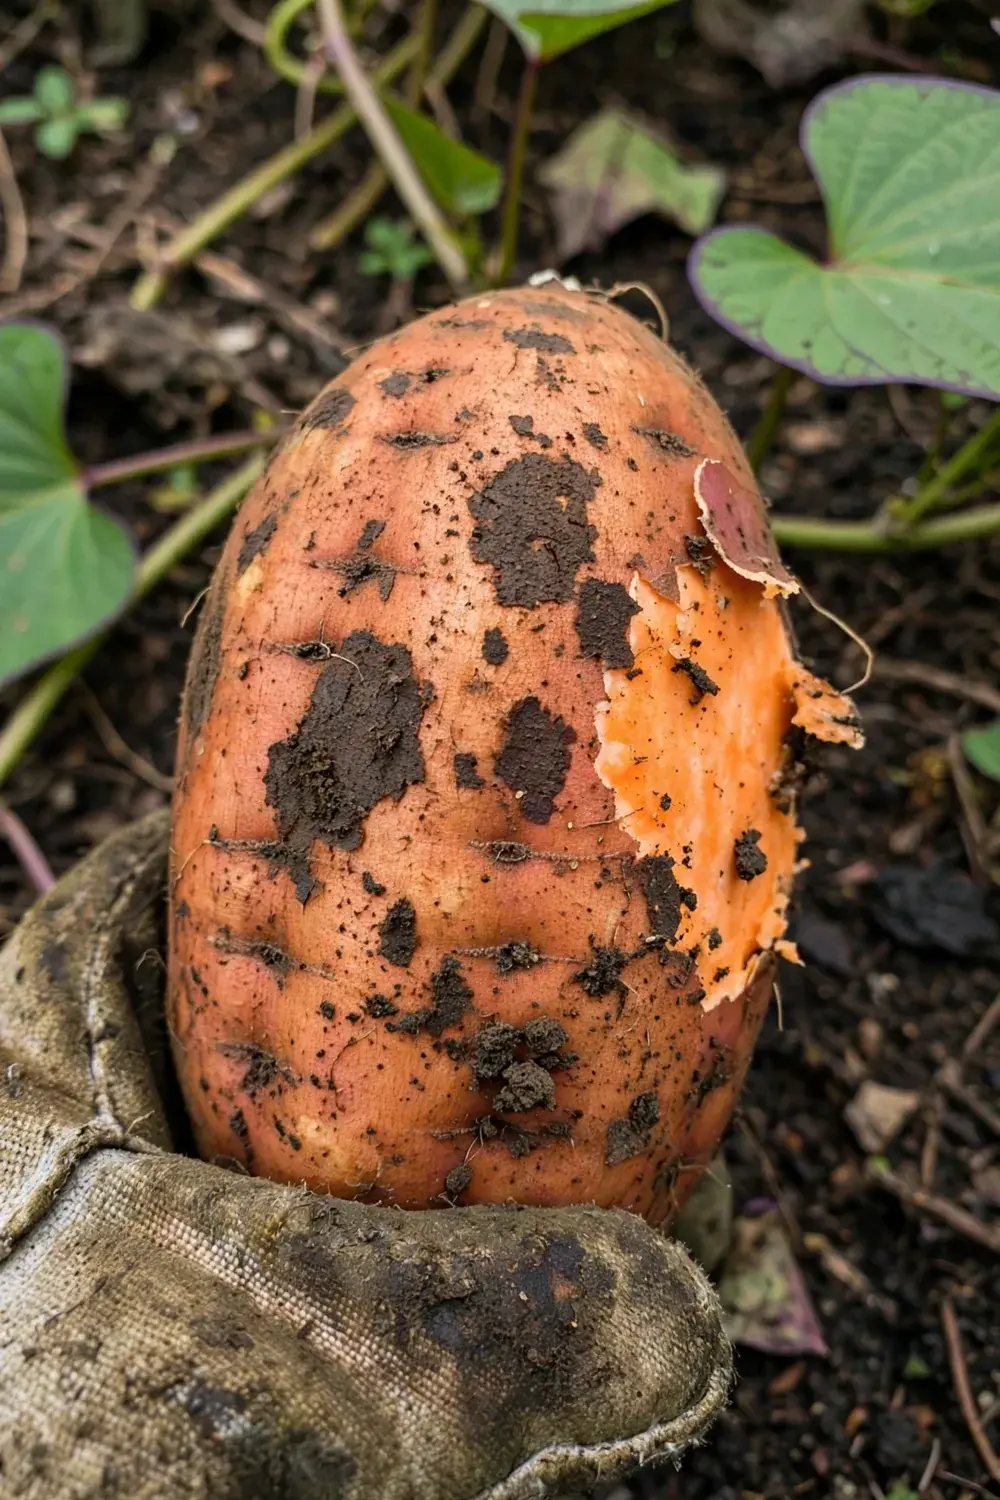

Peel 1 root and look at the flesh. Scurf on sweet potatoes shows as brown to black blotches on the skin, and the flesh under the blotch stays sound. The disease is cosmetic. It will not ruin the eating quality of the root, and it will not rot the root from the inside. The danger is confusion. Scurf looks like black rot at a glance, and black rot does rot the root and turns the flesh bitter.
I have learned to trust the peel test over the vine above it. Scurf on sweet potatoes is a skin disease of sweet potato (Ipomoea batatas) caused by the soilborne fungus Monilochaetes infuscans. The fungus lives in the skin of storage roots. It never reaches the flesh.
The work below starts with identification, then sorts scurf from black rot, soil rot, and Java black rot in one table, then gives 10 strategies that keep the fungus out of next year’s bed. None of the 10 cures an infected root. Prevention and sanitation carry the whole defense, and the first strategy explains why that trade is worth making.
What Scurf on Sweet Potatoes Actually Is
Scurf on sweet potatoes is a fungal disease of the skin of storage roots. Monilochaetes infuscans, a soilborne fungus, causes it. The fungus grows in the periderm, the thin skin outside the starchy flesh. The flesh under a scurf blotch stays sound.
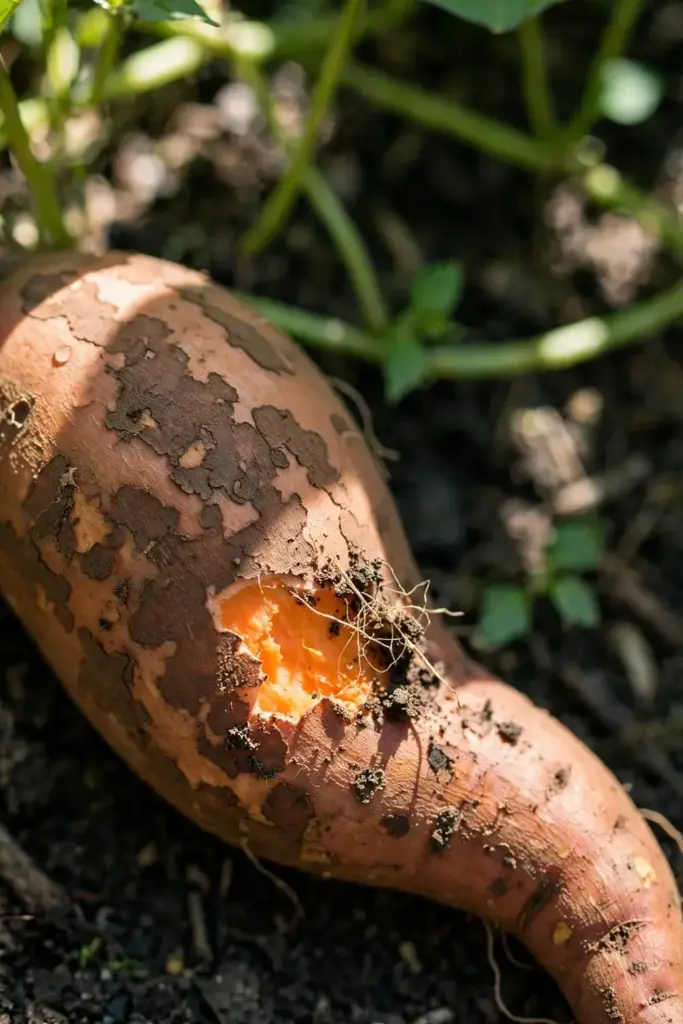
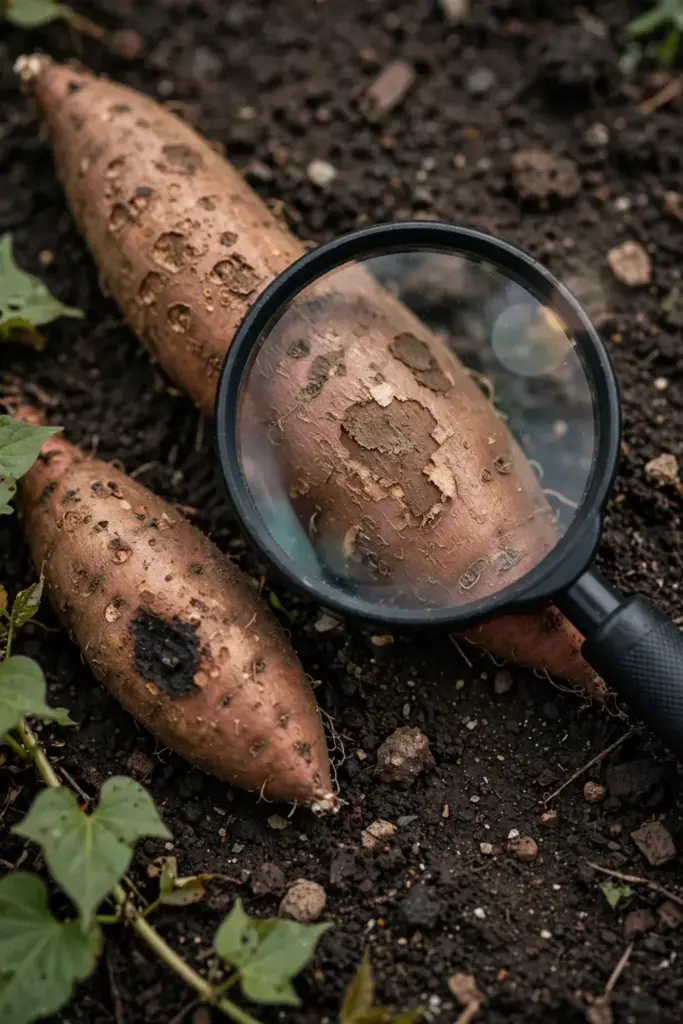
Lesions start as small brown spots on the skin that enlarge, merge, and form irregular patches. On copper-skinned roots the patches read brown, while on red-skinned roots they read almost black. In storage the lesions keep enlarging. In advanced cases the whole surface darkens, and the root turns spongy, dry, hard, and shrunken. The NC State Extension scurf guide describes this progression, and notes that the fungus does not affect eating quality while it cuts market value.
Scurf is one disease with one cause. Gardeners sometimes meet the older name soil stain. Soil stain is the old name for scurf. It is not a second disease.
Do not confuse sweet potato scurf with two regular-potato diseases. Potato black scurf attacks regular potato, Solanum tuberosum, and comes from the fungus Rhizoctonia solani. Silver scurf is another regular-potato disease, caused by Helminthosporium solani. Both hit a different crop. Neither one is sweet potato scurf, and neither one follows the same bed history.
How to Identify Scurf on Storage Roots
Scurf shows on storage roots as flat, superficial blotches that stay in the skin. A fingernail scrapes the discoloration off without cutting into firm flesh.
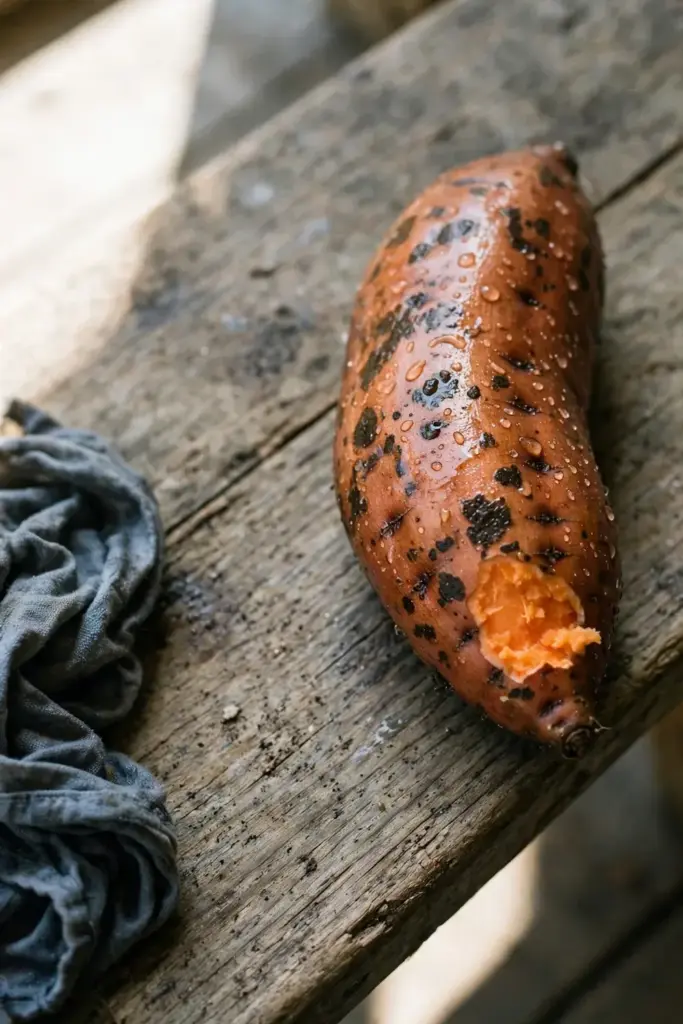
Wet the root before you judge it. Water darkens scurf spots and makes faint blotches easier to see. Dry skin hides the early marks. The NC State Extension scurf guide recommends wetting roots because wetting makes scurf spots easier to see.
Peel the blotch. Scurf leaves clean flesh under the skin. Any dark flesh under the blotch points to a different disease. Any bitter taste in cooked flesh points to black rot, and a bitter root goes in the trash.
Check stored roots every week or two. Scurf lesions enlarge in storage under high humidity. A root that looked lightly marked at harvest can darken across much of its surface by midwinter. Use marked roots first, before their lesions spread in humid storage.
How to Identify Scurf on Slips, Stems, and Leaves
Above-ground scurf is rare, and it follows infected planting material. The fungus rides infected seed roots into the bed, grows onto the slips, and travels with them into the field.
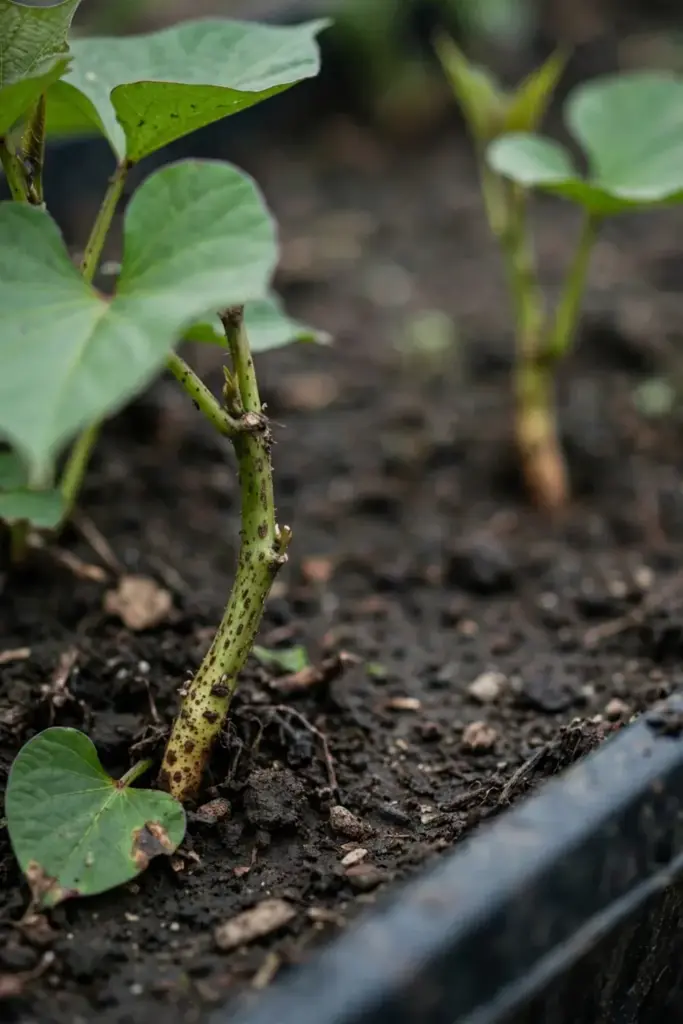
On slips, look for brown spots on the lower stem near the soil line. On leaves, look for brown spots where leaf tissue touched infected soil. These spots stay superficial. They do not wilt the vine the way stem cankers of black rot do.
Most vines look healthy. A bed can carry scurf with no visible vine symptoms at all. The roots tell the story at harvest. That is why seed-root inspection beats vine watching.
Slips carry no reliable cut test. The stem is thin, and a cut tells little. Judge slips by the seed roots they came from and by the spots on the lower stem. If the seed roots were scurfy, treat the slips as infected even when the vines look clean.
Which Sweet Potatoes and Morning Glories Get Hit Hardest
Scurf hits sweet potato and its close relatives in the morning-glory family. The host range is narrow. Sweet potato carries the damage. Wild Ipomoea weeds carry the fungus between crops.
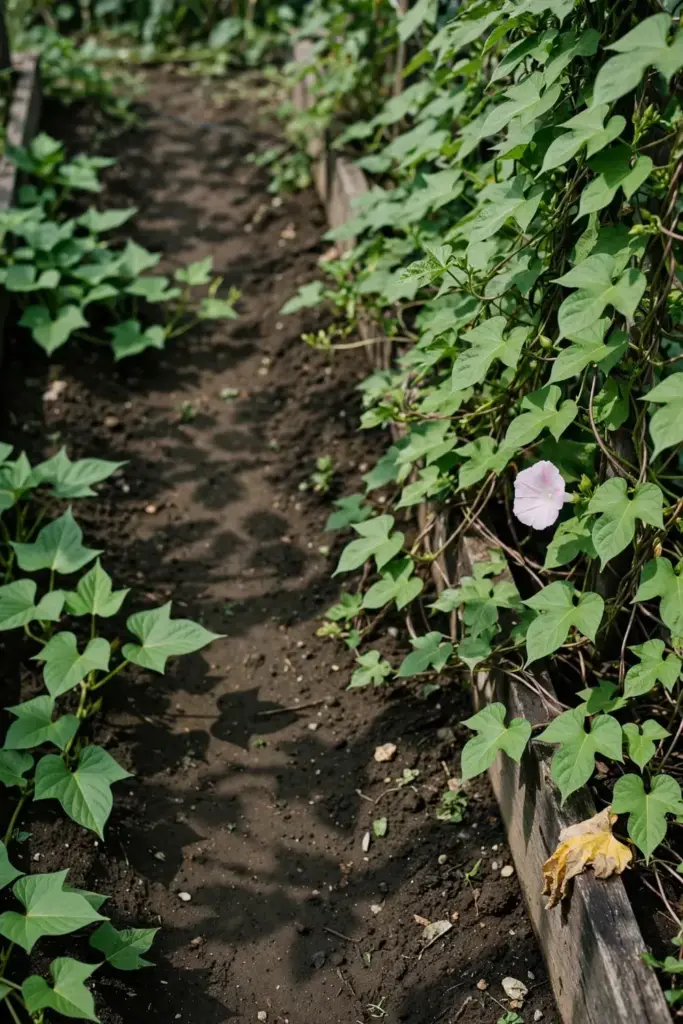
Morning-glory weeds act as a reservoir. A bed edged with wild morning glory keeps the fungus close even after rotation. Step 7 covers weed removal.
No resistant varieties are available. The NC State Extension scurf guide states this plainly. Variety choice cannot carry the defense. Clean planting material, rotation, and sanitation carry it.
Skin color changes the look, not the risk: copper-skinned roots show brown lesions, red-skinned roots show almost black ones, and the orange flesh under the skin stays sound either way.
Scurf vs Black Rot vs Soil Rot vs Java Black Rot
Four diseases mark sweet potato roots, and field ID sorts most cases. Scurf stains the skin. Black rot sinks into the flesh and turns it bitter. Soil rot pits and deforms. Java black rot starts at the root end as a firm, moist decay. The table sorts them by cause, depth, look, and eating call.
| Disease | What Causes It | How Deep It Goes | What the Root Looks and Feels Like | Eating Call |
|---|---|---|---|---|
| Scurf | Monilochaetes infuscans, fungus | Skin only | Flat brown to black blotches, flesh sound, root may shrink in storage | Peel and cook. Flesh stays sound. |
| Black rot | Ceratocystis fimbriata, fungus | Into the flesh | Round sunken spots, black center where the fungus sporulates, tissue black under the lesion, stem cankers below the soil line | Do not eat. Flesh turns bitter, and the fungus makes toxins that heat does not destroy. |
| Soil rot (pox) | Streptomyces ipomoea, bacterium | Pits the skin, kills fibrous roots | Rough corky pits, cracked or distorted roots | Peel small lesions and cook sound flesh. Discard cracked or distorted roots. |
| Java black rot | Lasiodiplodia theobromae, fungus | Into the flesh | Firm moist decay from the root end, yellow to brown to black, hard black masses break through the skin, root dries and hardens | Do not eat rotted roots. Discard them. |
Black rot is the dangerous lookalike. A review of sweet potato rot diseases reports that black rot flesh turns bitter from compounds including ipomeamarone, and that these toxins resist boiling, steaming, and fermentation. A bitter sweet potato goes in the trash. Cutting away the dark part does not make it safe. The toxins resist cooking.
Soil rot is the structural lookalike. It pits and deforms. Scurf never pits. Soil rot is a bacterial disease, so fungicides miss it twice over. Clemson names soil pox as a disease of sweet potato tubers caused by Streptomyces ipomoea, and notes that raising soil pH favors it. If the pits point to soil rot, treat that disease on its own terms: pH discipline, resistant varieties, and a long rotation.
Java black rot is the storage lookalike. It enters through wounds, starts at the root end, and ends with a dried, hardened root. Prompt curing that heals wounds is the main defense. The same review of sweet potato rot diseases describes Java black rot tissue turning yellowish-brown before it turns black, with afflicted roots turning withered, brittle, and mummified.
When Field ID Is Not Enough
Field ID sorts suspects. A lab names the agent. Send a sample when the call decides next year’s rotation or a pH change. NC State points growers to the local Extension agent and the Plant Disease and Insect Clinic, with physical samples or photos. Send fresh roots with lesions plus a note on bed history. Keep the sample cool and dry.
Why Infected Planting Material Drives Scurf
Scurf spreads on planting material, not on the wind. Infected seed roots carry the fungus into the bed. The fungus grows from the seed root onto the slips. Slips carry it into the field. The fungus travels down to the daughter roots. At harvest the fungus rides the roots into the curing room.
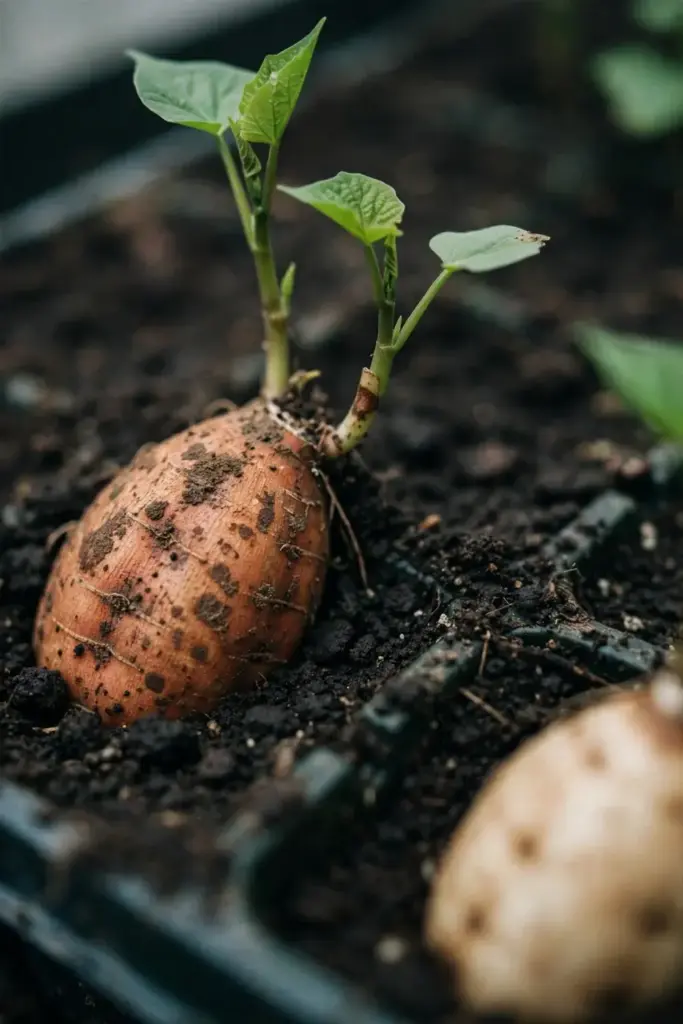
Soil carries the fungus between seasons. Sources differ on how long. NC State gives 1 to 3 years depending on soil type. Penn State and Clemson give 1 to 2 years. This page uses the full range, 1 to 3 years. Rotation advice converges on 3 to 4 years, which clears the top of the range.
Storage spreads scurf further. Lesions enlarge in storage under high humidity. The fungus can spread from infected roots to healthy roots stored beside them under humid conditions. Dry, cool, ventilated storage slows that spread.
One infected mother root seeds a whole bed of slips. That single fact sets the strategy. Clean seed roots matter more than any spray, because no fungicide works once the fungus is established. The NC State Extension scurf guide states that no fungicide is effective at controlling this disease after scurf has become established.
What Makes Scurf Worse in a Home Garden
Wet soil favors scurf. Heavy, fine-textured soils hold water and hold the fungus. Light, sandy soils drain fast and show less scurf. Poor drainage turns a bed into a reservoir. NC State notes the disease is less prevalent in light, sandy soils and worse in heavy soils, especially those holding considerable amounts of organic matter.
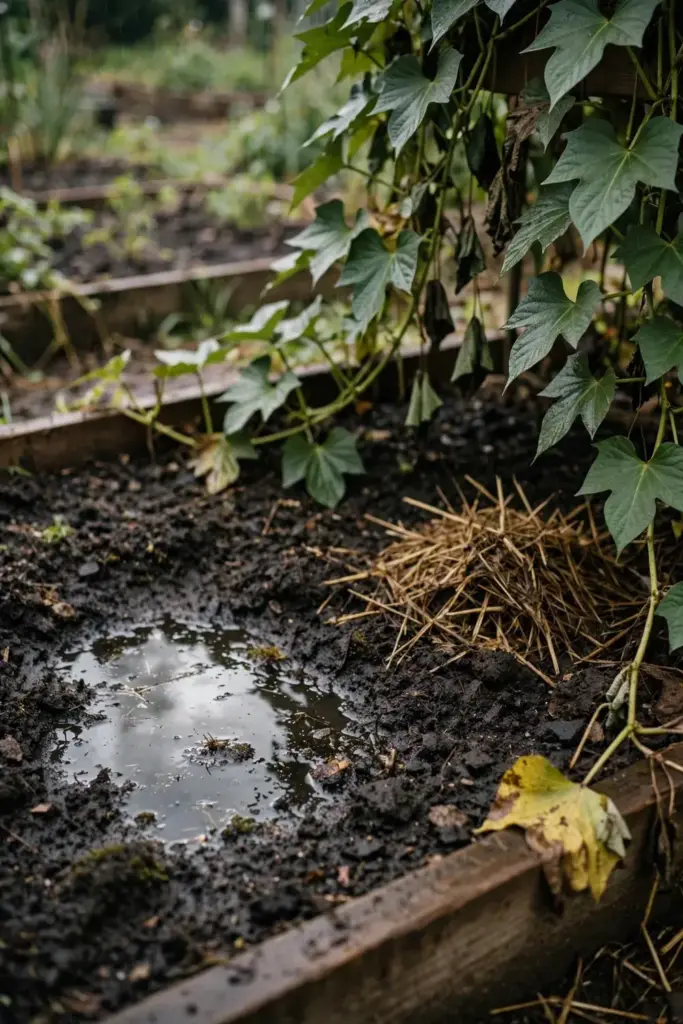
Fresh organic matter feeds the problem. High organic matter and fresh animal manure increase scurf incidence. Clemson names both, and adds that the use of animal manure may increase the incidence of scurf. Skip fresh manure on any bed with a scurf history.
Humidity drives the disease in storage and after rain. NC State notes infection progresses under high humidity in storage or after heavy rainfall in the field. A wet harvest followed by slow curing gives the fungus its best window.
Reused beds carry the highest risk. A bed that grew scurfy roots last year holds the fungus in soil and debris. A bed that grew clean roots holds less. Bed history is the best risk predictor a home gardener has.
Harvest timing adds risk on top of bed history. Digging in wet soil smears infected soil across clean roots. A slow start to curing leaves small harvest wounds open while the fungus is active. Dig on a dry day when the soil crumbles off the roots, and move the harvest to cure without delay.
1. Start With Certified Disease-Free Slips and Seed Roots
Start with certified disease-free slips and seed roots. This is the one purchase that matters, because scurf is cosmetic and no cure exists for an infected root. Money spent on sprays buys nothing once the fungus is established. Money spent on clean slips buys a clean bed.
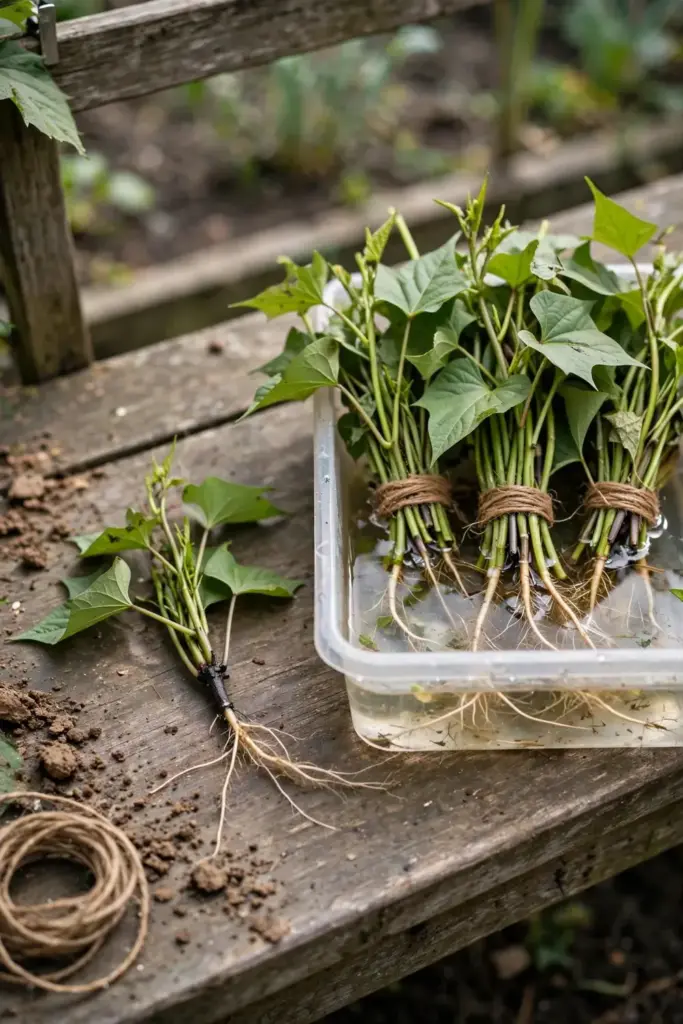
Buy from a supplier that certifies its stock. Inspect slips on arrival. Reject slips with dark lesions on stems or roots. When you bed your own seed roots, bed only roots that inspected clean. The NC State Extension scurf guide recommends certified seed for planting production fields.
A bed started clean costs the price of certified slips. A bed started dirty costs the season, plus 3 to 4 years of rotation to clear it. That is the cost and benefit in one line. Spend on the slips.
Certified means the supplier’s stock passed inspection for listed diseases. It does not mean the slips are sterile. Inspect certified slips on arrival anyway, and bed only the clean ones. Certification cuts the risk at the source. Inspection catches what certification missed.
2. Wet Seed Roots and Inspect Every One Before Bedding
Wet seed roots and inspect every one before bedding. Water makes scurf spots easier to see. Dry skin hides faint blotches.
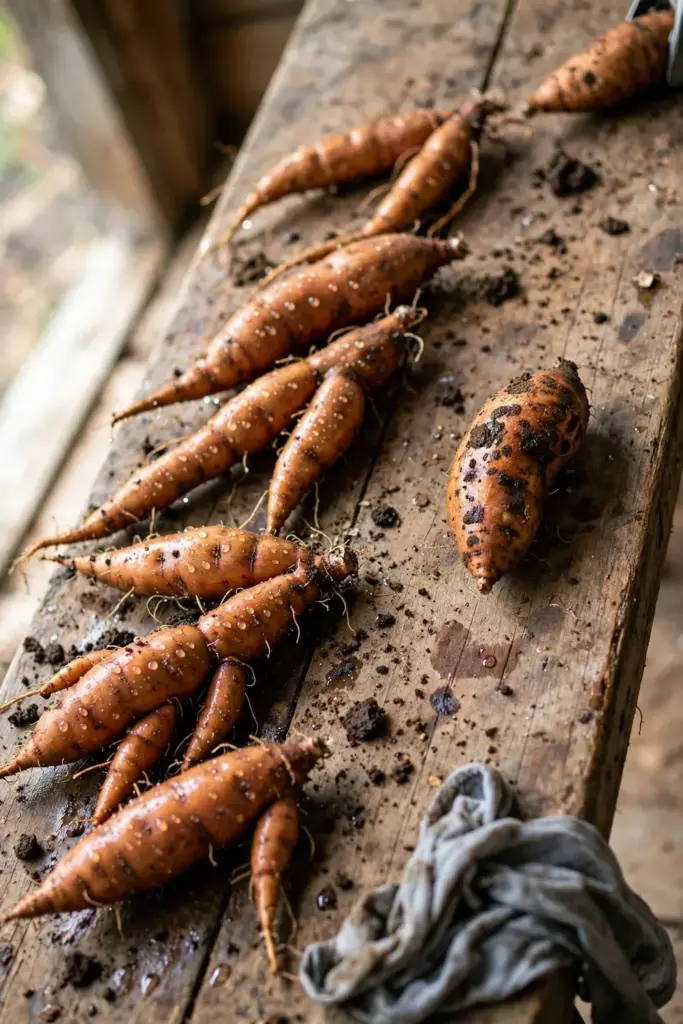
Spread roots on a bench and wet them. Turn each root under a bright light, and look for brown to black blotches, small spots, and merged patches. Set any marked root aside, and bed only clean roots. The NC State Extension scurf guide recommends wetting roots for exactly this reason.
Inspection takes minutes. It catches the one infected mother root that would seed a whole bed of slips. No later step recovers what a skipped inspection lets through.
3. Cut Slips at Least 1 Inch Above the Soil Line, Never Pull Them
Cut slips at least 1 inch above the soil line. Never pull slips. Pulling drags the slip through infected soil and carries the fungus with it.
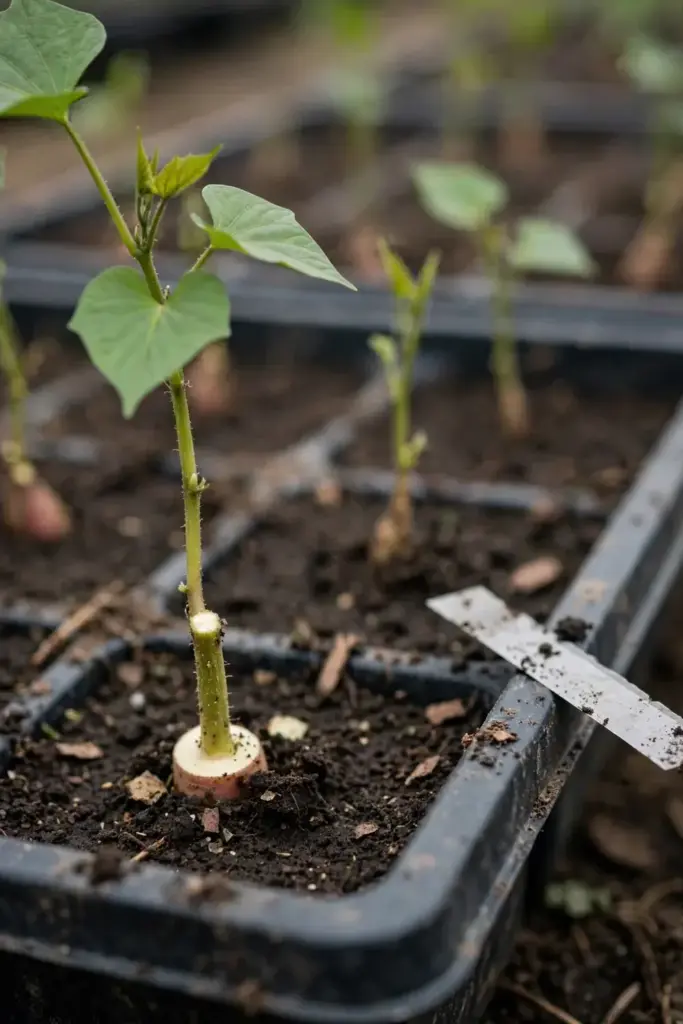
Use a clean knife. Cut each slip at least 1 inch above the soil line. The Penn State Extension scurf guide gives this 1 inch figure. Keep the blade off the soil. Wipe the blade between beds.
Pulled slips carry soil on their cut ends. Cut slips stay clean. The cut takes seconds longer. The season repays it.
4. Bed Slips Only in Clean, Problem-Free Soil
Bed slips only in clean, problem-free soil. A bed with a scurf history is not a bed for slips.
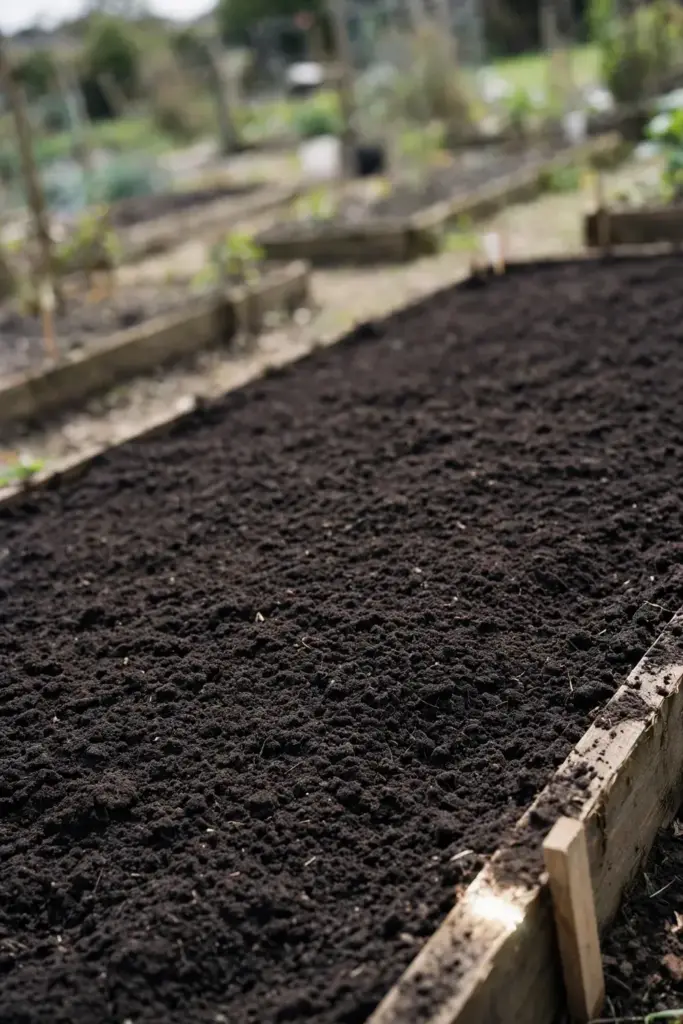
Use soil from a bed whose last sweet potato harvest came up clean. Build a fresh bed where no sweet potato grew for 3 to 4 years. Keep the bedding soil free of old vine debris. The Clemson Home and Garden Information Center states that seed roots should be bedded only in soil free of the pathogen.
Bedding is the bottleneck. Every slip in the bed passes through this one soil. Clean bedding soil protects the whole crop.
Problem-free has a concrete meaning. No sweet potato grew in that soil for 3 to 4 years. The last sweet potato harvest from that soil came up clean. No old vine debris sits in it. No morning glory grows at its edges. If a candidate bed fails any one of those four checks, pick another bed.
5. Rotate Sweet Potatoes Out for 3 to 4 Years
Rotate sweet potatoes out for 3 to 4 years. Rotation starves the fungus of its host.
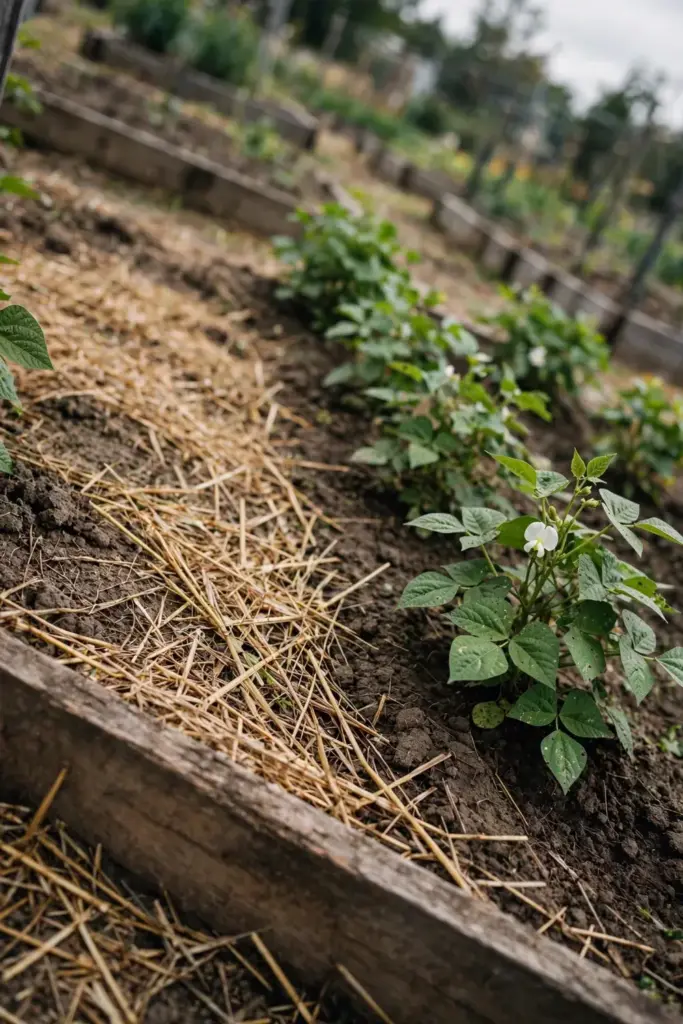
Keep sweet potatoes and morning-glory crops out of an infected bed for 3 to 4 years. The Penn State Extension scurf guide allows 3 to 4 years between crops, and Clemson gives a 3 to 4 year rotation. The fungus survives 1 to 3 years without a host, so a 3 to 4 year rest clears the top of that range.
Plant unrelated crops in the rest years. The crop rotation guide covers how to place those crops so the bed still earns its keep.
Never replant an infected bed the next season. A one-year break does not clear it.
6. Choose Light, Sandy, Well-Drained Beds and Skip Fresh Manure
Choose light, sandy, well-drained beds and skip fresh manure. Soil texture sets scurf risk before planting.
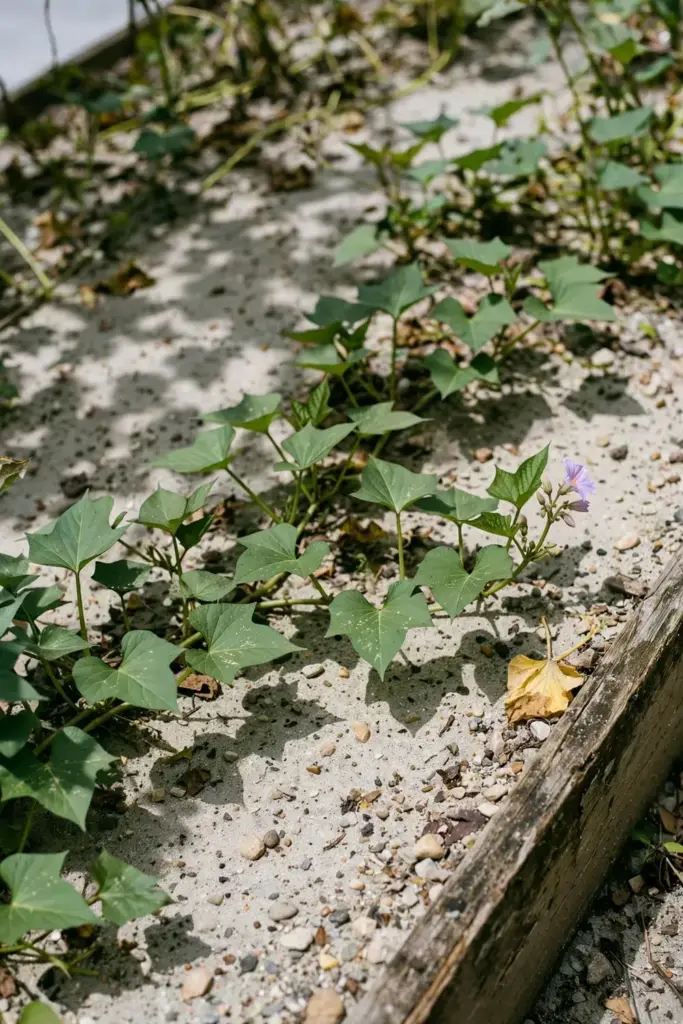
Pick the lightest, best-drained bed for sweet potatoes, since sandy soil shows less scurf while heavy, fine-textured soil shows more. Raise beds where drainage is slow. The soil health guide covers building beds that drain without drying out.
Skip fresh manure on any bed with a scurf history. Fresh manure and high organic matter increase scurf incidence. Feed the bed in a year when sweet potatoes grow elsewhere.
7. Pull Morning-Glory Weeds Before They Reservoir the Fungus
Pull morning-glory weeds before they reservoir the fungus, since wild morning glory hosts scurf.
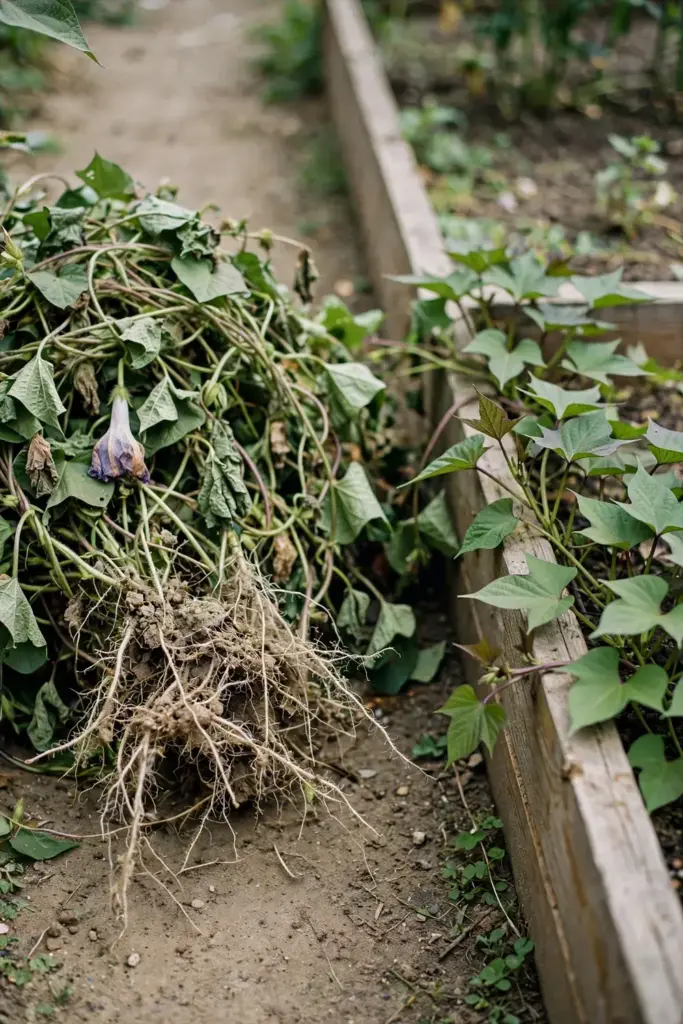
Walk the bed edges and the fence lines, and pull wild Ipomoea weeds, roots and all, before they flower and set seed. Keep the bed edges clean through the whole season, and check them again after rain.
The Penn State Extension scurf guide names morning glories as the other host in scurf’s narrow host range. A weedy edge undoes a clean rotation, because the fungus waits in the weeds.
8. Sanitize Tools, Bins, Crates, and Storage Areas
Sanitize tools, bins, crates, and storage areas. Soil and sap on a tool carry the fungus to the next bed.
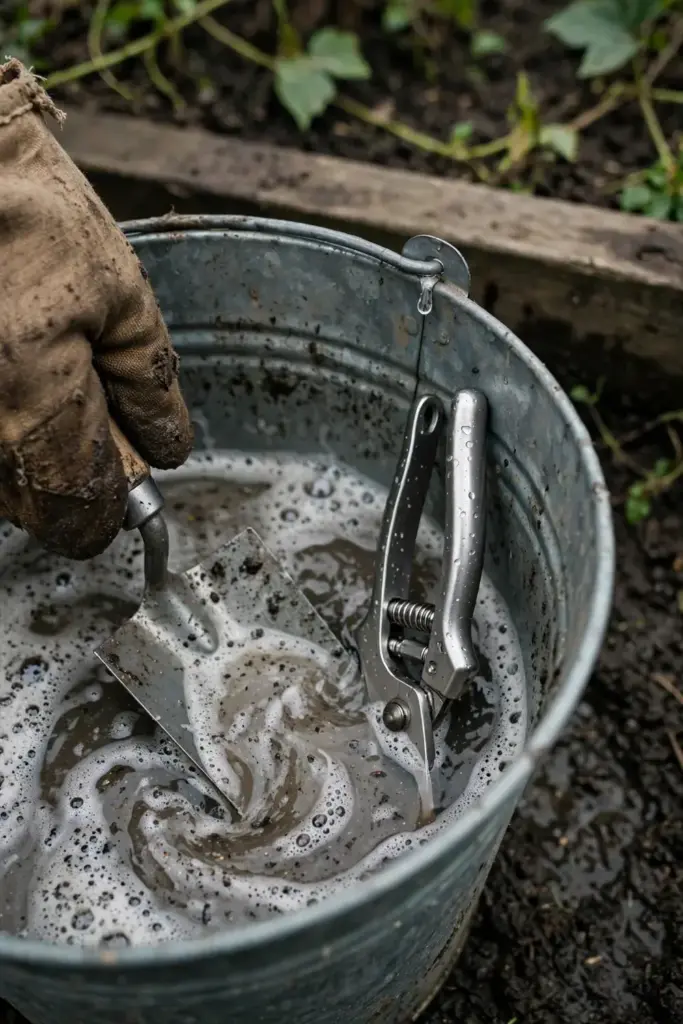
Scrub tools with soap and water after they touch an infected crop, wash bins and crates before the harvest goes in, and clean the storage area before curing starts. Dry everything before storage.
Sanitation is cheap. A dirty crate undoes a clean slip order. Make the wash part of harvest day, not a job for later.
Wash away from the beds. Do the scrubbing on a path or a driveway, where the rinse water runs off and dries, not back into a planting bed. Dump the wash water where sweet potatoes will never grow. The wash removes the fungus from the tool. The rinse water still carries it.
Keep suspect roots apart from clean roots from the moment they leave the ground. Use two crates at harvest: one for smooth roots, one for marked roots. Label the marked crate. The split takes no extra time, and it keeps a scurfy root from sitting against clean roots in the same crate on the way to curing. Clean roots that ride home in a crate of scurfy roots pick up spores on their skin. The two-crate habit is the harvest version of the wet inspection.
9. Handle Roots Gently, Cure Promptly, and Store Cool and Humid
Handle roots gently, cure promptly, and store cool and humid. Gentle handling keeps the skin intact. Curing heals small wounds. Cool, humid storage slows the fungus.
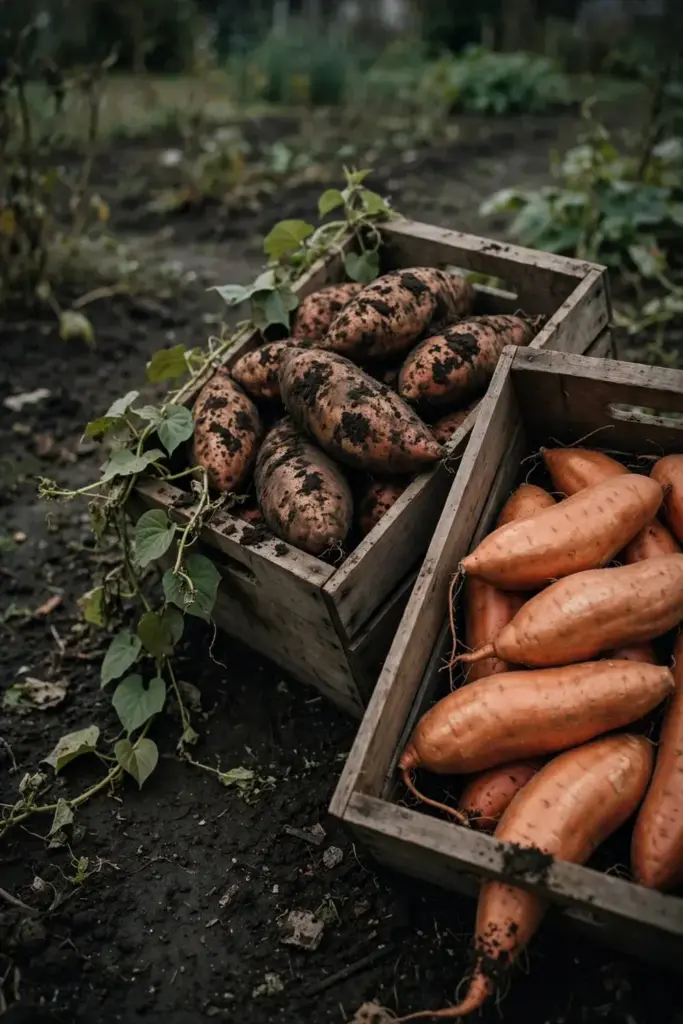
Avoid bruising roots at harvest, since bruises open the skin to infection. Cure promptly at 80 to 85 degrees Fahrenheit. Hold storage at 55 degrees Fahrenheit or above, never below it, with relative humidity at 85 to 90 percent, per the Penn State Extension scurf guide.
Dig on a dry day when the soil is workable. Move roots to cure without delay. A small warm room holds curing temperature for a home harvest. Check the thermometer twice a day. Move roots to cooler storage once the skin sets and small wounds heal. Storage checks matter. Look through stored roots every week or two. Pull any root that softens or rots. Use scurfy roots first, before their lesions spread in humid storage.
10. Use Badly Marked Roots First and Never Bed a Scurfy Root
Use badly marked roots first and never bed a scurfy root. A marked root cooks fine today and seeds a diseased bed tomorrow.
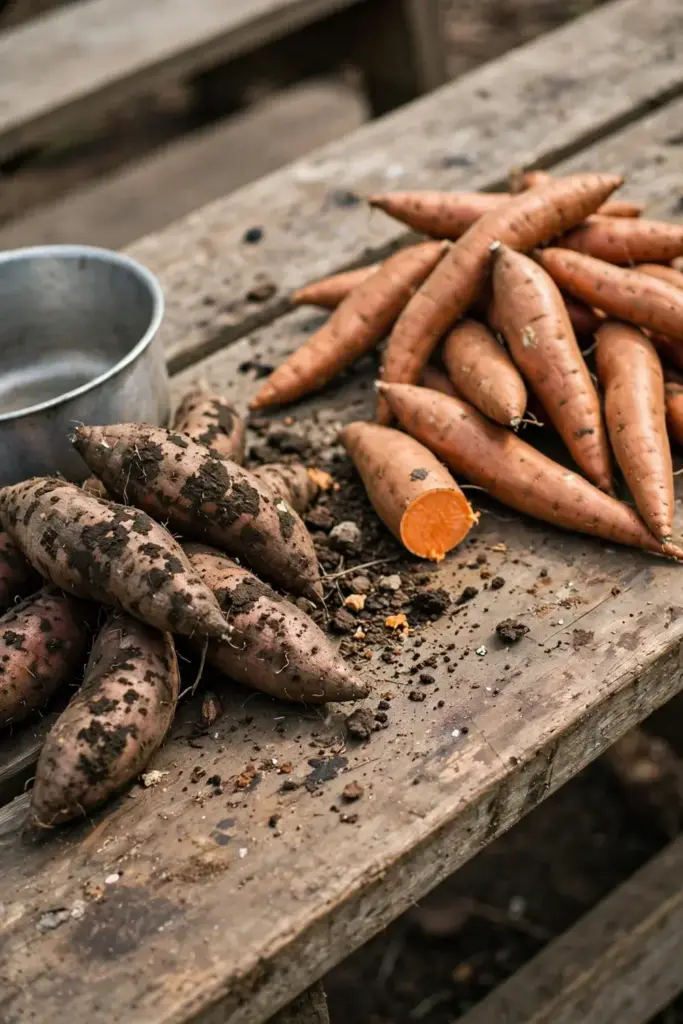
Sort at harvest. Set firm, smooth roots aside for seed. Cook the marked roots first. Peel them, check the flesh, and cook the sound flesh as usual.
Never bed a root with scurf blotches for slips. Never toss cull roots into a future sweet potato bed. Bag lesioned culls for the trash. A cull pile beside the bed keeps the fungus within reach of next year’s crop.
Living With Scurf on Roots You Already Harvested
Scurfy roots from this year’s harvest are still food. Peel them. The flesh under the blotch stays sound. Scrape or peel the skin, cook the flesh as usual, and eat it.
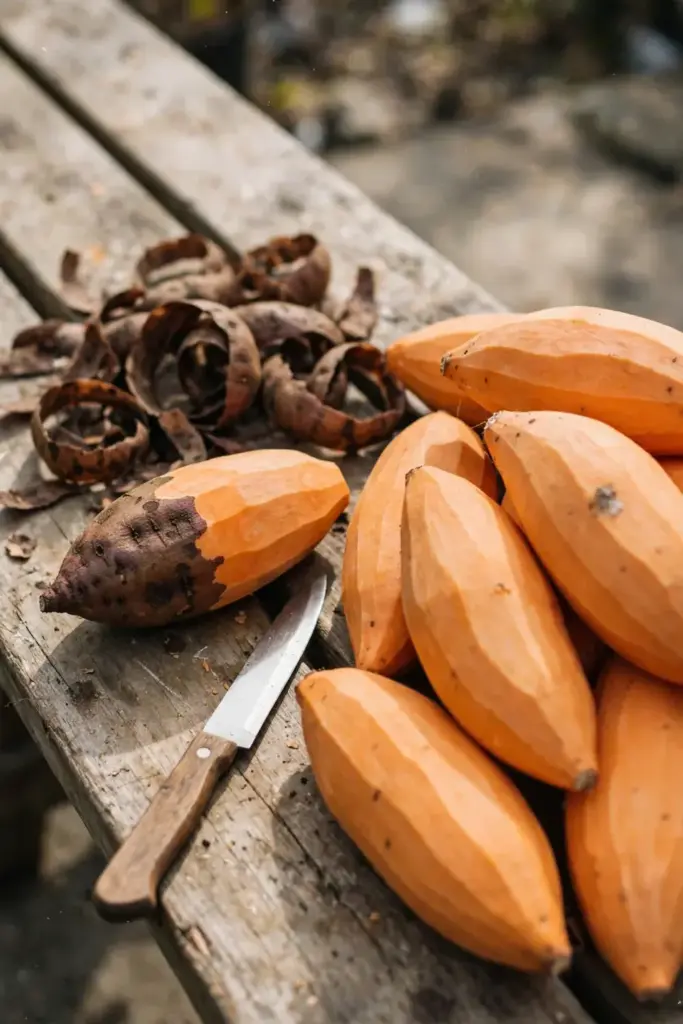
Use marked roots first. Scurfy roots lose water faster in storage, shrink, and crack. They keep worst. Cook them in the first weeks. Save smooth roots for long storage. A root that shows blotches only after weeks in storage still cooks fine. Peel it, check the flesh, and cook it first.
Do not compost infected roots or vines. Bag them, put them in the trash, and remove all plant debris after harvest. Clemson lists debris removal as part of sweet potato disease prevention. Composting returns the fungus to the garden.
Plan next year now. Order certified slips. Map the rotation. Mark the infected bed on paper so spring does not plant sweet potatoes back into it. The how to grow sweet potato guide covers bedding slips and harvest timing for a healthy crop.
Frequently Asked Questions
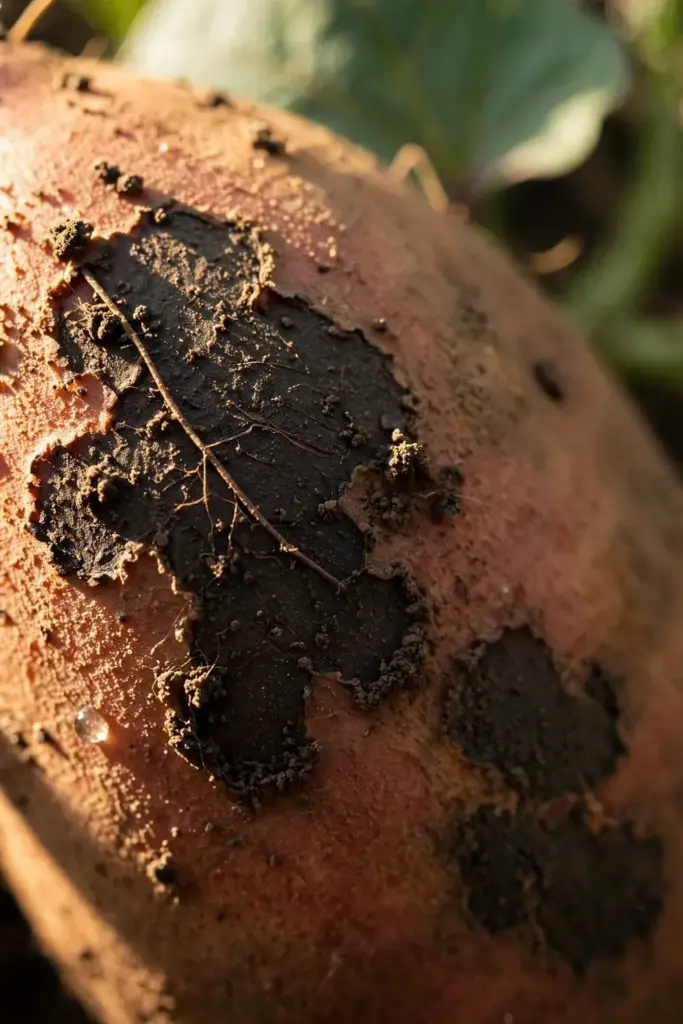
Yes. Scurf stays in the skin, and the flesh under a scurf blotch stays sound. Peel or scrape the skin, then cook the flesh as usual. The fungus does not affect eating quality. Use scurfy roots first, since they lose water faster in storage and shrink. Discard any root that feels soft, smells off, or shows dark flesh under the skin, since those signs point to a different rot.
Yes, under humid conditions. Scurf lesions keep enlarging in storage, and the fungus can spread from infected roots to healthy roots stored beside them when humidity runs high. Keep stored roots cool, ventilated, and dry on the surface. Check the bins every week or two. Pull any root that softens or rots. Cook marked roots first so they leave storage before the fungus spreads.
It can. The fungus survives 1 to 3 years in soil without a host, so a bed that grew scurfy roots last year can infect next year’s crop. Rotate sweet potatoes out of that bed for 3 to 4 years. Start the next crop from certified slips, and inspect seed roots wet before bedding. Clean planting material matters more than the bed’s history, but rotation plus clean slips together give the best odds.
No. Sweet potato scurf attacks sweet potato and comes from Monilochaetes infuscans. Potato black scurf attacks regular potato, Solanum tuberosum, and comes from Rhizoctonia solani. The two diseases share a word, not a pathogen or a host. Advice written for potato black scurf does not apply to sweet potatoes, so check the botanical name before following any growing advice.
No. Bag infected roots and vines and put them in the trash. Composting returns the fungus to the garden, and the fungus would ride along to the next bed. The same rule covers cull piles left beside the bed. Clear the bed fully at harvest. Wash the tools, bins, and crates that touched the crop before they touch a clean bed.
Where to Go From Here
Walk the bed at harvest. Dig 1 root, peel it, and check the flesh. That one test separates scurf from the rots that matter.
Plan next year now. Certified slips, a wet inspection, cut slips, clean bedding soil, and a 3 to 4 year rotation beat any rescue spray. Scurf is a skin disease with a sanitation answer.
Start with the skin. End with a rotation plan.