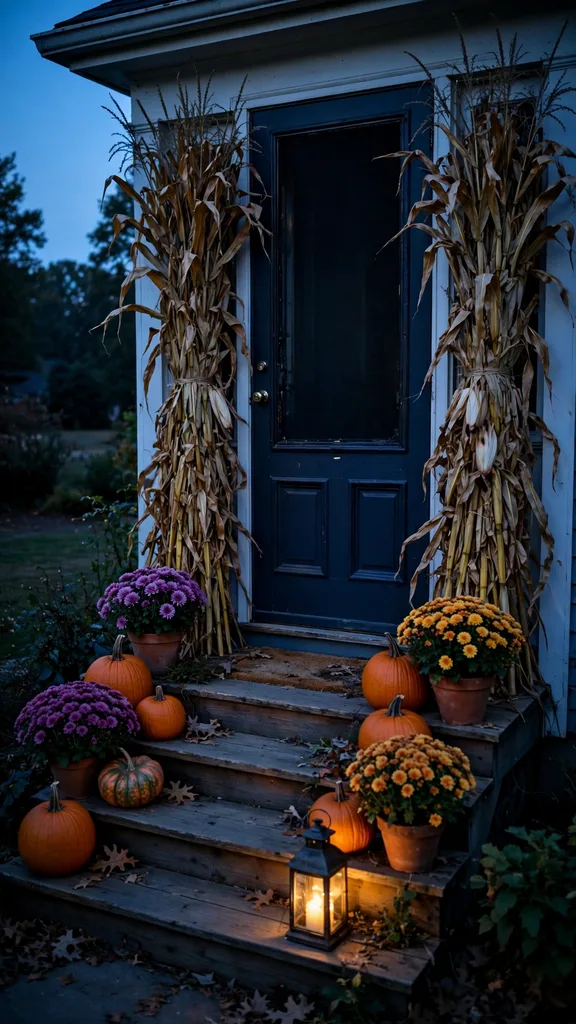

Every farm stand sells the same bundle: five dried corn stalks tied with twine, priced for one season of porch duty. Corn stalk porch decorations get cheaper and better when the stalks come out of your own garden row, cut at the right dryness and cured under cover before they ever meet the porch.
This list runs the full job. The first five items grow and dry the stalks. The next six tie them into the classic bundles, columns, and urns. Six more style them with the pumpkins, mums, and lanterns already on the porch. The last four keep the display standing through wind, rain, and nesting birds until Thanksgiving dinner is over.
I grow one short row of ornamental corn every year for exactly this job, and the porch costs me a packet of seed and one October afternoon.
| Porch Spot | Style From This List | Stalks Needed | Setup Time |
|---|---|---|---|
| Front door | Tied bundle, item 6 | 5 to 7 | 10 minutes |
| Porch column | Full wrap, item 7 | 10 to 14 | 25 minutes |
| Urn or planter | Anchored bundle, item 8 | 5 to 7 | 15 minutes |
| Mailbox post | Slim bundle, item 9 | 3 to 5 | 10 minutes |
| Railing | Woven garland, item 14 | 8 to 10 | 30 minutes |
Grow and Dry Your Own Stalks
1. Grow Ornamental Corn for Tall, Straight Stalks
Sow ornamental corn in a block of short rows once the soil warms in spring. A block pollinates evenly, so the ears that later dry on the stalk fill out full. Give the patch full sun and steady water while the plants run up. Seed catalogs list ornamental corn at 90 to 110 days from sowing to maturity. The same listings put tall field types at 1.8 to 2.7 m, the height range that suits porch work.
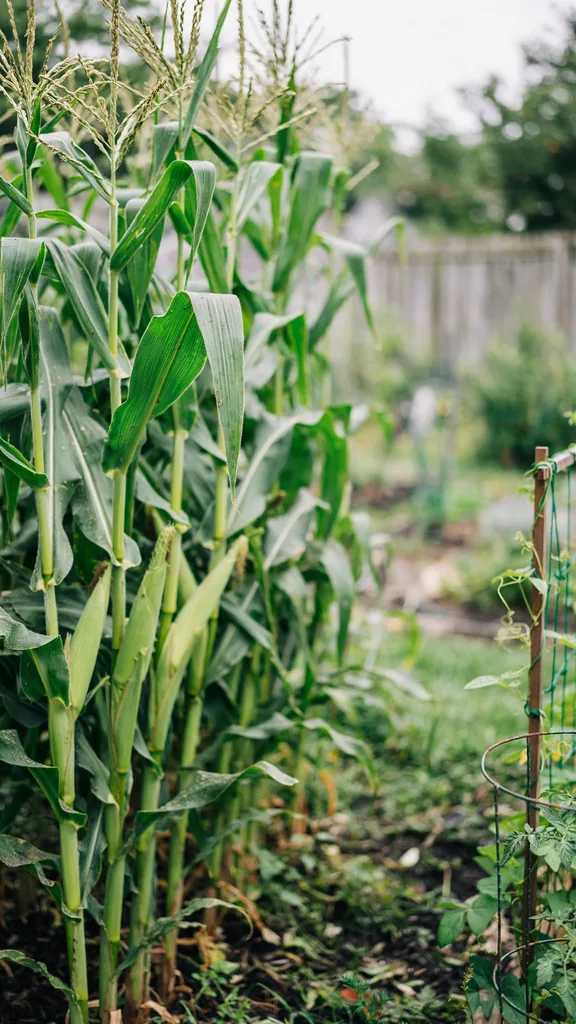
Leave the plants standing after the ears ripen. The stalks finish drying on the plant until the husks turn brown and papery. Harvest too early and the stalk core still holds moisture that feeds mold in storage. Walk the patch weekly from late summer and squeeze a husk on several plants. A dry husk crackles and pulls away clean. That crackle, repeated across the patch, marks the start of cutting.
2. Cut Stalks at the Right Dryness Stage
Cut each stalk at the base with loppers or a folding pruning saw. Cut on a dry morning, after the dew lifts, so the stalks go into the curing pile without surface water. Take the whole stalk in one cut close to the ground. A ragged stump tears fibers and slows drying at the butt end. Carry the stalks out flat on both arms to keep the dry leaves from shattering.
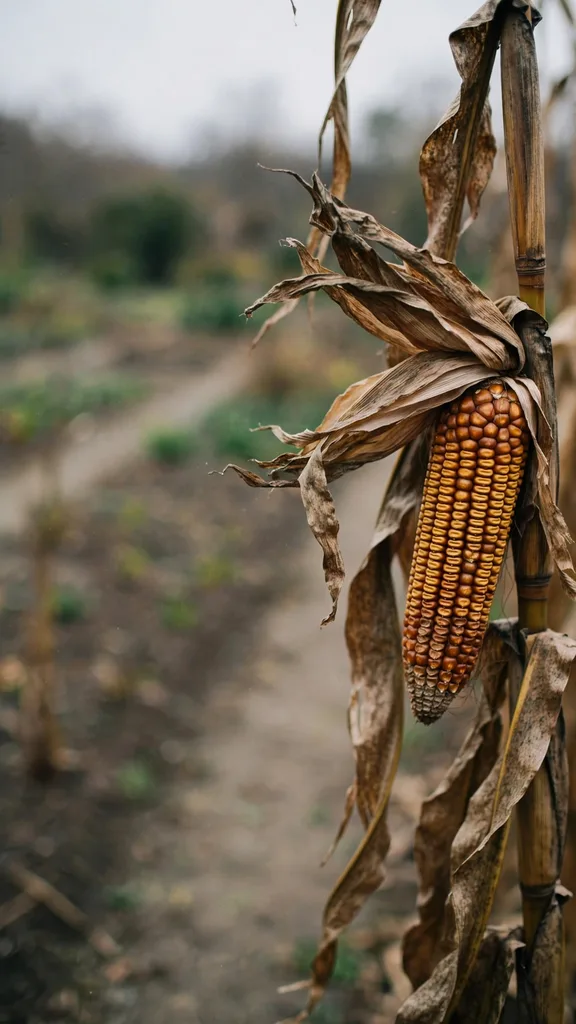
Judge dryness by husk and kernel. A ripe husk is brown, dry, and loose around the ear. A ripe kernel is hard and dented, and a thumbnail pressed into it leaves no milk. Wait for a run of dry days before cutting a large batch. Stalks cut at this stage cure fast and hold their shape on the porch. Stalks cut green bend, sour, and stain the bundle from the inside. South Dakota State University Extension uses the same dryness test for ornamental corn harvest: husks fully dry and kernels hard before anything comes off the plant.
3. Cure the Bundle So It Lasts All Season
Stand the cut stalks upright under a roof where air moves through them. A carport, barn aisle, or covered porch corner works while the bundle cures. Space the stalks so leaves on one stalk clear the next. Curing takes 7 to 14 days under ventilated cover. The cure pulls down the moisture left in the stalk core, and that lower moisture is what blocks mold during the display weeks.
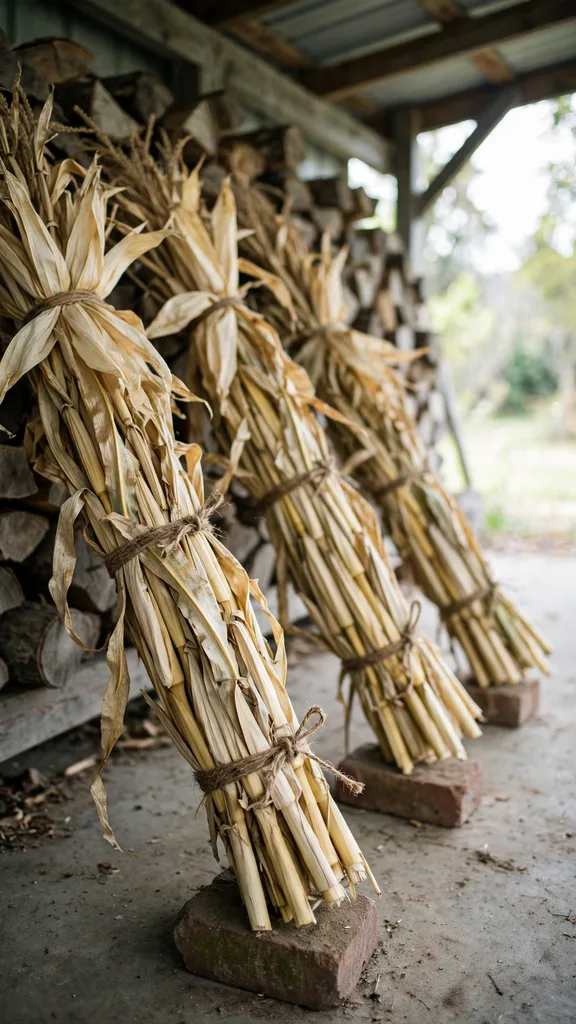
Turn the bundle once during the cure and strip any leaf that turns black or smells sour. A sour smell means trapped moisture, usually where two wet stalks pressed together. Finished stalks feel light for their size and the leaves rustle when the bundle moves. A stalk that still bends like a green stem goes back for three more days. Display only fully cured stalks against the house. Iowa State University Extension holds harvested ornamental corn in a dry location for 2 to 3 weeks before peeling the husks back. Porch bundles cure at the short end of that window, because the stalks finish most of their drying standing on the plant.
4. Strip, Sort, and Grade Stalks by Height
Strip the loose, torn, and soil-splashed leaves from each stalk; keep the clean upper leaves and the husk in place. Grade the cleaned stalks into piles by height. Display stalks run 1.8 to 2.7 m before trimming. The tallest and straightest stalks go to door flanks and columns, mid height stalks suit the garage frame and the mailbox, and short or crooked stalks go to the urn and the topiary.
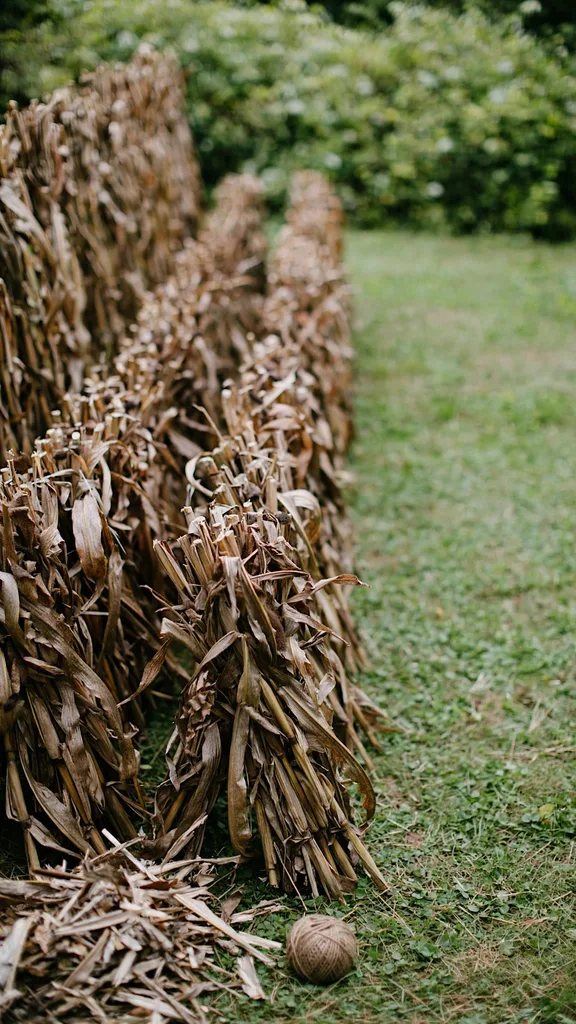
Trim the graded stalks to porch scale with loppers. Porch displays take cut lengths of 1.5 to 2.1 m. Cut from the butt end and keep the tapered top intact, since the tassel end carries the harvest look. Restack each pile after trimming and tie a scrap of twine around every pile. With the yard graded first, bundle building turns into assembly work, and no sorting happens at the steps.
5. Store Spares Without Mold or Mice
Store spare cured stalks off the ground on a lumber rack or across two sawhorses in a dry shed. Air must reach the stalks from below as well as above. A bundle laid flat on a concrete floor wicks moisture through the slab and molds at the contact line within two weeks. Keep the storage pile away from bagged feed and seed. Stored stalks stay sound through the season in a dry, aired shed.
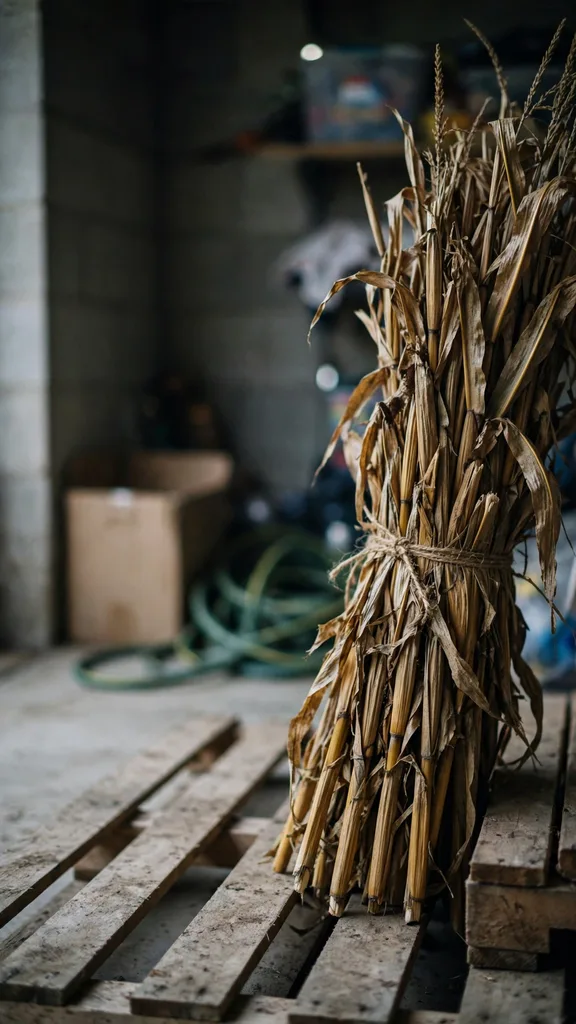
Pull the ears off stored stalks in any yard with active mice. A dried ear on a stored stalk is a stocked pantry at mouse height. Check the pile weekly for nests, droppings, and shredded husk. A weekly check catches a nest while it is still one handful of husk in one corner. Sweep out any pile that shows droppings and restack the clean stalks in a new spot. Classic Bundles and Columns
6. Flank the Front Door With a Tied Bundle
Build one bundle per side of the front door. A display bundle takes 5 to 7 stalks. Lay the stalks parallel with the butt ends level, then tie the bundle with twine at 2 to 3 points along its length. The lowest tie sits 20 cm above the butt ends. Tight ties at level heights keep the bundle reading as one column of stalks at the door.
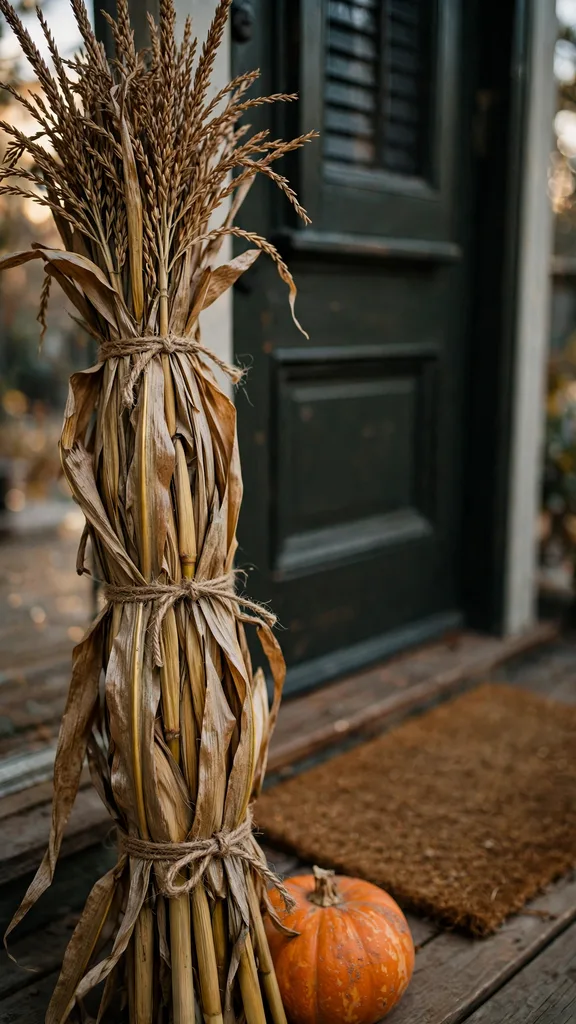
Stand each bundle against the wall and fix the top tie to a screw eye or the door trim with a short loop of wire. An unfixed bundle walks forward on its butt ends and tips across the step within the first windy night. Fan the tassel ends outward at the top tie. Check both bundles from the street. Level tops on both sides frame the door cleanly.
7. Wrap a Porch Column in Stalks
Stand stalks upright around a porch column and lash them in place at the top, middle, and base. A single column takes 10 to 14 stalks for full cover, set shoulder to shoulder around the post. Push the butt ends tight to the column foot so the wrap reads as one thick trunk. Keep every tie on the back face of the column where the knots stay out of the photograph.
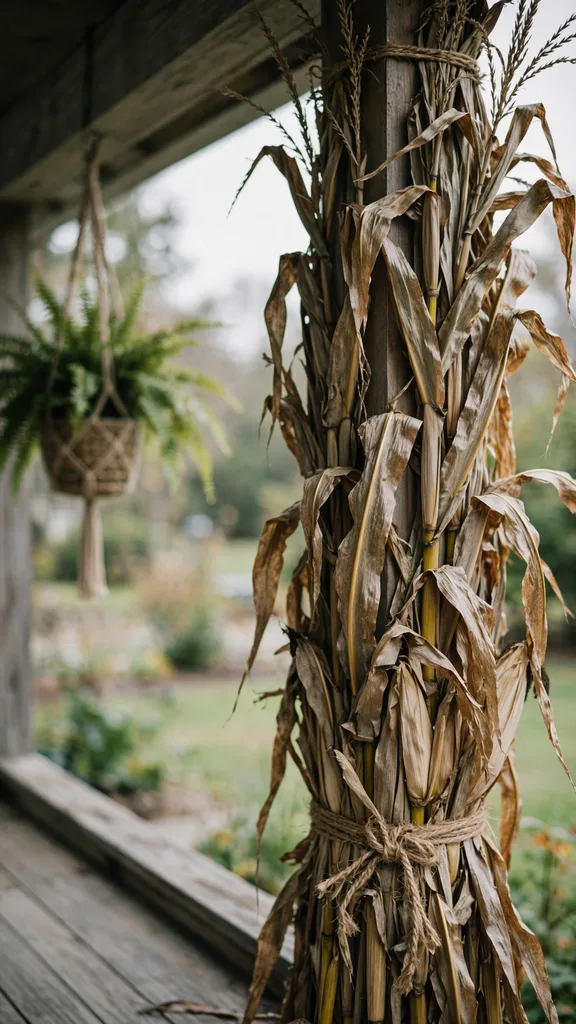
Fan the top third of the wrap outward so the tassels clear the porch roof edge, because stalks that rub the edge shed dry leaf onto the steps all season. Twist each tie tight and tuck the twine ends inside the wrap. A loose middle tie lets the whole wrap slump into a cone by the second week. Sight down the column from the yard. A straight outline means the wrap is even.
8. Anchor a Bundle in a Heavy Urn
Set the bundle in a heavy urn where a wall tie is impossible, at a stair foot or a column base. Fill the urn a third full of gravel or sand before the stalks go in. The ballast drops the center of gravity below the urn rim. Pack more gravel around the butt ends until the bundle stands plumb and resists a firm push. A light urn tips in the first storm.
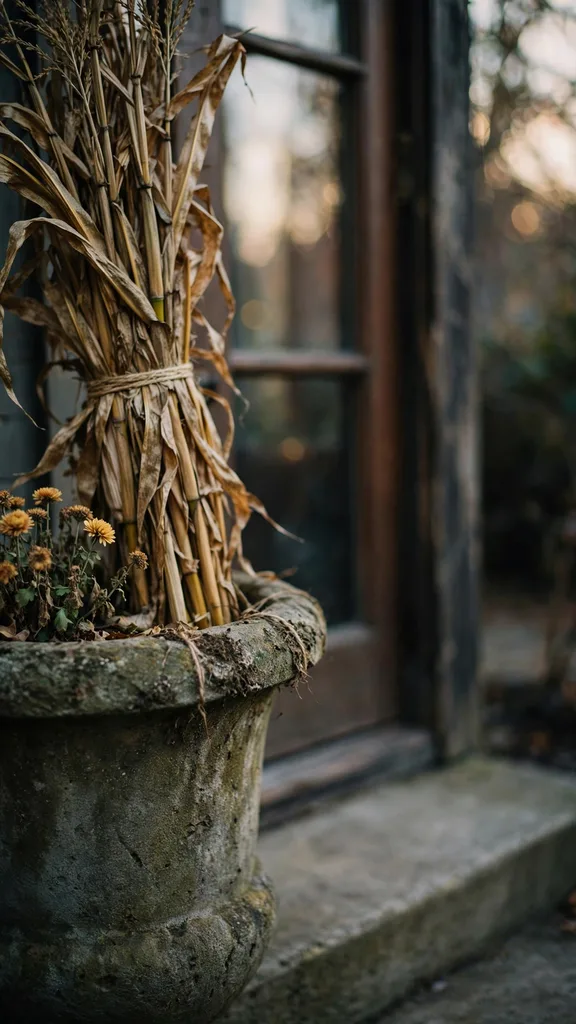
Choose an urn with a wide mouth and a wider base. Narrow mouths force the stalks into a tight spike that reads thin from the street. Raise short stalks on a brick inside the urn so their tops match the bundle height beside the door. Drainage matters here too. An urn that holds rainwater rots the butt ends in place, so drill the base or tip the urn after storms. A stalk-filled urn pulls double duty at the entry, and the same heavy vessels carry the mums and gourds in the thanksgiving planter ideas built from garden produce.
9. Dress the Mailbox Post
Tie a slim bundle of 3 to 5 short stalks to the mailbox post. A mailbox sits at the road, far from the shelter of the porch roof, so this bundle takes the worst weather on the property. Use the shortest graded stalks and tie at three points, top, middle, and base. Keep the stalks on the house side of the post. Stalks on the road side shred under passing traffic wash.
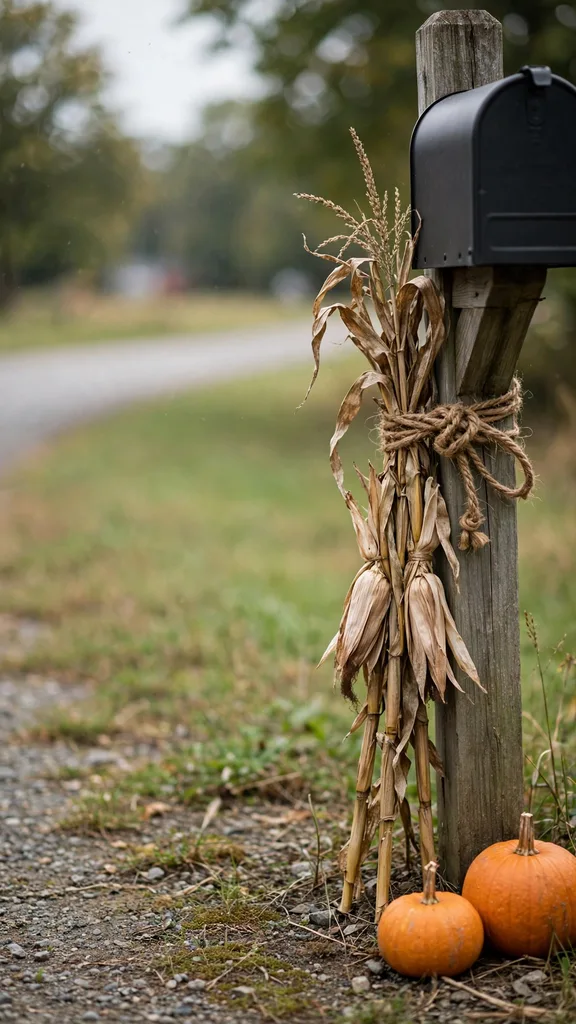
Leave the mailbox door swing and the house numbers fully clear. A carrier who fights stalks to reach the box leaves the bundle on the ground. Let the tassel tops stop below the box itself. Rain runs off the box lid onto the bundle, so expect this display to fade first and plan a spare slim bundle in storage. Swap the spare in before Thanksgiving week.
10. Line the Garage Door Frame
Stand a tall bundle at each side of the garage door frame to carry the porch display out to the driveway. Garage frames take the tallest graded stalks, cut to 1.8 to 2.1 m so the tassels clear the open door arc. Tie each bundle to the frame trim with wire at two heights. The tied pair pulls the whole frontage together as one sight line.
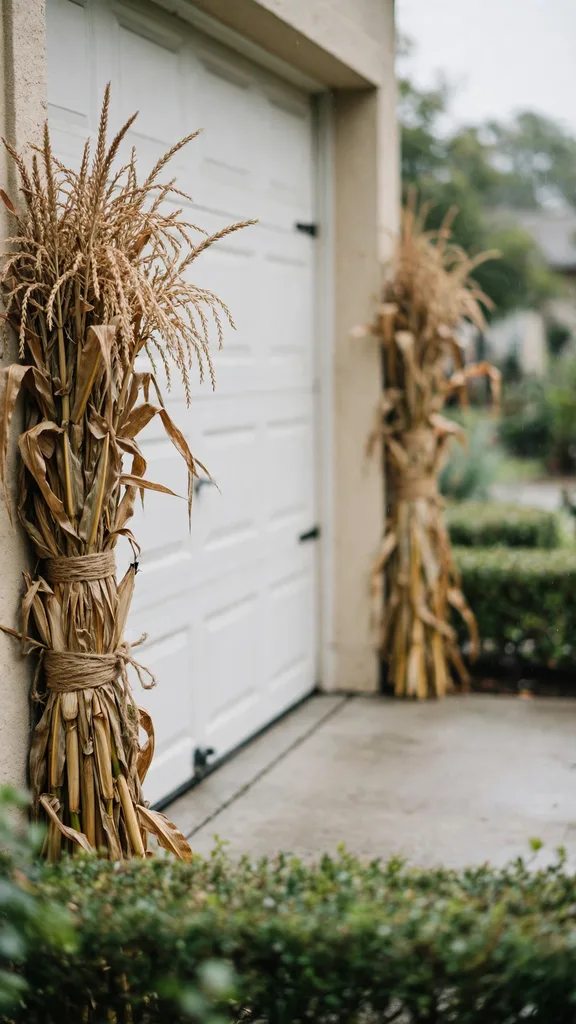
Keep stalks clear of the door tracks, the safety sensors, and the seal at the frame base. A stalk end in the track jams the door and bends the panel track on the next cycle. Test the door through two full open and close cycles after tying each bundle. Check the bundles weekly for lean, since the driveway side takes wind funneled between houses. A leaning bundle re-ties in five minutes.
11. Build a Corn Stalk Topiary
Build a topiary on a tomato cage or a cone of welded wire set in a heavy pot. Stand short stalks upright around the cage with the butt ends in the pot and the tassels up. Tie the stalks to the cage rings at three heights. The cage carries the shape, and the stalks carry the texture. Fill gaps with single stalks until no wire shows from the street side.
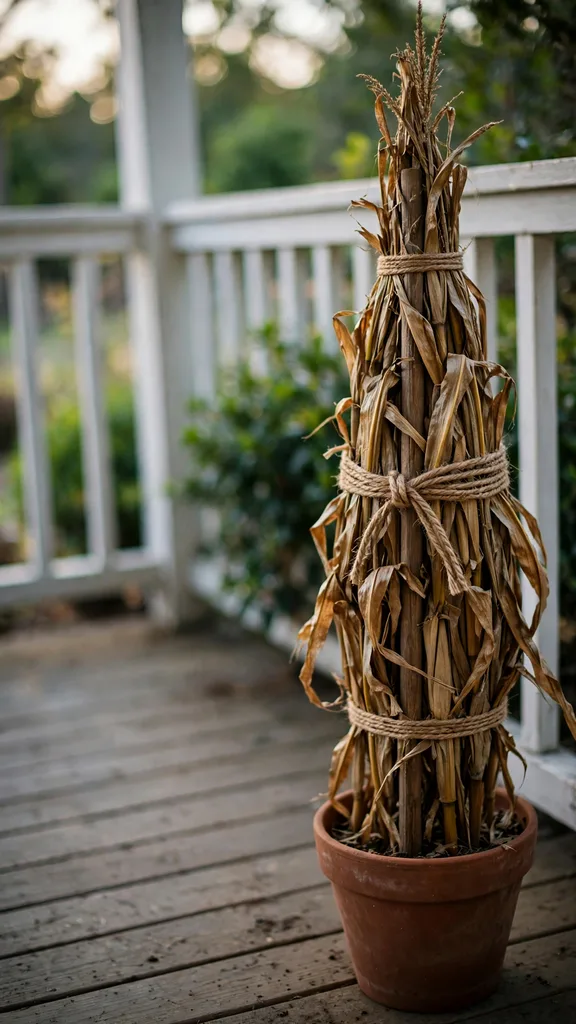
Trim the tassel tops level with shears once the cone is full. An even top reads as a shaped plant from the road, while ragged tops read as a bundle in a pot. Pack sand or gravel around the butt ends inside the pot so the cone stands through wind. Set the finished topiary at a step corner or beside the mailbox. A topiary that rocks on its base needs more ballast.
Styled Compositions
12. Pair Stalks With Mums in Galvanized Buckets
Stand a bundle of five to seven stalks in a galvanized bucket at each side of the steps. The bucket hides the twine ties and holds the stalks upright without stakes. Set two potted mums in front of each bucket at ground level. The stalks carry the vertical line; the mums put a block of color at the base. Keep the mums in their nursery pots so the whole arrangement lifts away in minutes at season end.
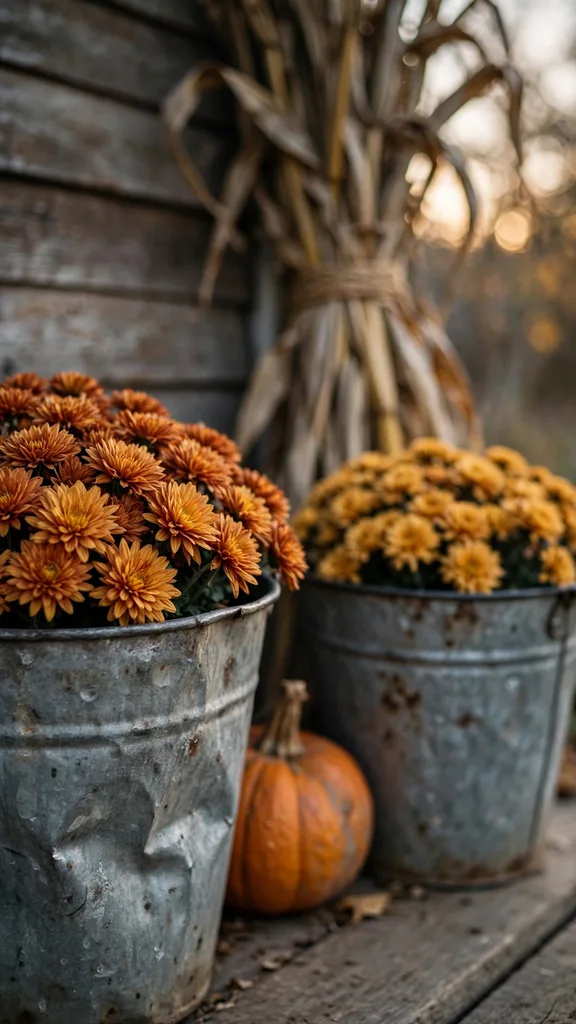
Choose mum colors against the tan of dry stalks. Rust, bronze, and deep gold read clearly from the street. White mums brighten a shaded entry where colored blooms go flat. A bucket 25 to 30 cm across grips a full bundle without crowding the stems. Drop a brick or a layer of gravel into the bucket base before the stalks go in. The hidden weight stops the bucket tipping when gusts catch the dry leaves.
13. Stack Stalks With Pumpkins and a Hay Bale
Set one hay bale flat beside the front door with its long side facing the street and its twine running vertical, so the top face stays smooth. Tie a bundle of stalks to the porch post directly behind the bale. The bundle rises from behind the bale and frames its top edge. The bale becomes a shelf at knee height. Pumpkins rest on it without rolling and stay off the damp porch floor.
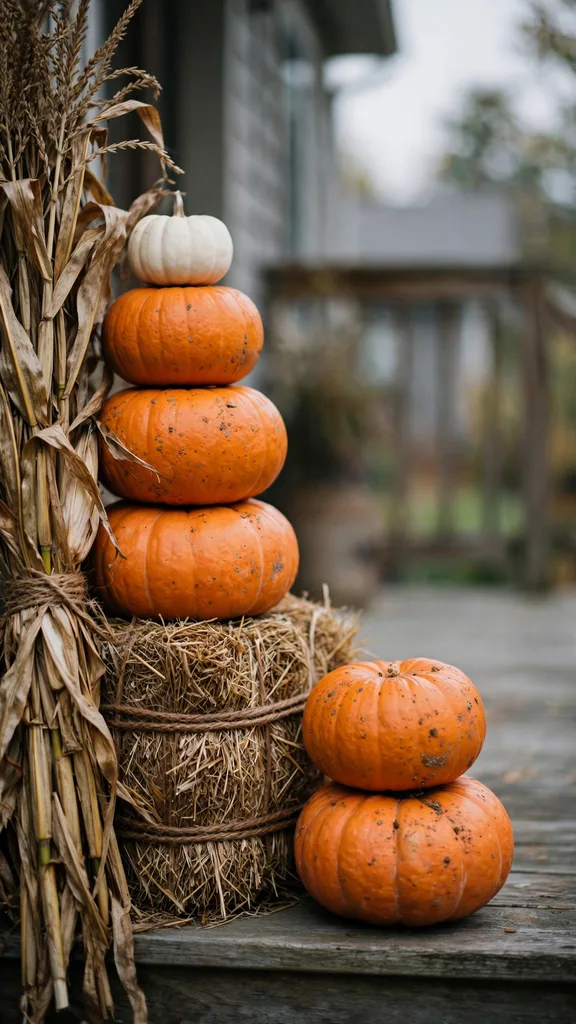
Stack pumpkins in a rough triangle across the bale top. Put the heaviest pumpkin at the base and smaller ones above it. Flat-bottomed fruit stacks safely and stays put in wind. Fill the gaps at the bale corners with dried ears or small gourds. Keep the pumpkin stack below the midpoint of the stalk bundle. The eye reads stalks first, pumpkins second, and the bale as the ground line of the whole arrangement.
14. Weave a Corn Stalk Garland for the Railing
Lay stalks horizontally along the top rail to build the garland. Overlap each stalk with the next by 30 cm. Lash the line to the rail with twine at every baluster or every 30 cm of run. The dry leaves fan out along the rail and give the garland its fullness. A single layer reads as a trim line. Two layers read as a full swag.
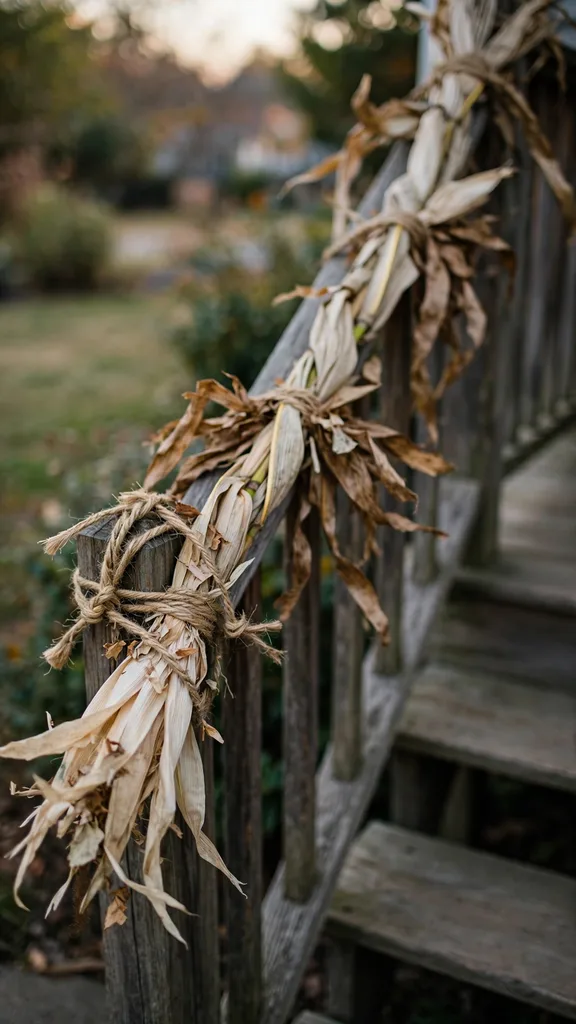
Work from the post outward so the overlaps face away from the steps. Loose leaf blades shed onto the walkway during the first week. Sweep the walkway daily until the shedding stops. Check the lashings after the first hard rain. Wet twine stretches and a loaded garland sags between its ties, and one extra tie at each sag point restores the line. The garland lasts the full season when it hangs under the porch roof edge.
15. Light the Entry With Lanterns at the Base
Set one lantern at the base of each bundle on the porch boards, at least 30 cm out from the stalks. At dusk the entry reads as two lit columns, the bundles flanking the door with their leaves catching the last gray light. Light climbs the stalks from below and throws leaf shadows across the door. The glass panels hold the glow steady in moving air, and from the street the whole entry reads as a framed doorway of light and dry leaves.
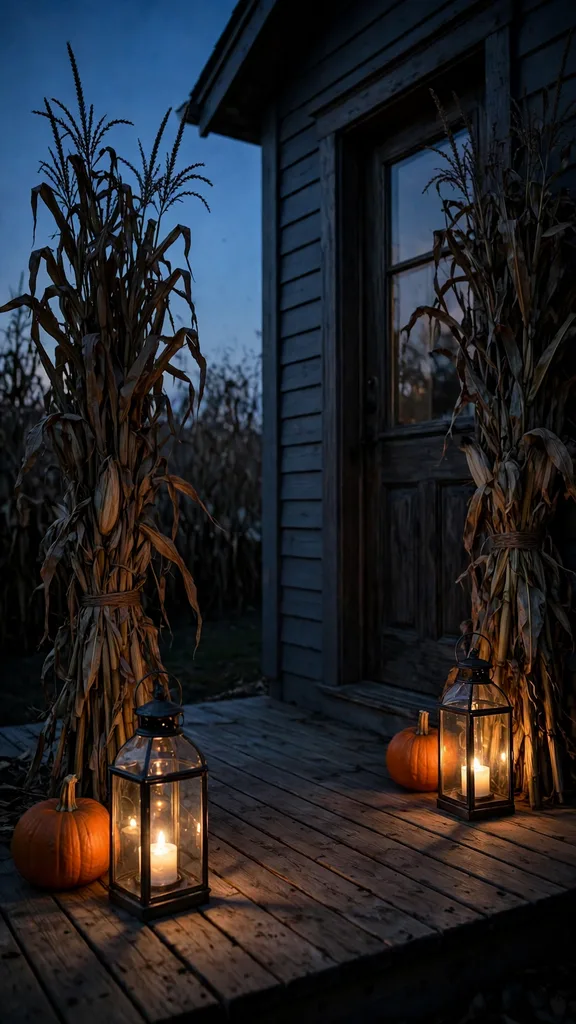
Add a third lantern on the top step. The triangle of light leads the eye to the door handle. Use enclosed lanterns with LED candles beside dry stalks. Dry leaves ignite fast, and an open flame has no place inside a bundle. Switch the lanterns on at dusk and the display works until the last guest leaves. Lantern spacing here follows the entry lighting used across the thanksgiving entryway decor schemes for the door and steps.
16. Stand a Scarecrow Against the Stalks
Lean the finished scarecrow against the stalk bundle at the side of the entry. The bundle takes the figure’s weight and hides its support from the street. Set the figure at a slight angle to the door; angled, it reads as a character in a scene. A scarecrow seated on the hay bale works the same way at sitting height. The stalks rise behind either pose and close the backdrop.
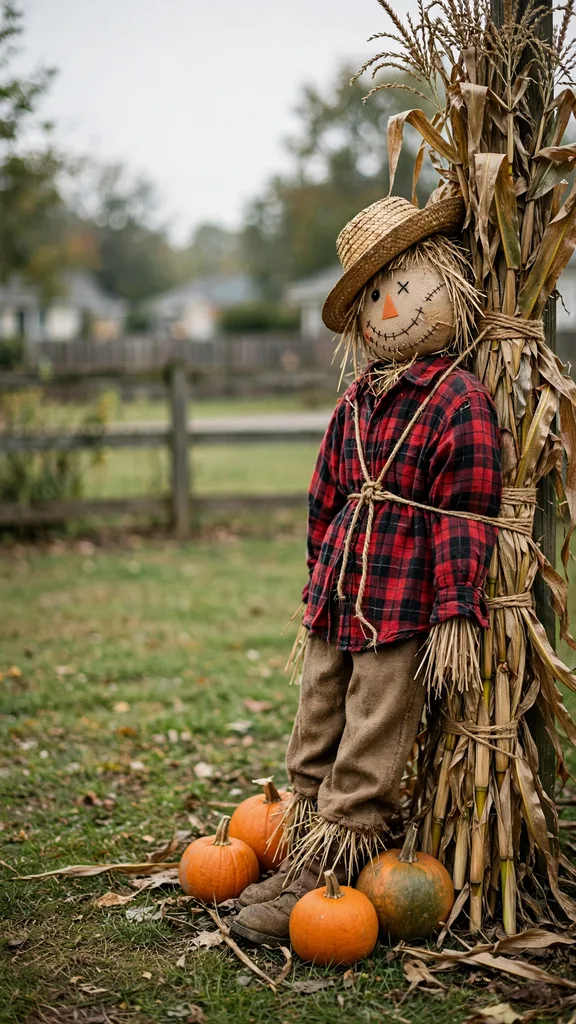
Keep the figure shorter than the bundle behind it. A standard bundle cut to 1.8 m towers over a seated or standing figure of porch scale. Tie the figure’s back support to the same post that carries the bundle. One shared anchor holds both pieces in wind. Leave the walkway fully clear in front of the composition. Guests brush past dry leaves in a narrow passage and pull blades loose with every pass.
17. Frame the Porch Swing or Bench
Stand one short bundle at each end of the porch swing or bench, cut to 1.5 m so the leaves stop below the porch ceiling line. The pair frames the seat the way the door bundles frame the entry. A folded throw and two pumpkins on the seat complete the middle of the composition. The stalks mark the edges; the seat stays the center of the picture from the street.
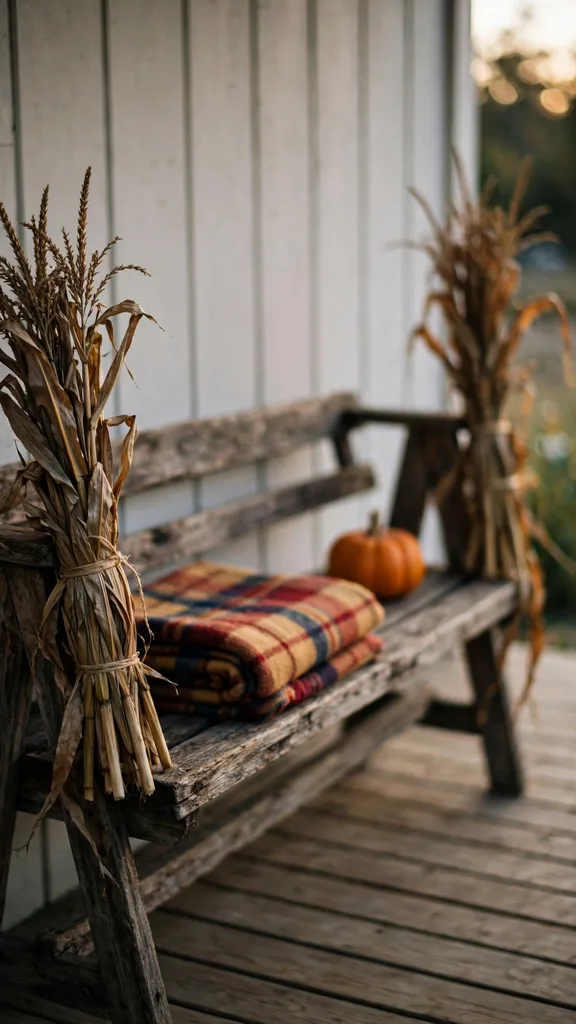
Tie each bundle to the porch post or the wall behind the seat. Never tie a bundle to the swing frame or its chains, because a loaded swing pulls a light bundle over within one evening of use. Keep leaves at least 20 cm clear of the swing’s travel path, since loose blades catch on clothing and tear free. The composition holds all season: the seat swings free and the bundles never move. Keep the Display Standing
18. Anchor Bundles Against Wind
A dry bundle weighs little and catches wind across its full leaf area. The first October storm tests every porch display. Tie each bundle to a post, railing, or column at two heights. Place one tie near the base and one at two thirds of the stalk height. Two ties stop the bundle rocking in its anchor. A rocking bundle works its ties loose within days and falls across the steps.
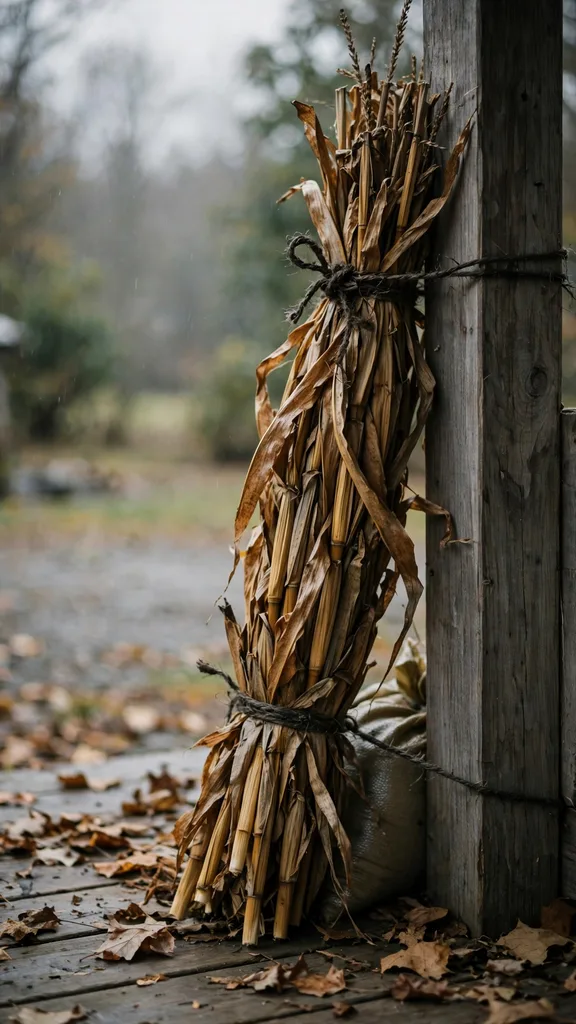
Weight the base of any bundle that stands away from a structure. An urn or bucket holding the bundle takes a brick or 5 kg of gravel in its bottom. Freestanding bundles against a wall gain a ground stake driven behind them. Tie the bundle to the stake at mid height. Walk the display after every storm front. Retie loose bundles the same day, before the next gust finishes the job.
19. Keep Stalks Dry in Rain Weeks
Rain shortens a display faster than wind does. Stalks cured the full 7 to 14 days and kept under a porch roof last four to eight weeks outside. Stalks in direct rain soften, darken, and grow mold at the tied points. Place bundles inside the drip line of the porch roof. Raise every bundle off the porch floor on boards or bucket feet, because standing water wicks up the cut ends and rots the bundle from the bottom.
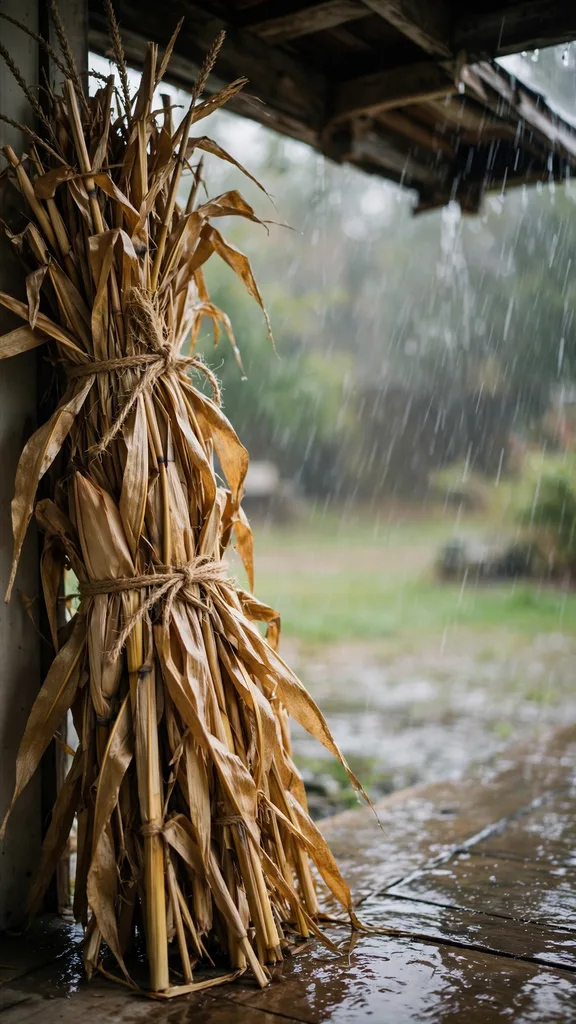
Move portable bundles under full cover when a rain week settles in. Two days of driving rain soak a display sitting at the roof edge. After any wetting, stand the bundle in open air on the first dry morning, and the airflow through the leaves dries the stems within a day. Cut out any stalk that shows black mold spots at the nodes, because mold spreads through a tied bundle by contact and ruins the stalks it touches.
20. Check for Earworms, Birds, and Nesting Pests
Every ear left on a display stalk carries a food supply. Corn earworms feed inside the ear tips where the silk enters. Birds peck open husks to reach the kernels and scatter shreds across the porch, and mice and squirrels climb the stalks for the same meal. Strip the ears from stalks used near the door. Keep eared stalks for the far corners where scattered husks and visiting birds cause no problem.
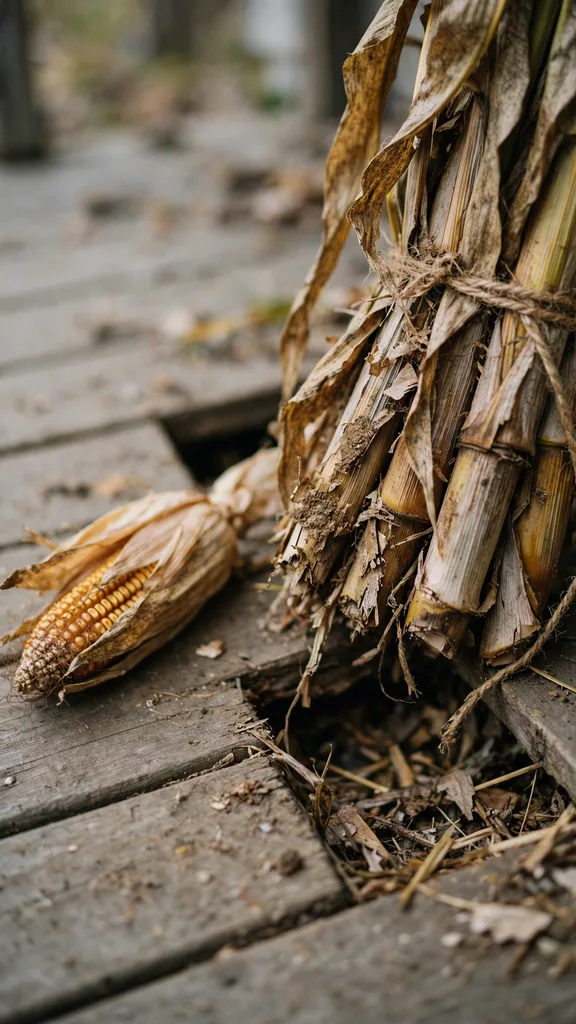
Check each bundle once a week through the season. Shake the bundle hard and watch what falls out. Shredded husk, droppings, and carried-in grass signal nesting activity inside the ties. Pull the bundle apart and remove any nest material the same day, because rodents settle fast in dry cover near a food source. A bundle moved 3 m from the door and stripped of ears loses its appeal within days.
21. Compost the Stalks After Thanksgiving
Cut the ties and take the bundles down in the week after Thanksgiving. Dry corn stalks are carbon-rich material, and they break down slowly. Chop the stalks into 10 cm lengths before they enter the compost bin. Short pieces expose far more surface to the pile’s microbes, while whole stalks tossed on a pile survive a full season nearly intact. Chopped stalks soften within weeks in an active pile.
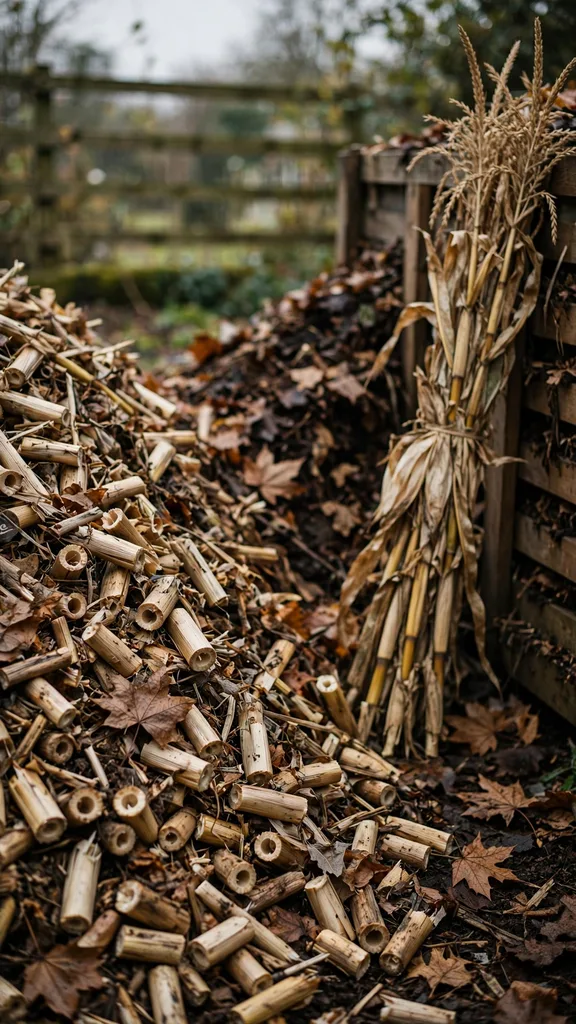
Mix the chopped stalks with green material as the bin fills. Kitchen scraps, coffee grounds, and late grass clippings supply the nitrogen dry stalks lack. Remove every tie before composting and reuse sound twine next season. Stalks that grew mold in a wet display still compost safely in a hot pile. Send moldy armfuls to municipal yard waste when the home pile runs cold and slow.
Frequently Asked Questions
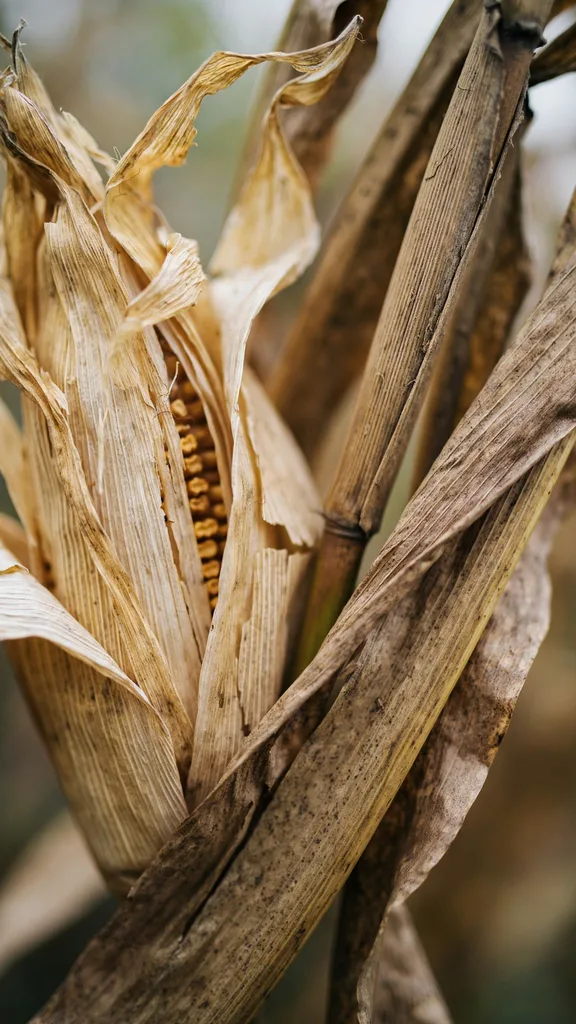
Corn stalk porch decorations last 4 to 8 weeks outdoors when the stalks cured fully and the bundle stands under a porch roof. Rain shortens that span fast. A bundle soaked twice usually molds at the tie points within 2 weeks. Keep the butt ends off wet concrete and lean the bundle where roof drip misses it, and stalks hung in early October still look clean at Thanksgiving.
Yes, with shorter expectations. Sweet corn stalks run thinner, topping out at 1.5 to 1.8 m, so the bundle reads slimmer than an ornamental corn bundle. The stalks also carry more sugar residue and draw more insects. Cut them after the harvest, cure them the full 14 days, and strip every ear before the bundle goes near the door.
Five to seven stalks make one standard porch bundle. Fewer than five reads thin against a door frame. More than seven makes the tie points slip and the bundle fan out at the top. Tie the bundle at three points, low, middle, and just under the tassels, and it holds its column shape through the season.
Dried stalks alone attract little. The ears left on them attract mice, chipmunks, and birds. Strip every ear and loose kernel before bundling, store spare stalks off the ground, and check behind each bundle once a week. A bundle with no grain in it is poor shelter and worse food, so rodents move on.
Put corn stalk porch decorations out after curing, once nights cool and the stalks are fully dry. In most regions that window opens in the first half of October. Stalks hung while still green sweat inside the ties and mold from the inside out. A dry bundle set out in mid October still stands clean for Thanksgiving in late November.
From One Bundle to a Full Harvest Porch
Start with the door bundle and live with it for a week. Most porches need less than the full list. Add the column wrap when the entry still reads flat, the garland when the railing looks bare, and the lanterns when guests start arriving after dark. Each piece uses the same cured stalks, so one garden row feeds the whole sequence.
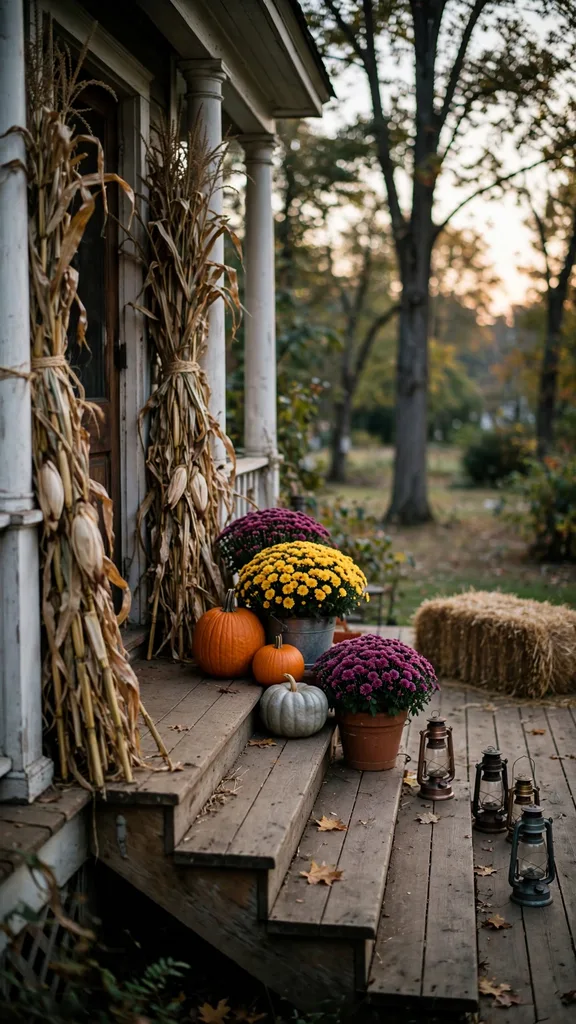
Once the porch is finished, the yard beyond it asks for the same treatment at a bigger scale. The displays in the thanksgiving yard decorations roundup carry the harvest theme to the fence line, the mailbox, and the walkway, so the porch stops looking like the only decorated spot on the property.