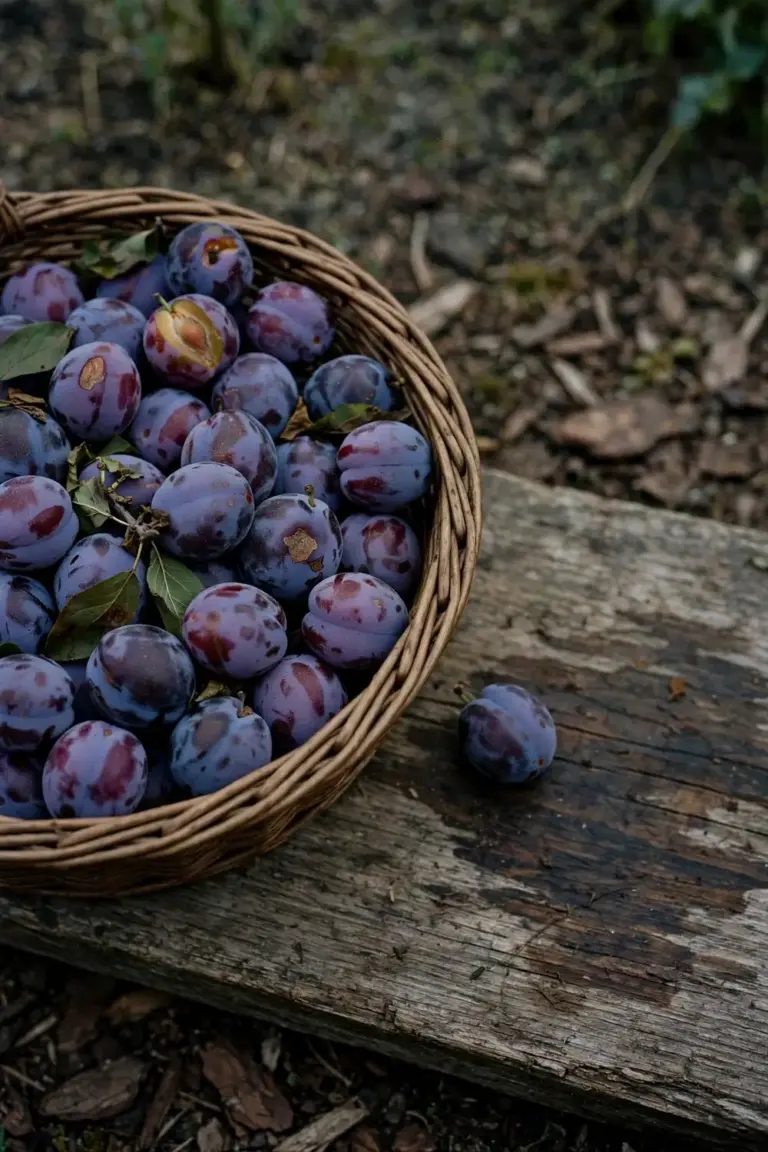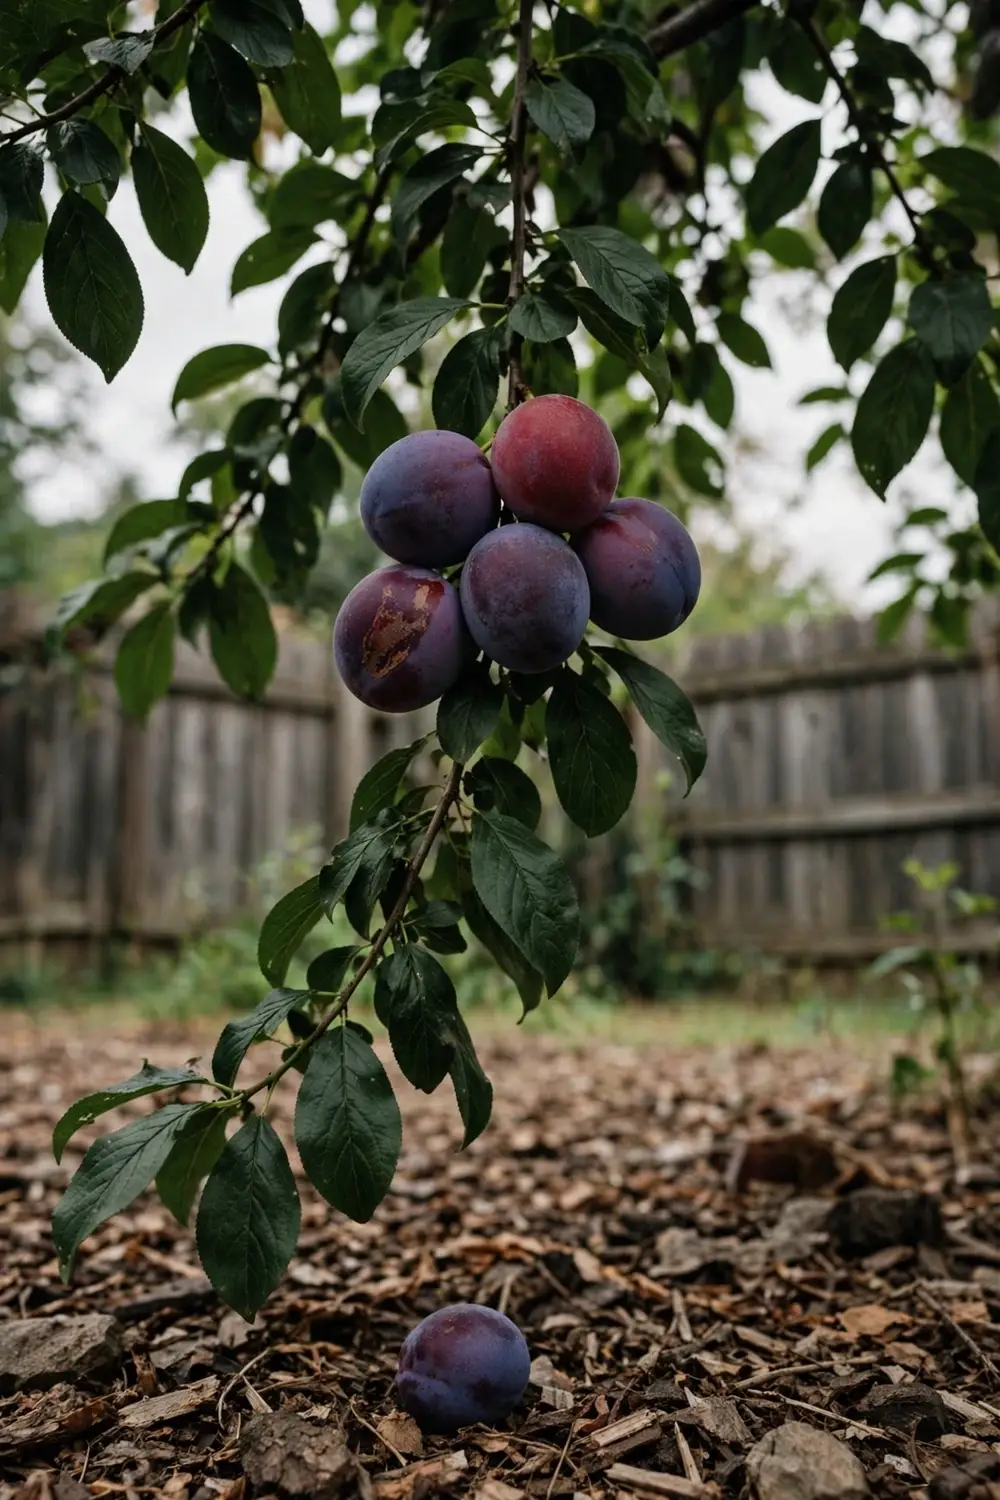

Thin the crop first. Leave one plum every 10 to 15 cm along the branch. That spacing decides fruit size, and harvest only reveals the decision. That is how to grow bigger plums in Australia: thin first, then water steady, feed twice, and open the canopy to light. The rest of this page is 8 moves, from the thinning cut to the harvest pick.
A plum tree runs on a fixed sugar budget each season. Leaves make the sugar. Fruit spends it. A branch carrying 40 plums splits the same sugar 40 ways, and every plum stays small. A branch carrying 20 plums splits it 20 ways, and each plum grows larger. I have learned that the plum I thin hardest in spring is the plum I enjoy in summer. This page starts with a tree that already fruits. Planting, grafting, and training a young tree are separate jobs.
1. Thin First to Grow Bigger Plums
Fruit size is decided at thinning. The earlier you thin, the larger the fruit you will have, according to the University of California IPM guide to thinning plums. Thin once young fruit shows on the tree. Waiting until harvest to judge size wastes the whole season, because the tree already spent its sugar on fruit you will never eat.
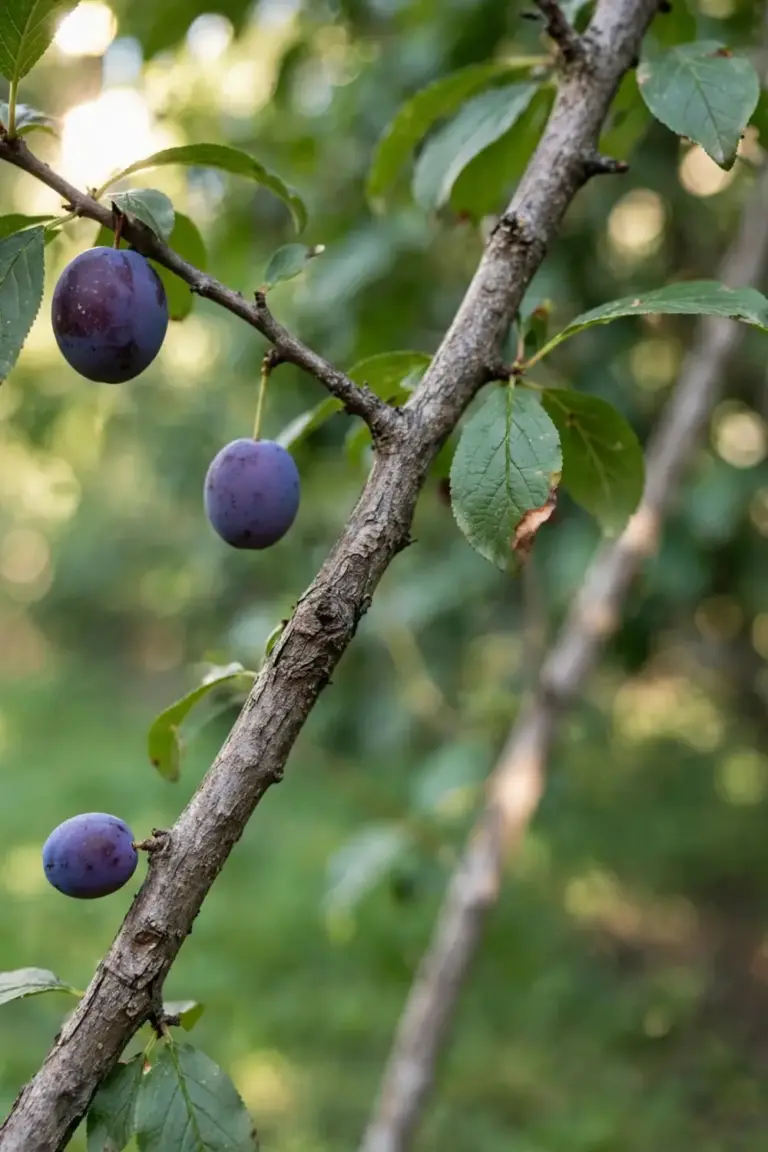
Thinning works through a simple mechanism. Leaves photosynthesize and push sugar into nearby fruit. Each fruit is a sink that pulls sugar from the leaves around it. Fewer sinks mean more sugar per fruit. The fruit that remains grows larger, colors better, and tastes sweeter, because the tree feeds a crop it can finish.
Thinning also protects the tree itself. A branch loaded with fruit bends, and plum wood snaps under a heavy crop. A thinned branch carries its load without props. A thinned tree also sets a stronger crop next year, because it finishes this season with energy left over. The rest of this page covers the four levers that support thinning: water, feed, light, and variety choice.
Thinning is the only lever that acts directly on size. Water, feed, and light raise the ceiling. Thinning decides how the tree divides what it has. After thinning, check the branch by eye. You should see space between fruit, with no two plums touching. Fruit touching fruit stays small, because touching fruit shares the same leaves and the same sugar. Space is the visible proof that the cut worked.
2. Set Spacing at 10 to 15 cm After the Natural Drop
Leave one plum every 10 to 15 cm along the branch, with clusters broken up. Thin in two passes. The first pass removes damaged fruit. The second pass sets final spacing after the tree drops its own excess. The University of Georgia Extension plum guide puts thinning at 30 to 45 days after bloom. In Australia that window lands in late spring for most districts.
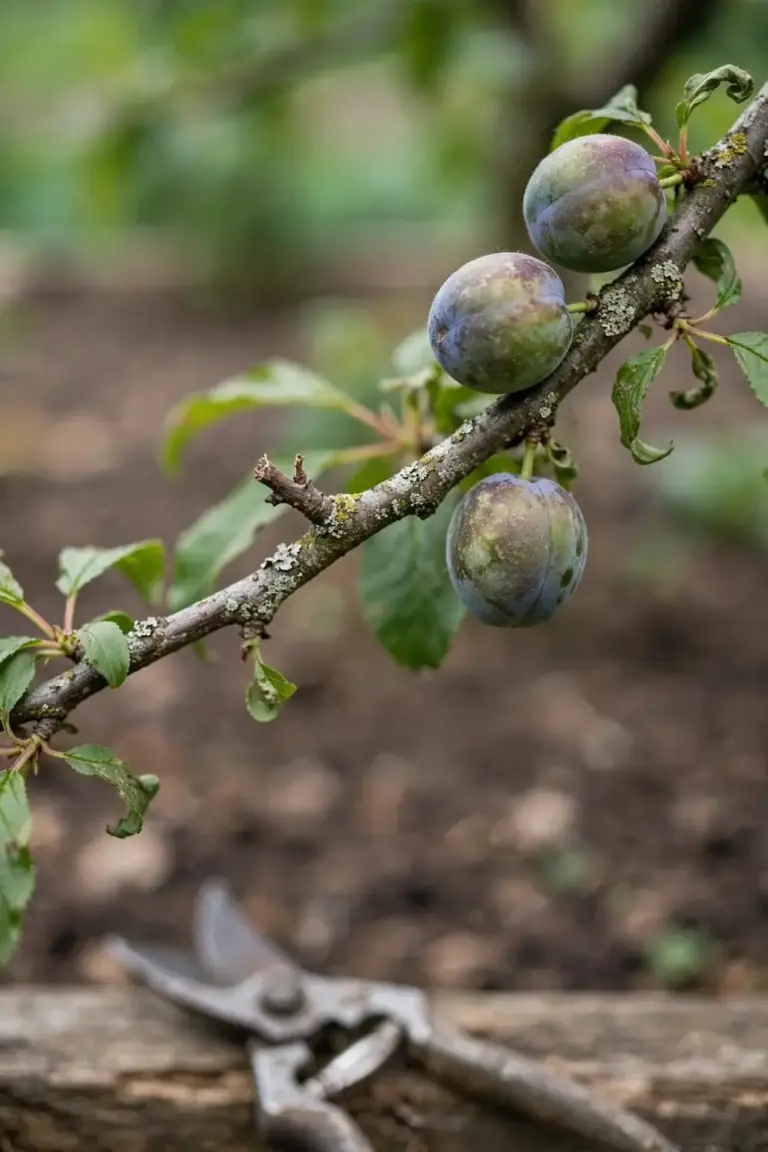
Published spacing figures run from 5 to 15 cm across extension guides. This article follows the plum-specific figure from the University of California IPM guide to thinning plums, which spaces fruit 10 to 15 cm apart on the branch and breaks up fruit clusters. Kansas State University Extension lands in the same band at 4 to 5 inches apart. The tighter 5 to 10 cm figure suits a light crop on a small tree, not a heavy set on a full-size tree.
| Plum Type | Spacing After Thinning | When to Thin |
|---|---|---|
| Japanese Plum (Prunus salicina) | 10 to 15 cm between fruit, clusters broken up | First pass when fruit reaches 2 cm; final pass after the natural drop |
| European Plum (Prunus domestica) | Same spacing where the set is heavy; light thinning only otherwise | Same window; skip the full pass when the set is moderate |
| Any Type in a Heavy-Set Year | Damaged, deformed, and diseased fruit out first; end-of-branch fruit on overloaded branches next | Before the spacing pass |
Work through the tree with clippers or by hand. Twist each unwanted fruit off its stem, or pinch the stem between thumb and forefinger. Keep the largest fruit in each cluster. Remove fruit at the ends of branches first, because end fruit loads the weakest wood. Leave the stem on the branch when you twist fruit off. A torn spur invites infection.
Missouri Extension advises waiting until mid- to late June in its climate before thinning plums, which lets the tree shed its own excess first. Mapped to southern-hemisphere seasons, that is late spring to early summer in Australia. The first pass still happens early, as soon as fruit reaches 2 cm, and it takes only damaged and deformed fruit. The final spacing pass comes after the natural drop, when the fruit that remains is the fruit the tree intends to keep.
European plums need less work. The same UC IPM guide notes that European plums do not require extensive thinning unless fruit set is very heavy. Japanese plums set more fruit than the tree can carry, and that over-set is the main cause of small, poor-quality fruit. Know which type you own before you start. The thinning table above splits them for that reason.
Keep clippers clean. Wipe the blades between trees so a cut on one tree never carries disease to the next. Sharp blades cut clean. Blunt blades crush stems, and crushed stems heal slowly. Drop thinned fruitlets on the ground only when they show no disease. Pick up and bin any fruit that shows rot or sting marks. Fallen fruit left under the tree feeds the next round of pests.
3. Water Steady While Fruit Sizes
Keep soil moisture steady from flowering through harvest. Dry soil in the last 3 weeks before harvest shrinks the crop, according to the Washington State University Extension drought advisory for tree fruits. That advisory names two windows that decide fruit size. The first runs from flowering to 4 weeks after bloom, when the most rapid cell growth sets the size and quality of the final fruit. The second is the final swell, when dry soil cuts size and quality again.
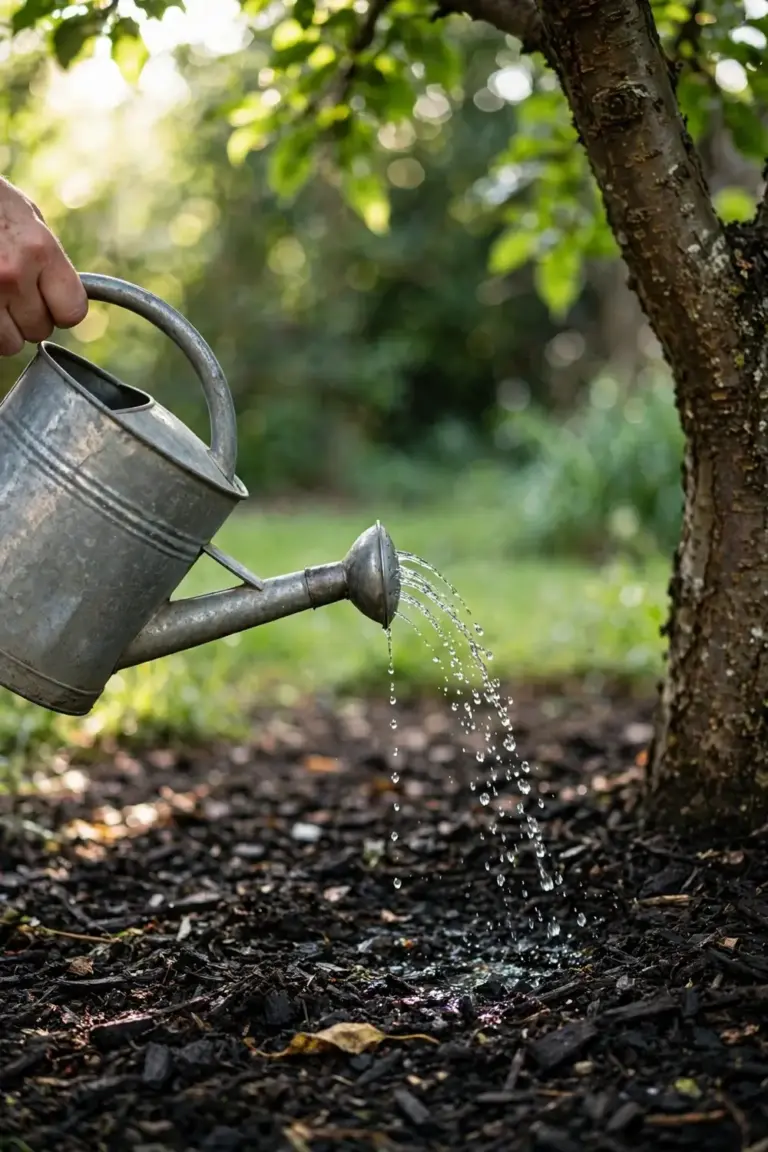
Water deep, not often. A deep soak wets the root zone, while a light sprinkle wets the surface and evaporates within hours. Push a finger into the soil under the canopy edge and water when the top few centimeters feel dry. A mulch ring holds moisture between waterings. Keep mulch off the trunk, because a mulch pile against bark holds damp against wood that needs to stay dry. Water at the canopy edge, where the feeder roots live, not at the trunk.
A dry spring calls for supplementary irrigation. The same WSU advisory states the rule plainly: when the tree is too dry, the crop loses quantity. Thin heavily in a dry year. Heavy thinning cuts the tree’s water demand, and the fruit that remains grows larger on the water the tree does get. Water, thinning, and crop load move together. A tree carrying a thinned crop needs less water than a tree carrying a full crop.
Keep the ground under the canopy clear of grass and weeds. Grass drinks from the same root zone the tree uses, and a grass mat under a plum tree steals water all summer. The same WSU advisory lists clearing weeds and grass around trees among its drought steps. A clean ring under the canopy is not tidiness. It is water the fruit keeps.
4. Feed Twice in Early Spring and Midsummer
Feed twice a season, in early spring and again in midsummer, and scale the amount to the crop load. A soil test sets the starting point. The University of Georgia Extension plum guide runs the same two-feed pattern and adjusts amounts by crop load and desired growth rate. It fixes no single rate for every established tree.
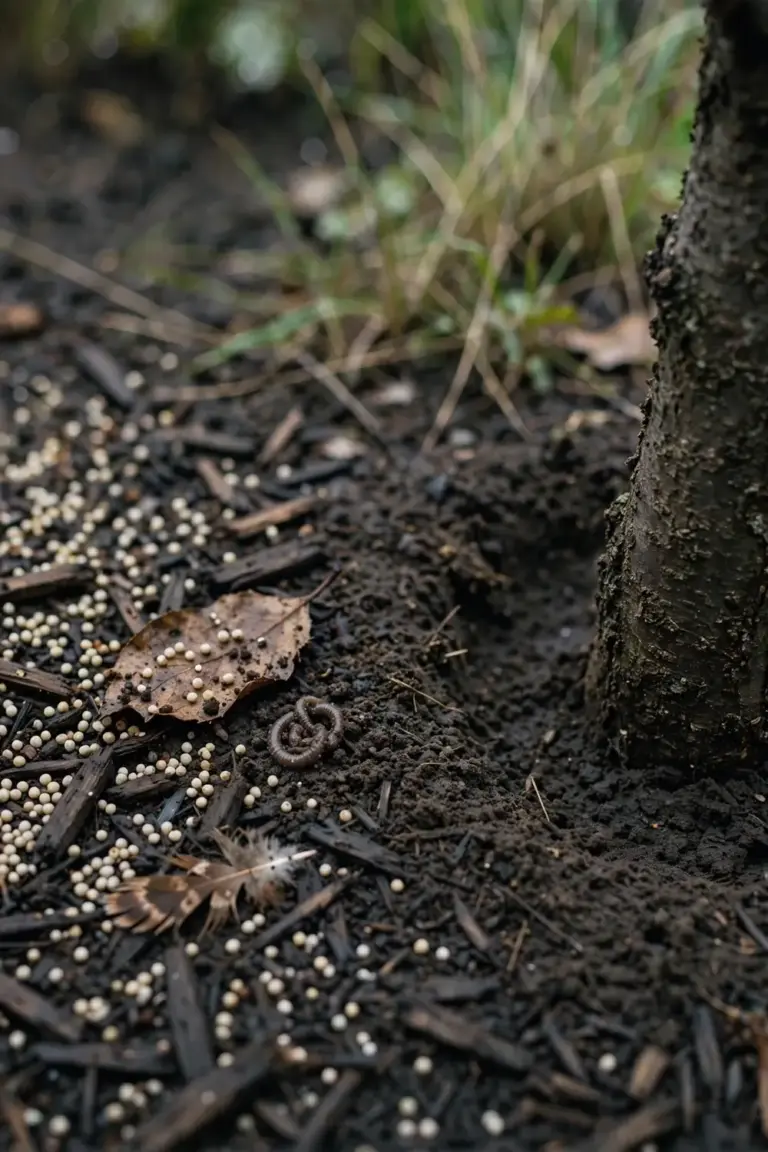
Plums want soil near pH 6.5, according to the same UGA guide. Test the soil before you feed. A pH test costs little and answers the question that guessing cannot. Lime goes in when the soil runs acid. Phosphorus goes in when the test shows a shortage. The rest of the nutrients follow the test report, not the bag label. Building soil health covers the long game: organic matter, mulch, and steady biology under the tree.
Pale leaves and short new shoots signal hunger. A tree that shows those signs earns its feed. A tree with deep green leaves and strong shoots may need nothing this season. Compost and mulch feed the soil biology that releases nutrients slowly between feeds. That slow release suits a fruit tree better than a sudden flood of fertilizer. Feed the soil, and the soil feeds the tree.
| Timing (Australia) | Feed | Notes |
|---|---|---|
| Early spring (September) | Balanced 10-10-10 fertilizer | Soil test first; spread evenly; keep 10 to 13 cm from the trunk |
| Midsummer (January) | Calcium nitrate | Second feed of the season; same trunk clearance |
| Rest of the year | Nothing | The schedule stops at midsummer; amounts follow the crop load |
The northern-hemisphere months in the source map to southern-hemisphere seasons here. Early spring in Georgia is March, while early spring in Australia is September. Midsummer in Georgia is July, while midsummer in Australia is January. The pattern stays the same across both hemispheres: two feeds, one at growth and one at sizing.
Keep fertilizer 10 to 13 cm from the trunk. Fertilizer against bark burns tissue. Broadcast evenly under the canopy edge, where the feeder roots live. Water after feeding so nutrients move into the root zone. A tree carrying a heavy crop eats more than a tree carrying a light crop. A tree carrying no crop needs nothing. Feed the crop you carry.
5. Open the Canopy to Light in Summer
Open the center of the tree so light reaches the fruiting wood. Prune established plums in midsummer, never in winter, according to the Royal Horticultural Society guide to pruning plum trees. The aim is an open-centered tree. Light into the canopy grows bigger fruit. Shade inside the canopy grows smaller fruit.
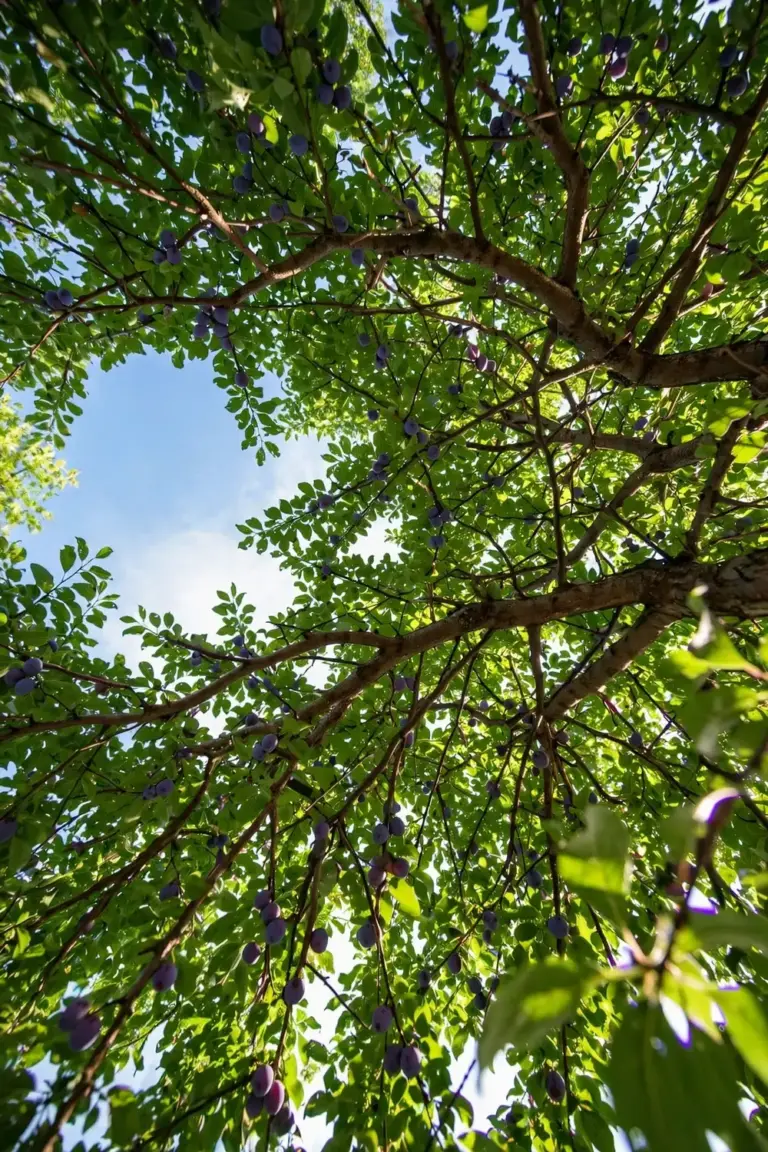
Remove crossing, weak, vertical, and diseased wood first. Crossing branches rub, and rubbed bark opens a path for infection that a clean cut never would. Vertical watershoots grow fast and fruit poorly, so they go. Weak wood carries fruit it cannot finish. Take those out and the canopy opens without touching the fruiting spurs. The Royal Horticultural Society guide puts it plainly: on established trees, pruning is mostly limited to removing crossing, weak, vertical, and diseased material.
Rub out buds on the lower trunk and pull suckers from the rootstock. The same RHS guide names those two small jobs among routine summer work. Suckers steal water and nutrients from the fruiting canopy. A sucker left for a season becomes a trunk that competes with the tree itself. Pull suckers while they are small, when they come away cleanly.
Fruit on the outside of the canopy sizes better than fruit deep inside. Nebraska Extension notes that more fruit can stay on the outside of the canopy, with less in the shaded interior. Thinning follows the same logic. Leave the outer fruit. Take the inner fruit first when you thin a crowded branch. The outer fruit gets sun, air, and the sugar that comes with both.
Summer pruning also keeps the tree healthy. The silver leaf fungus spreads its spores mainly in autumn and winter, and pruning wounds are the main entry point. Summer wounds heal faster, and fewer spores fly in summer. The Royal Horticultural Society silver leaf advice gives the reason: routine pruning in summer meets fewer spores and faster healing. Most fruit trees take spring pruning techniques in winter or early spring. Plums break that rule. Cut in summer, while the tree is in leaf.
6. Pick the Next Tree by Chill First
For the next tree, match chill hours first, then pollination, then size reputation. Variety choice fixes nothing this season. It pays in later seasons, when the new tree fruits. A variety matched to your winter crops reliably. A variety mismatched to your winter crops erratically, no matter how well you thin, water, and feed.
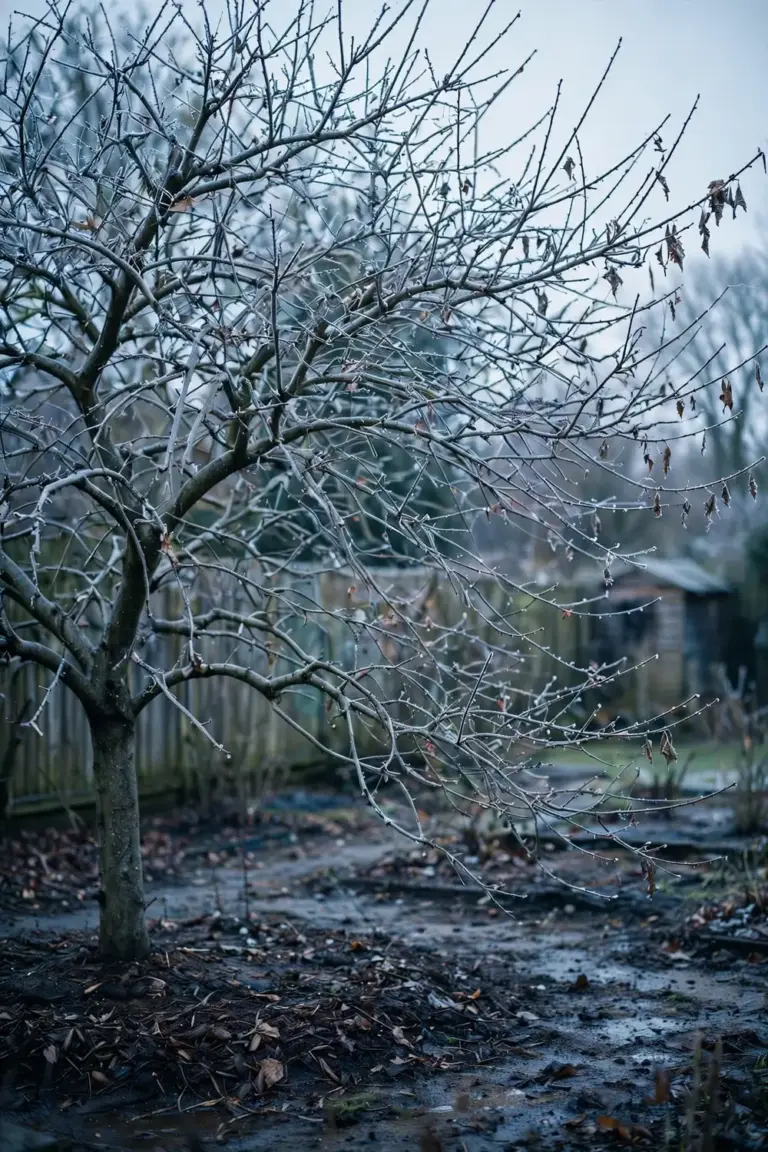
Chill hours decide which plum type suits your district. The University of Georgia Extension plum guide sets European plums at 700 to 1,100 chilling hours and Japanese plums at 500 to 900. A chill hour is one hour with temperatures between 0 and 7°C. Warm coastal districts with mild winters suit Japanese types. Cool temperate districts with cold winters suit both types, and European types need the colder end.
Australian nurseries list low-chill Japanese varieties bred for mild winters. Daleys Fruit Tree Nursery lists Gulf Ruby at 275 chill hours, Gulf Blaze at 325, Gulf Gold at 350, Yarrahapinni Blood at 450, Illuka Blood at 400, Satsuma at 600, and Mariposa at 600. Those figures come from nursery listings, not trial data, so treat them as a starting filter and confirm with the seller before buying. Satsuma bears from November to early December in the nursery notes. Early fruiting suits districts where summer storms hit late fruit.
Pollination comes next. Most plum varieties need a pollinator, because flowers cannot set fruit on their own pollen. Self-fertile varieties still set better with a pollinator nearby, according to the same UGA guide. Plant two compatible varieties when space allows. Chill hours and disease pressure in nectarines follows the same chill logic for a close stone fruit cousin.
Ask the seller for the chill-hour figure before you buy. A label that names the variety without naming its chill need leaves the key question unanswered. Check your district’s winter chill against the variety’s figure. A variety that needs 900 chill hours will not crop reliably in a district that delivers 400. The nursery tag is a claim. The chill figure is the test.
Size reputation comes last. Daleys Fruit Tree Nursery describes Mariposa as large fruit if thinned, Gulf Ruby as large size if properly thinned, and Satsuma as a variety that may require thinning to get large fruits. The pattern is consistent. Even a large-fruited variety stays small without thinning. Variety choice sets the ceiling. Thinning decides whether the tree reaches it.
7. Accept the Years That Stay Small
Some years stay small no matter what you do. Weather, biennial bearing, a young tree, and fruit thieves each cap the crop. Naming the cause stops you from fixing the wrong thing. A biennial tree does not need fertilizer. A frost-damaged tree does not need thinning.
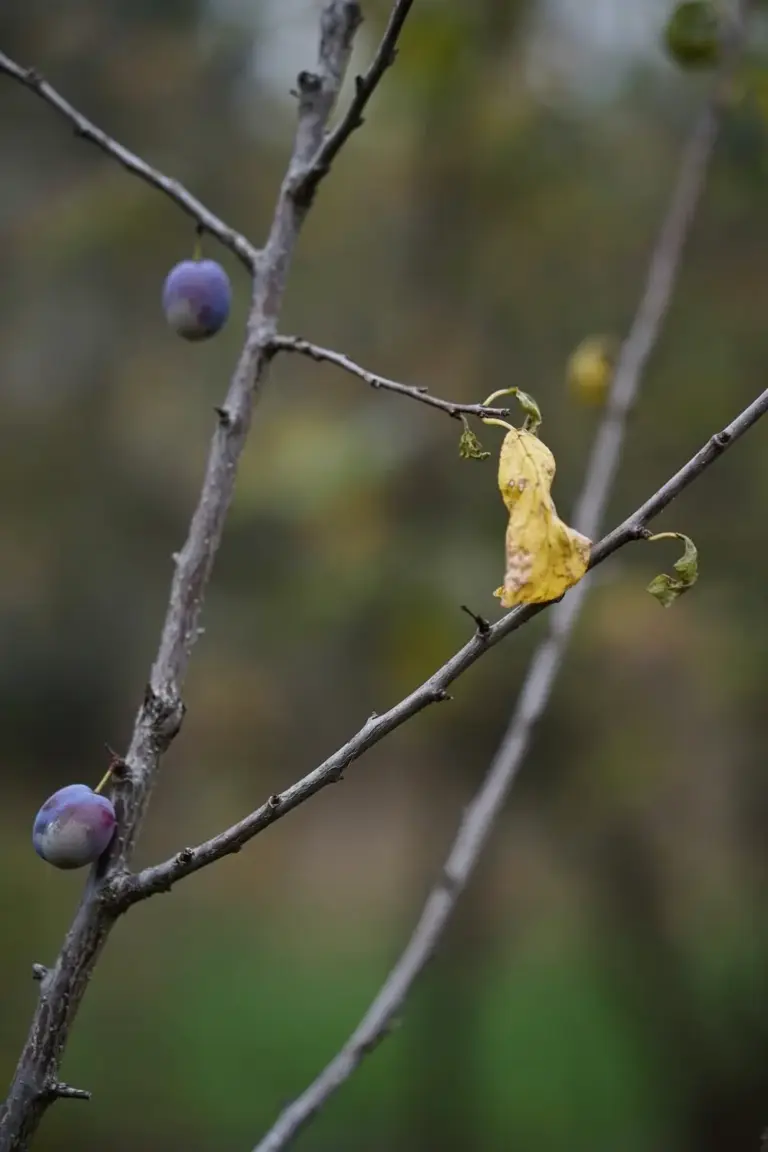
Biennial bearing runs on a simple cycle that thinning can break. A heavy crop this year steals the energy the tree would spend on next year’s flower buds. Kansas State University Extension warns that a heavy fruit crop can interfere with fruit bud development in summer, and the result is a small crop or no crop next year. Thinning breaks the cycle. A thinned tree finishes the season with energy left for bud set. The payoff lands next spring, not this summer.
A young tree puts energy into wood first. The University of Georgia Extension variety table carries a blunt note for one heavy-cropping variety: avoid overcropping a young tree. Thin a young tree harder than an established tree. A young tree that carries a full crop stalls its own frame. The frame comes first. Fruit comes second.
Weather caps the crop in ways no gardener controls. A late frost at bloom cuts the set. The same UGA guide advises avoiding low areas prone to late frost for that reason. A dry spring shrinks fruit through the water window in section 3. Heat at bloom shortens pollination. None of these respond to feeding. Water helps the drought case, while nothing helps the frost case after the fact.
Leaf loss shrinks fruit too. The same UGA guide notes that defoliation from bacterial leaf spot cuts fruit size, cracks fruit, and weakens the tree. Leaves feed fruit, so a tree stripped of leaves cannot finish its crop. Keep the canopy leafy through summer and the fruit finishes. A tree that drops leaves early ripens small fruit, because the sugar factory closed before the fruit finished.
Fruit thieves take the crop you already grew. Queensland fruit fly lays eggs in ripening plums, and the larvae eat the fruit from inside, so the fruit rots before you pick it. Agriculture Victoria calls exclusion the best control: netting, bags, or sleeves that stop the female fly from reaching the fruit. Plums sit on the summer high-risk host list. Birds peck fruit as it colors. Netting stops both thieves at once. Brown rot takes fruit at ripening, starting as blossom blight in spring. The blossom blight guide covers the disease side. Thinning, water, feed, and light cannot save fruit that thieves or rot already claimed.
Keep a one-line note each season: crop load, thinning date, water, harvest. Four notes a year build a record that no memory keeps. Next year, the note tells you whether the crop was heavy or light, whether you thinned early or late, and whether the water held. Diagnosis starts from that note, not from a guess.
8. Pick on Ripeness Signs
Size stops at ripeness. Pick when the plum shows full varietal color, gives slightly under gentle pressure, and smells sweet. Calendar dates mislead. A plum picked for size before it colors will not sweeten off the tree. Village Harvest notes that plums do not improve much after picking, so the pick itself is the decision.
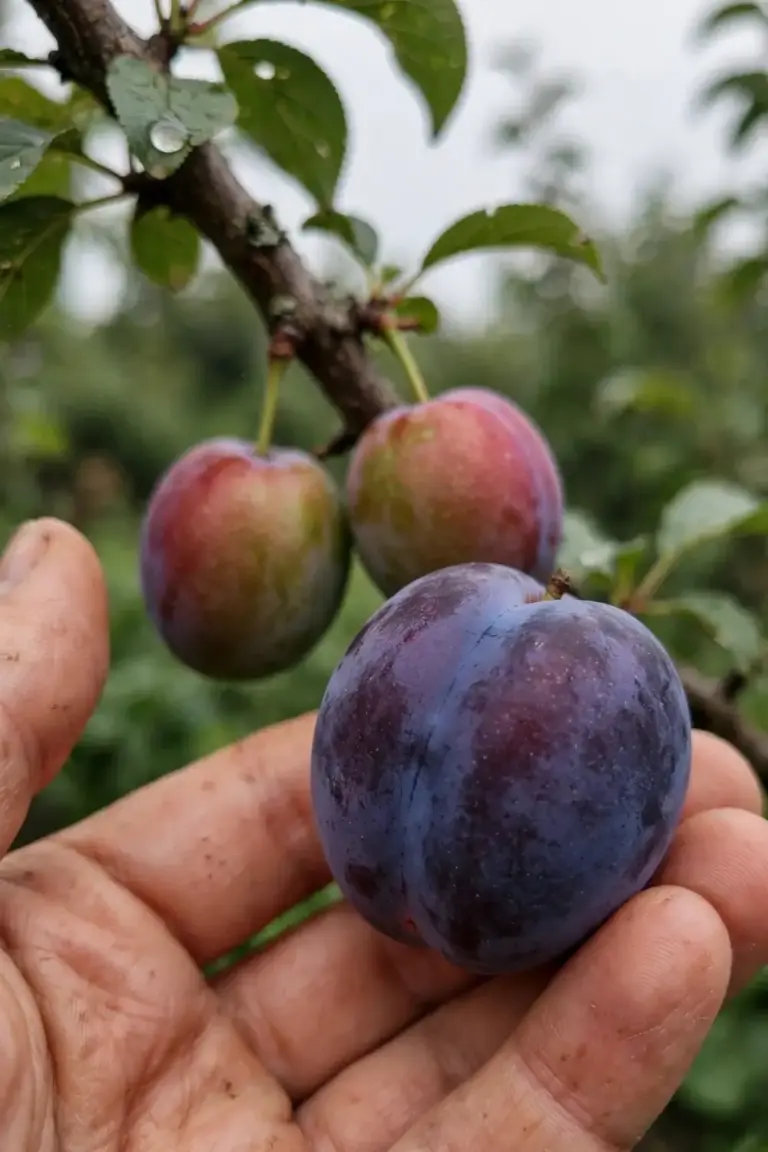
Check four signs before you strip a branch. Color comes first. The plum should carry its full varietal color with no green tinge at the base. Feel comes second. Press gently at the widest point. A ripe plum gives slightly under pressure without turning mushy. Smell comes third. A ripe plum smells sweet and fruity at the stem end. Taste comes last, and it settles the question. Taste one plum from the branch before you commit to the whole crop. A ripe plum tastes sweet and juicy. An underripe plum tastes sour and starchy.
Pick in passes, not in one strip. Village Harvest notes that plums develop for 3 to 4 months from blossom, and a tree holds ripe fruit for only about 2 weeks. Not every plum on a tree ripens on the same day, so pick the ripe ones, leave the rest, and come back in two days. Picking in passes also cuts waste. Overripe fruit falls, rots, and feeds fruit fly. Fruit on the ground is fruit the fly already owns.
Pick for the kitchen you have. Plums for eating fresh should feel soft and twist easily off the tree. Plums for cooking can come off slightly firmer, when they show their waxy white coating. A plum that twists off with a gentle push upward is ready. A plum that resists the twist is not. Leave it. Check it again in two days.
Store what you cannot eat now. Plums keep in the fridge, though cold storage slows ripening considerably, according to a British fruit guide. Bring fridge plums back to room temperature before eating, because a cold plum tastes flat. A plum that still feels hard after a week in a fruit bowl was picked too early, and it will never ripen properly.
Frequently Asked Questions About Growing Bigger Plums
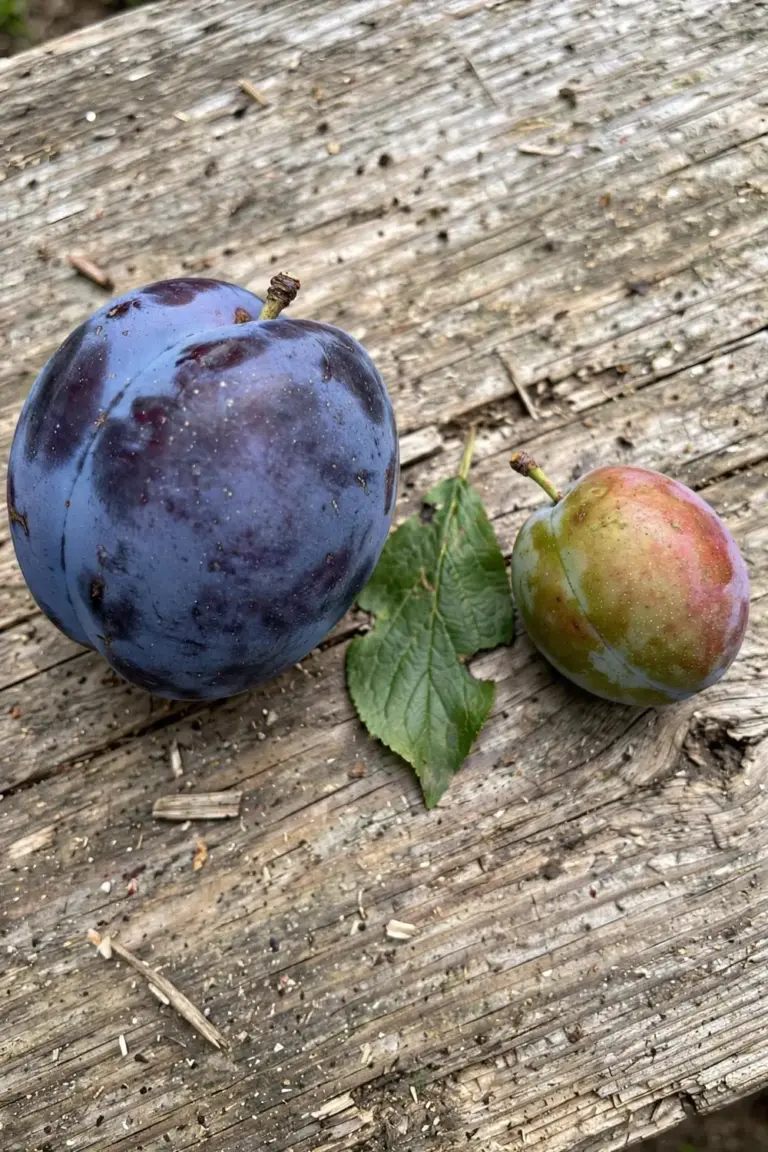
Small plums usually trace to one of four causes: an unthinned crop, dry soil in the last 3 weeks before harvest, a biennial off-year after a heavy crop, or a young tree still building its frame. Check thinning first, because it is the fastest fix and the most common miss. Then check water, then last year’s crop. A tree that carried a heavy crop last year often rests this year.
Leave one plum every 10 to 15 cm along the branch for Japanese plums, with clusters broken up. European plums need only light thinning unless the set is very heavy. Thin in two passes: damaged fruit first, final spacing after the natural drop. Keep the largest fruit in each cluster. Remove end-of-branch fruit on overloaded branches before you set spacing elsewhere.
Yes. Thinning late still helps, though less than thinning early. The earlier you thin, the larger the fruit grows, because the tree feeds fewer fruit for longer. Removing small fruit from an overloaded tree even shortly before harvest still lifts average fruit size. Late thinning also cuts branch load, which matters when branches bend under a heavy crop near harvest.
Fertilizer helps only when the tree lacks nutrients. A soil test answers that question. Feed twice a season, in early spring and midsummer, and scale the amount to the crop load. A tree that lacks nitrogen grows pale leaves and weak shoots. A tree that already feeds well grows leafy wood on extra fertilizer, not bigger fruit. Thinning moves fruit size more than feeding does. Water and light rank ahead of feeding too.
Two trees help fruit set, not fruit size directly. Most plum varieties need a pollinator, and self-fertile varieties still set better with one nearby. Better set means more fruit, which means thinning matters more. Plant two compatible varieties when space allows. Then thin the crop that results. Pollination fills the tree, and thinning sizes the fruit that set.
Start With Thinning and End With the Harvest Pick
Thinning decides size. Water carries it. Feed supports it. Light finishes it. Variety sets the ceiling for the next tree. Walk out with clippers and thin one branch. Space the fruit. Break the clusters. The rest of the season follows the cut you make today.