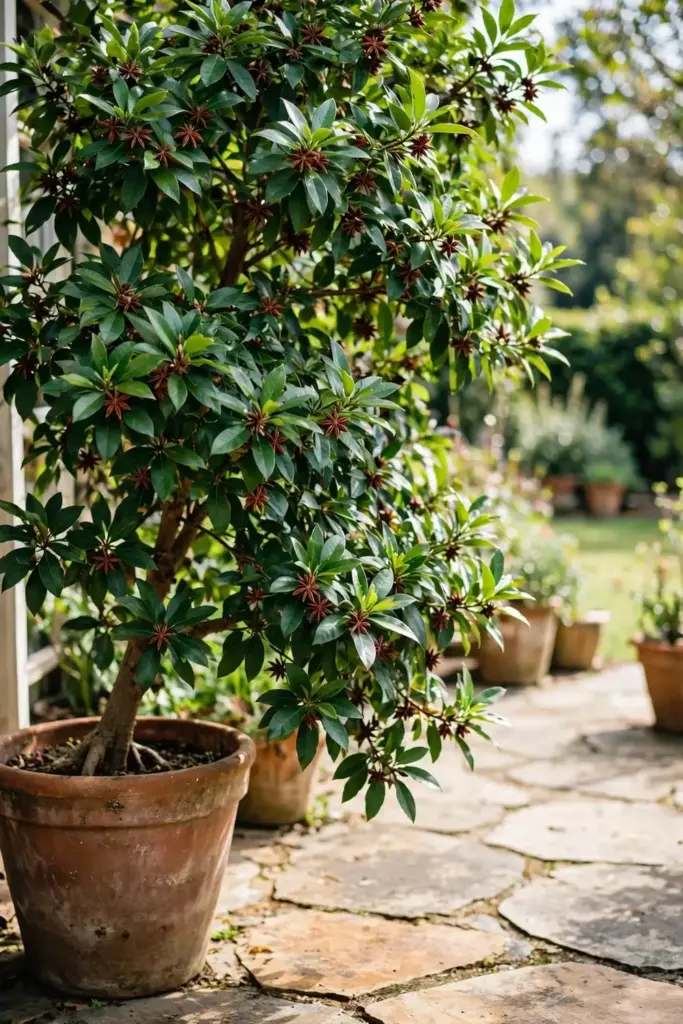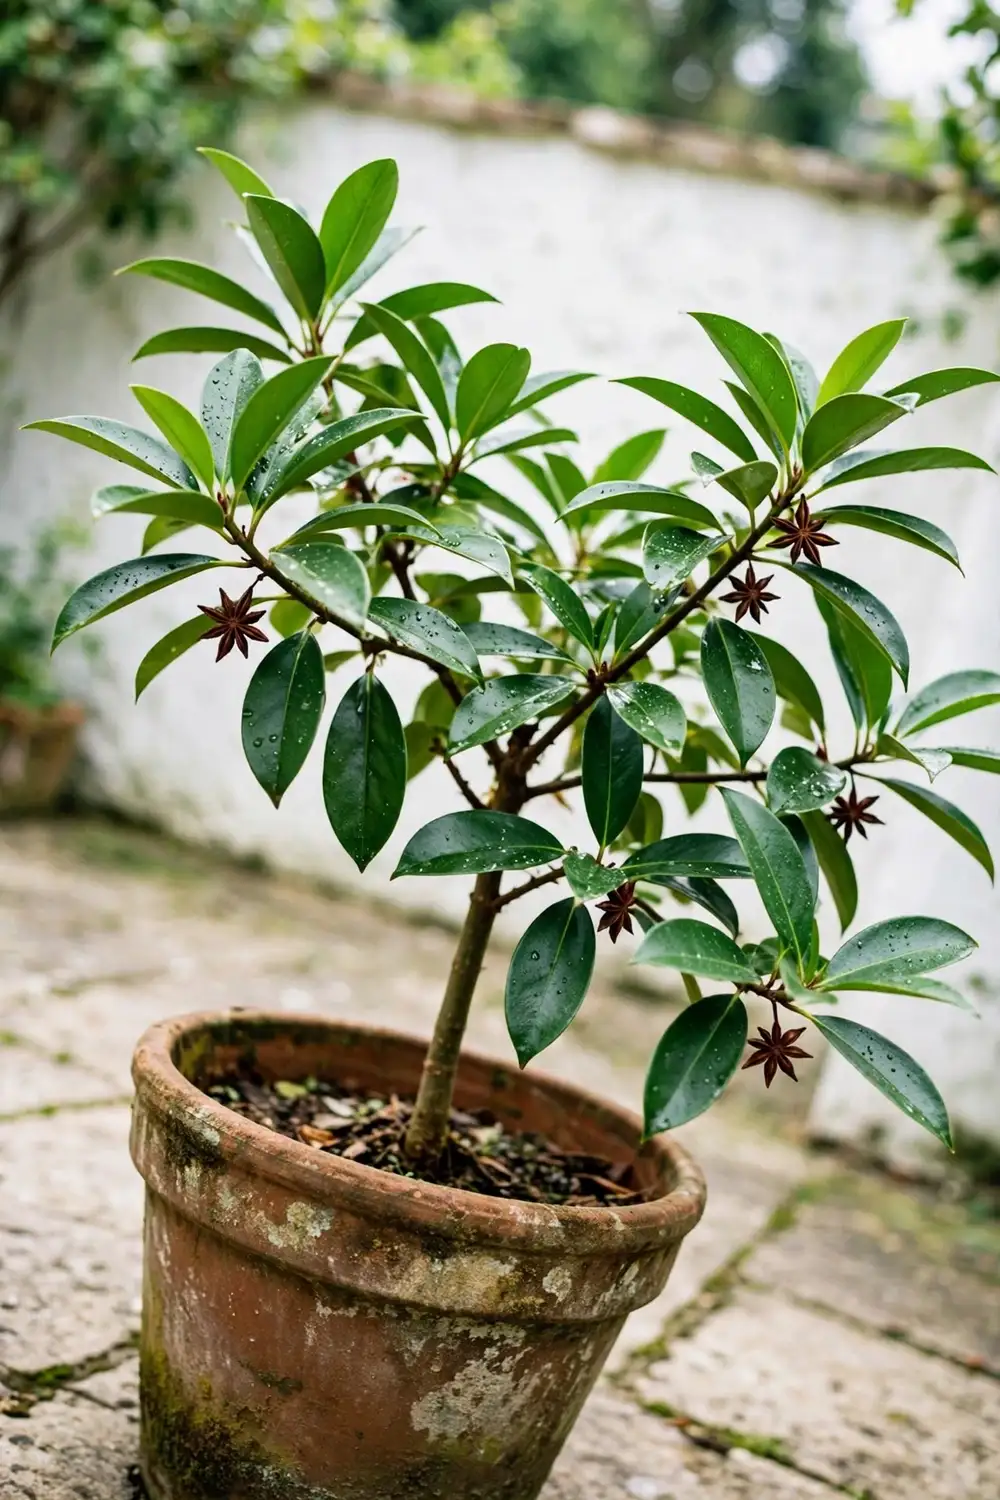

Soak 12 star anise seeds tonight. That is how to grow star anise in pots: a six-year wager that starts in a seed tray and ends with woody, eight-pointed pods drying on your own patio. The rest of this page is 15 moves, from seed soak to sun-dried spice. I have learned that star anise seed punishes impatience more than neglect.
Star anise (Illicium verum) is an evergreen shrub or small tree from southern China and northern Vietnam, grown for the star-shaped fruit that flavors pho, five-spice powder, and mulled drinks. Outdoors it is hardy only in USDA zones 8 to 10, which is why the pot is the whole strategy for everyone else: the same container logic that works for growing a lemon tree in a pot applies here, with one extra demand. Expect the first pods no sooner than six years from seed, because under ideal conditions a star anise plant takes at least six years to produce its first flowers and fruits, according to The Lost Herbs’ growing notes. Six years sounds absurd for a spice you can buy for a few dollars. The tree disagrees. It grows slowly, shrugs off most pests, and asks mainly for warmth, acidity, and a gardener who does not move house every spring.
1. Confirm Your Climate and Winter Plan
Star anise is a warm-climate evergreen. Outdoors it thrives in USDA zones 8 to 10 with slightly acidic, well-drained soil and steady moisture, and it prefers partial shade over baking afternoon sun, as Gardenia’s plant profile describes. Below zone 8, the tree never stays outside through winter. That single fact decides your setup: in zones 8 to 10 you can plant in the ground, everywhere else you grow in a container that moves indoors before the first frost. Check your zone before you buy a single seed. A gardener in zone 6 who plants in the ground has built a one-winter tree.
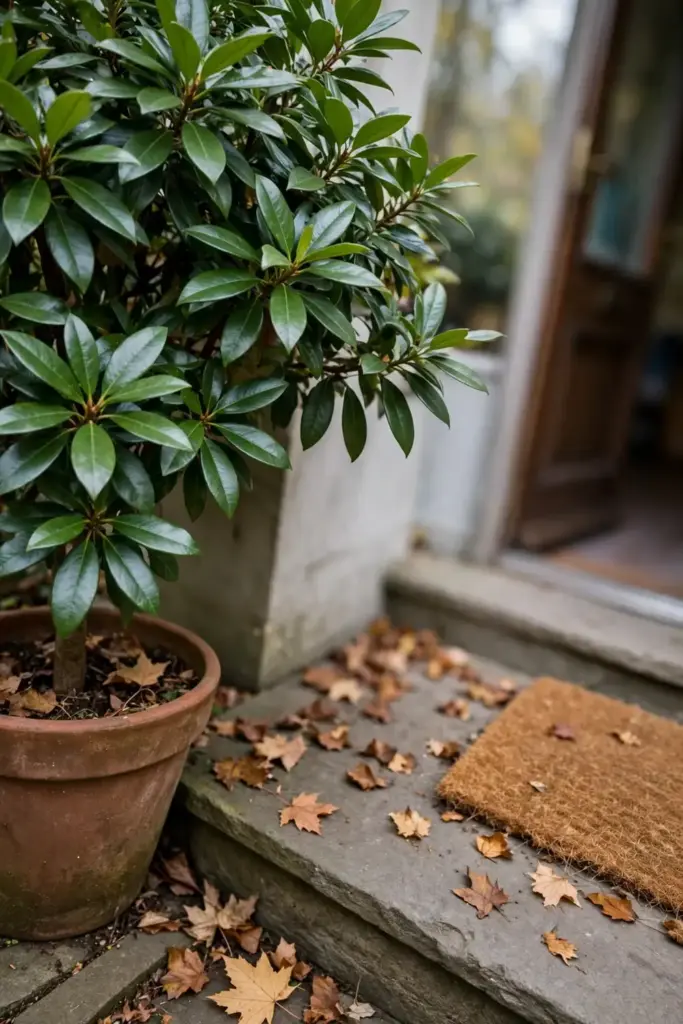
The winter plan shapes every later decision. A container tree in zone 7 needs a bright indoor spot secured before October, not discovered in a panic the night frost is forecast. If you rent, or you move often, pick a pot with built-in casters or a size you can actually lift when it is wet. A 30 cm pot of damp mix weighs more than you think. Decide now where the tree will sleep from November to March, and the rest of this guide gets easy.
2. Tell True Star Anise From Its Toxic Twin
Two different trees make star-shaped pods, and only one belongs in your kitchen. True star anise is Illicium verum. Japanese star anise is Illicium anisatum, and its fruits are toxic. A third plant, anise herb (Pimpinella anisum), shares the licorice flavor but is an unrelated annual herb, not a tree at all. Buy seed only from a seller who prints the Latin name on the packet. The MDPI review of Illicium verum records that in 2003 the U.S. Food and Drug Administration issued a warning against teas containing star anise fruit after illnesses linked to contamination with toxic I. anisatum. Grow your own tree and the confusion ends at your back door.
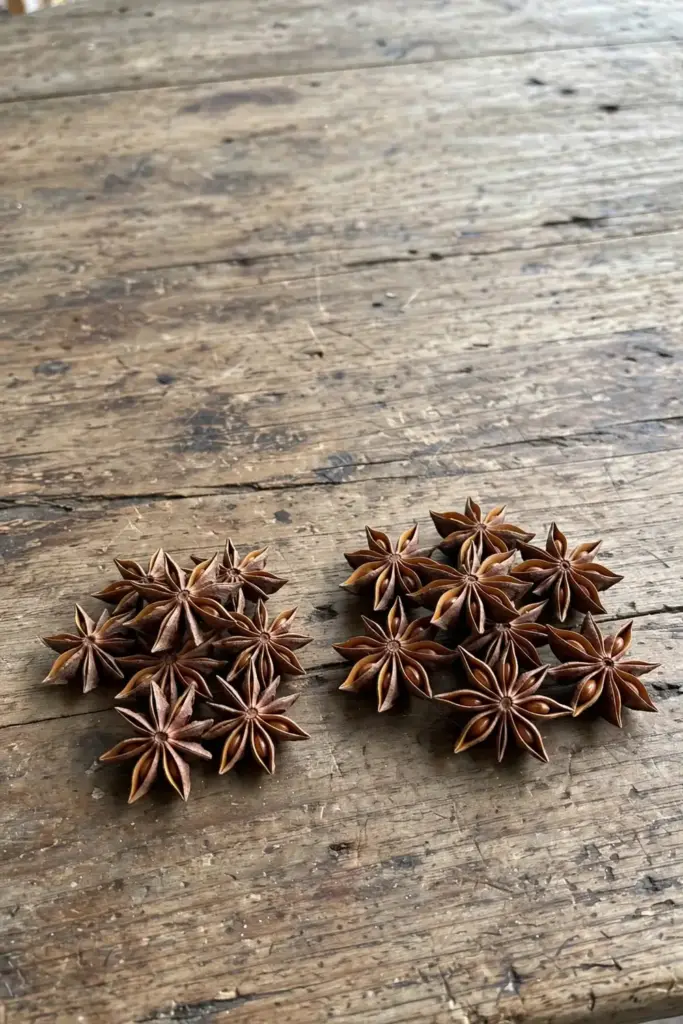
This matters more than it sounds. Dried pods of the two species look nearly identical, and bulk bins at markets have mixed them before. Your homegrown tree removes the entire supply chain from the question. When the tree fruits, you know exactly which species stands in your yard, because you planted the labeled seed yourself. No lab test, no trust in a distant packer, no gamble.
| Plant | Latin name | Pods edible? | How to tell |
|---|---|---|---|
| Star anise | Illicium verum | Yes | Eight-pointed woody pods, sweet licorice scent |
| Japanese star anise | Illicium anisatum | No, toxic | Pods look nearly identical dried; buy only labeled seed |
| Anise herb | Pimpinella anisum | Seeds edible | Annual herb, feathery leaves, no woody pods at all |
If your spice jar already holds unlabeled pods bought years ago, retire them to decoration. Do not cook with them. Use them as decoration or discard them. The price of a fresh, labeled packet of Illicium verum seed is a few dollars. The price of guessing wrong about anisatum is a hospital visit. When your own tree fruits, the question retires permanently: you watched the flowers open, you picked the green pods, you dried them on your own tray. That chain of custody is something no bulk bin can offer. Label the jar with the harvest year. Your future self will want to know.
3. Buy Fresh Seed From a Trusted Source
Star anise seed loses viability fast. Seeds contain fatty oils and germinate best sown fresh; the longer they sit in storage, the lower the germination rate drops. Order from a seed house that sells Illicium verum by its Latin name and ships the current season’s stock, not from a bulk spice bin. Spice-rack pods are often heat-treated or too old, and pods of unknown origin carry the anisatum contamination risk from the previous section.
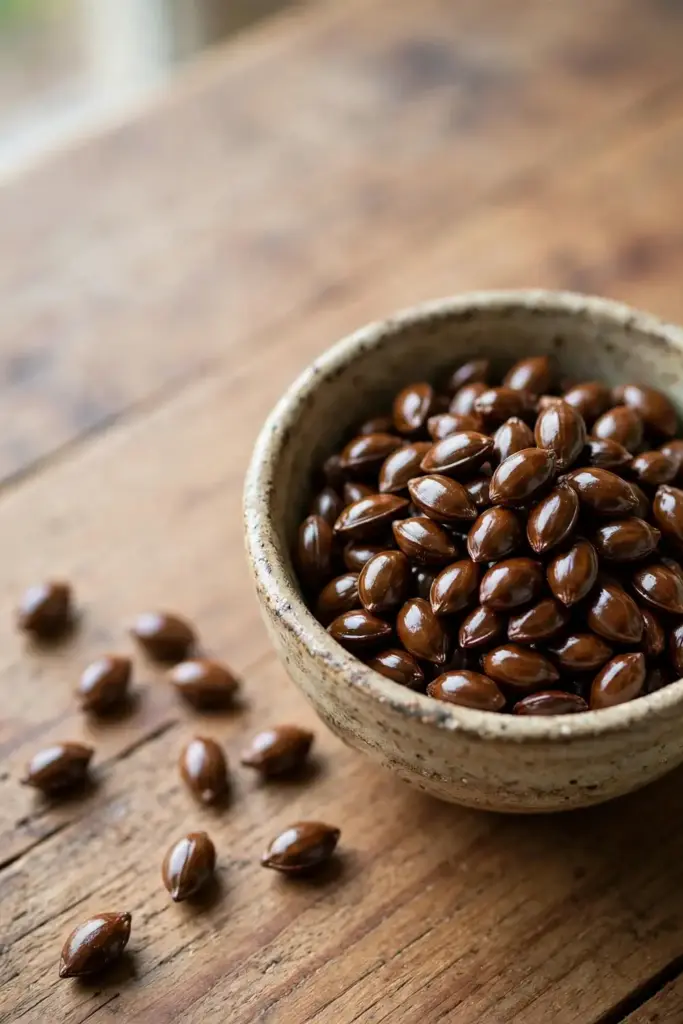
Buy more seed than you need. Order 20 to 30 seeds if you want 3 or 4 strong seedlings, because slow and sporadic germination thins the batch. A reputable seller ships in a sealed foil packet with a harvest date. If the listing cannot tell you when the seed was collected, keep shopping. When the packet arrives, drop the seeds in a bowl of room-temperature water. Throw away every seed that floats. Sinkers are the keepers.
4. Soak the Seed for 24 Hours
Dried star anise seed wears a hard coat that slows water uptake. Soaking softens it and separates the last of the dead seed. Put the sinkers in a jar of room-temperature water for a full day, then drain. Nicking the coat with a nail file speeds things further, but the nick must stay shallow: cut into the pale inner seed and you have killed it. One shallow scratch per seed is enough. Sow within a day of soaking. Soaked seed left sitting in a jar goes soft and rots.
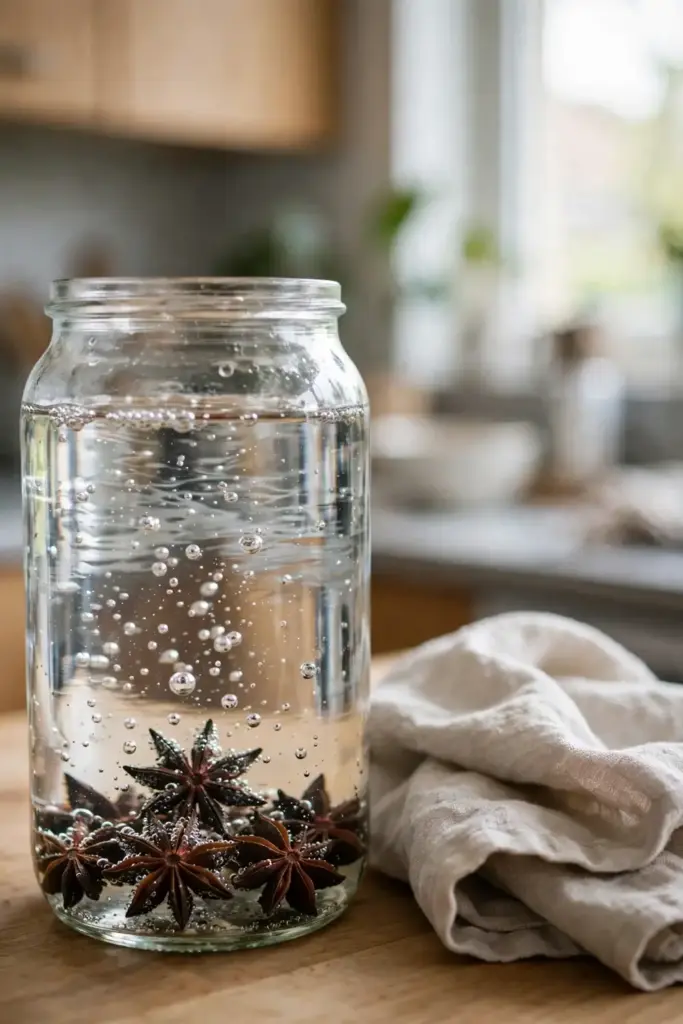
Change the soak water once if it turns cloudy. Cloudiness means seed coats are leaching, which is normal, but stagnant water invites the fungi that rot seed before it sprouts. A drop of hydrogen peroxide in the jar is optional insurance some growers swear by; plain fresh water works fine. After 24 hours the seeds should look plump and slightly darker. Wrinkled seeds that never plump were dead on arrival. Discard them without ceremony.
5. Sow 6.4 mm Deep in Acidic Seed Mix
Fill 10 cm plastic pots with a fine, acidic seed-starting mix and moisten it through. Press two or three seeds per pot onto the surface, spaced evenly, and cover with 6.4 mm of mix. Firm gently to close air pockets. Star anise seed needs light warmth more than darkness, so the shallow covering matters: buried deeper than about a centimeter, the seedling exhausts itself before reaching light. Set each pot inside a clear plastic bag or under a humidity dome. Label the pot with the date. You will wait weeks, and an unlabeled pot becomes a mystery.
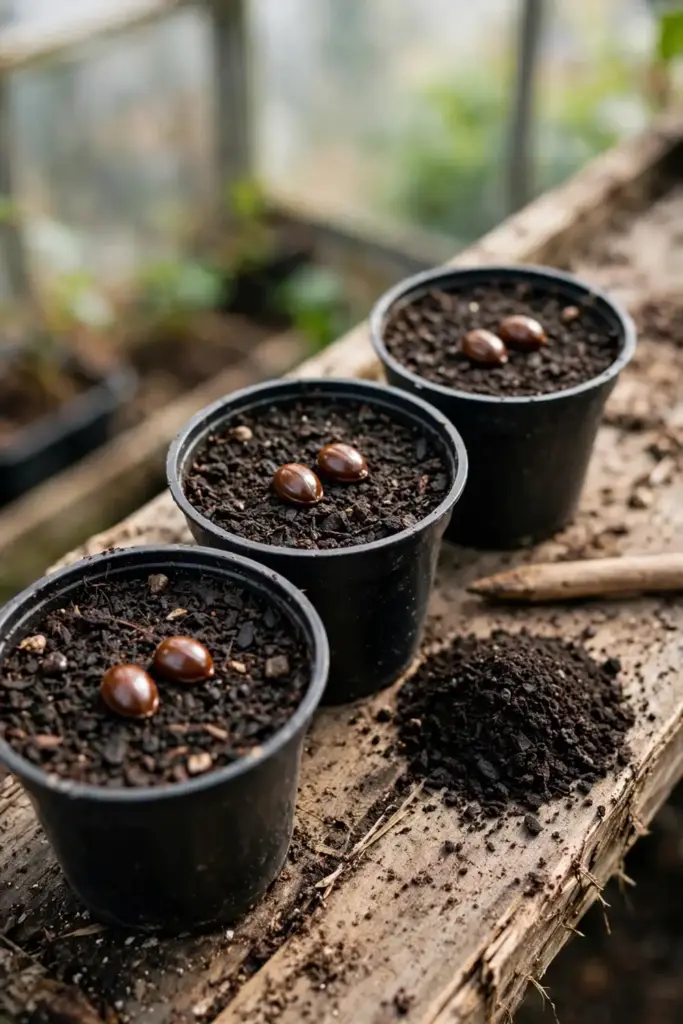
Skip the garden soil. Outdoor soil carries damping-off fungi that murder slow seedlings, and it compacts in a small pot. A commercial seed-starting mix, or your own blend of fine pine bark and perlite with a handful of compost, gives the drainage this species demands. Pre-moisten the mix before sowing, not after; watering from above after sowing dislodges shallow seed and buries it unevenly.
Water from the bottom when you can. Set the seed pot in a shallow tray of room-temperature water for an hour and let the mix drink upward; this keeps the surface undisturbed and the shallow seed exactly where you put it. Top-watering with a hard stream is the classic way to wash 6.4 mm of covering off the seed and leave it exposed. If you must water from above, use a fine mist bottle and stop the moment the surface glistens.
6. Hold 21.1 to 26.7°C Until Sprouts Show
Warmth is the entire germination strategy. Keep the pots in bright, indirect light where temperatures stay between 21.1 and 26.7°C, and expect the first sprouts in one to two months, because The Garden of Set’s germination notes record 21.1 to 26.7°C as the optimal band with germination typically taking one to two months. A heat mat under the tray holds the band steady in a cool house. Mist the surface when it pales; never let the mix go soggy. Vent the dome daily for an hour. Stale, wet air grows mold faster than it grows seedlings.
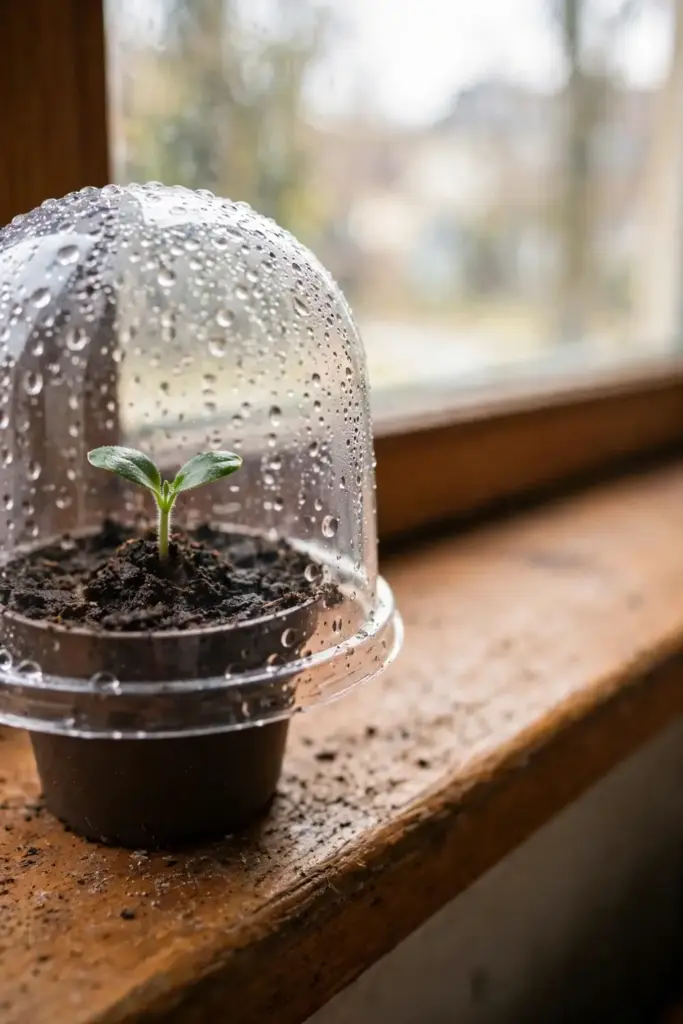
Do not dig up the seeds to check them. Every inspection breaks the tiny root hairs the seed is building blind. Trust the calendar: mark eight weeks from sowing, and only investigate if nothing has emerged by then. Some seeds in the same batch sprout a month apart. That stagger is normal for this species, not a sign you did something wrong. Keep the late pots warm and moist; they often catch up.
7. Give Seedlings Bright, Indirect Light
The first leaves are tender and sunburn easily. Keep young seedlings in bright, indirect light for their first full growing season, hardening them toward morning sun only in year two. Water when the top of the mix dries, not on a calendar. Seedlings that stretch tall and pale are begging for more light; seedlings with bleached patches got too much, too fast. Thin each pot to the single strongest seedling once the second set of true leaves opens. Two seedlings in one small pot become two stunted seedlings. The seed-starting steps used for any slow tropical seed apply here word for word.
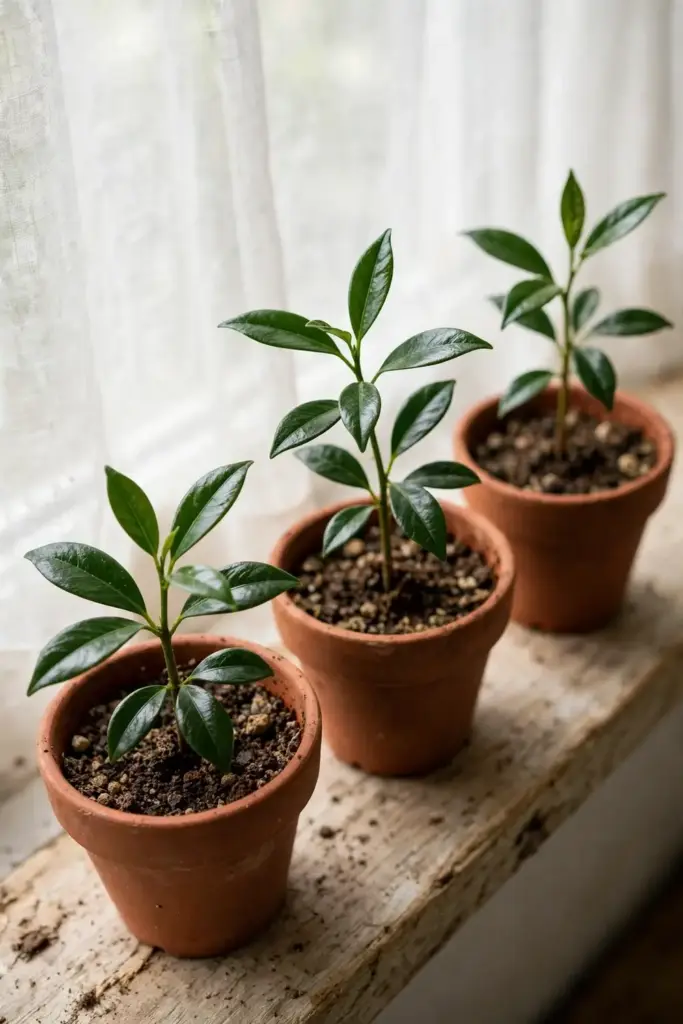
Feed nothing for the first two months. The seed’s own reserves carry the seedling until it has four true leaves; early fertilizer burns tender roots. When feeding starts, use a quarter-strength liquid feed, not the full rate. Seedling roots are fine and few, and a strong feed shocks them. A seedling with deep green, glossy leaves and a stem thickening at the base is ready for the bigger pot in the next section.
8. Pot Up Into a 30 cm Container
Move the seedling to its long-term home at the start of its second spring. Choose a 30 cm diameter pot with large drainage holes; star anise hates wet feet, and a pot without drainage is a slow drowning. Set the seedling at exactly the depth it grew before. Burying the stem invites rot at the soil line. Water the pot thoroughly after moving, then let the top 2.5 cm of mix dry before watering again. Expect the plant to sulk for two to three weeks after the move. New leaves, not flowers, are the sign it has settled.
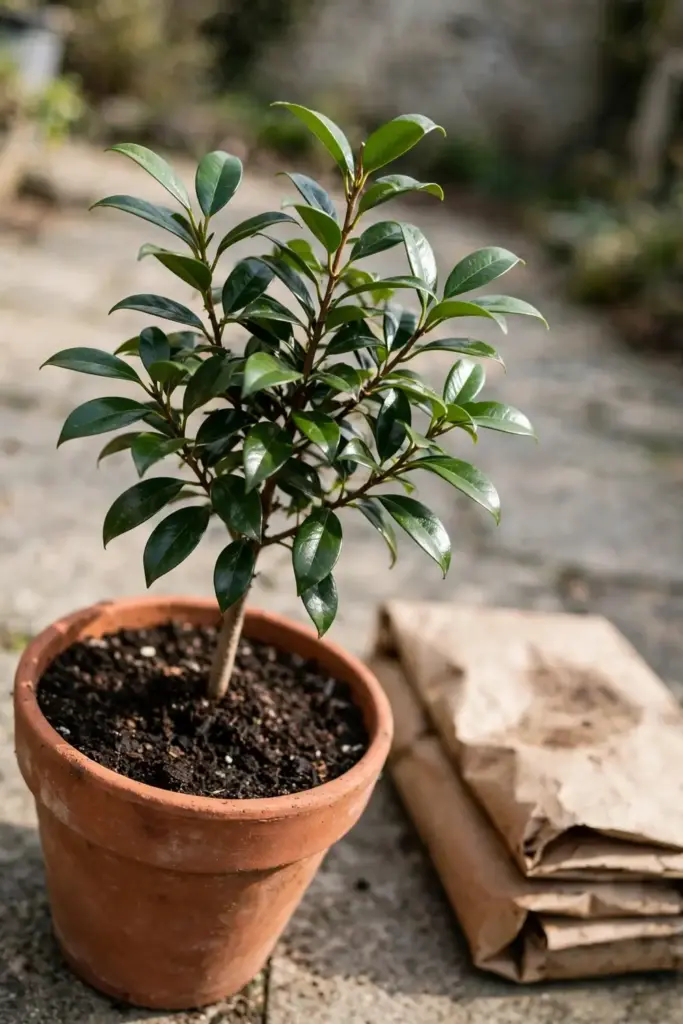
Pick the pot material with your climate in mind. Terracotta breathes and suits humid regions where the mix stays wet; plastic holds moisture longer and suits dry indoor winters. Either works if the drainage holes are generous. Repot into a fresh mix every two to three years, stepping up one pot size at a time. Star anise tolerates slight root crowding, but a root-bound tree in exhausted mix stalls for a whole season.
9. Build an Acidic, Organic-Rich Potting Mix
Star anise feeds like a forest-floor plant. Mix two parts pine-bark fines, one part perlite, and one part mature compost for a blend that drains fast yet holds the steady moisture this tree demands. Keep the mix slightly acidic, in line with the plant’s preference for acidic, organic-rich ground. Top-dress with 5 cm of composted bark each spring instead of digging the root ball. Roots near the surface feed first. A heavy peat-only mix stays too wet in winter and suffocates the roots.
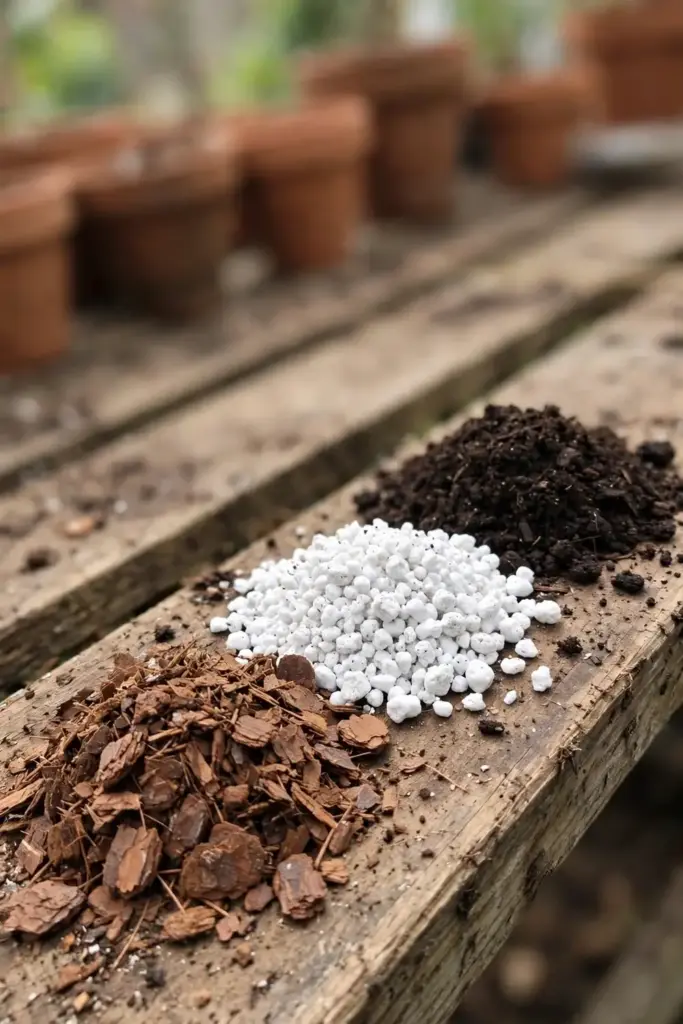
Test the mix before you commit the tree. Fill the pot, water it heavily, and watch: water should run from the drainage holes within seconds, and the surface should feel moist but not muddy an hour later. If water ponds on top, add more perlite. If it races through and the mix dries by evening, add more compost. Getting the mix right once saves years of fighting symptoms that look like disease but are really drainage.
Rainwater beats tap water for this tree. Star anise wants acidity, and hard tap water creeps the mix alkaline a little with every watering. If your tap water leaves white crusts on pots, collect rainwater for the star anise, or let tap water sit uncovered overnight so the chlorine escapes. A thin layer of pine-needle mulch on the surface adds a whisper of acidity as it breaks down. Small inputs, compounded over six years, decide whether the leaves stay that deep glossy green.
10. Water Deeply and Mulch the Surface
Water until it runs from the drainage holes, then wait until the top few centimeters dry before watering again. In summer heat that rhythm may mean every second day; in a cool winter indoors it can stretch to ten days. A 5 cm bark mulch on the surface slows evaporation and keeps the shallow roots cool. Yellow leaves with wet soil mean too much water, not too little. More water never fixes yellow leaves on a drowned root ball.
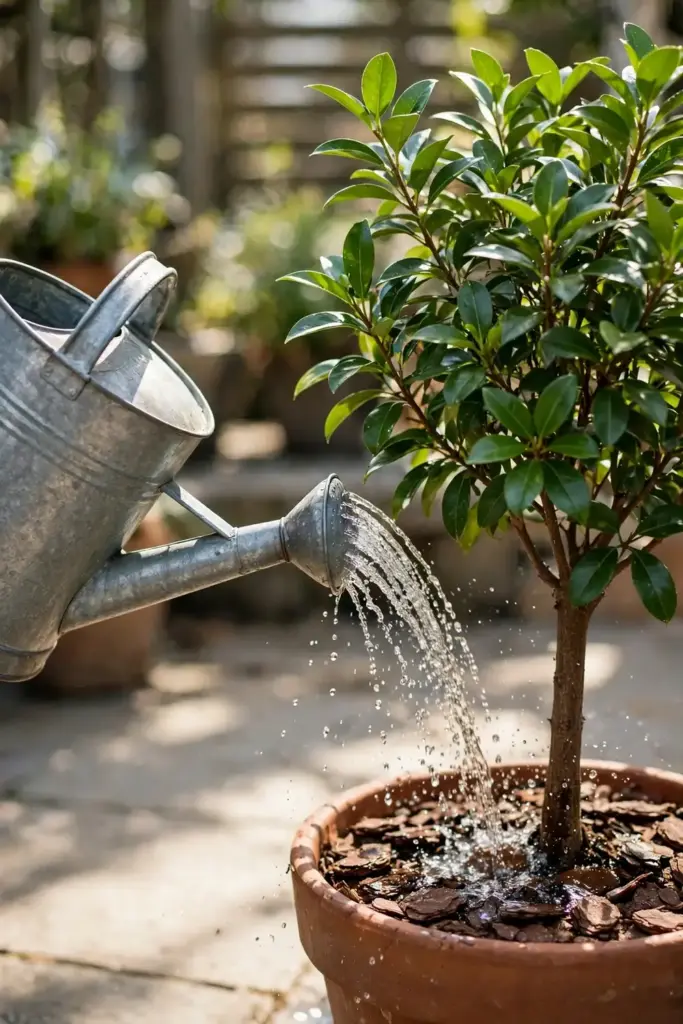
Learn the pot’s weight. Lift it after a deep watering and memorize the heft; lift it again before each watering. A light pot is thirsty, a heavy pot is not. This two-second test beats any moisture meter, and it works in every season. Indoors in winter, water in the morning so the surface dries before the cool night. Wet crowns and cold nights invite the fungal spots that disfigure the leaves.
11. Feed Lightly Through the Growing Season
Star anise is a light feeder. Spread a slow-release balanced fertilizer at half the label rate in early spring, and repeat once in midsummer. Flush the pot with plain water monthly to wash out accumulated salts, which show as brown leaf tips. Stop feeding six weeks before your expected first frost so new growth hardens before the cold. Soft autumn growth freezes first. Compost top-dressing in spring plus one midsummer feed outperforms heavy feeding every time.
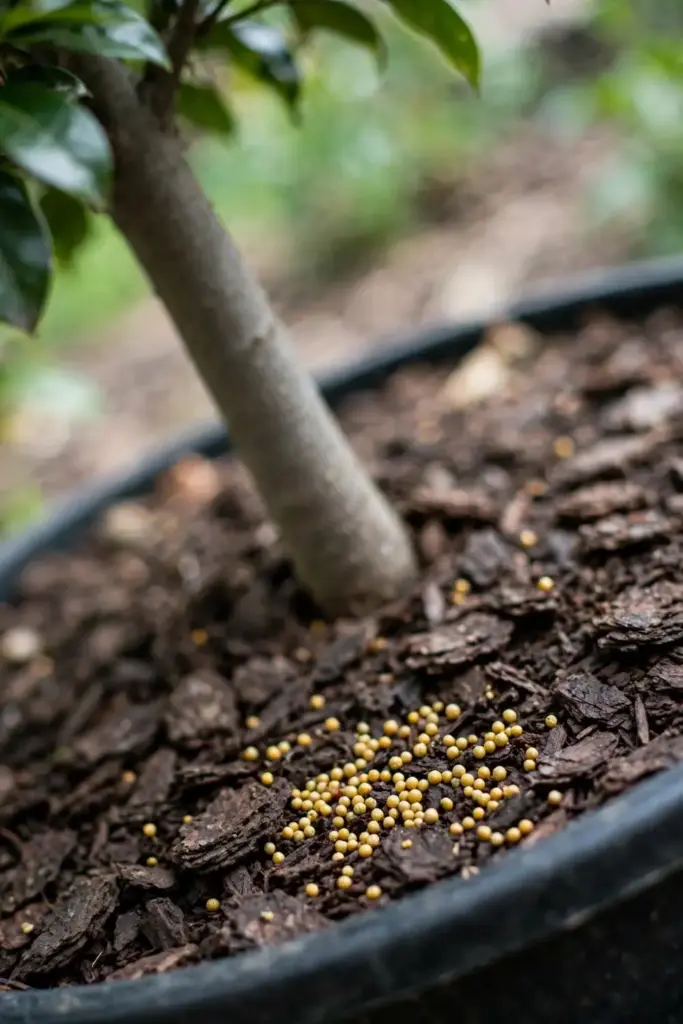
Watch the leaves, not the calendar, for hunger. Uniform pale green across the whole canopy suggests the tree wants nitrogen; yellowing between the veins while veins stay green points to iron trouble, common in mixes that drifted alkaline. A star anise that grows steadily and holds glossy dark leaves is fed enough. When in doubt, feed less. This tree evolved in lean forest soils and punishes excess faster than shortage.
12. Move the Pot Indoors Before the First Frost
This is the move the whole article exists for. When night temperatures threaten to dip below 7°C, carry the pot into a bright, cool room. A sunny window or a frost-free greenhouse at 10 to 15°C is ideal; a hot, dark corner is not. Cut watering roughly in half for winter and stop feeding entirely. Expect some leaf drop in the first indoor month. That shedding is adjustment, not death. Move the pot back outside only after nights reliably stay above 10°C, hardening it off over ten days.
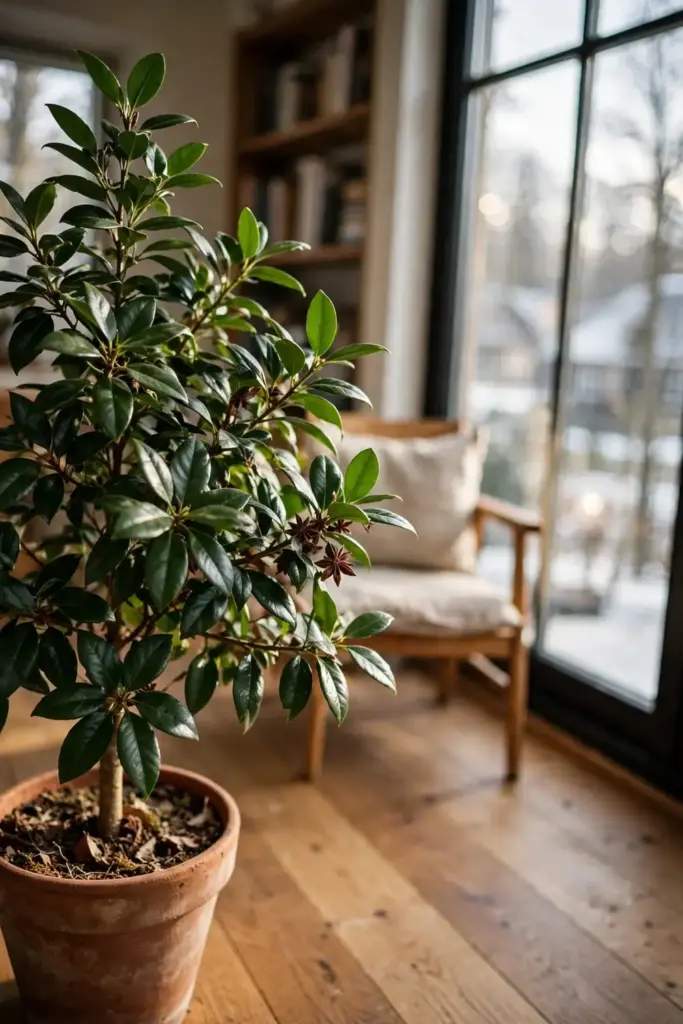
Harden off in both directions. Bringing the tree in is a shock, and so is putting it back out. In spring, set the pot in full shade for three days, then morning sun for a week, then its summer spot. Leaves grown indoors sunburn in direct spring sun within hours. In autumn, reverse the process over a week before the real cold arrives. Ten patient days each way prevent the leaf drop that panics first-time growers.
A simple LED grow light changes the winter game. Twelve to fourteen hours of supplemental light keeps the tree photosynthesizing instead of merely surviving, and the leaves stay green instead of thinning. Hang the light 30 cm above the canopy on a timer; no fancy spectrum needed, a basic full-spectrum panel works. The tree still rests in winter, just less desperately. Come spring, a tree that held its leaves under lights resumes growth weeks ahead of one that dropped half its canopy in a dark corner.
13. Prune for Shape, Not for Size
Star anise needs little pruning. In late winter, remove dead, crossing, or inward-growing branches with clean shears, cutting just above an outward-facing bud. Pinch the tips of young plants in their first two years to encourage bushier branching. Never shear the canopy into a ball; the tree’s loose, layered form is what carries the flowers later. The spring pruning techniques for evergreen shrubs transfer directly. A hard haircut in autumn removes the wood that would have bloomed.
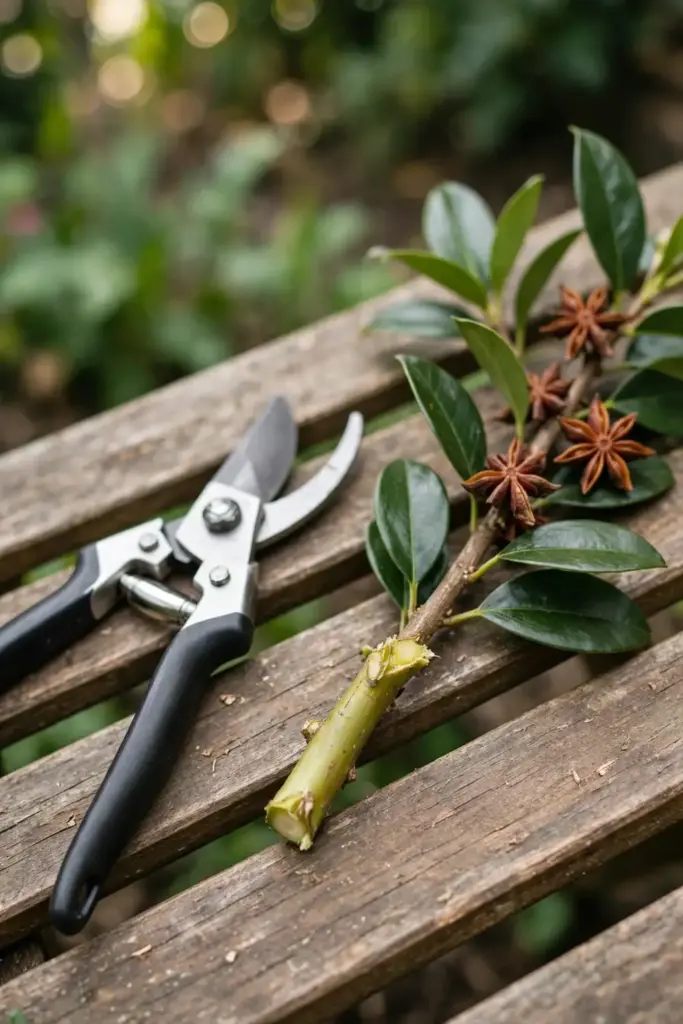
Disinfect the shears between cuts if you are removing anything diseased. A quick wipe with rubbing alcohol takes five seconds and stops you from painting infection across every cut. Step back after every third cut and look at the whole tree. Star anise forgives a missed branch; it does not forgive a lopsided crown you only notice from across the yard. Prune less than you want to. You can always take more next winter.
14. Watch for Aphids and Scale
Indoors, aphids and scale insects are the usual invaders, clustering on new shoots and the undersides of leaves. Check weekly through winter, when dry indoor air favors them. Blast aphids off with a strong jet of water; dab scale with a cotton swab dipped in rubbing alcohol. Outdoors, slugs and snails chew young foliage in wet springs; a ring of crushed eggshells around the pot deters them. Sticky honeydew on leaves means sap-feeders are overhead. Treat the insects, not the stickiness.
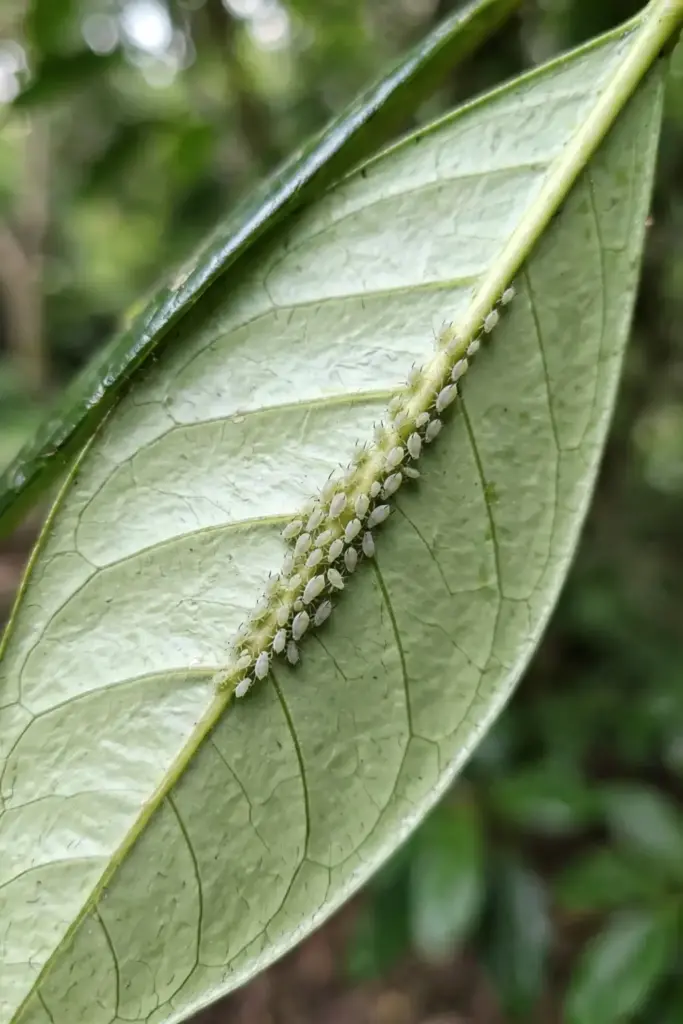
Quarantine new houseplants before they join the star anise indoors. Two weeks in a separate room reveals the hitchhikers that would otherwise colonize your tree all winter. Check the saucer and the pot rim too, because fungus gnats breed in the damp ring where the pot meets the tray. A thin layer of sand over the mix surface breaks their breeding cycle without any spray at all. If an infestation explodes despite your checks, insecticidal soap handles aphids and mealybugs without harsh chemicals; apply in the evening so wet leaves do not sunburn. Repeat after seven days to catch the hatchlings the first spray missed.
15. Harvest Green Pods and Sun-Dry Them Brown
Patience pays in year six and beyond. Pick the star-shaped fruits while they are still green and firm, before the pods split open on the tree. Spread them in a single layer on a tray in full sun, turning daily, until they turn deep reddish-brown and brittle. That drying step builds the familiar star shape and concentrates the aroma. Store the dried pods whole in an airtight jar away from light; ground pods lose their scent within months. Crack one pod before cooking to release the seeds’ full fragrance. Your first harvest will be small. It will also be the best-tasting star anise you have ever used.
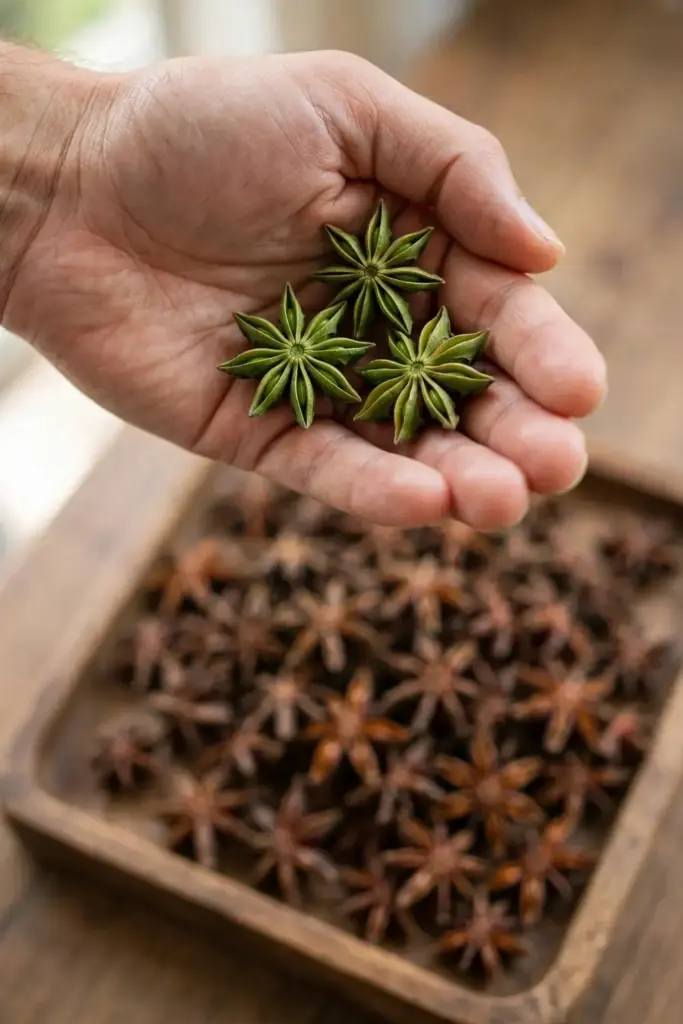
Time the picking by aroma, not just color. A ripe pod releases a strong licorice scent when you pinch a single point; an underripe pod smells faintly of green leaves. Harvest in the morning after the dew dries, when the pods are firm and the essential oils are at their peak. Leave a few pods on the tree each year. The tree sets fruit more willingly when it is allowed to complete its cycle, and the seeds inside those pods are next year’s seedlings if you want them.
Frequently Asked Questions
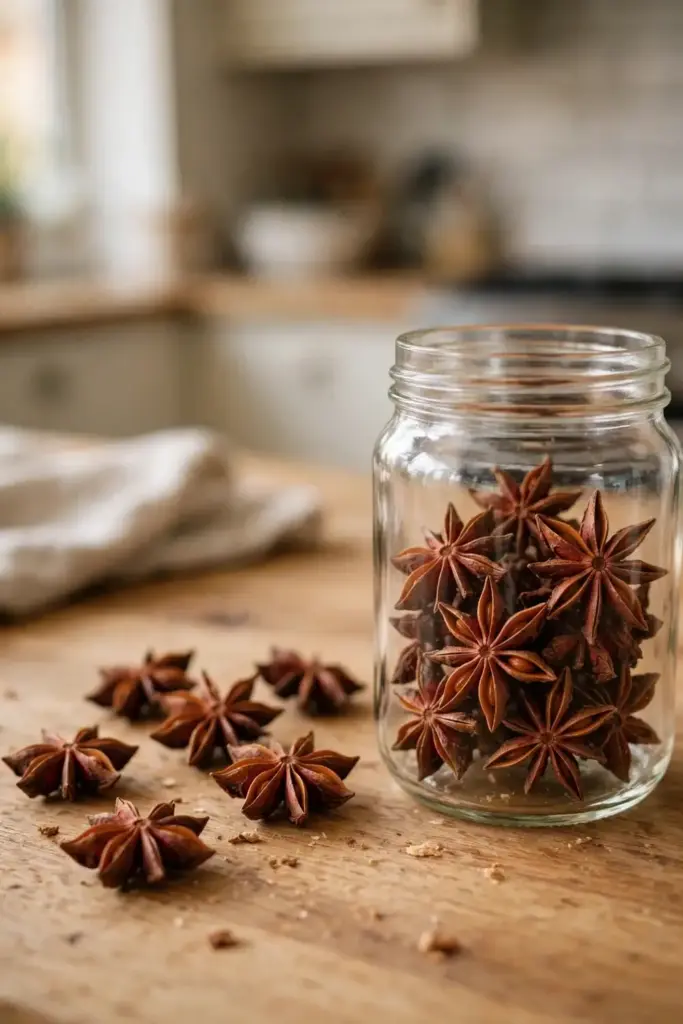
Usually not. Spice-rack pods are often heat-treated during processing, and even untreated pods may be years old, far past viable germination. Pods of unknown origin also carry the contamination risk with toxic Japanese star anise, which looks nearly identical once dried. Buy fresh, Latin-labeled Illicium verum seed from a seed house instead. The float test still applies: sinkers sow, floaters go.
No. Star anise is the dried fruit of Illicium verum, an evergreen tree in the Schisandraceae family. Anise seed comes from Pimpinella anisum, an annual herb in the carrot family. Both taste of licorice because both contain anethole, but they are not botanically related and they do not substitute one-to-one in growing guides. Japanese star anise (Illicium anisatum) is a third, toxic species that must never be confused with either.
Time is the usual answer. Seed-grown trees need at least six years before the first flowers appear, and a tree younger than that has not matured enough to bloom. After that, the common blockers are insufficient warmth, chronic underwatering during bud formation, and heavy shade. A tree kept permanently indoors in dim light may grow leaves for a decade without ever blooming. Move it into stronger light and keep waiting.
No. Illicium verum is reliably hardy only in zones 8 to 10, and a zone 7 winter will kill it to the ground or outright. Grow it in a container and move it into a bright, cool room before the first frost. The pot is not a compromise here; for most of the country it is the only method that works. Gardeners in zones 8 and warmer can plant in the ground with a thick winter mulch.
Where to Go From Here
Start the seeds now, even if year six feels impossibly far away. The clock only starts when you sow, and a tree started this autumn fruits a full season earlier than one you keep meaning to start next spring. Keep the pot mobile so winter never catches you. Keep the mix acidic so the leaves stay glossy. Keep the Latin name on the packet so the pods in your jar are the safe species. Fifteen moves sounds like a lot. Most of them happen once, in the first year. The rest is water, feed, and patience on repeat. Your spice rack will thank you in 2032.