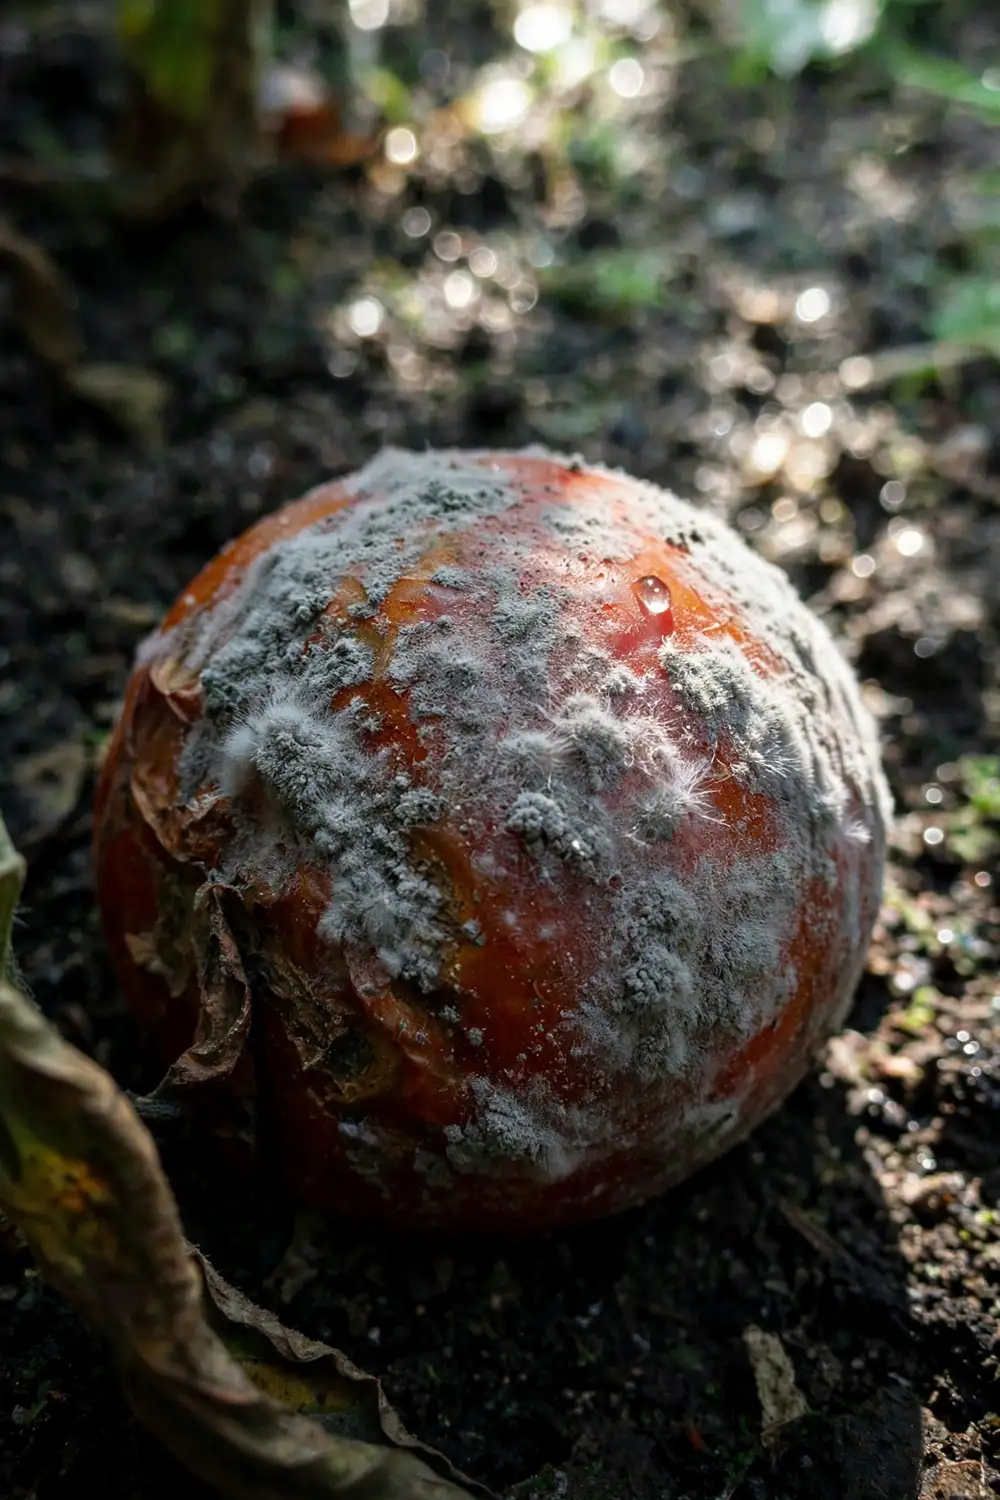

You find the gray fuzz on a Monday morning, coating a dying blossom at the bottom of your tomato plant like ash. By Friday it has crept 12 inches up the stem, and one fruit wears a ring of pale halos that look like fingerprints. That is botrytis blight, and it looks worse than it usually is: this disease almost never kills a whole tomato crop in a home garden, and most of the control work costs nothing.
Botrytis blight, also called gray mold, is a fungal disease of tomatoes caused by Botrytis cinerea. The botrytis blight tomatoes treatment that works in home gardens is mostly cultural: strip infected tissue, open the airflow, water at the soil line in the morning, and save any spray for prevention rather than cure. Fungicides protect new growth. Nothing resurrects tissue the fungus has already killed.
What Botrytis Blight Actually Is
Botrytis blight is the common name for gray mold on tomatoes, caused by the true fungus Botrytis cinerea. It ranks among the most widespread plant diseases on earth, able to infect hundreds of plant species, but on tomatoes it behaves as a weak pathogen: it almost always enters through wounds, dying blossoms, or aging tissue rather than attacking healthy green growth outright.
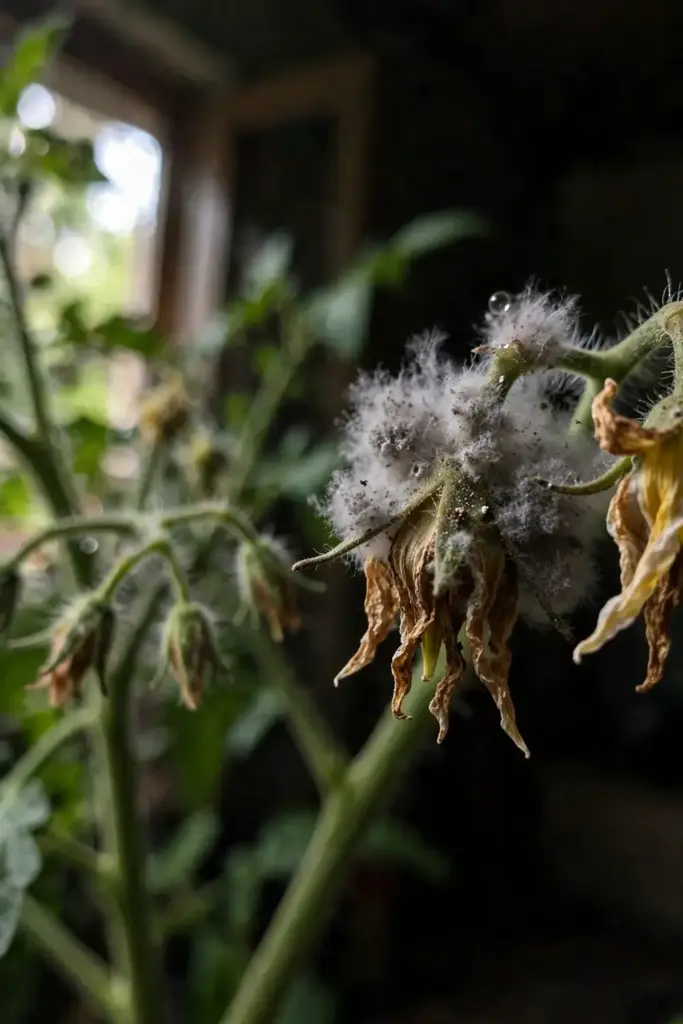
The spores are everywhere, all the time, floating on air currents and waiting for a wet leaf or a spent blossom to land on. Cool, damp weather is the trigger. Warm, dry weather suppresses it almost completely. That is why the disease explodes after a week of rain or heavy dew, and why it is primarily a greenhouse disease in commercial production and a wet-season problem in home gardens.
How to Identify Botrytis Blight on Tomato Leaves
The first sign is usually a tan or brown wedge-shaped spot on an older leaf, often starting where a fallen blossom petal landed on the foliage. Senescent flower parts that drop into the canopy are the classic starting point: the fungus colonizes the dead petal first, then moves into the living leaf.
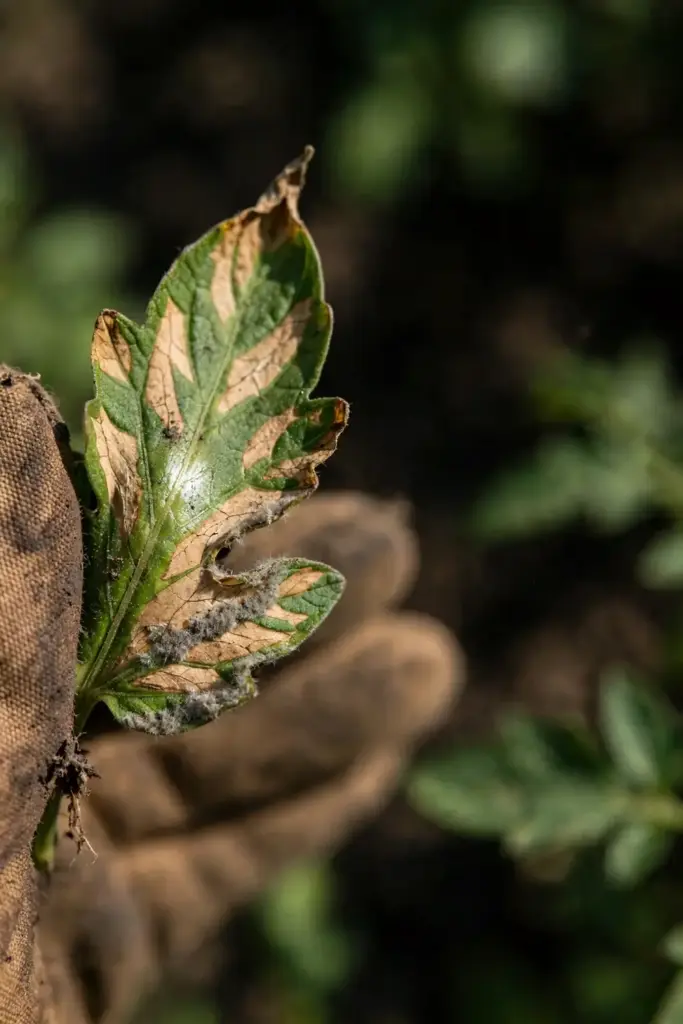
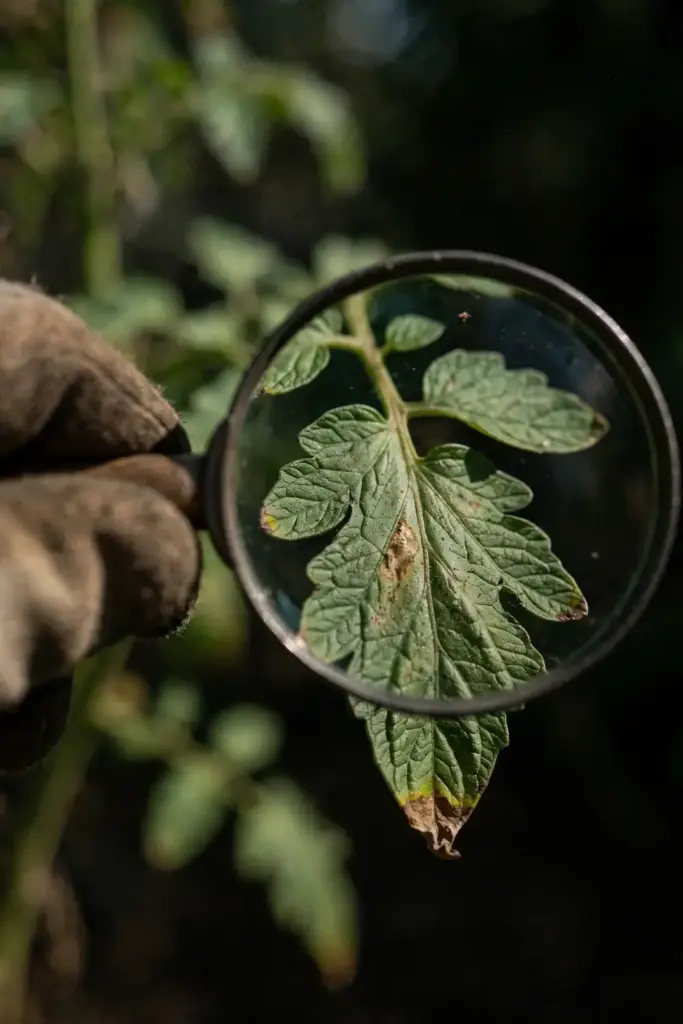
Under humid conditions the spots develop a gray, fuzzy coating. That fuzz is the sporulation, a cloud of grayish-white spores borne on branching stalks. A hand lens reveals the structure that extension diagnosticians describe as resembling a tiny bunch of grapes. If you brush the fuzz, a visible puff of spores rises. That single test separates botrytis from most other leaf spots, which stay flat and dry.
Severe leaf infections progress up the petiole and into the stem. Leaves yellow around the lesions, then collapse.
How to Identify Botrytis Blight on Stems and Blossoms
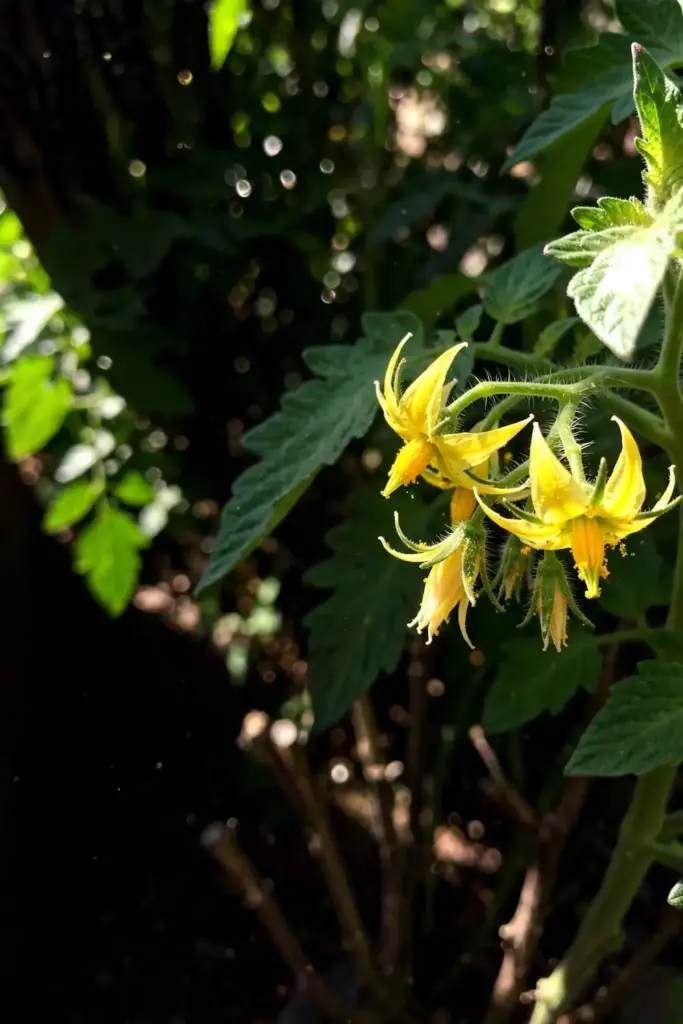
Blossoms are the most vulnerable entry point. Infected flowers turn brown and die, and the gray conidiophores cover the dying blossom and the calyx of the young fruit behind it. From the dead blossom the mycelium spreads in both directions: forward into the fruit and back toward the stem.
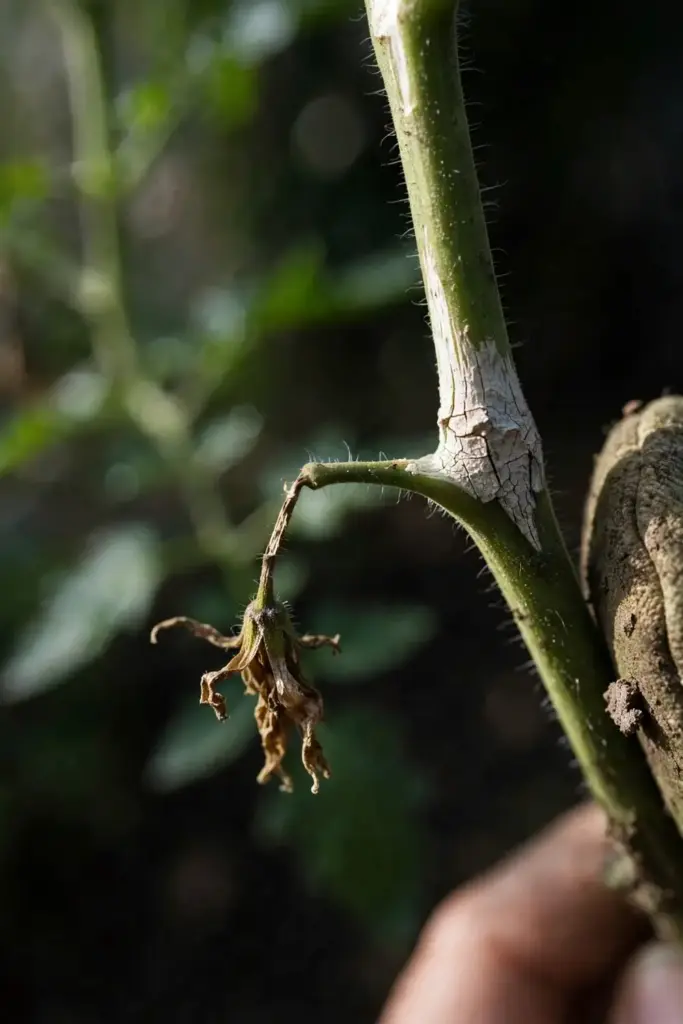
On stems the disease shows as tan to brown areas that can girdle the stem entirely. In humid weather those areas turn white and develop cankers, and the stem above the girdle wilts. This is the stage that kills plant parts, and it is the reason prompt removal of infected blossoms matters more than any spray.
How to Identify Botrytis Blight on Tomato Fruit
Fruit symptoms often start at the base of the calyx as a small round lesion that expands into a soft rot. The infected area turns light brown or gray, the flesh softens, and the fruit becomes covered with the characteristic fuzzy gray mass of spores. Pick these fruit immediately and bag them; do not drop them on the soil.
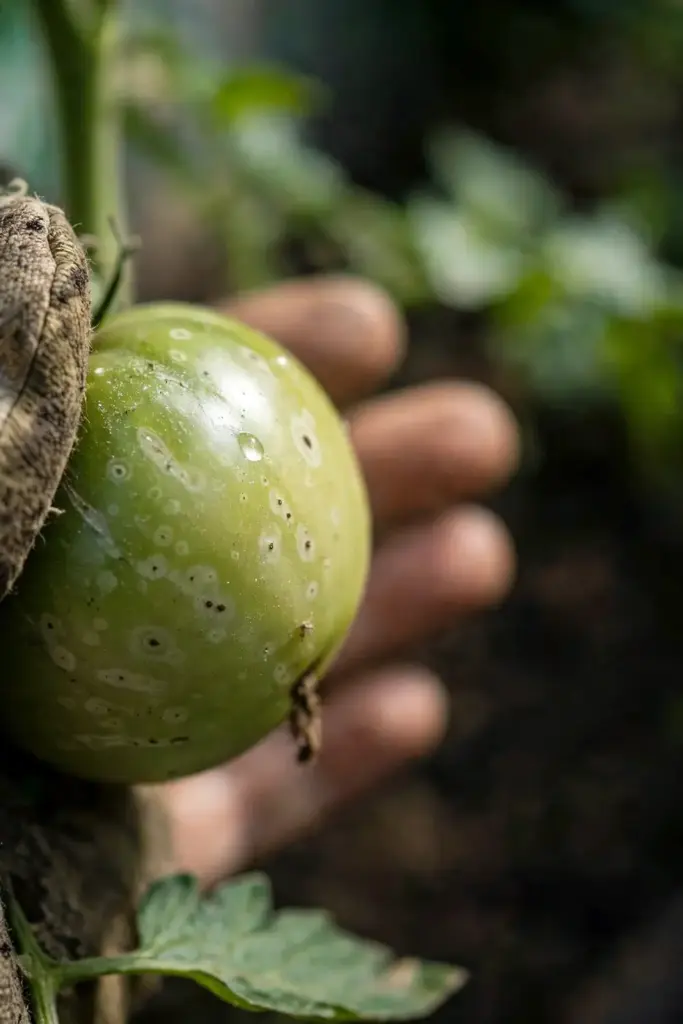
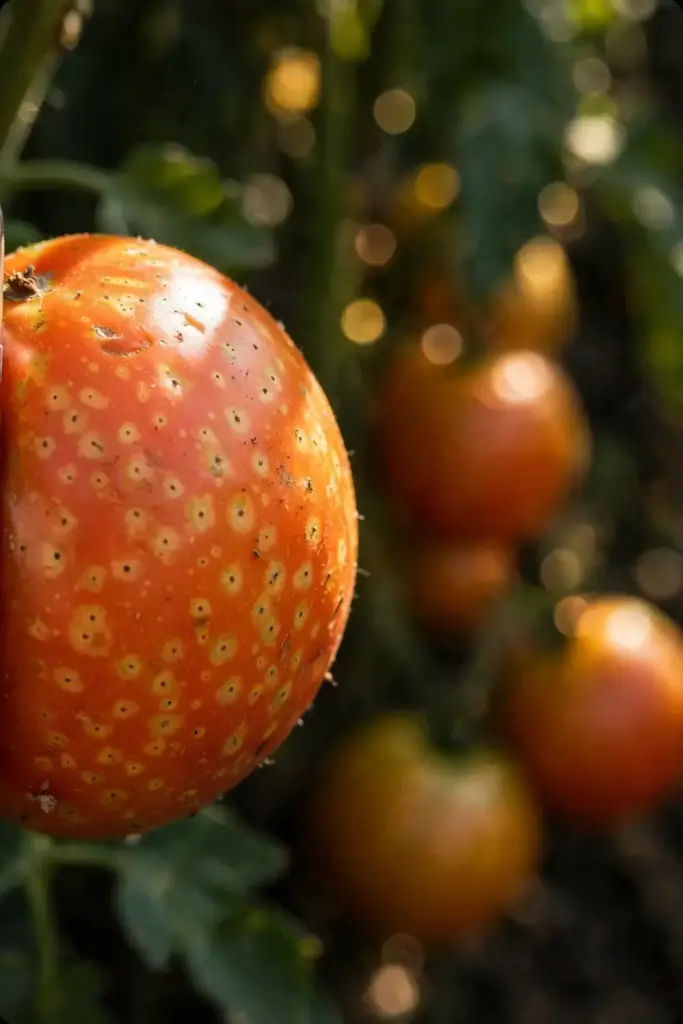
The subtler fruit symptom is the ghost spot. These are faint pale halos, 3 to 8 millimeters across, with a small dark fleck at the center. They form when airborne spores attempt an infection and fail: the halo marks the aborted attempt. White halos appear on green fruit and yellow halos on ripe fruit, and the spots rarely develop further. Ghost-spotted fruit is ugly but the flesh beneath is usually fine, and it is safe to cut away the spot and eat the rest.
Which Tomatoes Get Hit Hardest
No tomato variety carries true resistance to Botrytis cinerea. The disease has no known resistance in tomato cultivars, so variety choice is about exposure, not immunity.
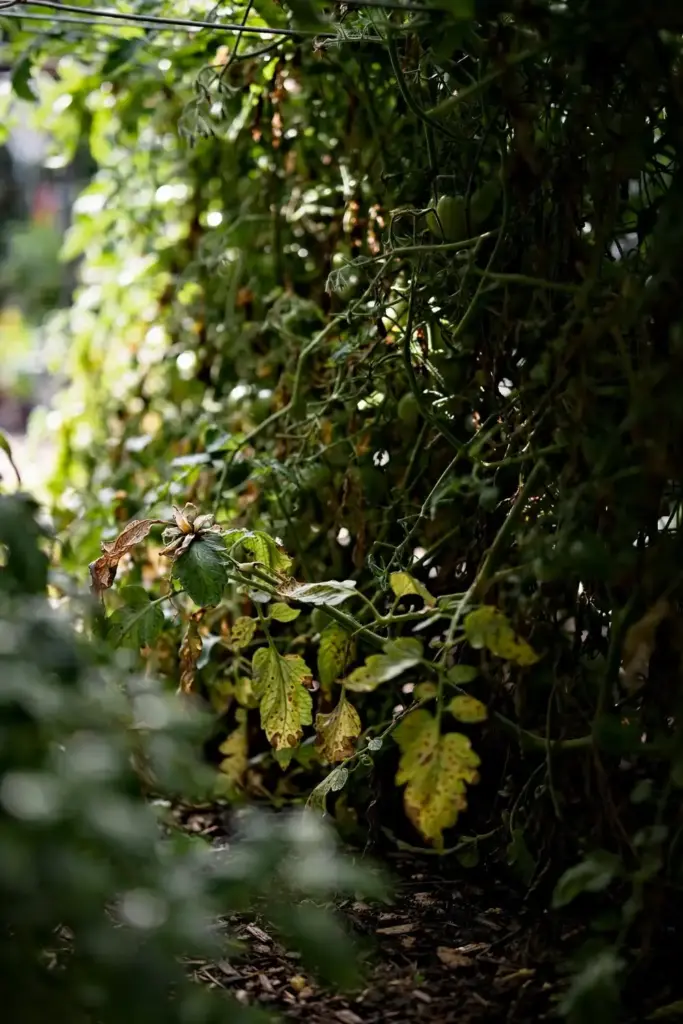
Indeterminate varieties grown in crowded cages get hit hardest, because their dense canopies hold humidity and their constant production of blossoms supplies endless entry points. Cherry tomatoes, which set dozens of blossoms at once, often show the first blossom infections of the season. Determinate bush types in open spacing fare better because air moves through them.
Greenhouse and high-tunnel tomatoes face the most pressure of all, since enclosed air stays humid and dew settles nightly. That is why the trade press treats this as a greenhouse disease, and why commercial growers run ventilation and heating programs a home gardener will never need. Your garden is a different battlefield: in an open home garden, the plants most at risk are the ones jammed against a fence, under an eave drip line, or in the low corner where morning fog lingers. Judge your own plants by their microclimate, not by greenhouse horror stories.
Botrytis Blight vs Early Blight vs Late Blight vs Septoria
Four diseases turn tomato foliage brown, and the treatment differs for each, so identification comes first.
| Feature | Botrytis blight (gray mold) | Early blight | Late blight | Septoria leaf spot |
|---|---|---|---|---|
| Signature mark | Gray fuzzy mold on dead tissue; ghost spots on fruit | Target-like concentric rings on older leaves | Greasy, water-soaked lesions; white mold under leaves in humidity | Small round spots with tan centers and dark borders |
| Where it starts | Dying blossoms, wounds, fallen petals | Oldest leaves at the bottom | Anywhere, often after wet weather | Lower leaves, moves upward |
| Fruit damage | Soft gray rot; ghost spots | Dark sunken spots at stem end | Firm brown rot spreading fast | Rarely touches fruit |
| Weather driver | Cool and wet | Warm and wet | Cool and very wet | Warm and wet |
| Speed | Moderate; follows wounds | Slow, steady | Explosive; can kill a plant in days | Moderate |
When in doubt, look for the fuzz. None of the other three produces the gray sporulating coating, and none makes ghost spots. Ohio State University’s vegetable disease diagnosticians use the same field marks: V-shaped brown leaf lesions progressing up the petiole, white stems with cankers, gray conidiophores covering dying flowers, and the hand-lens test for the grape-like spore clusters.
Why the Gray Fuzz Matters So Much
The fuzz is the disease’s entire reproductive engine, and understanding it explains every control measure below.
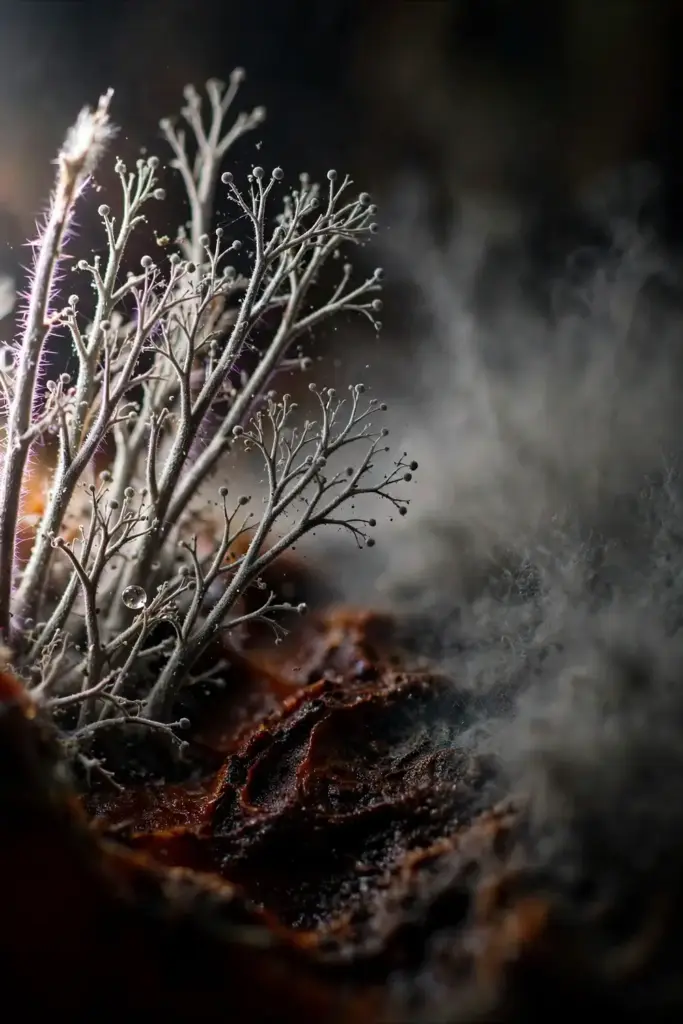
Each fuzzy patch is a spore factory, releasing thousands of airborne conidia that can start new infections wherever they land on wet tissue. The fungus also survives between crops as mycelium in plant debris and as small black resting bodies called sclerotia tucked into rotted fruit and stems. Those resting structures let it wait out dry spells and cold weather, then resume when humidity returns.
Because the spores are ubiquitous, eradication is impossible. You cannot spray your way to a spore-free garden. What you can do is break the infection conditions: keep foliage dry, remove the dead tissue the fungus colonizes first, and deny it the wounds and senescent blossoms it needs as beachheads. University of Florida vegetable specialists describe the same survival cycle: the fungus persists between crops in debris and soil as spores or resting structures, and airborne spores germinate only when free water sits on plant surfaces for prolonged periods. Every step below follows from that single mechanism.
What Makes Botrytis Blight Worse in a Home Garden
Overhead watering is the single biggest home-garden risk factor. Sprinklers wet the foliage and blossoms for hours, which is exactly the prolonged leaf wetness the spores need to germinate. Drip irrigation at the soil line removes most of that risk.
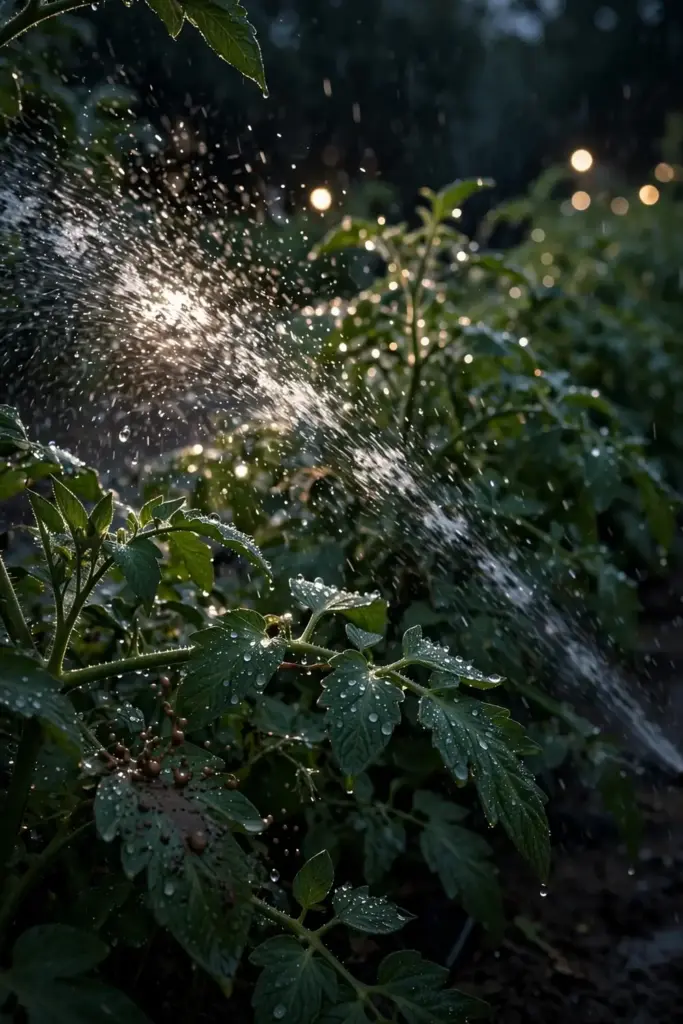
Crowding runs second. Tomato plants touching each other trap humid air in the canopy, and leaves stay wet long after the morning dew should have burned off. A plant that dries by 10 a.m. rarely gets botrytis; a plant still dripping at noon is a candidate.
Skipped pruning is the third factor. Suckers left to grow, dead lower leaves left hanging, and spent blossoms left on the plant all become colonization sites. The fungus is a weak pathogen that needs an invitation, and every dead petal in the canopy is one.
Excess nitrogen makes it worse too, by pushing soft, succulent growth with thin cell walls that the fungus penetrates easily. Heavy compost or fertilizer late in the season, when humidity is already high, is the classic setup.
Step 1: Decide Whether Your Plant Is Worth Saving
Start with an honest assessment, because the botrytis blight tomatoes treatment plan depends on how far the disease has gone. Save the plant when the damage is limited to leaves, a few blossoms, and isolated fruit. Pruning out the affected tissue and fixing the conditions will carry a plant like this to harvest, and most home-garden infections fall in this category.
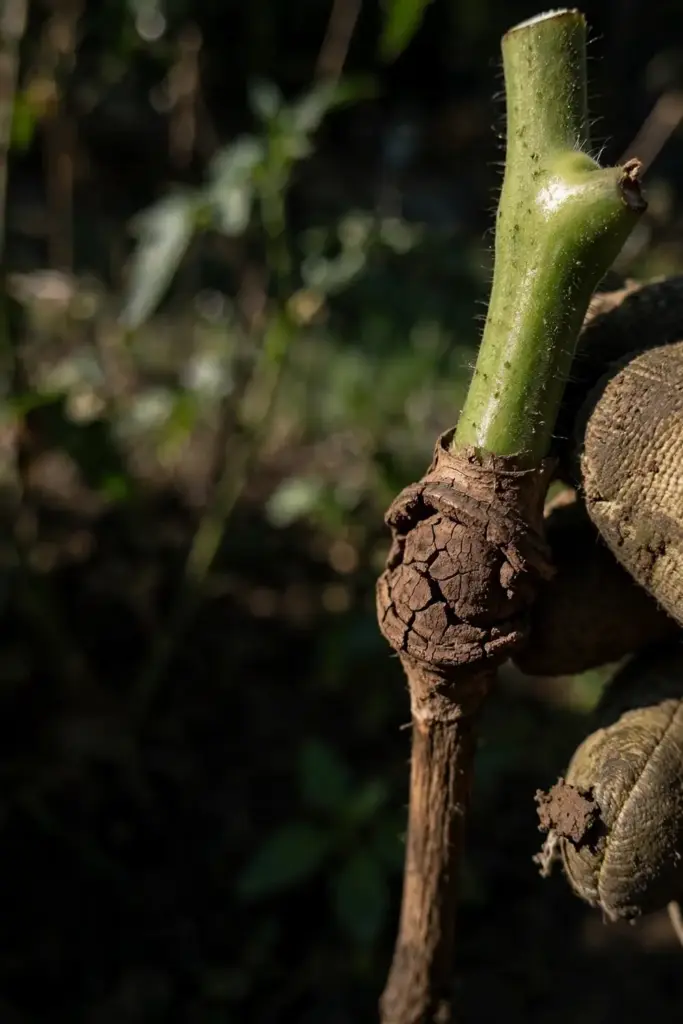
Consider pulling the plant when stem cankers have girdled the main stem, when more than half the foliage is dead, or when the plant is a determinate variety that has already set its main crop. A girdled stem cannot transport water no matter what you spray, and a dying plant becomes a spore factory that threatens its neighbors. Bag it, do not compost it, and replant the space with something from a different family.
This triage is the most valuable step in the guide. Everything after it assumes the plant is worth keeping.
Step 2: Remove Infected Tissue Without Spreading Spores
Work on a dry, sunny morning when the foliage is dry, because dry spores are less likely to stick to your hands and tools than wet ones. Carry a bag with you and put every removed piece directly into it. Never drop infected material on the soil or toss it into the compost pile, where sclerotia survive to infect next year’s crop.
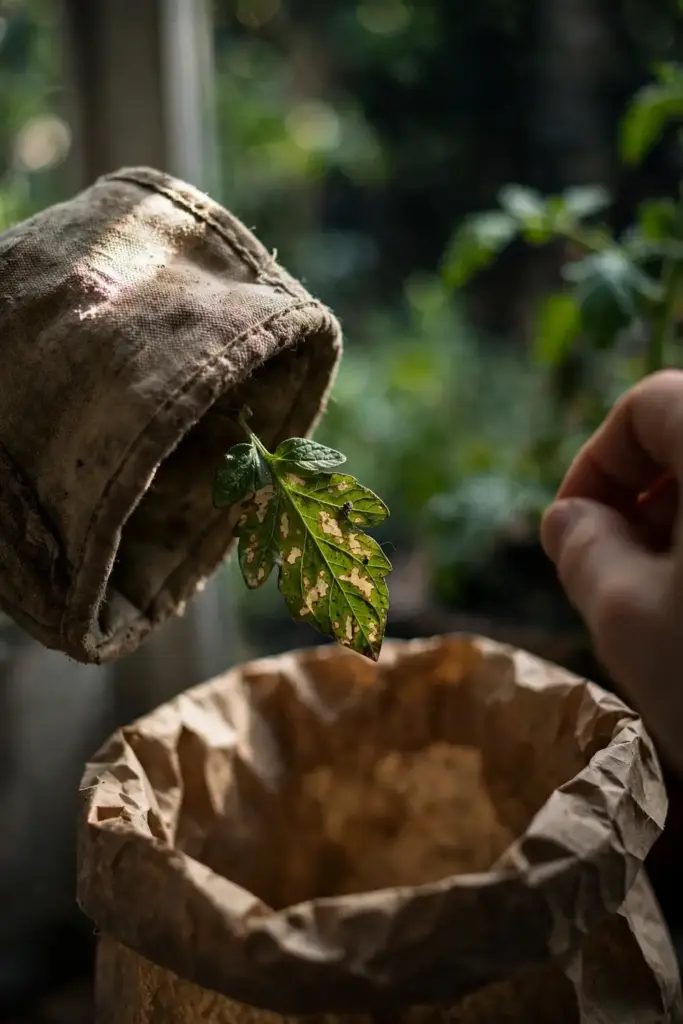
Cut at least an inch below any visible lesion on stems, and strip every dead blossom and spotted leaf you can reach. On fruit, remove anything with active gray mold; fruit with only ghost spots can stay, since those infections already failed.
Disinfect your pruners between plants with rubbing alcohol or a diluted bleach solution. It takes seconds and it stops you from becoming the vector.
Step 3: Open Up the Airflow
Airflow is the closest thing to a cure this disease has. Space plants at least 2 to 3 feet apart, prune suckers on indeterminate varieties so each plant has one or two main stems, and strip the lowest 12 inches of foliage so no leaf touches the soil or the mulch.
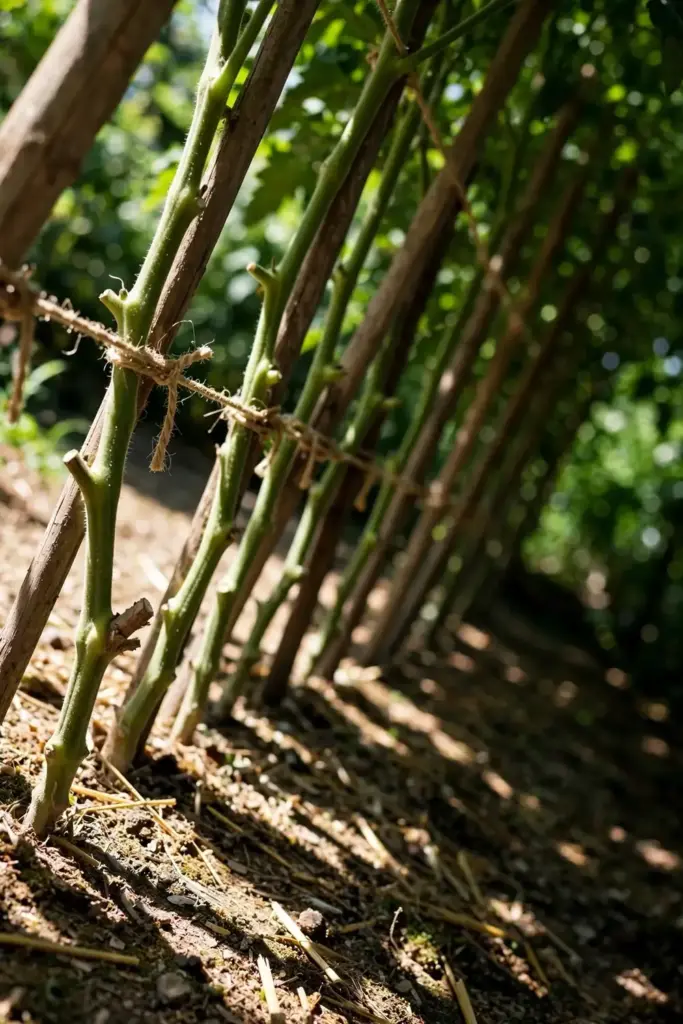
Stake or cage every plant. Fruit and foliage resting on wet ground stay wet, and ground contact is where stem infections often begin. A staked plant dries in a fraction of the time of a sprawling one.
If your plants are already a jungle, thin gradually over several dry days rather than all at once. Massive same-day defoliation stresses the plant and opens fresh wounds, which is exactly what the fungus wants.
Step 4: Change How You Water
Switch to watering at the soil line, ideally with drip irrigation or a soaker hose. If you must use a hose or watering can, water the base of the plant and never the leaves.
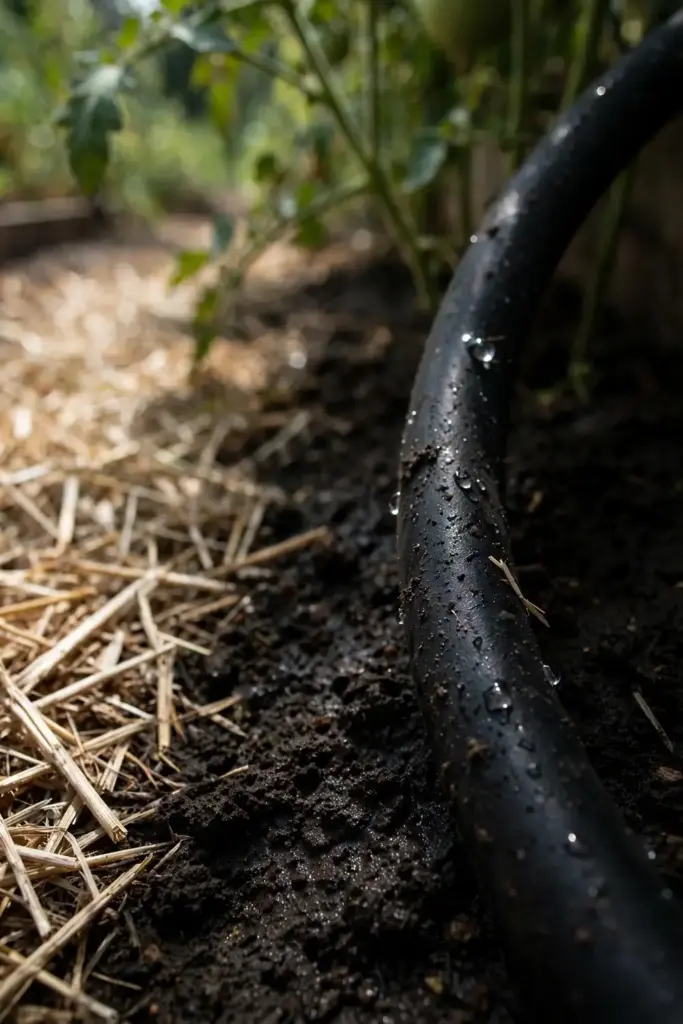
Water in the morning so any accidental splashes dry quickly. Evening watering leaves foliage wet all night, which is the prolonged wetness window the spores need. Mulch the soil surface with straw or shredded leaves to stop rain from splashing soil and spores up onto the lower leaves.
Cut back on frequency but water deeply. Shallow daily sprinkles keep the canopy humid; a deep soaking twice a week keeps roots happy and leaves dry.
Step 5: Try the Honest Home Remedies
The internet is full of home sprays for gray mold, so here is what the evidence actually supports.
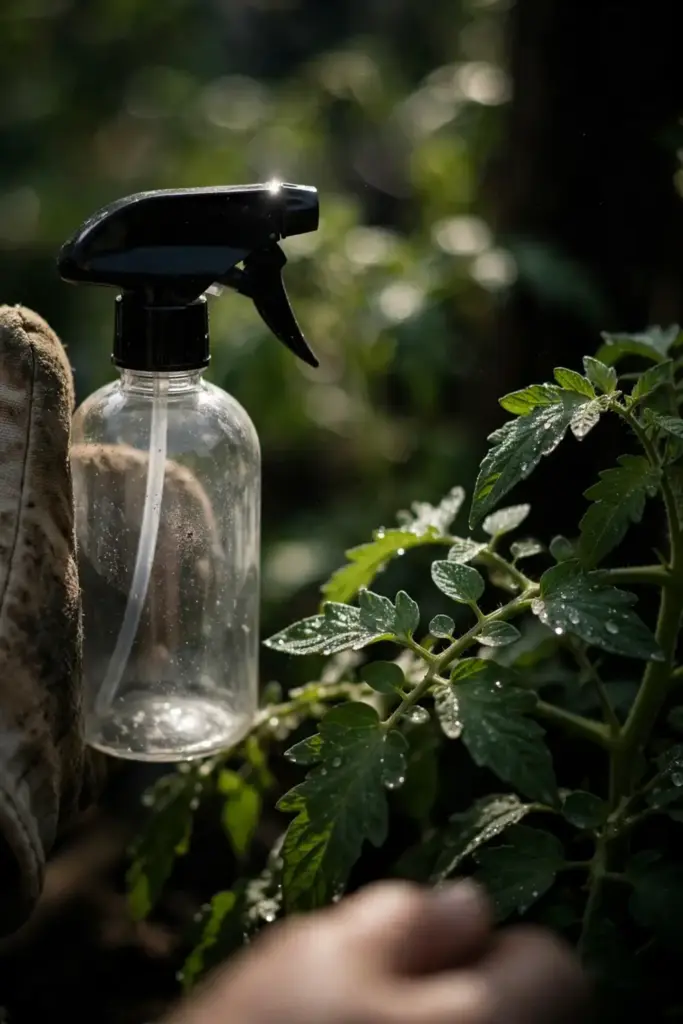
Baking soda sprays have genuine laboratory activity against Botrytis cinerea: published research found that bicarbonate salts inhibited the fungus’s growth on fruit in controlled studies. But those studies tested potassium bicarbonate on harvested grapes, not sodium bicarbonate from a kitchen box sprayed on tomato foliage in a garden. Potassium bicarbonate products formulated for garden use exist and perform better, with less risk of leaf burn. A homemade baking soda spray may suppress surface spores, but it will not cure an established infection, and at high rates it can damage foliage. Treat it as a mild preventive, not a rescue treatment.
Vinegar deserves a warning, not a recommendation. Some postharvest research combined bicarbonate with vinegar against gray mold on stored fruit, but that was a laboratory dip for harvested produce, not a foliar spray. Sprayed on living tomato leaves, vinegar can burn tissue, and burned tissue is exactly the wounded entry point the fungus exploits. Skip it.
Neem oil and horticultural oil have honest but limited roles: they can suppress spore germination on contact when applied before infection, during cool weather, and with complete coverage. They do not cure existing lesions. Never apply oils when temperatures exceed 90 F, or leaf burn follows.
Step 6: Use Fungicides Only as Protectants
If the disease keeps advancing after cultural steps, fungicides labeled for gray mold on tomatoes can help, but only with honest expectations: they protect healthy tissue from new infections. They do not heal spotted leaves, dead blossoms, or rotted fruit. Spraying a heavily infected plant without first pruning it is wasted money.
Chlorothalonil and copper products are the traditional home-garden options, applied on a 7 to 14 day schedule during wet weather. Rotate products rather than using one all season, because Botrytis develops resistance to single-mode fungicides quickly in commercial settings. Always read the label: rates, pre-harvest intervals, and protective equipment are legal requirements, not suggestions. Note that chlorothalonil sprays aimed at early blight or septoria often give incidental gray mold suppression too, which is one more reason a preventive program beats a rescue attempt.
Biological options containing Bacillus or Trichoderma species can supplement a program, with modest and variable results in home gardens. Consider them helpers, not heroes.
Stop spraying once warm, dry weather returns. The disease suppresses itself in those conditions, and continuing to spray is pure theater.
Step 7: Clean Up Ruthlessly at Season’s End
Botrytis survives the winter as mycelium in debris and as sclerotia in rotted fruit left on the ground. The single most effective thing you can do for next year happens after the last harvest.
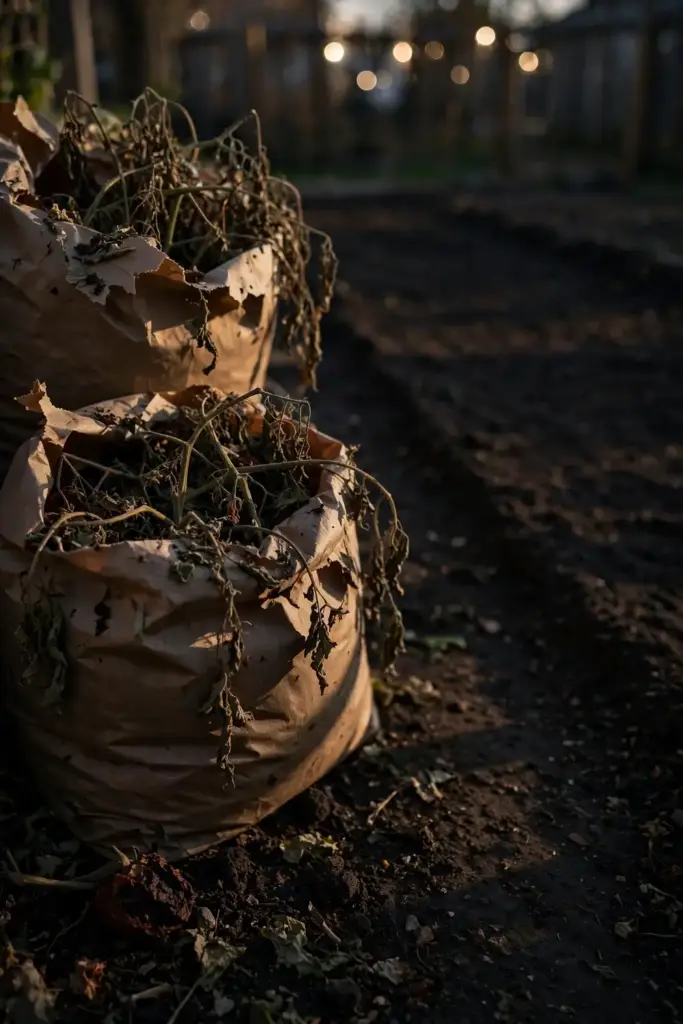
Pull every tomato plant, roots and all, and bag or burn the debris. Do not compost it; home compost piles rarely get hot enough to kill sclerotia. Pick up every fallen fruit, including the mummified ones hiding under the foliage, because those dried husks are sclerotia hotels. Wash cages, stakes, and ties before storing them.
Wash cages, stakes, and ties before storing them. Spores overwinter on surfaces too, and a quick scrub in spring beats a fungicide program in summer.
Step 8: Protect Next Year’s Planting
Rotate tomatoes to a bed that has not grown tomatoes, peppers, potatoes, or eggplant for 2 to 3 years. These crops share enough diseases that rotation breaks several cycles at once, and it costs nothing.
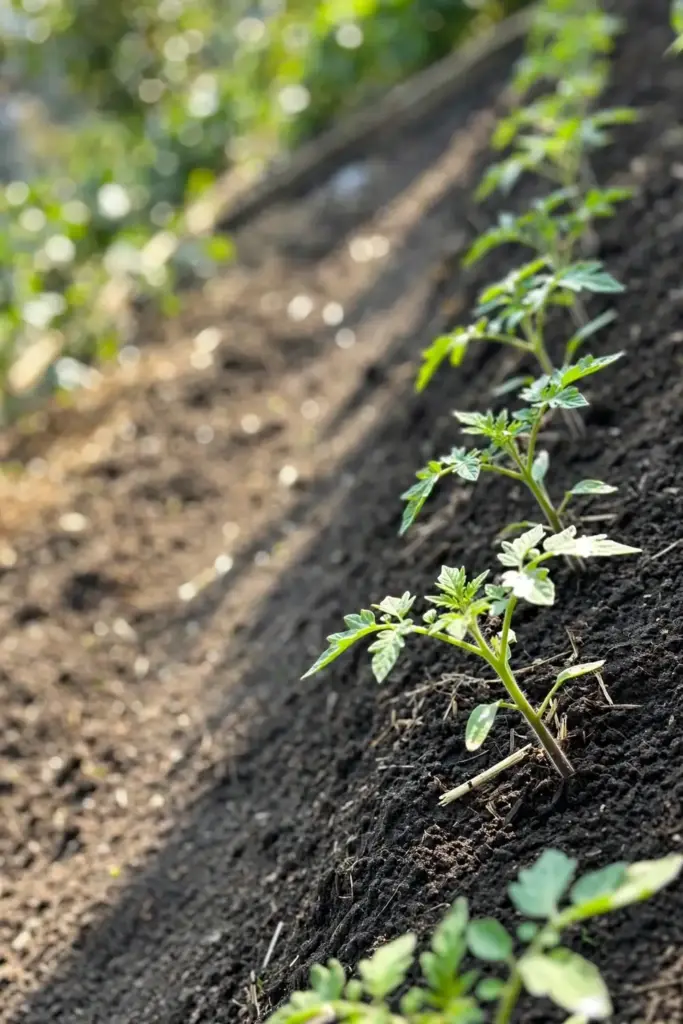
Start with clean transplants, either grown from seed in fresh mix or bought from a reputable nursery. Seedlings raised in reused potting mix can carry the fungus into the garden before the season starts, which is a miserable way to begin. For a refresher on starting clean, see this seed starting guide.
Choose the sunniest, breeziest spot you have, and keep the spacing and pruning discipline from the first week. Prevention planted in May beats treatment applied in July, every single year.
Living With a Tomato Patch That Already Has Botrytis
If you are reading this mid-outbreak with spotted leaves on every plant, take a breath: a garden with botrytis is not a ruined garden. The disease moves slowly compared to late blight, and plants routinely outgrow it once the weather dries.
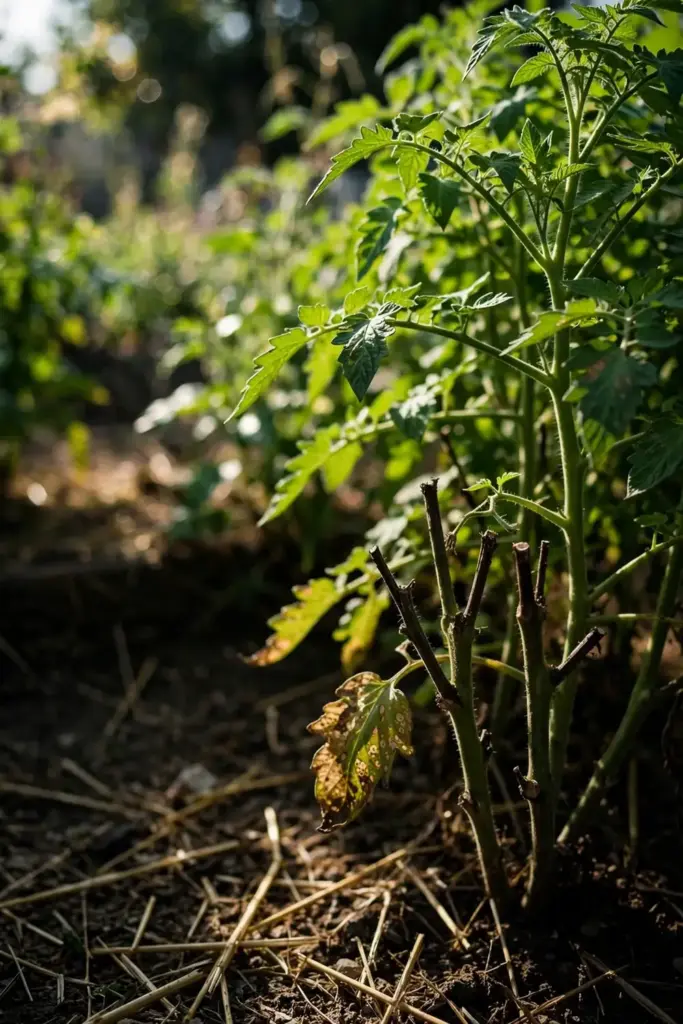
Shift your goal from eradication to management. Harvest fruit a day earlier than usual and ripen it indoors on the counter; fruit picked at first color escapes the late-season spore load entirely. Keep up the weekly sanitation pass, removing spotted leaves and dead blossoms on dry mornings, and accept some cosmetic damage on foliage. The plant can lose a third of its leaves and still produce a full crop.
At season’s end, run the Step 7 cleanup without mercy. A garden that hosted botrytis this year starts clean next year only if the debris leaves the property.
One more habit pays off in an infected patch: scout the blossoms, not just the leaves. Because the disease so often starts in dying flowers, a sixty-second pass that pinches off spent blossoms on a dry morning removes tomorrow’s leaf lesions today. Most gardeners check fruit and ignore blossoms, which is exactly backward for this disease. Make the blossom check part of your watering routine and you will catch infections at the one stage where removal actually stops them.
Frequently Asked Questions
No spray cures tissue the fungus has already killed. What you can do is stop the spread: remove infected leaves, blossoms, and fruit, improve airflow and watering, and apply protectant sprays to healthy growth. The plant then outgrows the damage. Think of treatment as firebreaks, not fire extinguishers. Plants with only leaf and blossom damage usually recover fully once dry weather returns.
Most home-garden plants survive botrytis blight. It is a weak pathogen that colonizes dead and wounded tissue first, so a plant with spotted leaves and a few moldy blossoms keeps producing while you clean it up. The exceptions are plants with girdled main stems or more than half their foliage dead. Those rarely recover and are better pulled, bagged, and replaced.
Bicarbonate salts have shown antifungal activity against Botrytis cinerea in laboratory studies, but those tested potassium bicarbonate on harvested fruit, not kitchen baking soda sprayed on garden foliage. A homemade baking soda spray may mildly suppress surface spores as a preventive. It will not cure established lesions, and strong mixes can burn leaves. Formulated potassium bicarbonate garden products are the more reliable option.
Yes. Ghost spots are aborted infections: pale halos 3 to 8 millimeters wide where airborne spores tried to infect the fruit and failed. The flesh beneath is unaffected. Cut away the spot if it bothers you and eat the rest. Only fruit with active gray mold and soft rot should be discarded, and those should be bagged rather than composted.
Botrytis blight produces gray fuzzy mold on dead blossoms and wounded tissue, plus ghost spots on fruit. Early blight makes dry, target-like concentric rings on older leaves and dark sunken spots at the fruit stem end, with no fuzz and no ghost spots. Botrytis follows wounds and wet weather; early blight marches steadily up the plant from the oldest leaves in warm, wet conditions.
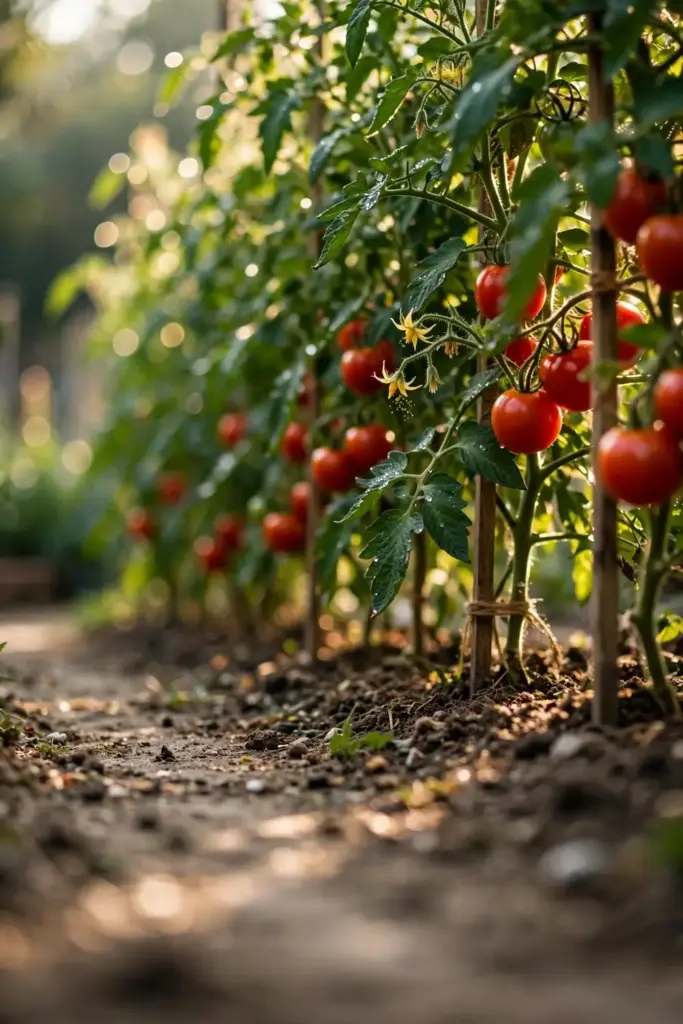
Rotate tomatoes to a fresh bed, start with clean transplants, space plants 2 to 3 feet apart, prune for airflow, water at the soil line in the morning, and strip spent blossoms weekly. End the season by removing all debris and fallen fruit from the garden. These cultural steps prevent more disease than any spray program, because they deny the fungus the wet, dead tissue it needs to start.
Where to Go From Here
Botrytis blight rewards the gardener who acts early and honestly: prune the dead tissue, dry the canopy, fix the watering, and let protectant sprays guard only the healthy growth. The botrytis blight tomatoes treatment that works is not a product. It is a set of habits, repeated weekly through the wet part of the season, that starve a weak pathogen of the conditions it needs. Start this week, while the damage is still small.
If the spots on your leaves lack the gray fuzz and the ghost spots, double-check the identification against a lookalike disease guide before treating, since the wrong diagnosis wastes a season. And when the season ends, give your soil the same attention you gave your plants with this soil health guide. A garden that drains well, breathes well, and starts clean is a garden where gray mold stays a footnote.