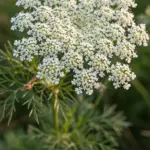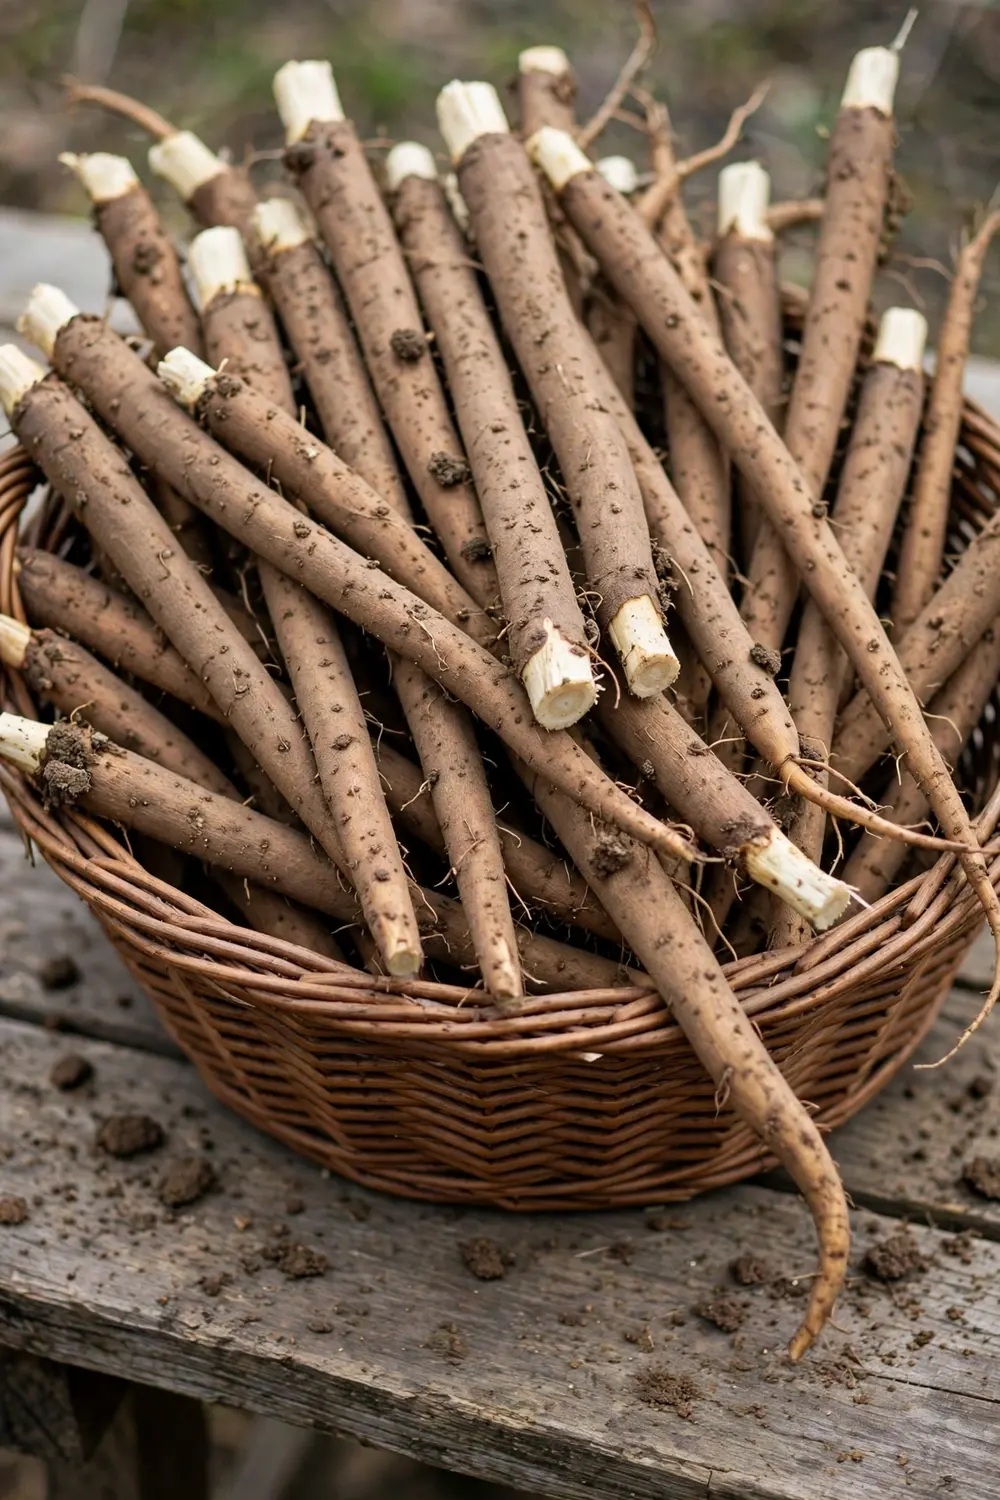

Burdock root rewards one thing above all else: 24 inches of loose, stone-free soil. Give the taproot room to plunge straight down and you get long, tender gobo roots worth cooking. Grow it in shallow, rocky ground and the root forks into a knotty mess. If you are learning how to grow burdock root for the first time, start by accepting the depth rule: the root wants to reach 2 to 3 feet down, so the soil bed must be prepared almost that deep before you sow a single seed.
That depth sounds dramatic, but burdock is otherwise an easy plant. It is Arctium lappa, a biennial grown in Asia as gobo, and in China as niu bang zi (牛蒡子). Gobo is the culinary name for the root, not a different species. The lookalike to watch for is common burdock (Arctium minus), the wild weed with smaller flowers and woolly leaf undersides, which you should never confuse with your planted crop. Here is the whole plan in 18 moves: pick cultivars that fit your season, build the deep bed, direct-sow after the soil warms, thin ruthlessly, pull every flower stalk, and dig the first-year roots before they go woody.
One more honesty note up front, and it is the kind that saves you a season. Fresh manure mixed into the planting hole causes the root to fork, and compacted or rocky soil does the same. This is why gobo growers obsess over soil texture: a smooth, sandy, deeply worked bed is the entire secret. Learn more about building that kind of living, crumbly bed in the guide to soil health and pest resistance.
1. The Burdock Reality Check: Two to Three Feet of Honest Root
Every burdock disappointment traces back to the same mismatch: a big, leafy plant sitting on top of a stunted, forked root. Gardening Know How puts the root at up to 3 feet long, and Nichols Garden Nursery tells growers to work the soil to a full 2 feet to accommodate the taproot. If your bed is only 8 inches of good soil over clay, the root hits the hardpan, splits, and turns into a branched tangle with thin, tough arms. Nothing about the plant is difficult; the difficulty is entirely in the soil preparation.
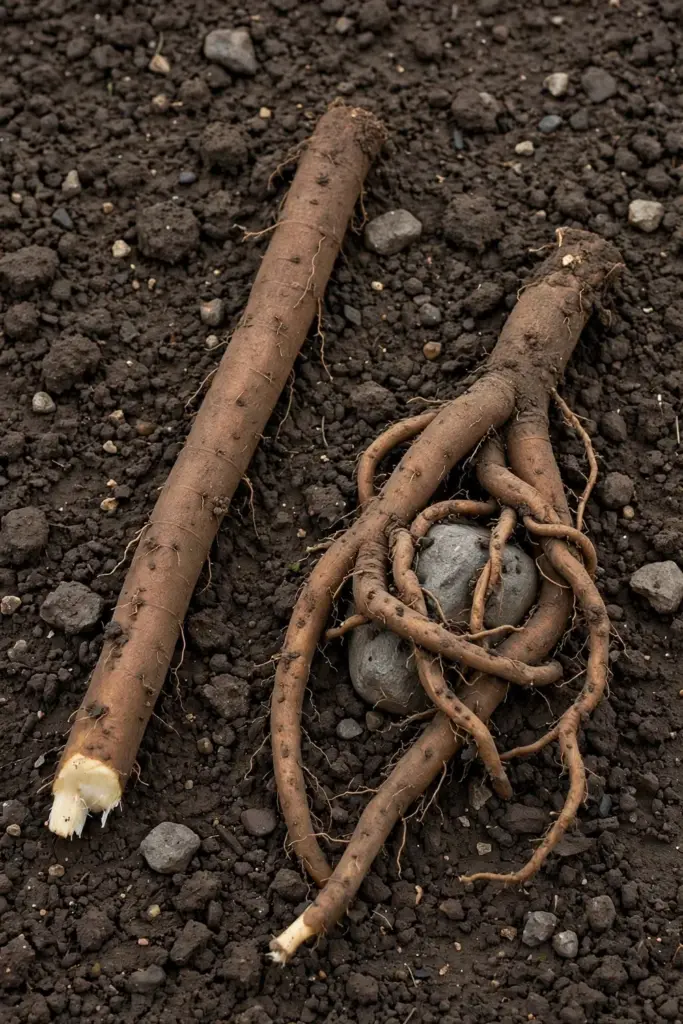
Treat the depth requirement as non-negotiable for the seedbed itself, and plan the harvest before you plant. Digging a 2-foot root out of flat ground without breaking it is the hardest physical work of this crop, which is why experienced gobo growers use towers, tubes, or raised beds with removable sides. You will see the full comparison later in the harvest step. For now, commit to this: choose the planting method at sowing time, not at harvest time.
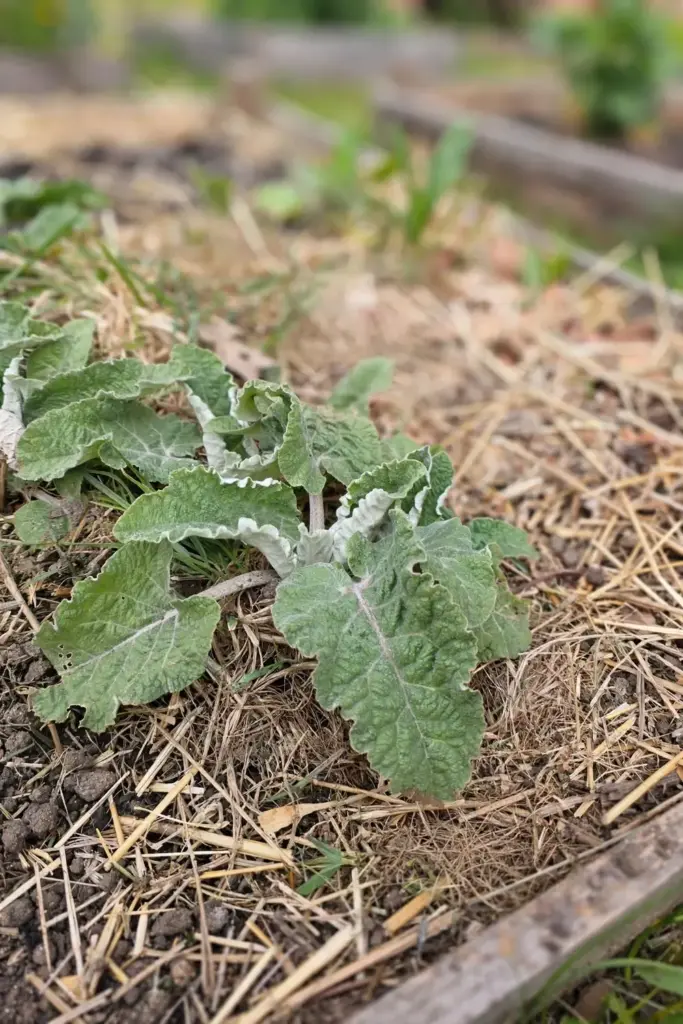
The biennial clock is the second reality check. In year one the plant makes a rosette of huge leaves and grows the taproot. In year two it bolts into a tall, branched stalk with purple flowers and burrs, and the root turns woody and inedible. Every root you intend to eat must be harvested in the first season, before flowering. Pinch off any flower stalks the moment they appear, because flowering is the signal that the root is finished.
2. Know Your Burdock: Gobo, Great Burdock, and Common Burdock
The name confusion around burdock is real, and it starts at the seed rack. Use this table to lock in the entities before you buy anything.
| Name | What It Is | Root Quality | Notes |
|---|---|---|---|
| Gobo | The culinary name for burdock root in Japanese cooking | Long, tender, earthy-sweet | Not a species. Any cultivated Arctium lappa root sold for cooking |
| Great burdock (Arctium lappa) | The cultivated species you want | Straight taproot, 2 to 3 feet in deep soil | Large flowers, solid leaf stalks; the eating crop |
| Common burdock (Arctium minus) | The wild roadside weed | Short, tough, bitter | Smaller flowers (1 to 2.5 cm), woolly leaf undersides; not the eating kind |
| Niu bang zi (牛蒡子) | The Chinese name for burdock seed, used in traditional practice | Not a root crop | Cultural angle, not a growing target; keep expectations culinary |
Growing great burdock from seed is the only path that makes sense for a home gobo patch. Transplants are a trap: the taproot hates disturbance, and a moved seedling almost always forks. Seed sellers agree on this point. Urban Farmer’s burdock guide says to direct-sow after the last frost, and Box Garden Seeds warns to move tray-started seedlings to their permanent spot before the taproot even begins to form, if you must start indoors at all. The practical rule is simpler: sow where the root will live.
3. Quick Growing Specs for Burdock Root
Pin these numbers to the shed wall. Every one of them is carried by a linked source below.
| Spec | Value | Source |
|---|---|---|
| Botanic name | Arctium lappa | NC State Extension |
| Life cycle | Biennial, roots harvested in year one | Gardening Know How |
| Root depth | 2 to 3 feet | Gardening Know How |
| Soil depth to prepare | 18 to 24 inches, loose and stone-free | Nichols Garden Nursery |
| Soil temperature for sowing | 65 to 75 degrees F | Nichols Garden Nursery |
| Sow depth | 1/8 to 1/2 inch, covered very lightly | Urban Farmer / Nichols |
| Germination | 7 to 14 days | Seed sellers (Johnny’s / deepgreenpermaculture) |
| Final spacing | 4 to 6 inches in the row | Nichols Garden Nursery |
| Row spacing | 18 to 36 inches | Box Garden Seeds |
| Days to harvest | 75 to 120, depending on cultivar | True Leaf Market / Nichols |
| Sun | Full sun to partial shade | UF/IFAS Extension |
| Soil pH | 6.0 to 7.5 | Urban Whip / extension consensus |
| Zones | 2 to 10 | Box Garden Seeds |
The germination note deserves a sentence of its own. Box Garden Seeds states plainly that burdock seeds will not germinate without sensing light, which is why the sow-depth range tops out at half an inch and why many growers barely cover the seed at all. Press the seed into moist soil, dust it with a whisper of soil or sand, and keep the bed evenly moist until seedlings appear.
4. Pick a Cultivar That Fits Your Season
All three of these are real, commercially available Arctium lappa cultivars sold by seed houses, and they differ mostly in root length and days to maturity. Picking the right one is the difference between a relaxed harvest and a race against the first hard freeze.
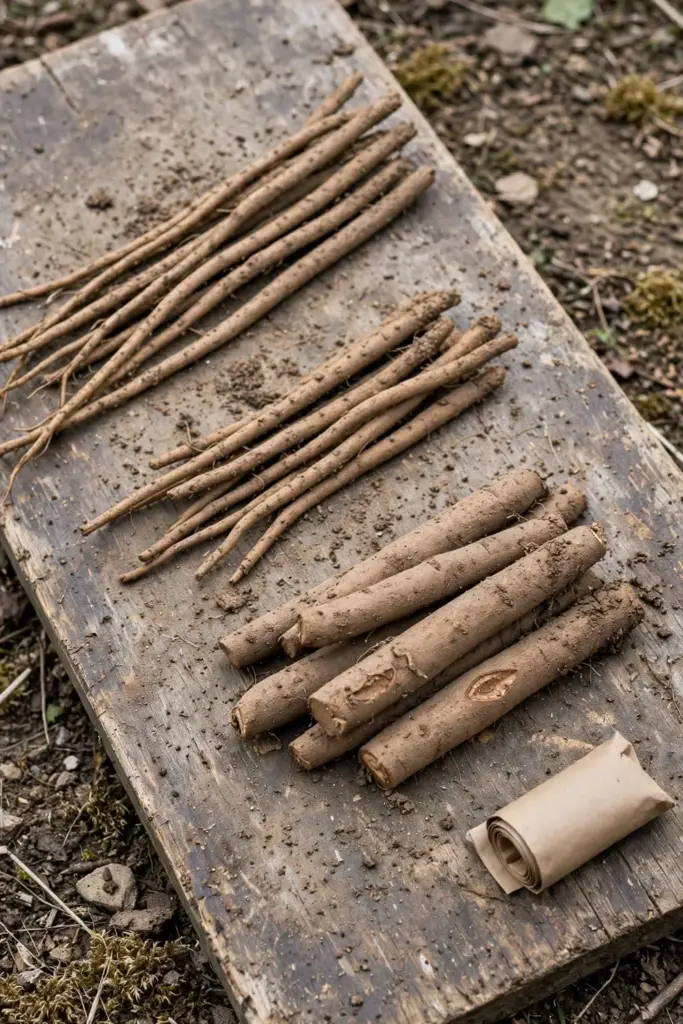
Takinogawa Long is the classic Japanese gobo: roots reach 36 to 48 inches in deep soil, with white flesh and brown skin, maturing in roughly 85 to 120 days depending on the seller. It is the finest-flavored option and the one most often photographed in gobo recipes, but it demands the deepest bed. Watanabe Early matures faster, in about 75 to 85 days, with a slightly shorter and very tender root. If your warm season is short, Watanabe Early is the safer pick. Ha Gobo is the quickest of the three at 65 to 75 days, sold by True Leaf Market as a cool-season annual type. Choose Ha Gobo when you want baby roots fast or when you are sowing late.
One seed-quality rule covers all three: buy fresh seed every year. Burdock seed loses vigor in storage, and a packet left in a hot garage for two summers will give you patchy germination. Store leftover seed cool and dry, and sow it the following spring at a heavier rate rather than trusting old seed for the main bed.
5. Tools and Materials
Gather everything before you sow, because the deep-soil step is a one-day job you do not want to interrupt.
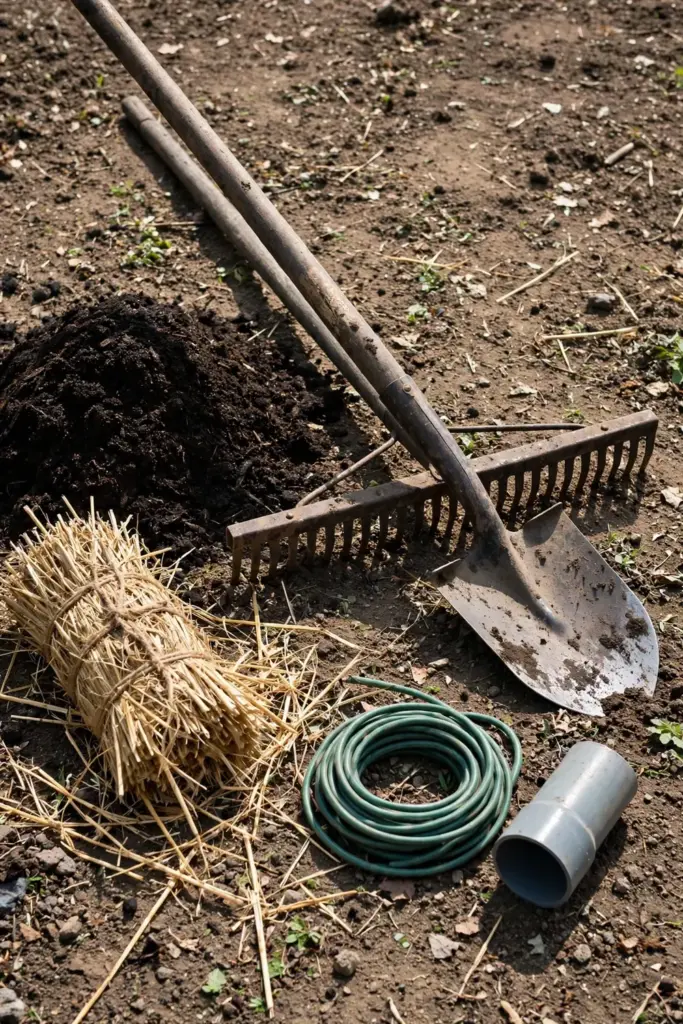
- Burdock seed of one cultivar (one packet covers a generous row)
- A spade and a digging fork for double-digging the bed
- Finished compost, aged at least six months (never fresh manure in the root zone)
- Coarse sand or fine gravel if your soil is heavy clay
- A rake and a garden line for straight rows
- Mulch: straw or shredded leaves
- A tall, narrow spade or a trenching shovel for harvest
- For the tower or tube method: a bottomless barrel, a wide ABS or PVC pipe section, or lumber for a raised bed with one removable side
- A kitchen knife, vegetable peeler, and a bowl of acidulated water for post-harvest handling
6. Step 1: Choose the Sunny, Honest Spot
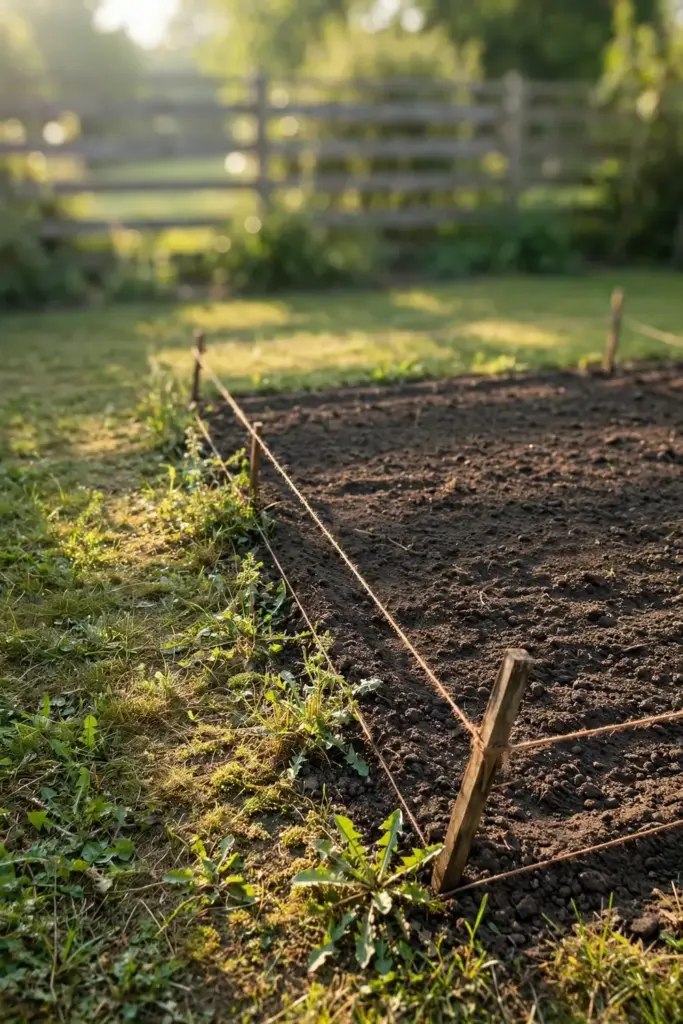
Burdock grows in full sun to partial shade, but roots are longest and straightest in full sun with warm soil. Pick a spot that gets at least 6 hours of direct sun and that you can leave undisturbed all season, because the bed becomes a construction zone at harvest. Avoid the edges of the lawn where mower wheels compact the soil, and avoid low spots that stay soggy after rain. Wet feet rot the crown and invite the few diseases burdock actually gets.
Think about the second year too. If any plant escapes your flower-stalk patrol and sets seed, burdock self-sows enthusiastically. A single neglected plant can scatter thousands of seeds, and each bur is built to catch a ride on fur, clothing, and tools. Site the patch where a rogue seedling is easy to spot and pull, not in the middle of a perennial border where it will hide until it is entrenched.
7. Step 2: Build Two Feet of Loose, Stone-Free Soil
This is the step that decides your harvest. Double-dig the bed: remove the top 12 inches of soil, loosen the next 12 inches with a digging fork, and pick out every stone larger than a marble. Work in finished compost as you backfill, but keep fresh manure out of the root zone entirely. Green Harvest’s burdock notes warn explicitly that fresh animal manure causes forking, and every gobo grower repeats the rule. Compost feeds the soil life; fresh manure deforms the root.
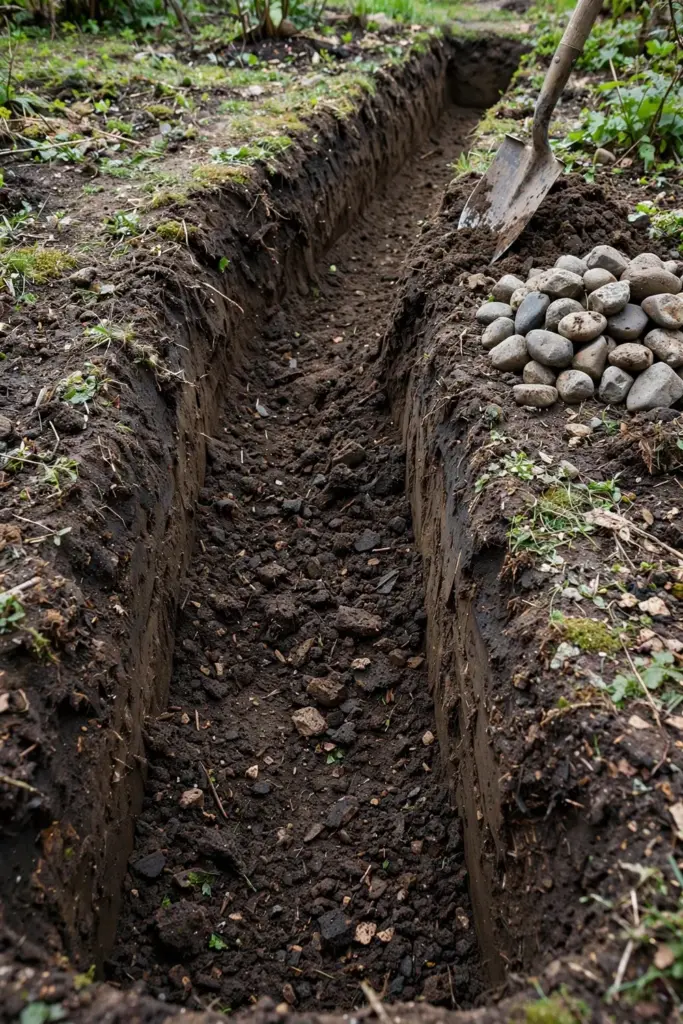
If your native soil is heavy clay, this is the moment to be ambitious rather than optimistic. Mix coarse sand through the full 24-inch profile, or switch to the raised-bed method described in the harvest step, where you control the entire root zone from the start. A sandy loam with a pH between 6.0 and 7.5 is the target. Rake the surface level, and let the prepared bed settle for a few days before sowing so the seed does not sink into soft pockets.
The payoff for this labor is a straight root. Johnny’s Selected Seeds, quoted across the scout’s AI panels, frames it as deep, loose soil of 1 to 2 feet to prevent forking. That single sentence is the whole agronomy of gobo. Everything else here is timing and harvest mechanics.
8. Step 3: Sow Direct After the Soil Warms
Wait until the soil has thoroughly warmed to 65 to 75 degrees F, which for most gardeners means after the last frost. Nichols Garden Nursery’s planting directions give that exact temperature window, and cold soil gives you slow, uneven germination instead of a quick stand. Sow the seed 1/8 to 1/2 inch deep, cover very lightly, and firm the soil gently so the seed has good contact. The seed needs light to germinate, so resist the urge to bury it.
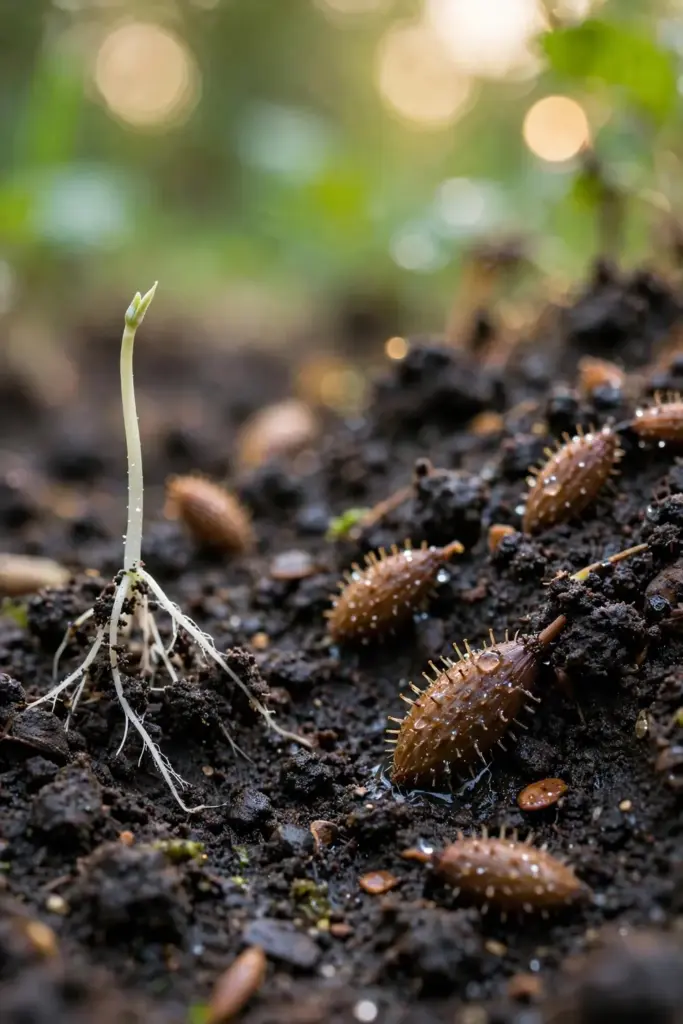
Space with the harvest in mind. Sow in rows 18 to 36 inches apart, and plan to thin the seedlings to 4 to 6 inches apart in the row once they are about 3 inches tall. Crowded roots compete and stay skinny, while properly thinned plants put their energy into one strong taproot each. If you started seed indoors to get a head start, transplant the seedlings out before the taproot begins to form, exactly as Box Garden Seeds advises, and handle them by the leaves, never the stem.
Water the seedbed gently after sowing and keep it evenly moist through germination, which takes 7 to 14 days. A light straw mulch laid after the seedlings are up holds moisture and suppresses weeds, but keep it pulled back from the crowns until the plants are established. This is how to grow burdock root the reliable way: warm soil, shallow sowing, and steady moisture for the first two weeks.
9. Step 4: Water Deep, Then Leave the Roots Alone
Once the seedlings are established, burdock is nearly drought-tolerant, but deep watering builds deep roots. Water thoroughly once a week in dry weather, soaking the bed rather than sprinkling the surface. Shallow daily watering encourages the taproot to branch near the surface, which is the opposite of what you want. A 2 to 3 inch layer of straw or shredded-leaf mulch keeps the soil evenly moist and cool through summer.
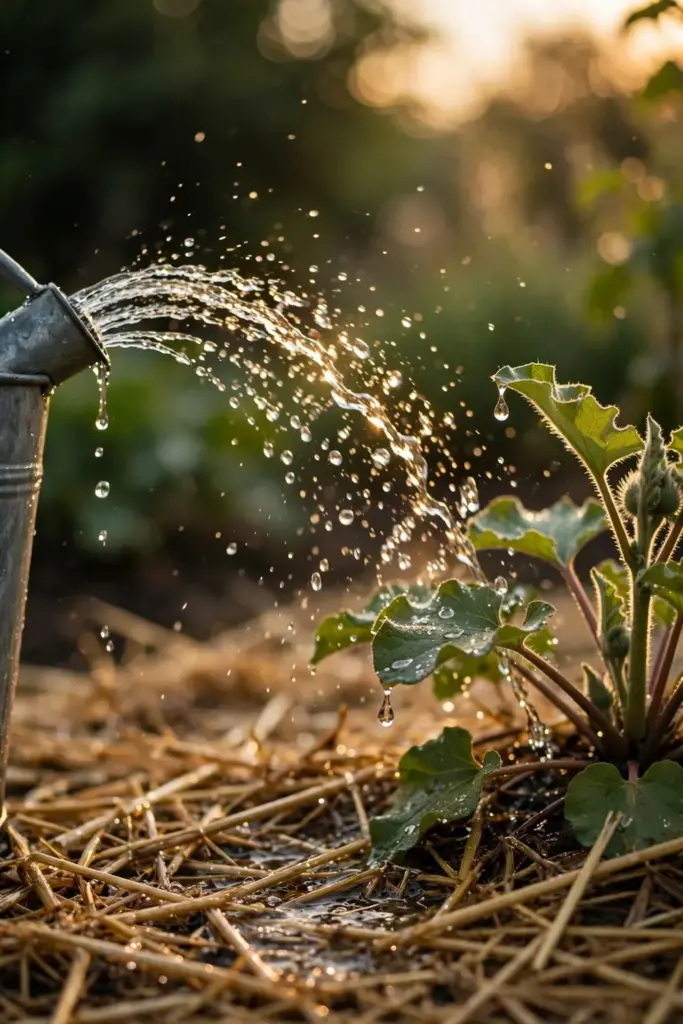
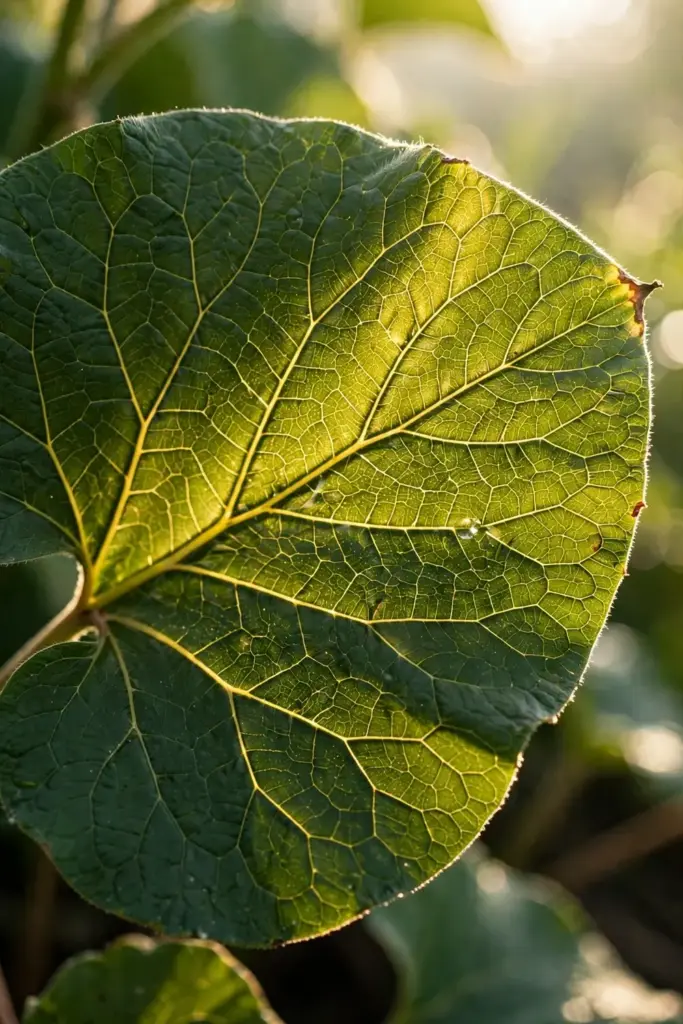
Do not cultivate around the plants with a hoe. The feeder roots spread wide near the surface, and every nick is an invitation to fork or rot. Pull weeds by hand when they are small, and let the burdock’s own huge leaves shade the ground as the rosette expands. By midsummer a healthy stand forms a living mulch of its own, and your job drops to the weekly deep watering and the flower-stalk patrol.
10. Step 5: Thin Ruthlessly and Pull Every Flower Stalk
Thinning feels wasteful and it is the highest-return job in this crop. When seedlings reach 3 inches tall, thin to one plant every 4 to 6 inches, keeping the strongest seedling in each spot. The thinned seedlings are edible: the young leaves can be cooked like spinach and the tiny roots eaten like baby carrots, so nothing is wasted. A crowded row gives you a bundle of thin, tangled roots; a thinned row gives you gobo.
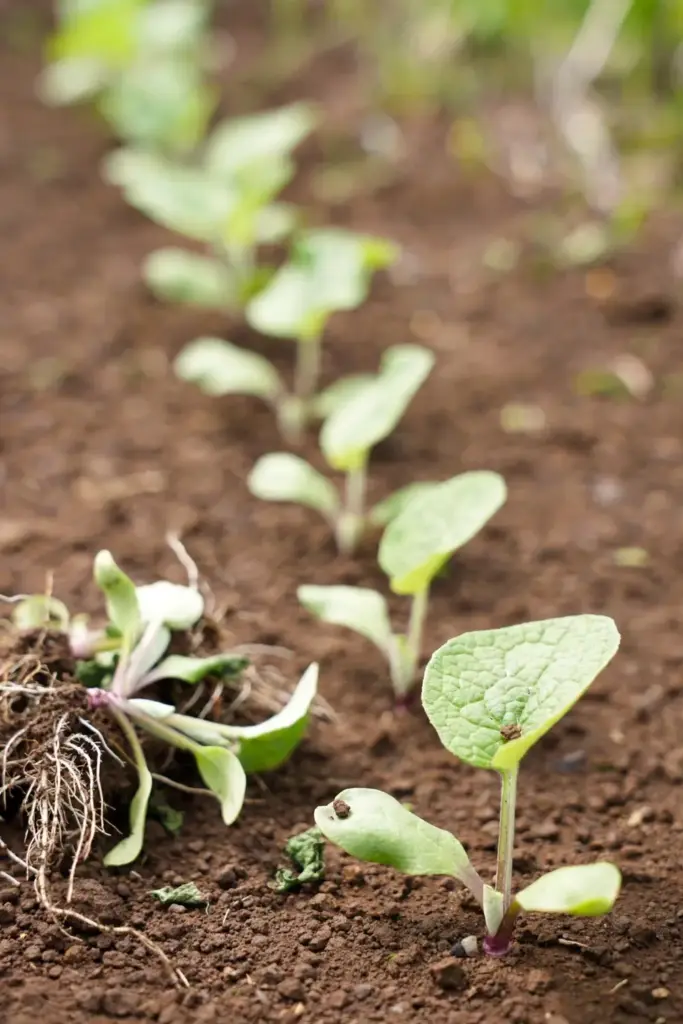
The flower-stalk patrol runs all season. Burdock is a biennial, but a stressed first-year plant can bolt early, sending up a flower stalk. The moment you see a stalk rising from the center of the rosette, cut it off at the base. UF/IFAS Extension’s burdock sheet notes that keeping the flowers picked off prevents burr formation, and the same cut keeps the plant’s energy in the root where it belongs. Check weekly from midsummer on. A plant that flowers is finished as a vegetable; harvest its root immediately or compost the plant.
11. Step 6: Feed Lightly and Skip the Fresh Manure
Burdock is a light feeder, and the compost you worked into the bed at planting time usually carries it through the season. If growth looks pale or slow, side-dress once in early summer with a balanced organic fertilizer or a shovelful of finished compost scratched lightly into the surface between rows. Keep all fertilizer off the crowns and out of the root zone.
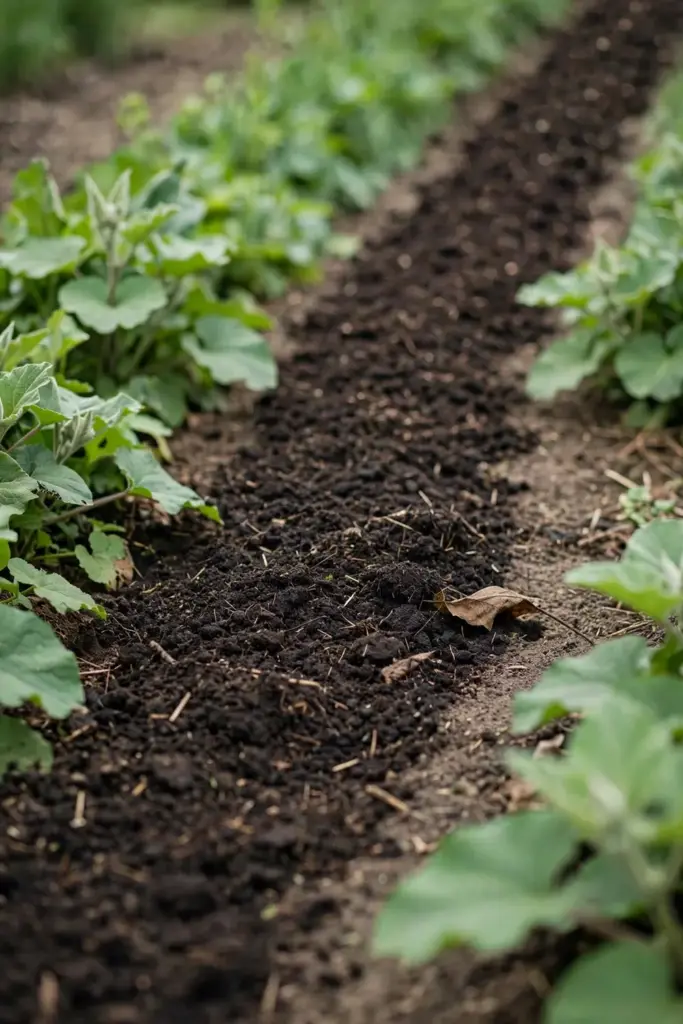
Repeat the golden rule because it matters more than any feeding schedule: no fresh manure near burdock roots, ever. Fresh manure triggers forking, and a forked root is a cooking disappointment no amount of fertilizer can fix. If your garden runs on manure, apply it to the previous crop in the rotation and let it age a full season before burdock follows. When you are deciding how to grow burdock root in a manured garden, the answer is always aged compost only, placed in the bed before sowing.
12. Step 7: Harvest Before Flowering With Towers, Tubes, or Deep Digging
Harvest timing is simple and unforgiving: dig first-year roots in fall, before the plant flowers, while the root is still tender. Spring-sown Takinogawa is typically ready in 3 to 4 months, and Nichols notes that spring plantings should be ready in 2 to 3 months for younger roots. Baby roots can be pulled from 8 to 12 weeks after sowing for tender eating, the range Urban Farmer gives for an early harvest; full-size gobo needs the full season. Roots left into the second year turn woody and inedible, and the SSISC invasive-plant profile confirms that only young first-year taproots are worth eating. Dig on a day when the soil is moist but not muddy, because dry soil grips the root and wet soil collapses the hole.
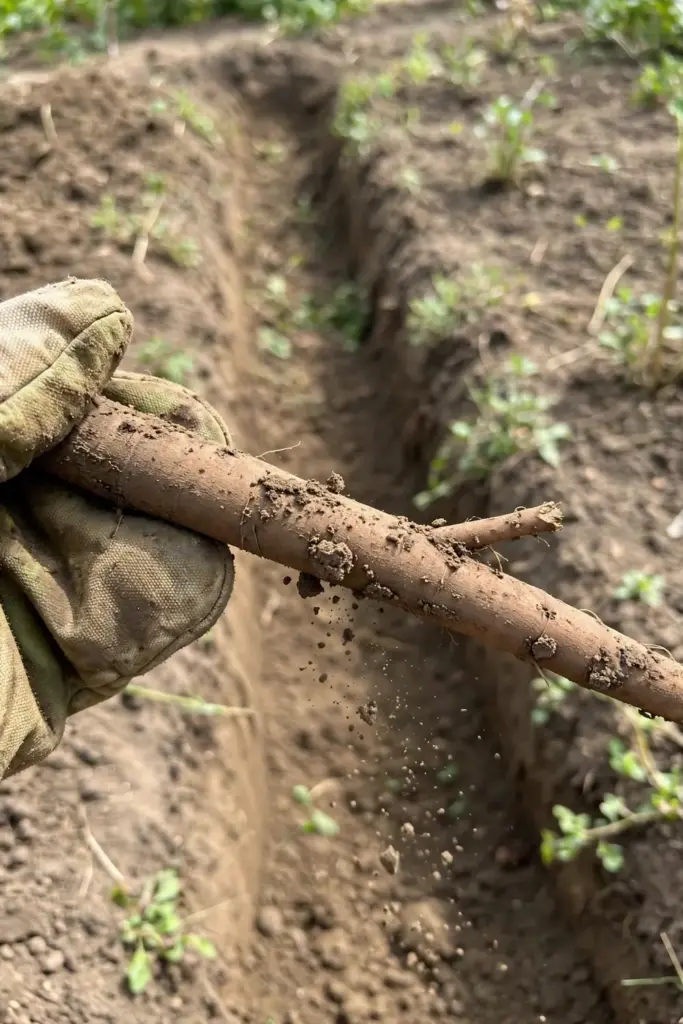
Now the method comparison. This table is the article’s core asset, because the harvest is where most home growers fail.
| Method | How It Works | Best For | Tradeoffs |
|---|---|---|---|
| Deep digging | Dig a trench beside the row with a tall spade, loosen the full root zone, then lever the root out | Small patches, first-time growers | Hard physical work; some breakage on the longest roots |
| Bottomless barrel tower | Grow in a bottomless barrel or tall box filled with sandy mix; tip it over at harvest | Maximum root length, clean harvest | Building the tower; needs a large volume of mix |
| ABS or PVC pipe tube | Sow in a wide pipe section sunk vertically; pull the pipe and slide the root out | Straight, show-quality roots | Pipe cost; one root per tube limits scale |
| Raised bed with removable side | Build a deep raised bed; remove one side board and wash or pull roots out sideways | Larger plantings, easy repeat harvests | Lumber cost; bed must be at least 24 inches deep (see the raised-bed gardening guide for construction basics) |
For deep digging, the technique from the foraging world works in the garden: dig a hole next to the root with a long-bladed shovel, go as deep as the blade allows, and lever the loosened root into the empty space rather than pulling straight up. A gentle tug should free the root once the surrounding soil is loose. Expect breakage on the deepest 6 inches even with care; the upper 12 to 18 inches is the prime cooking section anyway.
Keep extra soil on harvested roots to prolong freshness, as Box Garden Seeds recommends. Do not wash roots you plan to store; brush off the loose soil, trim the tops to an inch, and store unwashed in the refrigerator crisper or in damp sand in a cool cellar. Washed roots keep for about a week refrigerated; properly stored unwashed roots keep for several weeks.
13. Step 8: Store, Cook, and Use the Roots
Fresh gobo has a crisp texture and an earthy, faintly sweet flavor that the French seed house compares to salsify and artichoke. The classic preparation is kinpira gobo: julienned root sauteed with carrot, finished with soy, mirin, and sesame. The root discolors within minutes of peeling, so drop cut pieces into acidulated water immediately. Peel just before cooking, and never soak peeled roots longer than necessary or the flavor leaches out.
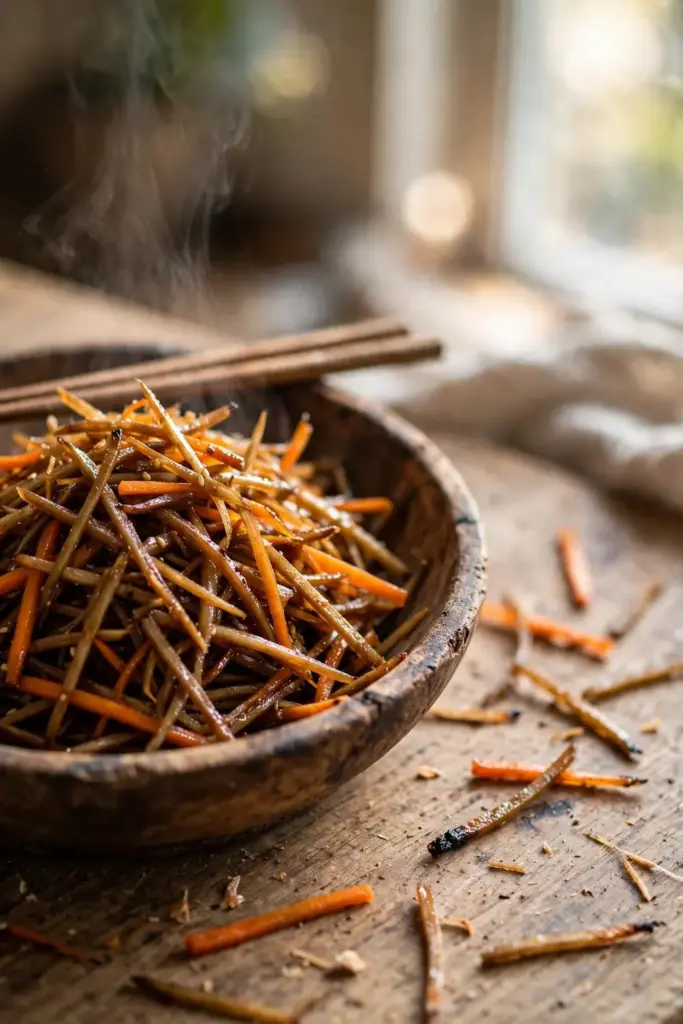
Young roots can be peeled and eaten raw like radishes with a little salt, exactly as the UF/IFAS sheet describes. Older roots need more handling: peel, blanch briefly, then cook them any way you like. Braising, stir-frying, pickling, and simmering in soups all work. The young leaf stalks, peeled, cook like chard ribs, and the spring shoots can be prepared like asparagus. Nothing on a first-year plant goes to waste.
The niu bang zi angle deserves one careful paragraph. In Chinese tradition, burdock seed (not the root) has a long history of use, and the root is valued in Chinese and Japanese cooking alike; Nichols calls gobo a very important vegetable in both China and Japan. Keep your own framing culinary: this guide grows a vegetable. Anyone interested in traditional uses should read dedicated references and talk to a qualified practitioner. No root from your garden is a medicine, and this article makes no health claims.
14. Pests and Diseases
Here is the good news Urban Farmer puts plainly: burdock rarely struggles with pests or diseases. The plant’s vigor is its own defense, and most seasons need no intervention at all. Aphids may cluster on young flower stalks; blast them off with a hard jet of water or pinch out the affected stalk, since you are removing stalks anyway. Slugs can chew seedlings in wet springs; a ring of dry mulch and evening patrols handle them.
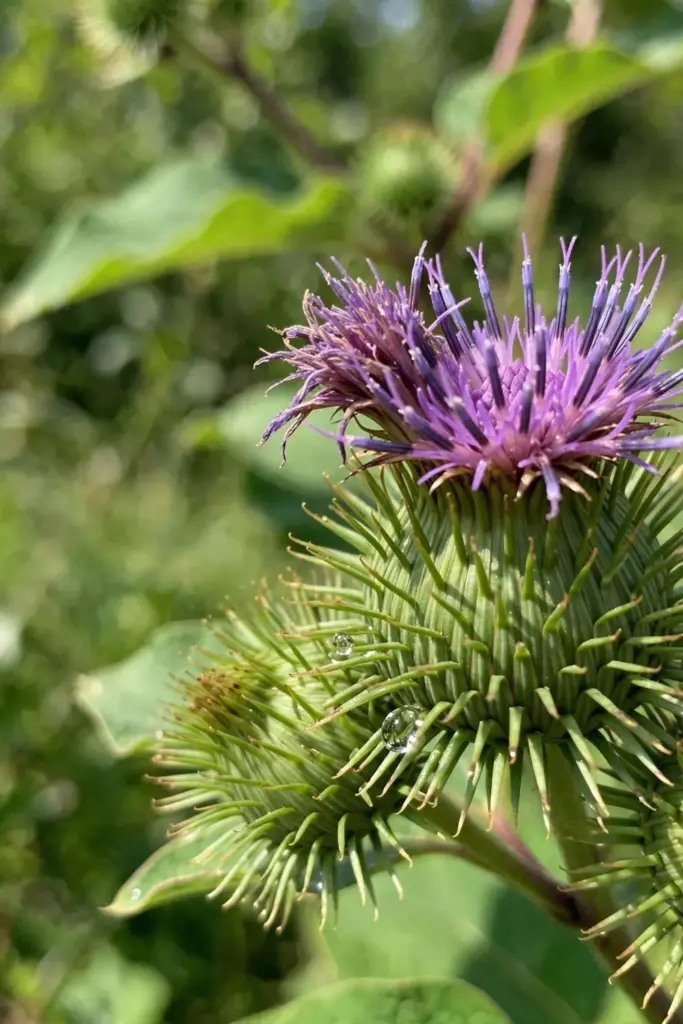
The real enemy is not a pest but a seed head. A single plant allowed to set seed produces thousands of burrs that hitchhike on clothing, pets, and tools. The SSISC profile documents how aggressively common burdock spreads this way, and the same applies to your crop. Deadhead every flower before it dries, and never compost mature burrs. If burdock volunteers appear where you did not plant them, pull them young, because a second-year volunteer is a digging project you did not plan.
15. Seven Common Mistakes and How to Fix Them
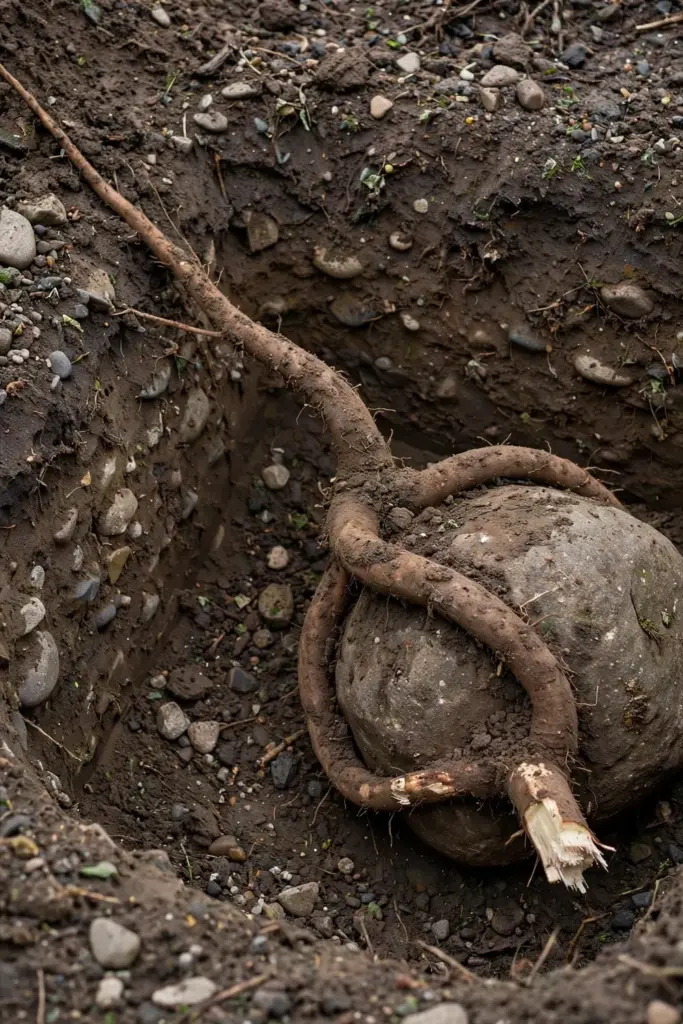
- Sowing into shallow, unprepared soil. The root forks at the hardpan. Fix: double-dig 24 inches before sowing, or switch to a deep raised bed.
- Burying the seed too deep. Burdock needs light to germinate. Fix: cover no more than 1/2 inch, and barely cover at all in heavy soil.
- Sowing into cold soil. Germination stalls below 65 degrees F. Fix: wait for thoroughly warmed soil after the last frost.
- Skipping the thinning. Crowded rows make skinny, tangled roots. Fix: thin to 4 to 6 inches when seedlings are 3 inches tall, and eat the thinnings.
- Using fresh manure. The roots fork every time. Fix: finished compost only, worked in before sowing.
- Letting plants flower. The root turns woody and the patch self-sows. Fix: cut every stalk at the base the week it appears.
- Harvesting in year two. Second-year roots are tough and inedible. Fix: dig everything in the first fall, no exceptions.
16. Troubleshooting
Seedlings emerge patchy and uneven. The usual cause is old seed or seed buried too deep. Next sowing, buy fresh seed, cover very lightly, and keep the bed evenly moist for the full two weeks of the germination window.
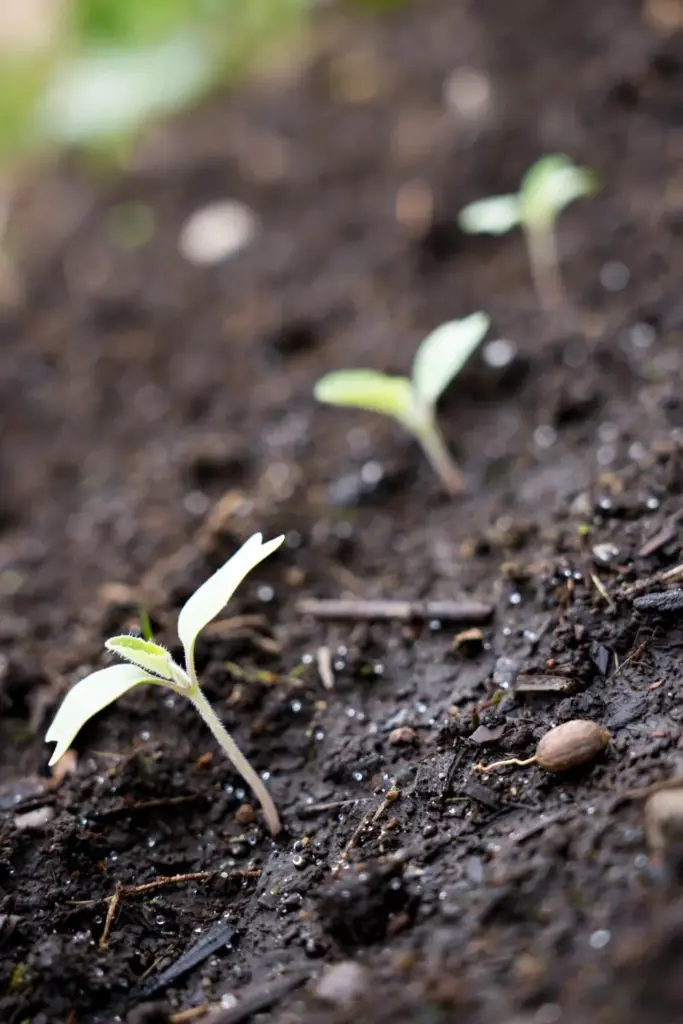
Plants are huge but roots are thin. The stand is too crowded, or the season ran short for the cultivar. Thin harder next time, and in short seasons choose Watanabe Early or Ha Gobo over Takinogawa Long.
Roots forked into a tangled claw. Stones, compaction, or fresh manure in the root zone. There is no fix for the current crop; rebuild the bed deeper and cleaner before the next sowing, and screen out every stone larger than a marble.
Flower stalks keep appearing in year one. Stress is the trigger: drought, crowding, or root disturbance. Keep up the weekly deep watering, thin on time, and never transplant after the taproot forms.
Leaves yellow from the edges in midsummer. Usually simple drought stress on a hot week. Deep-water immediately and refresh the mulch. If the whole plant wilts despite moist soil, check for crown rot from waterlogged ground and improve drainage before replanting that spot.
Burrs appeared before you noticed. Cut the stalk now, bag the burrs, and trash them; do not compost. Walk the patch weekly for the rest of the season, because one missed head can seed next year’s weed problem.
17. Frequently Asked Questions
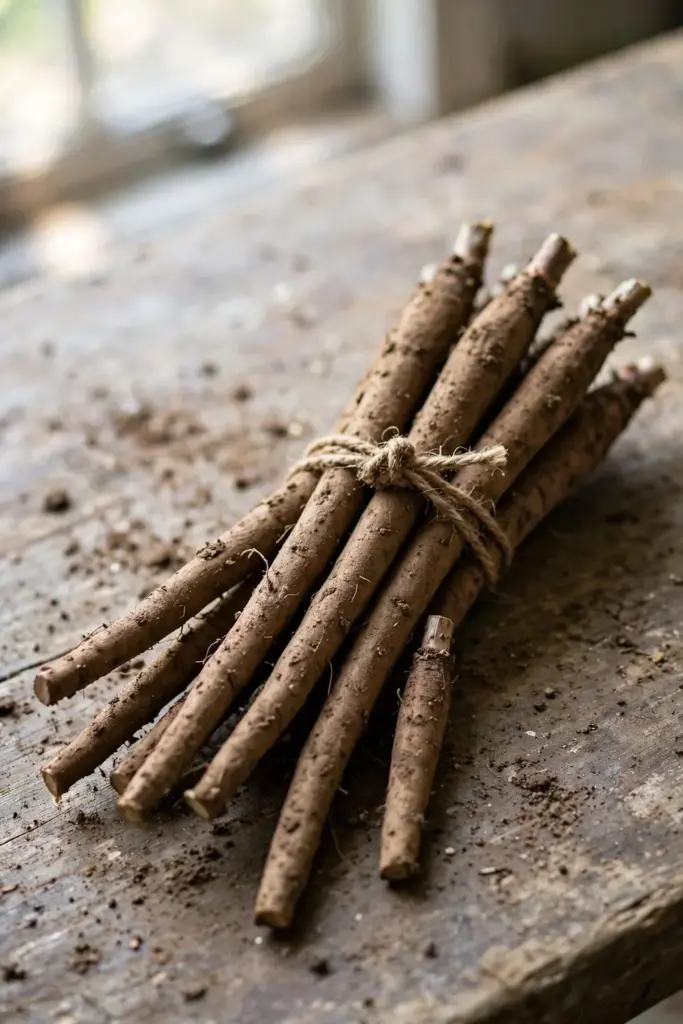
Yes. Gobo is the Japanese culinary name for the root of Arctium lappa, not a separate species or variety. When a seed packet says gobo, it means burdock selected for long, tender eating roots, usually the Takinogawa Long type. Wild common burdock (Arctium minus) is a different, tougher plant.
Prepare a full 18 to 24 inches of loose, stone-free soil. The root itself can reach 2 to 3 feet, and every inch of prepared depth converts directly into straighter, longer roots. In shallow or rocky ground, switch to a bottomless barrel tower or a deep raised bed with a removable side.
Only with great care and only before the taproot forms. The taproot hates disturbance, and a moved seedling usually forks. Direct sowing where the plant will grow is the reliable method. If you must start indoors, move seedlings out within days of germination and handle them by the leaves.
Dig first-year roots in fall, before any flowering, while the root is still tender. Baby roots are ready from 8 to 12 weeks after sowing; full gobo roots need 75 to 120 days depending on cultivar. Roots left into the second year turn woody and inedible, so harvest the whole patch in year one.
Forking comes from obstacles or excess nitrogen in the root zone: stones, a hardpan layer, compacted soil, or fresh manure. Screen stones out of the full 24-inch profile, double-dig before sowing, and use only finished compost. Forked roots are still edible, just harder to peel and less elegant.
It can if you let it set seed. One neglected plant produces thousands of burrs, and each one clings to clothing, fur, and tools. Prevent it by cutting every flower stalk at the base before it dries, never composting mature burrs, and pulling volunteers young. Managed this way, burdock stays a well-behaved vegetable.
18. Where to Go From Here
You now know how to grow burdock root the way gobo growers do: deep soil first, direct sowing into warm ground, ruthless thinning, a standing appointment with the flower stalks, and a first-fall harvest before anything turns woody. The work is front-loaded into one day of digging and back-loaded into one day of harvest, with an easy summer in between.
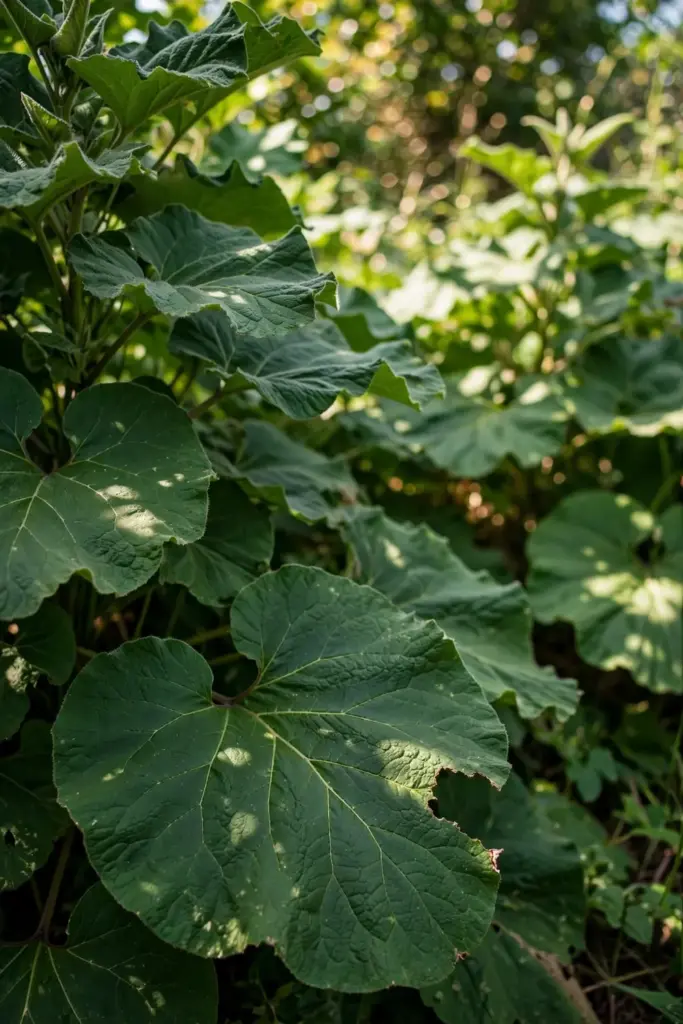
Start with one row of Watanabe Early if your season is short, or Takinogawa Long if you have the deep bed and the long fall it deserves. Save the tower or tube method for year two, once you have felt a full-size root come out of the ground in your own soil. And when the first kinpira hits the pan, you will understand why this homely biennial earned a place in two cuisines. For the bed-building side of the project, the soil health guide walks through the compost-first approach this crop depends on.