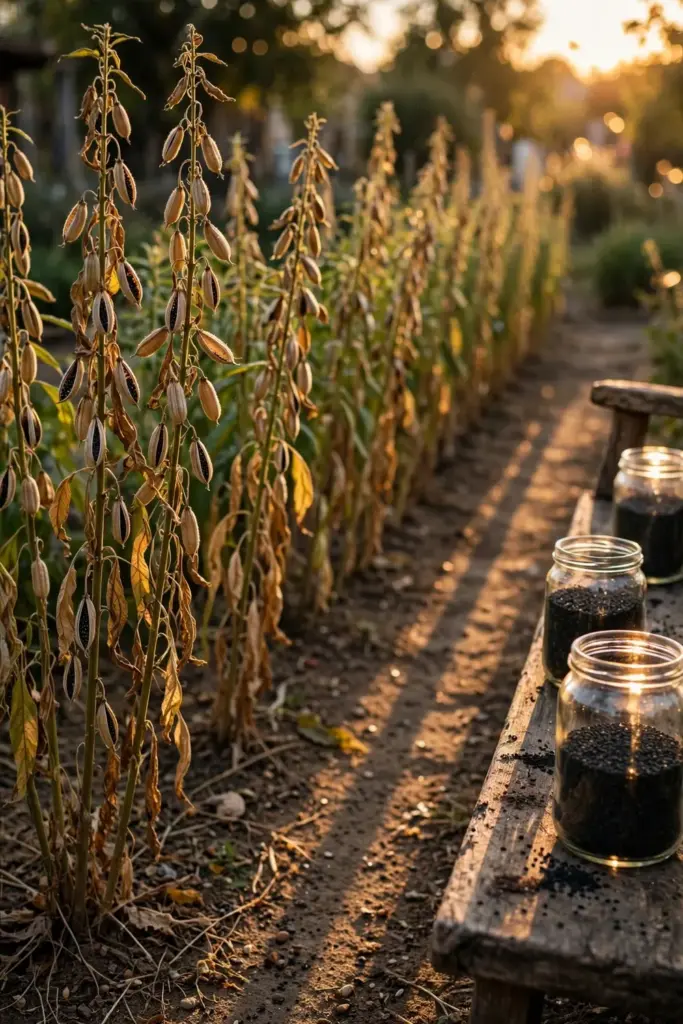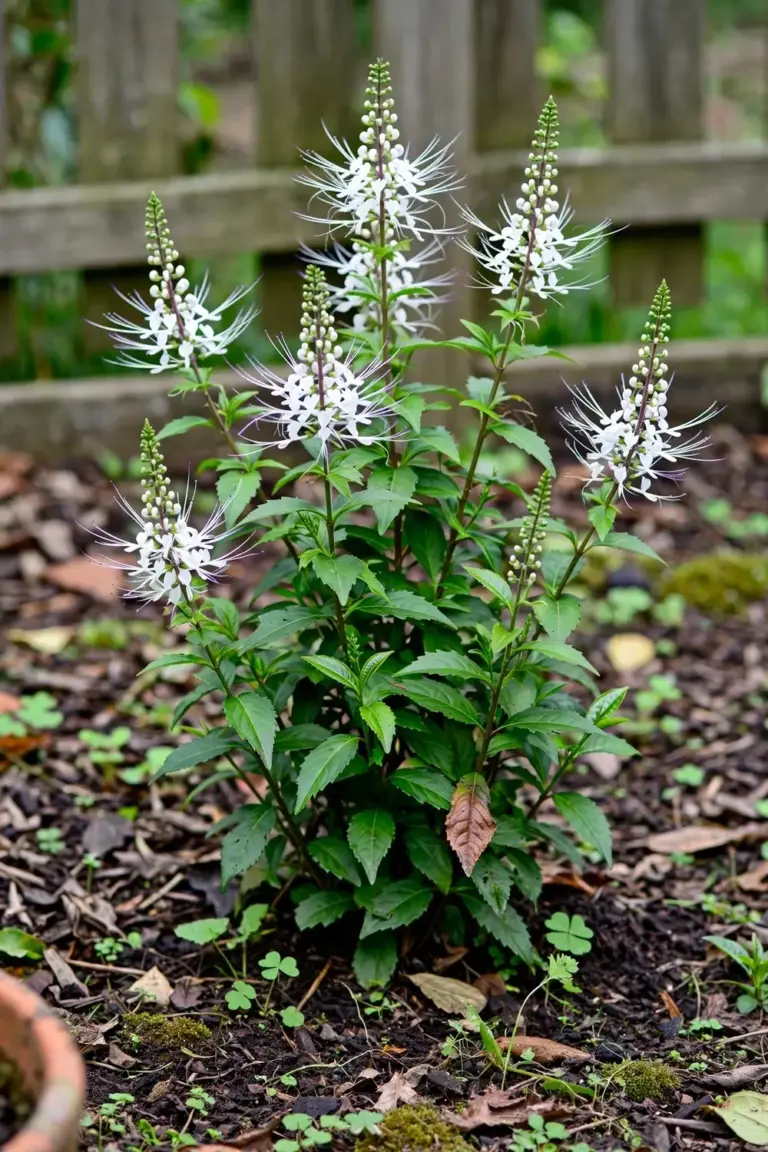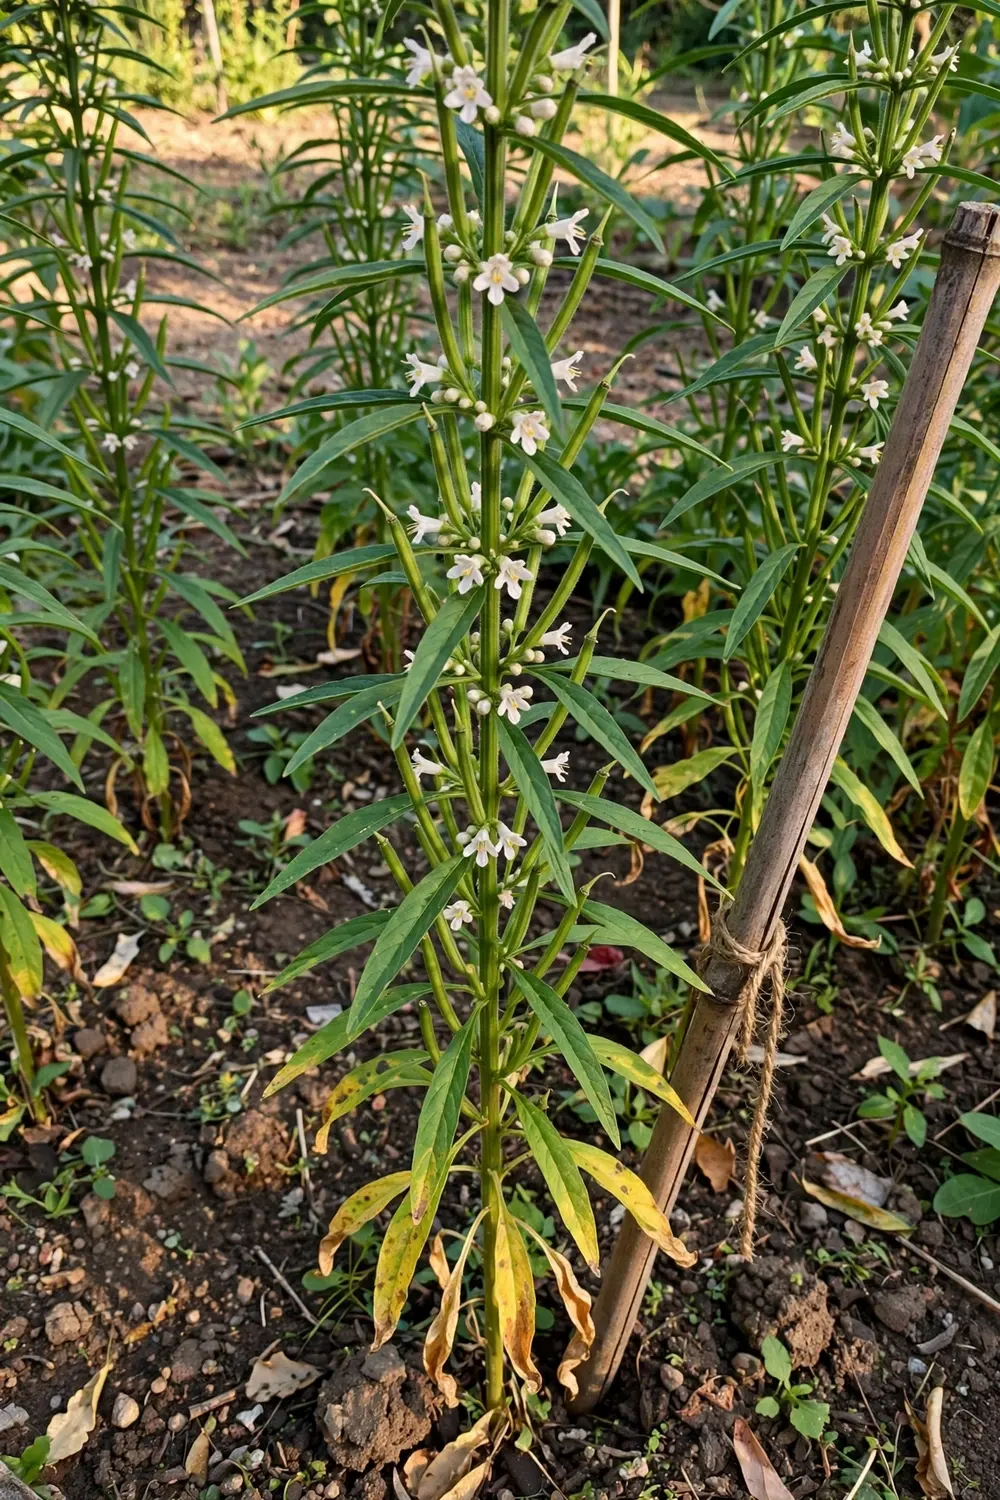

Plant 1 packet of black sesame seed in May and you can thresh your own kurogoma by September, if your warm season runs 4 months and you harvest before the pods burst. Black sesame is Sesamum indicum grown for its dark seed coat, the same species as white sesame, and it is not the same plant as black seed (Nigella sativa), a confusion that costs gardeners a whole season when they buy the wrong seed. This guide walks through 18 moves, from the warm-soil check to the shatter-proof harvest.
Black sesame carries a second name worth knowing. In Japanese cooking it is kurogoma, and the plant behind it is identical to the white sesame on hamburger buns. Only the seed coat color differs. What changes for the gardener is timing: sesame is a heat lover that sulks in cool soil, and its pods split open and fling seed the moment they finish ripening, so the harvest is a race you plan for, not a date you wait for.
Black Sesame Is Sesamum Indicum, Not Black Seed
Get the identity right before you spend a dollar on seed, because three different plants share confusing names. Black sesame is Sesamum indicum with a dark seed coat. White sesame is the same species with a pale coat. Black seed, also sold as habbatussauda, is Nigella sativa, a completely different plant in the buttercup family, and Sesamum radiatum is an African relative you will almost never see in a seed catalog.
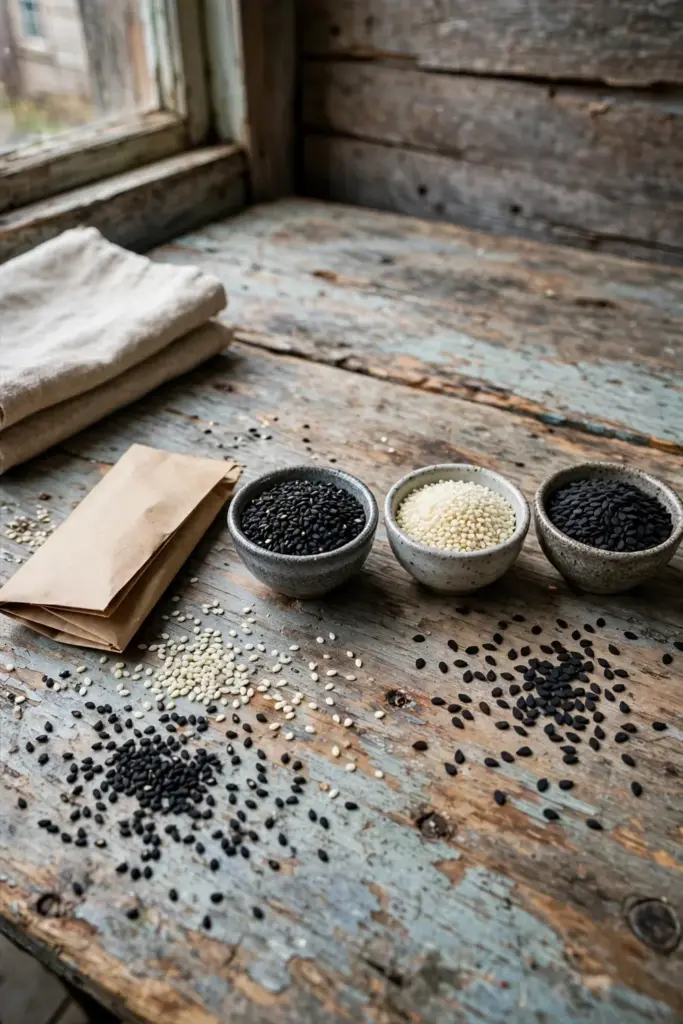
| Seed | Species | What It Is | Grow It for Kurogoma? |
|---|---|---|---|
| Black sesame | Sesamum indicum | Sesame with a dark seed coat | Yes, this is the target |
| White sesame | Sesamum indicum | Same species, pale seed coat | Same plant, different coat color |
| Black seed / habbatussauda | Nigella sativa | Unrelated flowering plant | No, wrong plant entirely |
| Sesamum radiatum | Sesamum radiatum | African sesame relative | No, rarely sold as garden seed |
Buy seed labeled Sesamum indicum with “black” in the variety name. If the packet only says “black seed” with no Latin name, put it back.
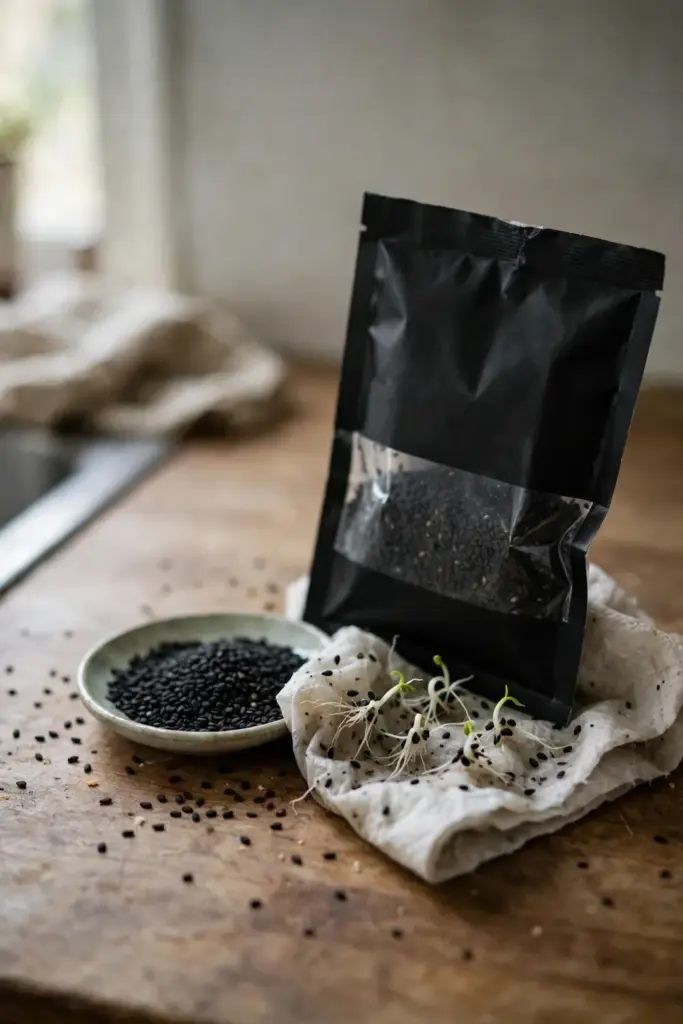
In the kitchen, black sesame tastes deeper and nuttier than white, with a slightly bitter edge the pale seed lacks. The difference lives in the coat, which carries more flavor compounds. Toasting magnifies the gap: black sesame turns intensely aromatic while white stays mild. They substitute freely in recipes, but the color and flavor change the dish. Before you sow a whole tray, test the packet the way seed savers do: fold 10 seeds into a damp paper towel, seal it in a bag, and hold it at 75°F. Seven or more sprouts in 2 weeks means the packet is worth your season. When you learn how to grow black sesame from tested seed instead of a pantry gamble, germination stops being a mystery and becomes a number you can plan around.
Black-seeded varieties are sold under names like Black Sesame, Kurogoma, or Black, and for garden purposes they all grow the same way. What matters more than the variety name is seed age: sesame stays viable 3 to 4 years in a cool, dry jar, but germination slides each year. Buy fresh each season unless you saved your own, and if you did save seed, the paper-towel test tells you the truth in 2 weeks. The rest of this guide assumes true black sesame.
Step 1: Count Your Warm Season
Sesame needs 90 to 130 days of frost-free heat from sowing to dry pods, so count backward from your first fall frost before you start. If your frost-free window is shorter than 4 months, start seeds indoors to buy the extra weeks, or skip sesame this year and grow it when your calendar allows. The plant grows through heat that wilts lettuce and peppers, but it stalls below 70°F and dies in frost, which makes the warm-season count the single decision that determines success. North Carolina extension specialists put the field planting window at the second week of May through the first week of July, and they stress one rule above the rest: sesame wants soil warmer than 70°F at planting, a threshold confirmed in the 10 tips for sesame success rundown from NC State Extension. A $10 soil thermometer removes the guesswork entirely.
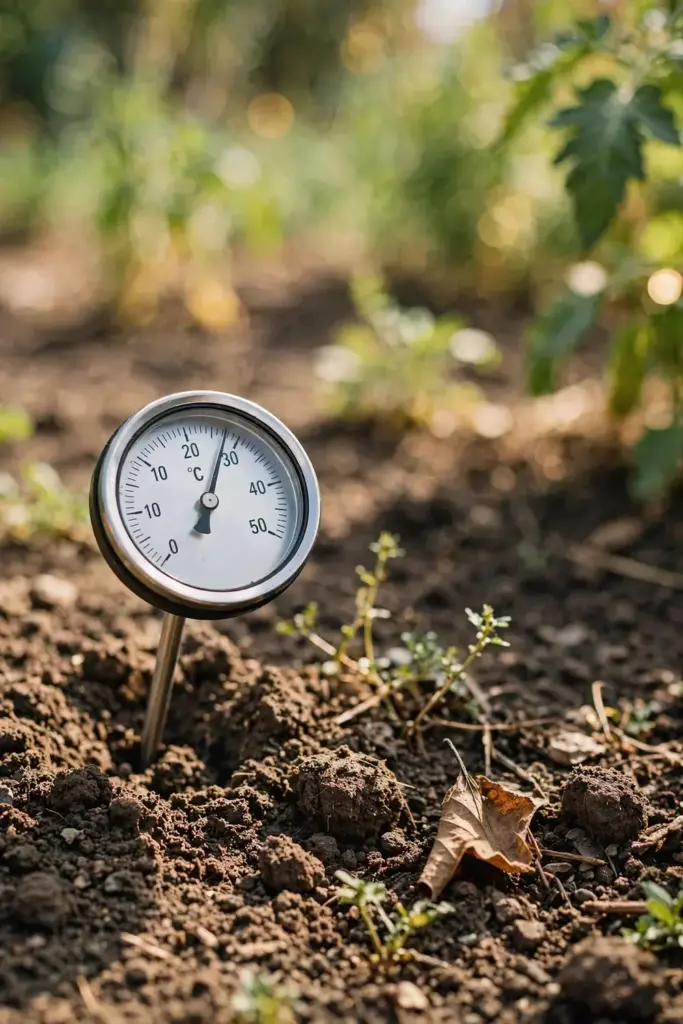
Find your dates before you buy seed. Your last spring frost date and first fall frost date are published by every extension service, and the days between them are your season. Sesame also rewards microclimates: a south-facing wall, a raised bed against the house, or a spot shielded from wind can run 5 to 10 degrees warmer than the open garden, which effectively lengthens your season by weeks. Gardeners at the edge of sesame territory succeed by stacking these small advantages, not by finding a magic variety.
Step 2: Buy True Black Sesame Seed
Order whole, unhulled black sesame seed from a seed seller, not the shaker jar from the grocery aisle. Hulled sesame seed, the kind sold for cooking, has had its coat removed along with its ability to sprout, and even whole grocery seed may be old or heat-treated. A proper seed packet tells you the species (Sesamum indicum), the coat color, and the pack date. One packet, usually 100 to 200 seeds, plants a generous home row, because each plant can reach 4 to 6 feet tall and carry dozens of pods. Look for varieties described as black-seeded or kurogoma types; standard sesame culture applies to all of them.
Step 3: Start Seeds Indoors 4 to 6 Weeks Early
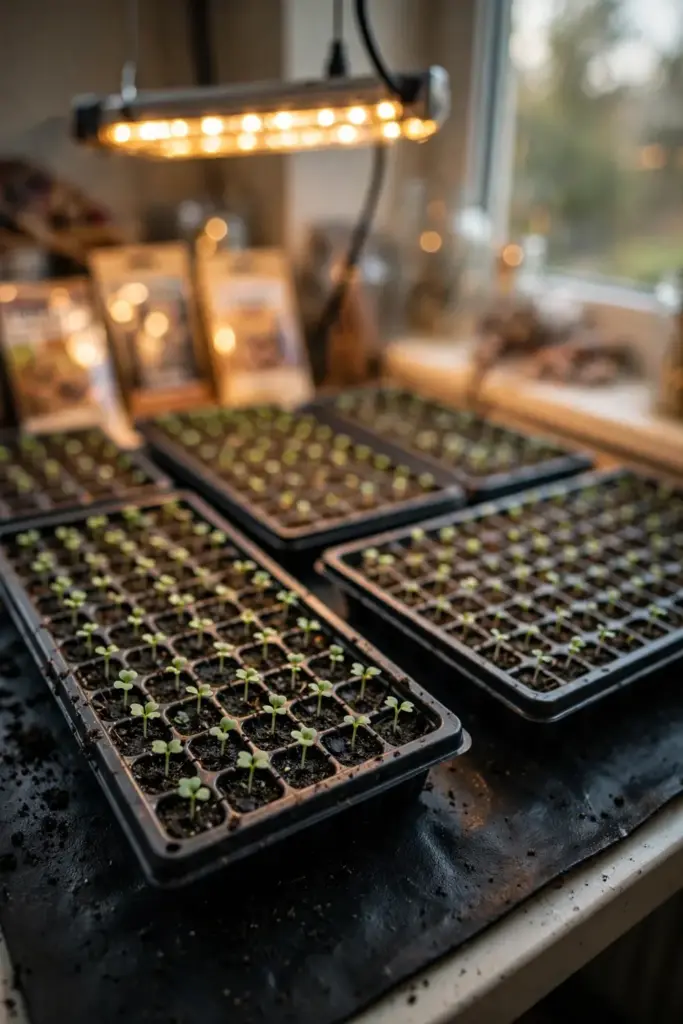
Starting indoors is how gardeners in zones 6 and 7 fit a 4-month heat lover into a 5-month summer. Sow 4 to 6 weeks before your last frost date in cell trays filled with fine seed-starting mix, and hold the trays at 75 to 85°F with a heat mat until sprouts appear. Sesame seedlings resent root disturbance, so use 2-inch cells or soil blocks and transplant the whole plug without teasing the roots apart. For the full indoor routine, the seed starting guide covers heat mats, lights, and hardening off in the same order you will use here.
| Step | Action | Timing |
|---|---|---|
| 1 | Sow indoors on heat | 4 to 6 weeks before last frost |
| 2 | Germination | 10 to 14 days at 70°F plus |
| 3 | Grow on under lights | 3 to 4 weeks, stocky not leggy |
| 4 | Harden off | 7 to 10 days before transplant |
| 5 | Transplant out | Soil 70°F and nights above 50°F |
Step 4: Sow Shallow in Warm Soil
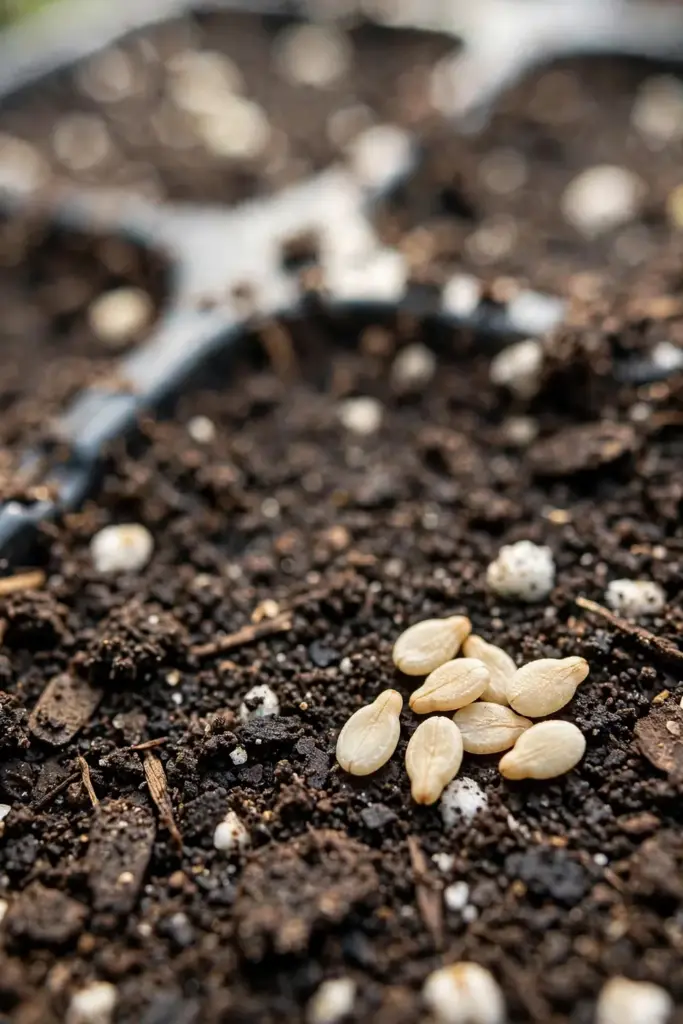
Sesame seed is tiny and needs light warmth more than depth. Press seeds 1/4 inch deep into moist mix, barely covering them, and keep the surface evenly damp until emergence. Germination takes 10 to 14 days once soil passes 70°F, a range given by Annie’s Heirloom Seeds for Sesamum indicum, and cooler soil stretches that wait while inviting rot. Do not bury the seed half an inch deep the way field planters do for moisture seeking; in a tray or garden bed you control the water, so shallow and warm wins. Bottom heat shortens the wait more than any fertilizer ever will.
Direct sowing works too, once the soil truly holds 70°F day and night. The tradeoff is time: direct-sown plants lose the 4-to-6-week head start, so this route suits gardeners with 5-plus months of heat. Sow in rows, thin ruthlessly to the final spacing once seedlings show 2 sets of true leaves, and mulch only after the soil warms thoroughly. However you start them, label the row; sesame seedlings look like a dozen other sprouts, and mystery seedlings get weeded by accident.
Step 5: Give Seedlings Heat and Strong Light
Sesame seedlings grow slowly for the first 3 weeks, then accelerate once true leaves arrive, so judge them by sturdiness, not speed. Keep daytime air at 75 to 85°F and give 14 to 16 hours of strong light, with the tubes or LEDs 2 to 3 inches above the leaves. Leggy, pale seedlings almost always mean cool air plus weak light, not hunger, so fix the environment before reaching for fertilizer. Water from below when the mix surface dries, and run a small fan nearby; the moving air thickens stems and cuts damping-off losses.
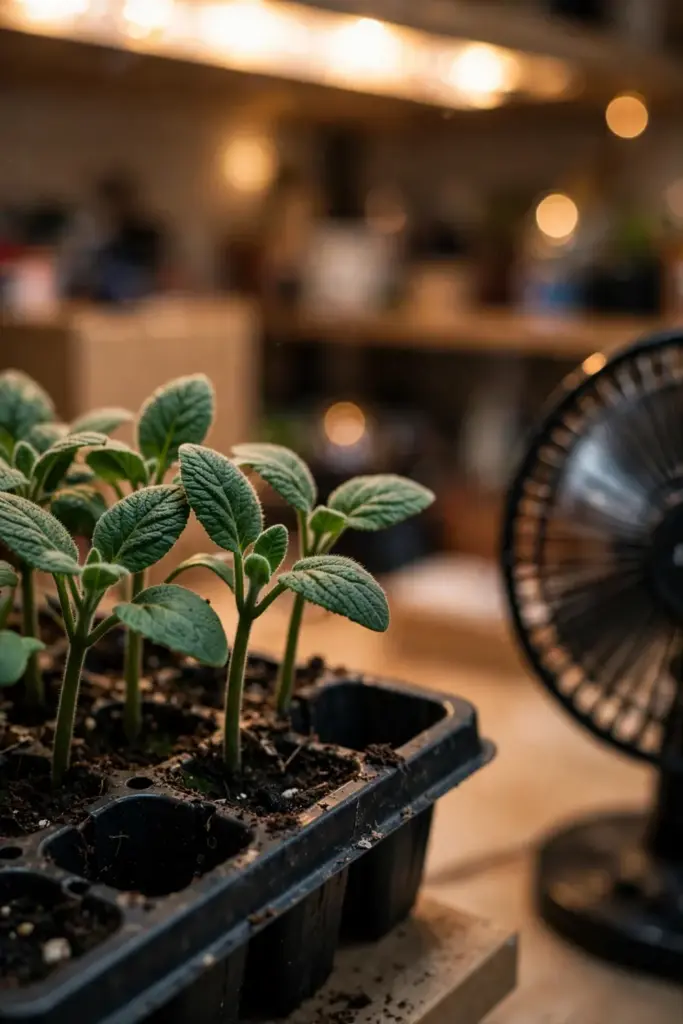
Harden seedlings off for 7 to 10 days before they face the garden. Start with 2 hours of morning sun on day one, add an hour or two daily, and bring trays in if nights dip below 50°F. Sesame sulks after a cold shock the way peppers do, and a rushed transplant can sit unchanged for 3 weeks. A seedling that has felt wind, sun, and cool nights in stages walks into transplant day ready to grow the same afternoon.
Step 6: Transplant After the Soil Reaches 70°F
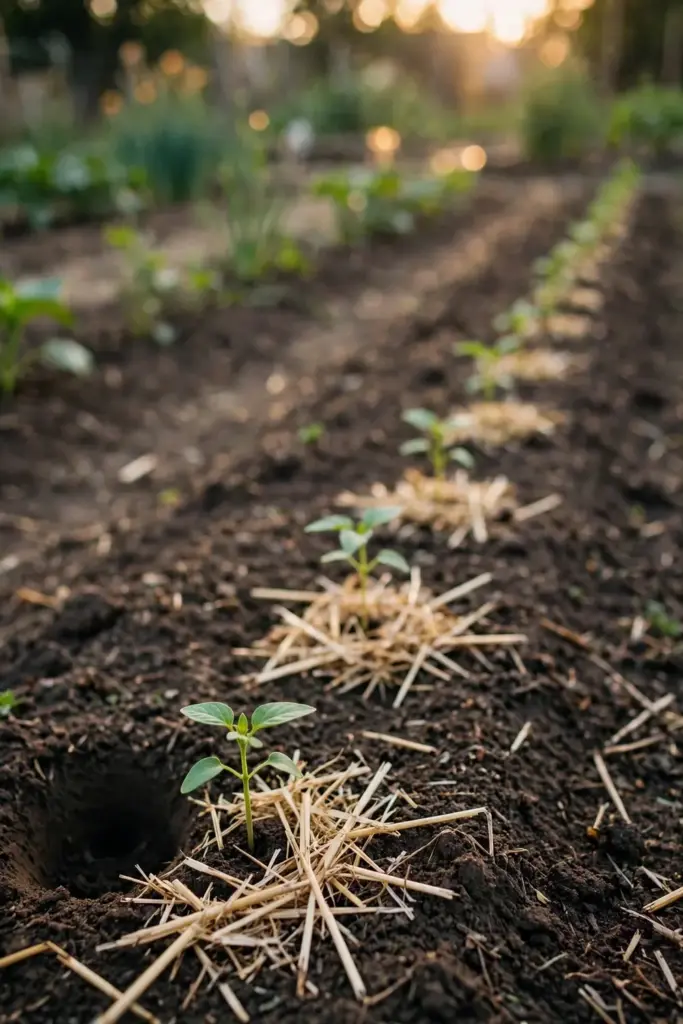
Move seedlings out only when the soil itself reads 70°F at 2 inches deep and night temperatures hold above 50°F. Cold soil shock is the most common reason indoor-started sesame stalls for a month, and no amount of sun afterward fully repays the lost weeks. Space plants 18 to 24 inches apart in rows 2 to 3 feet apart, which sounds generous until the plants hit 4 feet and branch. Set each plug at the same depth it grew in the tray, water the hole before and after, and mulch lightly once the soil warms further. Sesame tolerates poor soil better than most vegetables, but it still wants the loose, living ground described in the soil health guide, because compacted ground holds the cold water sesame hates. A fork-loosened bed 8 to 10 inches deep gives the taproot room to run, and that taproot is the plant’s drought insurance later. If your native soil is heavy clay, plant on a low ridge 4 to 6 inches high; the ridge warms faster in spring and sheds the excess water sesame cannot stand.
Step 7: Water Deeply, Then Back Off
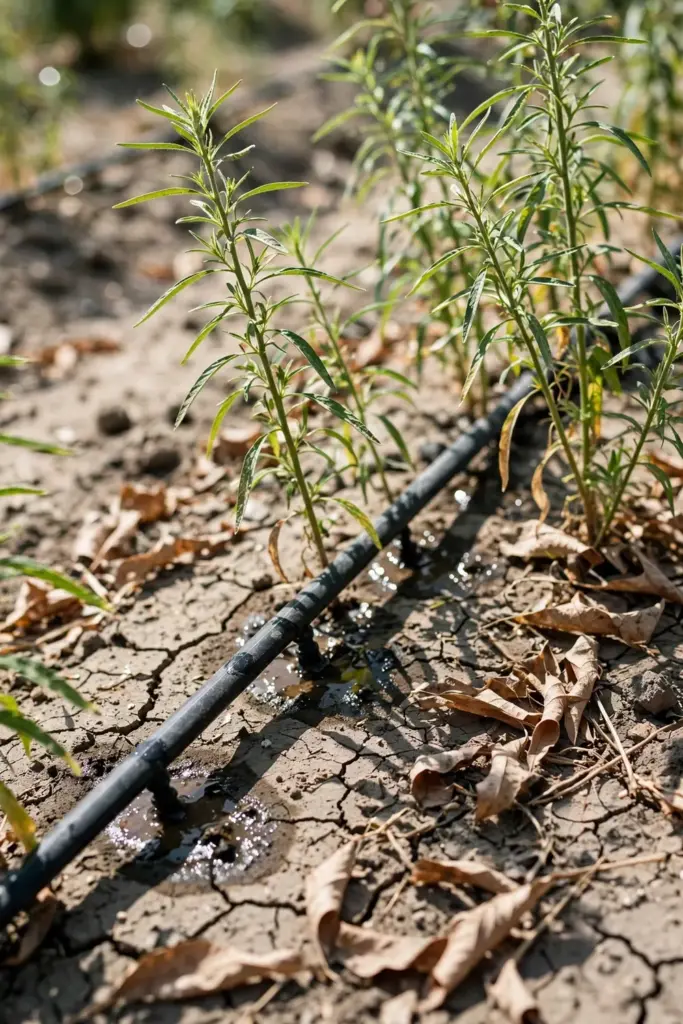
Sesame tolerates drought better than almost any vegetable you can grow, and overwatering kills more home plants than drought does. Water deeply once a week during establishment, then stretch the interval as plants grow, letting the top 2 inches dry between waterings. Standing water rots the crown fast, so never plant sesame in a low spot or a saucered pot. Stop watering entirely as the lower pods start to yellow; the plant is finishing, and extra water at that stage delays dry-down and invites mold inside the pods.
Step 8: Feed Lightly or Not at All
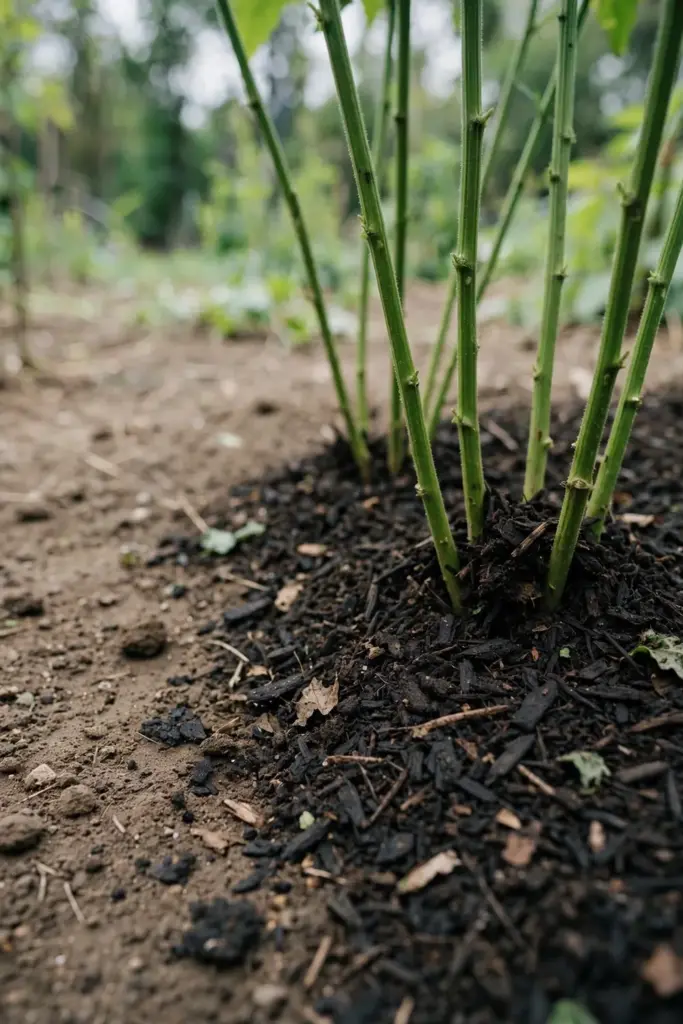
Sesame evolved for lean soils and punishes rich feeding with floppy, late-maturing growth. Work 1 to 2 inches of compost into the bed before planting and skip the heavy nitrogen; field guidance caps nitrogen at 60 to 80 units per acre because higher rates cause lodging and leafy plants with fewer ripe pods, as noted in the NC State sesame tips. In a home garden that translates to restraint: compost at planting, then nothing unless leaves turn uniformly pale, in which case a single light side-dress of balanced organic fertilizer suffices. Container plants in fresh potting mix need no feeding at all for the first 2 months.
Step 9: Guard Against Pests and Diseases
Home sesame faces few enemies, but the ones that show up move fast in heat. Flea beetles chew shot holes in young leaves; floating row cover from transplant day excludes them without sprays. Aphids cluster on buds in dry spells; a hard water jet knocks them off and rarely needs repeating. The serious threats are soil diseases: charcoal rot and leaf blight strike stressed plants in wet ground, which is why the drainage advice in Step 6 matters more than any spray schedule. Rotate sesame away from last year’s spot if you saw wilting, and destroy affected plants instead of composting them.
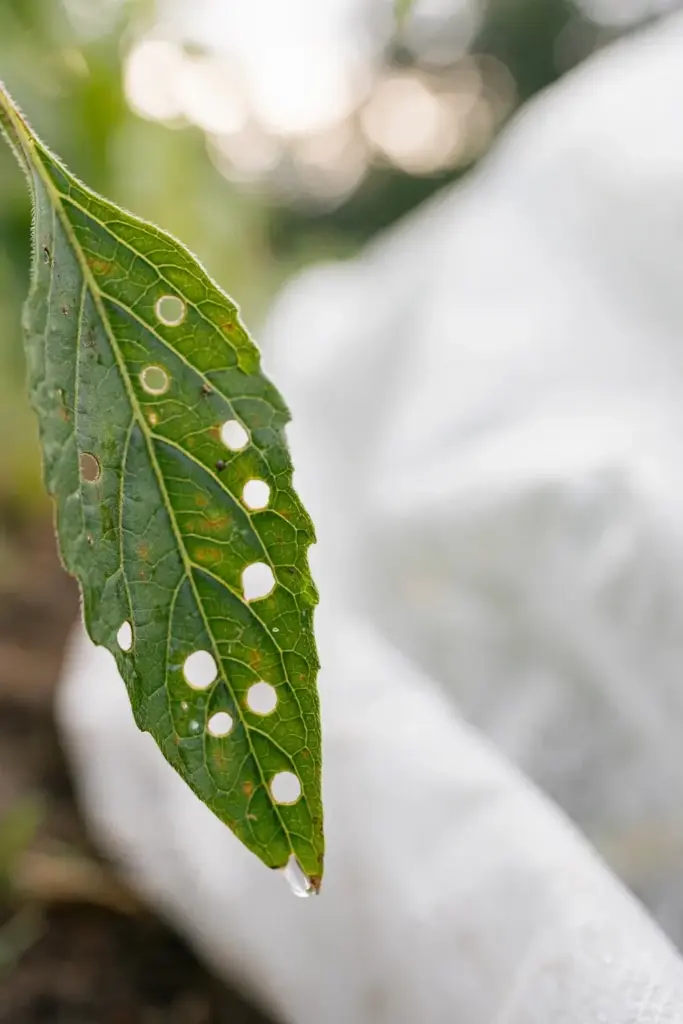
One pest rarely bothers sesame at all: deer. Field growers in the Carolinas plant it partly because deer leave it alone, which makes sesame a candidate for unfenced beds where deer pressure ruins everything else. Rabbits may still nibble young transplants, so keep the row cover on until stems toughen. Once plants pass knee height, most mammal problems end and insect pressure stays light.
Step 10: Harvest Before the Pods Shatter
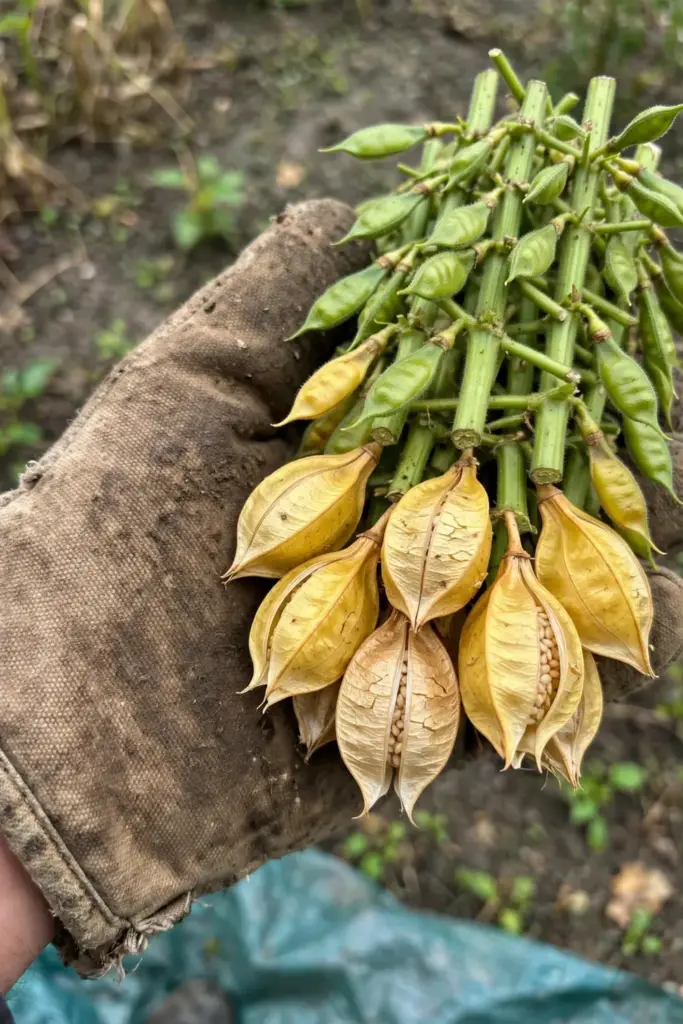
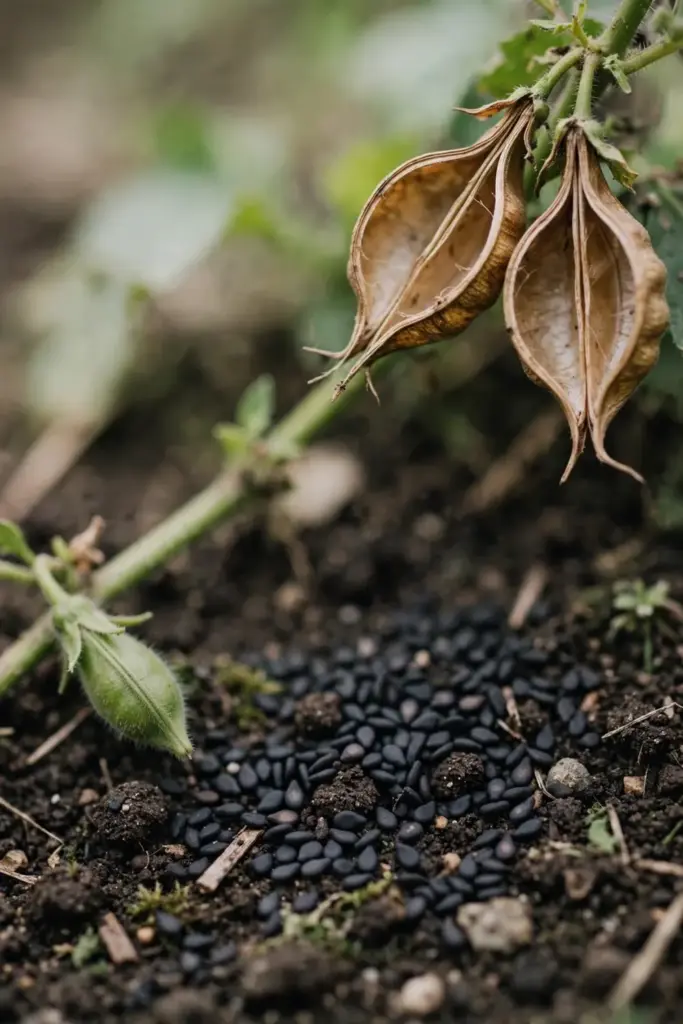
This is the step that makes or breaks the whole project, so read it twice. Sesame pods split open at maturity and fling their seed, a trait called shattering, and a plant left a week too long can empty half its pods onto the soil. Cut the whole plant when the lower third of pods have turned yellow to brown but the upper pods are still green, which usually lands 90 to 110 days after sowing. The organic sesame guide describes the botany plainly: ripe dry capsules open to release seed, and flowering plus ripening progress upward over several weeks, so you harvest on the lower pods, not the top flowers. Cut stems at ground level in the morning after dew dries, and handle the plants gently; shaking a ripe plant is the same as threshing it onto the ground. If you are unsure whether a plant is ready, squeeze one lower pod between your fingers. A pod that cracks open with light pressure and spills dark seed is telling you the plant waited long enough. Cut that day, not next weekend.
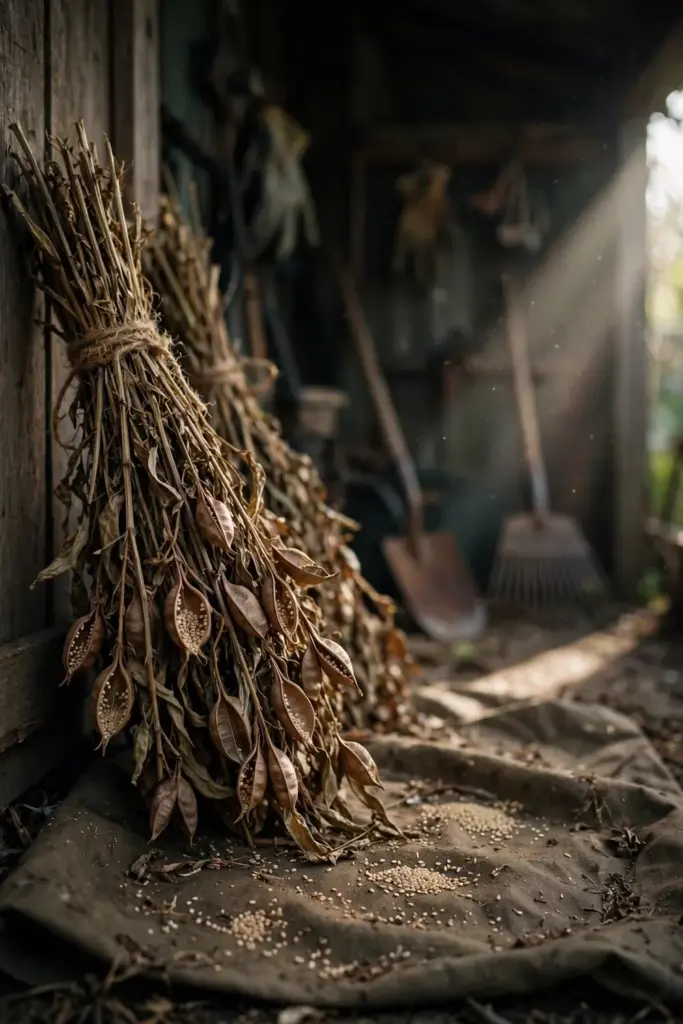
Step 11: Dry the Bundles Upright
Tie cut plants into small bundles and stand them upright in a dry, airy shed or garage for 2 to 3 weeks. Upright drying lets the remaining green pods finish ripening while gravity keeps loose seed inside the bundle instead of on the floor. Spread a tarp or sheet underneath to catch whatever shatters early; that fallen seed is your bonus, not your loss. Check the bundles weekly and shake each one gently over the tarp. Every rattle you hear is seed moving down into the lower pods where it waits for threshing day. The bundles are ready when pods rattle and stems snap instead of bending. Do not rush this stage with heat or a dehydrator, because seed dried too fast can case-harden and trap moisture inside.
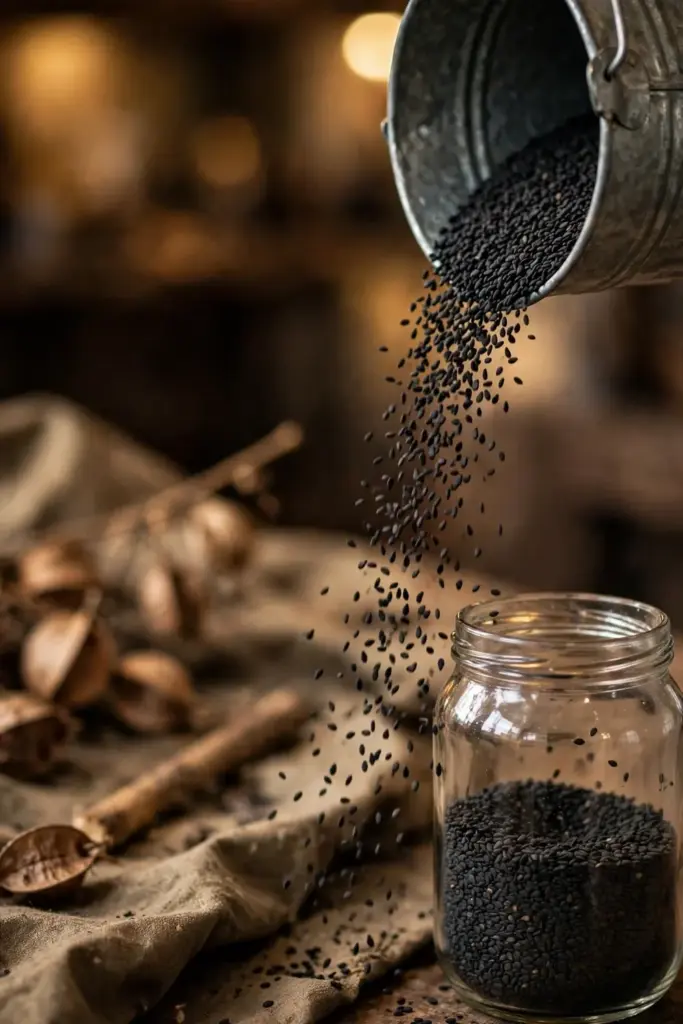
Step 12: Thresh, Winnow, and Store
Threshing is the satisfying part. Lay the dry bundles on the tarp, beat them gently with a stick or tread them by foot, and watch the black seeds rain out of the split pods. Winnow by pouring the seed from one bucket to another in a light breeze; the chaff floats away and the heavy seed falls straight. Pick out any remaining stem bits by hand, then spread the seed one more day in the sun to be sure it is fully dry. Store in airtight glass jars in a cool, dark cupboard, where sesame keeps 6 to 12 months. Freeze a jar if you grew more than a year of cooking; the high oil content that makes sesame nutritious also makes it go rancid faster than grain seeds.
Homegrown black sesame earns its place fastest in the kitchen uses that show off its color. Toast a spoonful in a dry skillet until it pops and smells nutty, then crush it over rice, noodles, or roasted vegetables. Ground with a pinch of salt it becomes gomasio, the Japanese sesame salt that seasons everything it touches. Folded into dough it darkens breads and crackers with a speckle no white seed can match. A single home row will keep your spice shelf in kurogoma for months, and every jar started as a packet of dust-fine seed in May.
Can Black Sesame Grow in Pots?
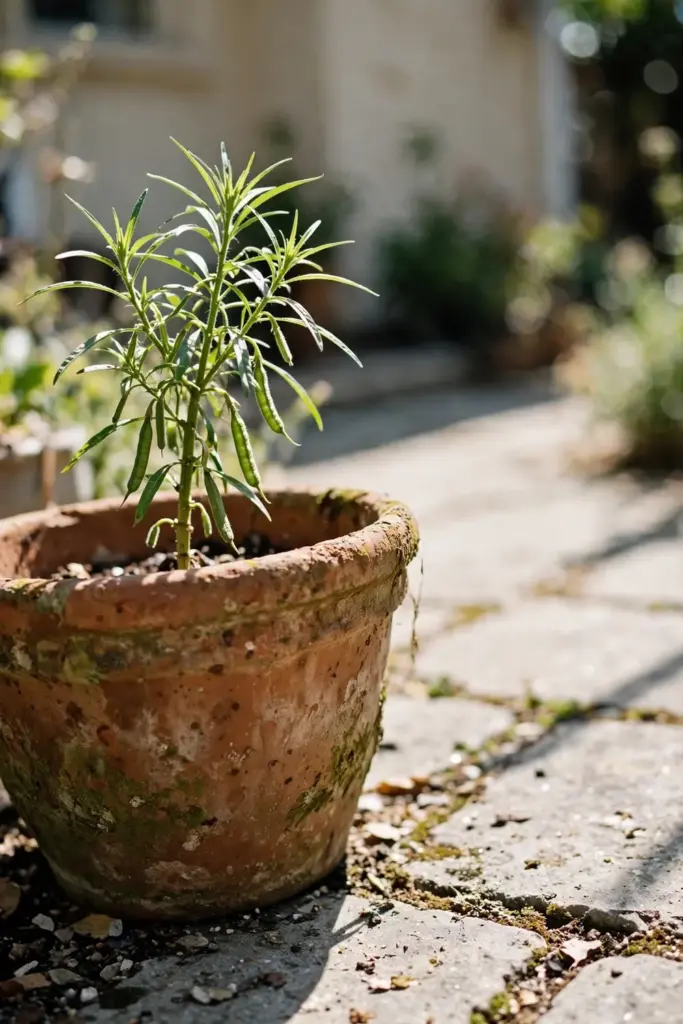
Yes, but calibrate your expectations before you fill the pot. One sesame plant in a 5-gallon container with full sun can yield a few tablespoons of seed, which is a delightful experiment and a poor pantry strategy. When people ask how to grow black sesame on a balcony, the honest answer is that the plant cooperates but the harvest stays small, because one plant carries fewer pods than a row. Use the widest pot you have, at least 12 inches across, because sesame roots run deep and hate circling; a fall planter guide is written for ornamentals, but its wide-pot logic applies here too. Keep the mix lean, water sparingly, and expect a shorter plant with fewer pods than its in-ground sibling. Pots make the most sense as a heat strategy in short-season climates: start the pot indoors, move it to the hottest microclimate you own, and bring it under cover if frost threatens before harvest.
Common Mistakes and How to Fix Them
Planting into cold soil. Seed rots or sits for a month. Fix: wait for a 70°F soil reading, not just a warm air forecast.
Burying the tiny seed too deep. Emergence fails or seedlings exhaust themselves. Fix: 1/4 inch deep, pressed into the surface.
Watering like a tomato. Soggy crowns rot and plants lodge. Fix: deep but infrequent water, then none near maturity.
Feeding heavily with nitrogen. Tall leafy plants, few ripe pods, late maturity. Fix: compost at planting, then restraint.
Waiting for every pod to brown. The lower pods shatter and dump your harvest on the soil. Fix: cut when the lower third yellows, dry upright, thresh later.
Growing from hulled grocery seed. It never sprouts because the living embryo went with the hull. Fix: buy whole, unhulled seed labeled Sesamum indicum.
Skipping the indoor start in short seasons. A 90-day variety still needs heat from day one. Fix: 4 to 6 weeks indoors buys the margin.
Troubleshooting Black Sesame Problems
Seedlings damping off? Cool, wet mix is the cause almost every time. Restart with fresh mix, bottom heat, and a fan, and water from below.
Plants tall but no pods? Usually excess nitrogen or too little heat. Cut feeding, confirm full sun, and be patient; sesame blooms over weeks, not all at once.
Flowers dropping in a heat wave? Brief drops above 100°F are normal; plants resume when nights cool. Keep water steady but not heavy.
Pods splitting in the field? You waited too long. Cut immediately, dry upright, and thresh what remains; next year cut at the first yellowing of lower pods.
Leaves yellowing from the bottom up late in the season? Normal senescence as the plant finishes. If it happens early with wilting, suspect root rot from wet soil.
Tiny holes in young leaves? Flea beetles. Cover new transplants with row cover for the first 3 weeks.
Plants flopping over after a storm? Tall sesame lodges when overfed or overwatered. Stake the worst leaners, cut back water, and skip fertilizer for the rest of the season; lodged plants still ripen pods if the stems are not broken.
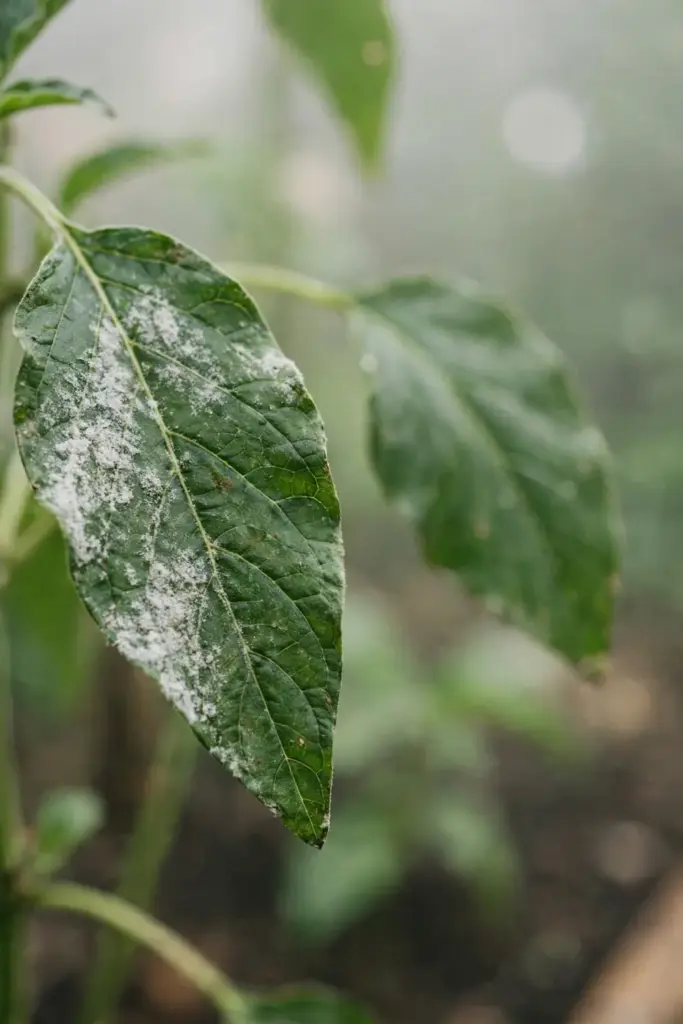
White powder on the leaves late in summer? Powdery mildew in humid spells. Improve air flow by thinning to the full 24-inch spacing, water at the base, and accept cosmetic damage on lower leaves; the pods usually finish fine.
Frequently Asked Questions
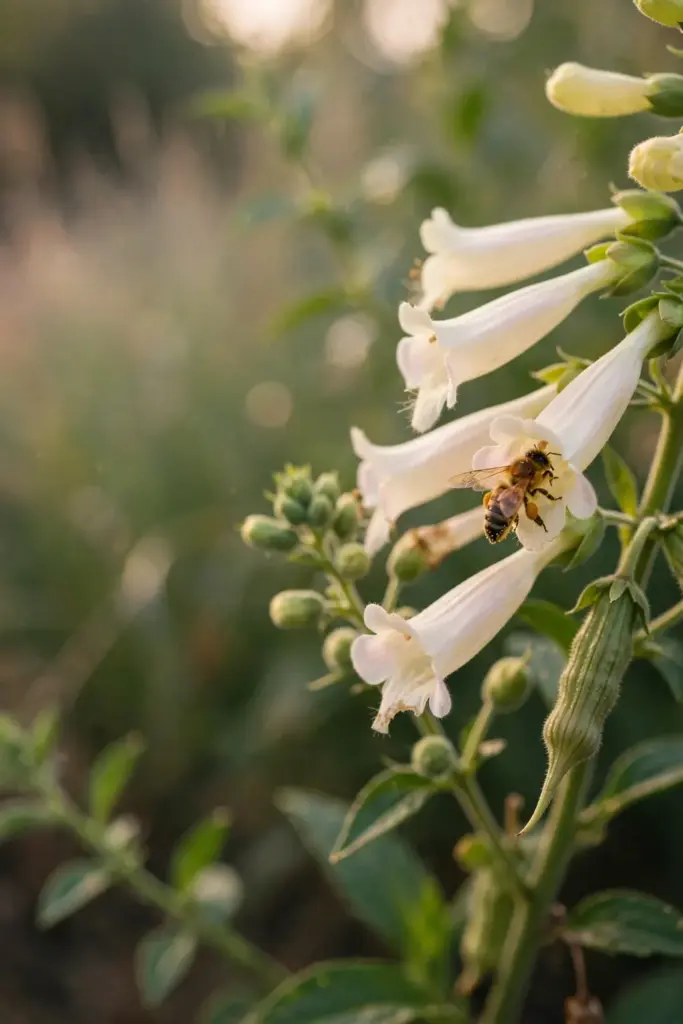
Expect 90 to 130 days from sowing to dry pods, depending on variety and heat. Germination takes 10 to 14 days in soil above 70°F, flowering starts around 6 to 8 weeks, and pods ripen from the bottom up over several more weeks. Indoor-started plants finish sooner in short seasons because they skip the slow cool-soil weeks.
Yes, and the confusion is common enough that it deserves a straight answer. Black sesame seeds come from Sesamum indicum and are sesame with a dark coat. Black seeds, or habbatussauda, come from Nigella sativa, an unrelated plant. They look vaguely similar in a jar and grow nothing alike, so check the Latin name before buying seed.
Only if the seeds are whole and unhulled, which most grocery sesame is not. Hulled sesame has lost the embryo with its coat and will never sprout. Whole natural sesame from a bulk bin sometimes germinates, but age and heat treatment make it a gamble. A fresh packet of seed labeled Sesamum indicum costs little and removes the doubt.
Sesame is a recognized allergen, so anyone with a sesame allergy must avoid it entirely, and allergic reactions can be severe. People on blood-thinning medication should check with their clinician because sesame contains compounds studied for mild antiplatelet effects. This is general information, not medical advice; talk to a qualified professional about your own situation.
Cut whole plants when the lowest pods turn yellow to brown while upper pods are still green, usually 90 to 110 days after sowing. Dry the bundles upright for 2 to 3 weeks so late pods finish, then thresh over a tarp. Waiting until every pod looks ripe guarantees the earliest pods have already burst and scattered your seed.
Yes, in a wide 5-gallon or larger container in full sun, with lean mix and careful watering. Expect a modest harvest of a few tablespoons per plant rather than a pantry supply. Pots work best as a heat strategy: start indoors, chase the sunniest spot you have, and shelter the pot if frost threatens before the pods dry.
Where to Go From Here
You now know how to grow black sesame from the warm-soil check to the shatter-proof harvest, and you know the two traps that ruin most first attempts: cold soil at the start and a late harvest at the end. Start one row or one wide pot this warm season and treat it as a learning crop; the threshing alone teaches you more about seed plants than a season of lettuce. Save seed from your best plant and you will have a locally adapted line in 2 years, selected for your soil and your season length. For your next warm-season project, consider a companion that shares sesame’s heat calendar and lean tastes.