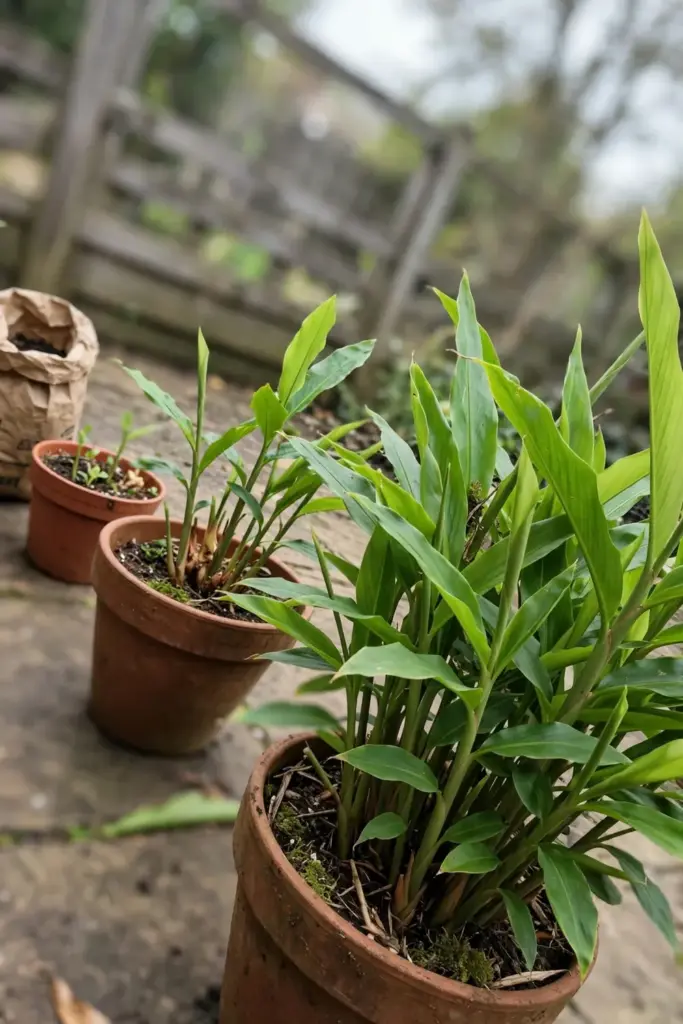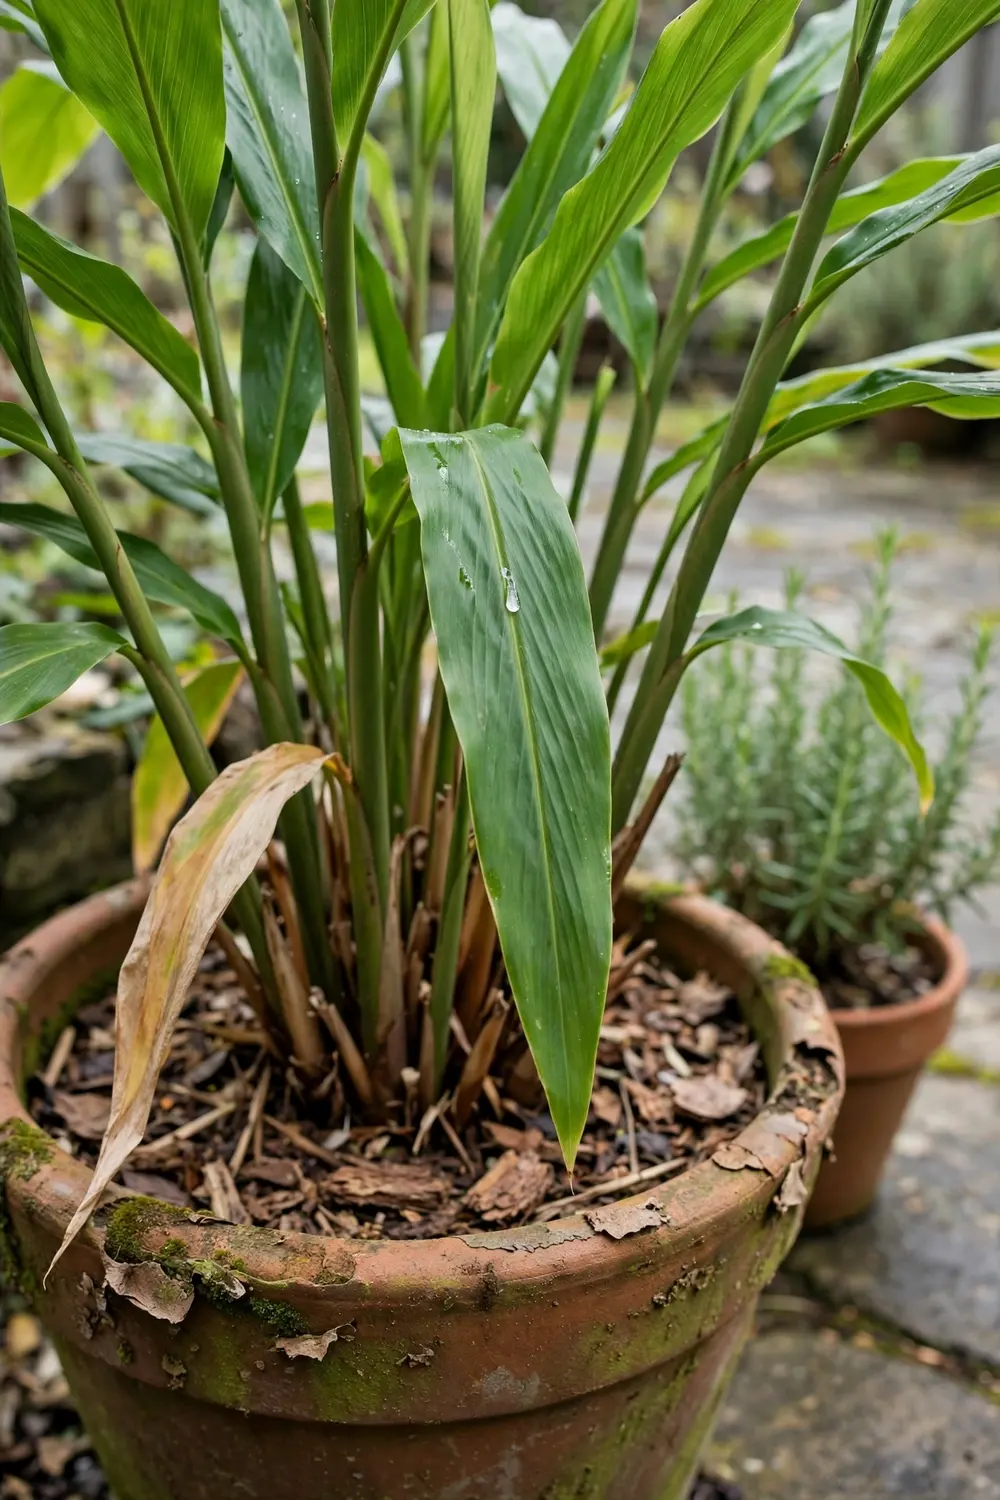

Plant one firm galangal rhizome in a 5-gallon pot in spring, keep the soil above 70°F, and you will dig your own harvest in 8 to 12 months. Galangal here means greater galangal, Alpinia galanga, a tropical ginger relative grown for sharp, citrus-pine rhizomes that anchor Thai, Indonesian, and Malaysian cooking. This guide walks through 17 moves that show you how to grow galangal in pots: identifying the right species, potting it, waking it with warmth, feeding it through summer, moving it indoors before frost, and harvesting without killing the clump.
I have learned that the pot matters more than the rhizome. A cramped pot stalls galangal long before cold or pests get a chance, which is why this is the container method for cold climates rather than a field-farming guide.
What Galangal Actually Is
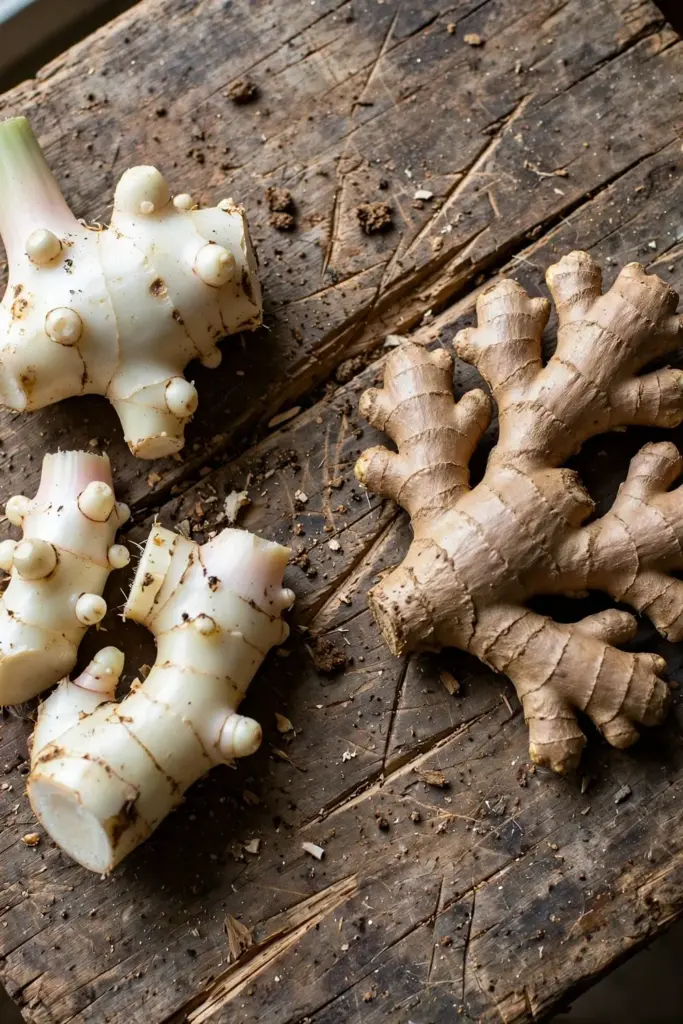
Galangal is not one plant. The name covers several rhizomes, and buying the wrong one is the most expensive mistake a new grower makes. Greater galangal (Alpinia galanga, 高良姜) is the target: large, pale, firm rhizomes with a sharp flavor that leans citrus and pine. Lesser galangal (Alpinia officinarum) is the Chinese medicinal type, smaller and hotter, rarely sold for planting. Kencur (Kaempferia galanga) shows up in Indonesian markets and Pinterest pins labeled as galangal, but it is a different, low-growing species with round leaves. Ginger (Zingiber officinale) is the familiar cousin, and plenty of photos confuse the two.
The quick spec table below sets the baseline. Every number in it comes from the sources linked through this guide.
| Spec | Detail |
|---|---|
| Species to grow | Alpinia galanga (greater galangal) |
| Minimum pot | 5-gallon container per rhizome |
| Planting depth | 2 inches, buds up |
| Soil temperature to sprout | Above 70°F, nights above 50°F |
| Time to harvest | 8 to 12 months |
| Cold tolerance | None; move indoors before frost |
Buy rhizomes sold for Southeast Asian cooking, often labeled Thai ginger or laos. Seeds exist but are generally sterile and unreliable, so every serious grower starts from rhizome pieces. That single fact shapes the whole method: you are planting a piece of root, not sowing seed, and the piece you choose decides the size of your harvest.
The Cold-Climate Reality Check
Galangal is a tropical perennial with zero frost tolerance. Outdoors year-round it survives roughly in zones 8b to 11, and even there a hard freeze kills the top growth. Everywhere colder, the pot is the strategy: grow it as a container plant in summer, then carry the whole pot indoors when nights turn cold.
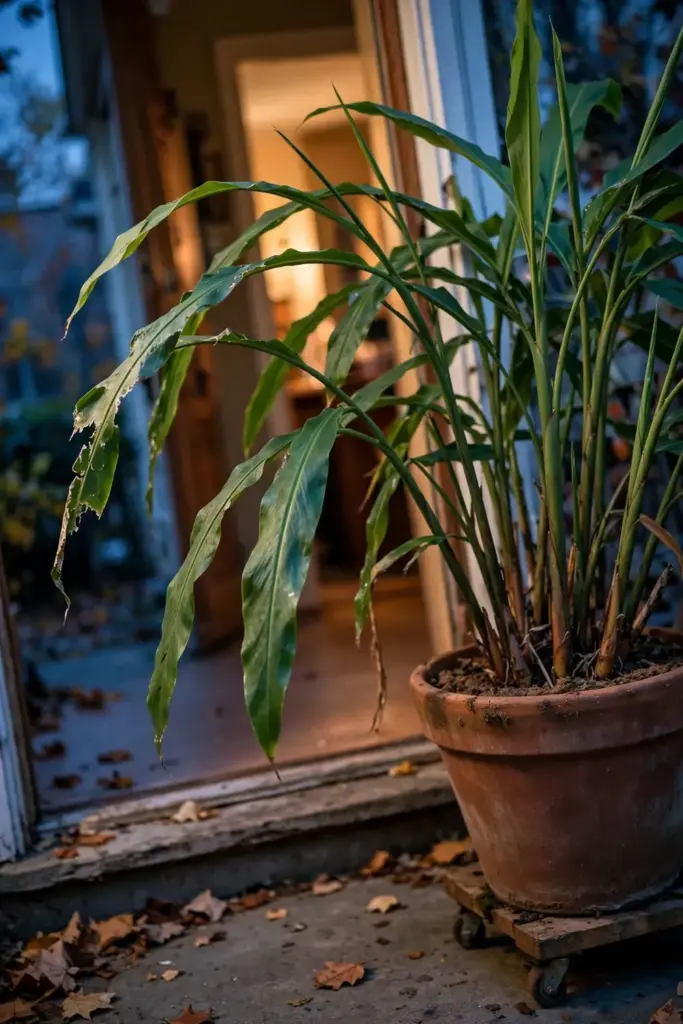
This is honest good news. A potted galangal moved inside before the first frost keeps growing slowly through winter on a bright windowsill, then explodes back outside in spring. The plant wants what the UF/IFAS container production guide describes for ginger, galangal, and turmeric: warmth, steady moisture, and room for the rhizome to spread sideways. Treat the pot as a mobile tropical zone and the climate problem disappears.
Plan the calendar around your last frost date, not a month name. Start rhizomes indoors 6 to 8 weeks before the last frost, move the pot outside once nights stay above 50°F, and bring it back in when autumn nights threaten to dip below that line. The plant does the rest.
Step 1: Buy the Right Rhizome
Choose firm, plump rhizome pieces with at least 2 or 3 visible growth buds, the small raised eyes along the surface. Avoid anything soft, shriveled, or moldy. Pieces from an Asian grocery work well; look for the pale, smooth-skinned hands labeled galangal or Thai ginger rather than the tan, rougher hands of ginger.
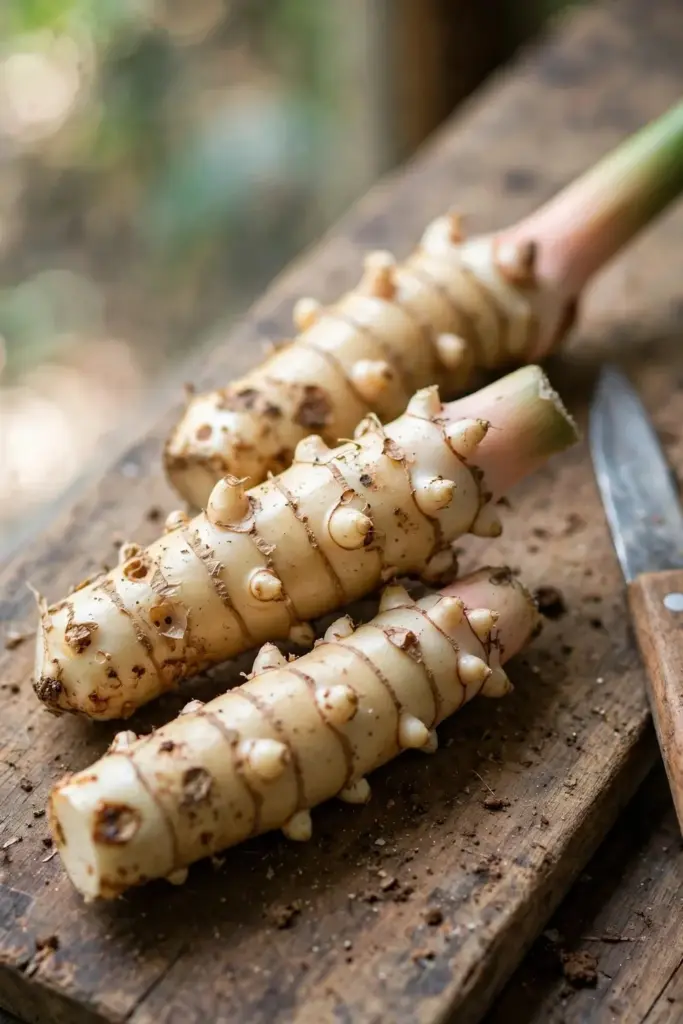
If a piece is large, cut it into sections with a clean knife so each section carries at least 2 buds. Larger pieces produce bigger harvests, a point the long-running galangal growing guide from Gardening Know How makes explicitly. After cutting, let the cut surfaces dry and callus for a few days before planting. The UF/IFAS researchers recommend the same cure for planting stock, and it is the cheapest rot insurance you will ever buy.
Store-bought rhizomes sometimes carry sprout inhibitors. A 24-hour soak in lukewarm water helps wash off surface treatments and rehydrates pieces dried out by shipping and display. Soak, then let the pieces air-dry before they go into soil.
Step 2: Choose the Pot and Mix the Soil
Pick a wide pot, not a tall one. Galangal spreads its rhizomes sideways near the surface, so width beats depth. The UF/IFAS container trials use one rhizome per 5-gallon nursery container, or three per 15-gallon container, which tells you the scale: a single plant wants roughly 5 gallons of soil to itself. A pot 40 to 50 cm across and deep, the size Australian growers recommend for galangal, hits the same target.
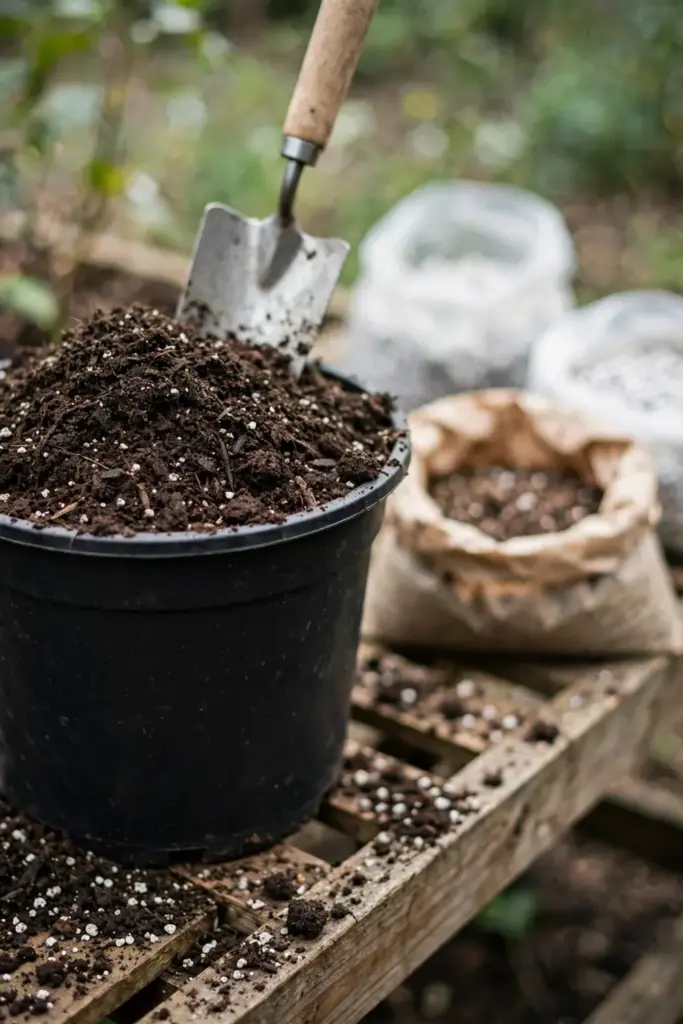
Drainage holes are non-negotiable. Galangal hates standing water, and a pot without drainage is a rot chamber. Terracotta breathes and helps prevent soggy soil, though any material works if the holes are generous.
Mix something light, rich, and free-draining. A practical recipe is two parts good potting mix, one part coarse sand or perlite, and a generous handful of finished compost. Compost or well-rotted manure also fixes poor soil, the same amendment Gardening Know How prescribes for in-ground planting. For container styling ideas that keep a big tropical pot looking intentional on a patio, the fall planter ideas guide covers thriller-filler-spiller composition that works for galangal’s bold foliage too.
Step 3: Plant at 2 Inches in Warm Soil
Plant in spring after all frost danger has passed and the soil has genuinely warmed. The threshold is concrete: average soil temperature above 70°F with nights that do not drop below 50°F, per the UF/IFAS production guide. Planting into cold soil is the classic beginner error; the rhizome sits, sulks, and often rots before it ever sprouts.
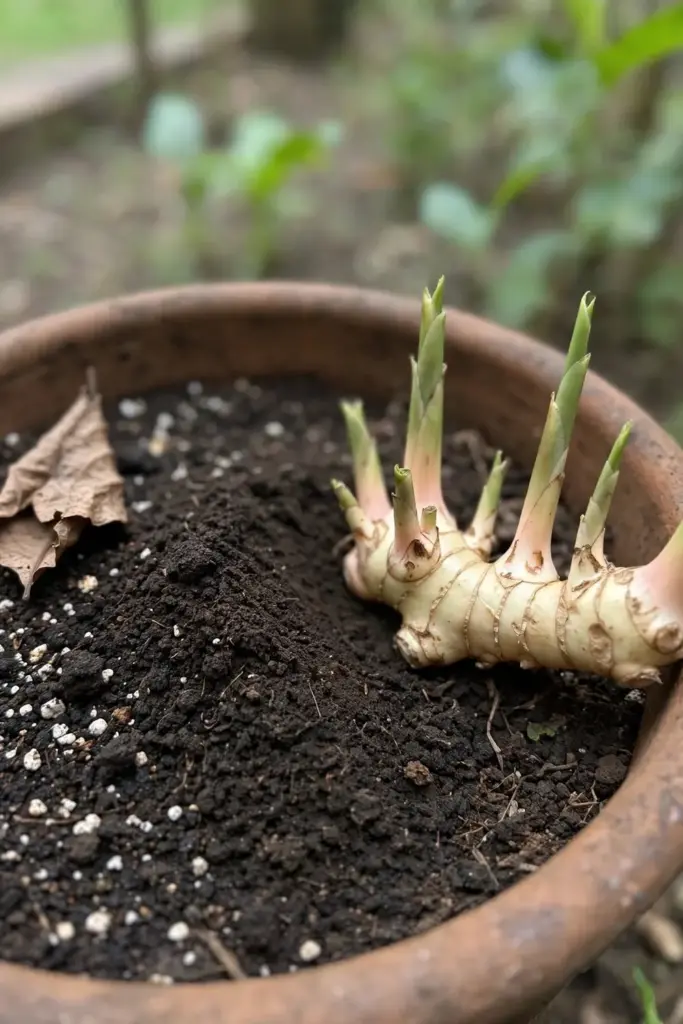
Lay each piece horizontally with the buds facing up and cover with about 2 inches of mix. In the ground, space pieces 12 to 18 inches apart. In a pot, the one-rhizome-per-5-gallons rule already handles spacing, so a single centered piece is all you need. Water thoroughly once after planting to settle the mix around the rhizome, then keep it lightly moist rather than soaked.
Do not bury the piece deeper hoping for stability. Rhizomes planted too deep emerge late and weak, and depth beyond 2 inches buys nothing. Shallow and warm beats deep and cold every time.
Step 4: Wake the Rhizome With Bottom Heat
Sprouting is the slow part. Even in warm soil, shoots can take 3 to 8 weeks to appear, and cool conditions stretch that wait painfully. Bottom heat compresses the timeline: the UF/IFAS guide sprouts rhizomes at around 82°F on top of a humid potting mix before they ever go outdoors.
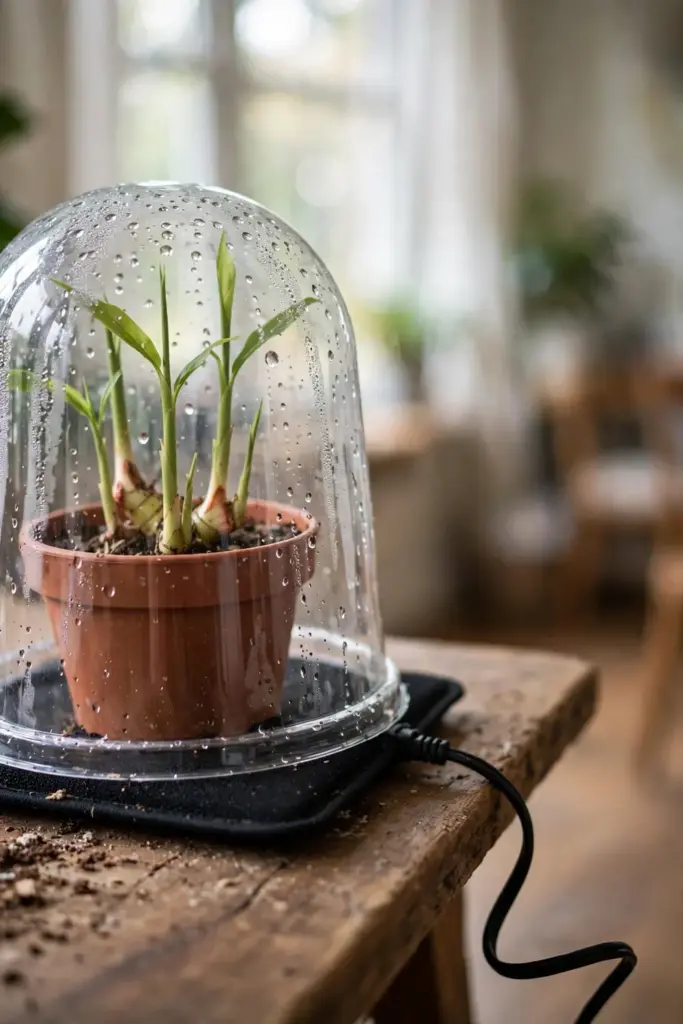
At home, a seedling heat mat under the pot does the same job. Set it to hold the soil in the mid-70s to low 80s Fahrenheit and keep the mix barely moist. The UF/IFAS sprouting protocol holds rhizomes around 82°F on humid potting mix until shoots emerge, and a home mat replicates that closely. A clear plastic dome or bag over the pot traps humidity, but vent it daily so condensation never drips back onto the rhizome. The moment green shoots pierce the surface, remove the cover and give the plant bright light.
The first shoot is thin and pale, almost like a leek tip pushing up. That is normal. Within a week or two it greens up and unfurls the first blade-like leaf, and from there growth accelerates fast in warm weather. Do not fertilize until the plant has 3 or 4 leaves and is clearly established; feeding a barely sprouted rhizome mostly feeds the microbes in the mix.
If you started pieces indoors ahead of the season, harden them off like any transplant: a few hours of outdoor shade at first, lengthening over a week, before the pot takes its summer station. Tender new shoots scorch in sudden full sun.
Step 5: Water Deeply, Then Let It Breathe
Galangal is thirsty but unforgiving of waterlogging. The rule is simple: water deeply until it runs from the drainage holes, then wait until the top inch of mix dries before watering again. In hot summer weather that may mean daily watering for a big pot in full sun; in cool spring it may mean twice a week.
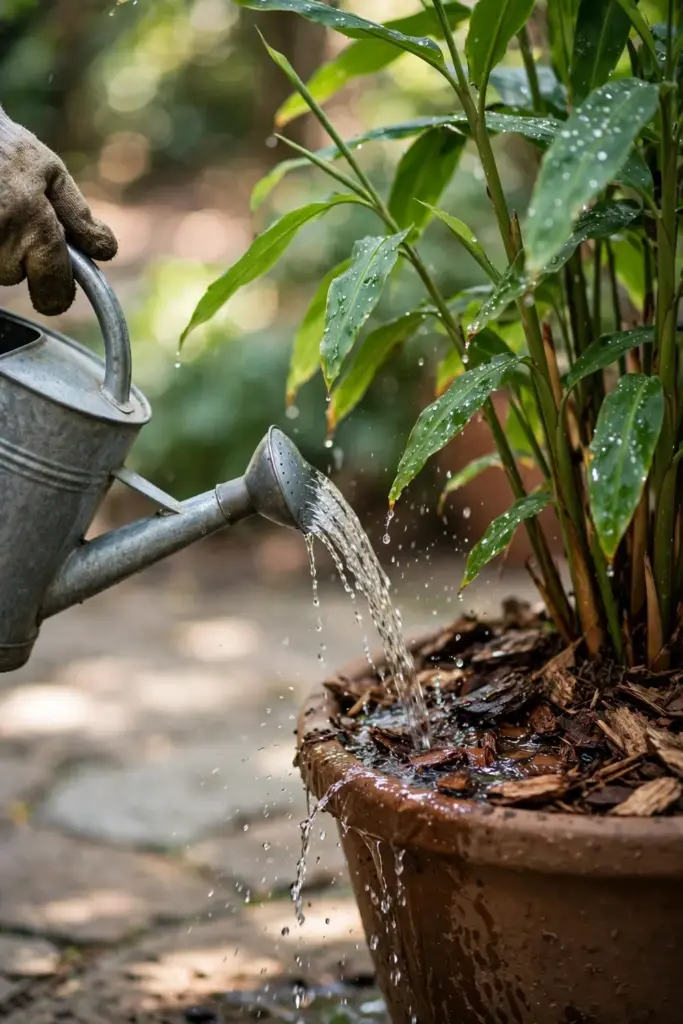
Mulch the surface with straw, shredded leaves, or bark. A 2-inch mulch layer holds moisture between waterings, keeps the shallow rhizomes cool, and suppresses weeds. The FGCU food forest notes pair mulching with compost top-dressing as standard care. Refresh the mulch in midsummer when it thins out; a bare surface in August dries the top inches of mix within hours and forces the shallow rhizomes to sit in the hottest, driest zone of the pot.
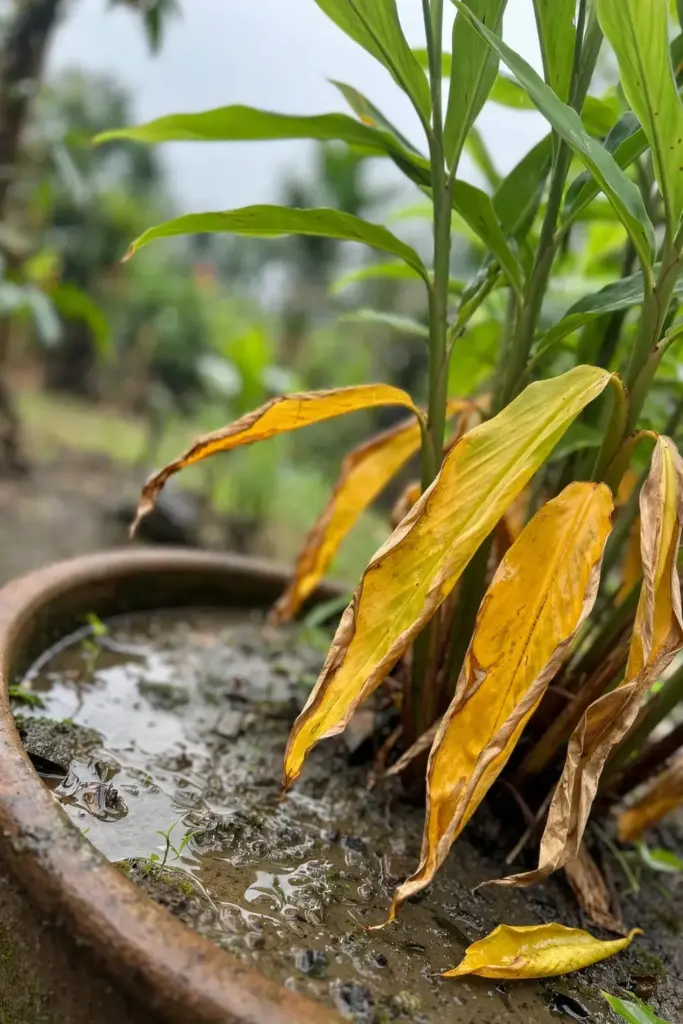
Watch the leaves for the watering signal. Edges that brown and crisp point to drought or salt buildup; whole leaves yellowing from the base up usually means too much water. When in doubt, check the mix with a finger before reaching for the can. Overwatering kills more potted galangal than underwatering ever does.
Step 6: Feed Every 4 to 6 Weeks
Galangal is a moderate to heavy feeder through the growing season. Start feeding once shoots are 6 inches tall and growing strongly. A balanced organic fertilizer or diluted seaweed solution every 4 to 6 weeks through spring and summer matches what Australian growers use, while Gardening Know How suggests monthly feeding with a general-purpose water-soluble fertilizer. Either rhythm works; the key is regularity during active growth. Stop feeding 6 to 8 weeks before you plan to move the plant indoors so the growth hardens off instead of pushing soft new leaves into low winter light.
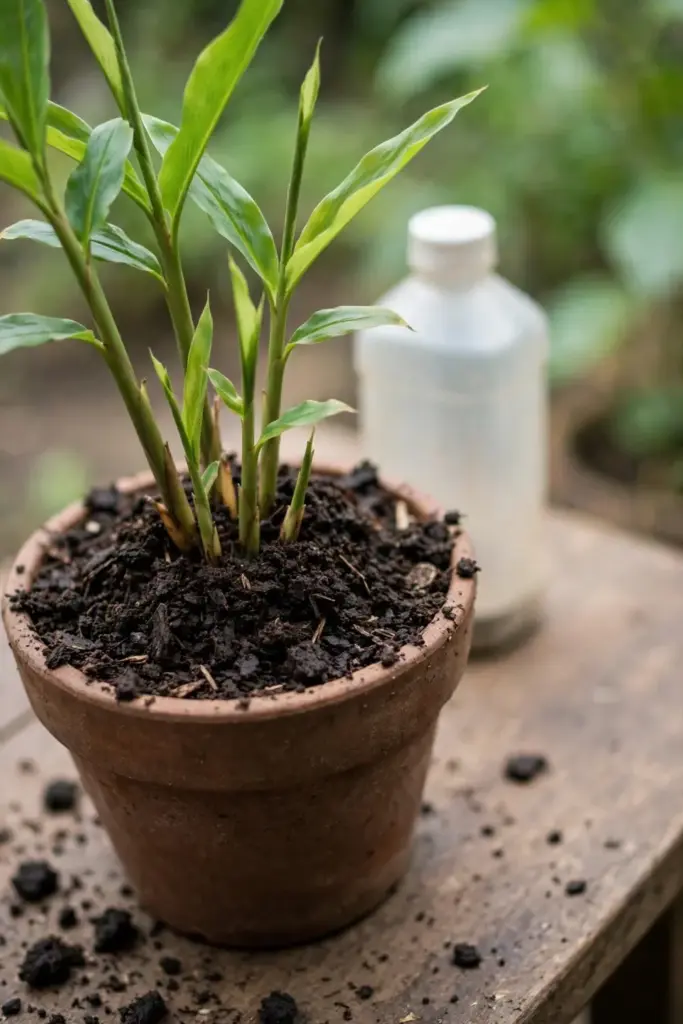
Work compost into the top inch of mix at planting time for a slow-release base, then let the liquid feeds carry the season. A timed-release granular fertilizer at planting also gets growth off to a strong start, the approach Gardening Know How recommends alongside its monthly liquid feeding suggestion. Either rhythm works; the key is regularity during active growth.
Pale, slow-growing plants with thin shoots are usually hungry, not sick. If the mix is old and the plant has sat in the same pot for a year, a fresh top-dressing of compost plus a feeding often restarts it within weeks.
Step 7: Give It Bright, Sheltered Light
Give galangal bright light with shelter from harsh midday sun. Partial shade to dappled sunlight is the sweet spot; direct, harsh afternoon sun scorches the wide leaves, especially in hot climates. An east-facing spot that catches morning sun and afternoon shade is close to ideal.
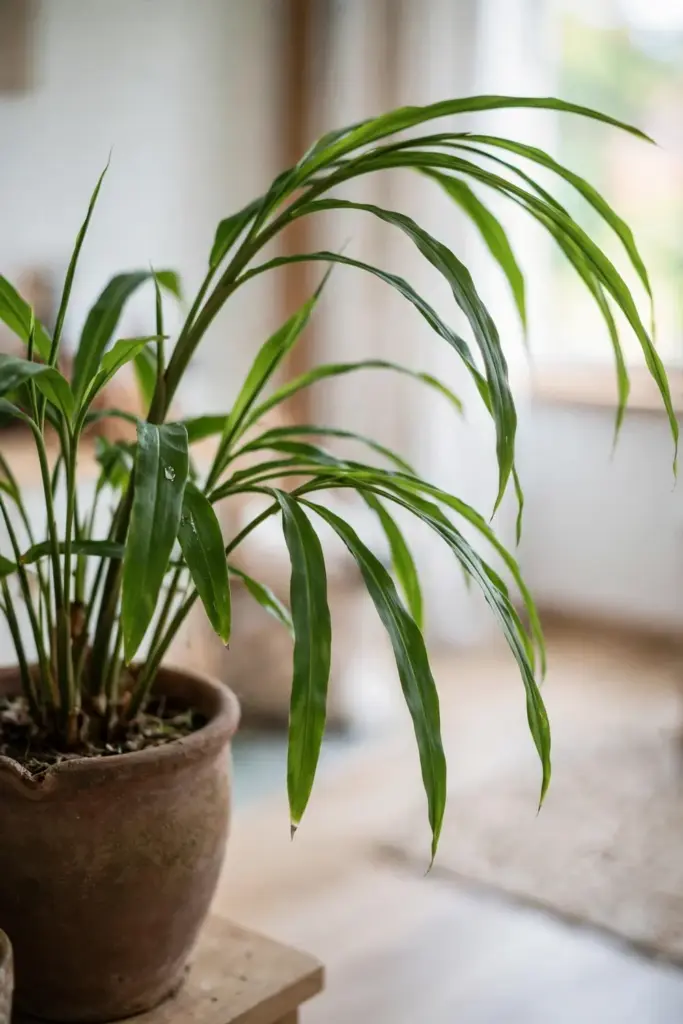
Indoors for the winter, place the pot at the brightest window you have. Skip the dim corner; add a simple grow light if the plant stretches or pales. The plant tolerates lower light while semi-dormant, but it still photosynthesizes and still needs water, just less of it. A south-facing window in the northern hemisphere, or north-facing in the southern, gives the strongest winter sun. Rotate the pot a quarter turn every week so all sides get light and the clump grows evenly instead of leaning.
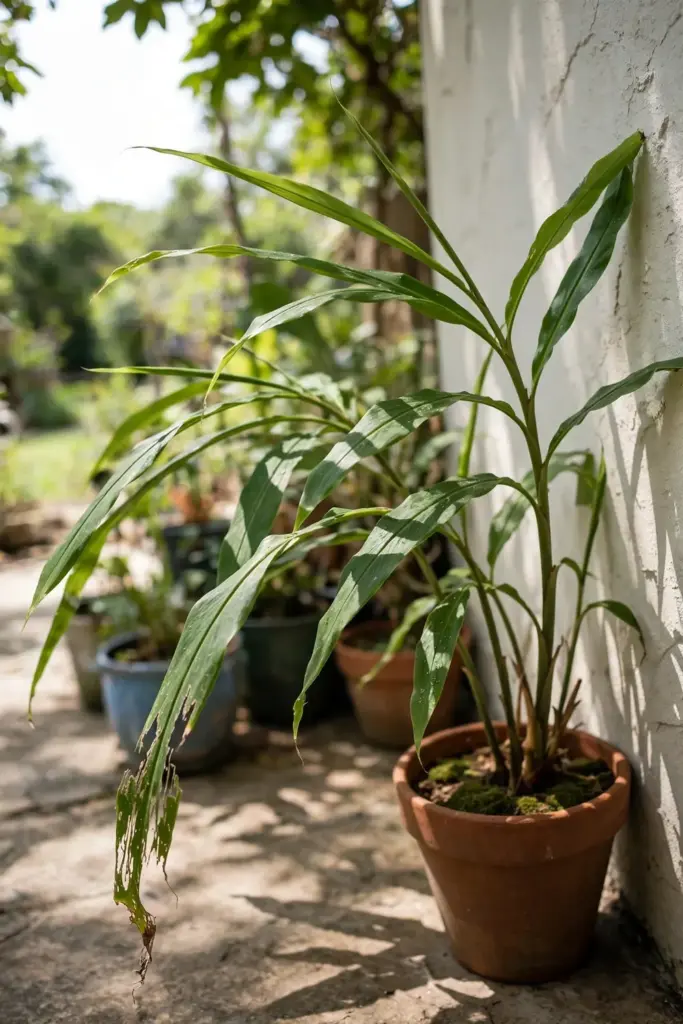
Shelter from wind matters as much as light. The tall, blade-like leaves shred in strong wind, and a top-heavy pot in a 5-gallon container can tip. Tuck the pot against a wall or among other containers for the summer. A sheltered patio corner beats an exposed deck every time. If storms are forecast, lay tall pots on their sides rather than staking them; the plant recovers from a tipped pot faster than from snapped stems.
Step 8: Move the Pot Indoors Before Frost
This is the step that makes galangal possible in cold climates. When autumn nights start flirting with 50°F, move the pot inside. Do not wait for a frost warning; even a light frost seriously damages the foliage, and a hard freeze can kill the rhizome outright.
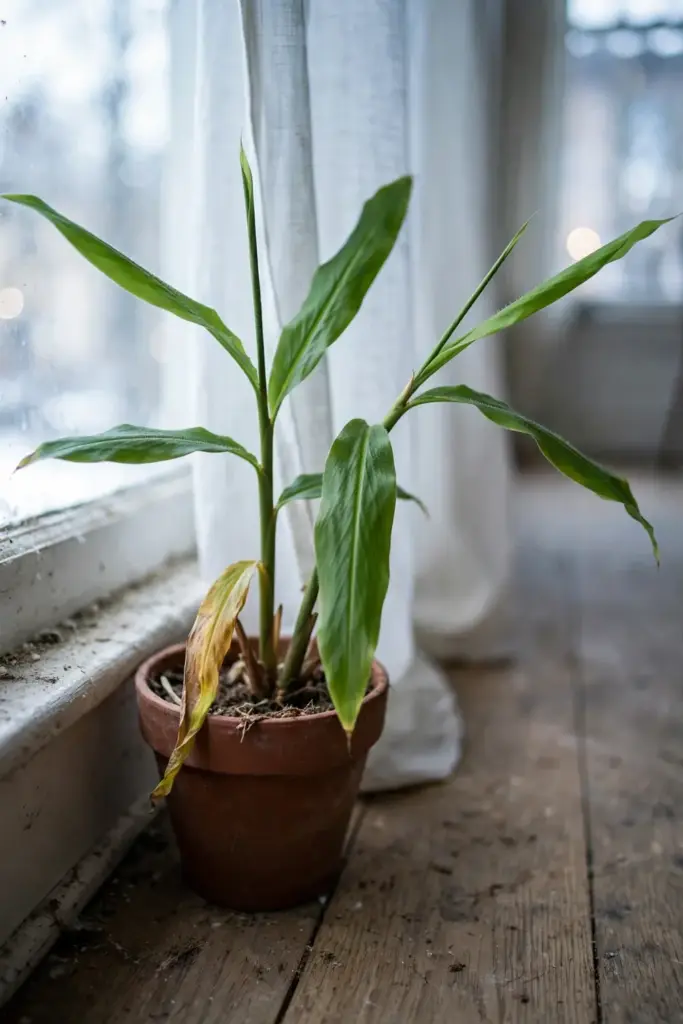
Before the move, inspect the plant and trim off any yellowed or damaged leaves. Check the undersides for hitchhiking aphids or spider mites and rinse the foliage. Indoors, water sparingly through winter, just enough to keep the mix from drying out completely, and stop fertilizing until spring growth resumes. Expect some leaf yellowing in the first weeks indoors as the plant adjusts to lower light; that is acclimation, not disease, and new growth in spring replaces it.
Some growers in marginal zones mulch heavily and leave the pot in an unheated garage or greenhouse instead of the house. That works if temperatures stay above freezing. Below that, the living room wins. In spring, reverse the process: wait for nights reliably above 50°F, harden the plant off over a week, and return it to its summer station. Resume feeding only after new shoots show the plant has woken up; waking roots cannot use fertilizer yet.
Step 9: Harvest Without Killing the Clump
Patience pays here. Home growers harvest 8 to 12 months after planting, the range Australian galangal growers report, while Gardening Know How puts the in-ground window at 10 to 12 months. The UF/IFAS researchers note that galangal harvested young, around 4 months, stays tender, and left longer it turns increasingly fibrous. For kitchen use, that means you choose: young and mild, or mature and pungent.
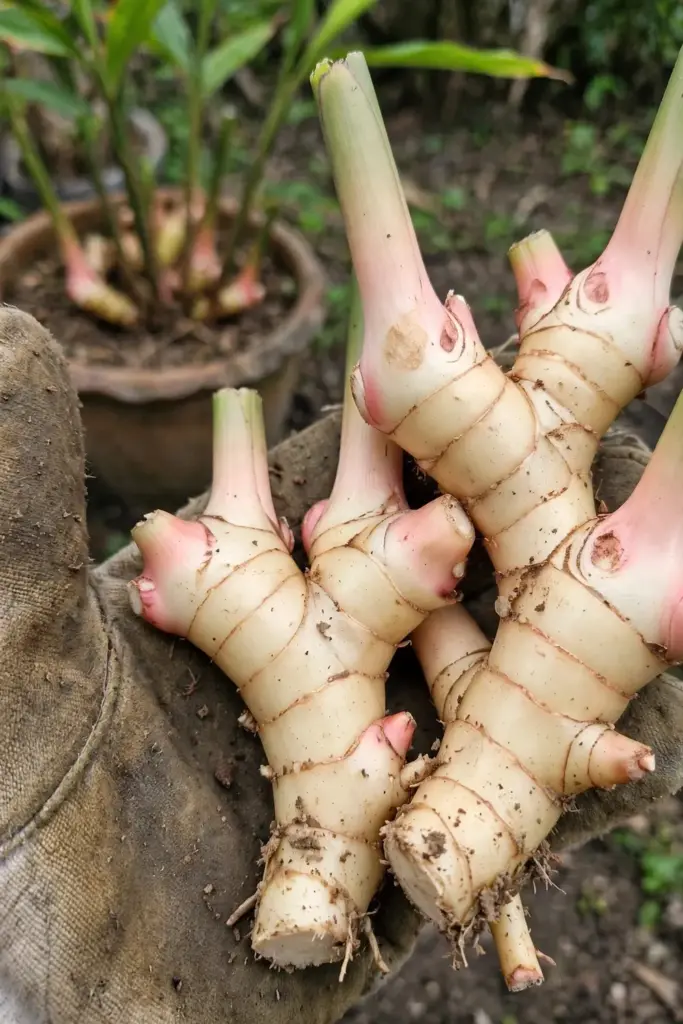
Harvest like the FGCU food forest teaches: dig carefully at the side of the clump and remove what you need rather than harvesting the whole clump. Slide a hand fork or trowel in from the edge, feel for a fat rhizome finger, snap or cut it free, and firm the mix back. The undisturbed remainder keeps growing and producing. Their harvest season runs late summer into early autumn, which lines up with the 8 to 12 month window for spring-planted pots.
Young rhizomes wear white skin and slice tender; older ones turn firmer and more pungent. Wash harvested pieces, pat dry, and refrigerate them wrapped in a paper towel inside a bag, where they keep for weeks. For longer storage, slice and freeze, or dehydrate and grind.
Pests and Diseases to Watch
Potted galangal has few serious enemies, which is part of its charm. Indoors, watch for spider mites and aphids, especially on plants brought inside for winter. A strong rinse knocks most of them off; insecticidal soap handles the rest. Outdoors, slugs may chew young shoots in wet weather.
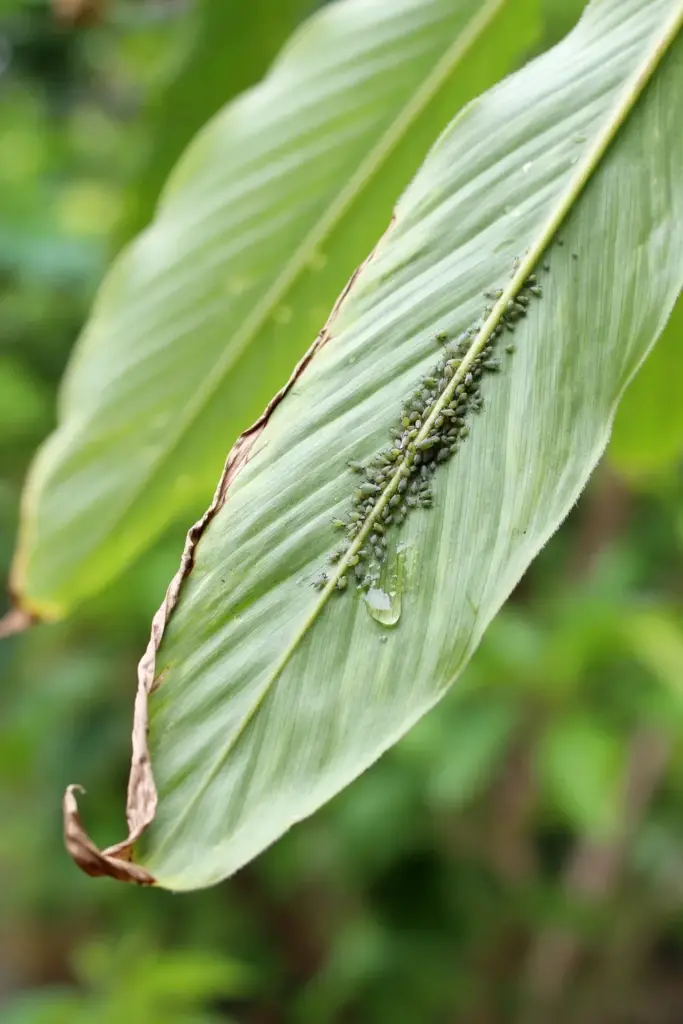
The real threat is underground: rhizome rot from cold, soggy mix. It announces itself as shoots that yellow and collapse at the base while the mix smells sour. Prevention is the cure, and it is all cultural: drainage holes, gritty mix, the finger test before watering, and never planting into cold soil. There is no rescue spray for a rotted rhizome, only the lesson for the next pot.
Good airflow helps on both fronts. Space pots so leaves do not stay wet against each other, and avoid overhead watering late in the day. Healthy, well-fed plants shrug off minor pest pressure that would finish a stressed one. If you bring the pot indoors each autumn, make the pre-move rinse a habit: a hard spray with the hose dislodges nearly every pest before it gets a winter indoors to multiply. For the few that survive, a weekly leaf check through December catches colonies while they are still small enough to wipe off by hand.
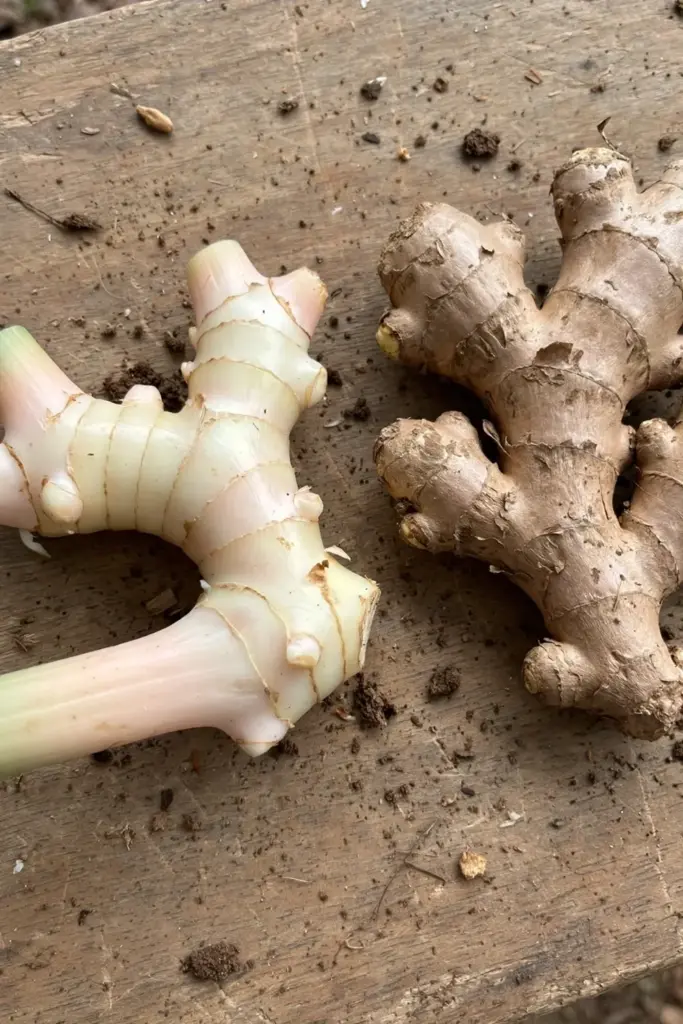
Galangal vs Ginger: The Quick Comparison
New growers constantly mix these up, and the confusion is understandable: same family, similar aisle, similar hands. The table below settles it for growing purposes.
| Trait | Galangal (Alpinia galanga) | Ginger (Zingiber officinale) |
|---|---|---|
| Rhizome skin | Pale, smooth, almost white | Tan, rougher, easily scraped |
| Flesh | Very firm, hard to grate | Juicier, grates easily |
| Flavor | Sharp, citrus-pine | Warm, pungent-sweet |
| Plant height | Tall clumper, chest-high or more | Shorter, 2 to 3 feet |
| Cold tolerance | None; pots indoors | None; pots indoors |
| Time to harvest | 8 to 12 months | 8 to 10 months |
Both want the same basic deal: warmth, a wide shallow container, rich draining mix, and an indoor winter. If you can grow ginger in a pot, you can grow galangal; the galangal just grows taller and takes a little longer. Do not substitute one for the other in recipes, though. The flavors are not interchangeable, and a curry built for galangal’s piney sharpness goes flat with ginger’s sweetness.
Common Mistakes and How to Fix Them
Planting into cold soil. The rhizome rots before it sprouts. Fix: wait for soil above 70°F and nights above 50°F, and use bottom heat to wake pieces indoors first.
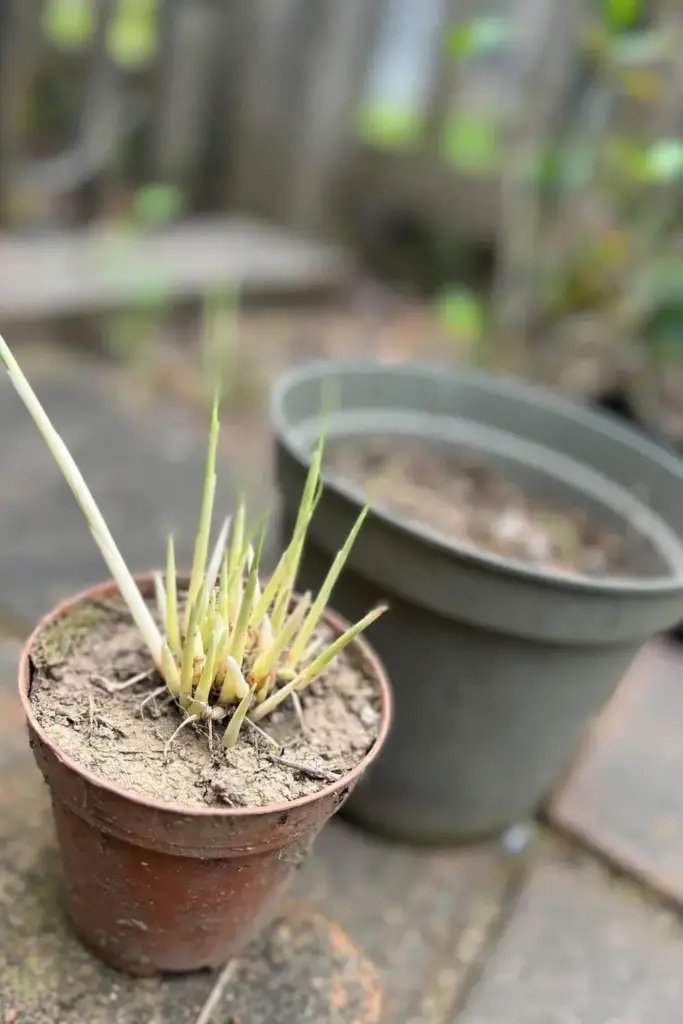
A pot that is too small. One rhizome needs about 5 gallons. A cramped pot stalls growth by midsummer and there is no feeding your way out of it. Fix: start in the final size pot; repot only upward.
Burying the rhizome too deep. More than 2 inches of cover delays or prevents emergence. Fix: replant shallow, buds up, exactly 2 inches under the mix.
Watering on a schedule instead of by feel. Daily water in cool weather drowns the rhizome. Fix: the finger test, water only when the top inch dries, and make sure the pot drains freely.
Leaving the pot out one frost too long. A single hard freeze can finish the plant. Fix: move indoors when nights approach 50°F, not when frost is forecast.
Harvesting the whole clump at once. You get one meal and no plant. Fix: side-harvest fingers and let the clump keep producing.
Skipping the cure on cut pieces. Fresh cuts in wet mix invite rot. Fix: dry cut surfaces for a few days before planting, exactly as the UF/IFAS guide prescribes.
Troubleshooting Galangal Problems
| Symptom | Likely cause | Fix |
|---|---|---|
| No sprouts after 8 weeks | Soil too cold, or treated rhizome | Move to 75 to 82°F bottom heat; try an organic rhizome |
| Shoots yellow and collapse | Rhizome rot from soggy mix | Unpot, cut away mush, replant in fresh gritty mix |
| Leaf edges brown and crisp | Drought or fertilizer salt buildup | Water deeply, flush the pot, mulch the surface |
| Whole leaves yellowing | Overwatering | Let the top 2 inches dry; check drainage holes |
| Tall, pale, floppy growth | Too little light | Move to brighter spot or add a grow light |
| No rhizome swelling by fall | Pot too small or underfed | Pot up to 5 gallons; feed every 4 to 6 weeks |
| Tiny flies around the pot | Fungus gnats from wet surface | Let the surface dry; top with sand; use yellow traps |
Frequently Asked Questions
Yes, and most home growers do exactly that. Choose a firm piece with visible buds from an Asian grocery, soak it 24 hours in lukewarm water to wash off any surface treatment, let cut pieces callus for a few days, and plant 2 inches deep in warm soil. Organic pieces sprout most reliably, but conventional ones work too once soaked.
Expect 3 to 8 weeks in warm soil, longer in cool conditions. Bottom heat around 75 to 82°F shortens the wait considerably. If nothing shows after 8 weeks, unpot the piece and check it: firm with swelling buds means wait longer, soft and sour-smelling means rot, and you should start fresh with a new piece.
A 5-gallon container per rhizome is the practical minimum, the size UF/IFAS researchers use for container production. Wider beats taller because rhizomes spread sideways. Three rhizomes fit a 15-gallon nursery pot. Anything smaller stalls the plant by midsummer, and no amount of fertilizer compensates for cramped roots.
Only where winters stay frost-free, roughly zones 8b to 11, and even there a hard freeze damages it. Everywhere else, the answer to how to grow galangal through winter is a pot: grow it in a container and move it indoors before nights drop near 50°F. Indoors it grows slowly through winter on a bright windowsill, then returns outside in spring after the last frost.
No. They are cousins in the ginger family, but galangal (Alpinia galanga) has paler, firmer rhizomes with a sharp citrus-pine flavor, while ginger (Zingiber officinale) is warmer and sweeter. They grow similarly in pots, yet their flavors are not interchangeable in cooking, so grow the one your recipes actually call for.
For home use, 8 to 12 months after planting gives a good balance of size and tenderness. Young rhizomes harvested around 4 months are tender and mild but small; left much longer, they turn fibrous and intensely pungent. Side-harvest fingers from the clump edge as needed instead of lifting the whole plant at once.
Where to Go From Here
Start one pot this spring and you will learn more in a season than any guide can teach. Once you know how to grow galangal in a container, the same wide-pot logic suits turmeric and ginger, and the comparison table above tells you what changes between the three. The method scales: one 5-gallon pot this year, a summer row of pots the next, and a winter windowsill routine that becomes second nature. For the soil foundation underneath all of it, the soil health guide explains how living soil keeps container plants fed with less fertilizer. When the galangal pot comes inside for winter, the fall herbs to plant guide maps out cool-season companions that share its calendar. Warmth, width, and patience: that is the whole crop.