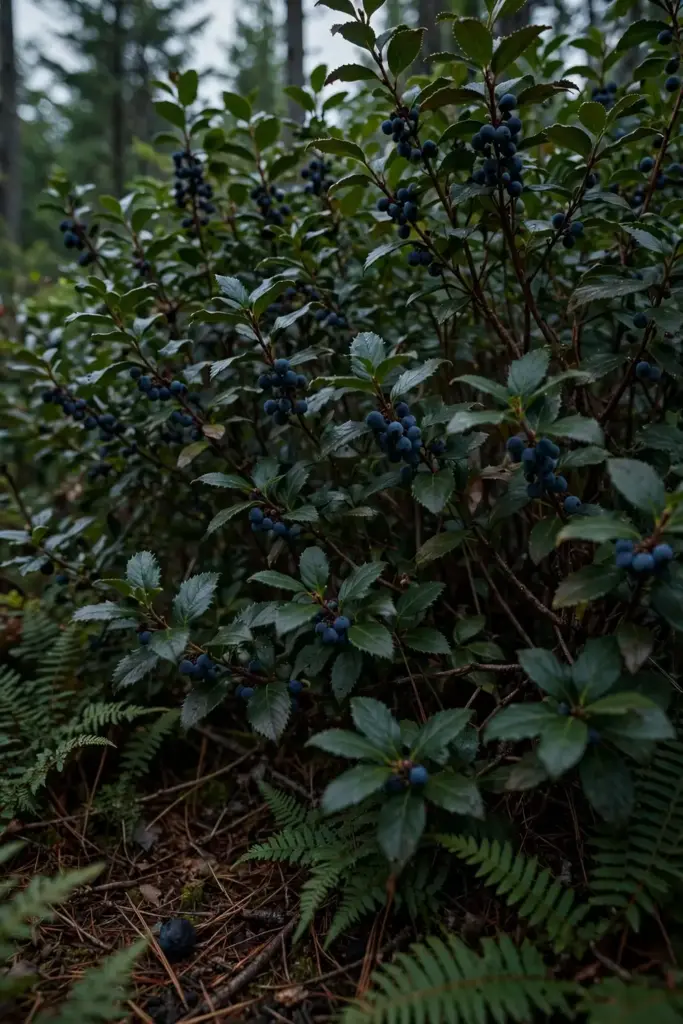

Buy a nursery-grown salal plant, set it in shade too deep for blueberries, and expect real establishment in 2 to 3 years. Salal is Gaultheria shallon, a broadleaf evergreen in the heather family native from Alaska to California, where it forms the glossy understory beneath conifer forests.
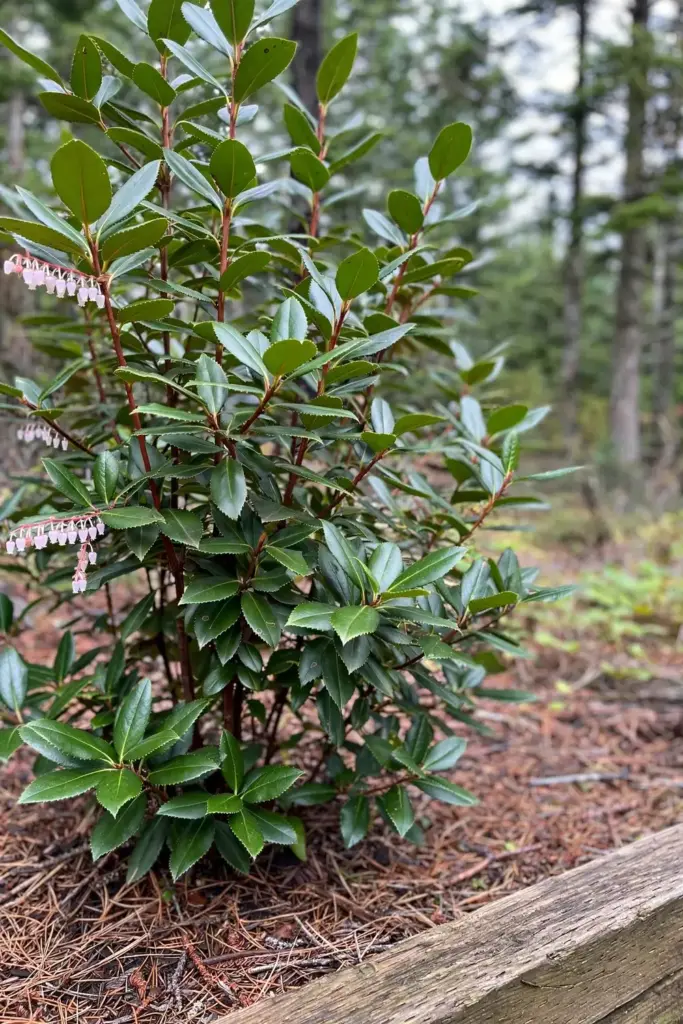
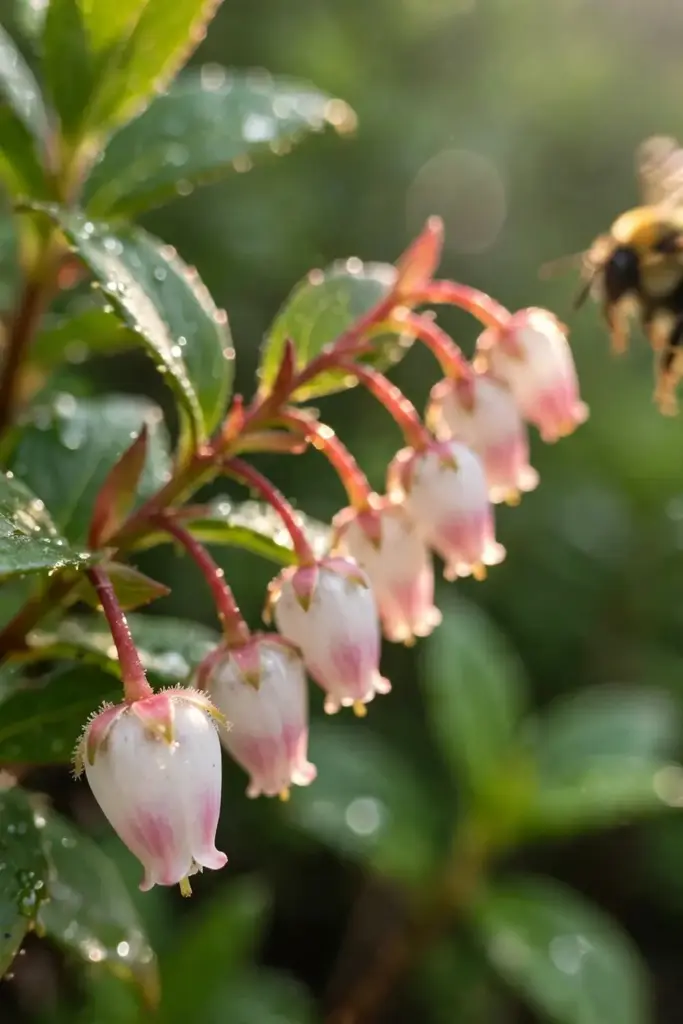
The urn-shaped white to pinkish flowers of late spring ripen into black berries by late summer. Florists know the leaves as “lemon leaves,” sold in the cut-foliage trade for decades. Seed and cuttings work too, but they take longer than a container plant.
What follows is the honest establishment timeline, the three propagation routes, and how to keep spreading rhizomes where you want them. If your garden has a shady corner that defeats every fruit you have tried, salal belongs on your list of shade-tolerant fruits before anything else. I have learned the hard way that wild-dug salal sulks for years, so I now plant only nursery container stock.
Salal at a Glance
| Item | Detail |
|---|---|
| Latin name | Gaultheria shallon (Ericaceae, the heather family) |
| Type | Broadleaf evergreen shrub, 2 to 5 feet in sun, 4 to 10 feet in shade |
| Zones | 8 to 10; hardy to Zone 6 in sheltered woodland settings |
| Light | Partial shade to full shade; tolerates sun with permanently moist soil |
| Soil | Rich, moist, acidic; pH 5.5 to 7.0 |
| First real establishment | 2 to 3 years from nursery container stock |
| First berries | 3 to 4 years from a container plant; 4 to 6 years from seed |
| Harvest window | July through September, sweetest after a light frost |
| Raw eating | Yes, safe and edible, mild rather than sweet |
| Biggest caution | Spreading rhizomes; plan for containment in moist garden soil |
The height spread matters. Oregon State University’s landscape plant database records salal staying under 2 feet in full sun and poor soil while reaching 4 to 10 feet in shade and good soil, which is why one plant can look like a ground cover in one garden and a thicket in another.
1. Match Salal to Your Climate: Zones 8–10, With a Sheltered Zone 6 Exception
Salal suits USDA zones 8 to 10 in most references, which covers the coastal Pacific Northwest, much of California, and the humid Southeast. Oregon State University rates it hardy to USDA Zone 6, but that number comes with a condition: the plant must sit in a sheltered woodland setting, protected from drying winter wind.
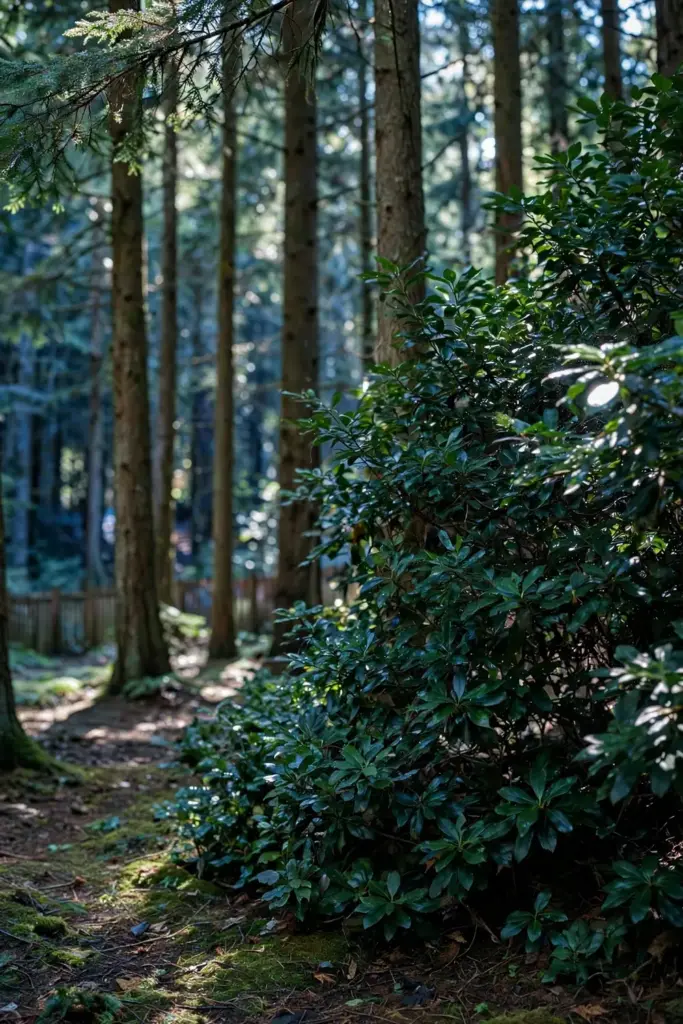
The honest regional split comes from North Carolina State’s extension plant toolbox, which warns that salal may not be a good choice for the East because the growing conditions differ sharply from its native coastal forest. Hot, humid summers plus alkaline clay are the two forces that defeat it inland. Gardeners in Texas, Florida, and California can grow salal, but only where they can deliver acidic soil, reliable moisture, and afternoon shade.
Elevation and exposure matter as much as the zone number. In its native range salal is predominantly a low-elevation plant because of frost sensitivity, so a Zone 7 garden at 3,000 feet may treat it worse than a Zone 6 garden tucked into a protected hollow. If your winters swing between deep freezes and warm thaws, site salal on the north or east side of a building where the foliage stays frozen rather than cycling.
2. Source Fresh Salal Seed From Ripe Black Berries
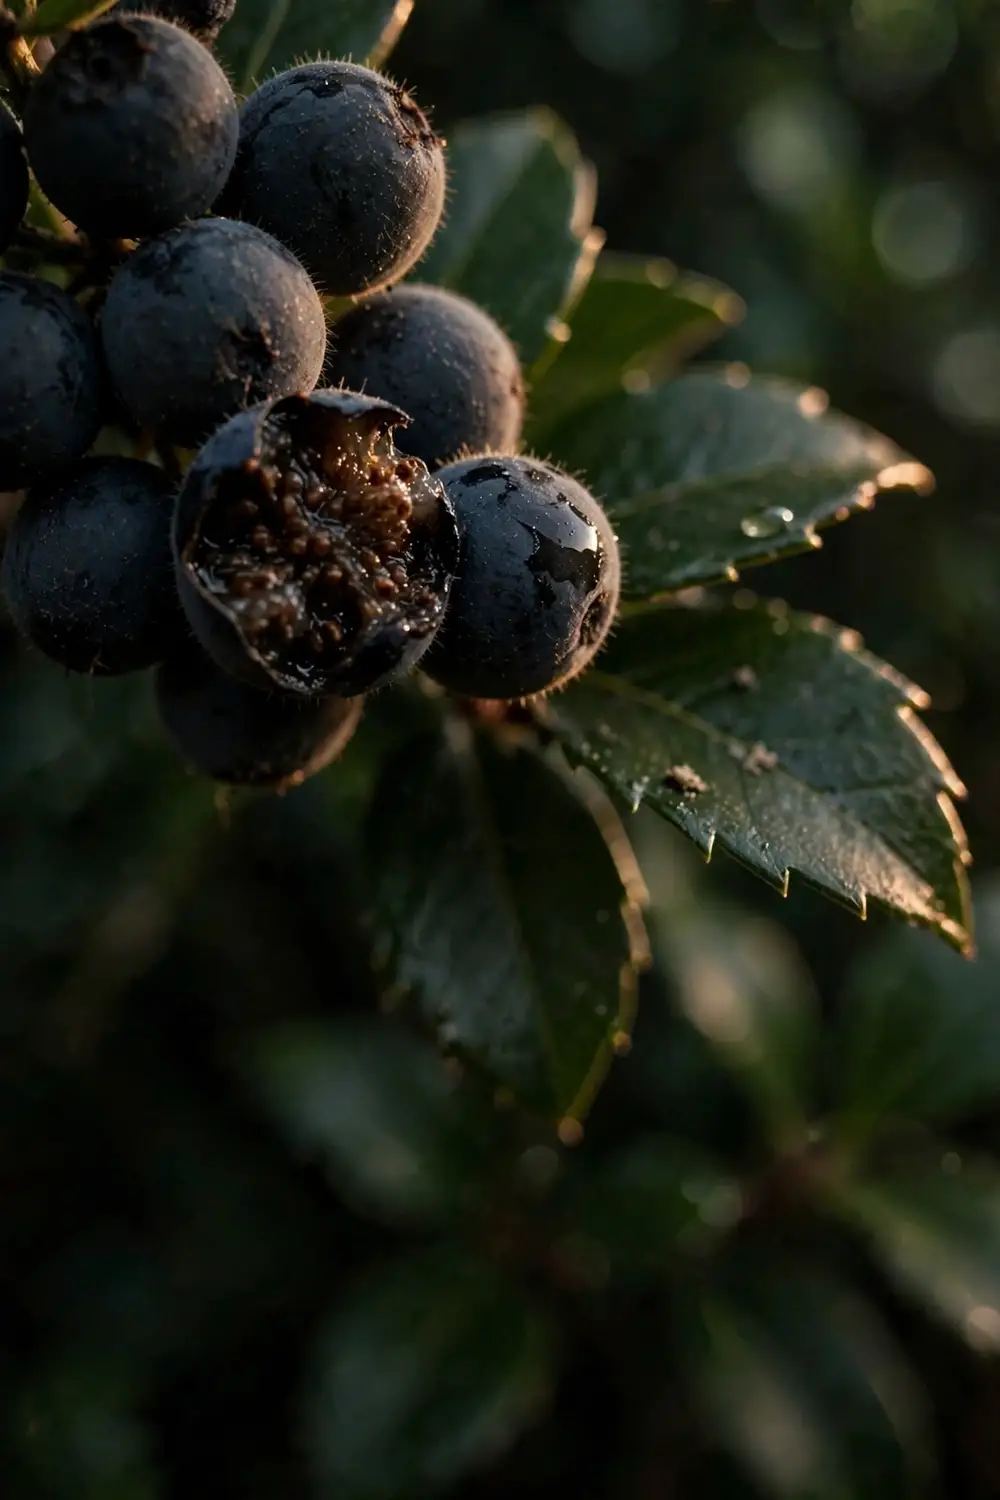
Salal berries each carry an average of 126 tiny brown seeds, according to the botanical description on Wikipedia, so one handful of fruit gives you thousands of potential plants. Collect fruit when the berries turn fully black and yield to a gentle squeeze, usually August through September. Ferment the mashed berries in water for two to three days, then rinse the pulp away and keep the seed moist; dried-out salal seed germinates poorly.
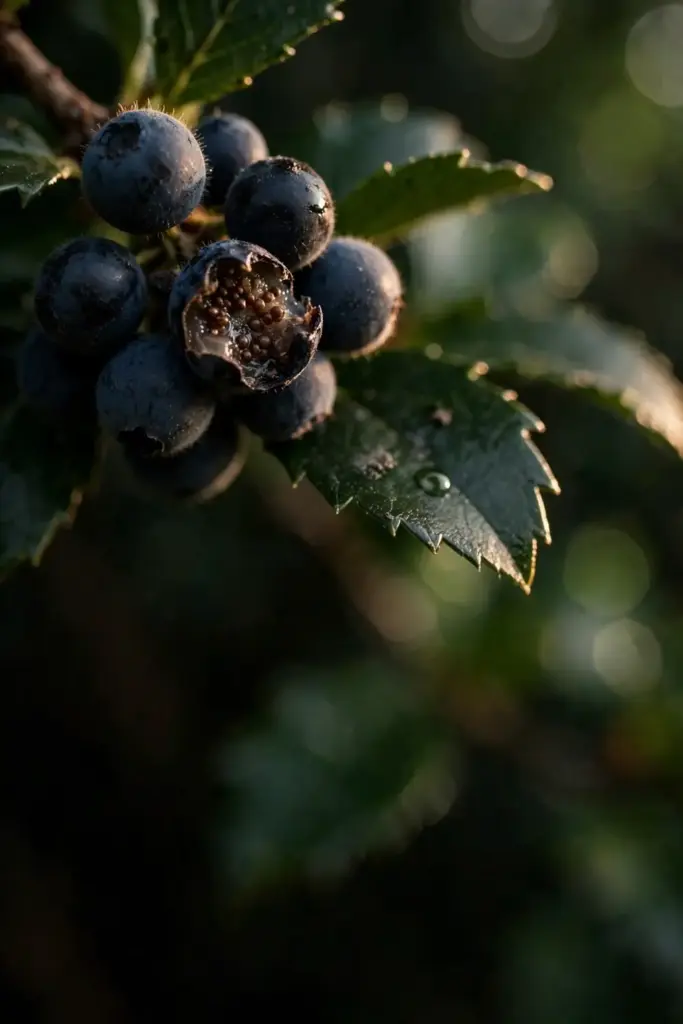
Buy seed only from a reputable native-plant seed house if you cannot collect your own, and sow it the same season. The USDA Forest Service’s Fire Effects Information System notes that cleaned salal seed averages over 3.2 million seeds per pound and stays viable for moderate periods when stored properly, but home gardeners get far better results from fresh seed than from year-old packets.
If you want berries sooner, skip seed entirely. Nursery-grown container stock is the recommended starting point because it establishes far more reliably than anything dug from the wild, and a one-gallon plant puts you two to three years ahead of a seedling tray.
3. Stratify Salal Seed for 4 to 10 Weeks Before Sowing
Salal seed needs a cold period before it will germinate. The Plants for a Future database recommends pre-chilling seed for 4 to 10 weeks, then surface sowing it in lime-free compost in a shady part of the greenhouse and keeping the mix constantly moist.
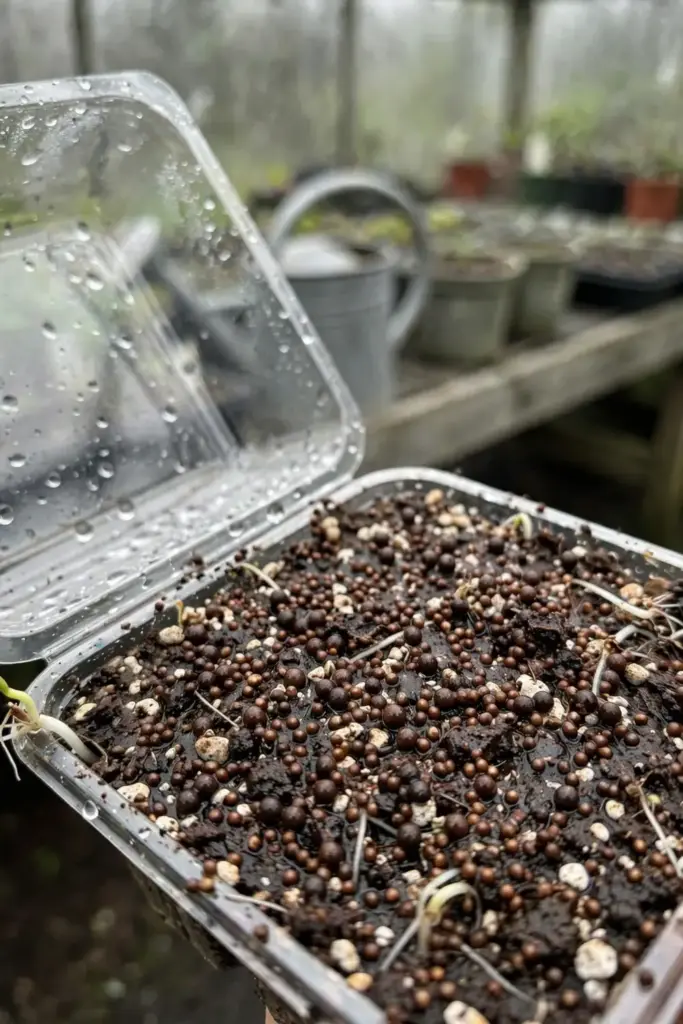
Do not bury the seed. Surface sow on top of a fine, acidic seed mix of peat and perlite, press it gently into contact, and cover the tray with a humidity dome or a sheet of glass. Keep it in bright shade, never in direct sun, and hold the temperature near 68°F; germination usually takes one to two months at that temperature, per the same propagation reference.
Seed-starting basics apply here with one extra caution: salal seedlings damp off easily. Water with care, give the tray plenty of ventilation, and prick seedlings out into individual pots when they reach about 1 inch tall. Grow them on in light shade through at least their first winter, and protect them from spring frosts for their first few years outdoors.
4. Raise Seedlings Through Their First Two Winters
Salal seedlings grow slowly, and their leaves stay small for the first few years. Plan on nursery care through two full winters before the plants look like the shrub you imagined. Keep young plants in one-gallon pots in dappled shade, water consistently so the mix never dries out, and feed lightly with an acid-forming fertilizer in spring.
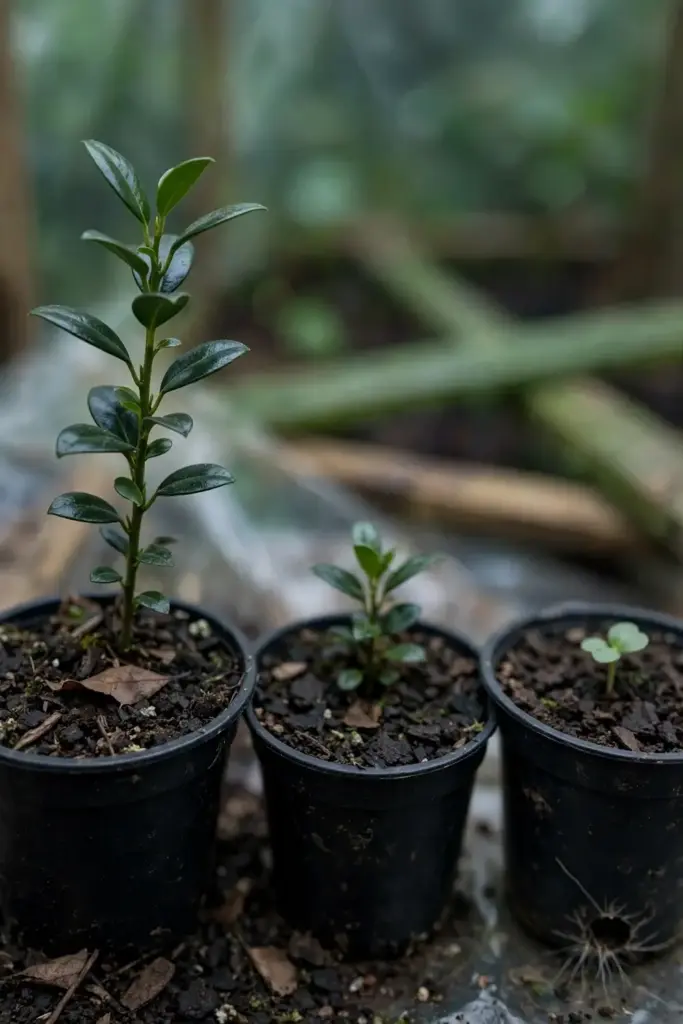
The seedlings are susceptible to spring frosts, so move pots under cover or into a cold frame when late frosts threaten. Do not rush them into the ground. A seedling planted out too early in dry or sunny soil stalls, and a stalled salal seedling can sit unchanged for a full season. Plant out in late spring or early summer of the second or third year, after the roots fill the pot and new growth looks vigorous.
Expect the first flowers no earlier than the third year from seed, and the first real berry crop in year four to six. This is the price of the seed route, and it is why nurseries sell far more container plants than seed packets.
5. Compare All Three Propagation Routes Before You Commit
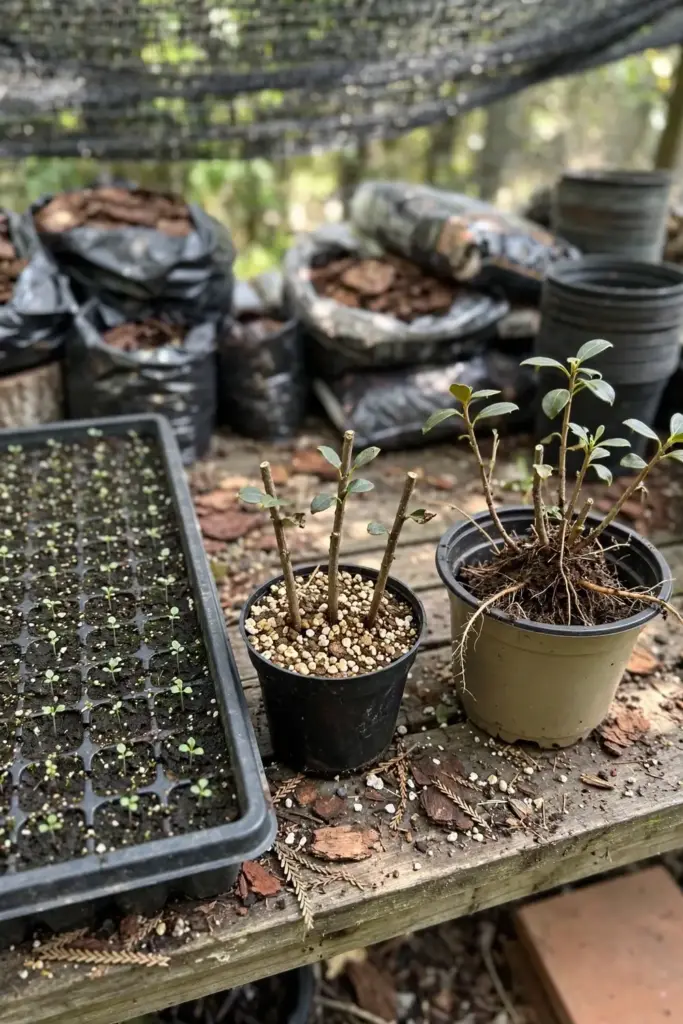
| Method | Timeline to a plantable shrub | Difficulty | Honest verdict |
|---|---|---|---|
| Seed | 2 to 3 years to plantable size; 4 to 6 years to berries | Moderate | Cheapest for many plants; slowest and most fiddly |
| Cuttings | Roots in late summer or the following spring; berries in 3 to 4 years | Moderate | Best balance of speed and reliability for home growers |
| Division | Immediate new plants, but slow to re-establish | Easy | Fastest start, provided you have an existing plant to divide |
Seed suits the patient gardener who wants dozens of plants for a woodland edge and can wait. The USDA Forest Service calls seed the most economical way to grow salal, which makes sense for restoration projects planting hundreds of shrubs.
Cuttings suit the home gardener who wants a known plant faster. Take cuttings of half-ripe wood 3 to 6 inches long in July or August, set them in a shady frame, and expect roots by late summer or the following spring. A good percentage usually take, according to the Plants for a Future propagation notes, and semi-hardwood cuttings of 4 to 6 inches taken in late summer root within a few months in a peat and perlite mix with rooting hormone.
Division suits anyone who already has salal. Divide in spring when the new growth reaches about 3 inches tall, pot the clumps up, and grow them on in a shady cold frame until they root well before planting out. Divided plants can be slow to get established, so treat them like new container stock for the first season.
6. Choose a Shady Site With 3 to 4 Feet to Spare
Salal wants partial shade to full shade and soil that stays moist but drains. The classic planting sits under high-canopy trees, along the north side of a fence, or near a ditch or seasonal stream where the soil never fully dries. It tolerates full sun only where the soil stays permanently moist, which most home gardens cannot promise through August.
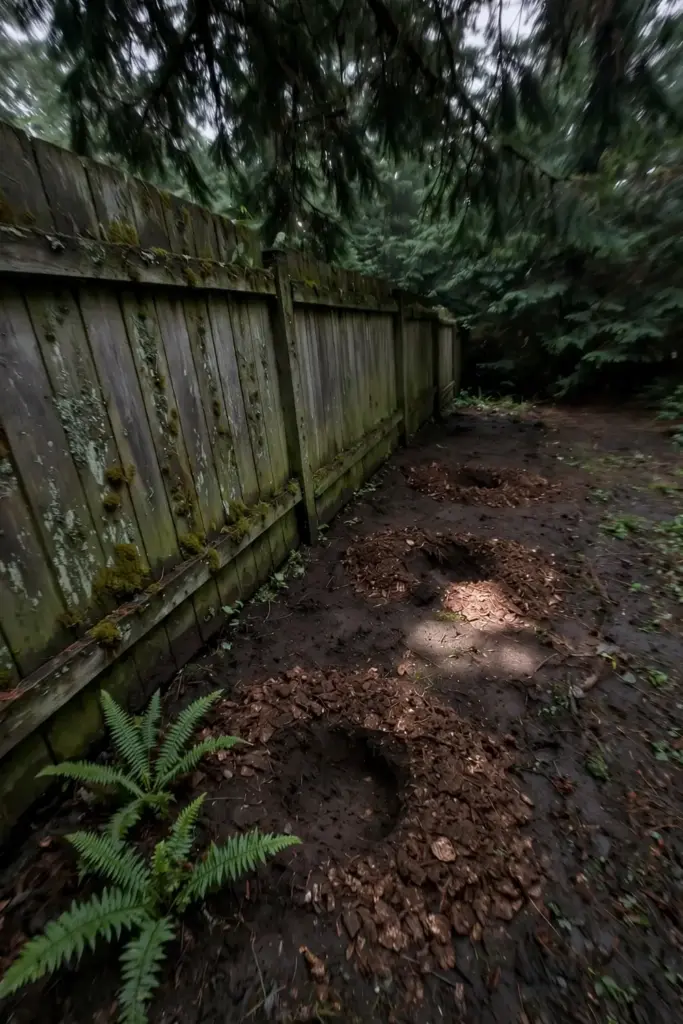
Space plants 3 to 4 feet apart for a filling thicket, or 2 to 4 feet for a faster ground cover effect. Salal spreads by rhizomes, so each plant will widen well beyond its planting hole in moist soil. Give it room, or plan the containment described later, because a salal hedge planted 18 inches apart in rich soil becomes a solid wall within a few years.
Building the right soil foundation matters more for salal than for most fruits. Test the pH and aim for 5.5 to 7.0, amending with elemental sulfur if your soil runs alkaline and with composted pine bark if it runs heavy. Salal is an ericaceous plant, so it shares the blueberry’s dislike of lime, and chlorotic yellow leaves on new growth usually mean the pH drifted too high.
7. Plant Container Stock in Fall or Early Spring
Fall planting is ideal in zones 8 to 10, where winter rain settles the roots before spring growth. In colder zones, plant in early spring after the soil thaws and drains. Dig a hole twice as wide as the pot and no deeper, set the plant at the same depth it grew in the nursery, and backfill with native soil mixed with composted bark.
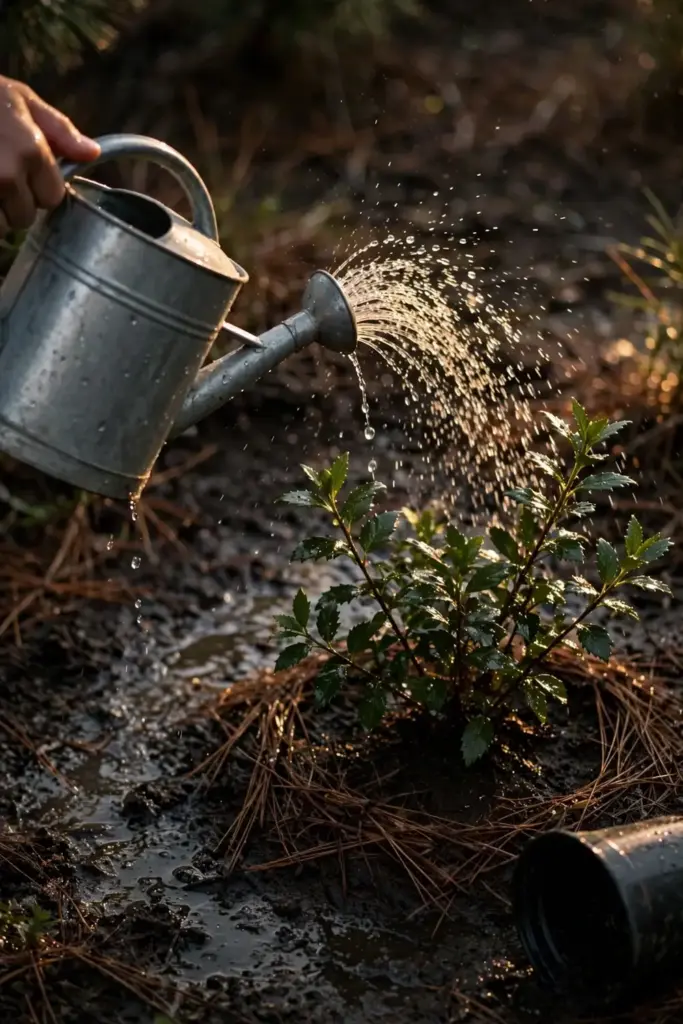
Water the planting hole deeply before and after setting the plant, then mulch immediately. Salal is difficult to transplant, per Oregon State University, which is the strongest argument for buying nursery container stock rather than digging plants from the wild. A container plant’s intact root ball establishes in one season; a wild-dug clump with severed rhizomes can sulk for two.
Stake nothing. Salal’s stiff, leathery stems stand on their own, and staking interferes with the low branching that makes the shrub dense. Instead, protect new plantings from foot traffic and from string trimmers, which are the two most common killers of young salal in home landscapes.
8. Water Weekly Until Established, Then Back Off
Salal is evergreen, which means it loses water through its leaves all winter, so consistent moisture matters year round for the first two years. Water deeply once a week during dry spells until the plant is established, soaking the root zone rather than sprinkling the foliage. Mulch does most of the work of holding that moisture, which is why the mulch step comes next.
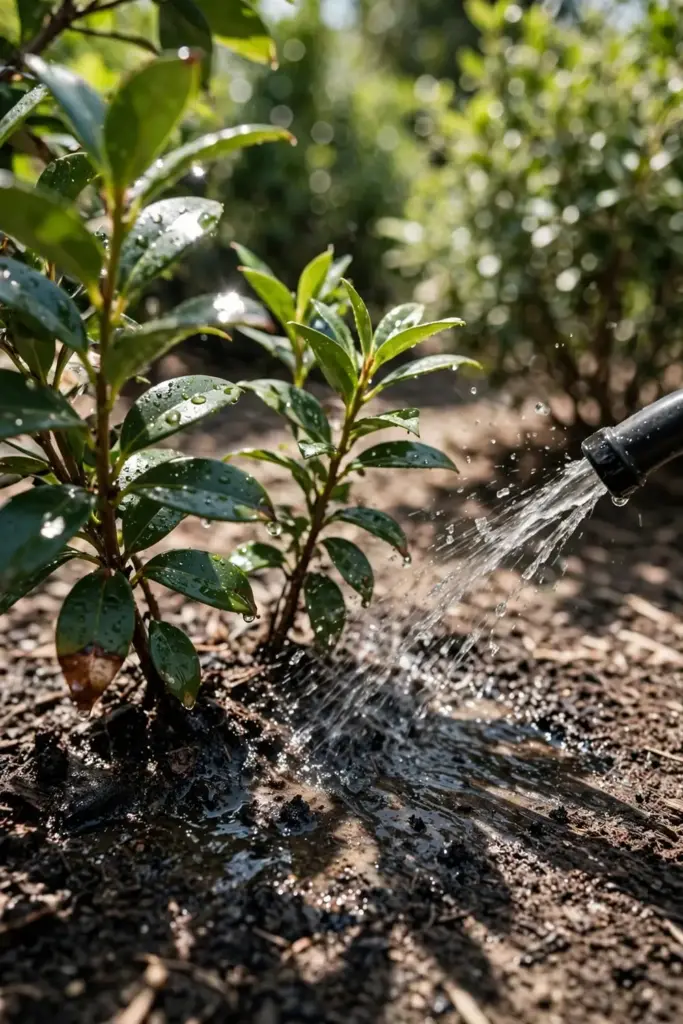
Once established, salal tolerates considerable dryness. Snohomish County’s native plant list notes that salal tolerates dry soil once established, and mature plants in shade often need no supplemental water in the Pacific Northwest. In hotter regions, keep the weekly deep watering through summer even on older plants, because heat plus drought is the combination that browns leaf edges.
Watch the leaves for the watering signal. Glossy, turgid leaves mean the roots are happy; dull, slightly cupped leaves mean the plant wants water now. This visual check beats any fixed schedule, because a salal under deep conifer canopy in August needs far more water than the same plant in a moist hollow.
9. Mulch With 3 Inches of Pine Needles or Bark
Spread a 3-inch layer of pine needles, shredded bark, or composted wood chips around each plant, keeping the mulch a few inches back from the stems. Acidic mulches suit salal’s ericaceous roots and slowly feed the soil biology that ericoid mycorrhizae depend on. Wood-chip mulch at 4 to 6 inches also works for weed suppression on larger plantings, per grower guides, but keep it shallower near the crown.
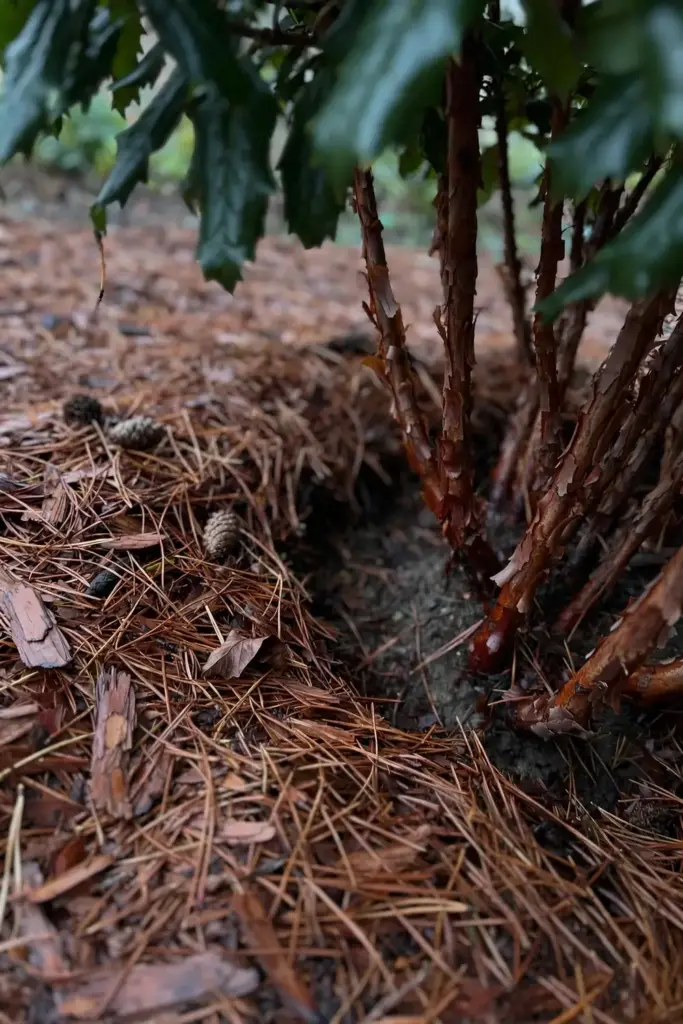
Refresh the mulch every spring before the dry season. A thin or missing mulch layer is the most common reason young salal stalls in its second year, because the shallow roots dry out between waterings. Never use fresh wood chips against the stems or limestone gravel anywhere near the planting, since both work against the acidic, humusy conditions salal wants.
Mulch also buys you time on the watering schedule. Three inches of pine needles can cut summer water needs noticeably, which matters for a plant whose roots run shallow and wide rather than deep.
10. Prune to Control Height and Harvest Foliage
Prune salal in late winter, before the new growth flush, removing the oldest canes at ground level. This keeps the shrub dense and productive rather than leggy, and it opens the center so light reaches the berries. Never shear salal like a hedge; cut individual stems back to a strong outward-facing bud or to the base.
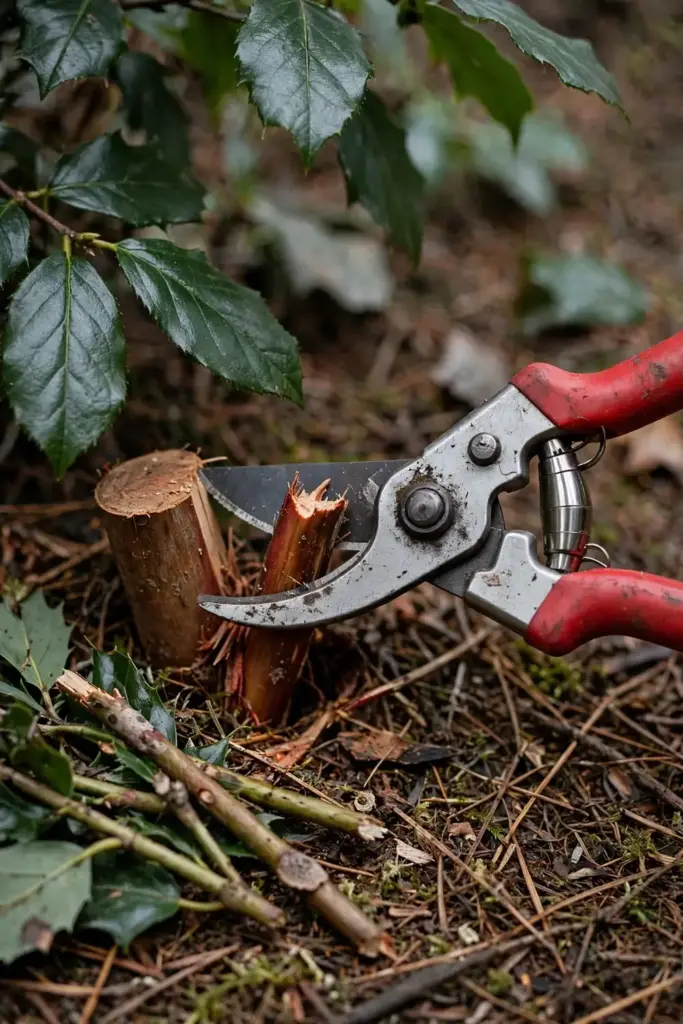
Harvest foliage for arrangements from the same pruning session. Cut stems in the morning, strip the lower leaves, and condition them in deep water overnight; salal’s leathery leaves last for weeks in a vase, which is exactly why florists buy them as “lemon leaves.” Take no more than a third of the plant’s stems in any one year so berry production continues.
Spring pruning technique for most shrubs applies directly: clean, sharp cuts, no stubs, and disinfect between plants if you have seen fungal spots. Rejuvenate an overgrown thicket by cutting a third of the oldest stems to the ground each year for three years rather than cutting everything at once.
11. Answer the Invasive Question Honestly
Salal is native to western North America, where ecologists do not class it as invasive. In moist garden soil it still spreads aggressively by rhizomes, and the USDA Forest Service notes that once established it spreads aggressively enough for use as ground cover on erosive banks and roadcuts. That vigor is a feature on a slope and a problem next to a perennial border.
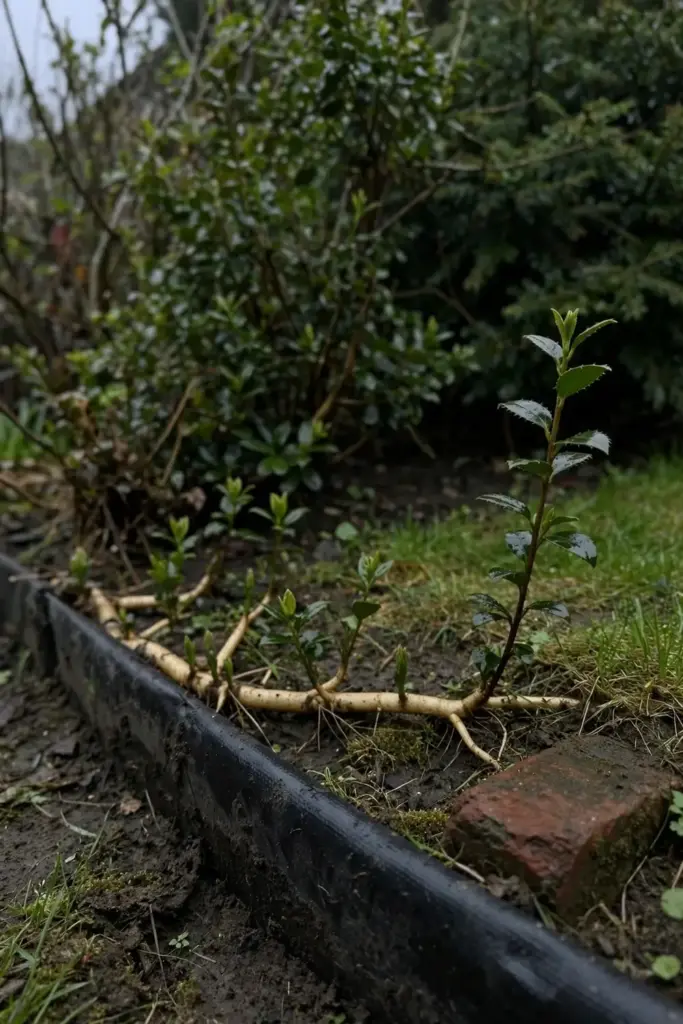
Contain it with an 18-inch-deep root barrier of HDPE or metal edging around the planting bed, installed at planting time rather than later. Mow or cut suckers that escape beyond the barrier each spring, and site salal where a lawn, path, or building foundation forms at least one hard boundary. Karen’s Garden Tips notes that salal spreads by suckers and can become invasive in its natural habitat, which is the honest framing: native, valuable, and capable of taking over.
Do not plant salal where you cannot monitor it. A forgotten corner planting in ideal conditions will send rhizomes many feet outward within five years, and digging out an established thicket is far harder than installing a barrier at the start.
12. Eat the Berries Raw, Cooked, or Dried
Yes, you can eat salal berries raw, straight from the bush. They are safe, with a mild, slightly sweet flavor and a seedy texture that some gardeners love and others find unremarkable. Oregon State University describes the fruit as edible but bland, which sets the right expectation: salal is a pleasant trail nibble, not a dessert berry.
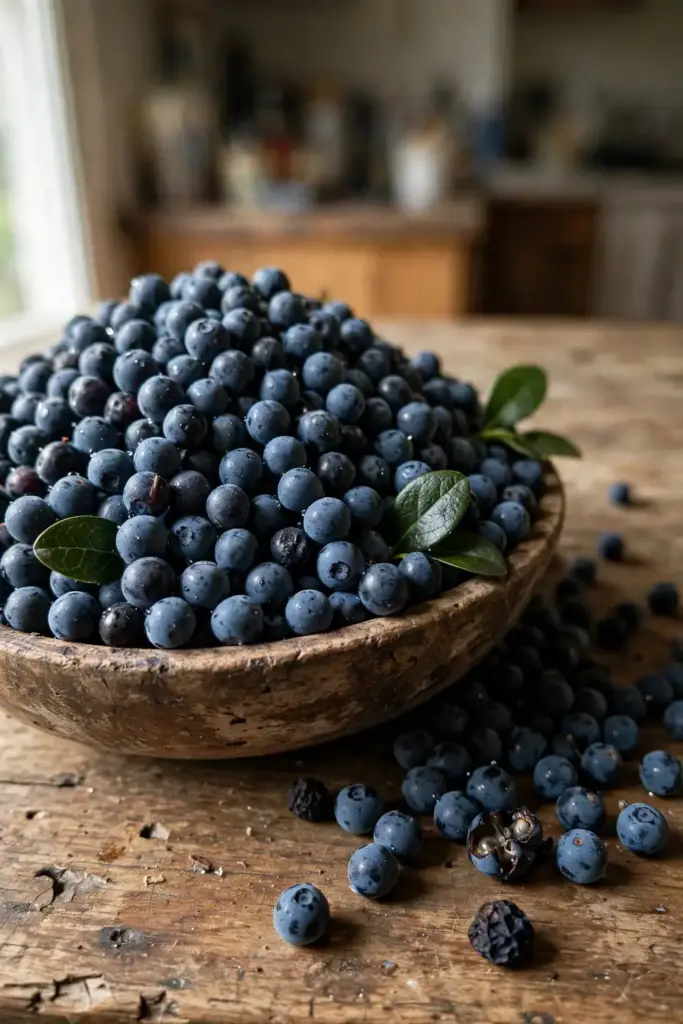
Cooking improves them. The berries make good jam, jelly, and pie filling, especially mixed with sharper berries like salmonberry or thimbleberry, as the King Conservation District’s native plant spotlight suggests. Drying concentrates the flavor, and Indigenous communities of the Pacific Northwest have long dried salal berries into cakes for winter storage.
The “poisonous salal berries” searches come from confusion with other dark-berried shrubs. Salal berries are not poisonous. Still, follow the King Conservation District’s caution: identify the plant positively before harvesting, avoid plants near roads or sprayed areas, and leave plenty behind for the birds and mammals that depend on the crop.
13. Cut Stems for the Decades-Old Foliage Market
Salal foliage has fed the Pacific Northwest floral industry for decades, and a well-grown planting can produce salable greens alongside berries. Florists prize the glossy, long-lasting leaves for bouquets and arrangements, buying them in bulk through the winter when little else is green. This dual harvest of berries and greens is why salal earns space in a productive garden.
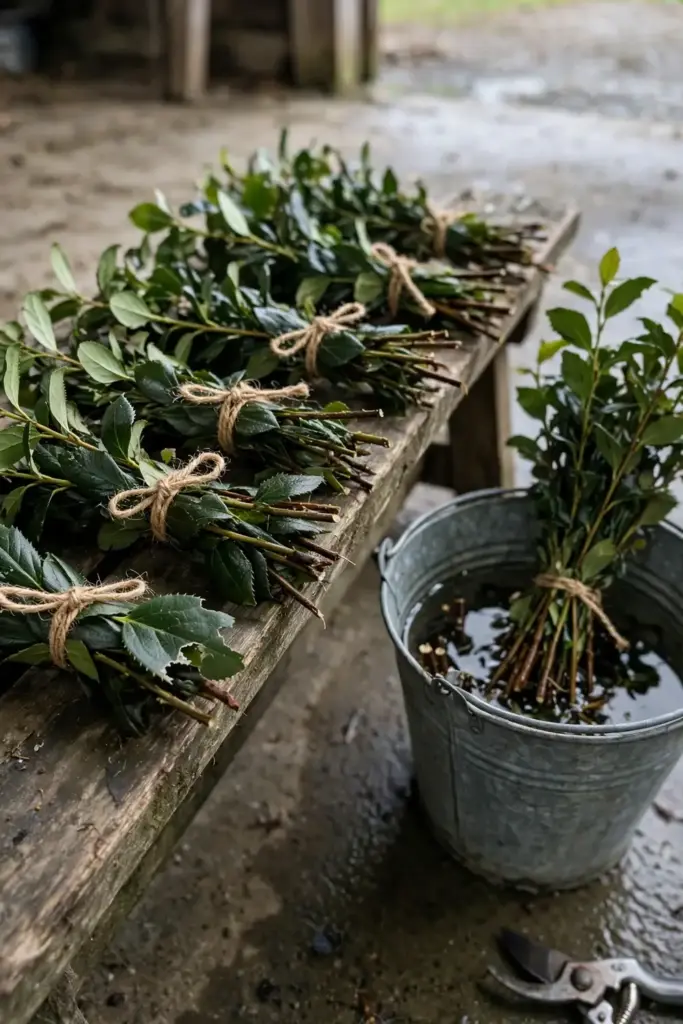
Manage part of your planting for foliage rather than fruit. Stems grown for cutting want straight, unblemished growth, so prune for long upright shoots and harvest in the cool of the morning. Grade stems by length, bunch them in tens, and condition them overnight before sale or gifting. One mature thicket can supply hundreds of stems a year without denting berry production.
This market explains why salal appears in so many farm and nursery catalogs despite its slow start. If you have the space, plant a dedicated foliage row behind the berry row and manage them on different pruning cycles.
14. Manage Pests and Deer With Almost No Spraying
Salal has no significant pest problems, according to North Carolina State’s extension toolbox, which is one of its genuine advantages over fussier fruits. Occasional issues include black mildew, powdery mildew, leaf gall, and fungal leaf spots, mostly in crowded plantings with poor air flow. Thin the oldest canes, space plants properly, and these problems rarely need treatment.
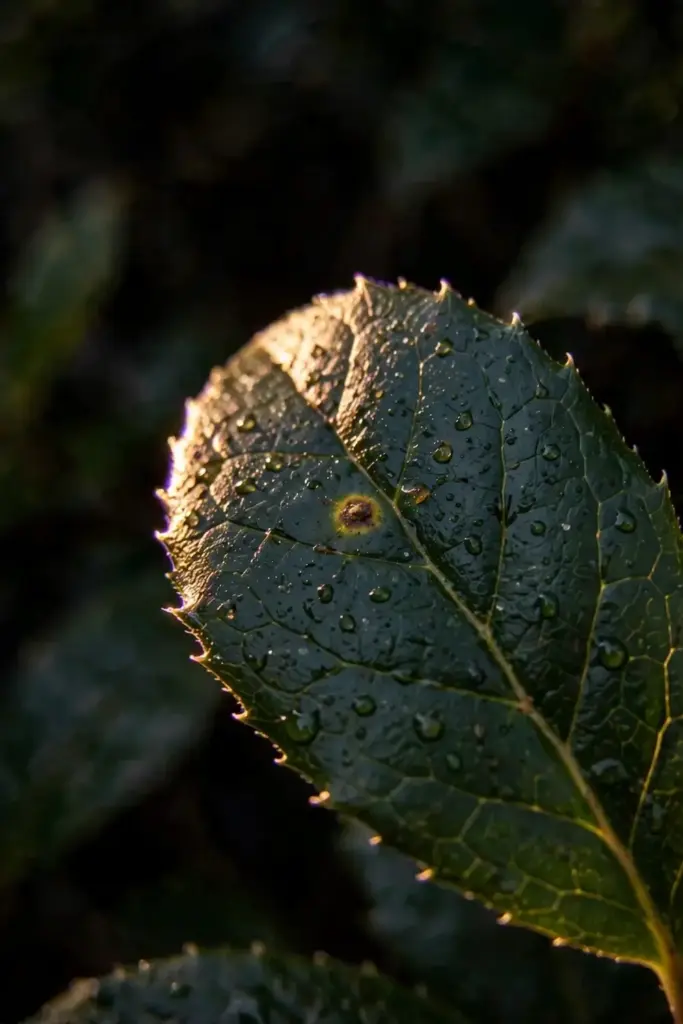
Deer browse salal leaves, but the King Conservation District rates the plant deer resistant, and most gardeners report only light nibbling. New plantings in deer-heavy areas deserve temporary fencing for the first year; established thickets defend themselves with density. Rabbits are a minor concern by comparison.
Birds, mammals, and butterflies all use salal. NC State lists it as a larval host for the brown elfin butterfly and a food source for birds and mammals, and the USDA rates it among the top native wildlife foods in its range. Expect bumblebees on the spring flowers and birds stripping the berries in late summer. Count that as a feature of the planting.
15. Harvest Berries From July Through September
Salal berries ripen from July through September, turning from red to deep blue-black and softening fully when ripe. Taste before you pick in quantity; a fully ripe berry yields to gentle pressure and separates easily from the stem. Underripe berries are tart and astringent, and no amount of countertop ripening fixes them.
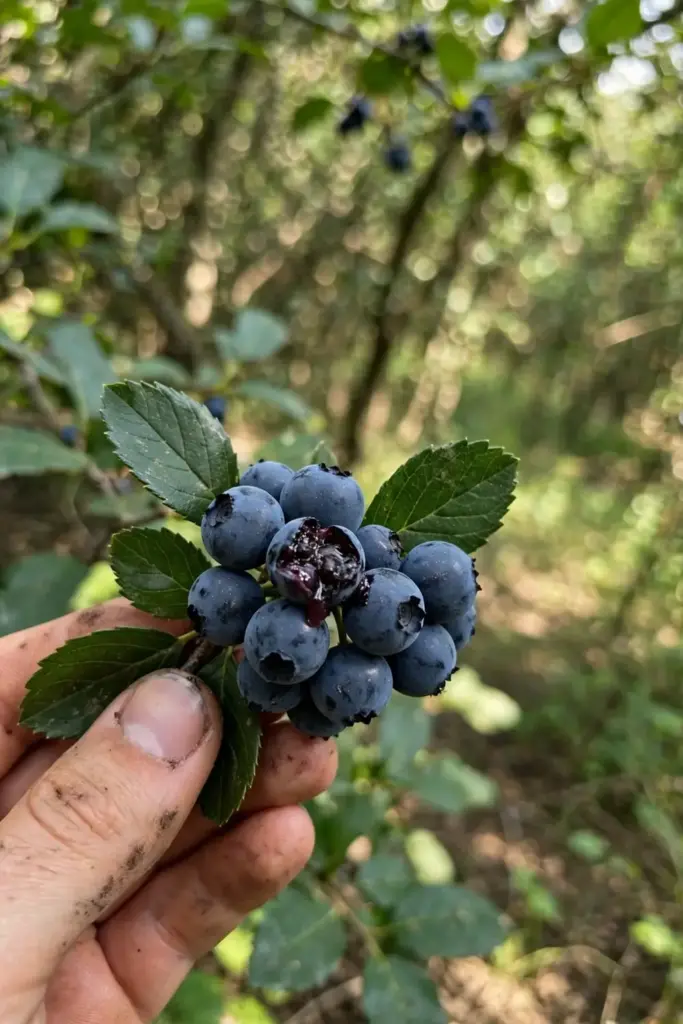
The sweetest berries come after the first light frost, and frost-touched fruit is widely considered the best. If your climate delivers an early frost while berries still hang, wait a few days after it and pick then. In frost-free areas, pick at full black and full softness and accept a milder flavor.
Pick into shallow containers to avoid crushing, and process or refrigerate the same day. Salal berries keep only a few days fresh at room temperature but freeze well on trays, and frozen berries cook into jam just as well as fresh ones.
16. Pair Salal With Ferns, Oregon Grape, and Huckleberry
Salal evolved in a plant community, and it grows best with its neighbors. Sword fern, dull Oregon grape, evergreen huckleberry, and false Solomon’s seal share its appetite for shade, acidic soil, and consistent moisture, and together they build the layered woodland look that makes salal plantings feel intentional rather than weedy.
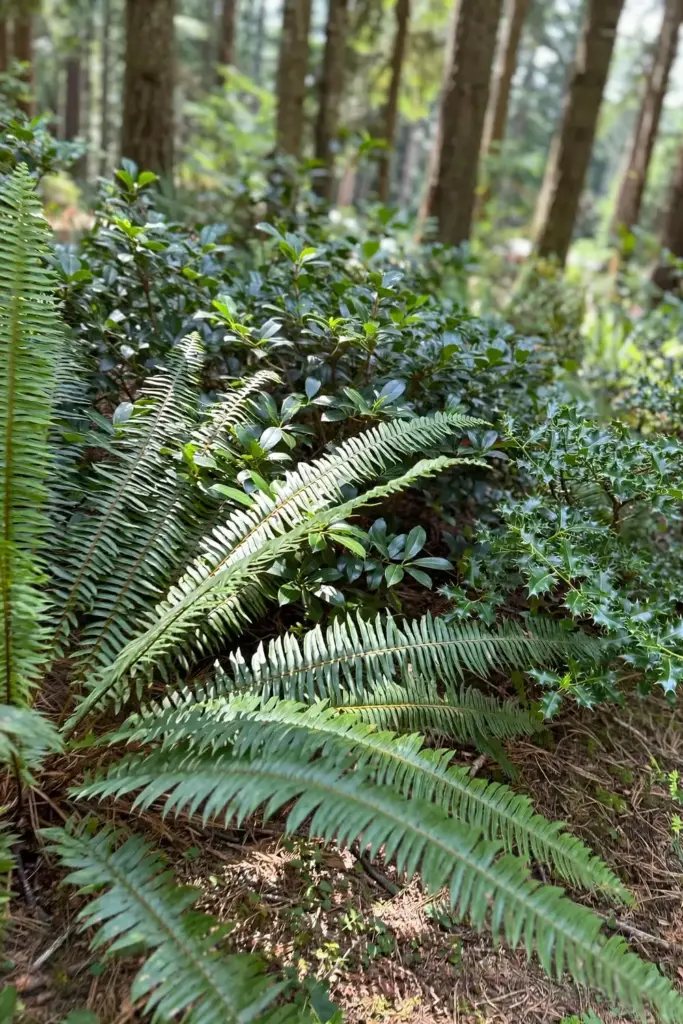
This companion approach solves the bare-ground problem. Salal’s lower stems go leafless with age, exposing woody canes that look stark against mulch. Underplant with ferns and low ground covers to hide the legs, and the whole bed reads as a designed shade garden instead of a thicket with a haircut.
Oregon State University specifically names rhododendron and ferns as good companions for salal, which also tells you the soil recipe: if your rhododendrons are happy, your salal will be too. Treat the planting as one ericaceous community and feed, mulch, and water them on the same schedule.
17. Fix Slow Establishment and Bare Leggy Stems
The most common complaint about salal is a plant that sits unchanged for two years. The usual cause is dry roots, alkaline soil, or too much sun. Check the pH first, deepen the mulch, and shade the plant through its first summer with a temporary screen if the site gets afternoon sun. A struggling salal transplanted to a moister, shadier spot in fall often takes off the following spring.
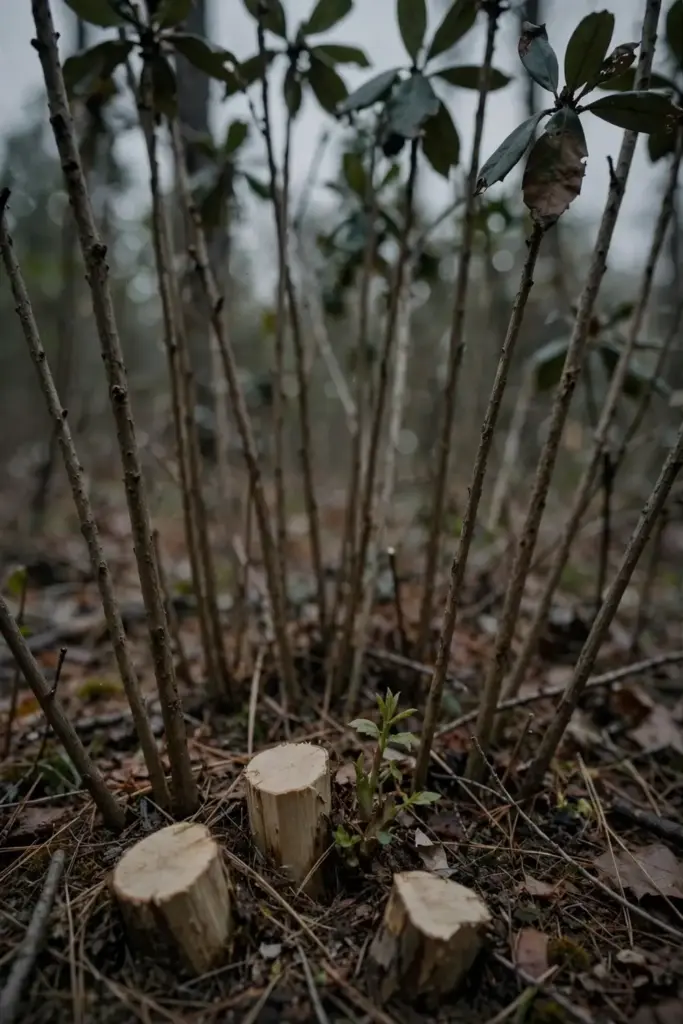
Bare, leggy stems come from age and shade combined. Cut the oldest third of the canes to the ground in late winter and the plant responds with fresh basal shoots. If the whole thicket has gone woody, renovate over three years, removing a third of the old wood each late winter, and never cut everything at once.
No flowers on a healthy-looking plant usually means the plant is still juvenile or was pruned at the wrong time. Salal blooms on old wood in spring, so a hard late-winter pruning can remove the flower buds. Prune lightly after flowering if berries are the goal, and reserve the heavy renewal cuts for years when you accept a smaller crop.
Frequently Asked Questions
A nursery container plant needs two to three years of steady watering and mulch before it grows vigorously on its own. Real berry production follows in year three or four. Seed-grown plants take longer: two to three years to reach plantable size and four to six years to fruit. Consistent moisture during the first two years is the single biggest factor in establishment speed.
Yes. Salal berries are safe to eat raw, with a mild, slightly sweet flavor and a seedy texture. Oregon State University calls them edible but bland, which is fair. They improve with cooking into jam or jelly, and drying concentrates their flavor. Always confirm the plant’s identity before harvesting, and avoid berries from roadsides or sprayed areas.
Yes, and cuttings are the most reliable home propagation method. Take 3 to 6 inch cuttings of half-ripe wood in July or August, set them in a shady frame in peat and perlite, and expect roots by late summer or the following spring. A good percentage usually take. Use rooting hormone and keep the cuttings humid but ventilated to prevent rot.
Salal is native to western North America, where ecologists do not class it as invasive. In moist garden soil it still spreads aggressively by rhizomes. Install an 18-inch-deep root barrier at planting time, cut escaping suckers each spring, and site it where a path or lawn forms a hard boundary. Never plant it where you cannot monitor its spread.
Mildly sweet with an earthy, slightly resinous note and many tiny seeds. Fresh berries are pleasant but not exciting, which is why foragers often mix them with sharper berries for jam. A light frost sweetens them noticeably, so late-season berries taste better than midsummer ones. Dried berries develop a deeper, almost fig-like flavor.
Yes, for a few years, in a large container with acidic, moisture-retentive potting mix. Choose a pot at least 18 inches wide and deep, keep it in shade, and water consistently because containers dry faster than garden soil. Long term, salal wants to spread by rhizomes, so plan to divide and repot every two to three years or move it into the ground.
Plant Salal Once, Pick Berries for Decades
Salal rewards the gardener who plants it right and then mostly leaves it alone. Give it shade, acidic soil, steady water for two years, and a root barrier, and it becomes a permanent evergreen presence that feeds birds, supplies winter foliage, and drops black berries every late summer. Few fruits ask so little and give for so long.