
Plan a garden bed layout in four decisions: where the sun falls, how wide your arms reach, what shape fits the yard, and what goes where. A bed 1.2 m wide, a path a wheelbarrow can use, and tall plants on the south edge cover most Australian yards. That is how to plan a garden bed layout in Australia.
I have learned that the bed I plan on paper before I dig holds its shape, while the bed I dig first gets rebuilt twice.
The rest of this page walks the four decisions in order, from sun map to a finished plan for one small yard. The plan comes first. Soil, plants, and timber come after.
1. Decide Four Things Before You Dig
Four decisions shape every garden bed layout. The first decision sets where the bed sits, the second sets how big the bed runs, the third sets the bed shape, and the fourth sets what goes where inside the bed.
Place the bed where the sun lands longest. A bed in the shadiest corner grows slowly all season, and no fertilizer fixes shade. Walk the yard at three times of day before you commit to a spot. The sun section below shows how.
Size the bed by your reach, not by the space on the plan. A bed you can work from both sides without stepping on the soil keeps its structure. A bed you must step into compacts down the middle and grows weeds in the footprints. The size section below gives the exact widths.
Pick the bed type with the size decision. An in-ground bed costs the least and suits soil that already drains well. A raised bed gives control over the soil mix, drains faster after rain, and suits gardeners who prefer to work standing or seated. A no-dig bed stacks layers on top of the ground and skips turning the soil. All three types follow the same layout rules. The layout decides the shape. The shape decides nothing about the soil.
Place plants inside the bed by height, sun, and water need. Tall plants sit on the south edge. Short plants sit on the north edge. Thirsty plants group together. Dry-tolerant plants group together. The grouping section below shows the full order.
2. Map the Sun Before You Draw Anything
Sun decides bed placement. Map it before you draw a single rectangle.
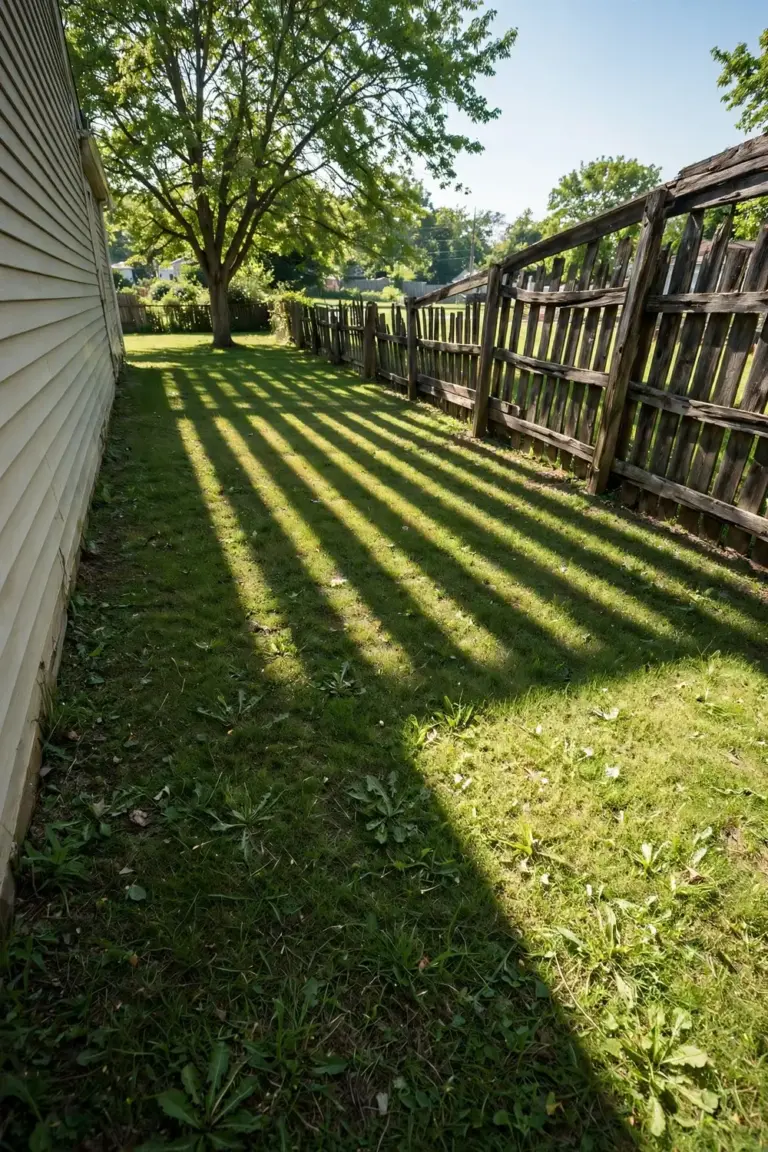
Check the yard at 9 am, noon, and 3 pm. Mark where sun falls and where shade sits at each check. Repeat the checks in summer and again in winter. Shade moves with the seasons. A spot that bakes in January can sit in fence shade in July. Two rounds of checks show both extremes.
In Australia the sun tracks through the north. Tall plants go on the south edge of the bed. Their shadows fall south, past the bed, instead of across it. This rule runs opposite to northern-hemisphere advice, which puts tall crops on the north edge. A beginner who follows a United States planting chart in Australia shades the whole bed. Trust the southern-hemisphere rule. South-facing walls sit in shade in Australian gardens, and Gardening With Angus lists plants for shady spots that suit those walls.
Morning sun suits most vegetables. Western sun hits hard in summer afternoons. A bed that catches morning sun and dodges the worst western glare grows steadier than a bed that bakes from noon onward. Fences, trees, and the house cast the shade that matters. Map the shade from solid objects first. Dappled tree shade shifts with the wind and matters less.
Vegetables need a minimum of six hours of direct sunlight per day, according to the Clemson Extension raised bed guide. Six hours marks the floor. Eight hours grows stronger fruiting crops. Leafy greens cope with the floor, while tomatoes, capsicums, and cucumbers want more. A bed that falls short of six hours suits herbs and leafy greens only.
Shade from a deciduous tree behaves differently from shade from a fence. A deciduous tree drops its leaves in winter and lets winter sun through, then leafs out and shades the bed in summer. A fence casts the same shade all year. A bed under a deciduous tree grows winter crops well and summer crops poorly. A bed beside a south fence grows slowly in every season. Mark trees and fences separately on the sun map and note which trees lose their leaves, because the winter check shows what the summer check hides.
3. Measure the Space and Draw a Scale Plan
Measure the yard before you draw the plan. A tape measure, a few stakes, and string mark the real edges.
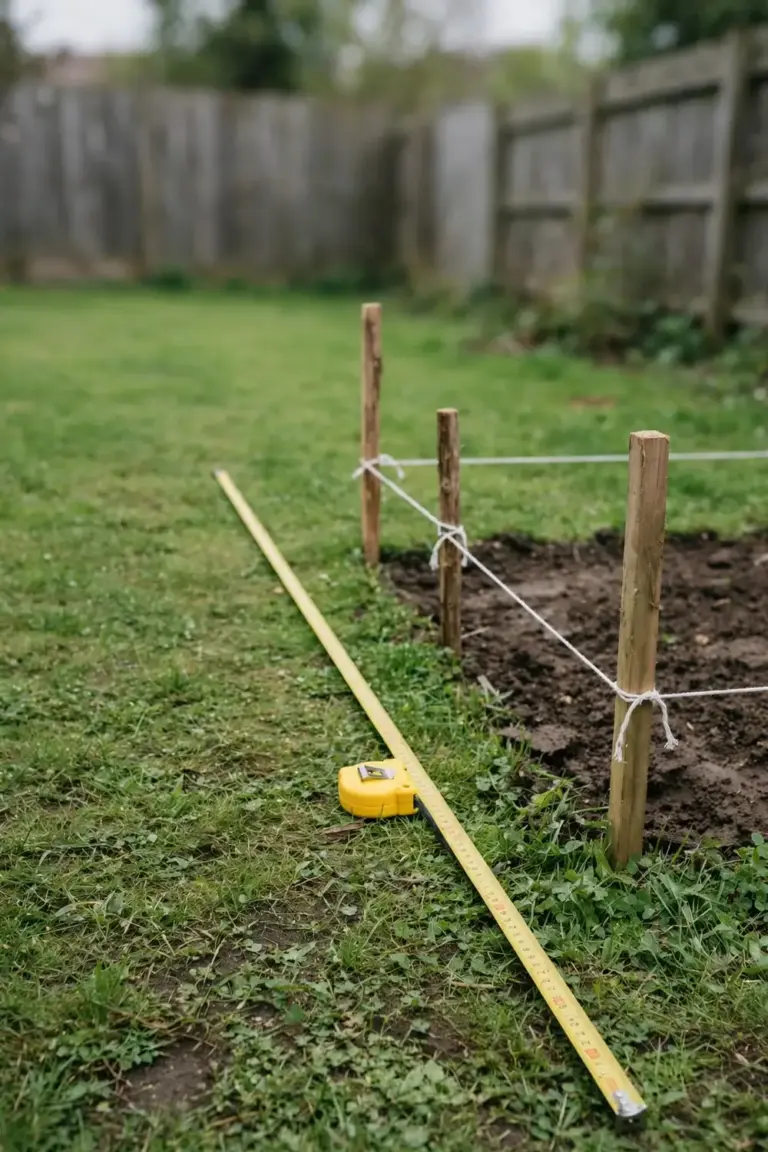
Walk the yard with the tape. Measure the full width and depth. Measure the distance from the house wall to the fence on each side. Measure the fixed objects that will not move: trees, sheds, clotheslines, taps, drains, and paths. Write every measurement on the plan. Guessed measurements produce beds that collide with the clothesline.
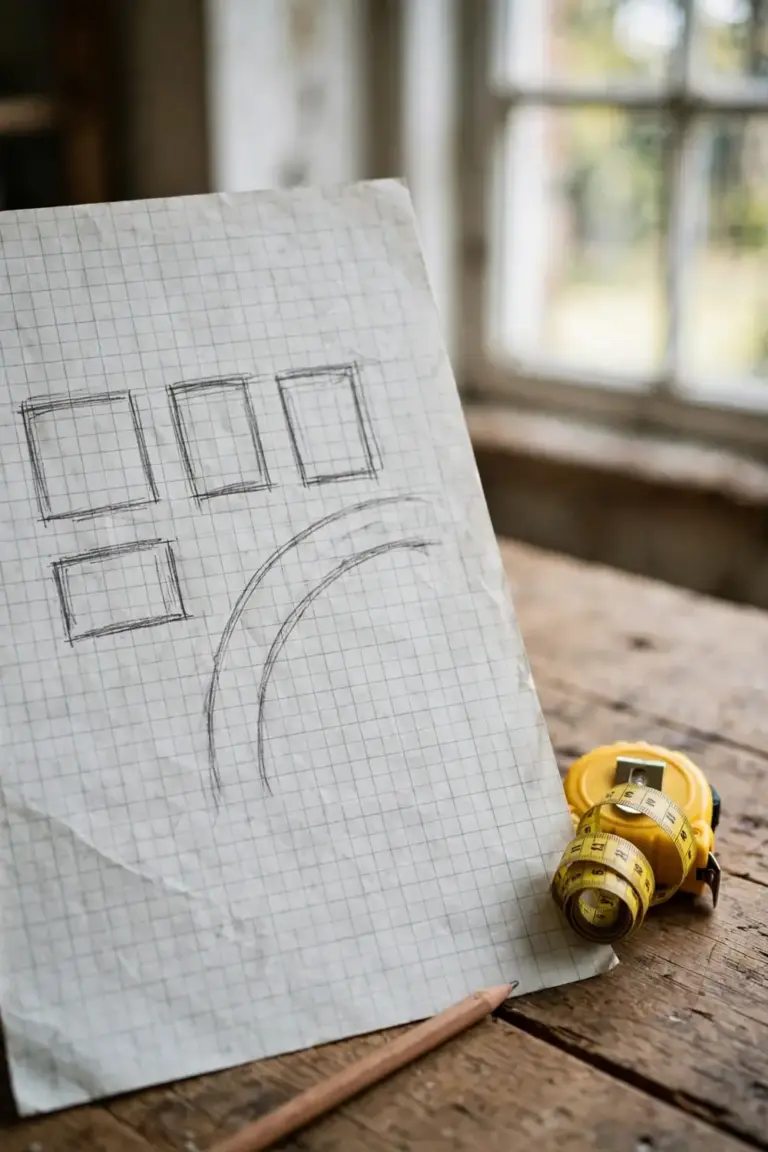
Draw the plan on graph paper. Let one square stand for 30 cm. Draw the house, the fences, the trees, and the taps first. Draw the beds after the fixed objects sit on the page. A plan on paper costs an evening. A bed dug in the wrong spot costs a weekend of rebuilding.
Mark the water point on the plan. A bed far from the tap needs a long hose run, and a long hose run gets skipped on hot days. Put beds within easy hose reach of a tap, and put the tap on the plan before the beds, because water access decides which beds thrive in February.
Note the slope. A flat site suits any bed shape. A gentle slope suits beds that run across the slope, not down it. Beds that run down a slope drain from the top end and waterlog at the bottom end. Beds that run across the slope hold water evenly. A steep slope suits terraced beds or a different site altogether. Mark the high and low ends of the slope on the plan. Water runs downhill whether the plan admits it or not.
Check the soil before you build a vegetable bed on an old block, since old paint, old fuel spills, and old treated timber leave metals in the soil. The Macquarie University VegeSafe team advises gardeners to arrange soil testing before building a vegetable garden or a chicken run. A raised bed filled with clean soil sidesteps doubtful ground. Soil health decides what grows well once the bed sits in place.
4. Size Every Bed by Your Reach
Size every bed by your reach. A bed you can tend without stepping on it stays loose and grows evenly.
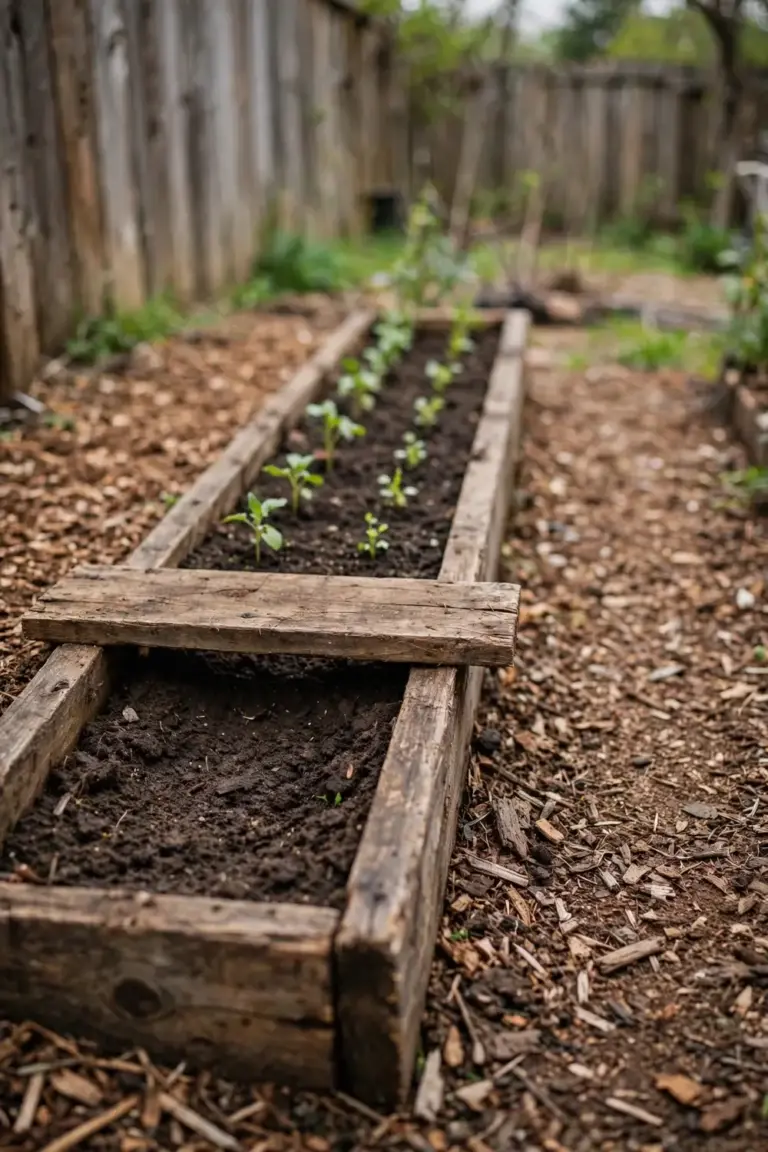
A two-sided bed runs no wider than 1.2 m. The same Clemson notes set the width at 3 to 4 feet, which converts to 91 to 122 cm. Reach from one side covers half the bed. Reach from the other side covers the rest. The middle stays within arm’s length from one side or the other. A wider bed forces a step onto the soil. That step compacts the middle. Compacted soil grows weak roots and holds water on the surface.
A one-sided bed against a fence or wall runs 60 cm wide. One arm reaches across 60 cm without strain, while a wider one-sided bed leaves a dead strip at the back where weeds colonise out of reach and the gardener cannot tend them without climbing in.
Length runs as long as the yard allows. Break a long bed with a cross path every few meters, because a cross path gives access to the middle without a long walk around the end. Length never limits reach. Width does.
Raised bed walls sit at knee height for most gardeners, while waist height suits gardeners who sit to work. Wall height changes comfort, not plant growth. Soil depth inside the walls matters more, since deep-rooted crops need deeper soil than lettuce. Keep the walls low and the soil deep.
Once the plan is drawn, fall garden bed prep shows the seasonal tasks that keep a bed productive after it is built.
5. Pick a Shape That Fits the Yard
Shape follows the yard. Four shapes cover most Australian backyards.
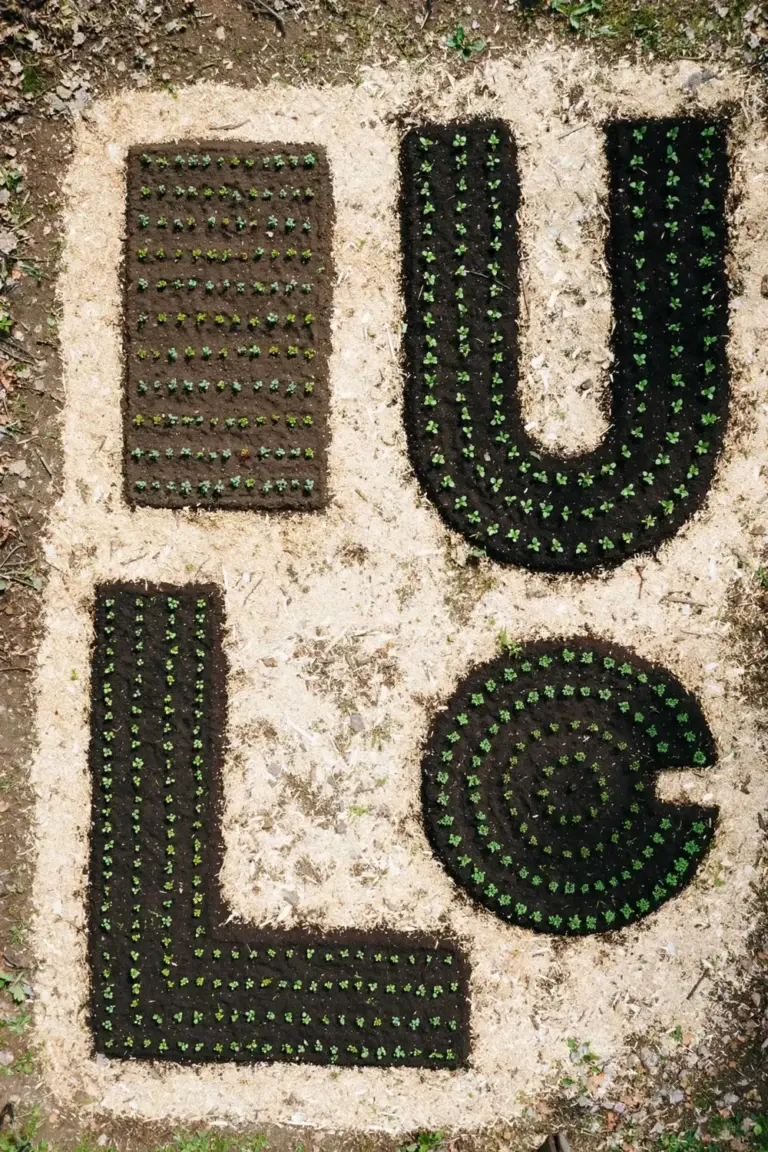
| Shape | Best For | Reach | Watch Out |
|---|---|---|---|
| Rectangle | Most yards, first beds | Both sides | Keep under 1.2 m wide |
| L-Shape | Corners, wrapping around trees | Two arms | The inside corner is hard to reach |
| U-Shape | Reach from three sides | Center path | Needs a wide yard |
| Keyhole | Small yards, one compost basket at the center | One side | Small growing area |
A rectangle suits a first bed. Straight edges measure fast. Straight edges dig fast. Straight edges leave no awkward corners. Start with rectangles. Add other shapes after the first season proves the sun map.
An L-shape wraps a corner or a tree. Two arms meet at a right angle. Each arm stays within reach width. The inside corner collects shade and grows slowly, so plant it with herbs or leave it as a path.
A U-shape opens toward the path. The gardener stands in the middle and reaches three sides. A U-shape needs a yard wide enough for the center path plus two arms. A narrow yard turns a U-shape into a trap, because the center path narrows below wheelbarrow width and the gardener cannot turn a loaded barrow inside it. Measure the yard before choosing a U-shape. A rectangle fits where a U-shape cannot.
A keyhole bed suits a small yard. A circular bed with a notch cut into one side gives reach to the whole circle. A compost basket sits at the center. Kitchen scraps feed the bed from the middle. The growing area stays small, so a keyhole bed grows herbs and salad greens well but cannot feed a family on vegetables alone. Build a keyhole bed only after the rectangle beds prove the sun map.
6. Leave Paths a Wheelbarrow Can Use
Paths carry the wheelbarrow, the mower, and the hose. Size them for the wheelbarrow first.
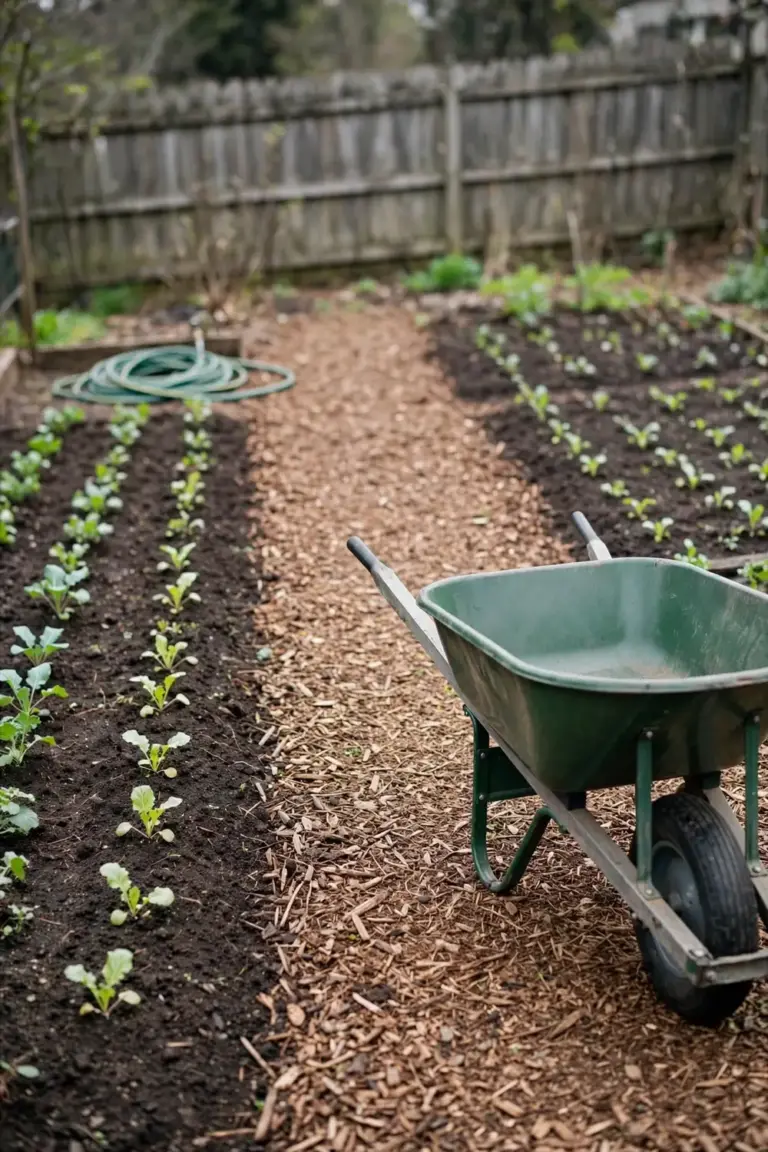
Enclosed beds need paths 91 to 122 cm wide, and the same Clemson notes set that range for paths between enclosed beds. Mounded beds without walls need paths 61 to 91 cm wide. A wheelbarrow runs 60 cm wide at the wheel, so a path at 91 cm leaves room for the load and the hands. A narrower path forces the wheelbarrow onto the bed edge, and the bed edge crumbles and spills soil onto the path.
A mower needs a path it can pass through. Measure the mower deck before fixing path widths. A path narrower than the deck leaves grass strips that need hand trimming. Grass paths need mowing, mulched paths need topping up, and gravel paths need edging. Each path surface carries its own upkeep. Pick the surface that matches the upkeep the gardener will do.
Leave no dead ends. A dead-end path forces the wheelbarrow to reverse out. Reversing a loaded wheelbarrow in a narrow path tips the load. Loop the paths so the wheelbarrow enters one end and leaves the other. A loop path also gives a second way to reach every bed.
Keep the hose run short. A bed at the far end of a long hose run dries out in heat. A tap near the beds saves the crop. Put the tap on the plan before the beds. A bed within one hose length of the tap gets watered. A bed two hose lengths away gets skipped.
7. Group Plants by Height, Sun, and Water
Group plants by height first: tall plants sit on the south edge, short plants sit on the north edge, and medium plants sit between them. This order keeps every plant in sun, since a tall plant on the north edge shades the whole bed behind it while a tall plant on the south edge shades only the path.
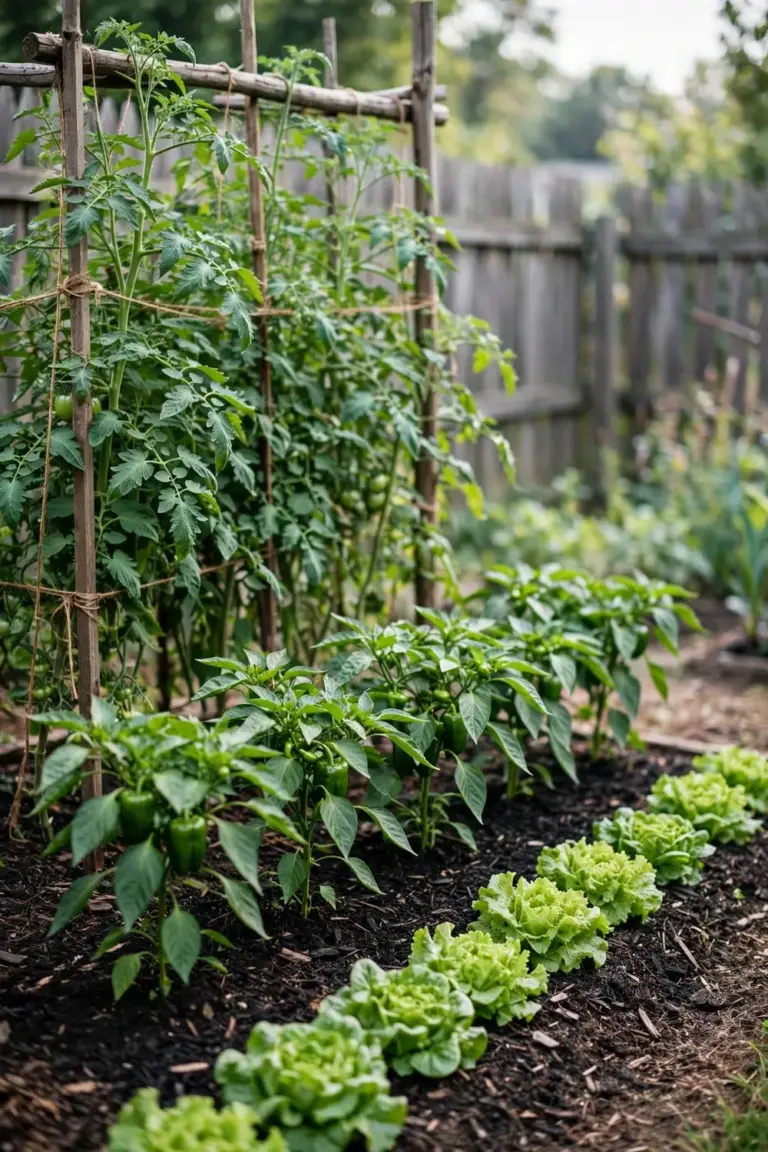
Climbers need a trellis on the south edge. Beans, peas, and cucumbers climb a trellis and free the bed surface below. A trellis on the south edge casts its shadow south, past the bed. A trellis in the middle of the bed splits the bed into two shaded halves. Fix the trellis at the south edge before planting.
Group plants by sun need next. Full-sun crops share a bed. Shade-tolerant crops share another. Tomatoes, capsicums, eggplants, and cucumbers want full sun. Lettuce, spinach, and Asian greens cope with partial shade. A mixed bed forces a compromise where one group gets too much shade and the other gets too much sun. Separate beds grow both groups well.
Group plants by water need last. Thirsty plants share a bed. Dry-tolerant plants share another. Cucumbers and lettuce drink heavily, while rosemary, thyme, and sage prefer drier soil. A shared bed waters one group too much and the other too little. Two beds let each group get what it needs.
Companions follow the same grouping rule. Plants that share sun and water needs grow well side by side. Companion planting for a productive 4×8 raised bed garden shows one bed planned around shared needs. Herbs and flowers sit at bed edges. Edge plants catch pollinators and fit the odd corners. Edge plants never sit in the middle of a bed where they block reach.
Plan succession into the same groups. A bed that grows lettuce in spring frees space for beans in summer once the lettuce bolts. A bed that grows garlic through winter frees space for cucumbers in spring once the garlic lifts. Succession keeps every bed full without crowding any single planting. Write the second planting on the plan next to the first. A bed with no second planting grows weeds in the gap.
8. Rotate Plant Families Every Season
Rotate plant families every season. A bed that grows the same family year after year builds up the pests and diseases that feed on that family.
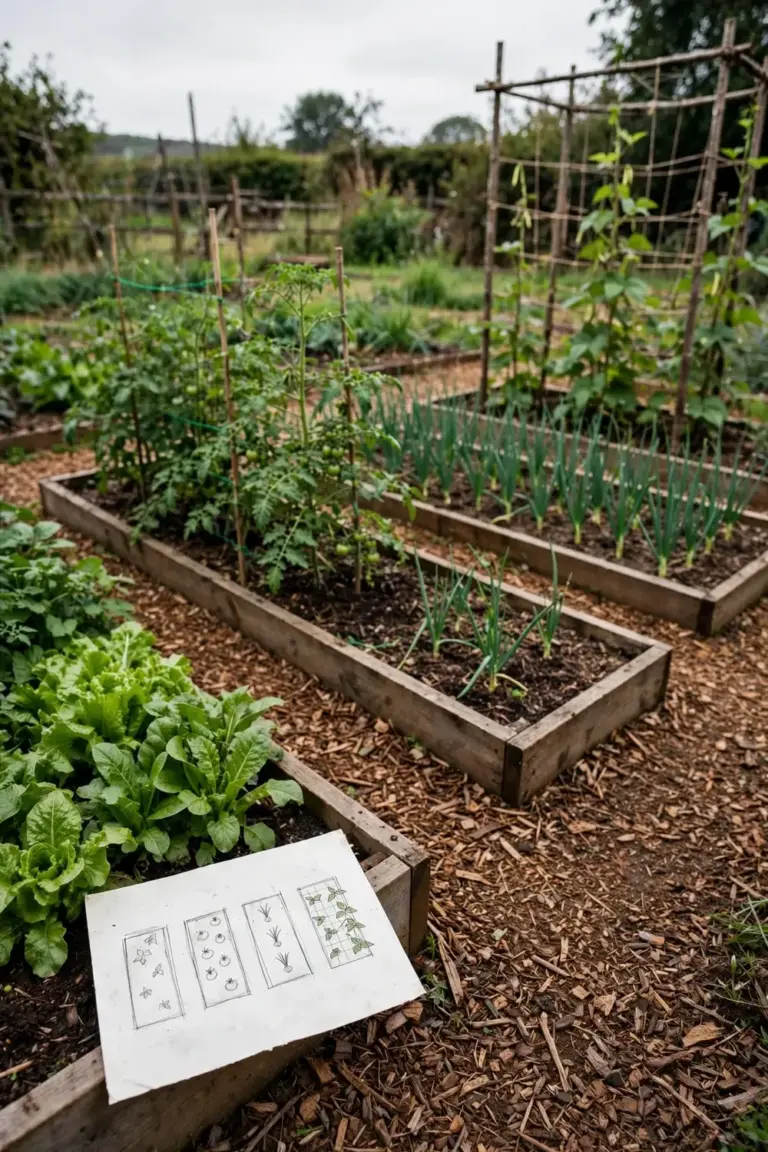
Vegetable crops in the same botanical family share pests and diseases. West Virginia University Extension advises gardeners not to plant vegetables from the same plant family in the same location for two to three years. Two to three years breaks the pest cycle. The pests that waited for last season’s crop find a different family this season. Most of them die out.
Five families cover most vegetable beds. Nightshades hold tomato, pepper, eggplant, and potato. Brassicas hold cabbage, broccoli, cauliflower, Brussels sprouts, kale, and collards. Onion family holds onion and garlic. Gourd family holds cucumber, muskmelon, watermelon, squash, pumpkin, and gourd. Pea family holds garden peas and snap beans. Learn the family of each crop before the plan goes on paper.
Legumes rebuild the soil. Peas and beans fix nitrogen from the air into the soil. The same WVU notes name legumes as soil-building crops. A bed that held legumes last season feeds hungry brassicas this season. A bed that held brassicas last season rests under a different family this season.
Keep a map of what grew where. A garden journal or a drawn map records each season’s planting. Memory fails by the third season. The map shows which family sat in each bed last year. The map decides which family moves where this year. Four beds rotate four families in a simple cycle. One bed still rotates if the gardener splits it into four zones.
9. Dodge the Five Beginner Mistakes
Five mistakes wreck most first layouts. Each one has a fix.
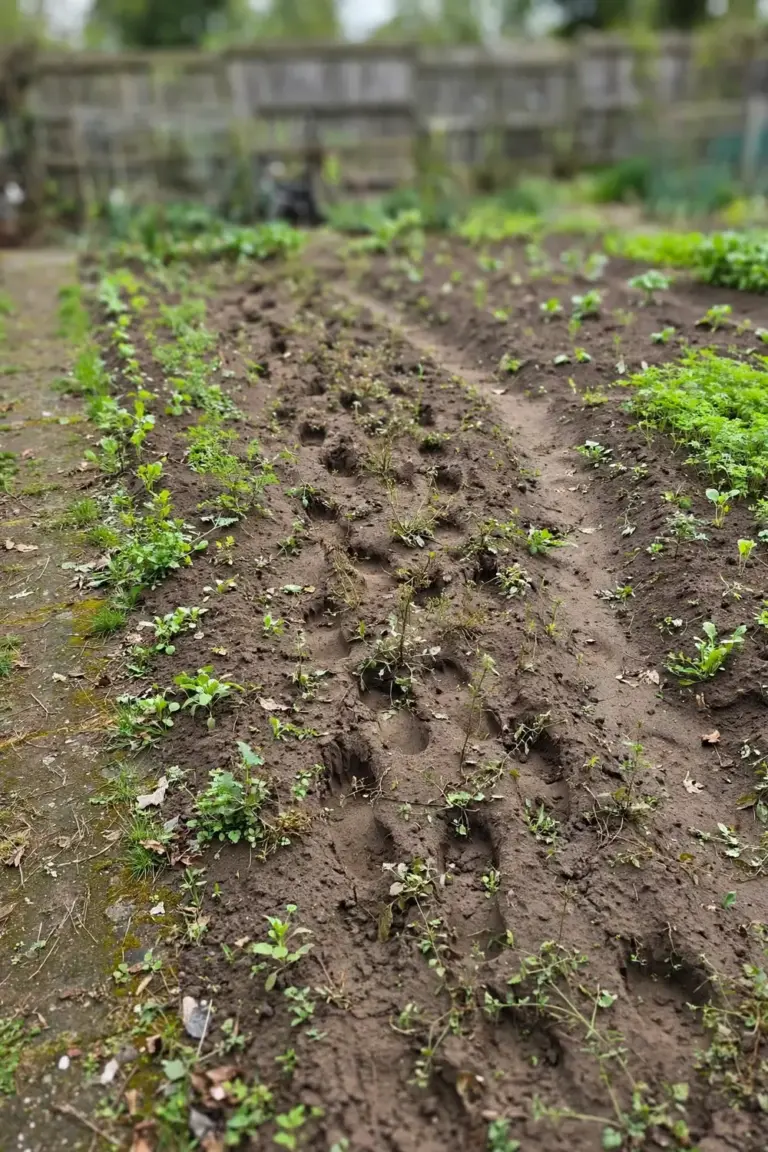
Bed too wide. A bed wider than 1.2 m forces a step onto the soil. The middle compacts. The middle grows weeds. Fix the width at the plan stage. Measure the reach before the dig, because a bed that fits the arms needs no stepping.
No paths. A layout without paths leaves no way to reach the beds. The gardener walks on the beds. The beds compact. The paths vanish under weeds. Fix paths at the plan stage and draw every path before drawing the first bed. A path on paper costs nothing. A path missing on the ground costs the bed.
Too many crops first season. A first bed holding ten crops grows none of them well, because each crop wants its own sun, water, and space, and ten crops in one bed compete for all three. Fix the count at the plan stage. Plant three crops in the first bed and learn those three crops before adding more in the second season.
Shade ignored. A bed planned without a sun map lands in the shadiest corner. The shadiest corner grows slowly all season. The gardener blames the soil, but the soil never caused the failure. Fix shade at the plan stage. Map the sun first. Place beds in sun. Reserve shade for paths, compost, and seating.
Water point too far means a bed far from the tap dries out in heat, because the gardener skips the long hose run on hot days until the crop wilts. Fix water at the plan stage by putting the tap on the plan first. Place beds within one hose length of the tap, because a bed near water gets watered and a bed far from water does not.
10. Work the Plan on One Small Yard
One small yard shows the whole method. A 6 m by 5 m corner holds two beds, a loop path, and a trellis.
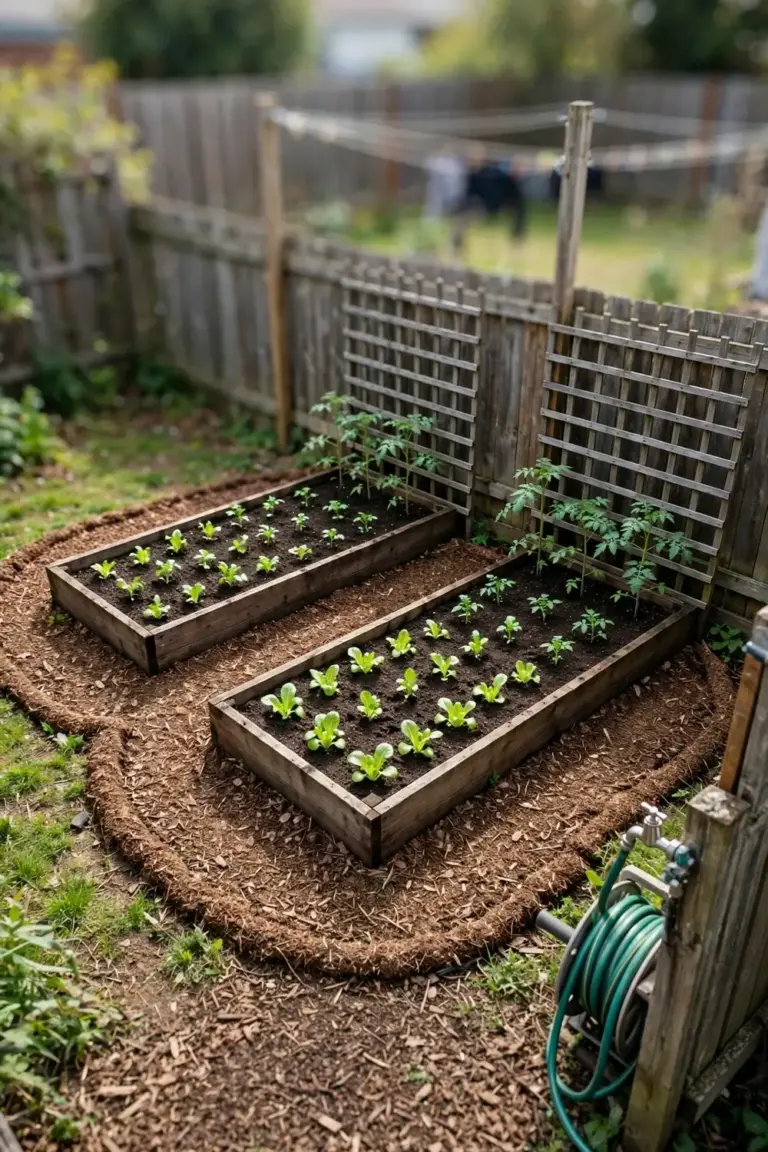
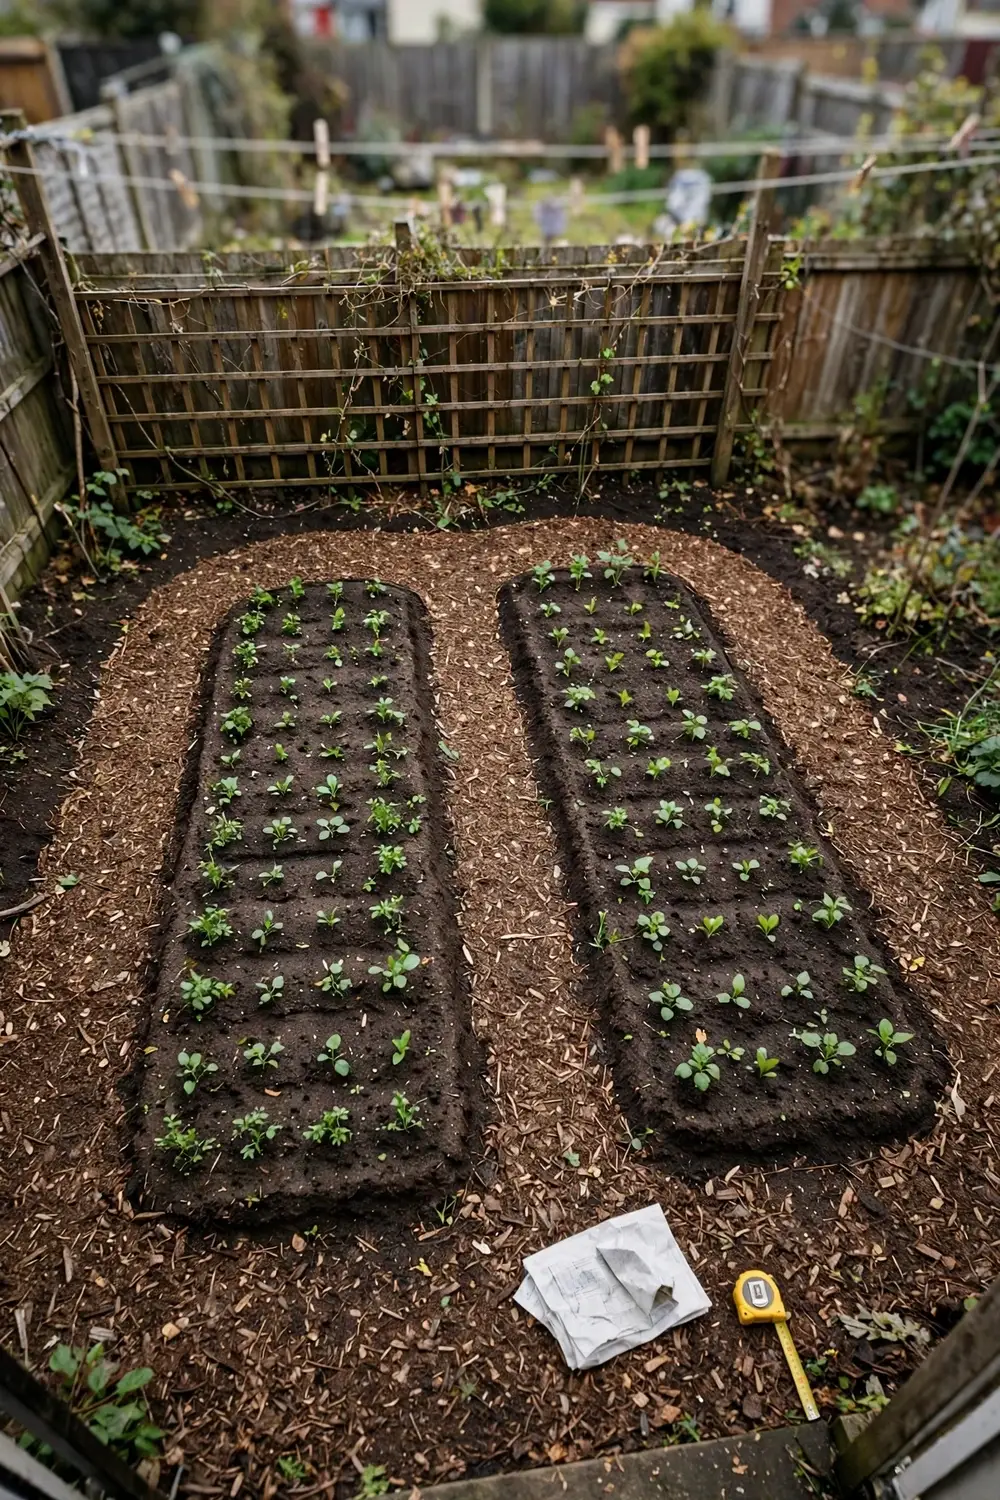
North runs along the top of the plan. Two beds run east to west. Each bed measures 2.4 m long and 1.2 m wide. A 1 m path separates the beds and rings them on all sides. A loop path lets the wheelbarrow enter one end and leave the other. No dead ends. No stepping on soil.
The north bed holds the tall crops. Tomatoes and climbing beans sit on the south edge against a trellis. The trellis casts its shadow south, past the bed. Lettuce and carrots fill the north edge in full sun. The south bed holds brassicas on the south edge and onions on the north edge. Herbs line the north path edge where the sun hits first. Fall vegetables to plant gives the seasonal picks that fill these beds through the cooler months.
The tap sits at the north-west corner, within one hose length of both beds. The compost bin sits at the south-east corner, out of the best sun. The seating sits under the tree at the south-west corner, in afternoon shade, so sun, water, and access each sit where the plan needs them.
Next season the families swap beds. The north bed that held tomatoes and beans this season holds brassicas next season. The south bed that held brassicas and onions holds legumes next season. The map records the swap. The rotation keeps the soil working without repeating a family in the same bed.
Draw this plan on graph paper before buying a single plant. One square stands for 30 cm. Two beds, one loop path, one trellis, and one tap fill the page. The plan fits the yard. The yard fits the plan.
11. Garden Bed Layout FAQ
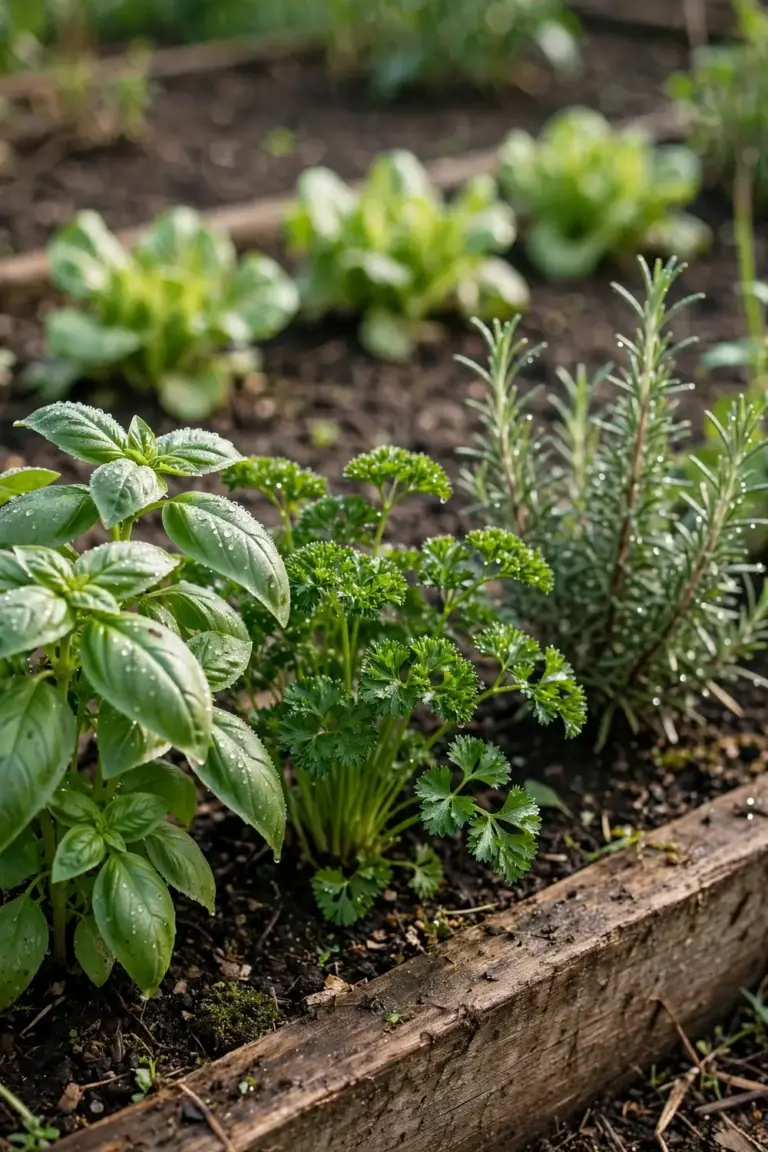
A vegetable bed needs a minimum of six hours of direct sunlight per day. The same Clemson notes set six hours as the floor for raised beds. Leafy greens cope with the floor. Fruiting crops want eight hours or more. A bed under six hours suits herbs and leafy greens only. Map the sun before placing a bed.
A two-sided bed runs no wider than 1.2 m. Reach from one side covers half the bed, and reach from the other side covers the rest. A one-sided bed against a fence or wall runs 60 cm wide. A wider bed leaves a dead strip at the back where weeds colonise. Measure reach before digging.
Either direction works if tall plants sit on the south edge. East to west rows suit most yards. Tall plants on the south edge shade only the path. North to south rows suit narrow yards. Tall plants still sit on the south edge of each row. Direction matters less than the height order inside the bed.
A bed against a fence works at one-sided width, 60 cm. Keep the fence side in mind. A south fence casts shade onto the bed. A north fence reflects heat onto the bed. Leave a gap between the bed and the fence for airflow, and check the fence drip line for old paint before planting food crops against it.
Test the soil before building a vegetable bed on an old block. Old paint, fuel spills, and treated timber leave metals in the soil. The same Macquarie notes advise testing before building a vegetable garden. A raised bed filled with clean soil sidesteps doubtful ground, and a new block on clean fill needs no test at all.
12. Draw the Plan Before You Buy a Single Plant
Four decisions shape the layout: sun first, reach second, shape third, planting order fourth. A bed planned in that order grows well, while a bed dug without a plan gets rebuilt.
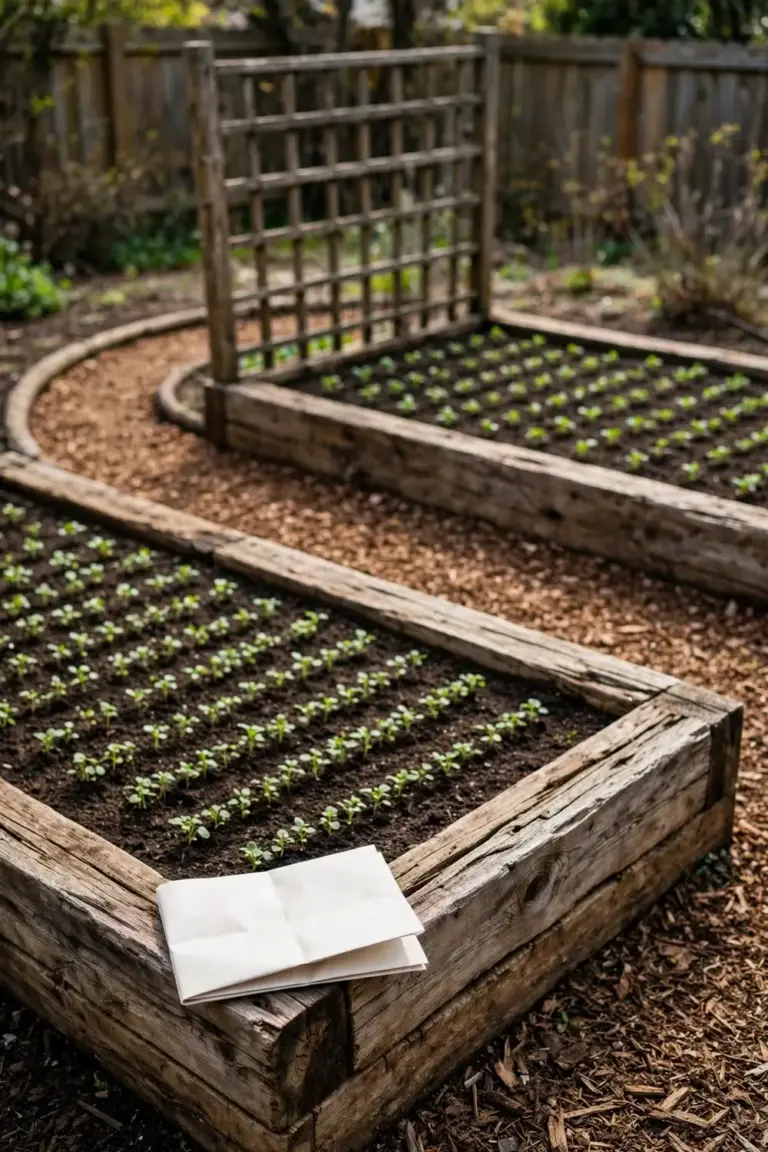
Walk the yard with a tape measure this weekend. Check the sun at 9 am, noon, and 3 pm. Draw the plan on graph paper. Size the beds by reach. Leave paths a wheelbarrow can use. Group plants by height, sun, and water, and rotate families each season. The plan on paper decides the garden in the ground.