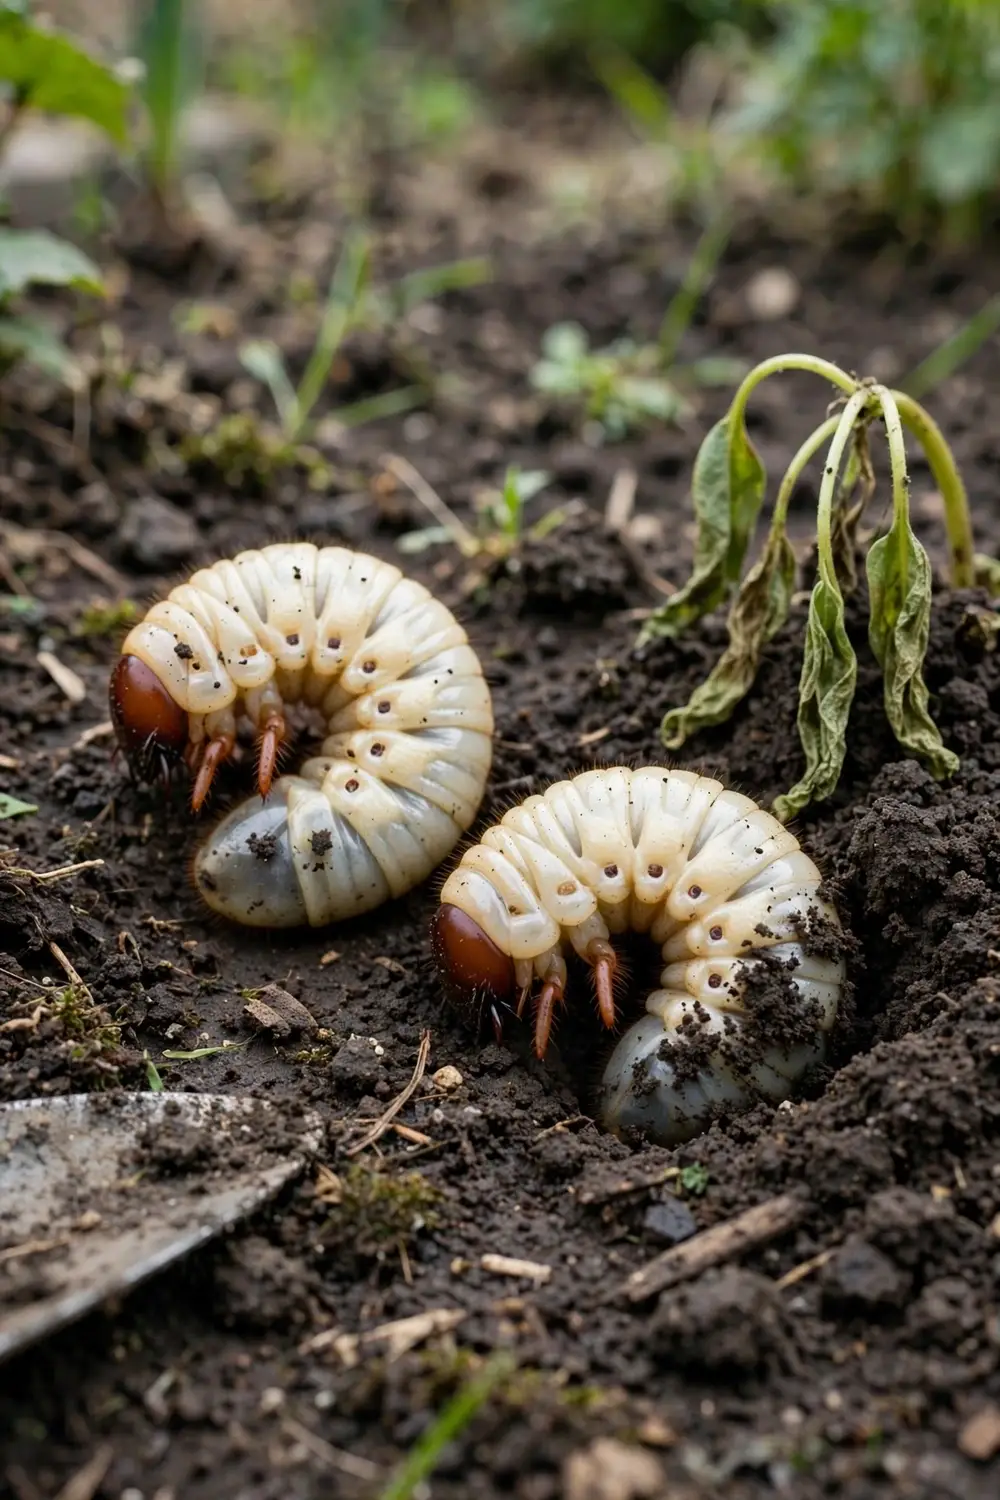

Dig up a wilting seedling and find a white grub curled into a C shape, and the first move is a check, not a kill. A curl grub is a scarab beetle larva that curls into a C shape, and some species eat roots while others eat only dead matter. That is how to get rid of curl grubs in garden soil, in 7 moves from the safety check to prevention: check first, then act on what you found.
The safety line matters because the wrong product on a vegie patch puts residues where food grows. Chemical grub killers have no place around edible plants, and neem drenches sold for ornamentals carry no approval for edibles. The method here uses hand-picking, a soapy-water flush, beneficial nematodes, and neem on ornamentals only.
Australian timing shapes the whole job. Eggs hatch from mid-spring to mid-summer, so grubs are smallest and easiest to beat early in that window. A grub found in a compost heap does a different job from a grub found under a wilting seedling, and this page shows how to tell them apart. The rest of this page runs 7 moves, from the safety check to prevention, and none of them starts with a spray bottle.
1. Check Before You Kill: Not Every Curl Grub Is a Pest
Check the grub and the plant before you kill anything. A grub sitting in compost or mulch is a composter, and a grub under a healthy plant is part of the soil food web. Kill only when the plant shows damage and other causes are ruled out.
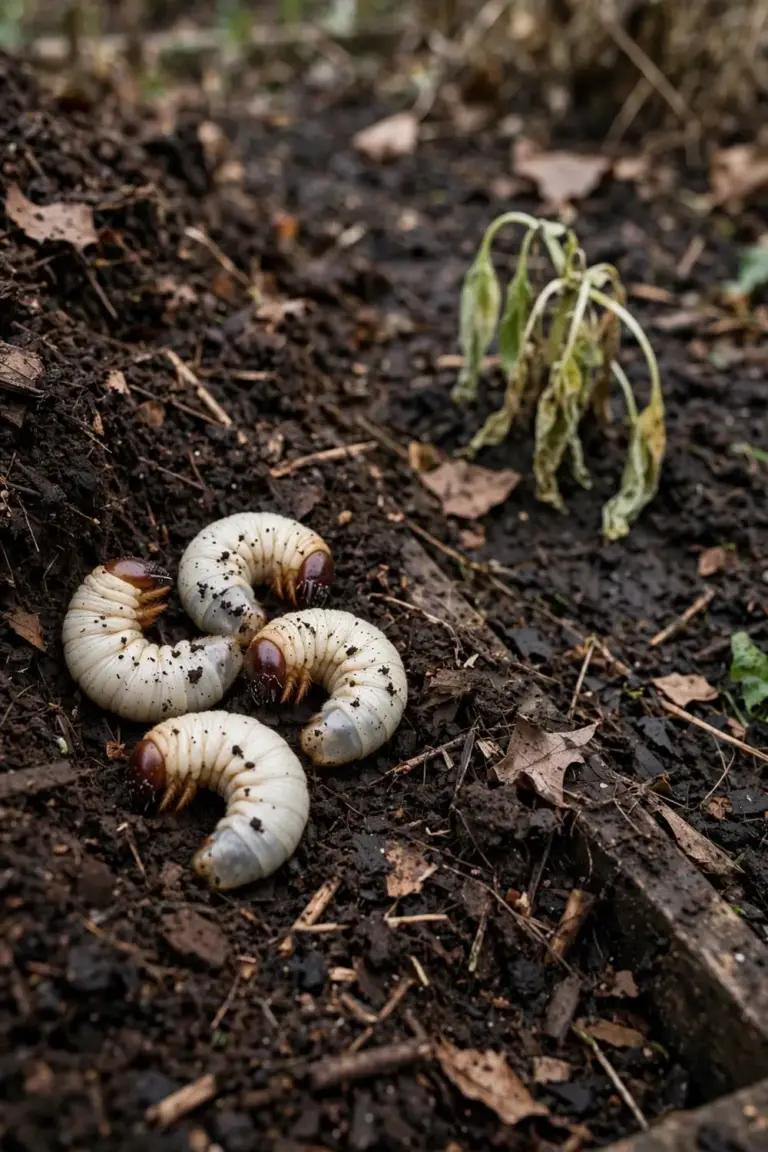
Broad chemicals make the wrong call for you. The chemicals used to control curl grubs harm all scarab larvae, whether the larvae are pests or not, and many common treatments contain chemicals called anthranilic diamides, which are toxic to butterflies, moths, and aquatic invertebrates, according to UNSW Sydney researchers writing in The Conversation. A spray that kills the pest larvae also kills the harmless native larvae beside them. That trade is poor in a garden bed.
Use the plant as the guide. Larvae found in decaying wood or mulch are wood feeders and useful composters, so leave them where they are. Larvae found in a compost bin break down waste, so leave those alone too. If the plant looks yellow or wilted and you have ruled out under-watering and nutrient shortage, then act. Feed the grubs to the birds or squash them. It is blunt, and it beats insecticides.
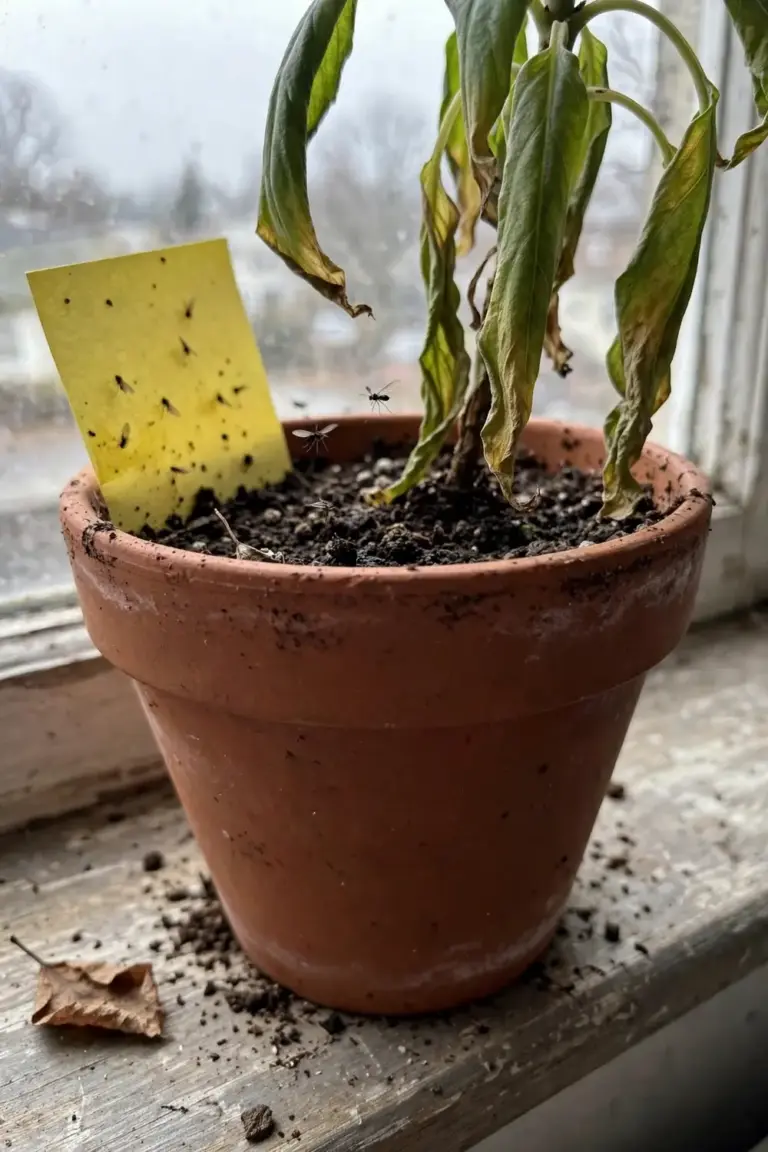
Learn the signs that point to grubs before you blame them. A plant that wilts in moist soil, with no dry crust on the surface, may have lost roots below. A seedling that pulls out of the soil with almost no roots left has likely been eaten from below. Birds digging neat holes in a bed are hunting grubs, and their digging is a better clue than any single wilted leaf. Wilting alone proves nothing, since dry soil, waterlogging, and nutrient shortage all wilt plants the same way. Rule those out first, then dig.
I have learned that the grub I leave in the compost heap does more good than the grub I dig out of a wilting pot. That order, identify first and treat second, is the core of organic pest control for beginners. A check takes minutes. Dig a small test hole beside the wilting plant, lift a spadeful of soil, and look at the roots in it. White grubs curled into C shapes show at once, and chewed roots show as short stubs where feeder roots should run. A test hole beside a healthy plant gives the comparison: grubs in both holes mean the bed holds grubs, and damage in only one hole means that plant needs help. One test hole answers the question. A whole bed dug up answers nothing extra.
Three cases cover most finds. A grub in compost or mulch stays put. A grub in soil under a healthy plant stays put while you watch the plant. A grub in soil under a wilting plant, after you rule out water and nutrients, comes out.
2. Identify the Grub: Is It a Curl Grub at All?
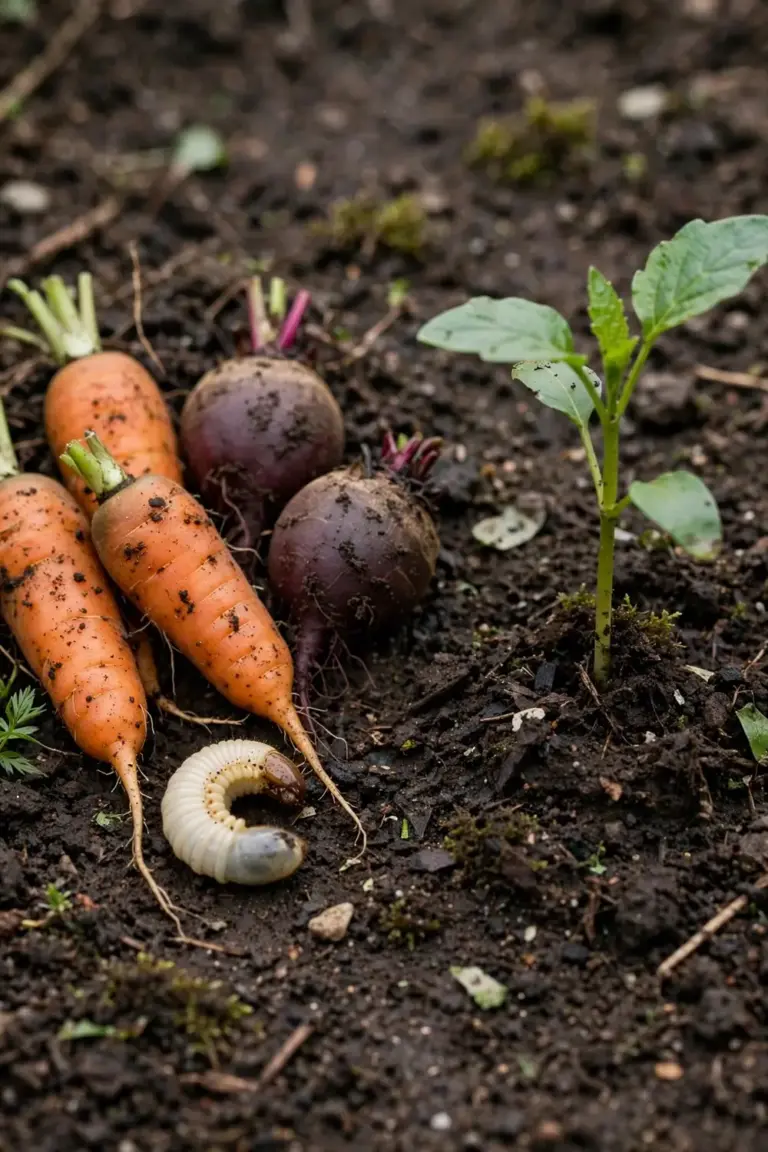
A curl grub is a scarab beetle larva with a creamy white body, a brown head, six legs near the head, and a body that curls into a C shape. Check those four marks before you call it a curl grub. A grub that misses two or more of them is probably something else, and the methods below do not apply to it.
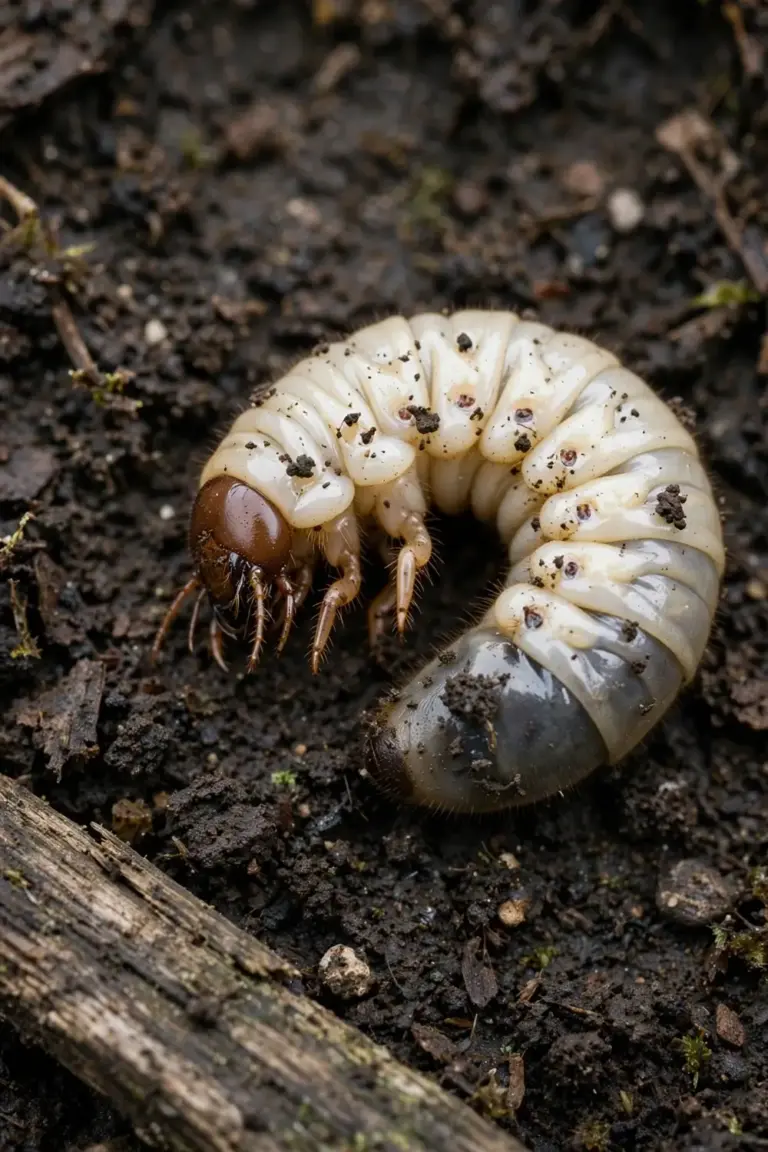
Australia hosts a large scarab family, so size and setting narrow the field. Australia is home to at least 2,300 scarab species, including Christmas beetles, rhinoceros beetles, and flower chafers, according to the same UNSW Sydney researchers. Most of those species never touch a garden bed. The table below sorts the larvae you are most likely to turn up.
| Grub | Color | Size | Harmful? |
|---|---|---|---|
| African black beetle larva | Creamy white body, brown head | About 25 to 30 mm | Yes. Eats roots of garden and edible plants. |
| Argentinian scarab larva | Creamy white body, brown head | Up to 25 mm | Rarely a garden-bed pest in Australia. It feeds mainly under grass. |
| Christmas beetle larva | Creamy white body, brown head | Data not available | Usually minor in beds. Feeds on roots and organic matter. |
| Rhinoceros beetle larva | Creamy white body, brown head | 70 mm maximum | No. Feeds on decaying wood and compost. Leave it alone. |
| Flower chafer or dung beetle larva | Creamy white body, brown head | Data not available | No. Breaks down decaying matter. Leave it alone. |
The size figures for the two pest species come from Australian garden guides. The Diggers Club puts African black beetle larvae at about 25 to 30 mm, and Syngenta Australia puts Argentinian scarab larvae at up to 25 mm. The rhinoceros beetle figure comes from the NSW Rose Society curl grub guide, which also records that scarab beetles lay eggs in soil during late spring, summer, and early autumn, and that larvae grow and pupate during late autumn, winter, and early spring.
Lifecycles set the calendar. The life cycles of curl grubs run from one year to every two or three years depending on the species, according to Yates garden guides. The African black beetle runs a one-year lifecycle, with the most damaging grubs active in late spring and throughout summer. The Argentinian scarab also runs a one-year lifecycle, with larval feeding during autumn, through winter, and into early spring. Syngenta Australia adds the detail that Argentinian scarab larvae spend 10 to 11 months underground as larvae, and that peak egg laying falls around late December to early January.
Two mix-ups cause most of the needless killing. Witchetty grubs are moth larvae, not scarab larvae, and they live in wood rather than garden soil. Christmas beetle larvae feed on roots, and their adults eat eucalypt leaves, yet Christmas beetle numbers have fallen over recent decades, likely from habitat loss, so a Christmas beetle larva in a bed earns a pass unless the plant above it is failing. When you cannot name the larva, leave it. An unnamed grub in compost is doing compost work.
Look in the right places. Grubs gather where roots and moisture meet, so check under wilting plants first, then along bed edges where mulch stays damp. A grub in a pot sits inside the root ball, so tip the pot out rather than scratching the surface. A grub in a compost heap sits through the heap, and the heap is working, so leave that heap alone. Healthy soil holds a few grubs without showing damage, and a bed that grows strong plants needs no treatment at all. Watch for adult beetles on warm evenings after rain, since adults fly at night and a beetle seen near a bed in summer means eggs may follow in that soil.
3. Run the Flush Test to Bring Grubs to the Surface
Flood a patch with soapy water and watch grubs surface within minutes. The flush test shows what lives in the patch without digging the whole bed up. Diagnosis takes ten minutes of watching, not an afternoon of digging, and the bed stays intact.
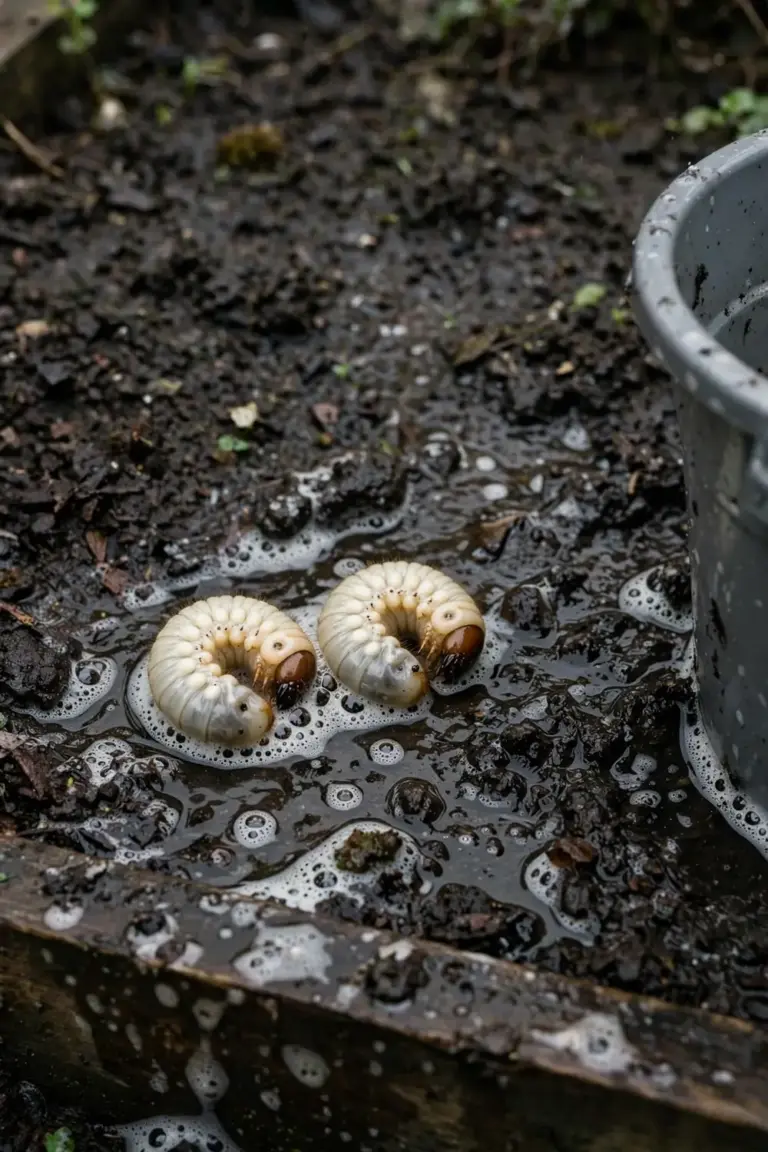
Mix the flush from household supplies. Guides to the soap flush commonly mix 1 to 2 tablespoons of dish soap into about 4 litres of water, pour it slowly over a patch about 1 metre square, and wait 5 to 15 minutes. Pour slowly so the water soaks in instead of running off. Watch the surface. Grubs and other soil insects move up to escape the soapy water. Count what surfaces, and note where the patch sits: a count under a wilting plant means more than the same count under a healthy one. Run the test in the evening when the soil is moist, since dry soil keeps grubs deep and a dry test reads low.
Rinse the patch with plain water after the test. The soap is an irritant that drives insects up, and it is not a treatment. A flush that surfaces grubs still leaves you with grubs to pick up by hand. The test tells you where the problem sits. Hand-picking fixes it. Repeat the test in a second patch a metre away when the first patch reads high, since grub numbers vary across a bed and one patch never speaks for the whole bed.
A second check needs no soap at all. Lay a sheet of damp cardboard on the bed overnight and lift it at dawn. Grubs that feed near the surface gather in the damp dark under the cardboard. The cardboard test suits beds where you do not want soap near seedlings. Run either test on a mild evening when the soil is moist, since dry soil keeps grubs deep and a dry test reads low.
No published threshold says how many grubs per square metre justify treatment. Data not available covers that number, so use the plant as the measure. A few grubs under a healthy plant mean watch and wait. Grubs clustered under wilting plants, after you rule out water and nutrients, mean act. A count that rises across two tests in the same bed means the bed needs the full method below.
4. Hand-Pick Grubs at Bed Prep and Repotting
Hand-picking is the fastest control in a bed you are already digging. Pick every grub you turn up, drop it in a bucket of soapy water, and feed the dead grubs to the birds or bin them. The bucket keeps the job tidy. Birds do the disposal when you tip the bucket onto open ground away from the bed.
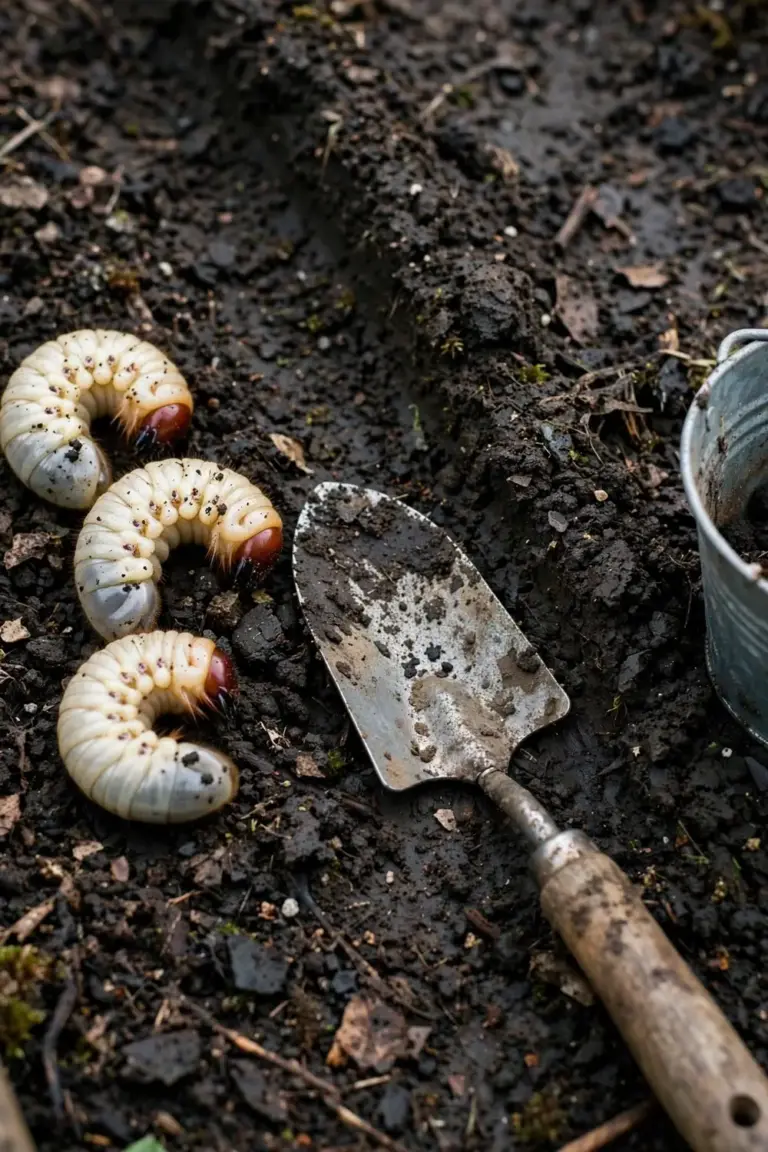
Work hand-picking into jobs you already do. Turn the soil at bed prep and pick the grubs the fork turns up. Turn the soil again at planting and pick the ones the first pass missed. A second pass catches grubs the first pass drove deeper. Two passes in one session clear more grubs than one pass repeated a week later, because the bed is already open and the grubs have nowhere to hide.
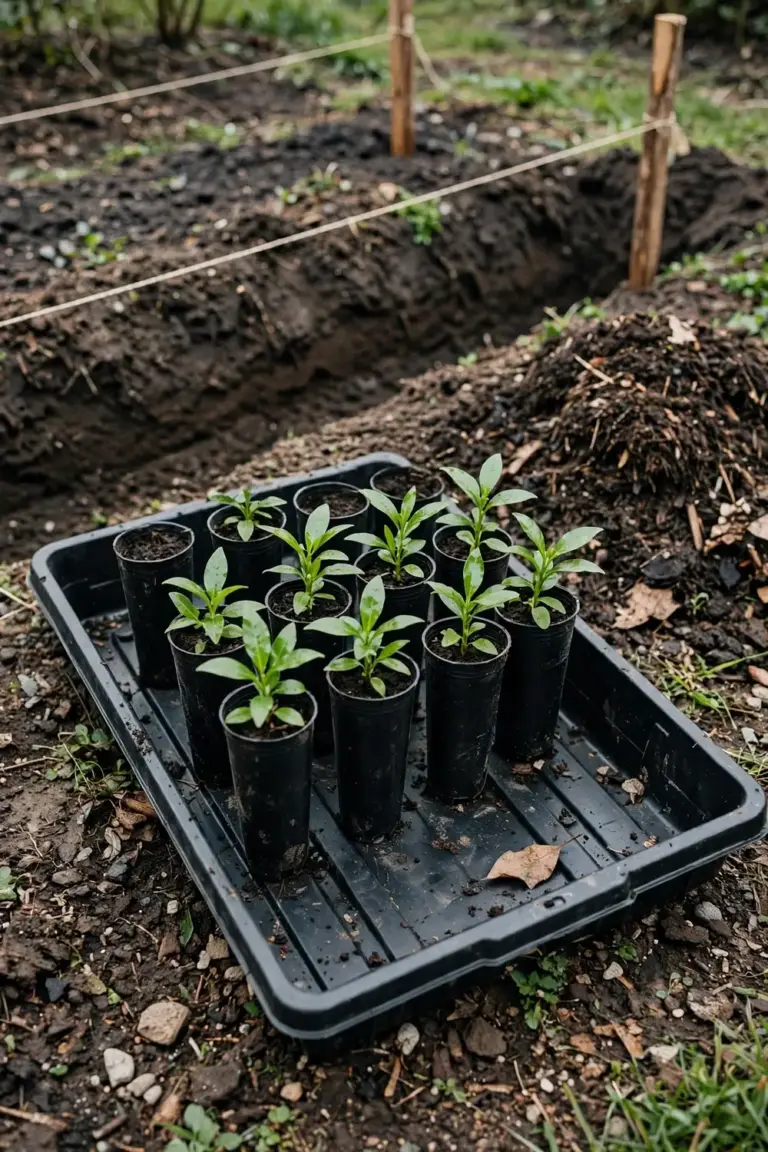
Pots need their own check because a pot holds a small root ball. Tip the pot out, shake the mix loose, and pick every grub from the root ball. Repot into fresh mix. Check every pot at repotting, since a grub in a pot eats the whole root system while the same grub in a bed eats a fraction of it. Starting seedlings in fresh mix, as the seed starting guide describes, keeps the first weeks grub-free. A seedling with chewed roots wilts fast, so check pots first when a potted plant wilts despite moist mix. Check nursery pots before planting too, since a new plant can carry grubs into a clean bed in its root ball.
Help the plant recover after you clear the grubs. Yates advises pruning up to a third of the foliage on a plant whose roots were chewed, which rebalances the root-to-shoot ratio while new roots grow. Water the plant after picking, and keep the soil moist while it regrows roots. A plant that keeps wilting after the grubs are gone has another problem, so check water, drainage, and nutrients next. Bin grubs you cannot identify rather than feeding them to birds, since an unnamed grub may be a harmless native, and the bin keeps the decision safe.
5. Apply Beneficial Nematodes While the Soil Is Warm
Beneficial nematodes are microscopic roundworms that hunt grubs in the soil. Apply Heterorhabditis bacteriophora when the soil is warm, keep the soil moist, and let the nematodes do the hunting. Nematodes suit beds where digging would disturb roots, and they suit gardeners who want a living control rather than a chemical one.
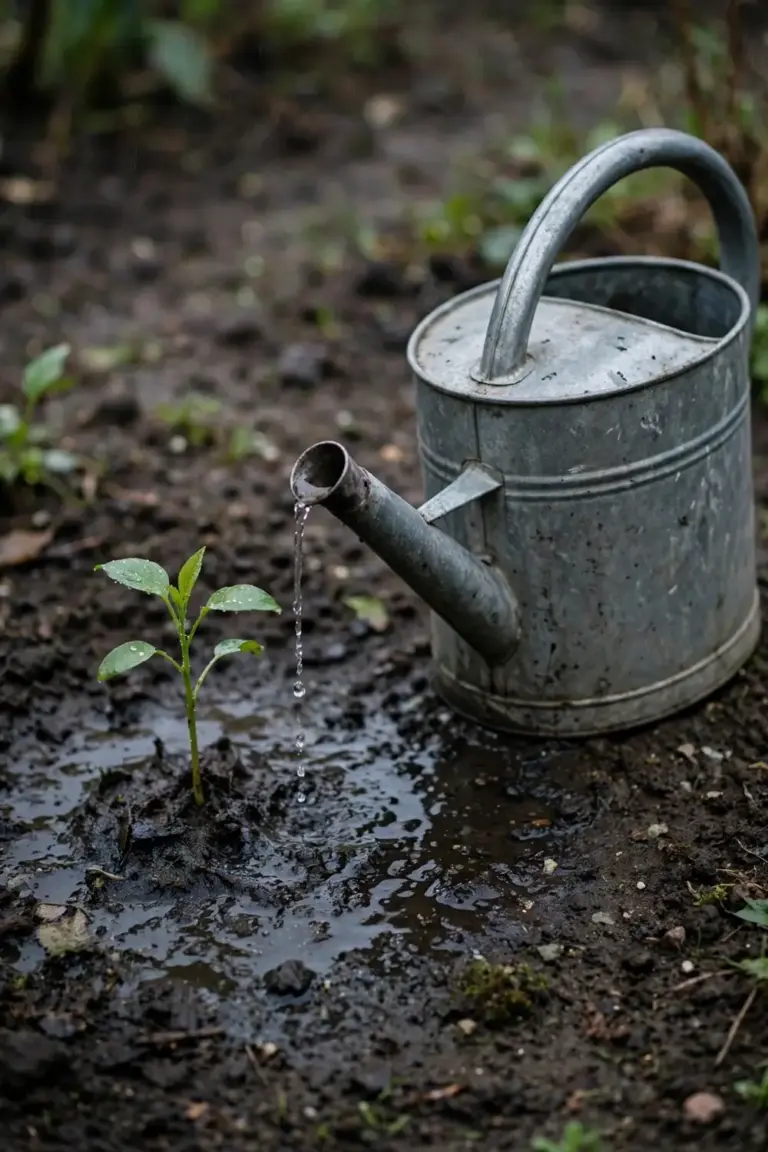
Temperature decides whether nematodes work. Heterorhabditis bacteriophora does best in warmer soils above 20 degrees C, and it actively searches out its prey in the soil, according to Cornell University integrated pest management fact sheet. The same fact sheet records that beneficial nematodes do not harm plants or animals. Cold soil stalls them. A drench applied into cold soil wastes the purchase, so check soil warmth first with a finger test or a soil thermometer.
Apply nematodes like a living product, because they are one. Mix them with cool water at the labelled rate, and drench the root zone so the nematodes reach the grubs. Apply in the evening or on a cloudy day, since nematodes are sensitive to ultraviolet light and dry out fast in sun. Keep the soil moist for several days after application so the nematodes stay alive long enough to find hosts. Suppliers ship nematodes refrigerated, so store them cold and use them before the expiry date on the pack. Water the bed before the drench when the soil is dry, and water again right after, since a dry bed strands nematodes on the surface. Use a watering can or a coarse sprayer, and skip fine filters that strain the nematodes out.
Set expectations to match the biology. The Cornell fact sheet notes that commercial strains of this nematode generally do not persist long-term in the soil, so reapplication follows the label. Nematodes work best on young grubs early in the season, when grubs sit near the surface and feed hard. A drench applied in mid-spring to mid-summer meets grubs at their most vulnerable stage. A drench applied after grubs have grown large and moved deep meets grubs at their toughest. Nematodes do not kill adult beetles, and they do not fix damage already done, so a plant with no roots left still needs hand-picking and time.
6. Use Neem on Ornamentals Only, Never on Vegie Patches
Neem drench belongs on ornamental plants only. Keep it off vegie patches and off pots that hold food plants. This rule is the sharpest edge in the whole method, and it is the one most worth remembering.
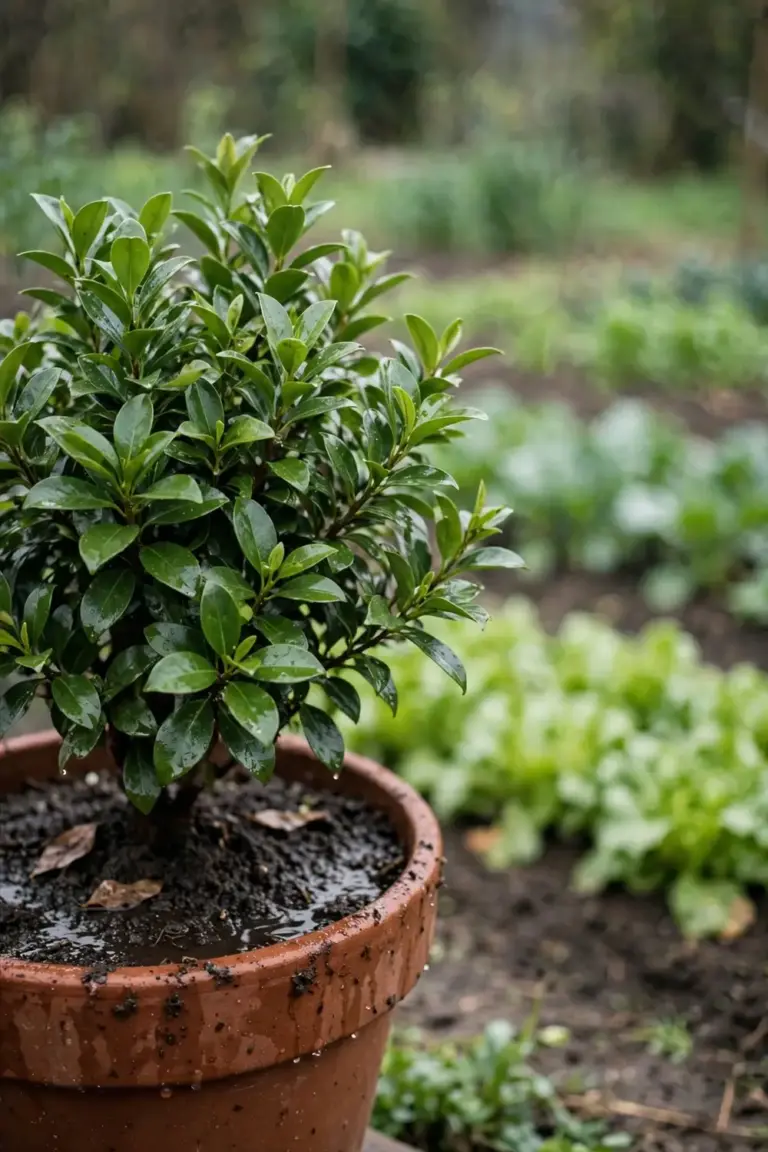
Read the label before every use. Neem products sold for ornamentals carry no approval for edibles, so the label is the authority on where the product may go. If the label does not list your plant, do not use the product on that plant. If the label lists ornamentals only, keep the drench on ornamentals only. Gardeners in Bunnings Workshop threads report the same line: eco-neem carries no approval for use on edibles. The threads are Q and A, not a label, so the label wins every argument. When a label and a forum thread disagree, the label decides.
Apply neem as a soil drench around ornamental plants, at the labelled rate, aimed at the root zone where grubs feed. Drench in the evening so the mix soaks in without sun stress on the plant. Repeat at the labelled interval while grubs are active. A drench that runs off the surface misses the grubs, so pour slowly and let each pour soak in before the next.
Neem does not replace the earlier moves. A grub in an ornamental pot still needs hand-picking first, because a drench cannot undo root loss that already happened. Neem on a plant that is already dead from root loss will not save it. Pull the dead plant, check the soil for grubs, and start the bed again with fresh mix. Neem protects living plants. It does not resurrect dead ones. Potted ornamentals deserve a close look, since Yates garden guides record that African black beetle larvae infest the roots of potted ornamentals, and a pot hides the damage until the plant collapses.
7. Prevent the Next Generation With Soil Health and Timing
Prevention is soil health, timing, and keeping beds planted. A bed with living roots and fed soil grows plants that outgrow light grub feeding. Prevention costs less effort than any cure, and it works on next season’s grubs while this season’s grubs are still feeding.
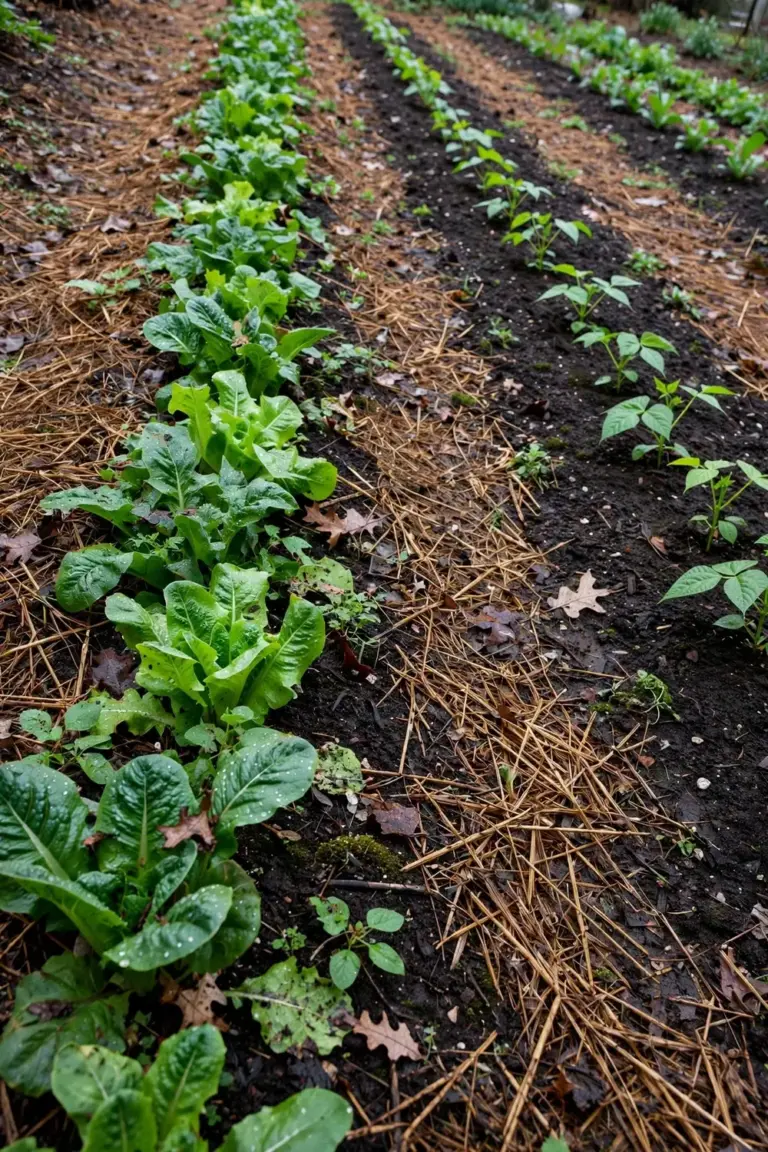
Feed the soil first. Building soil health gives plants the root mass to outgrow light grub feeding. Compost and mulching feed soil life and keep the soil moist, and moist soil keeps roots growing through light damage. A bed with bare soil dries fast and grows weak plants. A bed with mulch and compost grows plants that shrug off a few grubs.
Timing beats strength. Treat while grubs are small, in the mid-spring to mid-summer hatch window, when hand-picking and nematodes meet their easiest targets. Keep beds planted from mid-summer to early winter, since Yates advises that planted beds give beetles no bare soil for egg laying. Rotate crops so the same bed does not host the same root feeders every year. A bed that grew carrots last season grows beans or leafy greens next season, and the rotation breaks the pest cycle. A bed that grew potatoes, the crop grubs damage hardest, rests from root crops for a season while leafy greens take its place.
Lights matter more than most gardeners guess. The same Yates notes say adult beetles fly at night and are drawn to lights. A garden light left on through summer pulls beetles into the beds below it. Switch garden lights off during the egg-laying season, or point them away from beds. A dark bed draws fewer egg-laying beetles than a lit one.
Three mistakes undo the work. Spraying first kills harmless larvae alongside pest larvae. Neem on a vegie patch breaks the label. Ignoring pots lets grubs eat a whole root ball unseen, because a pot holds a small root ball and one grub eats it all. Skip all three.
Frequently Asked Questions
Yes, once you wash them well. Curl grubs chew roots, and they do not poison the plant above them. A plant that grew through light grub feeding is safe to eat after a normal wash. Throw out plants that rotted at the crown or collapsed, since rot is a different problem. If a chemical grub killer went onto the bed, follow the withholding period on its label before harvesting anything from that bed.
No published threshold sets a number per square metre, so data not available covers that figure. Use the plant as the measure instead. A few grubs under a healthy plant mean watch and wait. Grubs clustered under wilting plants, after you rule out water and nutrients, mean act. A count that rises across two tests in the same bed means the bed needs the full method. Counts alone never justify a spray.
No. Curl grubs do not bite people or pets. Their mouthparts chew roots and decaying matter, and they have no interest in skin. A grub picked up in a bare hand curls tighter and stays still. Dogs that dig up grubs and eat them face no grub danger, though dogs that dig up beds face a different problem. Wash hands after handling soil, since soil carries its own germs.
Chickens help on empty beds, and they harm planted beds. A few hens turned onto a dug bed eat exposed grubs fast, including adults and young larvae, according to Yates garden guides. Keep hens out of planted beds, since they scratch seedlings and dust-bathe in soft soil. Use hens as a cleanup crew between crops, then fence them out before planting. Hens are a bonus, not a plan.
Yes, on a smaller scale. Tip the pot out, pick every grub from the root ball, and repot into fresh mix. Nematodes work in pots too, as long as the mix stays moist for days after the drench. Neem stays on ornamental pots only, never on pots that hold food plants. Check every pot at repotting, since one grub in a pot does more damage than ten grubs in a bed.
Get Rid of Curl Grubs in Garden Soil Without Harming the Good Ones
The order holds the whole method together. Check before you kill. Flush to find them. Hand-pick what surfaces. Apply nematodes while the soil is warm. Use neem on ornamentals only. Prevent the next generation with soil health and timing. A bed run in that order loses its pest grubs and keeps its composters.
Start with one bed this weekend. Run the flush test on the patch under the worst plant, pick what surfaces, and watch the plant for a week. The plant answers faster than any schedule does. A plant that firms up had grubs. A plant that keeps wilting has another problem, and the next check starts with water and drainage. Keep the method in that order all season, and the beds will show it.