
Plan on 3 to 4 years from cutting to cured pod. That is the honest answer to how to grow vanilla at home: start with a long cutting, hand-pollinate each flower on its single morning, and cure the pods yourself. I have learned the honest side of vanilla’s price tag from the growing advice itself: this is a plant that pays you back in years, not weeks.
Vanilla planifolia is a climbing orchid native to Mexico and Central America, and the only orchid grown for its fruit. Every pod forms only if a human hand moves pollen to stigma on the morning the flower opens. Miss that window and the flower drops.
The rest of this page is 13 steps, from a 1-meter cutting to a jar of cured pods. If the timeline sounds too slow, tropical fruit like growing mango from seed or grafted stock fruits far sooner. Vanilla rewards the patient grower with pods you cannot buy at that quality anywhere.
A skilled worker pollinates 200 flowers in a day, and each flower stays receptive for only six to seven hours, according to a University of Florida vanilla production guide. Indonesia ranks as the world’s second-largest vanilla producer after Madagascar, per global vanilla production data, which is why this guide leans on the Indonesian growing tradition. The method works whether you live in the humid tropics or keep a vine in a temperate-climate greenhouse.
1. Start With a 1-Meter Cutting, Not Seeds
Buy a long vanilla cutting from a reputable orchid nursery instead of starting from seed. Vanilla is primarily propagated by cuttings, and UF/IFAS extension research on vanilla in South Florida gives the honest timeline: a cutting 30 cm long generally needs three to four years to flower, while a meter-long cutting should flower in two to three years. The longer the cutting, the faster the vine establishes and blooms. Every extra centimeter you buy at the start buys back months of waiting.
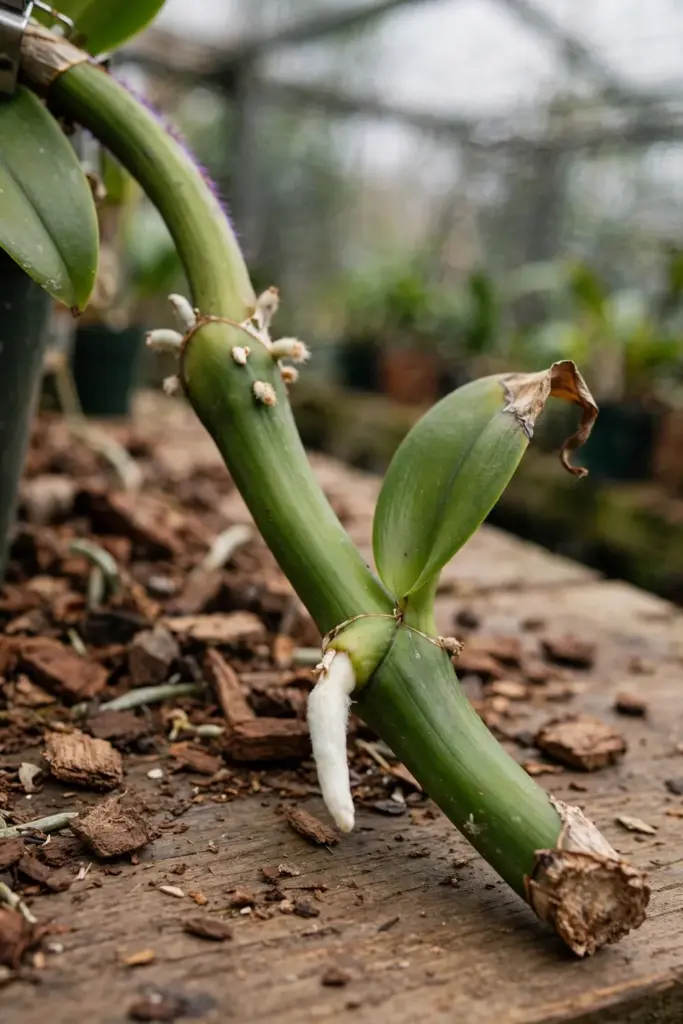
Choose a cutting with at least two nodes, and let the cut end heal before planting. The same UF/IFAS guide advises leaving fresh cuttings at room temperature under low light for one to two days so the cut site heals. A fresh, wet cut planted straight into moist medium rots before it ever roots. Look for firm, green stems with plump aerial root nubs along the nodes. Avoid any cutting with black or mushy ends, because stem rot travels fast in a humid greenhouse.
Plant the cutting by laying the bottom nodes along the surface of the medium and covering them lightly, not by burying the stem deep. Vanilla grows as an epiphyte in the wild, clinging to tree trunks with aerial roots, so the nodes need air as well as moisture. A newly planted cutting looks unimpressive for months. The first sign of success is a new green shoot tip, followed by fresh aerial roots gripping the medium or the support.
| Propagation Option | Years to First Flower | Notes |
|---|---|---|
| Meter-long cutting | 2-3 years | Fastest home route; more expensive up front |
| 30-cm cutting | 3-4 years | Cheaper; budget for an extra year of waiting |
| Potted nursery vine | 1-2 years | Skips the rooting stage entirely |
2. Give the Climbing Vine a Rough Pole to Climb
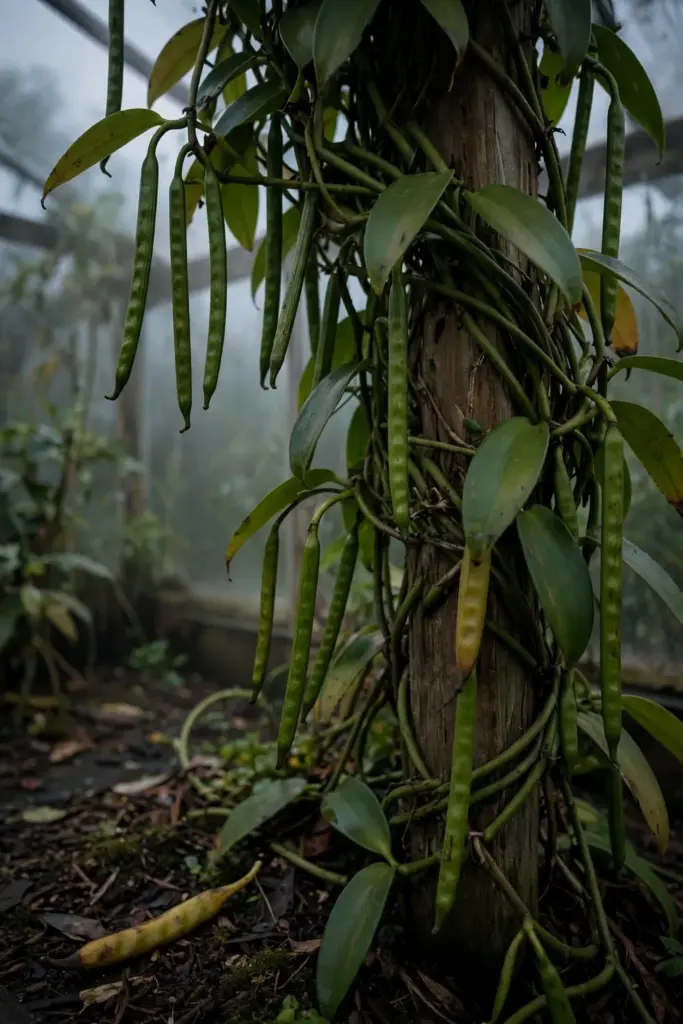
Set a sturdy support in place at planting time, because vanilla is a true climbing vine and will not flower well sprawling on the ground. Use a rough wooden post, a tree fern pole, or a section of untreated lumber wrapped in coarse bark. The vine climbs by wrapping aerial roots around the surface, and rough bark gives those roots something to grip. A smooth metal or plastic stake defeats the whole point.
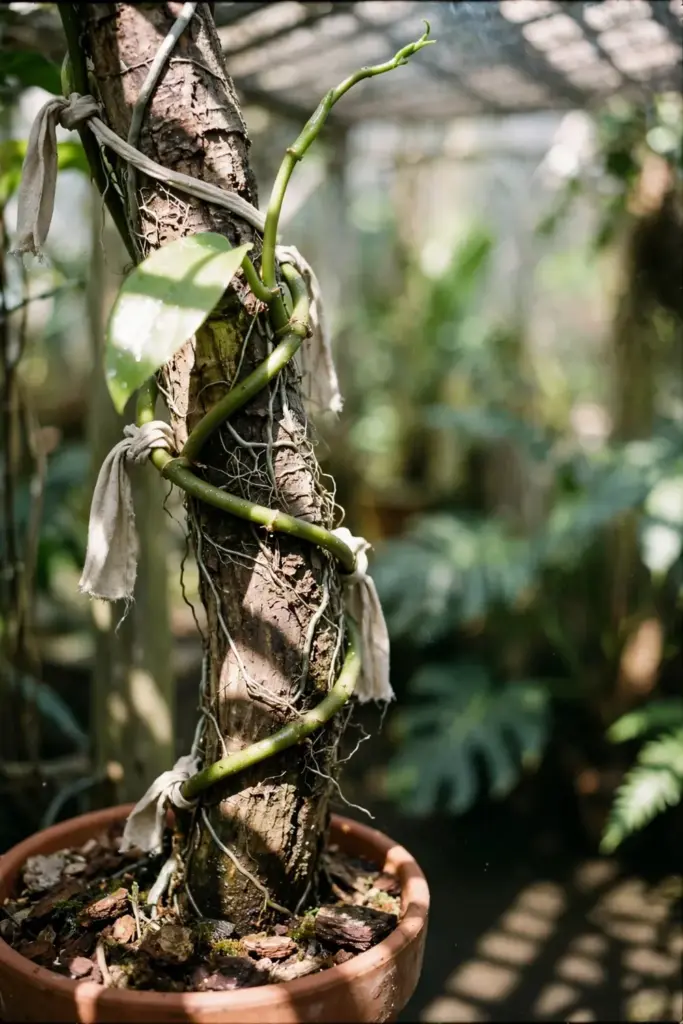
Train the young vine upward in a gentle spiral rather than letting it race straight to the ceiling. When the stem reaches the top of the post, loop it back down and let it climb again. This looping keeps flowers within hand-pollination reach and encourages the vine to thicken. A vanilla vine can reach 10 meters or more in a season of strong growth, so plan for a post you can extend or a loop you can manage at arm height.
Tie the stem loosely with soft plant ties or strips of cloth. Tight wire or string cuts into the fleshy stem and invites rot. Check the ties every few months during the growing season and loosen them as the stem thickens. The aerial roots will eventually do most of the holding on their own, and that is when the vine looks settled and starts behaving like a mature plant.
3. Mix a Bark-Heavy Medium That Drains Fast
Pot vanilla in a loose, bark-based orchid mix, not garden soil. A workable home recipe is equal parts medium bark chips, coco coir, and perlite. Better Homes and Gardens’ vanilla orchid care guide recommends exactly this kind of DIY mix of coco coir, perlite, and bark chips, or a standard orchid mix. The goal is a medium that holds moisture around the roots for hours, not days.
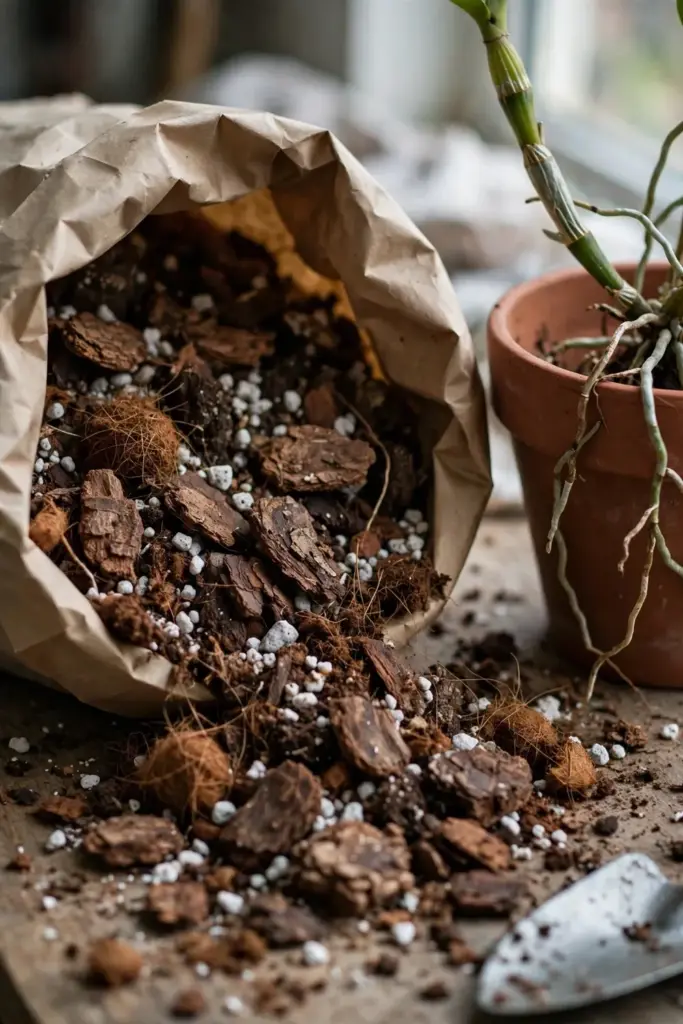
Pot size matters less than drainage. Choose a container with generous drainage holes and set it on feet so water never pools under the pot. Vanilla orchids are susceptible to root rot, which is why the free-draining mix is non-negotiable. If water sits in the saucer after an hour, the medium is too dense or the holes are clogged.
Repot only when the medium breaks down, roughly every one to two years. Old bark decomposes into a soggy mat that suffocates roots, and that is when rot starts. When you repot, keep the same rough pole and disturb the aerial roots as little as possible. The vine forgives a medium change far more easily than a support change.
4. Match the Native Climate: 80-85°F Days, 70-80% Humidity
Place the vine where days stay warm and the air stays damp. Vanilla orchids thrive with daytime temperatures between 80°F and 85°F (27-29°C) and nighttime temperatures between 60°F and 65°F (16-18°C), and they tolerate temperatures above 60°F (16°C), per the Better Homes and Gardens care guide. These orchids prefer moist air with 70 to 80 percent humidity, per the same vanilla orchid care guide. Protect the plant from cold drafts, because it is not frost-tolerant and a single cold night can set a vine back months.
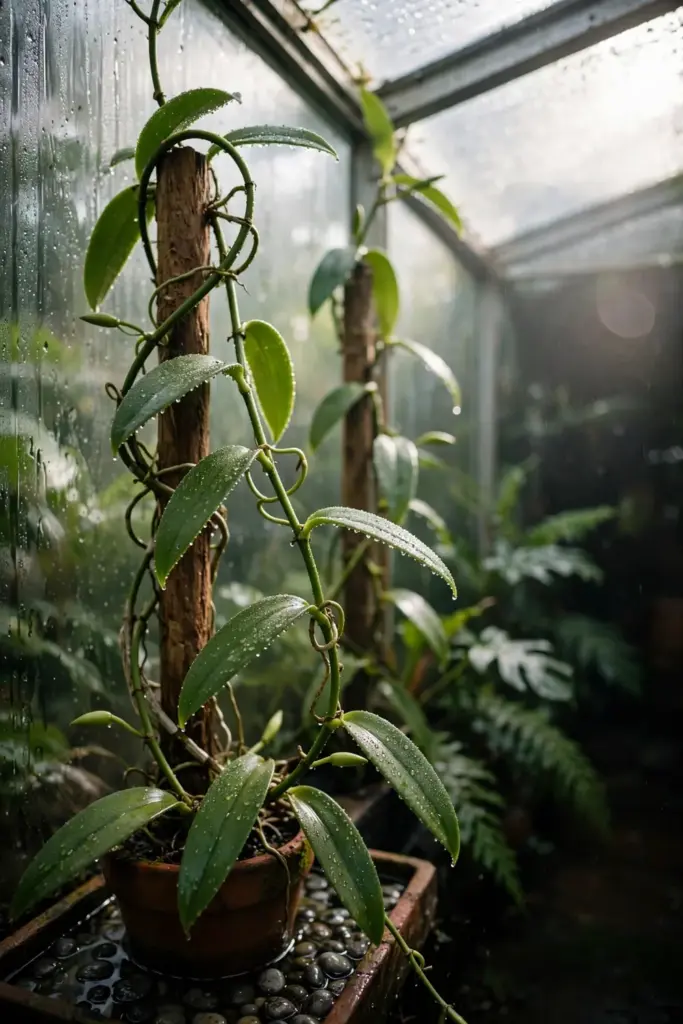
Light should be bright but filtered. Think dappled shade under a tree canopy, not direct afternoon sun. A spot near a bright window with a sheer curtain, or a greenhouse bench under shade cloth, hits the mark. Leaves that turn yellow-green and feel warm to the touch are getting too much sun. Deep green, firm leaves in bright indirect light are exactly right.
Humidity is the factor most home growers underestimate. In a dry house, set the pot on a wide pebble tray filled with water, run a room humidifier nearby, and group the vanilla with other humidity-loving plants. Misting helps the aerial roots but does not hold room humidity on its own. Watch the leaf tips. Brown, crispy edges in an otherwise healthy vine usually mean the air is too dry, not that the plant needs more water in the pot.
5. Mist the Aerial Roots Every Morning
Water the pot when the top few inches of medium feel dry, then water thoroughly until it drains freely. During active growth this may mean watering two or three times a week; in winter, cut back sharply. Vanilla orchid care means keeping the growing medium evenly moist without ever letting it stay soggy. Overwatering in cool weather is the fastest way to kill a vine through root rot.
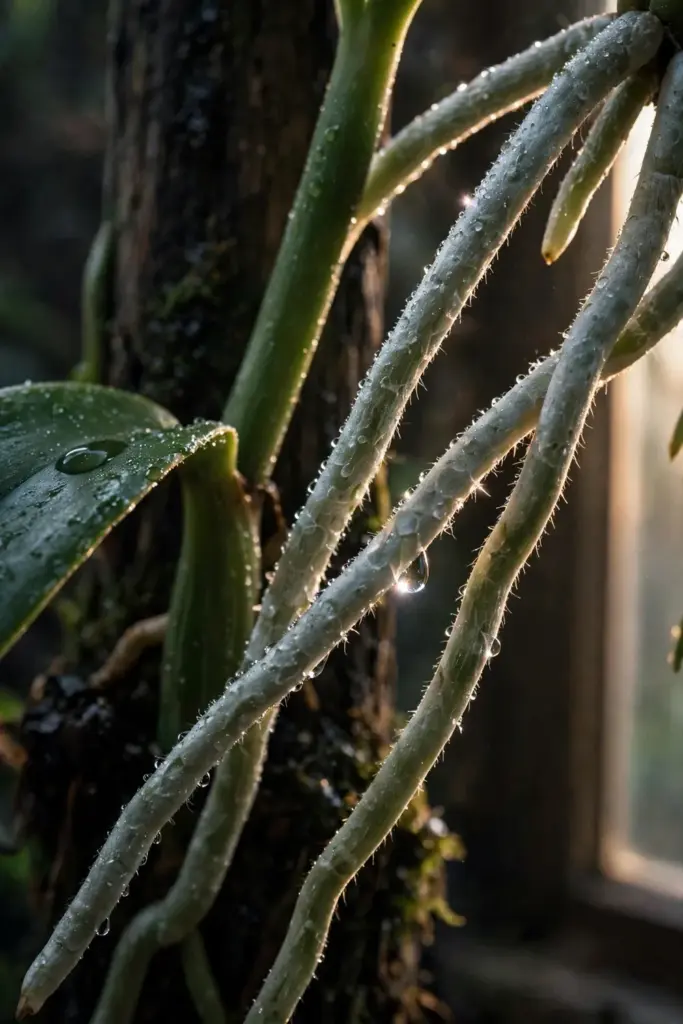
Mist the aerial roots daily with a hand sprayer. These silvery roots along the stem absorb moisture straight from the air, and the Better Homes and Gardens guide specifically recommends misting them every day. Use room-temperature water, and mist in the morning so the foliage dries before evening. Roots that stay wet overnight in still air invite fungal trouble.
Improve air circulation whenever humidity is high. A small fan on low near the growing area, not blowing directly on the plant, keeps air moving across the leaves and roots. Good airflow is the quiet partner of high humidity. Together they recreate the breezy understory of a tropical forest, which is the environment this orchid evolved for.
6. Feed Diluted Orchid Fertilizer Every 2 Weeks in the Growing Season
Fertilize lightly and regularly while the vine is actively growing. Vanilla orchids thrive when fed during the growing season with a diluted liquid organic fertilizer, following the package rate, per the Better Homes and Gardens care guide. Every two weeks from spring through early fall is a reliable rhythm. Dilution matters more than brand. A half-strength orchid fertilizer beats a full-strength general fertilizer that burns the tender aerial roots.
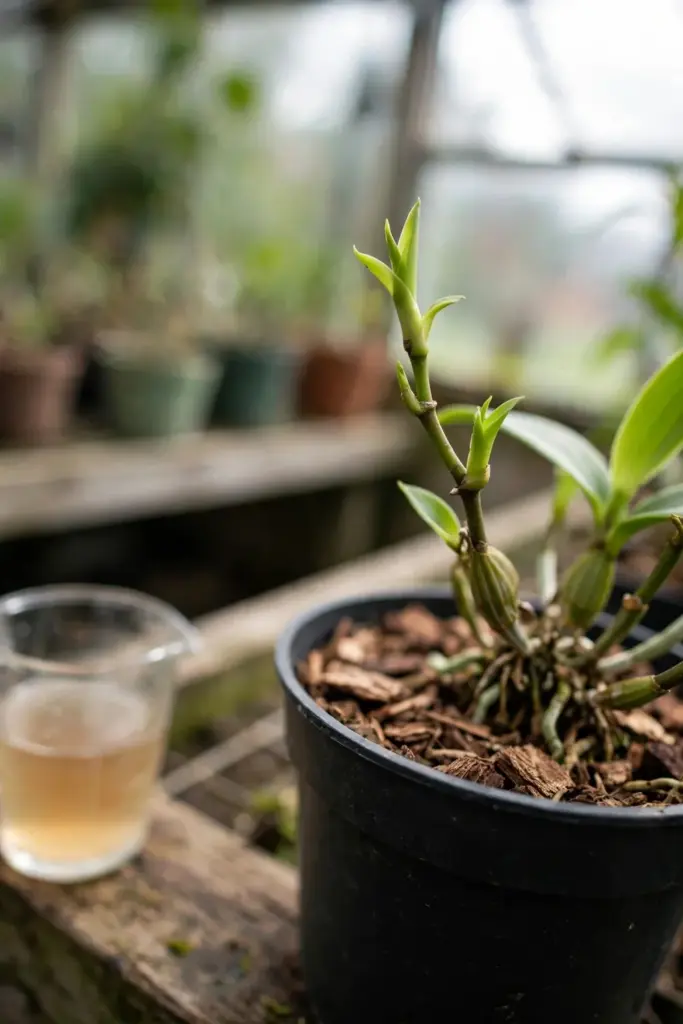
Ease off fertilizer in late fall and winter when growth slows. A vine that is barely growing cannot use the nutrients, and salts accumulate in the medium. Flush the pot with plain water once a month during the feeding season to wash out any buildup. White crust on the medium surface is a sign you have been feeding too heavily or flushing too rarely.
Watch the new growth for feedback. Pale new leaves can signal the vine wants more nitrogen, while brown root tips point to fertilizer burn. Adjust one variable at a time and give the plant two weeks to respond. Vanilla grows slowly enough that impatient growers often change three things at once and never learn which one worked.
7. Wait 2 to 3 Years for the First Flower Spike
Expect the first flowers two to three years after planting a meter-long cutting, and a year or two later for shorter cuttings, per UF/IFAS vanilla research. Flowering usually follows a slightly drier rest period, so ease off watering a little in late winter and let the vine sense a season change. The flower spikes emerge from leaf axils on mature stems, and the buds open into waxy, pale yellow-green orchid flowers.
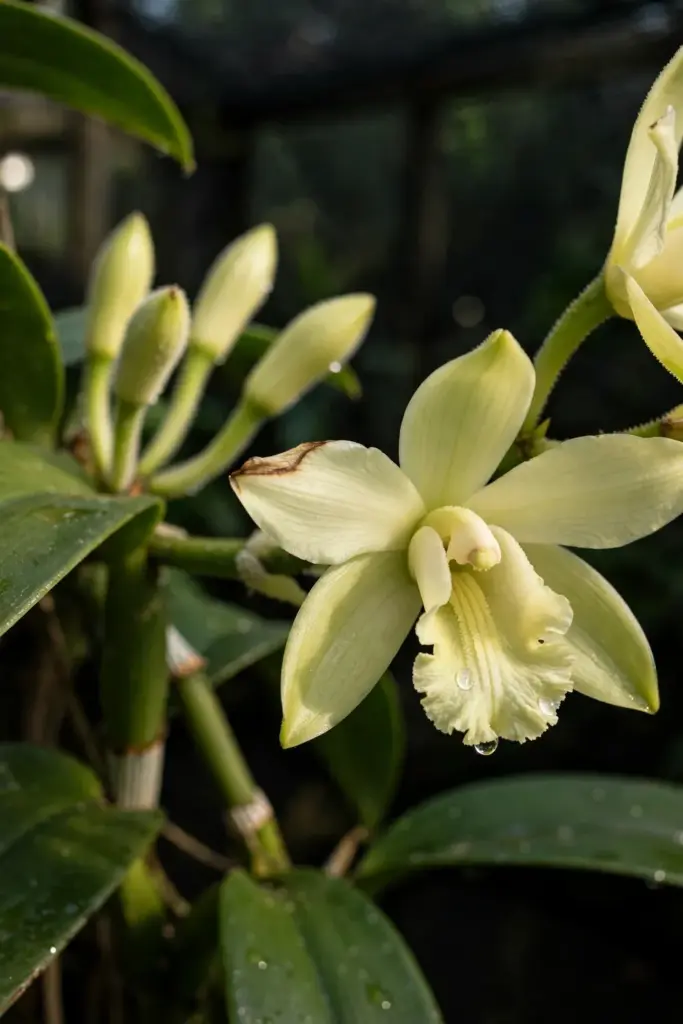
Each flower opens for a single morning. This is the detail that makes vanilla famous and difficult at the same time. Miss the flower on its one day and it drops within a day or two, unpollinated. During flowering season, check the vine every morning. The buds swell the evening before opening, so an evening check tells you which flowers will need pollinating at dawn.
Do not expect flowers from a thin, weak vine. The plant flowers when it has stored enough energy, which is why the thick, looping, well-fed vines from the earlier steps matter. If your vine is four years old and has never bloomed, the usual culprits are too little light, too much nitrogen pushing leafy growth, or a vine that was started from too short a cutting. Fix the conditions and give it another season. The wait teaches the main lesson of how to grow vanilla: the plant sets the schedule.
8. Hand-Pollinate Each Flower With the Rostellum Toothpick Technique
Pollinate every open flower by hand on the morning it opens. In the wild, only bees of the Eulaema genus pollinate commercial vanilla species effectively, and natural pollination runs around 1 percent even in native habitat, according to the University of Florida vanilla extract production guide. Outside Mexico and Central America, those bees do not exist, so your toothpick is the pollinator. The technique dates to Edmond Albius, who discovered hand pollination in 1841.
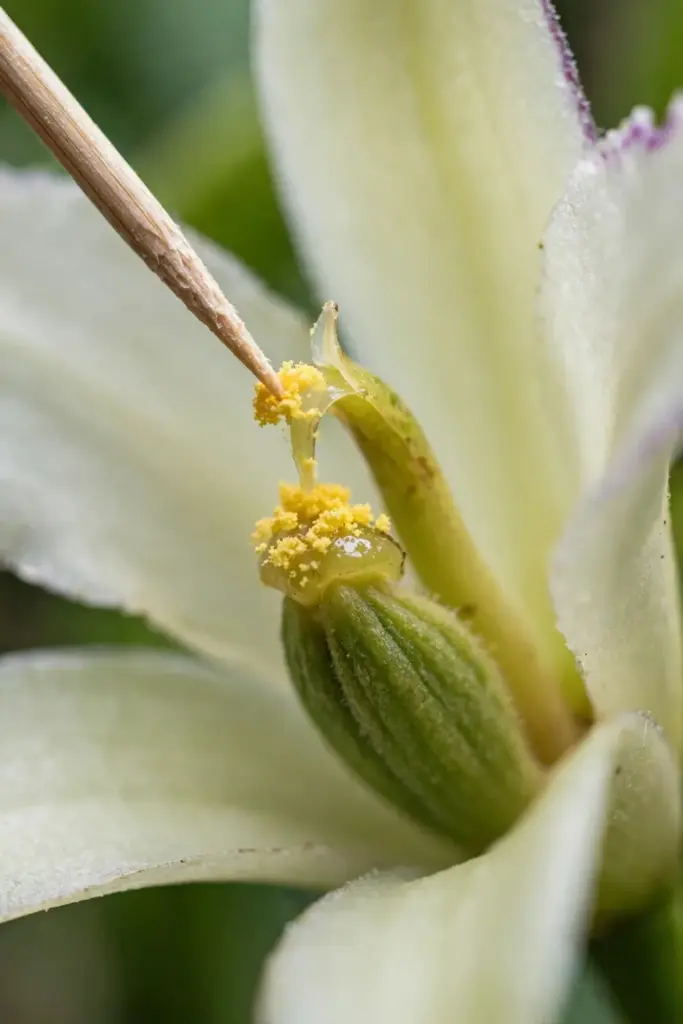
Work in the morning while the flower is fresh. The flower is receptive to pollination for only six to seven hours. Gently tear or fold back the lip petal to expose the central column. Inside you will see a small flap of tissue called the rostellum, which separates the male pollen masses from the female stigma. Slide a toothpick, a bamboo skewer, or a trimmed matchstick under the rostellum and lift it out of the way. Then press the pollen masses firmly down onto the sticky stigma surface. That single press is the whole technique.
Pollinate every flower you can reach, every day of the flowering season. A skilled worker can pollinate 200 flowers in a day, per UF/IFAS South Florida vanilla research, which tells you how much labor a commercial harvest demands. Your home vine will produce a manageable handful of flowers, and ten minutes each morning covers it. A successfully pollinated flower stays on the vine and its ovary begins to swell within days. An unpollinated flower drops off, and there is no second chance for that bloom.
9. Thin Each Raceme to 10 Pods
Limit each flower cluster to 10 developing pods. The flowers grow in clusters called racemes, and UF/IFAS recommends allowing 10 beans to develop per raceme. A vine that tries to ripen every pollinated flower spreads its energy too thin, and the result is a cluster of short, poor-quality pods instead of a smaller set of long, full ones.
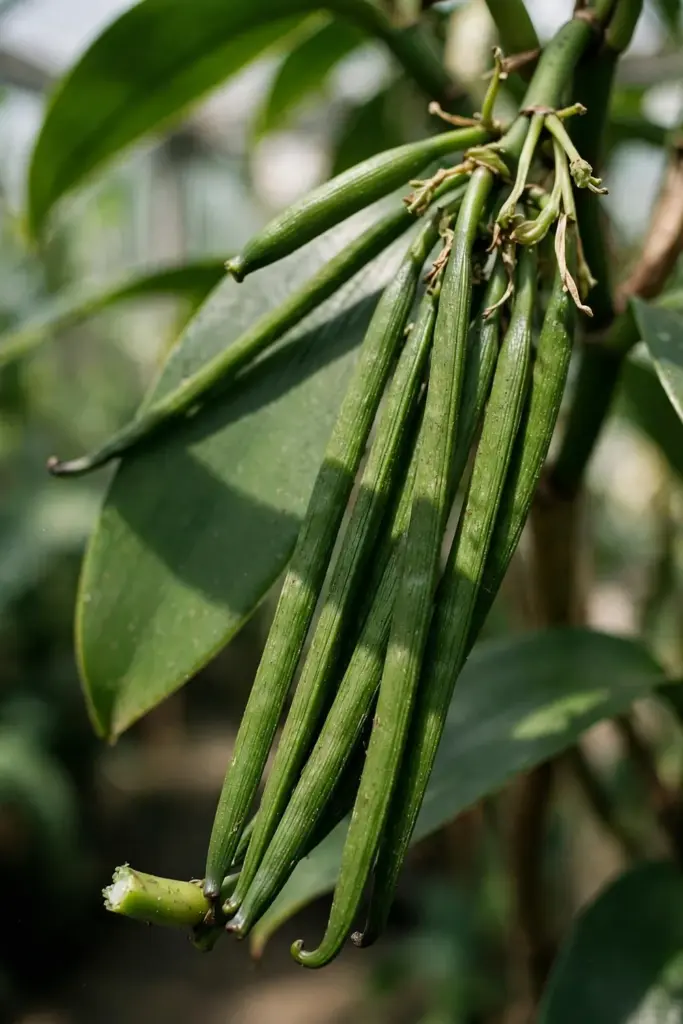
Thin about two weeks after pollination, once the successful pods have clearly started swelling. Snap off the smallest and most crowded pods, keeping the straightest and most evenly spaced. This feels wasteful the first time. It is the difference between a handful of pods worth curing and a cluster of runts that never develop real vanillin content.
Keep notes on which racemes you thinned and how many pods you left. Home growers rarely track this, and then they cannot explain why one year’s pods cured beautifully and the next year’s did not. Pod count per raceme is one of the few variables you fully control, so record it and compare harvests year to year.
10. Harvest Green Pods 8 to 9 Months After Pollination
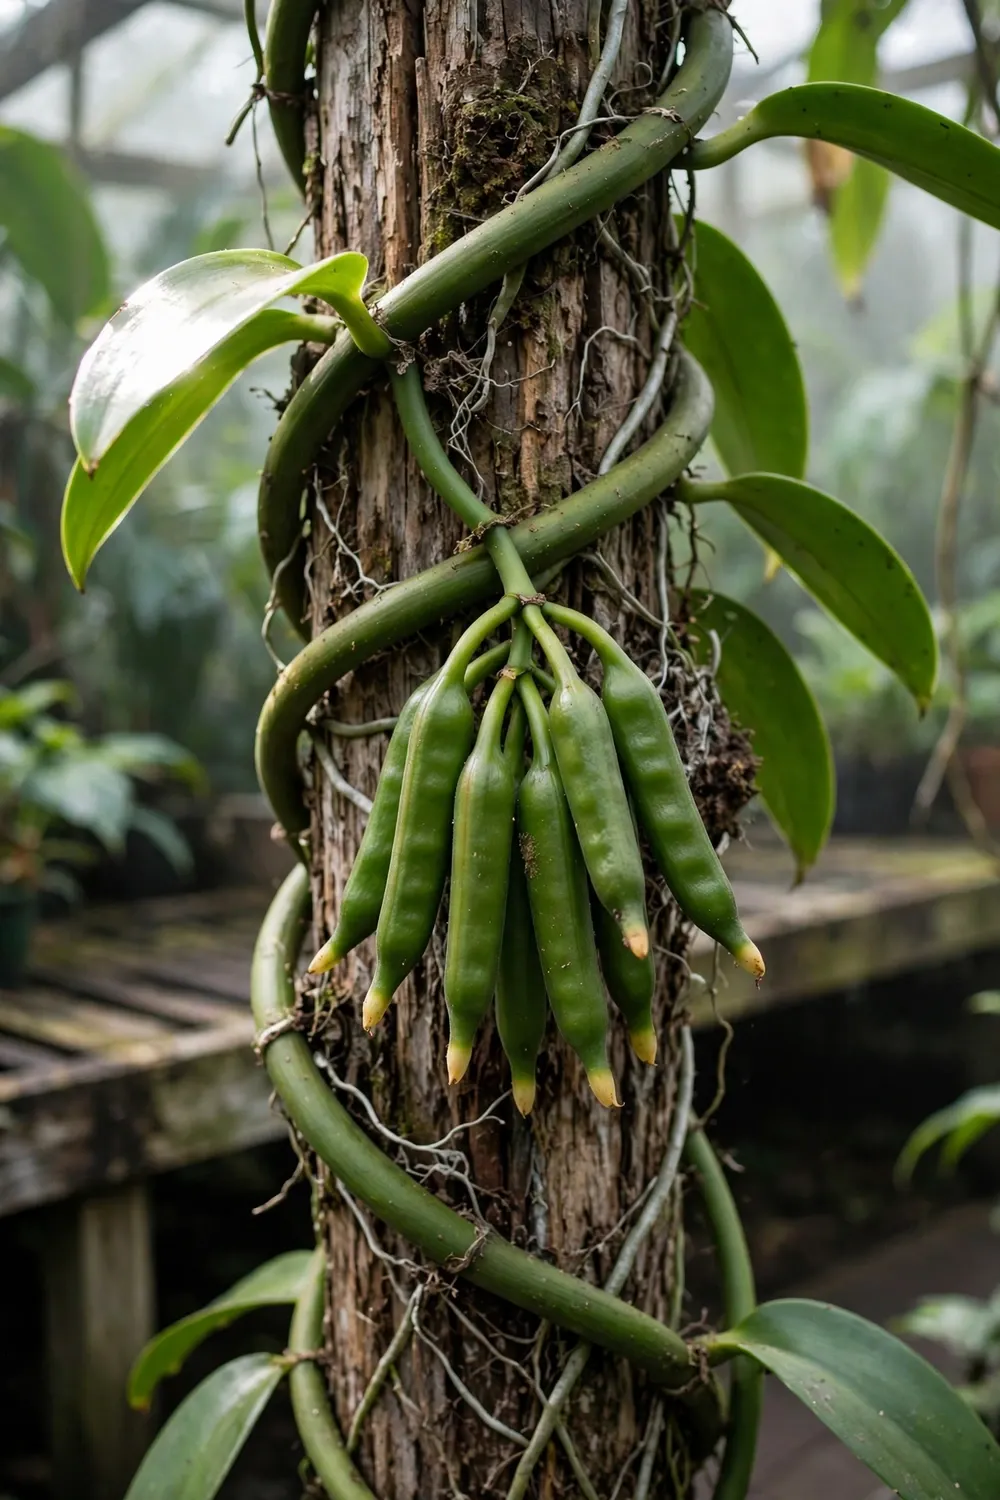
Pick each pod when it is full-sized and the blossom end just starts to turn yellow, roughly eight to nine months after pollination. University of Florida research sets the optimum harvest stage at eight to nine months after pollination. Pods picked earlier than eight months may not produce high-quality extract, while pods left past nine months can split open on the vine. A split pod loses commercial value and invites rot, so the harvest window is genuinely narrow.
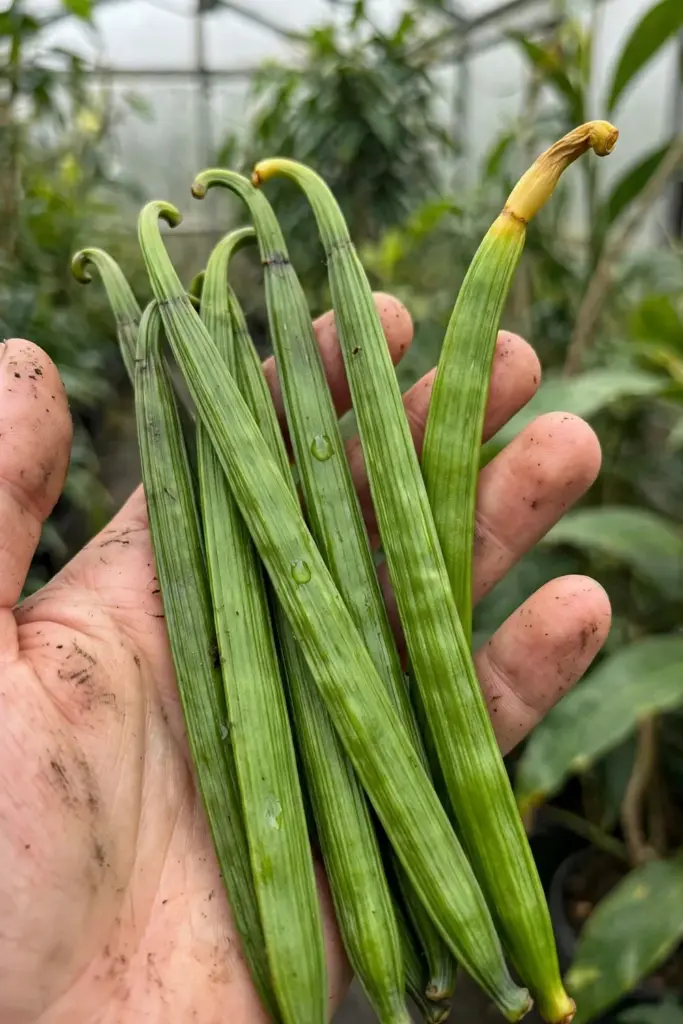
Handle the green pods gently. They look like fat green beans and snap off the raceme with a clean twist. Harvest in the morning when the pods are cool, and keep them out of direct sun. Do not wash them. Surface moisture at this stage starts the wrong kind of fermentation.
Sort the harvest before curing. Set aside any split, scarred, or undersized pods for immediate kitchen use, such as homemade extract, and cure only the sound, full-length pods. Grade A1 capsules measure longer than 12 cm, are dark brown when cured, and hold a maximum moisture level of 30 percent, per the University of Florida grading standards. Home curing is not graded commercially. The same principle still applies: uniform pods cure uniformly.
11. Cure the Pods Through the 5-Step Kill-to-Condition Process
Cure the green pods to develop the vanilla flavor. A fresh pod smells green and grassy, not like vanilla at all. Curing transforms a compound called glucovanillin, which accumulates in the green capsules, into vanillin, the compound responsible for the distinct aroma and flavor of vanilla, according to the University of Florida. No shortcut replaces this chemistry. Skip or rush the cure and the pods stay flavorless.
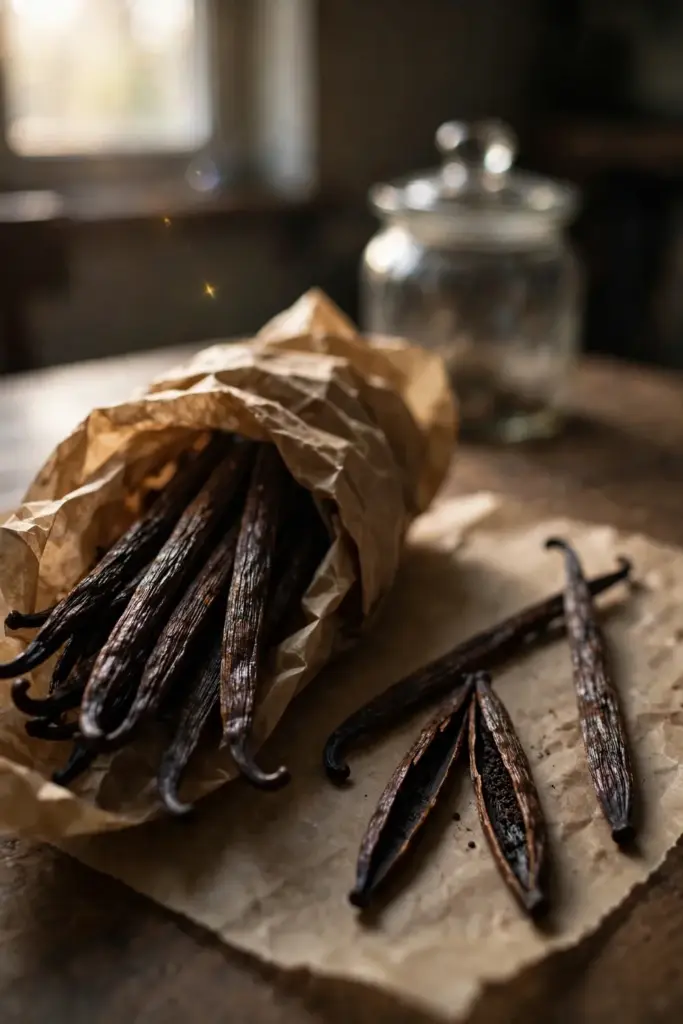
Follow the five stages in order. The University of Florida lays out the standard protocol, and home growers can scale it down to a kitchen and a warm box.
| Step | Action | Time |
|---|---|---|
| Killing | Scald pods in water above 63°C (145°F) | 5 minutes |
| Sweating | Hold at 57°C (135°F) and 80% humidity | 3 days |
| Drying | Air-dry at about 32°C (90°F) until pods reach 25% of fresh weight | 2 weeks to 1 month |
| Conditioning | Wrap in parchment, store at 23°C (73°F) and 45-55% humidity | 2 to 6 months |
| Storing | Seal in glass jars or vacuum bags, keep dark | Years |
The killing step stops the pod’s development and starts the enzymatic changes. Use a thermometer. Water that is merely hot does not kill evenly, and a rolling boil held too long cooks the pods. Five minutes above 63°C, then drain immediately.
For sweating at home, wrap the hot pods in a wool blanket or towels inside an insulated box and keep the box in a warm spot. The pods turn from green to chocolate brown over the three days and begin to release their aroma. Check daily. Any pod that smells sour or shows mold comes out of the batch immediately.
Drying takes patience. Spread the pods in a single layer on a rack in warm, moving air, and bring them inside at night if your climate is humid. Weigh a sample pod at the start. When the pods feel supple like leather rather than stiff, and the sample weighs about a quarter of its fresh weight, drying is done. Overdried pods turn brittle and lose aroma.
Conditioning is where the flavor deepens. Wrap the dried pods in parchment paper, bundle them, and store them in a closed box at room temperature for two to six months. Open the box every week or two for fresh air. The pods develop the full, round vanilla scent during this rest, and the aroma keeps improving for months.
12. Overwinter Indoors When Nights Drop Below 60°F
Bring the vine indoors or into a heated greenhouse before night temperatures fall below 60°F (16°C). Vanilla orchids tolerate temperatures above 60°F but are not frost-tolerant, per the Better Homes and Gardens care guide. In USDA zones below 10, container growing is the standard approach. Choose a pot you can actually carry, because a mature looping vine on a tall post gets awkward fast.
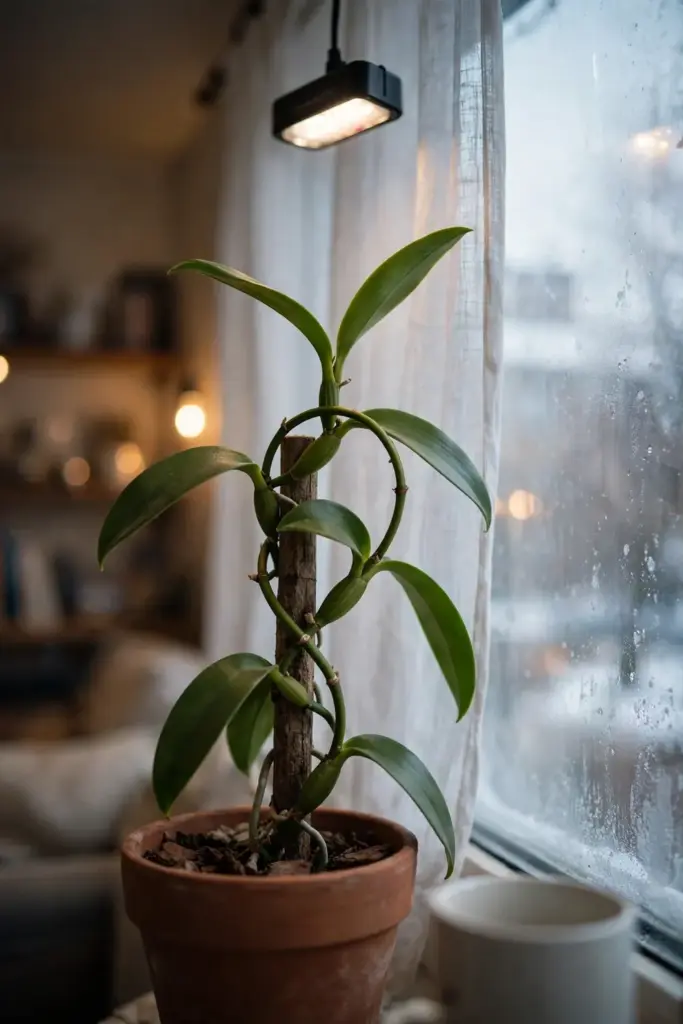
Give the indoor vine the brightest spot you have, and add supplemental light if winter days are short and gray. A simple LED grow light running 12 to 14 hours a day keeps the vine from stalling through winter. Keep the plant away from heating vents and drafty doors. Dry, hot air from a furnace vent does as much damage as a cold draft.
Reduce watering through winter but keep misting the aerial roots. The vine rests in lower light, so the medium should dry out more between waterings. Resume the normal feeding schedule only when new growth appears in spring. Growers in the tropics skip this section entirely, which is one more reason long-season tropical fruit suits the same climates that suit vanilla. If you are already gardening where frost never comes, vanilla lives outside year-round on its post.
13. Avoid These 6 Beginner Mistakes
Learn from the errors that kill most first vines. Each of these is common, each is preventable, and each has a clear fix.
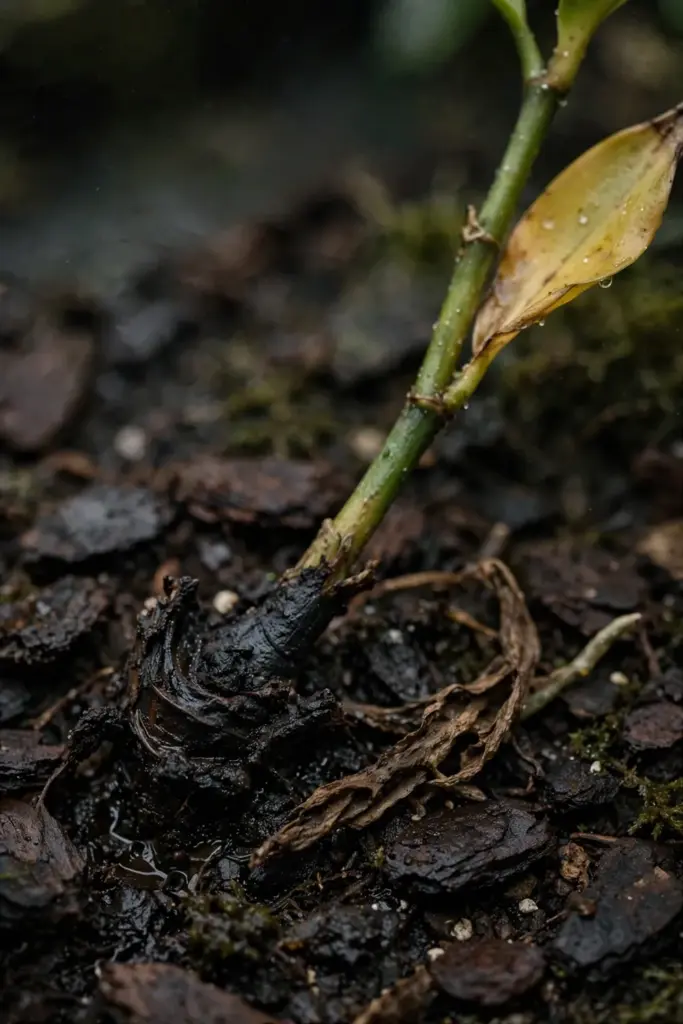
First, planting in garden soil or dense potting mix. The roots suffocate and rot within weeks. Fix it by repotting immediately into the bark, coir, and perlite mix from step three, even if the vine looks stressed. A stressed vine in the right medium recovers. A comfortable-looking vine in the wrong medium dies.
Second, letting the pot sit in a saucer of water. Vanilla wants moisture in the air, drainage at the roots. Empty every saucer after watering. Raise the pot on feet so air keeps moving underneath.
Third, feeding at full strength. Burned root tips and salt crust signal overfeeding. Flush the medium with plain water and restart at half the label rate.
Fourth, placing the vine in direct afternoon sun. Scorched, bleached leaves never recover. Move the plant to bright filtered light and let the new growth come in correctly.
Fifth, skipping the morning pollination check during flowering season. A flower that opens and closes unpollinated is a lost pod. Set a daily reminder for the weeks the vine is in bloom.
Sixth, harvesting pods too early out of excitement. Green, underfilled pods never develop full vanillin no matter how carefully you cure them. Wait for the blossom end to yellow at eight to nine months. The calendar is part of the technique.
Frequently Asked Questions
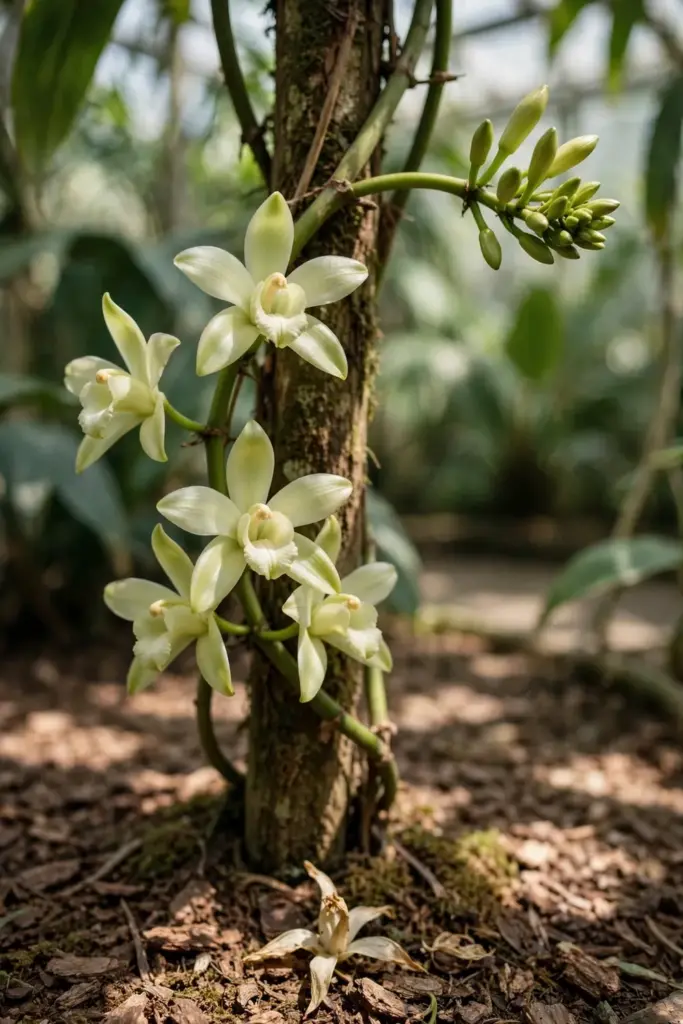
Yes, with a greenhouse or a bright indoor spot for winter. The vine needs days of 80 to 85°F (27 to 29°C), nights above 60°F (16°C), and 70 to 80 percent humidity, according to the Better Homes and Gardens care guide. Grow it in a container on a portable post, move it inside before cold nights, and run a grow light through winter. Flowering still happens indoors with enough light and a short dry rest.
Expect two to three years to the first flowers from a meter-long cutting, and three to four years from a 30-cm cutting. After successful hand pollination, pods need eight to nine more months on the vine, then several months of curing. From planting a long cutting to usable cured beans, plan on roughly three to four years of patient care.
Unpollinated flowers fall within a day or two of opening. Each bloom stays receptive for only six to seven hours on the morning it opens, and natural pollination almost never happens outside the orchid’s native range. Check the vine every morning during bloom season and hand-pollinate each open flower with the toothpick and rostellum technique the same day it opens.
Vanilla planifolia is the main commercial species behind most vanilla extract, while Tahitian vanilla is Vanilla x tahitensis, a hybrid of V. planifolia and V. odorata. The hybrid has a different, more floral aroma profile. Home growers overwhelmingly plant V. planifolia because cuttings are widely available and the curing protocol is well documented.
Yes. Split one or two cured pods lengthwise and submerge them in food-grade vodka or another neutral spirit. The FDA standard of identity for vanilla extract specifies a minimum ethanol concentration of 35 percent, a detail documented in the University of Florida extract production guide. Store the sealed jar in a dark cupboard for at least two months, shaking weekly. The result is real vanilla extract from pods you grew, pollinated, and cured yourself.
Decide If Home Vanilla Earns Your Patience
Growing vanilla at home is a three-to-four-year project with a genuine reward at the end. You start with a long cutting, train it up a rough post, keep it warm and humid, hand-pollinate each morning flower, thin to ten pods per cluster, harvest at eight to nine months, and cure through the five stages. Every step is simple. The difficulty is entirely in the patience.
If that timeline appeals to you, order the longest healthy cutting you can afford and set up the post this season. If it does not, that is useful knowledge too, and now you know exactly why real vanilla costs what it does. Either way, the vine itself is a handsome tropical orchid, and the flowers on their single morning are worth the wait on their own.