
Sow nigella after your last frost, harvest the seed in about 100 days, and never transplant it. Nigella sativa, the kalonji of Indian kitchens, is a cool-season annual with a taproot that sulks at every move, so the whole game is won at the sowing line. One packet of the right seed, 12-inch rows, and a patch of full sun will give you more black seed than most home cooks use in a year.
The hard part is not the growing. It is buying the right plant in the first place, because half the “nigella” sold in the West is a different species, and the trade names on the packets lie. If you want to learn how to grow nigella from India at home, this article fixes the species question first, then walks you through the calendar, the soil, the harvest, and the kitchen.
1. Plant It in Cool Weather, Harvest in About 100 Days
Nigella sativa wants a cool start and a warm finish. Sow in early spring as soon as the soil can be worked, or in fall in mild-winter climates, and expect mature seed pods roughly 100 days after sowing in warm conditions. Cooler summers stretch that to about 150 days. The University of Washington Tacoma seed library, which maintains a culinary nigella growing guide, lists approximately 100 days to harvest and notes that the plant germinates best in cool soil early in the season.
In India, kalonji is a winter rabi crop, sown around mid-September to October and harvested in spring. Temperate gardeners should flip that logic: sow after the last frost and let the warming season do the finishing work. Early growth actually likes cold; the Indian agricultural media guide at krishijagran.com notes that early development stages benefit from cool temperatures while maturity and seed set need warm, sunny conditions, with an ideal sowing window of 20 to 25 degrees Celsius.
Nigella handles light frost as a seedling but bolts through heat. If your summers arrive early and hot, sow as early as you dare and choose the coolest, most open spot in the garden. This is a plant that rewards the gardener who respects the calendar and punishes the one who sows in June and hopes for the best.
2. Which “Nigella” Are You Actually Buying? Check the Species Table
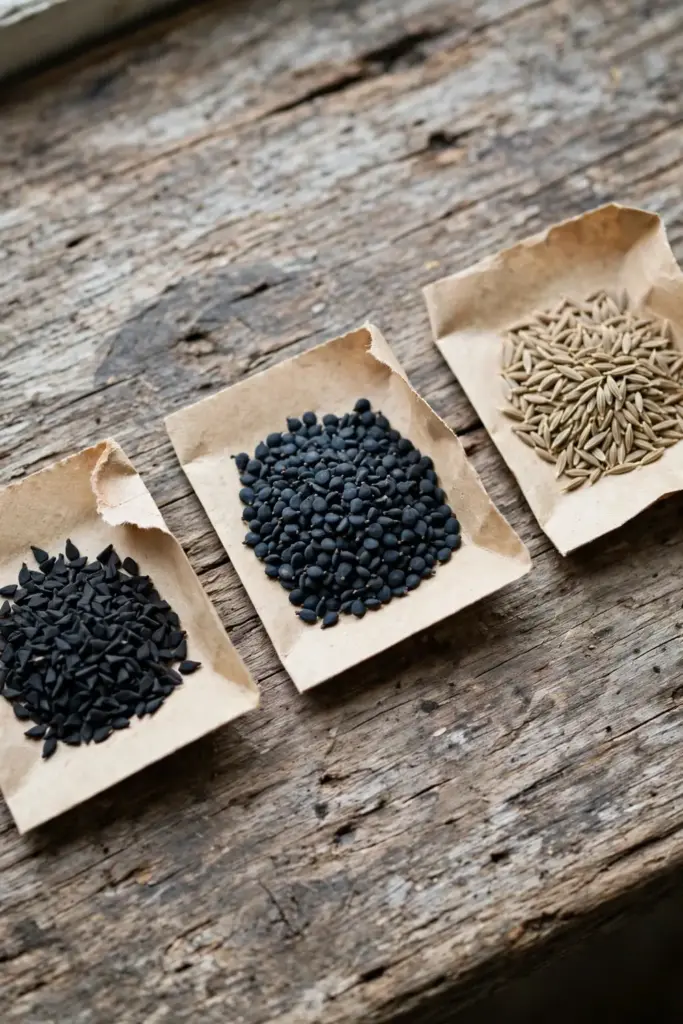
This is the most important table in the article, because the seed trade is confused about the names. The name “nigella” covers two different species, and the common name “black cumin” covers two more. Buy the wrong packet and you grow an ornamental flower instead of a spice.
| Name on the packet | Latin name | What it really is | Grows your kalonji? |
|---|---|---|---|
| Kalonji, black seed, black cumin, black caraway, Roman coriander | Nigella sativa | The culinary species, Ranunculaceae family, white-blue flowers, angular black seeds | Yes, this is the one |
| Love-in-a-mist, “nigella flower seeds” | Nigella damascena | Ornamental garden flower, showy blue petals, inflated striped pods | No, decoration only |
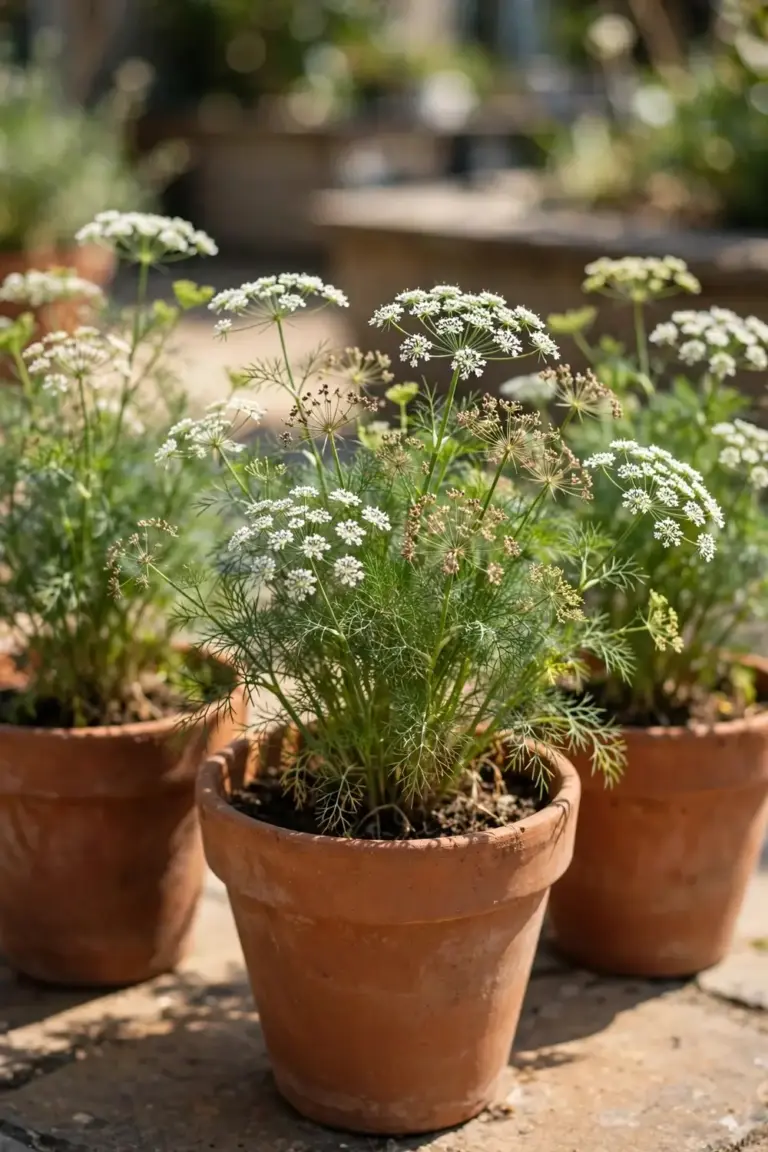
| Black cumin, shahi zeera (India Tier 3) | Bunium persicum | A different umbellifer species entirely | No, different plant |
| “Onion seed” | Trade misnomer | A wrong Western trade name for kalonji, repeated on some packets | No, and it is not an onion relative |
The confusion is live in the seed trade. Major seed companies sell ornamental love-in-a-mist as “nigella,” and some packets answer Nigella sativa questions with love-in-a-mist advice. Some Western seed shops label Nigella sativa as “black cumin,” which collides with Bunium persicum, the true black cumin of the India spice queue. And “onion seed” appears on real packets even though kalonji has nothing to do with onions; gardeners commonly ask whether onions can be grown from kalonji, and the answer is no, because kalonji is not an onion.
Buy seed labeled Nigella sativa, full stop. If the packet only says “nigella” with a picture of big blue flowers, it is damascena. If it says “onion seed,” find a better seller. Reputable sources include Indian seed merchants selling kalonji and Western heirloom companies listing the Latin name.
3. Buy the Right Seed: Sativa or Nothing
Seed freshness matters more than the brand. Nigella seed germinates best when fresh, and spice-jar kalonji from the grocery aisle is a gamble: it may be old, heat-treated, or too stale to sprout. Some gardeners do get spice-jar seed to germinate, and the UW Tacoma guide’s seed-saving notes imply home-saved seed works well, but treat the grocery jar as a backup, not the plan.
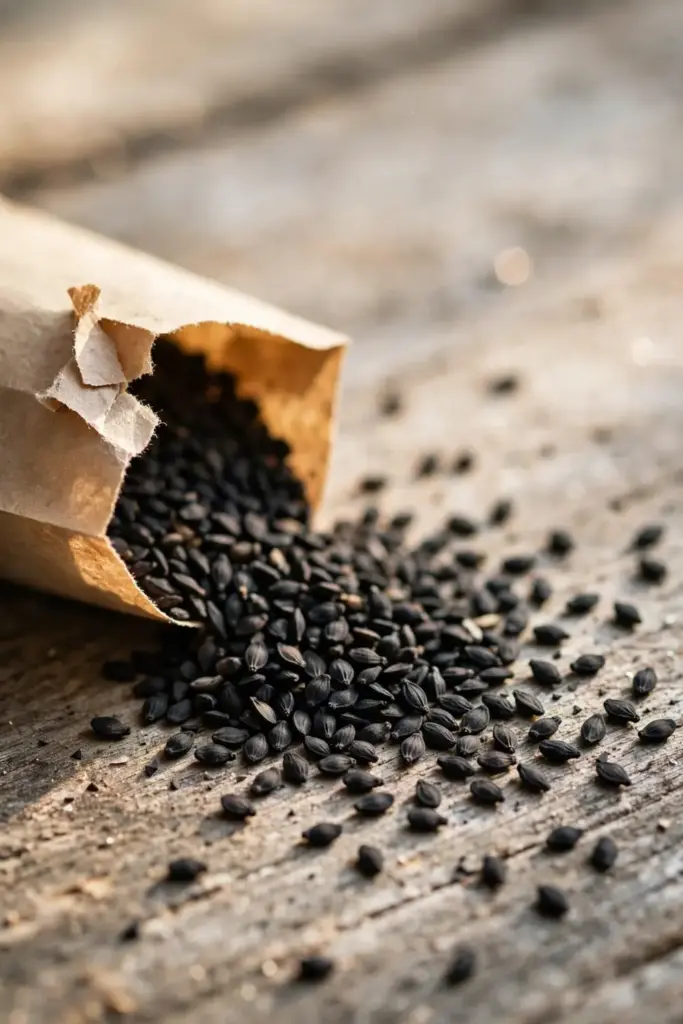
Buy from a seed company that lists the Latin name on the packet. Look for a packed-for date or a season stamp; seed from the current or previous year is what you want. A half-ounce packet holds hundreds of seeds, and since you sow thickly and thin later, one packet covers a generous bed.
Store any leftover seed in a paper envelope in a cool, dry drawer. Nigella seed keeps its viability for a few years when stored dry, so last year’s packet is usually still worth sowing.
4. Direct Sow: The Taproot Rule
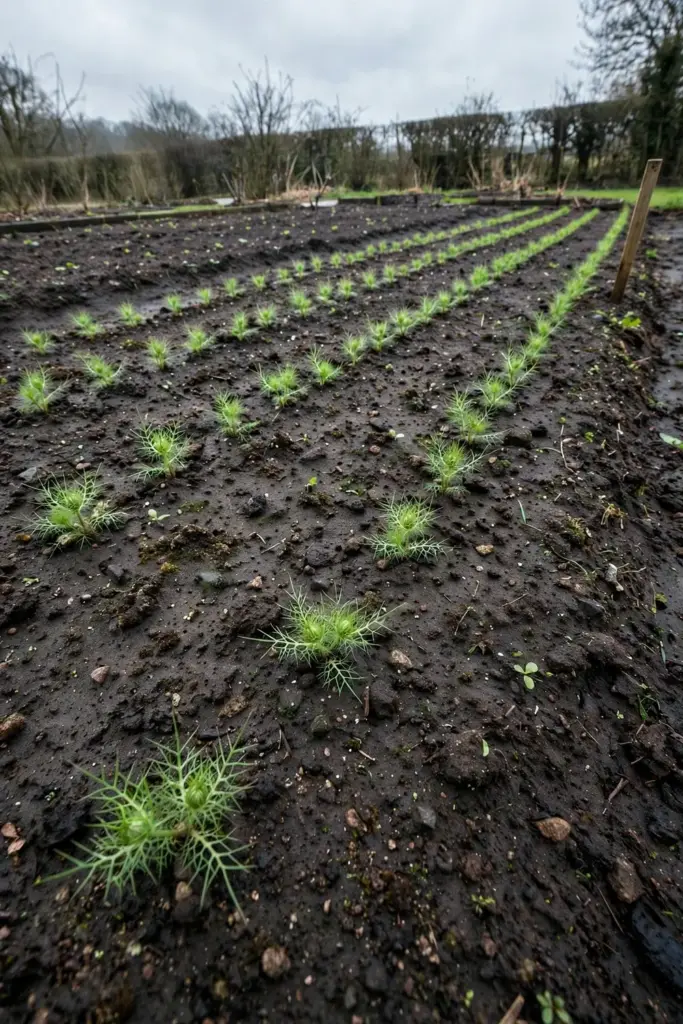
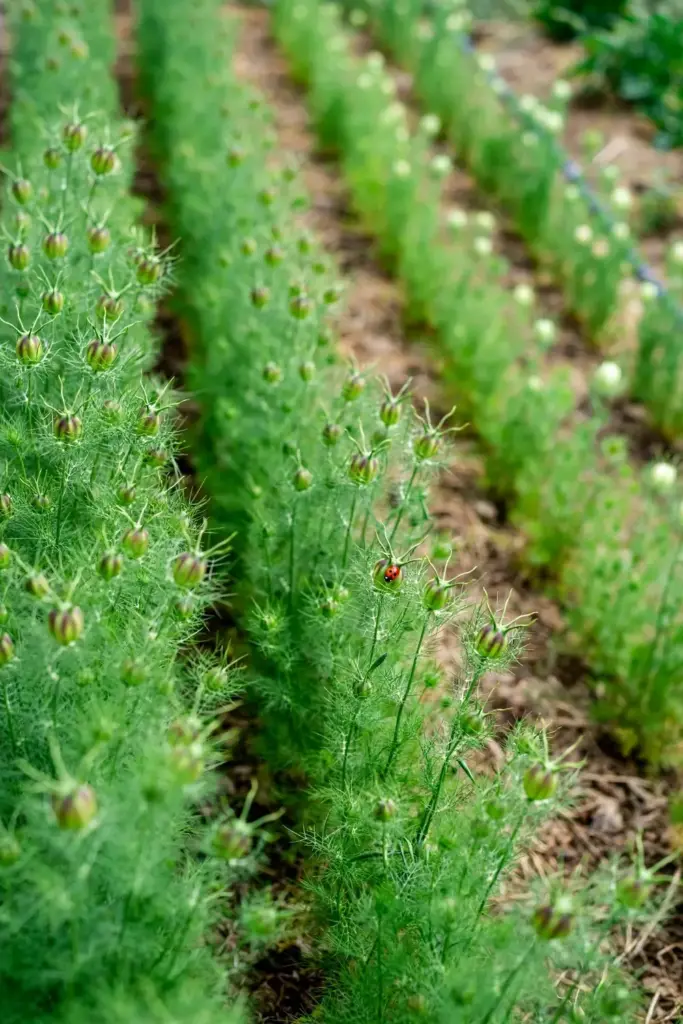
Nigella grows a taproot, and taproots hate being moved. Direct sow where the plants will live, every time. The UW Tacoma guide gives the core numbers: sow 1/8 inch deep in rows 12 inches apart, then thin seedlings to 3 to 4 inches apart. Barely cover the seed; light helps germination, and deep burial is the classic reason a sowing fails silently.
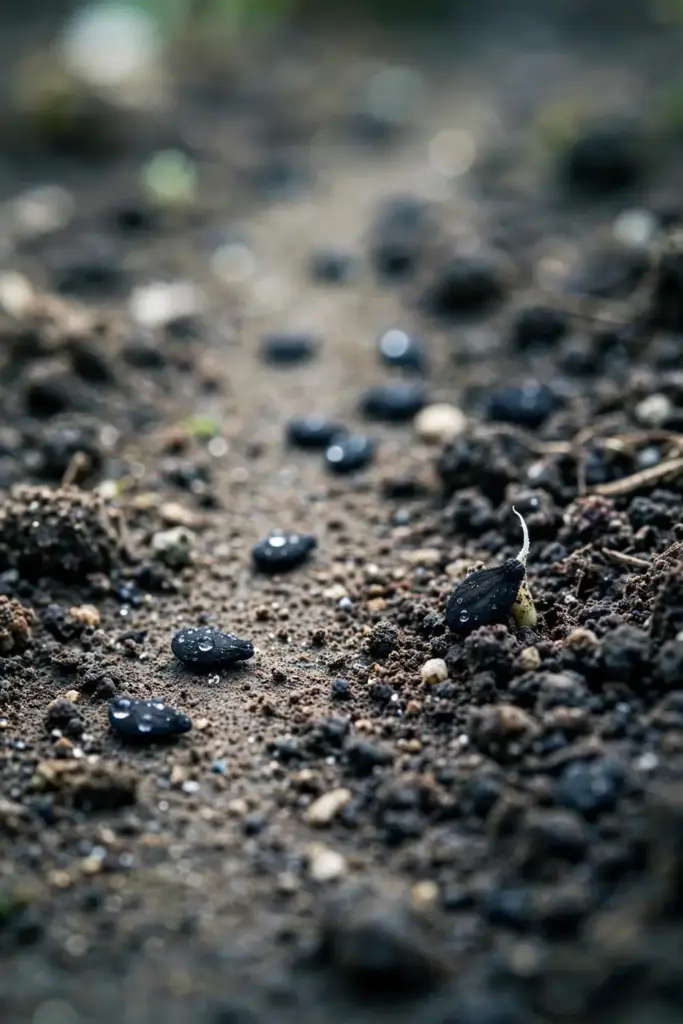
Rake the bed smooth, water it first, then press the seed into the damp surface and dust a whisper of soil over it. That shallow placement is the whole trick to how to grow nigella from India successfully: the seed needs light to wake up, and deep burial buries the harvest with it. Pat gently so the seed makes good soil contact, then water with a fine mist so the shallow seed does not wash away.
If you must start indoors, use deep biodegradable pots (our seed-starting guide covers the mechanics) and transplant the whole pot before the seedlings get root-bound, ideally within two to three weeks of germination. Even then, expect some sulking. Direct sowing beats every workaround, so plan your bed before the seed arrives, not after.
5. Your Sowing Calendar, Step by Step
The sequence below assumes a temperate spring. Shift the dates for your zone, but keep the order.
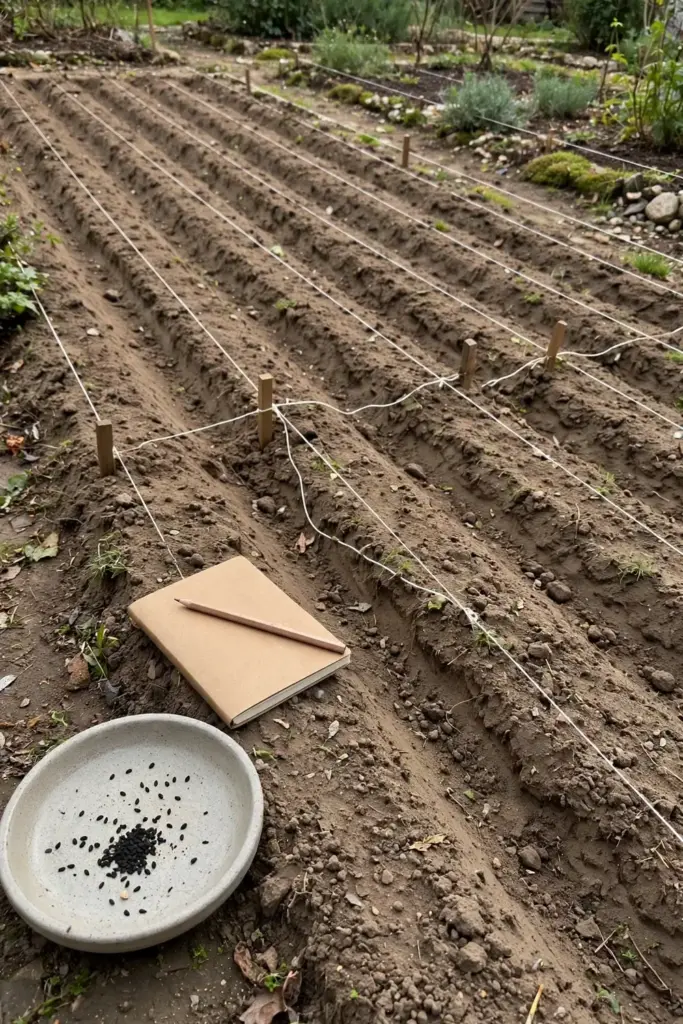
| Step | Action | Time |
|---|---|---|
| 1 | Loosen the bed 6 to 8 inches deep, rake smooth | 2 weeks before last frost |
| 2 | Water the bed thoroughly and let it drain | Sowing day |
| 3 | Sow seed 1/8 inch deep in rows 12 inches apart | After last frost, soil workable |
| 4 | Mist daily until seedlings appear | 7 to 14 days |
| 5 | Thin to 3 to 4 inches apart | When seedlings are 2 inches tall |
| 6 | Mulch lightly and water deeply but rarely | Through flowering |
| 7 | Stop watering as pods mature | When pods yellow and rattle |
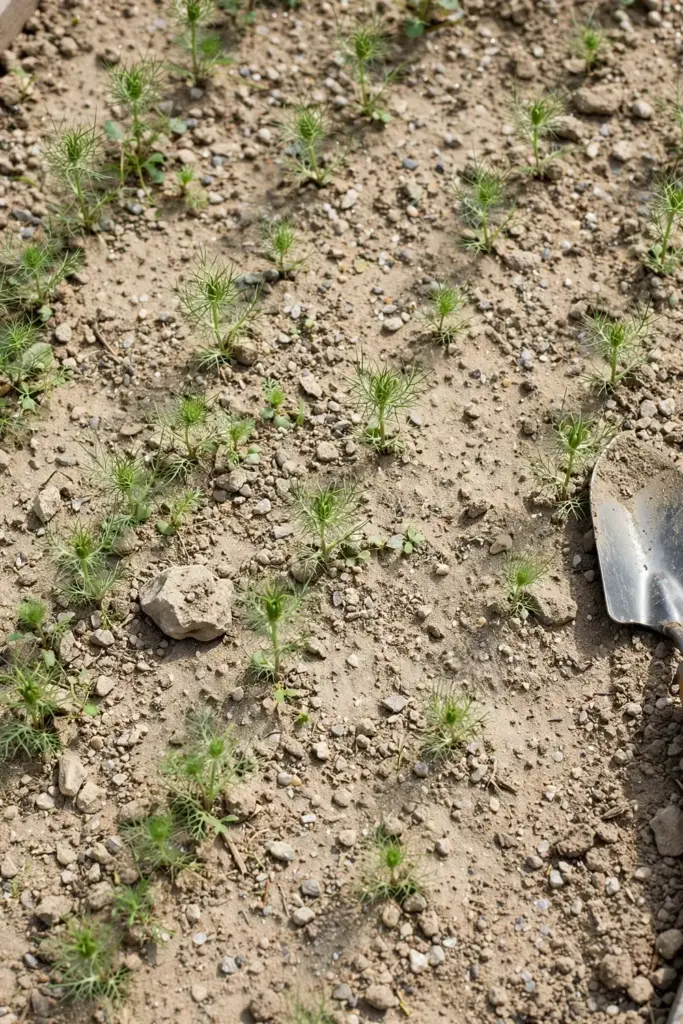
Germination takes 7 to 14 days in cool soil between roughly 16 and 25 degrees Celsius. A Canadian heirloom seed company reports 7 to 21 days at 20 to 30 degrees, so if your soil is cold, patience beats re-sowing. Keep the surface damp but never soggy during that window; a seed that dries out mid-germination is a dead seed.
Succession sow every two to three weeks for a staggered harvest, but stop sowing in time for the last batch to mature before heat or frost ends the season. In fall-mild climates, a second sowing in late summer can carry you into autumn harvest; see our fall herbs planting guide for timing companions.
6. Soil: Lean, Fast-Draining, and Light
Nigella is a plant of dry hillsides and field margins, and it grows best in soil that drains fast. Rich, heavy, waterlogged soil is the enemy; it invites damping-off in seedlings and root problems later. Aim for a light loam or sandy loam, and if your soil is clay, raise the bed or grow in containers with a gritty mix.
The pH target is neutral to slightly alkaline, around 6.0 to 7.5. You do not need to chase a number with amendments unless your soil is strongly acidic; a handful of garden lime in very sour soil is plenty.
Work in a modest amount of compost before sowing, no more than an inch forked into the top few inches, following the same soil-health foundation this site recommends for every bed. This is not a heavy feeder, and over-rich soil produces weak, leafy growth with thin seed set. Think of the bed as a lean Mediterranean hillside, not a vegetable patch.
For containers, use a potting mix cut with extra perlite or coarse sand, roughly two parts mix to one part grit. Drainage holes are non-negotiable.
7. Water Little and Deep: Desert-Root Habits
Water like the plant’s ancestors lived through dry summers. Keep the seedbed consistently moist until germination, then back off. Once seedlings are established, deep watering once or twice a week in dry weather is plenty; the goal is to encourage the taproot downward, not to keep the surface wet.
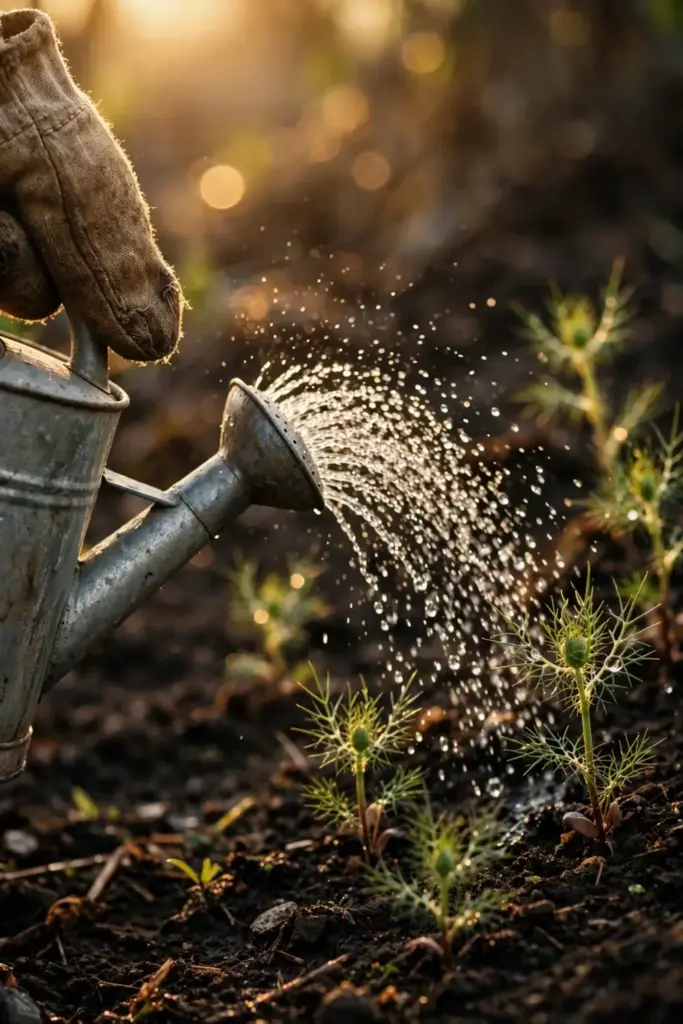
Overwatering is the number one killer of nigella in containers. Soggy soil rots the crown, and a rotted crown does not recover. If your pots sit in saucers, empty them after watering. If your climate is humid, space plants generously so air moves through the foliage.
As the pods mature and turn from green to tan, stop watering entirely. The plant is finishing; water now only invites mold on the drying pods. This is the same logic farmers use with every dry-seed crop, and it works in a backyard bed too.
8. Thin Once, Then Leave It Alone
Thinning feels wasteful and pays for itself. Seedlings crowded at an inch apart will produce thin stems and tiny pods; seedlings with 3 to 4 inches of elbow room grow sturdy and set full capsules. The UW Tacoma guide specifies thinning to 3 to 4 inches, and the krishijagran guide gives 4 to 6 inches for field conditions, so aim for the wider end if your soil is rich.
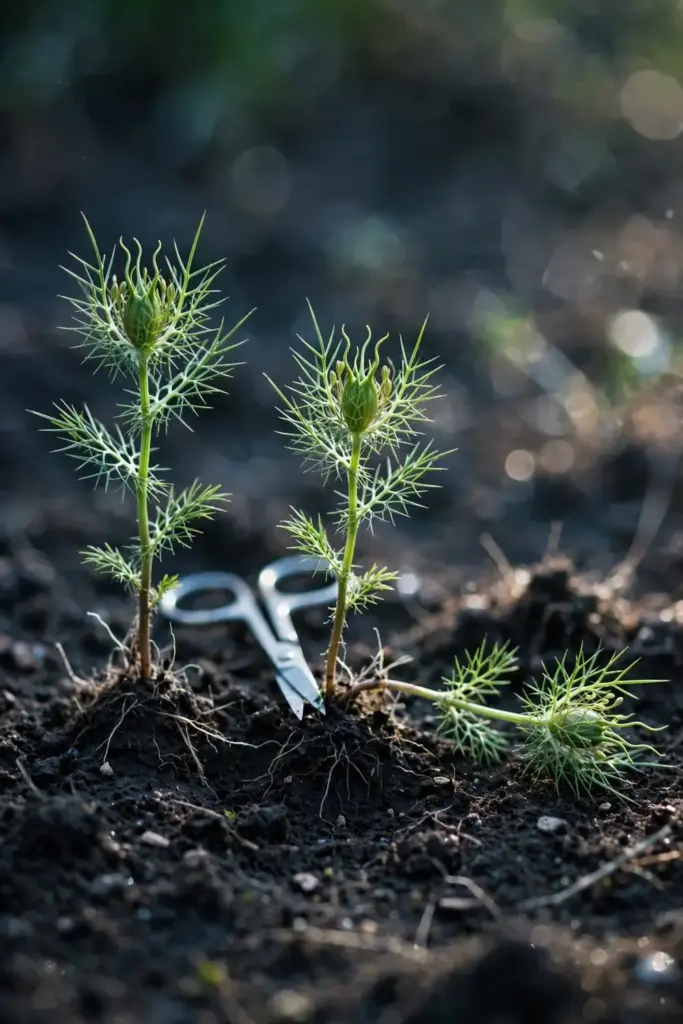
Snip the extras at soil level with scissors rather than pulling them, which disturbs the roots of the keepers. Do the job when seedlings are about 2 inches tall, on a calm evening, and water the bed afterward so the remaining plants settle in.
After thinning, resist the urge to fuss. Nigella does not need staking, pinching, or deadheading when grown for seed. Every intervention is a chance to damage the taproot or the developing pods, so the best care after thinning is benign neglect with occasional watering.
9. Feed Almost Nothing
This is the easiest feeding program in the garden: almost none. A light application of compost at sowing time is enough for the whole season in average soil. Nigella evolved on poor ground, and excess nitrogen pushes soft leafy growth that flops and sets fewer seeds.
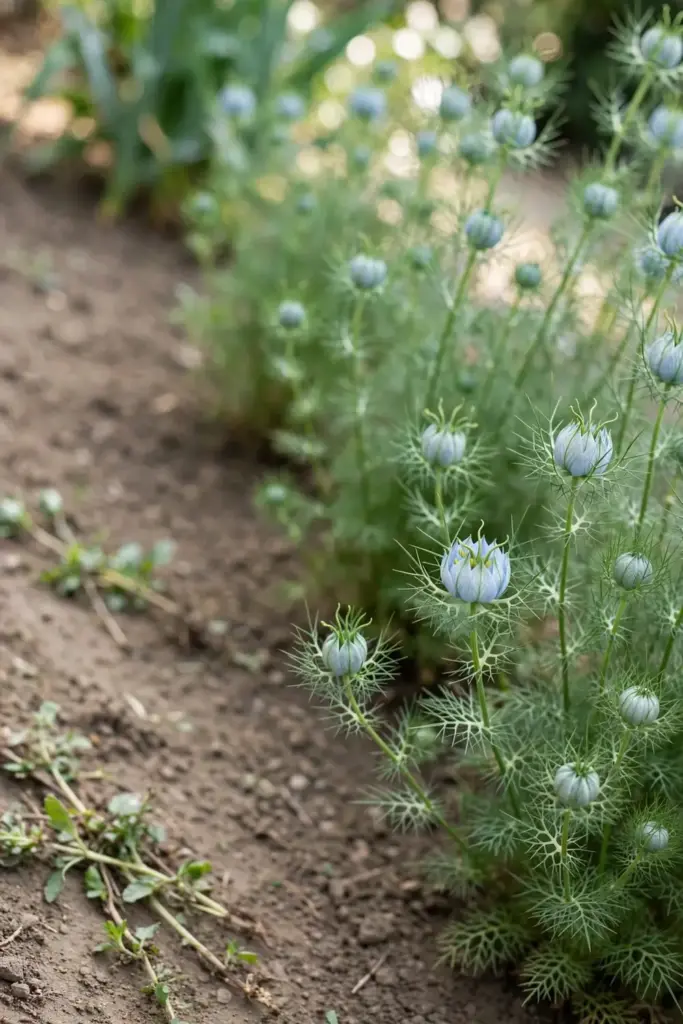
If your soil is genuinely exhausted, side-dress once with a balanced organic fertilizer at half the label rate when plants are about 6 inches tall. Do not feed after flowering starts; late feeding delays maturity and can make the pods ripen unevenly.
Container plants in gritty mix may need one light liquid feeding mid-season, since pots leach nutrients faster than beds. Use a dilute seaweed or compost tea, once, and stop there.
10. Watch It Flower: The Pods Are the Point
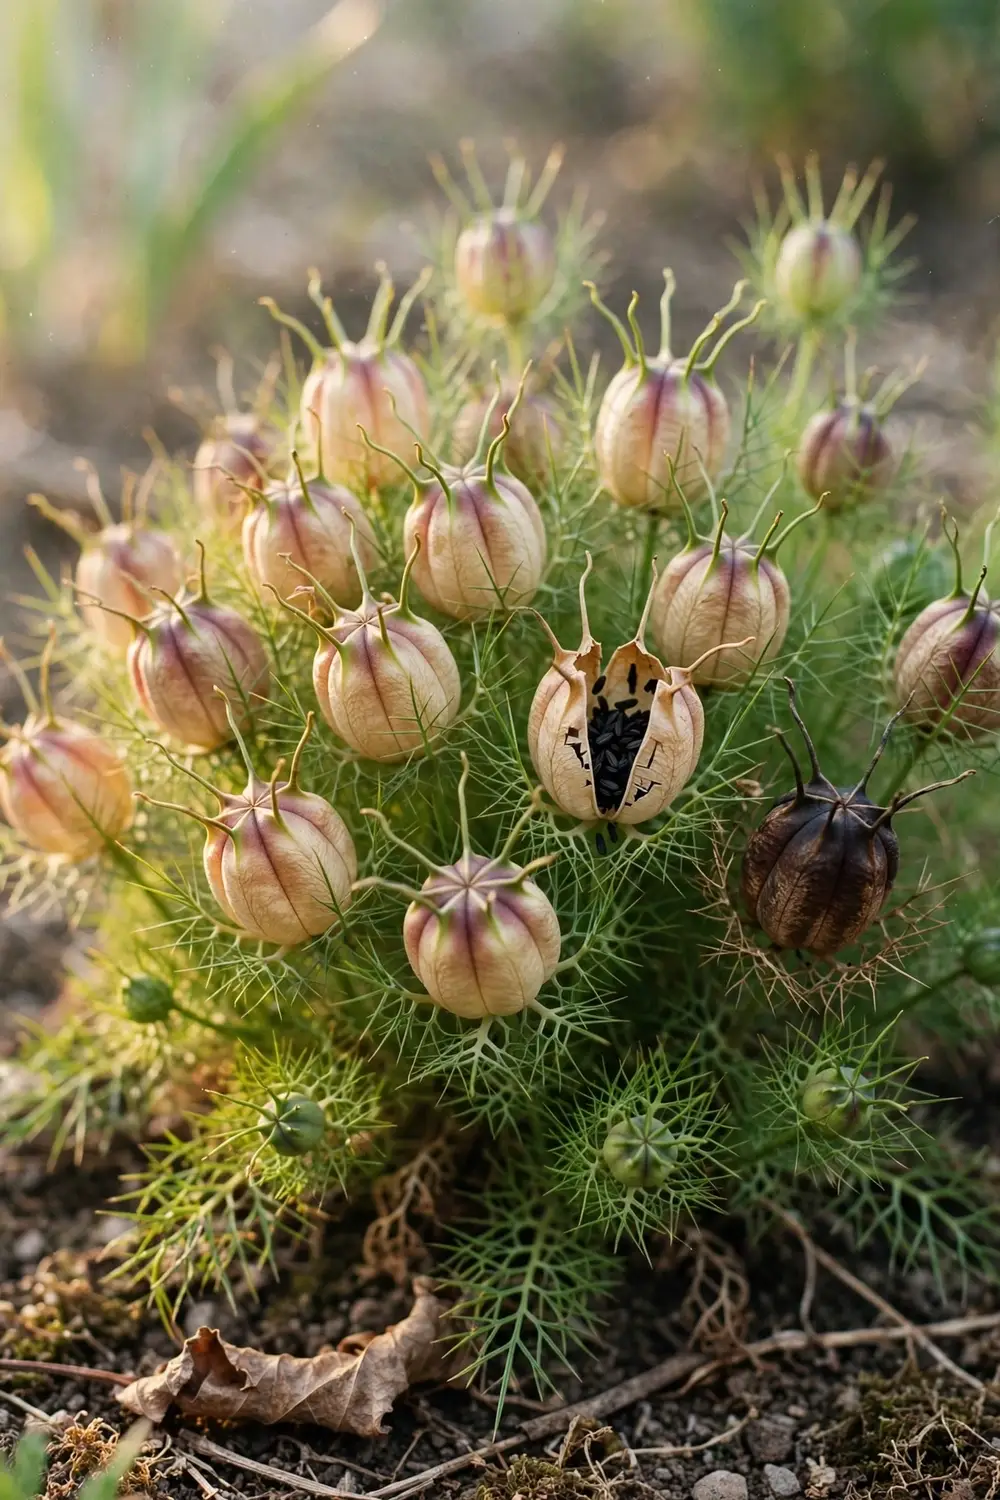
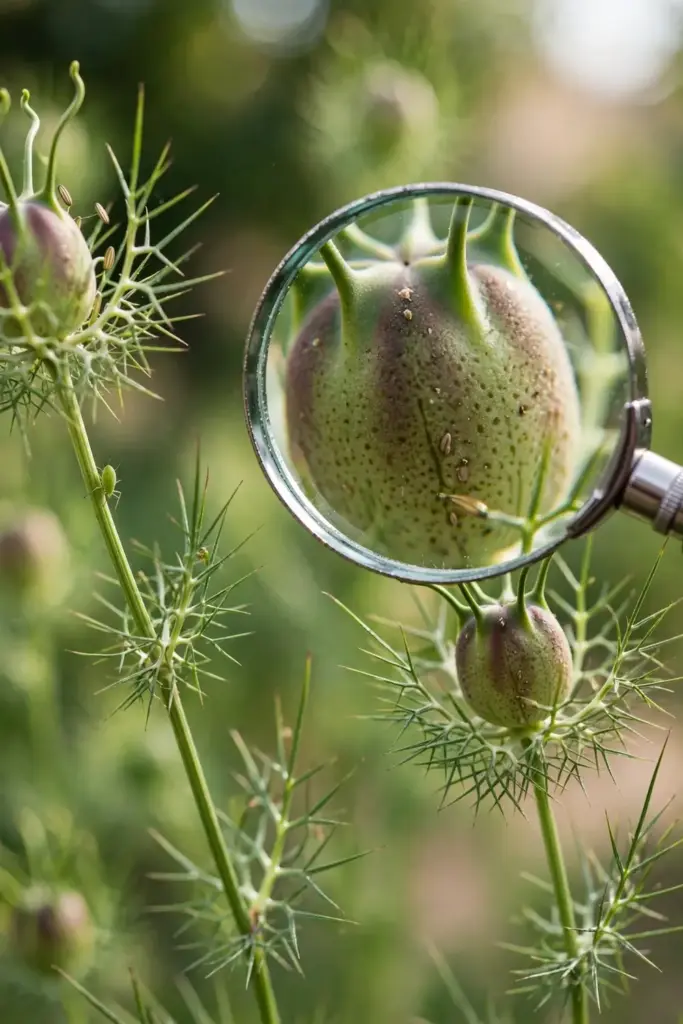
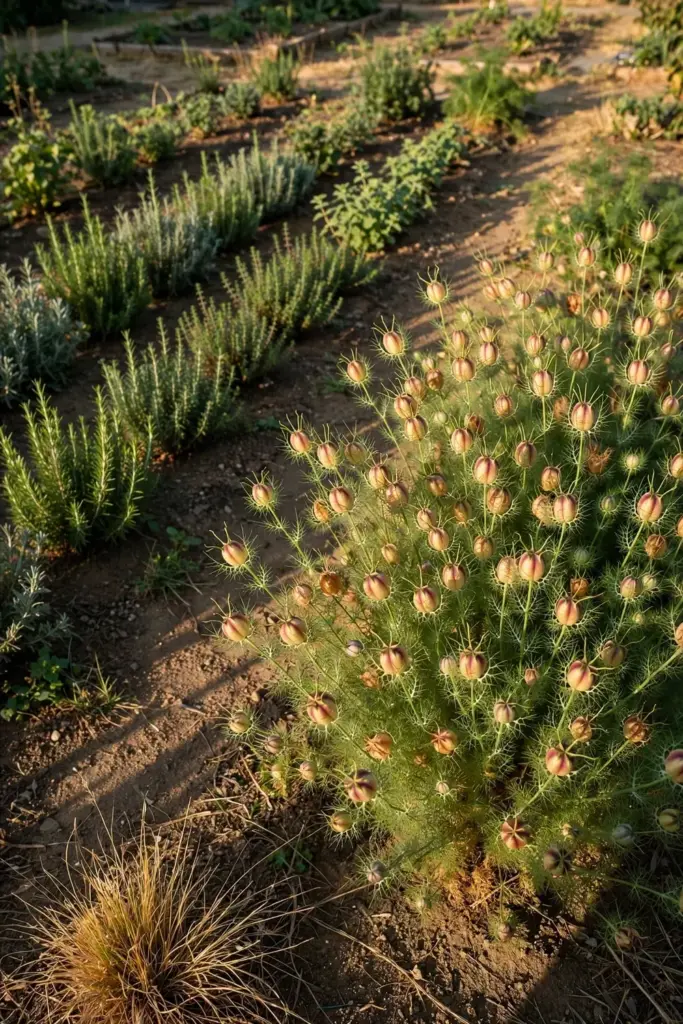
Nigella flowers are pretty, pale blue to white, and brief. Enjoy them, then watch what happens next, because the real crop is the seed capsule that swells where each flower stood. Each plant produces multiple capsules, and each capsule holds dozens of the angular black seeds you are growing for.
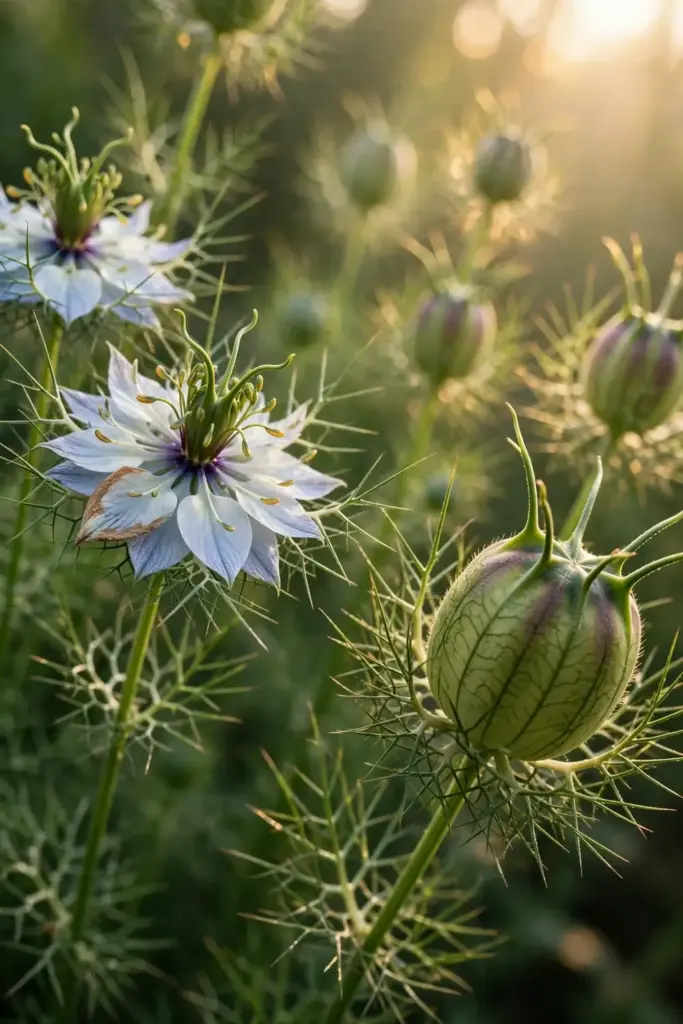
Do not deadhead when growing for seed. Every flower you remove is a pod you will never harvest. Let the plant complete its full cycle: flower, set capsule, swell, dry. The foliage will yellow as the pods mature, which looks like decline but is the plant finishing its annual life.
If you are growing in a windy spot, the seed stalks can lean, but they rarely need support. The plants are short, usually 12 to 18 inches, and the capsules are light. A leaning plant still ripens its seed.
11. Pests and Diseases: Almost None, Honestly
Nigella has remarkably few enemies, which is one reason it is such a good beginner seed crop. Aphids may visit the flower buds in some years; a strong jet of water or a day of ladybug activity usually settles it. Flea beetles can chew small holes in seedling leaves but rarely threaten an established stand.
The main disease risk is damping-off in the seedbed, caused by cold, wet, airless soil. You prevent it with the same habits the whole article recommends: sow shallow, water gently, space well, and never let the bed sit soggy.
Powdery mildew can appear in humid climates late in the season, but by then the pods are usually nearly ripe, so it rarely matters. Pull and compost finished plants promptly to keep the bed clean for whatever follows.
12. Harvest When the Pods Turn Papery Brown
Harvest timing decides seed quality. Pick the capsules when they turn from green to tan and feel papery, and you can hear the seeds rattle when you shake them. Too early and the seeds are soft and underdeveloped; too late and the capsules split and scatter the seed on the ground.
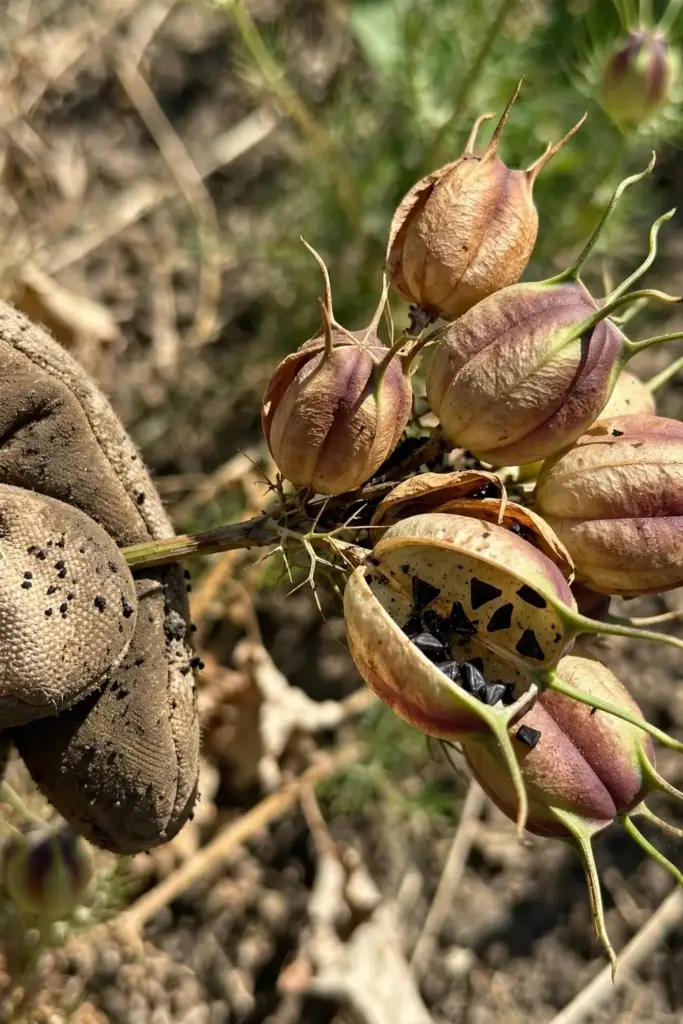
Cut whole stems with scissors or a sickle, a few inches below the capsules, and carry them in a bucket or a sheet. Work on a dry day, ideally mid-morning after the dew has lifted, so the capsules are as dry as possible when they come inside.
If a few pods have already split, do not mourn them. Nigella self-seeds readily, and the volunteers that appear next spring are free plants. Just note where they land so you can thin or transplant the extras early.
13. Dry, Thresh, and Winnow
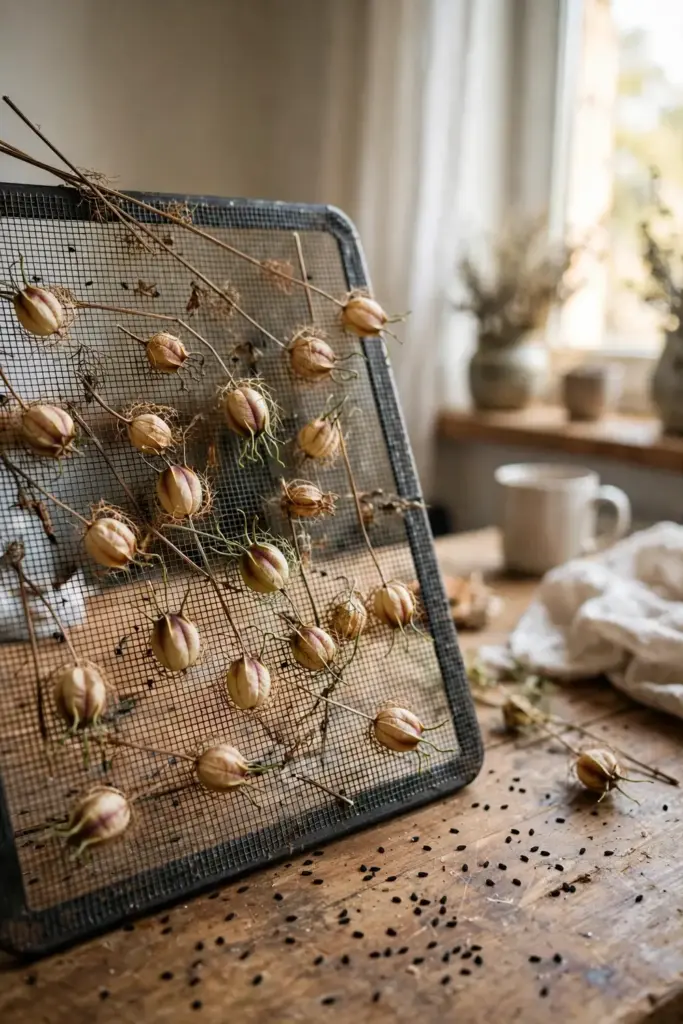
Spread the cut stems in a single layer on a sheet or a screen in a warm, airy, shaded spot for a week or two until the capsules are brittle. A garage, a covered porch, or a spare room all work; avoid direct sun, which bleaches the seed and can drive off the volatile oils that give kalonji its flavor.
When the capsules are fully dry, thresh them by hand: rub the heads between your palms or roll them inside a cloth bag over a bucket. The UW Tacoma guide describes exactly this hand-threshing method, adding that you should winnow or screen the result to clean it. To winnow, pour the seed slowly from one bucket to another in front of a fan or a light breeze; the chaff blows away and the heavier seed falls straight.
Pick out any remaining bits of stem by hand, then spread the cleaned seed on a tray for one final day of drying. Seed that feels cool to the touch still holds moisture; wait until it feels room-temperature and hard.
14. Store Seed Like a Spice
Pack the fully dry seed into airtight glass jars and keep them in a cool, dark cupboard. Properly dried kalonji keeps its flavor for at least a year, and seed saved for planting stays viable for several years in dry storage.
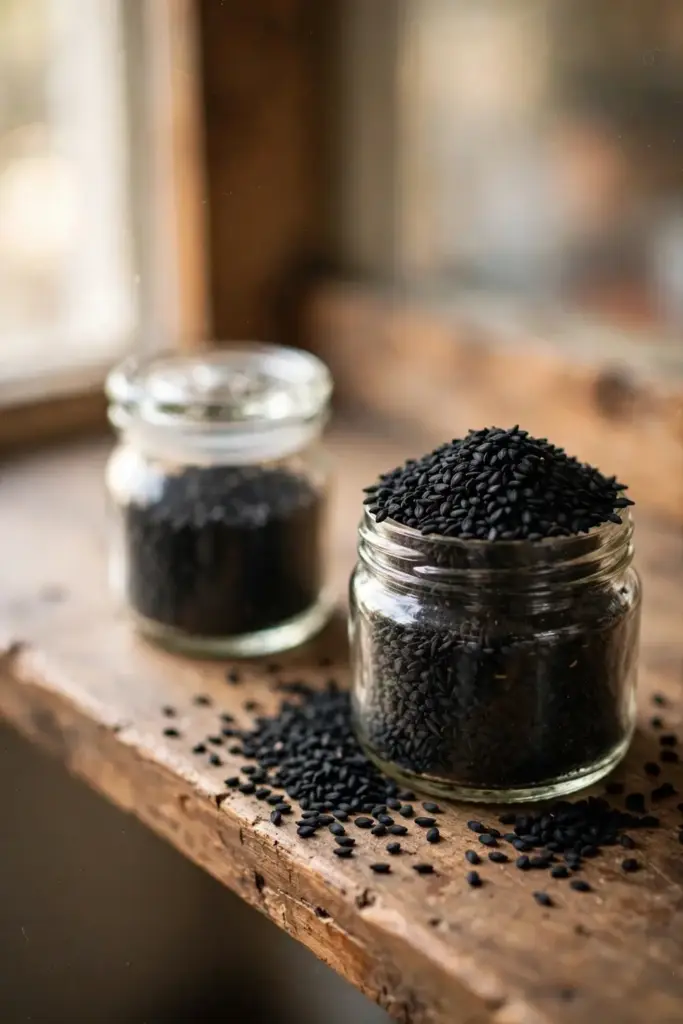
Label every jar with the year and the variety name. Next spring, you will thank yourself, because unlabeled jars of small black seeds all look identical, and the difference between your garden-saved sativa and a packet of ornamental damascena is invisible once they are in the jar.
Keep a small jar in the kitchen and the bulk in storage. The kitchen jar gets opened daily; the bulk jar stays sealed. This two-jar system keeps the main supply fresh through the year.
15. Cook With It: Kalonji the Indian Way
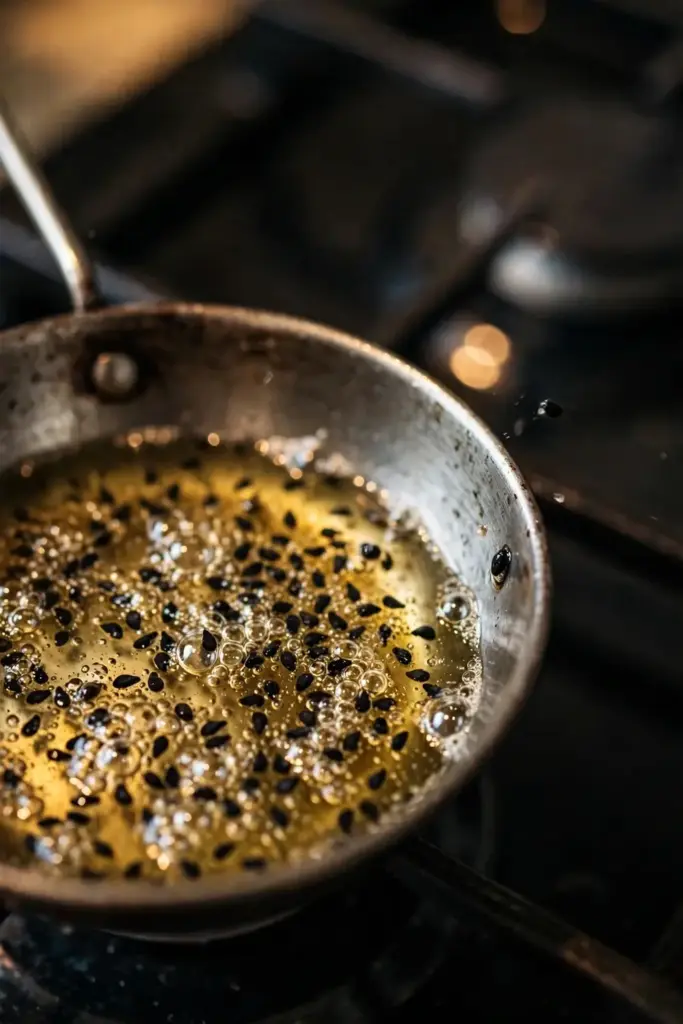
Kalonji is a tempering spice, not a finishing one. Heat a spoon of oil or ghee until it shimmers, toss in a pinch of kalonji, and let it sizzle for a few seconds until it pops and turns fragrant. Then add your onions, lentils, or vegetables. This blooming step is what releases the peppery, slightly bitter, faintly oniony flavor that defines the seed in Indian cooking.
Use it in pickles, where it is a classic preservative-spice; in naan and flatbreads, pressed into the dough before baking; in panch phoron, the Bengali five-spice blend; and over roasted vegetables, where its crunch survives the oven. A quarter teaspoon per dish is plenty; kalonji is assertive, and more is not better.
On the medicinal side, treat kalonji as food, not medicine. Traditional uses are widely discussed, but this article makes no health claims, and anyone considering concentrated black seed oil for a health reason should talk to a clinician first. Grow it, cook with it, enjoy it as a spice.
16. Pots on the Balcony: The Container Method
Kalonji grows well in containers, which is exactly what the scout data showed: the pots lane is full of exact-match niche guides and zero giants. Use a pot at least 8 to 10 inches deep with drainage holes; the taproot needs the depth, and nigella punishes shallow containers with stunted plants.
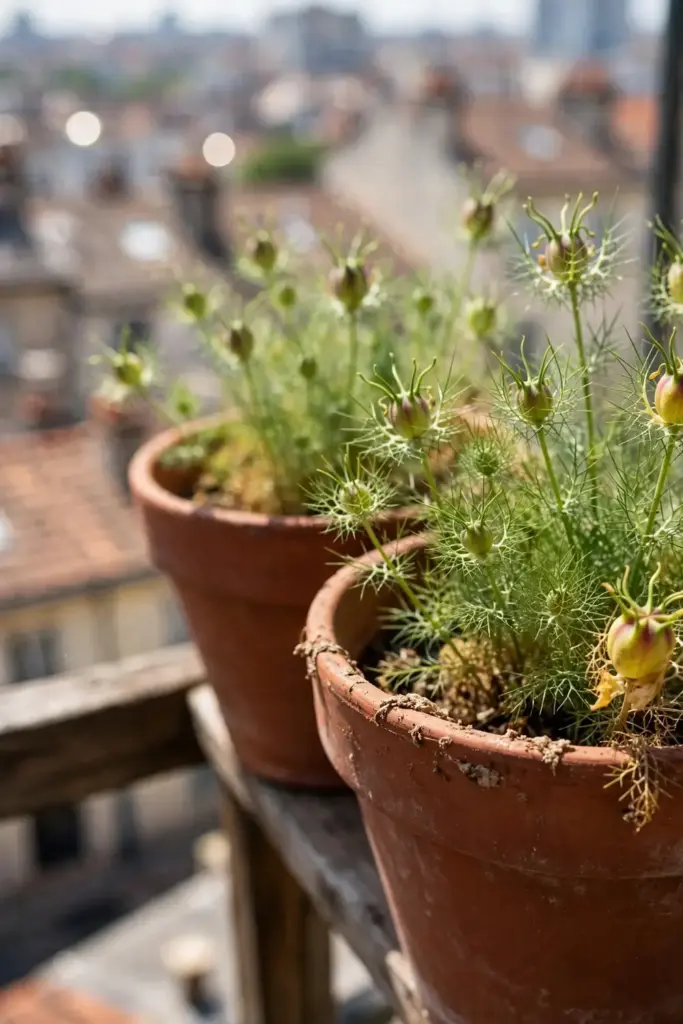
Fill with a gritty, fast-draining mix, two parts potting soil to one part perlite or coarse sand. Sow 6 to 8 seeds per 10-inch pot, 1/8 inch deep, and thin to the strongest 3 or 4 seedlings. Place the pot where it gets 6 to 8 hours of sun; a balcony railing or a sunny windowsill-side table both work, and our indoor herb garden guide covers light setups in more depth.
Water containers more carefully than beds, because pots dry faster but also waterlog faster. Check the top inch of mix: dry means water deeply until it drains, moist means wait. Feed once, lightly, mid-season, since potting mix leaches. Harvest the pods the same way as bed-grown plants, and expect slightly fewer capsules per plant, which is the normal price of the container.
17. Common Mistakes and Their Fixes
Sowing too deep is the classic failure. Seed buried half an inch down often never emerges, and the gardener blames bad seed. The fix is the 1/8-inch rule from the sowing table: barely cover, press gently, mist.
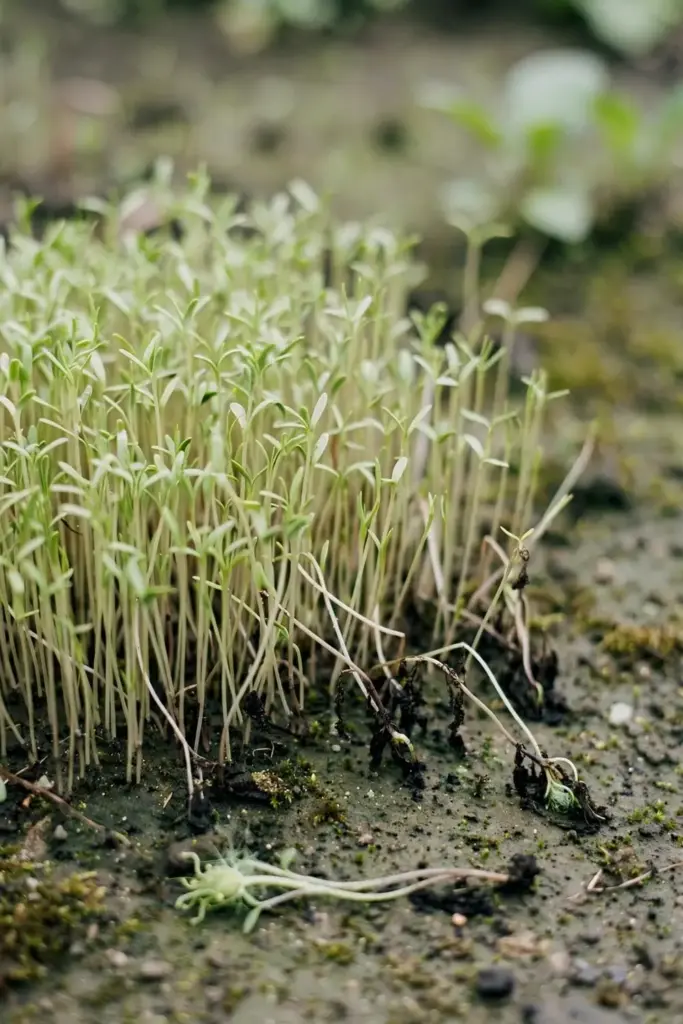
Transplanting is the second classic. Seedlings moved at 4 inches tall sulk for weeks or die outright, because the taproot snaps. The fix is direct sowing, always; if you must start indoors, use deep biodegradable pots and move them within three weeks of germination.
Buying the wrong species is the third. Packets labeled “nigella” with love-in-a-mist flowers grow decoration, not kalonji. The fix is the species table in the second section: buy seed that names Nigella sativa on the packet.
Overwatering is the fourth, especially in pots. Constantly damp soil rots the crown. The fix is the finger test: water only when the top inch is dry, and empty the saucer.
Sowing in heat is the fifth. Seed sown into hot summer soil germinates poorly and the plants bolt to tiny pods. The fix is the calendar: sow in the cool shoulder seasons, spring after last frost or fall in mild climates.
18. Troubleshooting
Seedlings emerge patchily. Uneven moisture is the usual cause; the surface dried out between mistings. Keep a humidity dome or a sheet of newspaper over the bed until germination, then remove it promptly.
Plants grow tall and floppy with few pods. Too much nitrogen or too much shade. Move future sowings to full sun, skip the fertilizer, and thin harder so each plant has room to grow sturdy.
Pods form but stay green deep into fall. The season ran out of warmth. Next year, sow two weeks earlier, choose the sunniest bed, and stop watering once the pods start to yellow so the plant finishes instead of lingering.
Seed tastes grassy or bland. It was harvested too early, before the seed fully matured in the capsule. Wait for the rattle: papery brown pods with loose seed inside are the only harvest signal that matters.
Volunteers appear everywhere next spring. That is nigella doing what it does; the UW Tacoma guide notes it self-seeds if seeds are left unharvested. Thin the volunteers to proper spacing and you have a free second crop, or hoe them out if the bed has other plans.
White powder on late-season leaves. Powdery mildew, common in humid air. It rarely affects nearly-ripe pods, so harvest on schedule and pull the plants afterward. Improve air flow next season with wider spacing.
19. FAQ
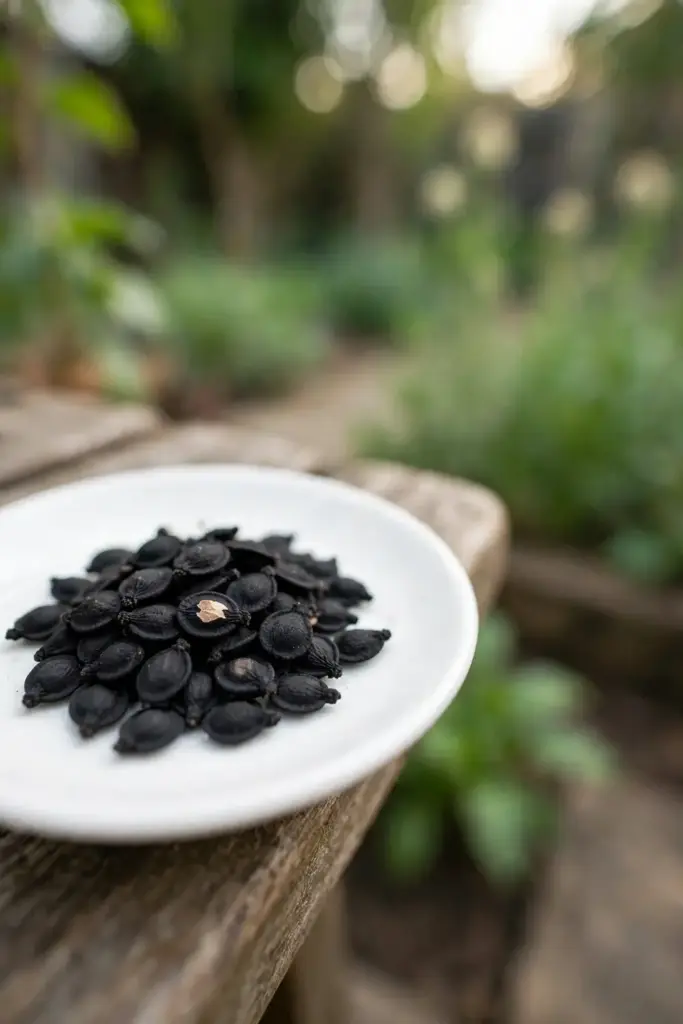
No. “Onion seed” is a wrong trade name that appears on some kalonji packets and in some Western content, but kalonji is the seed of Nigella sativa, a member of the buttercup family, and it is not related to onions at all. True onion seed grows onions; kalonji grows kalonji. Buy seed labeled with the Latin name to avoid the confusion entirely.
No. Love-in-a-mist is Nigella damascena, an ornamental flower grown for its showy blue petals. Nigella sativa is the culinary species grown for its black seed. The two are in the same genus but are different plants, and packets mix them up constantly, so check the Latin name on every packet before you buy.
Sometimes, but it is a gamble. Spice-jar kalonji may be old, heat-treated, or too stale to germinate well, so germination is unpredictable. For a reliable crop, buy fresh seed from a seed company that lists Nigella sativa on the packet. Use the grocery jar as a backup experiment, not as your main sowing.
About 100 days in warm conditions, stretching to 130 or 150 days in cooler climates. The University of Washington Tacoma seed library lists approximately 100 days, while Indian growing guides report 130 to 150 days for the full rabi season cycle. Sow early, give the plants full sun, and harvest when the pods turn papery brown and rattle.
Yes, six to eight hours of direct sun gives the best seed set. Nigella tolerates light afternoon shade in very hot climates, but deep shade produces leggy plants with few pods. Balcony growers should choose the sunniest railing or windowsill available and rotate pots weekly if the light comes from one side only.
It self-seeds readily but it is an annual, so the parent plant dies after setting seed. If you leave a few pods unharvested, volunteers will appear next spring wherever the seed fell. Thin them to proper spacing for a free crop, or collect every pod at harvest if you want full control over where next year’s plants grow.
20. Where to Go From Here
You now own the one thing most “nigella” growers never get: the right species, sown at the right depth, in the right season. Start with a small bed or two pots this spring, direct sow 1/8 inch deep, thin to 3 inches, and let the plants do the rest. By the time the pods rattle, you will have homegrown kalonji for the kitchen and seed for next year in the same harvest.
If you are building an Indian spice garden, kalonji sits naturally alongside the other India-lane crops: cumin for the warm season, coriander for the cool shoulders, and fenugreek for quick greens. Each one rewards the same habits behind how to grow nigella from India at home: right species, right calendar, lean soil, and the patience to let seed crops finish.