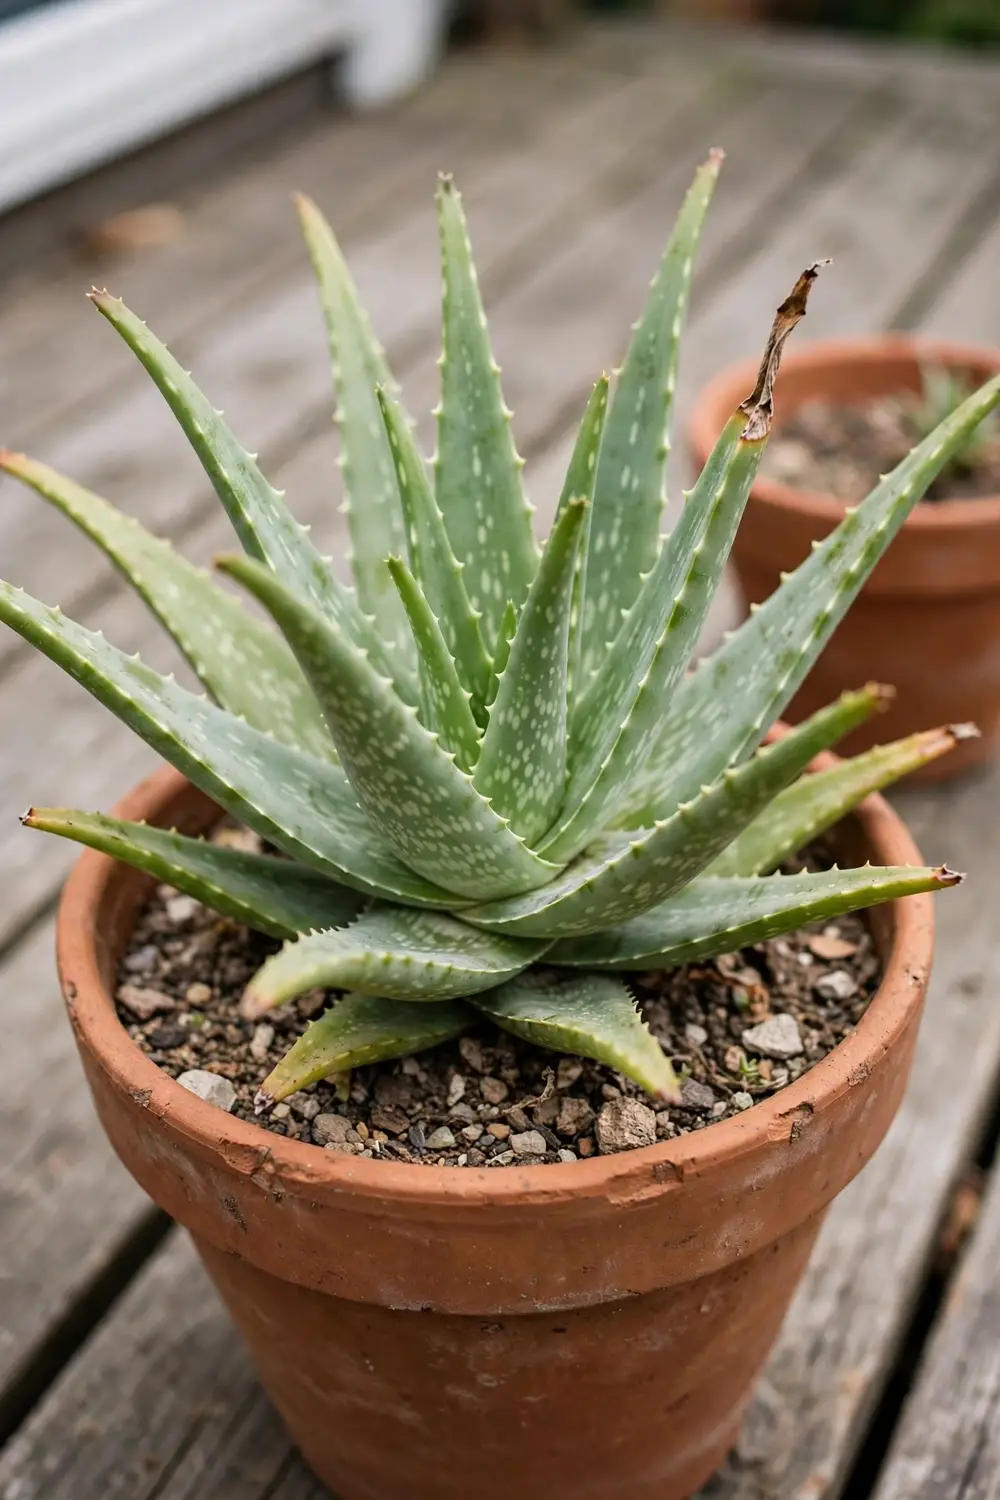

Give aloe vera at least 6 hours of bright light, water only when the soil dries out, and bring the pot indoors before frost. That is aloe vera care in Australia in one sentence. Aloe vera stores water in thick leaves, so it forgives a missed watering and punishes a wet pot. I have learned that the aloe vera I move indoors before the first frost keeps its leaves, while the one I leave out loses them.
Aloe vera is one species in a genus of more than 500, and it comes from dry country where rain is scarce and drainage is fast. Care in Australia means copying those conditions: bright light, gritty soil, and a pot that dries between waterings. In frost-free coastal areas aloe vera can live outdoors all year. In frost-prone regions it lives in a pot that comes inside for winter. Harsh summer sun in the hottest regions can scorch leaves, so afternoon shade helps there.
A general growing guide covers aloe vera from first planting onward, and this page builds on it with the Australian angle: climate bands, frost moves, and summer sun. The rest of this page is 8 moves, from climate to pups. Read it in order the first time, then use the tables as a quick check.
1. Match Aloe Vera to Your Australian Climate
Grow aloe vera outdoors year-round only where frost never lands. Everywhere else, grow it in a pot that comes indoors for winter. Aloe vera is not frost tolerant, so one cold night can damage leaves that took months to grow. The University of Florida IFAS Extension lists aloe vera as hardy outdoors in zones 8 to 11, which covers the warmest parts of Australia and leaves the cool south to pots.
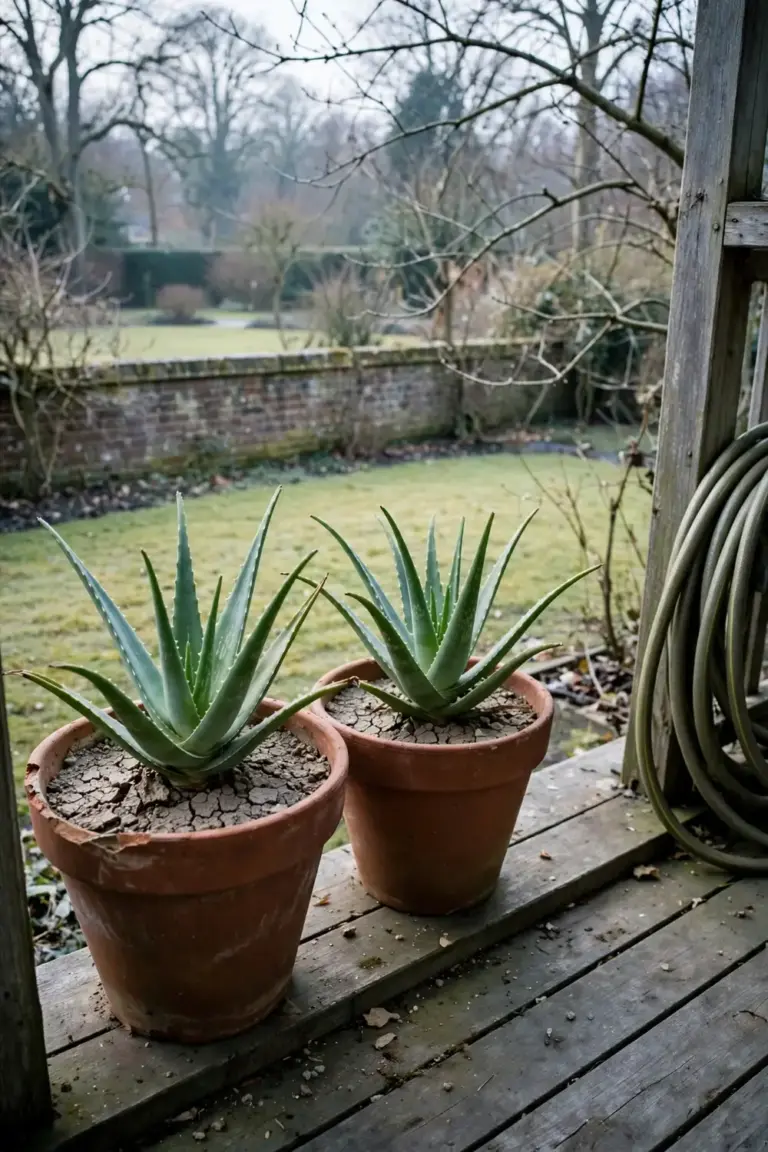
Read your own garden before you plant. A courtyard that stays frost-free is a different climate from an open lawn 500 m away. Low spots collect cold air. Brick walls and eaves hold warmth overnight. Walk the garden on a cold morning and watch where frost settles. That patch decides whether aloe vera stays out or comes in.
| Australian Climate Band | Outdoors Year-Round | Winter Move |
|---|---|---|
| Tropical north (Darwin, Cairns) | Yes | None; give afternoon shade in build-up heat |
| Subtropical (Brisbane, northern coastal NSW) | Yes in frost-free spots | Move pots under cover on rare frost nights |
| Temperate coastal (Sydney, Perth, Adelaide) | Yes in a sheltered sunny spot | Bring pots indoors on frost nights |
| Cool temperate and inland (Melbourne, Canberra, Hobart, inland ranges) | No | Grow in a pot; bring indoors for winter |
The table is the article’s own decision guide, built from the frost rule above. It does not replace a local frost forecast. Check the forecast on cold nights and act before the temperature drops. When frost threatens, the same moves that protect plants from late frost apply: move pots under cover, or bring them indoors for the night.
Wet winters change the maths in coastal Queensland and northern NSW. Rain fills pots faster than the plant drinks, and warm wet mix rots roots. Tip outdoor pots at a slight angle in the wet season so rain runs off the surface. Move pots under eaves during long wet spells. A plant that stays dry between rains survives a wet winter. A plant that sits in a full saucer through a wet week does not.
2. Give Aloe Vera at Least 6 Hours of Bright Light
Give aloe vera at least 6 hours of sun each day. Most aloe species need at least 6 hours of sun and grow best in full sun or very bright, indirect light, according to the North Carolina Extension Gardener Plant Toolbox entry on aloe. A south-facing or north-facing window in Australia gives that light indoors. Outdoors, a spot with morning sun and open sky suits most plants.
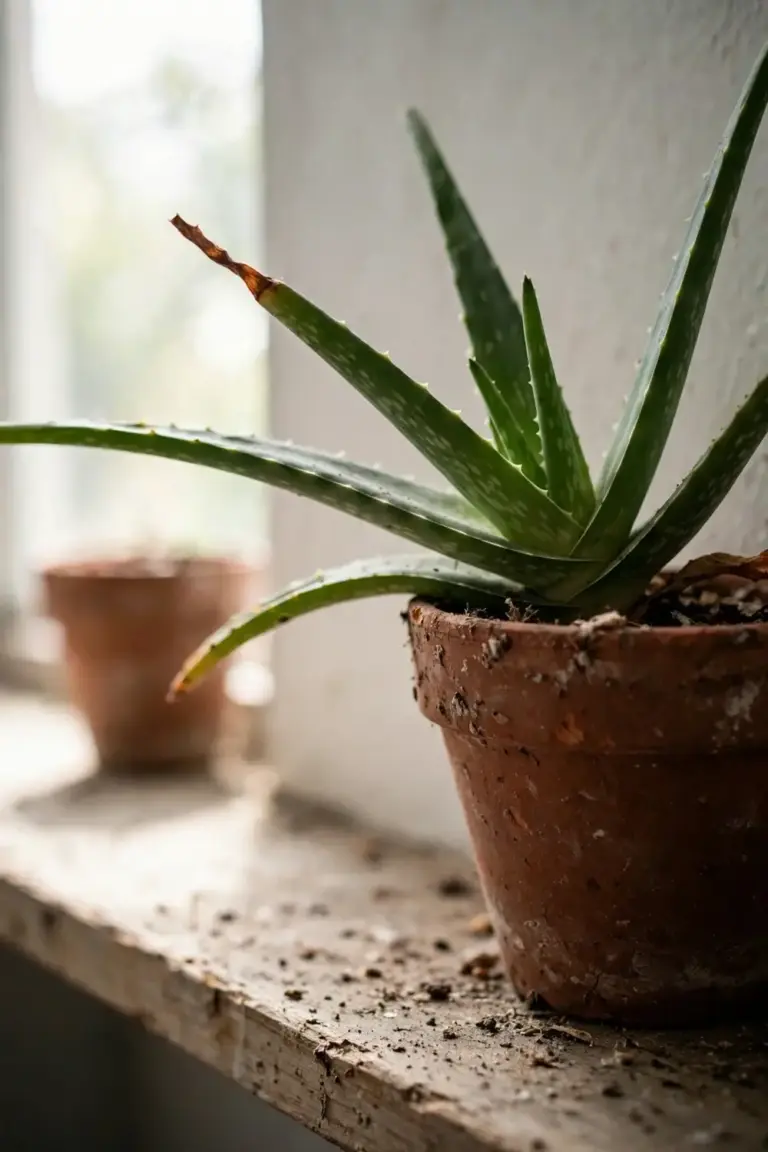
Move a plant from indoors to full sun in stages. Aloe vera sunburns when it jumps from dim indoor light to harsh outdoor sun in one day. Give it a week of morning sun, then add an hour of midday sun each day. Leaves that turn brown or orange in strong sun are stressed, not dead. Pull the pot back into bright shade and the color settles.
In the hottest Australian regions, afternoon shade protects leaves in summer. The sun in Darwin or inland Queensland at 2 pm is far stronger than the sun the plant meets in a temperate garden, so morning sun plus afternoon shade keeps the plant compact without scorch. Shade cloth helps.
Read the leaves for the light signal. Leaves that stay green and plump with a slight upward curl get enough light. Leaves that stretch tall, pale, and floppy are short of light. Leaves that turn brown, orange, or red at the tips are getting too much direct sun. Move the pot one step toward shade or one step toward light, then wait 2 weeks before judging the change.
Winter light in the southern states runs short. A Melbourne windowsill in June gives far less light than the same sill in January. Move the pot to the brightest window for winter, even if that means shifting it across the room. A plant that spent summer outdoors comes inside before frost and sits in the brightest spot you own.
A dark room starves aloe vera. Grow lights cover the gap when no window gives 6 hours of bright light. Run the light on a timer and keep the plant within a short distance of the bulb. Rotate the pot a quarter turn each week so all sides get light.
3. Water Only When the Soil Dries Out
Water aloe vera only when the soil dries out. Overwatering kills more aloe vera plants than any pest or disease. The plant stores water in its leaves, so it rides out dry weeks without harm. Wet soil starves roots of air, and roots rot in still water.
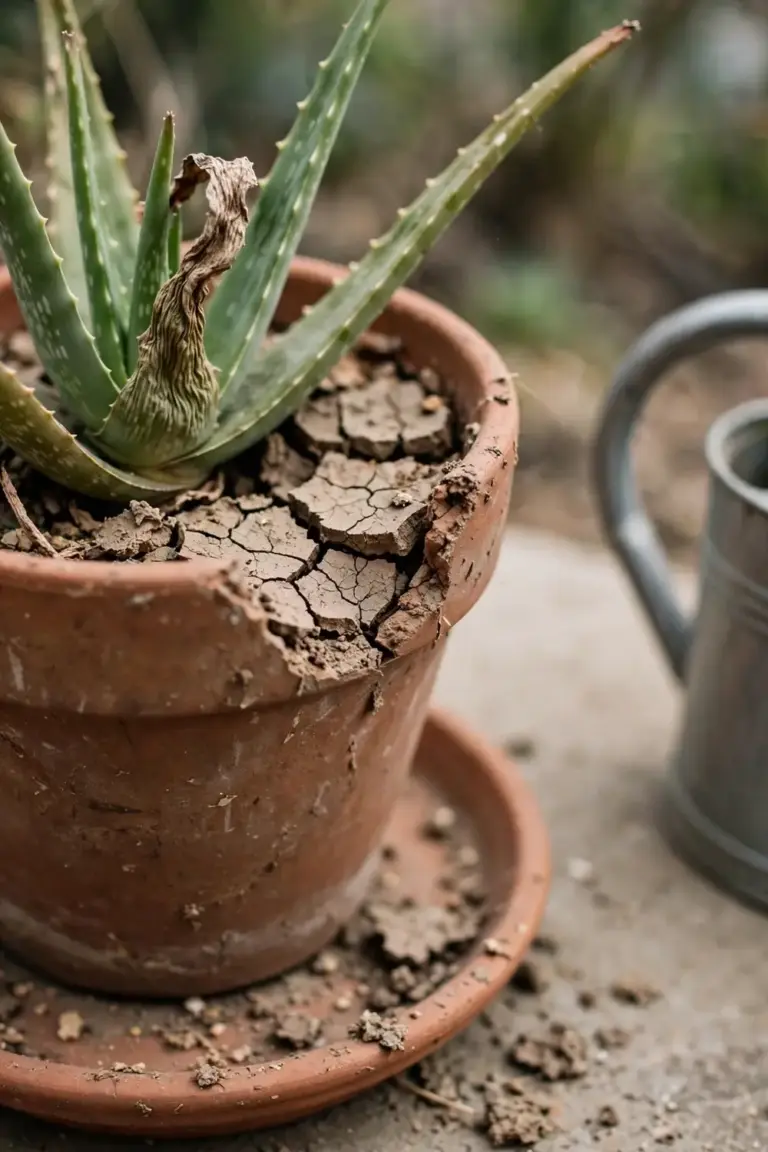
Check the soil with a finger before you water. The University of Florida IFAS Extension advises watering only when the top inch of soil feels dry to the touch. In metric terms, that top inch is 2.5 cm, so push a finger into the mix to that depth. Dry mix means water. Damp mix means wait.
When you water, water well and let the excess drain. Pour until water runs from the drainage holes, then empty the saucer. Never let the plant sit in water, as the same IFAS Extension guide warns. A saucer of standing water keeps the root zone wet for days. Empty it within an hour.
Slow down in winter. Penn State Extension advises watering thoroughly when the soil surface dries during the growing season, then reducing water through the dormant period so the soil stays barely moist and the leaves do not shrivel. Barely moist is the target. A plant that gets summer water in winter rots from the roots up.
Watch the leaves for the water signal. Thin, wrinkled leaves ask for water, while soft, translucent leaves mean too much. Yellow leaves at the base often follow overwatering, so adjust the watering rhythm before you reach for any other fix.
Pot size sets the watering rhythm. A small pot in a hot spot dries in days. A large pot in a cool room stays damp for weeks. Check the soil, not the calendar. Two plants in the same room can need water a week apart because their pots differ. The finger test beats any schedule.
Rain counts as watering for outdoor pots. A week of summer storms can soak a pot that you watered 3 days earlier. Tip the pot after heavy rain and empty the saucer. Move outdoor pots under cover during a wet spell. A plant that dries between rains keeps healthy roots. A plant that never dries rots.
4. Mix a Fast-Draining Soil
Mix a fast-draining soil that dries within days, not weeks. Aloe vera roots need air as much as they need water. A heavy potting mix holds water against the roots and invites rot. A gritty mix drains fast and dries between waterings.
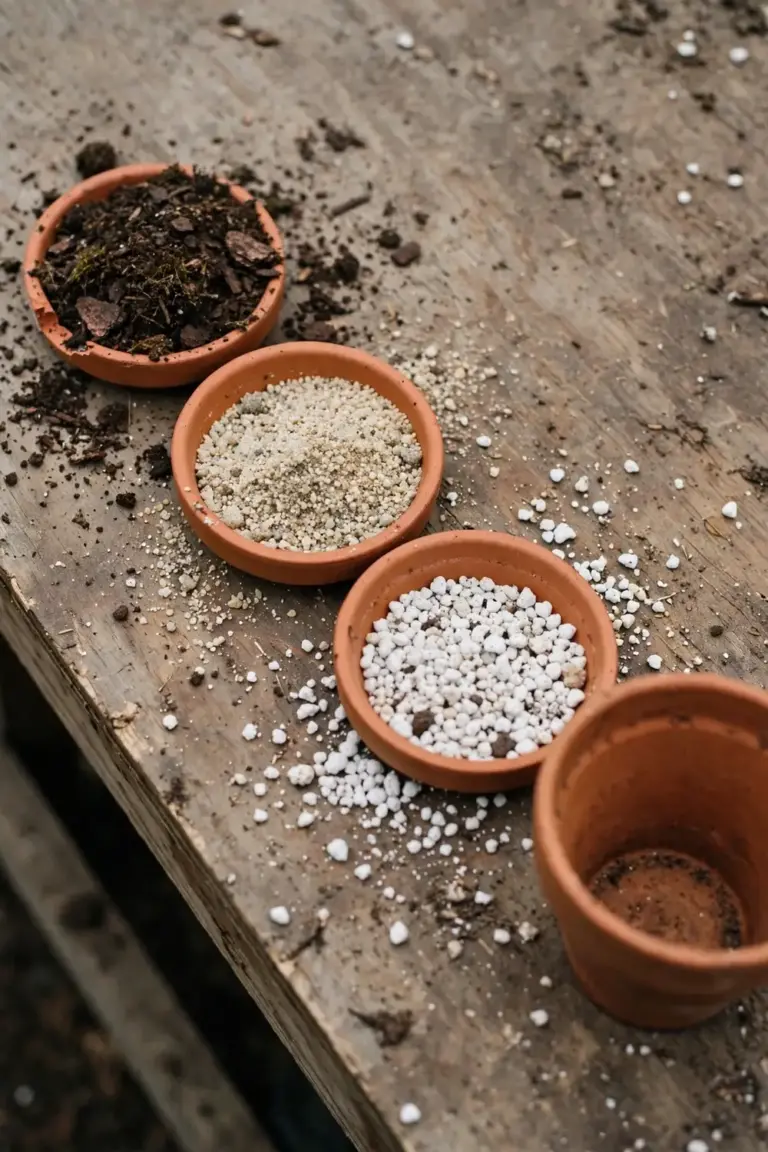
Penn State Extension gives a simple recipe: mix one part potting soil, one part sand, and one part perlite or lava rock for a coarse, well-draining mix that keeps aloe vera roots breathing. One part each keeps the maths easy. Sand adds weight and drainage. Perlite holds air pockets in the mix. Potting soil holds just enough moisture for the roots.
The Royal Horticultural Society suggests a peat-free cacti potting compost, or a peat-free, loam-based potting compost with added horticultural grit, for growing aloe vera indoors. Peat-free mixes suit gardeners who avoid peat. Grit keeps the mix open. Either mix works as long as water drains fast.
Building soil health starts with the same idea: roots need air, water, and food in balance. Aloe vera asks for the air side of that balance more than most plants. A mix that stays wet for a week fails the plant even if the bag calls it premium.
Test a new mix before you trust it. Water the pot and watch the drainage holes. Water should run through within seconds. The surface should feel dry within 2 to 3 days in warm weather. A mix that stays damp for a week needs more grit. Tip the pot and check the base. Wet mix at the base means the pot holds water where roots sit.
Skip garden soil in pots. Garden soil compacts in a container, holds water, and starves roots of air. It also carries weed seeds and pests into the pot. A bagged cactus mix or the 1:1:1 recipe above costs little and drains the way aloe vera needs. Moisture-retaining mixes sold for ferns and leafy houseplants fail aloe vera for the same reason: they stay wet.
A thin layer of gravel or lava rock on the surface keeps the crown dry and stops mix from splashing onto leaves during watering. The layer is cosmetic, not structural. It does not fix a mix that drains poorly. Fix the mix first, then add the top layer if you like the look.
5. Pick a Pot With Drainage Holes
Pick a pot with drainage holes. A pot without a hole traps water and kills aloe vera from the roots up. The North Carolina Extension Gardener Plant Toolbox advises planting aloe in a pot with several drainage holes and notes that clay pots are ideal. Clay breathes. It pulls moisture through the wall and dries the mix faster than plastic.
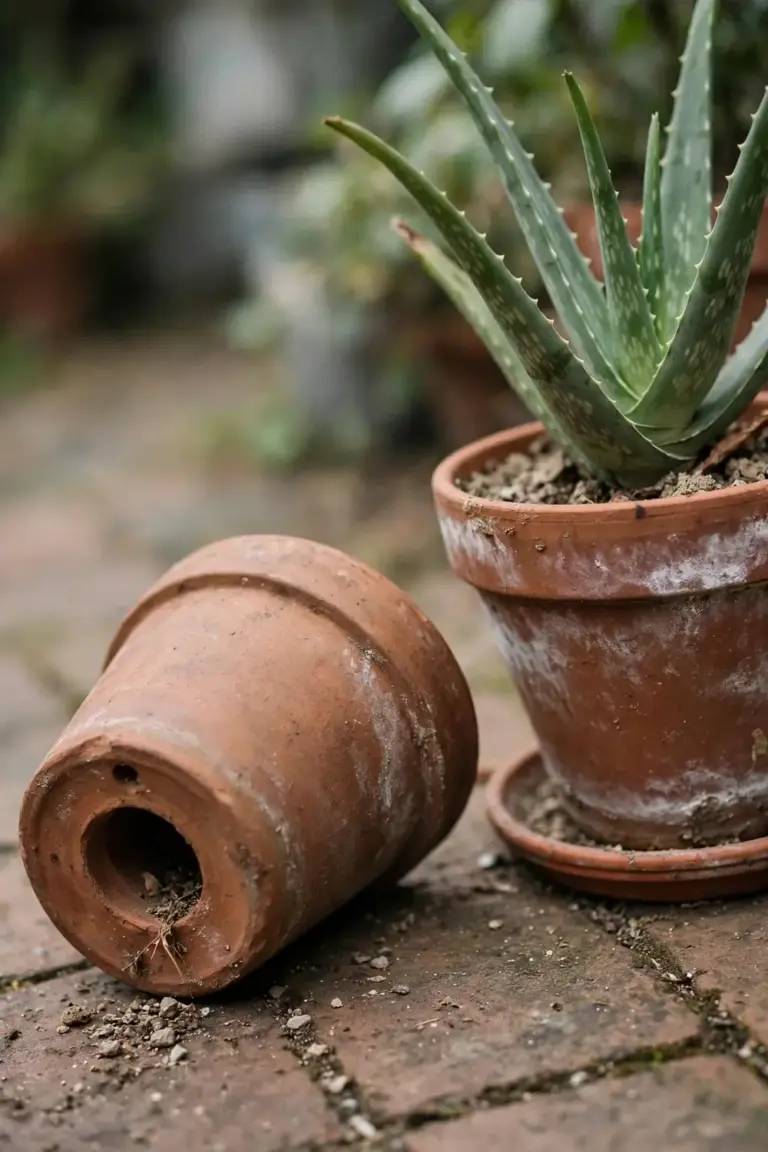
Size the pot to the root ball. Penn State Extension advises leaving 1 to 1.5 inches between the root ball and the edge of the pot when repotting, which converts to 2.5 to 3.8 cm. A pot much larger than the roots holds wet mix the plant cannot use. A pot that fits the roots dries on schedule.
Step up slowly when the plant outgrows its pot. The University of Florida IFAS Extension warns against increasing the new pot by more than two pot sizes, since too large a container holds too much moisture and can lead to root rot. One size up is the safe move. Repot in spring, when growth restarts.
Repot every 2 years to refresh the mix. Penn State Extension advises replanting aloe vera every 2 years to refresh the soil and reduce root crowding. Fresh mix restores drainage. Old mix compacts and holds water. Tap the plant out, shake off loose mix, and trim any black or mushy roots with clean scissors before replanting.
Watch the saucer and the cachepot. A decorative outer pot without a hole turns a draining pot into a swamp. Water runs through the inner pot and pools in the outer one. Lift the inner pot after watering and empty the outer pot. A saucer left full for a week undoes every other good habit in this routine.
Clay beats plastic for aloe vera in most Australian homes. Clay breathes and dries the mix between waterings. Plastic holds moisture longer and suits a grower who forgets to water. Glazed ceramic sits between the two: it dries slower than raw clay and looks tidier on a bench. Pick the material that matches your watering habit. A heavy waterer needs clay. A forgetful waterer can use plastic and check the soil often.
6. Feed Lightly, Only in the Growing Season
Feed aloe vera lightly, only in the growing season. Aloe vera grows slowly and asks for little food. A heavy feed burns roots and pushes soft growth that rots easily. A light feed supports steady growth without risk.
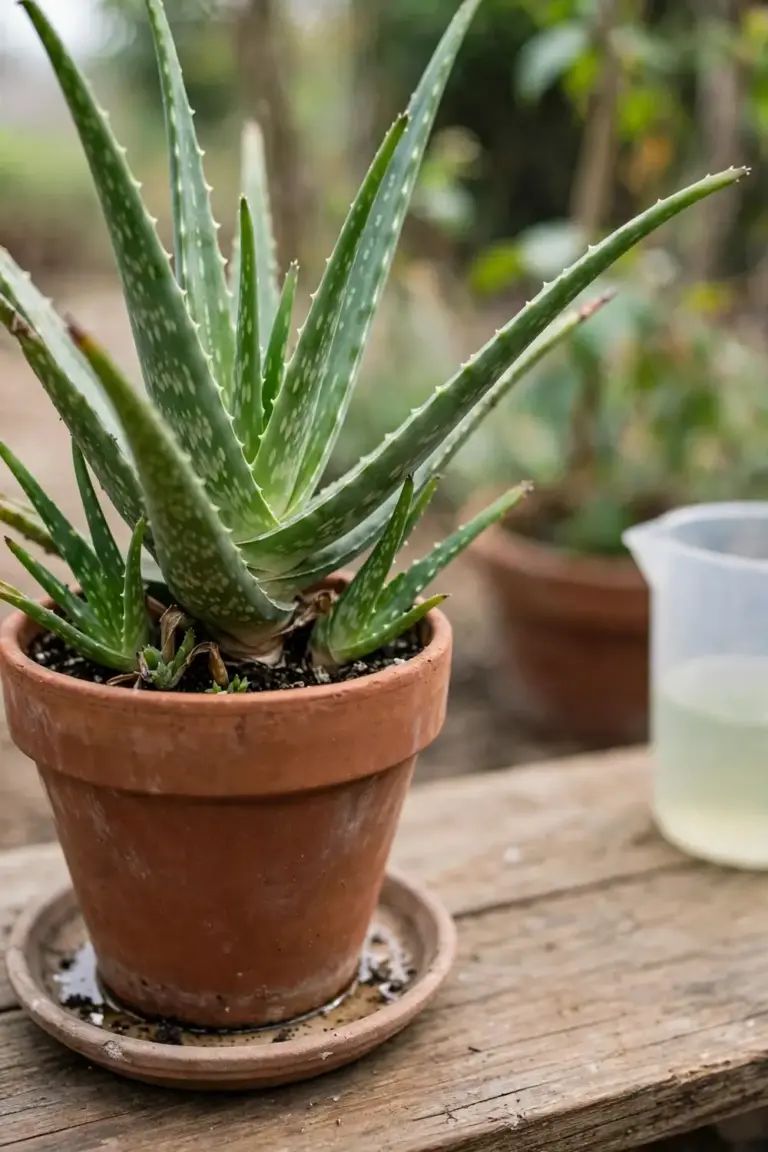
The Royal Horticultural Society advises applying a general liquid fertilizer monthly from May to August for aloe vera in active growth. Those months are a northern-hemisphere window. In Australia the same rule means November to February. Feed monthly through the warm months and stop when growth slows.
| Season in Australia | Feed | Notes |
|---|---|---|
| Spring (Sep to Nov) | Start monthly feeding | Begin when new growth appears |
| Summer (Dec to Feb) | Feed monthly | Keep the dose at half strength |
| Autumn (Mar to May) | Stop feeding | Growth slows as nights cool |
| Winter (Jun to Aug) | Do not feed | The plant rests; food sits unused |
Use a general liquid fertilizer at half the label strength. Half strength feeds the plant without flooding the mix with salts. Water the plant first, then feed. Feeding dry mix concentrates salts around the roots. Skip a feed if the plant looks stressed. A skipped feed never harmed an aloe vera plant.
A newly repotted aloe vera needs no feed for its first season. Fresh mix carries enough nutrients for months, so feeding a plant that is still settling into a new pot stresses roots that are still healing. Wait until fresh growth shows at the center of the rosette, then start feeding at half strength.
Watch for the signs of overfeeding. A white crust on the mix surface means salts are building up. Leaf tips that brown after a feed mean the dose ran strong. Flush the pot with plain water to wash salts out, then skip the next 2 feeds. A thin top-dress of compost in spring feeds slowly and suits growers who would rather skip liquid feeds altogether.
7. Watch for Scale and Mealybugs
Watch for scale and mealybugs on aloe vera. The Royal Horticultural Society lists scale insects and mealybugs as the pests that may trouble aloe vera, and notes the plant is generally disease-free. Pests cluster where leaves meet the stem. Check those joints every month.
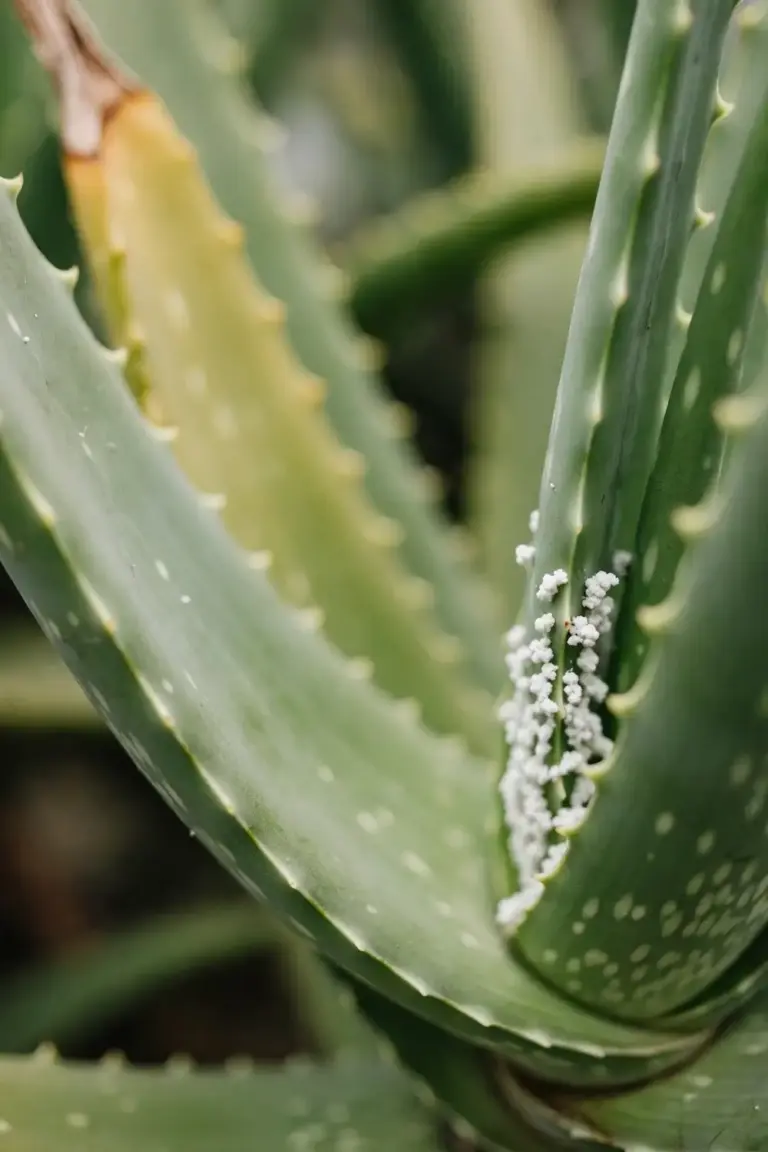
Scale insects look like small brown bumps fixed to the leaf. They do not move. They suck sap and leave sticky residue. Mealybugs look like small white cotton clumps in leaf joints. Both weaken the plant slowly. A plant with a few pests still grows. A plant covered in pests stalls.
Remove pests by hand first. Wipe the leaf with a damp cloth and pick off every bump and clump you can see. Check again in a week. Pests hide eggs in joints, so one wipe rarely clears them. Repeat the wipe weekly until 2 clear checks in a row.
Isolate a badly infested plant from other pots. Mealybugs crawl to nearby plants. A plant on its own bench cannot spread pests to the collection. Keep it apart until 2 clear checks in a row. Prune a leaf that is thick with pests and beyond wiping. The plant grows new leaves from the center.
Good care prevents most pest trouble: a plant in bright light with dry soil and moving air resists pests better than a plant in dim light with wet soil. Water at the base and keep leaves dry.
Quarantine every new plant for 2 weeks before it joins the collection. Pests ride home on nursery plants and spread to pots that sat clean for years. Check the new plant twice in that window, leaf joints included. A plant that passes 2 clear checks earns its place on the bench.
8. Separate Pups in Spring
Separate pups in spring, when growth restarts. Pups are the small offsets that grow around the base of a mature aloe vera plant. Each pup is a new plant with its own roots. A pot crowded with pups dries unevenly and competes for food.
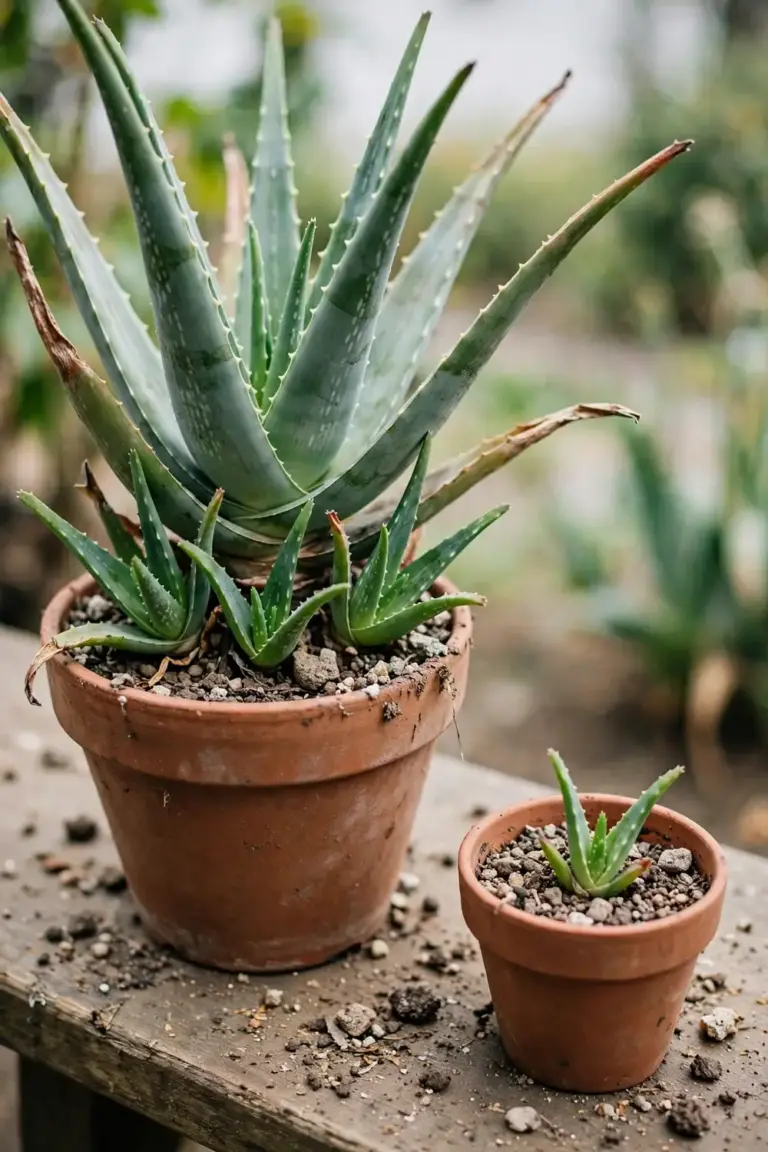
Wait until a pup grows several leaves and its own roots. A pup with 3 or 4 leaves and roots of its own survives separation. A pup with 1 leaf and no roots dies in its own pot. Patience grows more plants than early surgery.
The Royal Horticultural Society advises propagating by separating offsets in spring or early summer and rooting them in cactus potting compost. Spring in Australia means September to November. Early summer means December. Warm soil helps the pup root fast.
Lift the whole plant from its pot to separate pups. Shake off loose mix, find where each pup joins the parent, and cut the join with a clean knife while keeping roots on the pup. Set the pup aside for a day so the cut end dries, then pot it in cactus mix. Water lightly after a week. A pup that sits in wet mix before its cut dries rots from the cut.
Leave one or two pups on the parent if the pot looks bare. A parent with a pup or two at its base looks full and keeps growing. A parent stripped bare takes a season to fill out again. Keep the best pups and give the rest away.
Do not separate pups from a stressed parent. A parent with rot, pests, or sun damage needs to recover before it loses pups. Fix the parent first, then separate pups the next spring. A pup taken from a sick parent carries the same trouble into its own pot. Winter is also the wrong season: pups root slowly in cold mix, so wait for spring warmth.
Pot each pup into a small pot that fits its roots, with the same fast-draining mix as the parent. A pup in a pot far larger than its roots sits in wet mix and rots. A pup in a pot that fits its roots dries on schedule, grows fast, and takes light watering after a week like a small adult plant.
Frequently Asked Questions
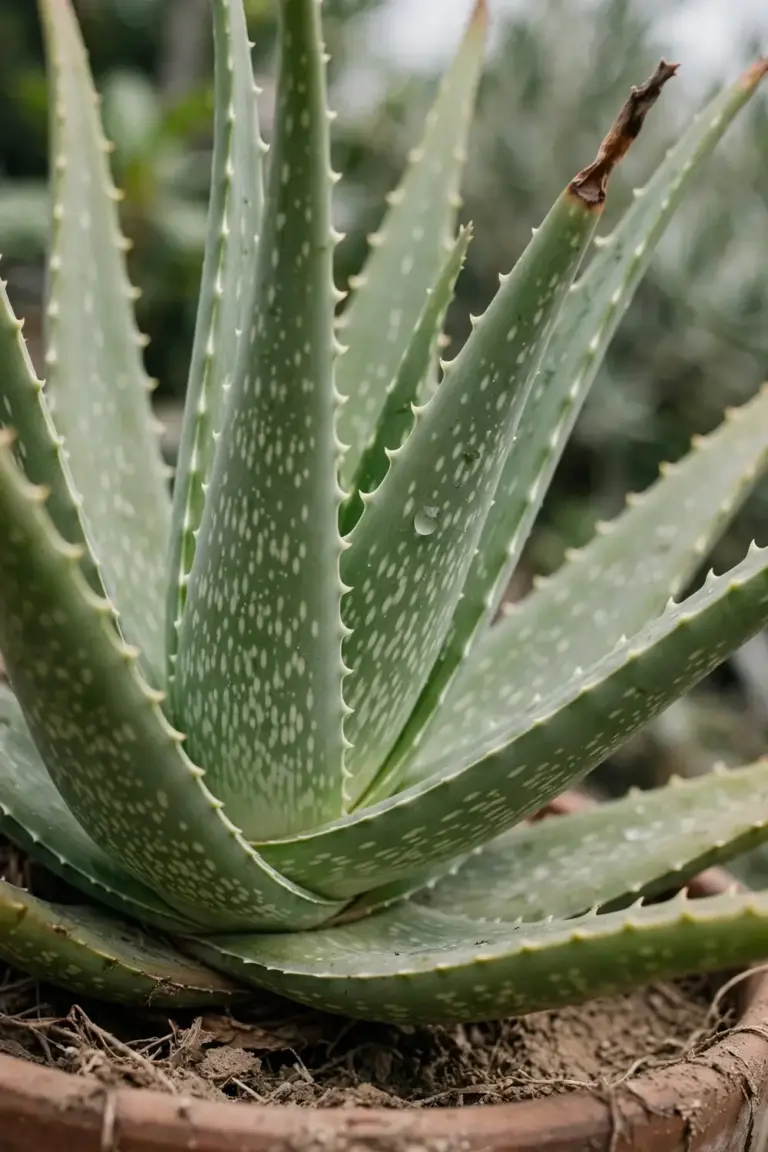
Yes, in frost-free areas. Aloe vera grows outdoors year-round where frost never lands, such as the tropical north and frost-free coastal pockets. In frost-prone regions, grow it in a pot and bring it indoors for winter. One frost night damages leaves. Check the forecast on cold nights and move the pot before the temperature drops.
Water only when the soil dries out. In summer that may mean watering every 2 to 3 weeks. In winter it may mean watering once a month or less. Check the top 2.5 cm of mix with a finger. Dry mix means water. Damp mix means wait. Empty the saucer after watering so the plant never sits in water.
Brown leaves usually mean sun stress or overwatering. Leaves that turn brown or orange after a move into full sun are stressed by the light change. Pull the pot into bright shade and the color settles. Leaves that turn brown and soft at the base mean too much water. Let the mix dry fully and check the roots for rot.
Feed lightly in the growing season only. Apply a general liquid fertilizer at half strength once a month from November to February in Australia. Stop feeding in autumn and winter. A newly repotted plant needs no feed for its first season. Fresh mix carries enough nutrients. A skipped feed never harmed an aloe vera plant.
No, not straight from the leaf. A cut leaf releases a yellow sap called latex under the rind, and the clear gel sits deeper inside. Nurtured Life’s Australian guide flags the latex as an irritant and laxative, distinct from the clear gel. Let the latex drain from a cut leaf before using the gel. Patch-test gel on a small area of skin first.
Separate pups in spring, from September to November in Australia. Wait until a pup has 3 or 4 leaves and roots of its own. Cut the join with a clean knife, let the cut end dry for a day, then pot the pup in cactus mix. Water lightly after a week, and skip pups with 1 leaf and no roots: they die in their own pots.
Start Aloe Vera Care in Australia This Weekend
Start aloe vera care in Australia this weekend with 3 checks. First, check the light: the plant needs at least 6 hours of bright light each day. Second, check the soil: push a finger 2.5 cm in, and water only if the mix feels dry. Third, check the pot: it needs drainage holes, and clay dries faster than plastic.
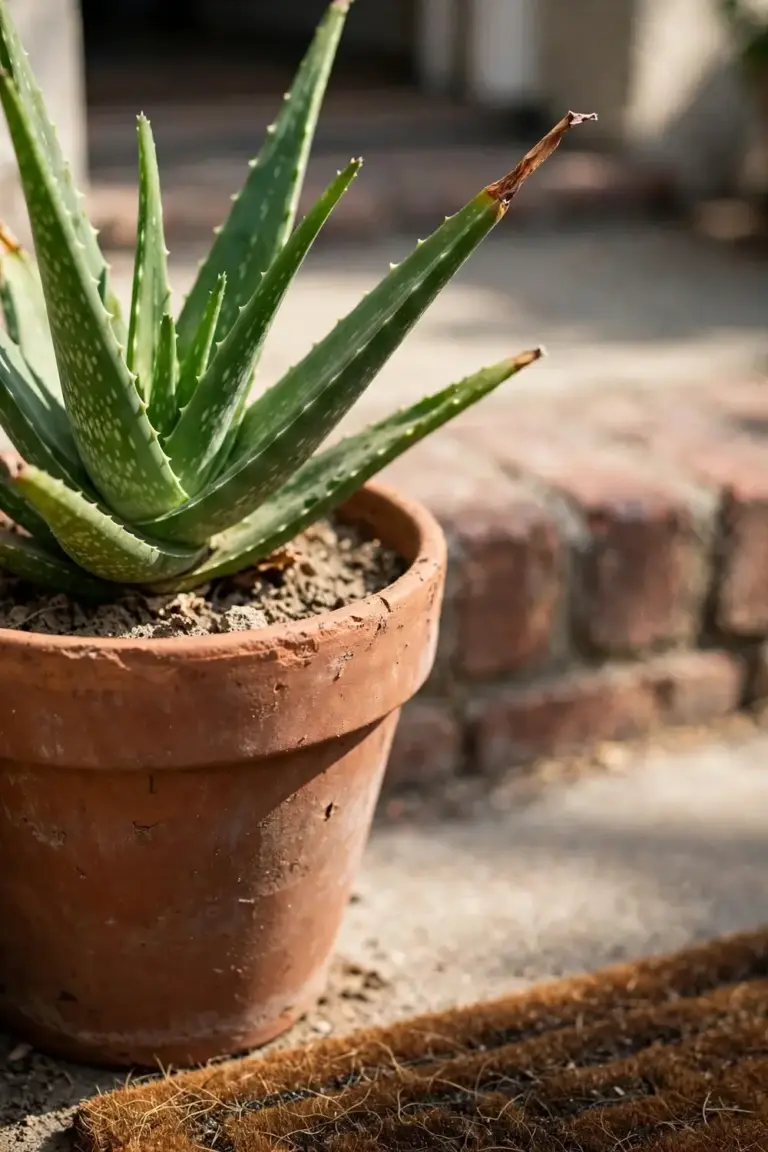
A plant that passes those 3 checks grows with little fuss. Move the pot indoors before frost. Feed monthly through the warm months. Wipe off scale and mealybugs when you see them. Separate pups in spring. That is the whole routine, and it fits in a few minutes a week.
Run a monthly check on the first weekend of the month. Look at the light, push a finger into the mix, check the leaf joints for pests, and empty every saucer. That check takes 5 minutes and catches every common problem early. A plant that passes the monthly check needs nothing else until the next one.