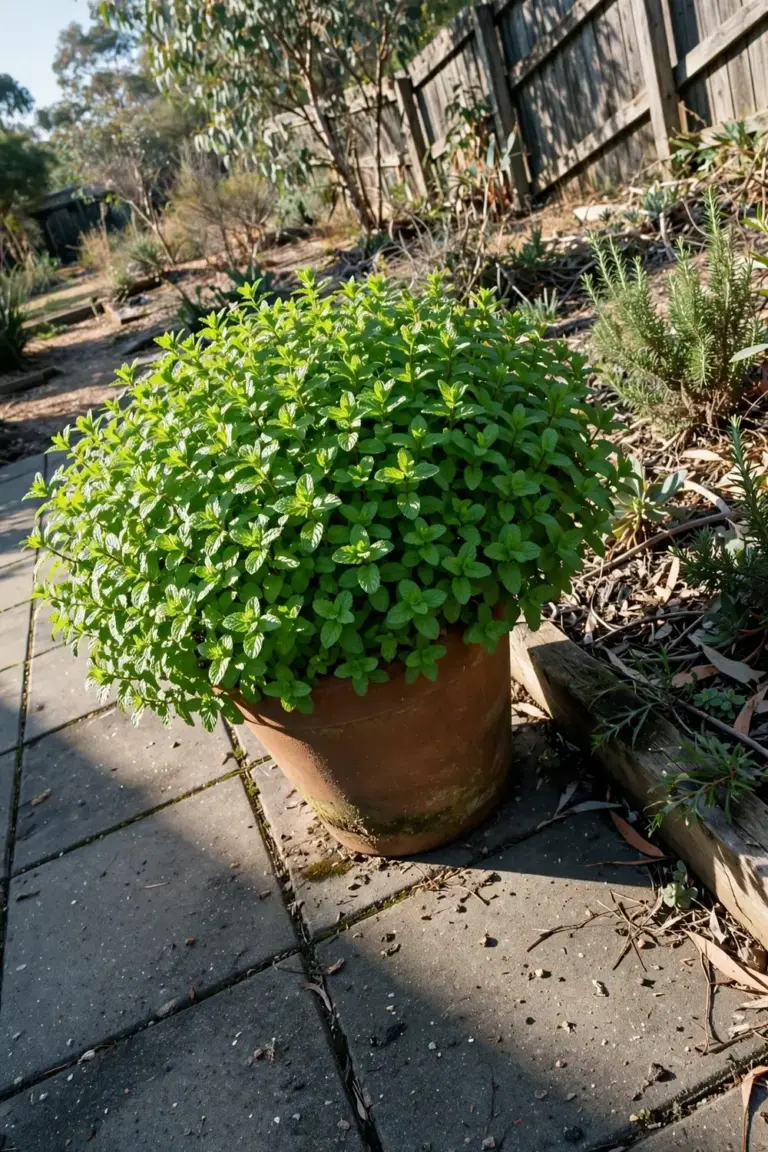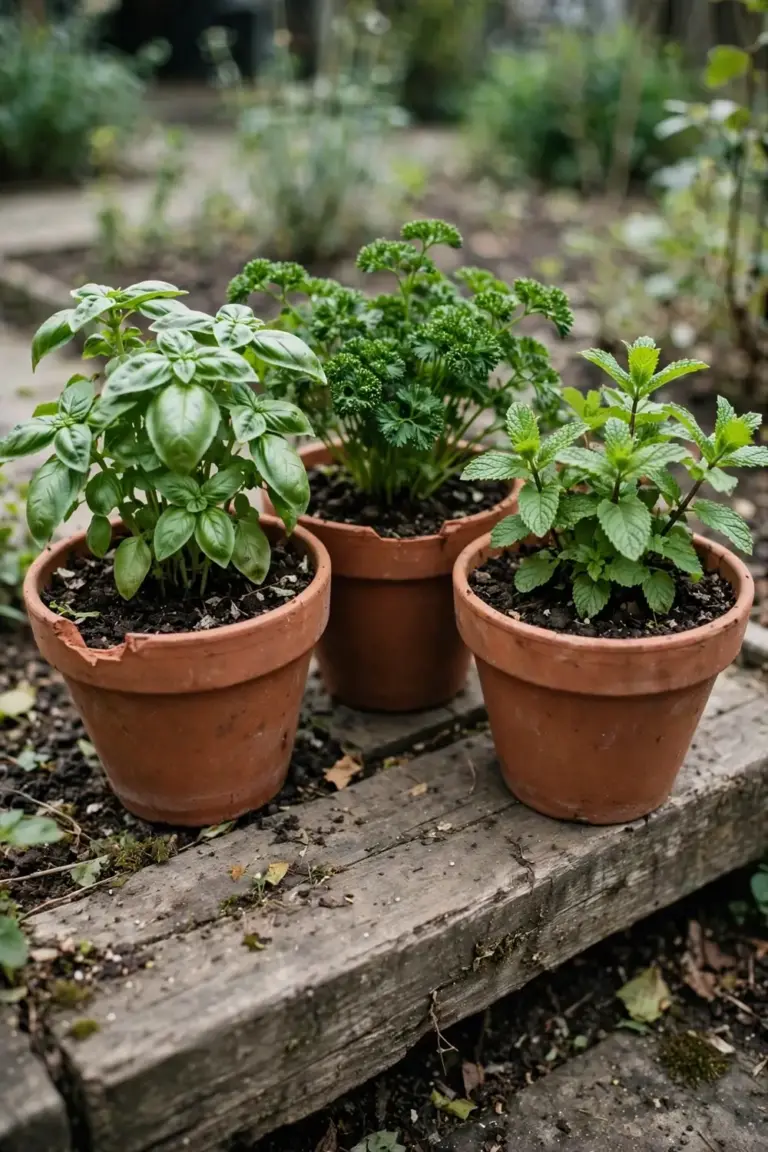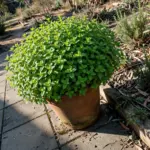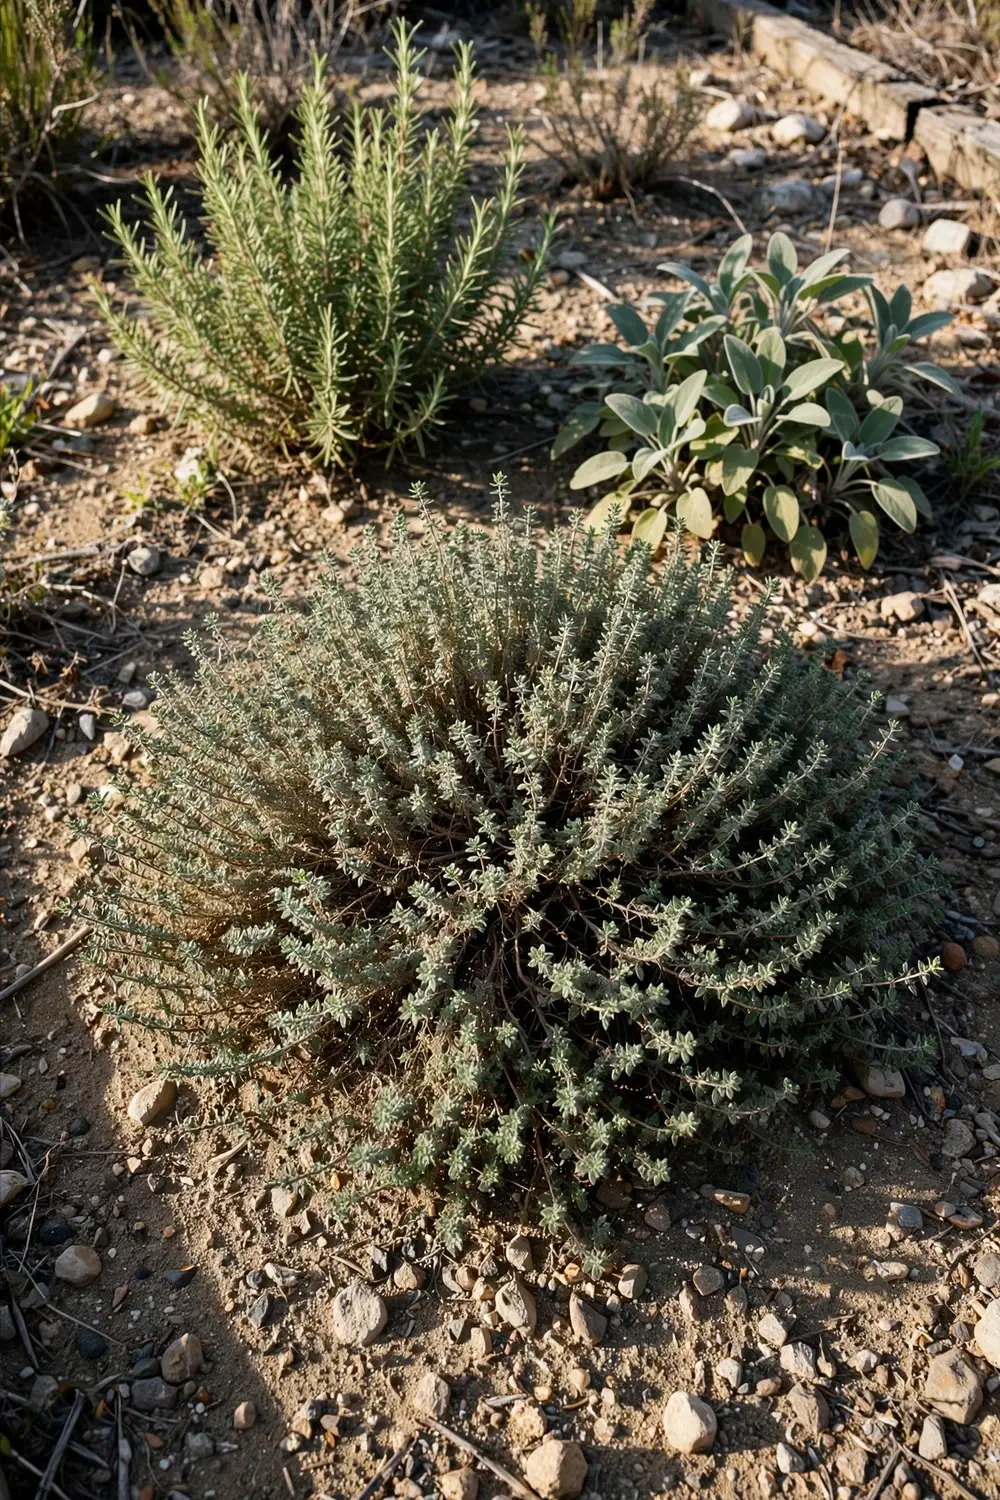

Growing thyme in Australia works when you give thyme what it wants: full sun, gritty free-draining soil, and less water than any other herb in the bed. Thyme is Thymus vulgaris, a woody perennial from the Mediterranean, and it grows as a low, spreading shrub in Australian gardens. The rest of this page is 10 growing moves, from climate to the dried jar, plus answers to the questions every thyme grower asks.
Thyme earns its place in Australian gardens for one reason. It keeps producing flavor through heat, dry weeks, and poor soil that defeat softer herbs. A single plant seasons roasts, soups, and stews for years, and it asks for almost nothing in return. Thyme shares a dry bed with rosemary and sage.
The catch is water. Thyme dies from kindness. Rich soil and daily watering rot the roots while the leaves still look green. Treat thyme like a Mediterranean shrub, not like basil, and it lives.
Thyme is a member of the mint family, Lamiaceae. That family tie explains the square stems and the aromatic leaves, and it also sets the one neighbor rule for thyme. Thyme shares a family with mint, but it wants the opposite watering. Australian seasons flip the northern calendar. Spring planting means September, not March, and the humid north needs pots where the dry south grows thyme straight in beds.
1. Match Thyme to Your Australian Climate First
Plant thyme in spring in cool and temperate zones, and from autumn to spring in subtropical and tropical zones. Thyme grows across Australia, but heat and humidity decide how easy it is.
The table below sets the planting windows by zone. Seeds of Plenty’s Australian thyme sowing calendar lists these windows. Cool and temperate gardeners plant from September to December. Arid gardeners start a month earlier, in August. Subtropical and tropical gardeners plant from March to October, through the cooler months.
| Climate Zone | Planting Window | What to Watch |
|---|---|---|
| Cool Mountain | September to December | Plant after the last frost. Cold nights suit thyme. |
| Temperate | September to December | The easiest zone. Spring planting gives a full season. |
| Arid | August to December | Afternoon shade helps in summer. Water the soil, not the leaves. |
| Subtropical | March to October | Grow in pots for drainage. Humidity is the enemy. |
| Tropical | March to October | The hardest zone. Pots, gritty mix, and airflow matter most. |
Read the table for your zone, then plant at the start of the window. Early planting gives roots months to settle before summer heat or winter cold. A thyme plant set out in September in Melbourne faces its first summer with deep roots. A thyme plant set out in December faces the same summer with shallow roots. Timing beats effort.
Thyme tolerates cold down to minus 10 degrees Celsius and heat to 30 degrees Celsius, according to The Seed Vine’s Thymus vulgaris profile. Thyme does not thrive in hot, humid climates, according to the University of California Marin Master Gardeners’ thyme guide. Tropical gardeners should treat thyme as a pot plant, not a bed plant. Pots dry faster and move under cover in wet weeks.
Thyme needs full sun. Complete Grow lists 6 to 8 hours of direct sun a day. Less sun grows leggy plants with weak flavor. A thyme plant in shade stretches toward the light and thins at the base. Move a struggling plant to the sunniest spot in the garden. Sun fixes more thyme problems than any spray.
Thyme stays evergreen through Australian winters. The plant dies back a bit in cold months, according to Country Connections’ thyme info sheet. Trimming dead flower heads keeps the plant bushy. Young plants need more shelter than established plants. A young thyme plant in a cool mountain garden earns a fleece cover on frost nights. An established plant in the same garden shrugs off the cold.
2. Pick the Right Thyme for the Job
Grow common thyme for cooking, creeping thyme for ground cover, and lemon thyme for citrus flavor. Native thyme is a different plant, not a thyme.
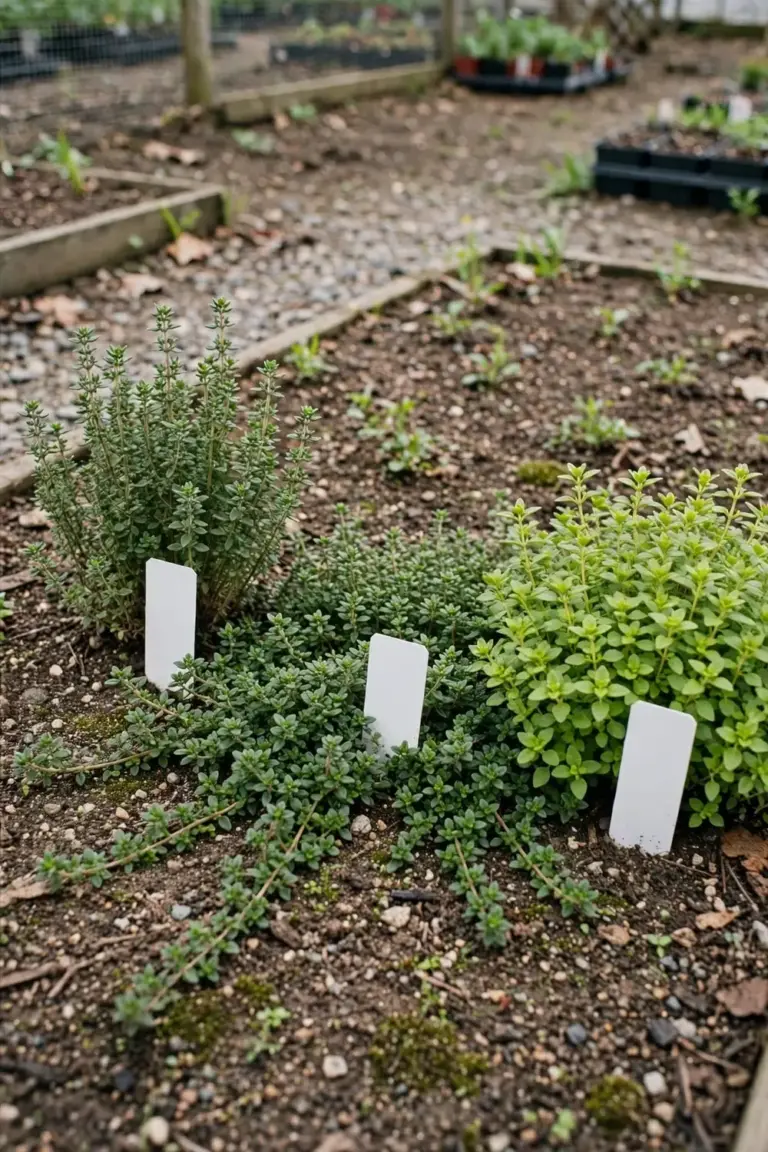
Common thyme is Thymus vulgaris. It carries the classic savory flavor that cooks want. Creeping thyme is Thymus serpyllum. It spreads low across soil and pavers, and its flavor is milder than common thyme. Lemon thyme is Thymus citriodorus. It adds a citrus note to fish and dressings.
Native thyme is Prostanthera incisa, a mint bush. It is not Thymus. Treat it as a separate plant with its own needs. Buy the type that matches the job. Creeping thyme bought for the kitchen disappoints. Common thyme bought for a path never covers it.
| Type | Botanical Name | Job | Notes |
|---|---|---|---|
| Common thyme | Thymus vulgaris | Cooking | The kitchen standard. Strongest flavor. |
| Creeping thyme | Thymus serpyllum | Ground cover | Low, walkable, milder flavor. |
| Lemon thyme | Thymus citriodorus | Fish and dressings | Citrus note. Needs the same dry soil. |
| Native thyme | Prostanthera incisa | Native gardens | A mint bush, not Thymus. Separate plant. |
Herb Cottage warns against planting thyme near moisture-loving mint. Mint wants wet feet. Thyme wants dry feet. Keep them apart. That one rule prevents the most common thyme failure in a mixed herb bed.
In the kitchen, the three Thymus types swap with care. Common thyme seasons roasts, soups, and stews. Lemon thyme seasons fish, chicken, and dressings where a citrus note helps. Creeping thyme seasons the same dishes, but its milder flavor needs a heavier hand. Grow common thyme when cooking is the main job. Grow the other two for their own jobs, and treat their kitchen use as a bonus.
Check the botanical name on the nursery label before buying. Thymus vulgaris is the kitchen thyme. Thymus serpyllum is the ground cover. A label that says only “thyme” tells you nothing. Ask the nursery for the botanical name when the label stays silent. Variegated types exist, with cream-edged leaves, and they grow under the same dry-soil rules as green thyme.
3. Plant Thyme in Gritty, Free-Draining Soil
Dig a hole in gritty, free-draining soil and space plants 30.5 cm apart. Rich soil and wet feet kill thyme.
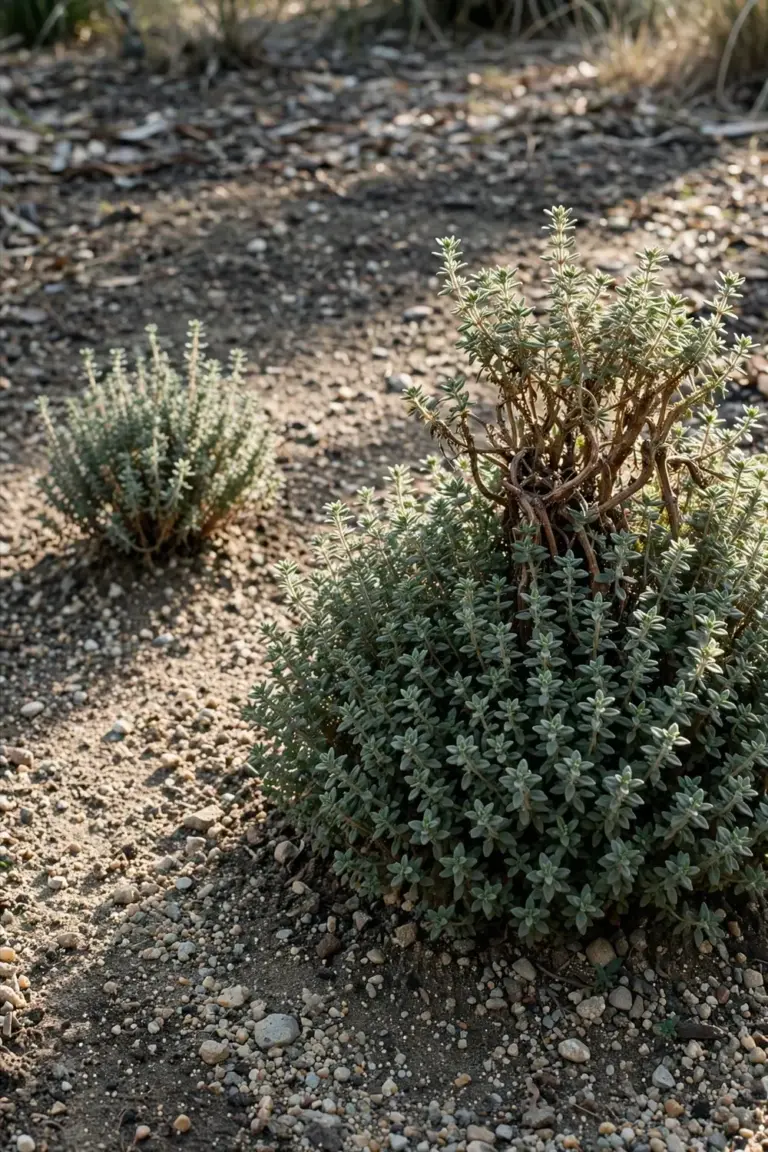
I have learned that the thyme I plant in gritty soil outlives the thyme I plant in rich soil.
Thyme grows in soil at pH 6.0 to 7.5, according to The Seed Vine’s Thymus vulgaris profile. The University of California Marin Master Gardeners’ thyme guide narrows that to pH 6.5 to 7, and it notes that lime raises pH. Soil health starts with drainage, and thyme is the herb that punishes a gardener who skips that step. Work coarse sand or gravel into clay soil before planting. Complete Grow recommends adding coarse sand or gravel to heavy clay soils.
Space plants 30.5 cm apart, according to the University of California Marin Master Gardeners’ thyme guide. Ontario’s agriculture ministry lists tighter commercial spacing at 15 to 20 cm in rows and 30 to 40 cm between rows, according to OMAFRA’s thyme production guide. Home gardeners should use the wider 30.5 cm spacing. Airflow between plants stops mildew. Keep mulch off the woody base. Holly’s Homestead warns that mulch touching the base invites rot.
Skip the low spots. Water pools where soil dips, and thyme rots in standing water within days. Plant thyme on a slight rise, at the edge of a bed, or in a raised bed that drains fast. Keep thyme away from lawn sprinklers. A sprinkler that soaks the herb bed every morning kills thyme faster than any drought. Give thyme its own dry corner, and it thrives while thirstier herbs drink elsewhere.
Test drainage before planting. Dig a hole 30 cm deep and fill it with water. The water should drain away within an hour. A hole that still holds water after an hour needs more grit, more height, or a different spot. This one test saves more thyme plants than any fertilizer.
4. Start Thyme From Seed, Cuttings, or a Pot Plant
Start from a pot plant for the fastest result, from cuttings for free plants, and from seed when you want numbers. All three methods work in Australia.
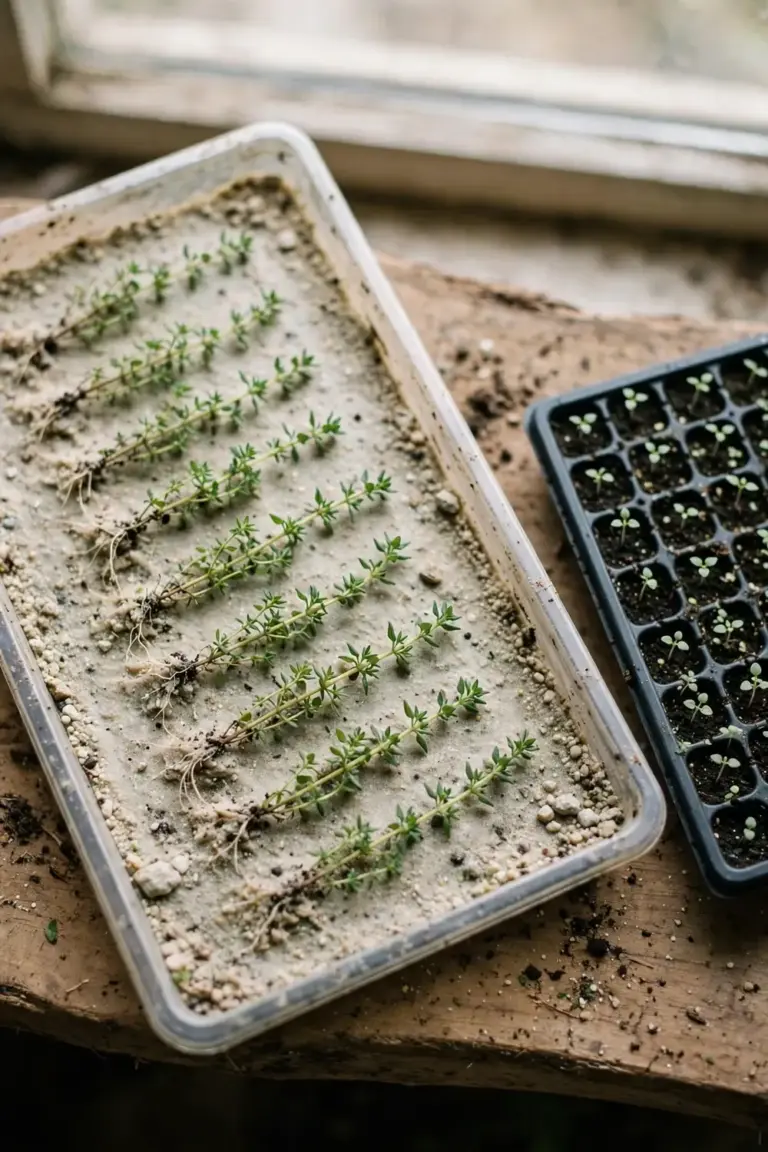
Sow seed on the surface of a sandy mix. Thyme seeds are tiny, and one gram holds about 3,500 seeds, according to The Seed Vine’s Thymus vulgaris profile. Seeds take 14 to 21 days to sprout at 15 to 22 degrees Celsius, according to the same profile. Ontario’s agriculture ministry records 8 to 10 days, according to OMAFRA’s thyme production guide. The honest range is 8 to 21 days. Germination is slow and uneven, according to the University of California Marin Master Gardeners’ thyme guide. Sow when the soil sits at 15 to 22 degrees Celsius. Stored seed stays viable for 4 years at 4 degrees Celsius, according to The Seed Vine’s Thymus vulgaris profile.
Cuttings root faster than seed. Take 7 to 10 cm non-flowering shoots from an established plant. Survival Seeds notes rooting takes 2 to 3 weeks in moist sandy mix under bright indirect light. Strip the lower leaves before inserting the cutting. Layering works too. Bend a long stem to the soil, leave the tip free, and pin it with a U-shaped stake, according to the University of California Marin Master Gardeners’ thyme guide. Cut the new plant free once roots form. Divide clumps in spring or autumn, according to Botanikks’ Thymus vulgaris profile. A nursery pot plant skips all of this. Seed starting suits gardeners who want many plants at once.
Match the method to the goal. One plant for the kitchen calls for a pot plant. A thyme edge along a path calls for cuttings from one mother plant. A full bed calls for seed, sown in trays and planted out in 4 to 6 weeks. Complete Grow advises starting seed indoors 6 to 8 weeks before the last frost. Sow thinly. Thyme seedlings are small, and crowded seedlings rot at the base before they ever reach the bed.
Plant a pot plant at the same depth it grew in the pot. Burying the stem invites rot. Leaving roots exposed dries them out. Set the plant, firm the soil, and water once to settle the roots. Keep the new plant on the dry side from the first week. A transplant watered daily rots before it roots.
5. Water Thyme Less Than You Think
Water deeply only when the soil feels dry. Thyme dies from wet feet, not from thirst.
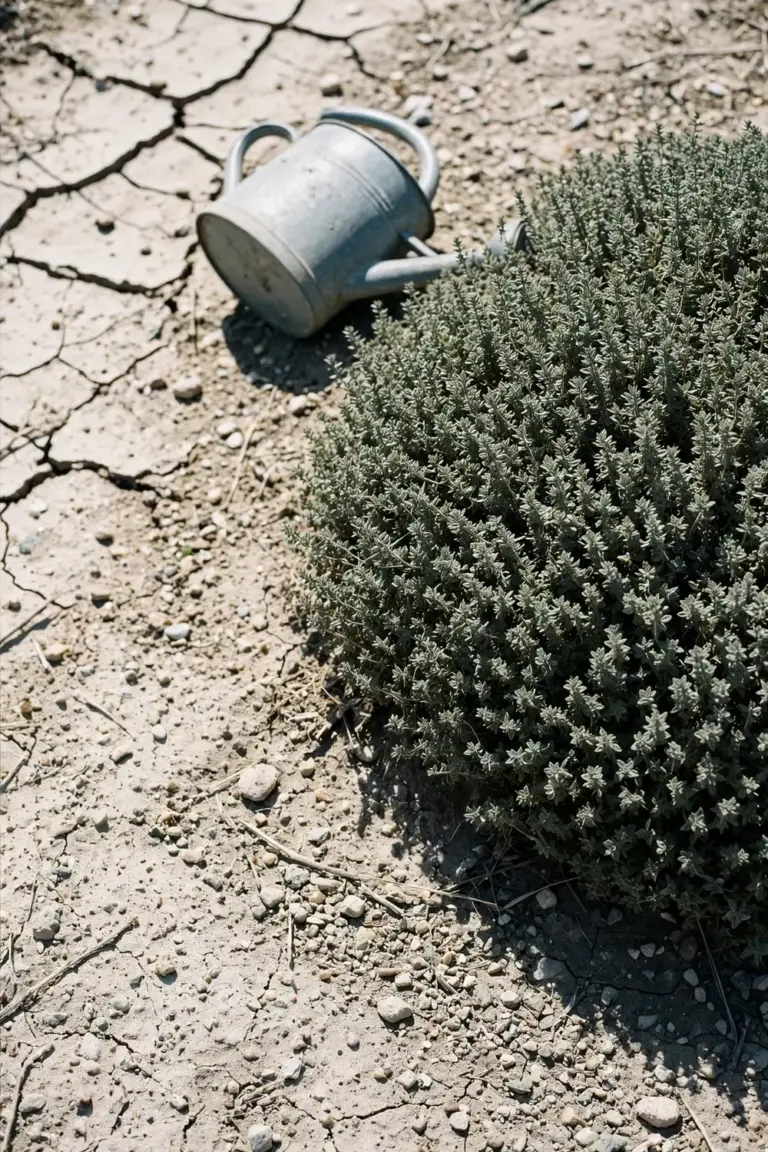
Thyme thrives on neglect once established, so keep plants on the dry side to avoid root rot, according to the University of California Marin Master Gardeners’ thyme guide. Water deeply when the soil feels dry. Thyme is drought tolerant once established, according to the same guide. The finger test decides. Push a finger 2 cm into the soil. Water only when it feels dry at that depth.
Water a new transplant once a week until it roots in, then taper off. Young plants need steadier moisture than established plants. Once the plant holds firm when tugged, it has rooted. Cut back to the dry-side rule.
Overwatering shows fast. Leaves yellow, stems soften, and the base turns dark. Skip the watering can. Fix the drainage instead. In humid zones, water the soil, not the leaves. Wet leaves invite mildew.
Rain counts as watering. A wet week needs no watering can at all. Check the soil after rain before reaching for the hose. Gardeners who water on a schedule drown thyme in wet months and underwater it in dry months. The soil decides, not the calendar.
Thirst looks different from drowning. A thirsty thyme plant wilts in afternoon heat and recovers by morning. A drowned thyme plant wilts and stays wilted. Check the soil before watering a wilted plant. Dry soil means water. Wet soil means drainage, not water. This one check separates the two problems that look identical above ground.
6. Feed Thyme Almost Nothing
Skip fertilizer. A thin layer of compost in early spring is all thyme needs.
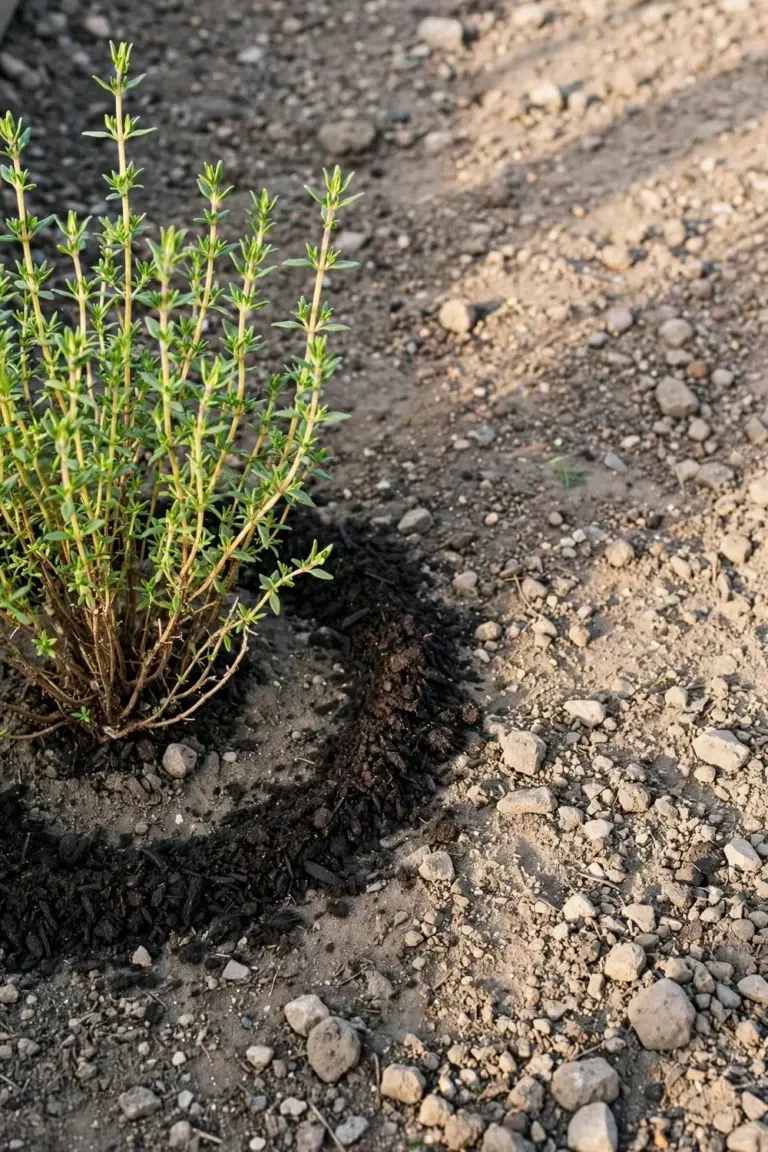
Thyme needs no fertilizer, according to the University of California Marin Master Gardeners’ thyme guide. The same guide recommends a thin layer of compost in early spring. Rich soil weakens thyme. Holly’s Homestead notes that rich soil and too much water weaken flavor and vigor. Lean soil grows compact plants with stronger oils.
Fertilizer pushes soft growth. Soft growth sheds flavor and invites pests. A thyme plant fed like a tomato grows tall, pale, and tasteless. Leave the fertilizer bag in the shed. Compost once a year does the job.
Potted thyme follows the same rule. A pot plant gets the same thin compost layer in spring, and nothing else. Compost in a pot breaks down faster than compost in a bed, but thyme still wants less, not more. A potted thyme plant fed monthly turns leggy within one season.
Spread the compost thin. A layer 2 cm deep is plenty. Keep compost off the woody base, the same way you keep mulch off it. Compost touching the stem holds moisture against the bark and invites rot. Water the compost in lightly after spreading. The rain does the rest.
7. Prune Thyme Hard After Flowering
Trim the soft green growth after flowering. Unpruned thyme turns woody and sparse.
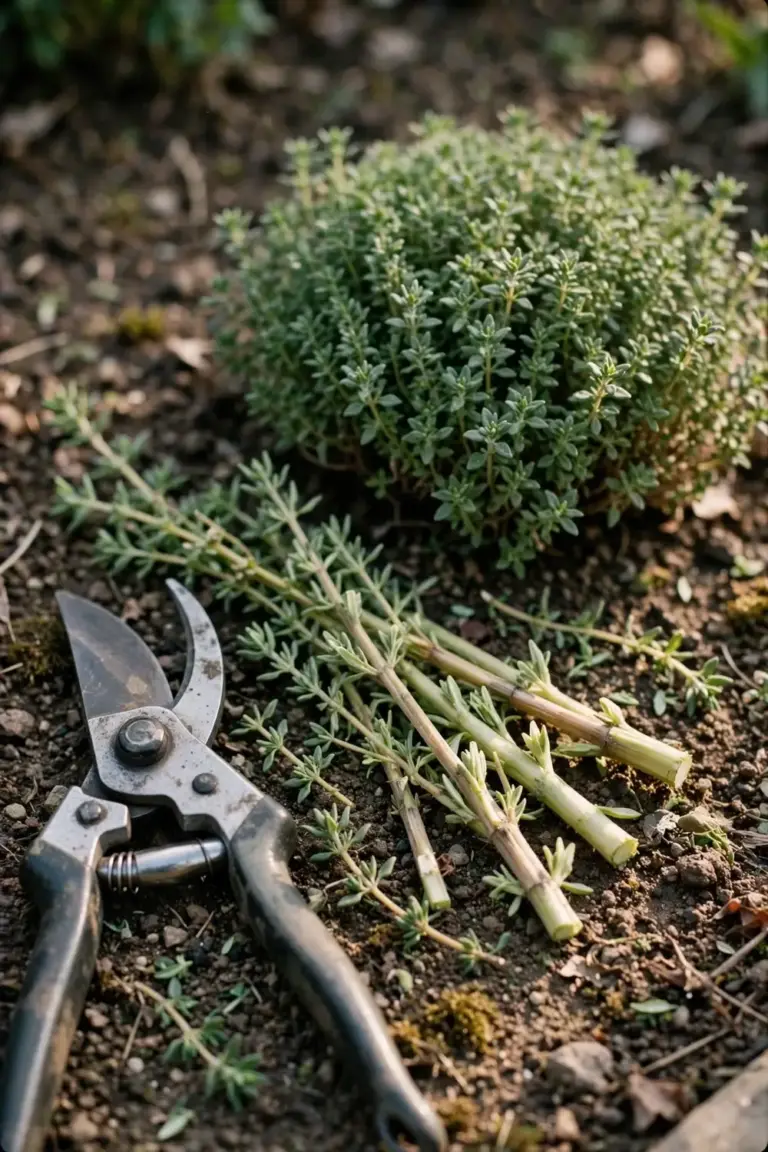
Trim after flowering to keep a compact, bushy shape, according to Holly’s Homestead. Cut the soft stems. Leave the woody base standing. Holly’s Homestead warns that untrimmed thyme turns woody and sparse, so prune regularly.
Prune in spring for shape, then again after flowering. Spring pruning techniques apply to thyme the same way they apply to other woody herbs. Remove dead stems first. Shape the plant second. A thyme plant pruned twice a year stays dense for years. Replace plants that turn woody in the center. Holly’s Homestead advises dividing or replacing plants every few years as they get woody.
Every harvest is a light prune. Snipping sprigs for cooking keeps the plant compact between the two main prunes. Take sprigs from across the plant, not from one side. Even picking keeps the shape round. A plant picked only on one side grows lopsided and thins at the center.
Use the trimmings. Pruning waste seasons dinner. Strip the leaves from pruned stems and toss them into a roast or a soup. Dry the surplus the same way you dry harvest stems. A thyme plant pruned twice a year produces more trimmings than one kitchen uses. Share the surplus with a neighbor.
8. Grow Thyme in Pots Without Drowning It
Use a pot with drainage holes and gritty mix. A saucer full of water kills potted thyme.
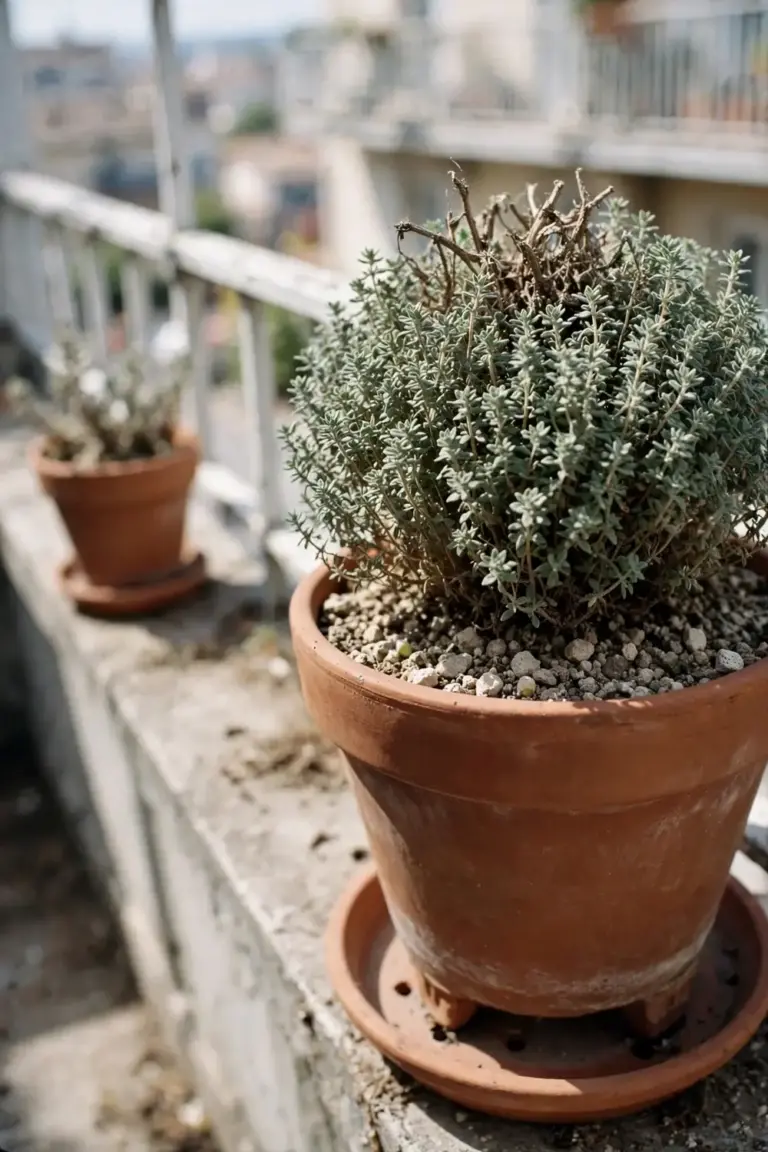
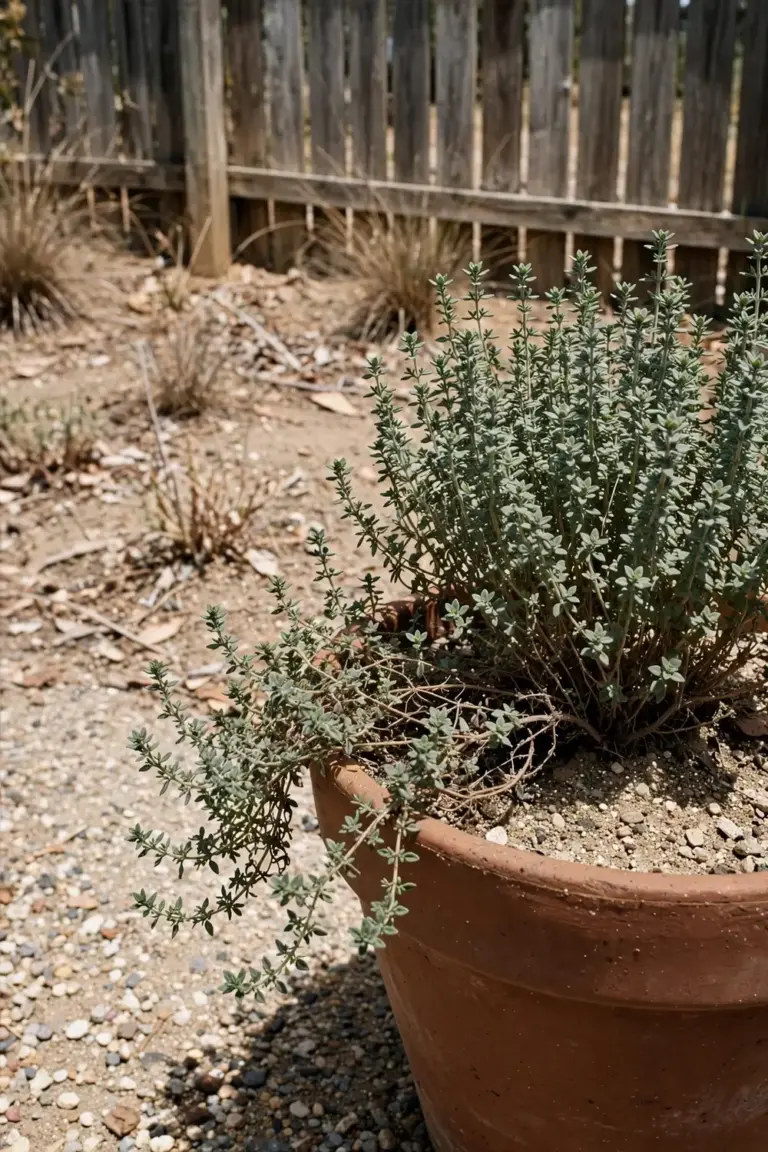
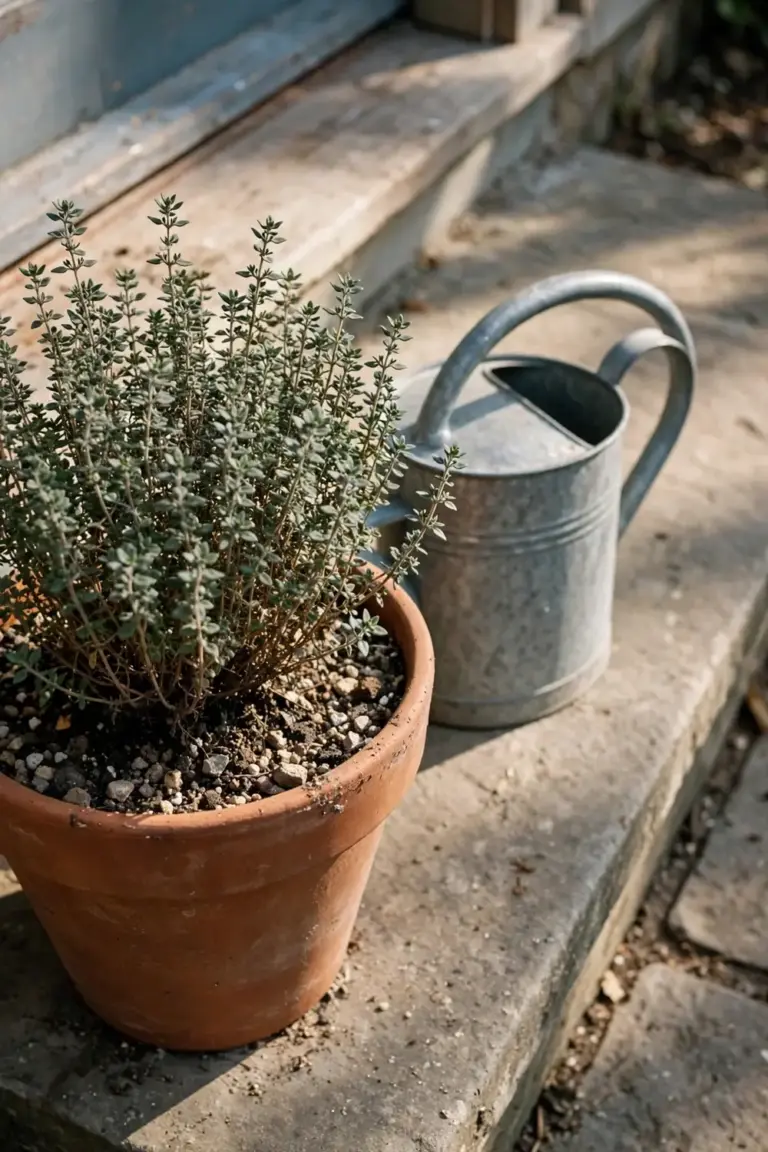
Pots suit thyme in humid zones and on balconies. Mix potting mix with coarse sand or perlite until it drains fast, and keep one plant per pot for airflow. Water only when the top layer feels dry. Empty the saucer after watering, because a saucer full of water keeps the roots wet for days.
Terracotta dries faster than plastic. Move pots under cover in long wet weeks. Potted thyme dries faster than bed thyme in summer, so check pots more often. The same dry-side rule applies. Wet feet kill potted thyme first.
Mix one part potting mix with one part coarse sand or perlite for the pot. That ratio drains fast enough for thyme and still holds the plant upright. Set the pot on feet so water leaves the drainage holes. A pot sitting flat on a saucer holds water against the base. In winter, move pots against a sunny wall. The wall radiates heat and blocks the worst rain.
Repot when roots circle the pot. Tip the plant out and look at the root ball. Roots circling the base mean the pot is too small. Move up one pot size, not three. A pot far too big holds wet mix around small roots and rots them. Refresh the gritty mix at the same time. Old mix compacts and drains slower each year.
9. Beat Root Rot, Mildew, and Spider Mites
Fix drainage first. Most thyme pests and diseases start with wet soil and still air.
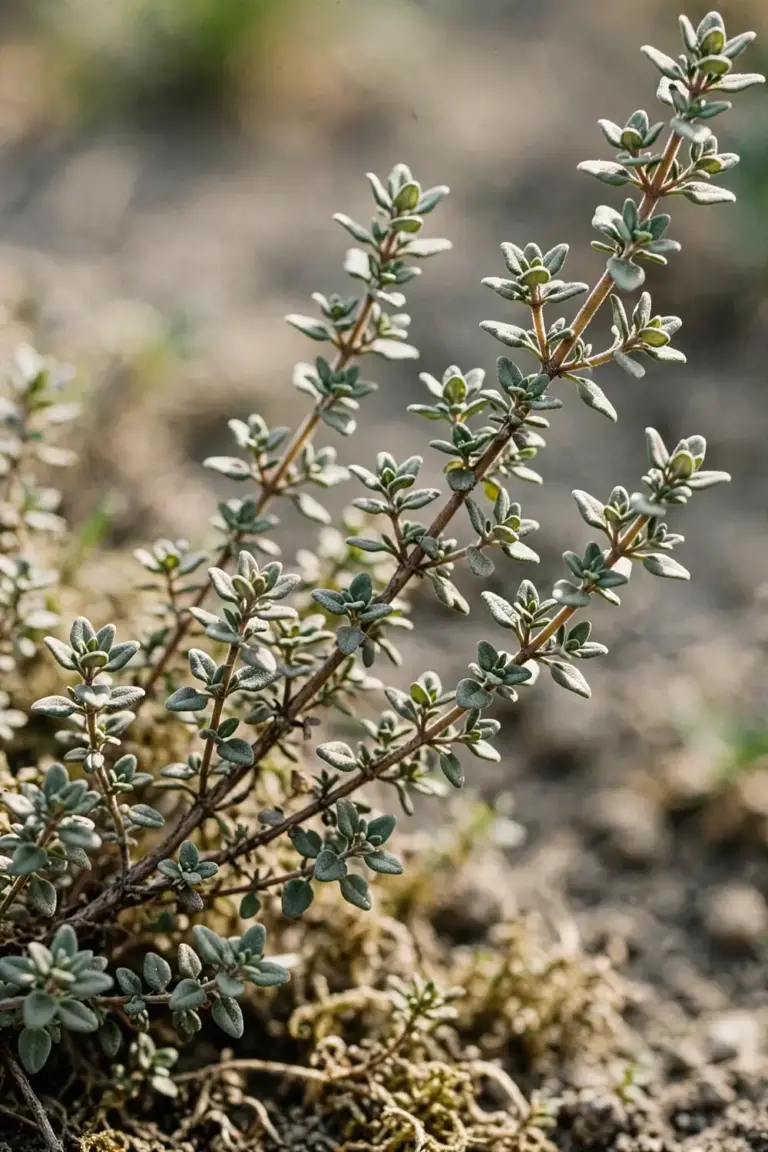
Root rot comes from overwatering or poor drainage, according to Holly’s Homestead. The fix is drainage, not spray. Lift the plant, check the roots, and replant in grittier mix if the roots look dark and soft. Water less after replanting.
Powdery mildew follows poor airflow, according to Holly’s Homestead. Give each plant room to breathe. Prune to open the center. Water the soil, not the leaves, and mildew fades once air moves and leaves stay dry.
Prevention beats cure on every thyme problem. Space plants wide. Plant in full sun. Water the soil. Prune after flowering. Those four habits stop most root rot, mildew, and mite attacks before they start. A thyme plant grown dry and airy rarely needs any treatment at all.
Red spider mites attack stressed thyme, according to Country Connections’ thyme info sheet. Mites love hot, dry, dusty leaves. A firm jet of water knocks them off. Healthy thyme in full sun with airflow rarely hosts mites.
Pull plants with black, mushy roots and start fresh. Severe root rot rarely reverses, and a rotting plant spreads trouble to its neighbors. Compost the pulled plant only if the pile runs hot. Otherwise, bin it. A fresh plant costs less than a season of nursing a dead one.
Inspect new plants before they join the bed. Check the undersides of leaves for mites and the base for soft stems. A sick plant from the nursery spreads trouble to healthy plants. Quarantine a doubtful plant in its pot for a week. Healthy plants pass the wait. Sick plants show it.
10. Harvest and Dry Thyme for Year-Round Use
Snip soft green stems before the plant flowers, then dry the stems in small bunches for year-round use.
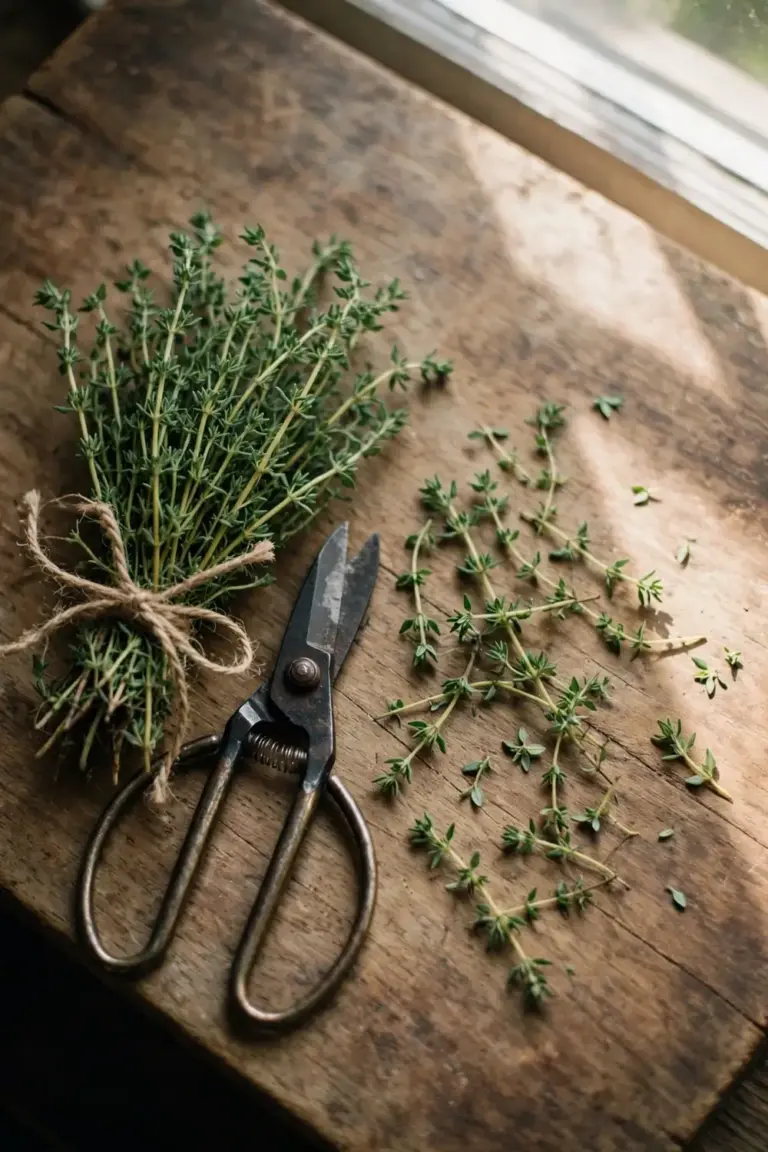
Harvest before the blossoms open for the best flavor, according to the University of California Marin Master Gardeners’ thyme guide. Ontario’s agriculture ministry gives the same timing, according to OMAFRA’s thyme production guide. Light picking starts at 8 to 10 weeks, according to Holly’s Homestead. A full harvest takes 80 to 120 days, according to The Seed Vine’s Thymus vulgaris profile. Ontario’s agriculture ministry records 105 days, according to OMAFRA’s thyme production guide. Gardenate lists 10 to 12 months to full harvest in temperate Australia.
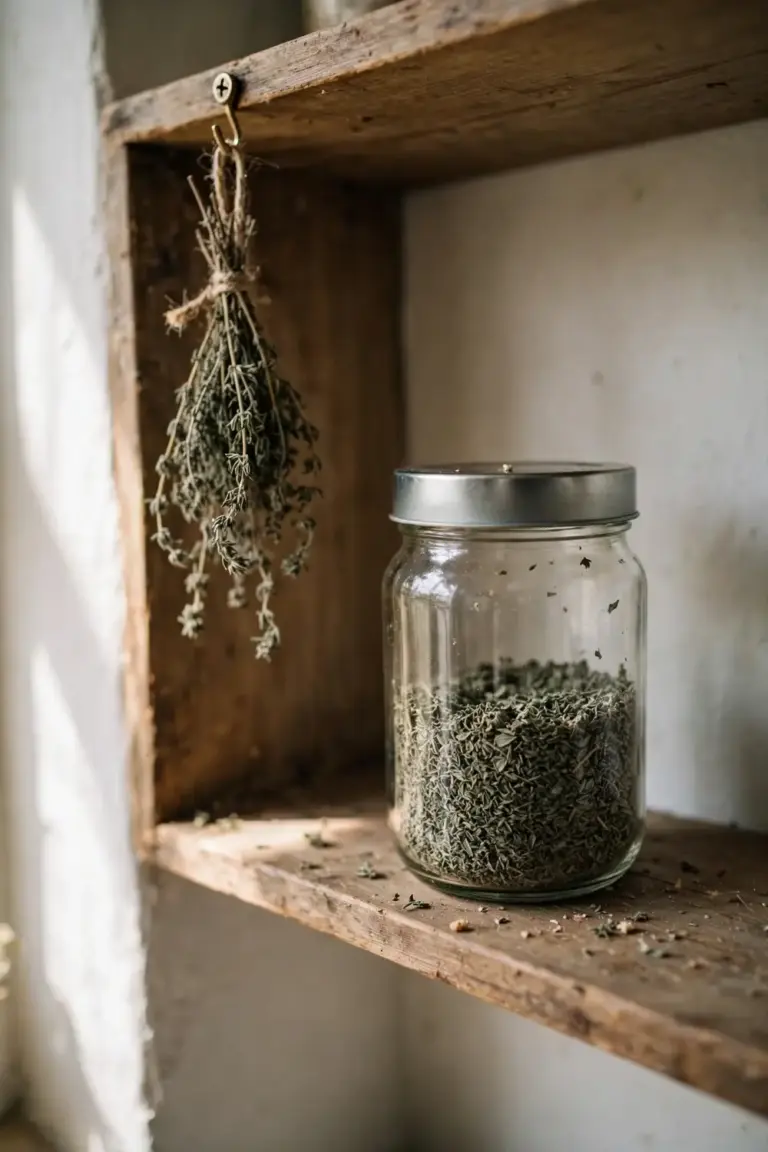
Snip sprigs as needed once the plant looks bushy. Leave the tough woody base, about the lowest 12.7 cm, uncut, according to the University of California Marin Master Gardeners’ thyme guide. Air-dry stems hanging in small bunches, according to Holly’s Homestead. Fresh sprigs keep 1 to 2 weeks in the fridge. Dried thyme keeps a year or more in an airtight jar, according to Holly’s Homestead.
Dry stems in a dark, airy spot. Sunlight bleaches the color and the flavor. Crumble the dried leaves into a jar once the stems snap. Label the jar with the year. Last year’s jar still seasons a stew, but fresh dried thyme carries more flavor. Grow one plant and the jar never empties.
Harvest follows the seasons. Spring growth is the strongest flush, and the first heavy harvest comes then. Summer growth stays steady, and light picking runs through the warm months. Winter growth slows, and the plant rests. Take less in winter. A plant stripped in winter has nothing left for spring.
Frequently Asked Questions
Yes, in pots. Thyme hates humidity, and pots drain faster than beds. Use gritty mix, full sun, and airflow. Move pots under cover in wet weeks. Treat tropical thyme as a pot plant, not a bed plant. Replace plants that rot at the base. Pots give tropical gardeners the drainage that beds cannot.
Overwatering is the usual cause. Wet soil rots roots while leaves still look green. Check drainage first. Let the soil dry between waterings. Cut out soft dark stems. Replant in grittier mix if the roots look dark. Woody brown centers on old plants are age, not disease. Replace old plants every few years.
Yes, on the brightest windowsill. Thyme needs full sun, so give it a north-facing window in Australia. Water sparingly. Indoor thyme grows slower and paler than outdoor thyme. Move it outside when the weather allows. A pot on a sunny balcony beats a pot on a dim sill. Rotate the pot weekly so all sides reach the light. A plant that never turns grows toward the window and thins on the dark side.
Thyme is a perennial. A plant lives for years, but the center turns woody with age. Prune after flowering to slow the woodiness. Divide or replace plants every few years. Holly’s Homestead advises replacing plants as they get woody. A fresh plant out-produces an old woody one.
Yes. Creeping thyme leaves work fresh or dried in cooking and tea. The flavor is milder than common thyme. Use more of it to match the flavor. Creeping thyme suits paths and ground cover first, cooking second. Grow common thyme when cooking is the job.
Start Growing Thyme in Australia This Weekend
Buy one pot plant this weekend and set it in full sun in gritty mix. Water it once, then leave it alone until the soil dries. That single plant teaches the whole thyme lesson. Thyme wants sun, drainage, and restraint. Give it those three things, and it feeds the kitchen for years.
The first harvest comes within months of planting. Light picking starts at 8 to 10 weeks on a pot plant. A full harvest takes 80 to 120 days. Mark the planting date on the pot. The calendar turns a vague wait into a date worth watching.