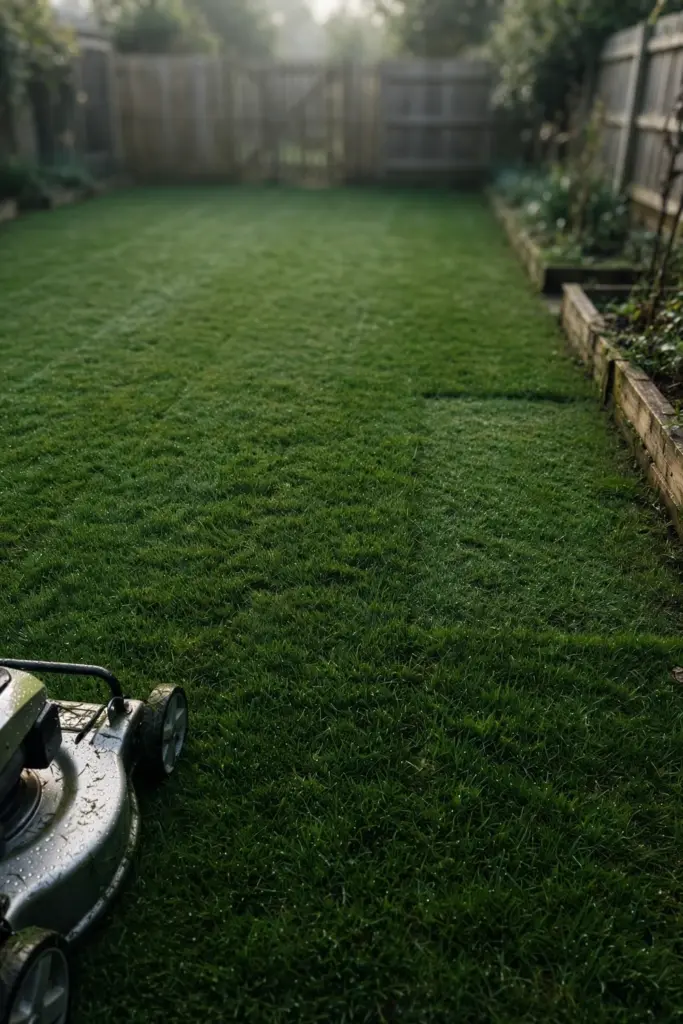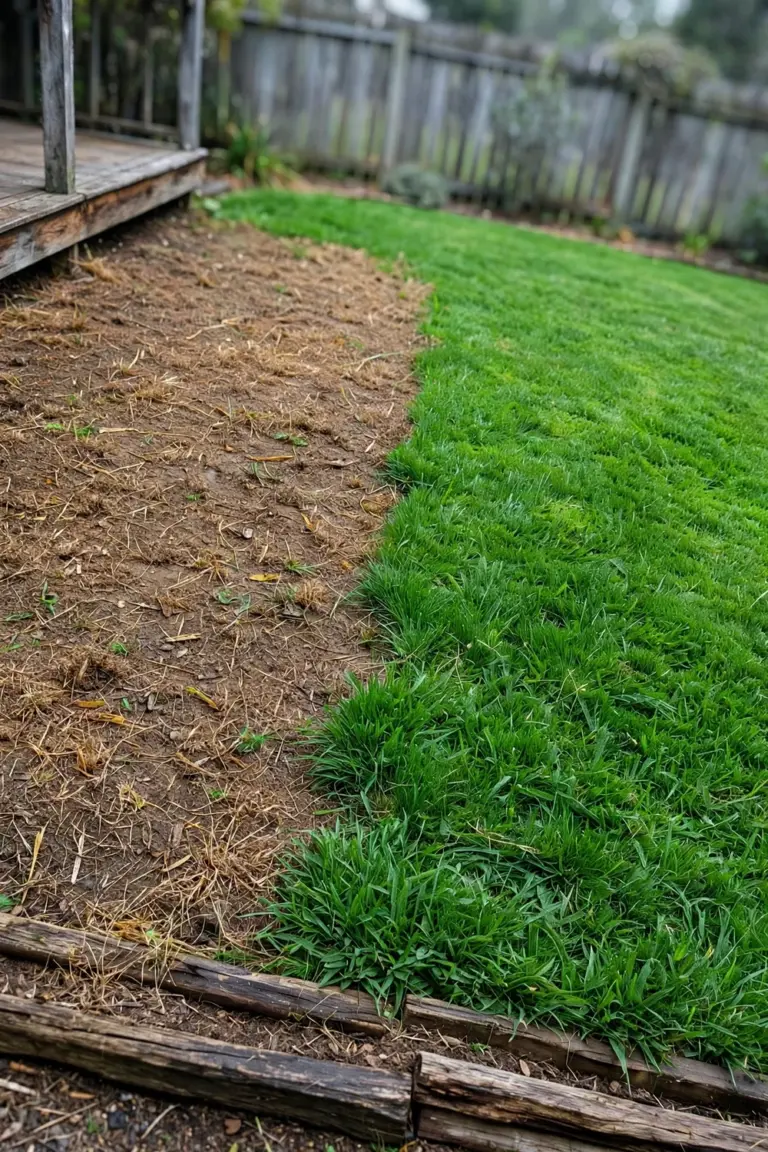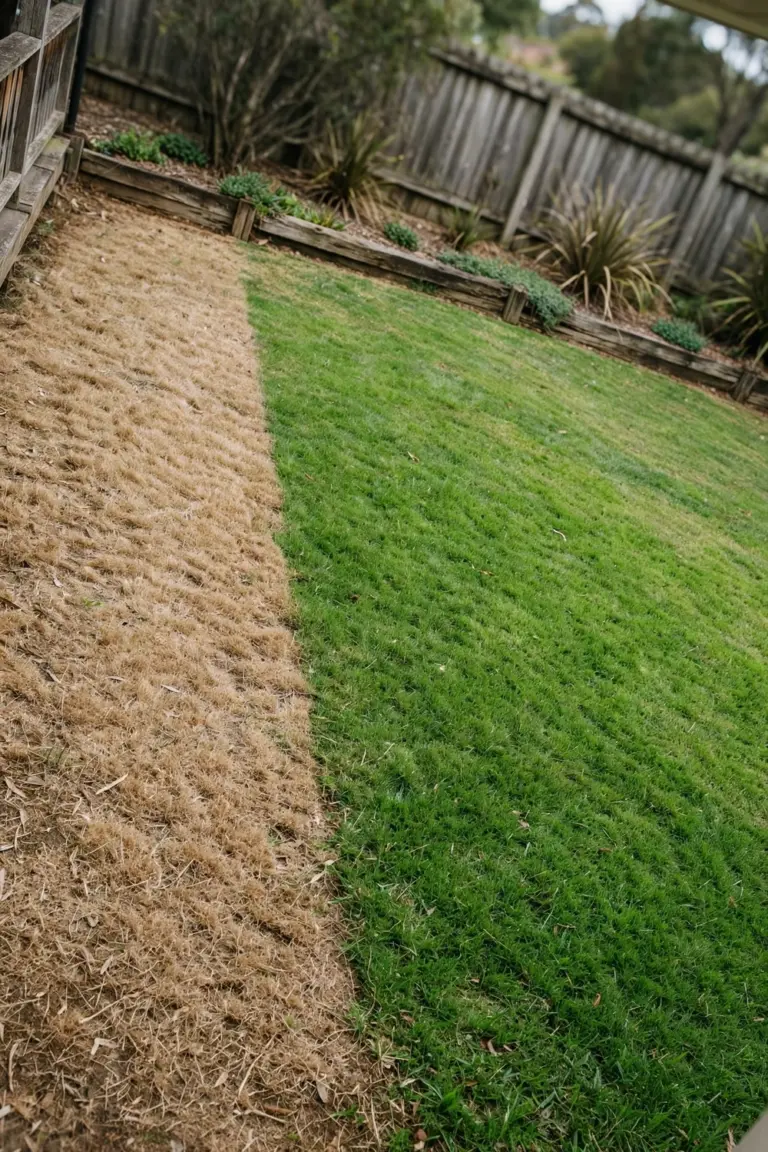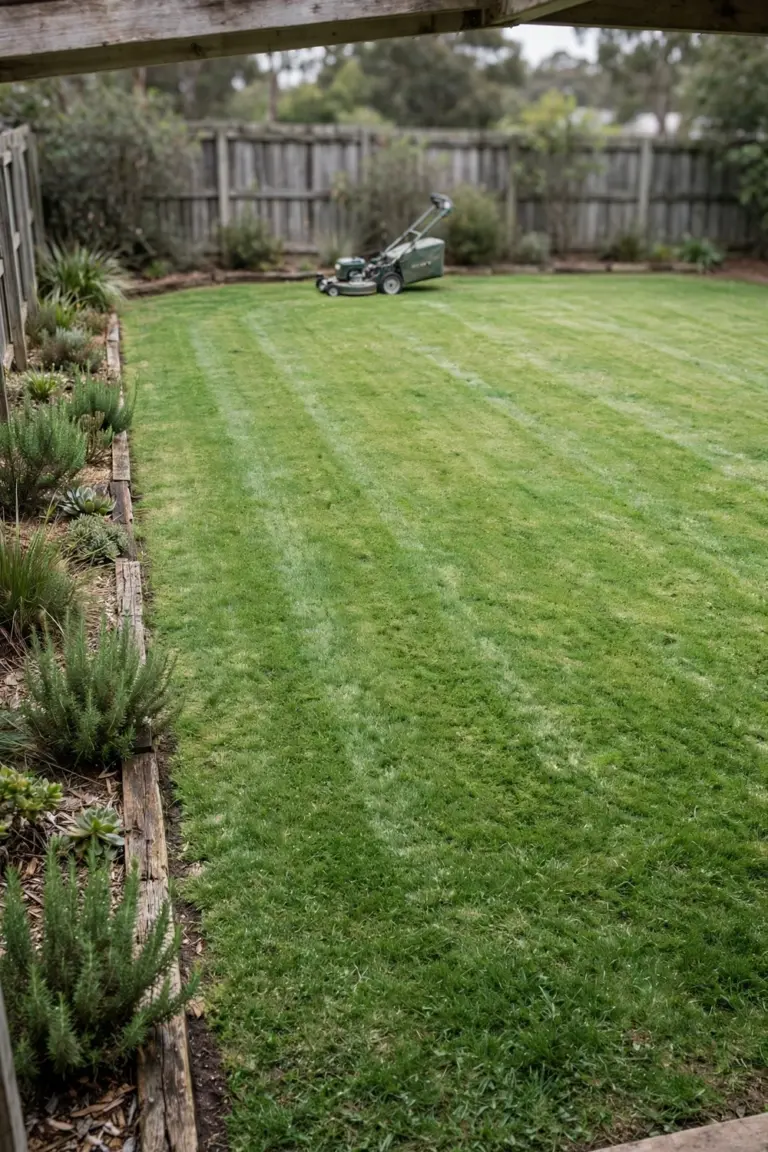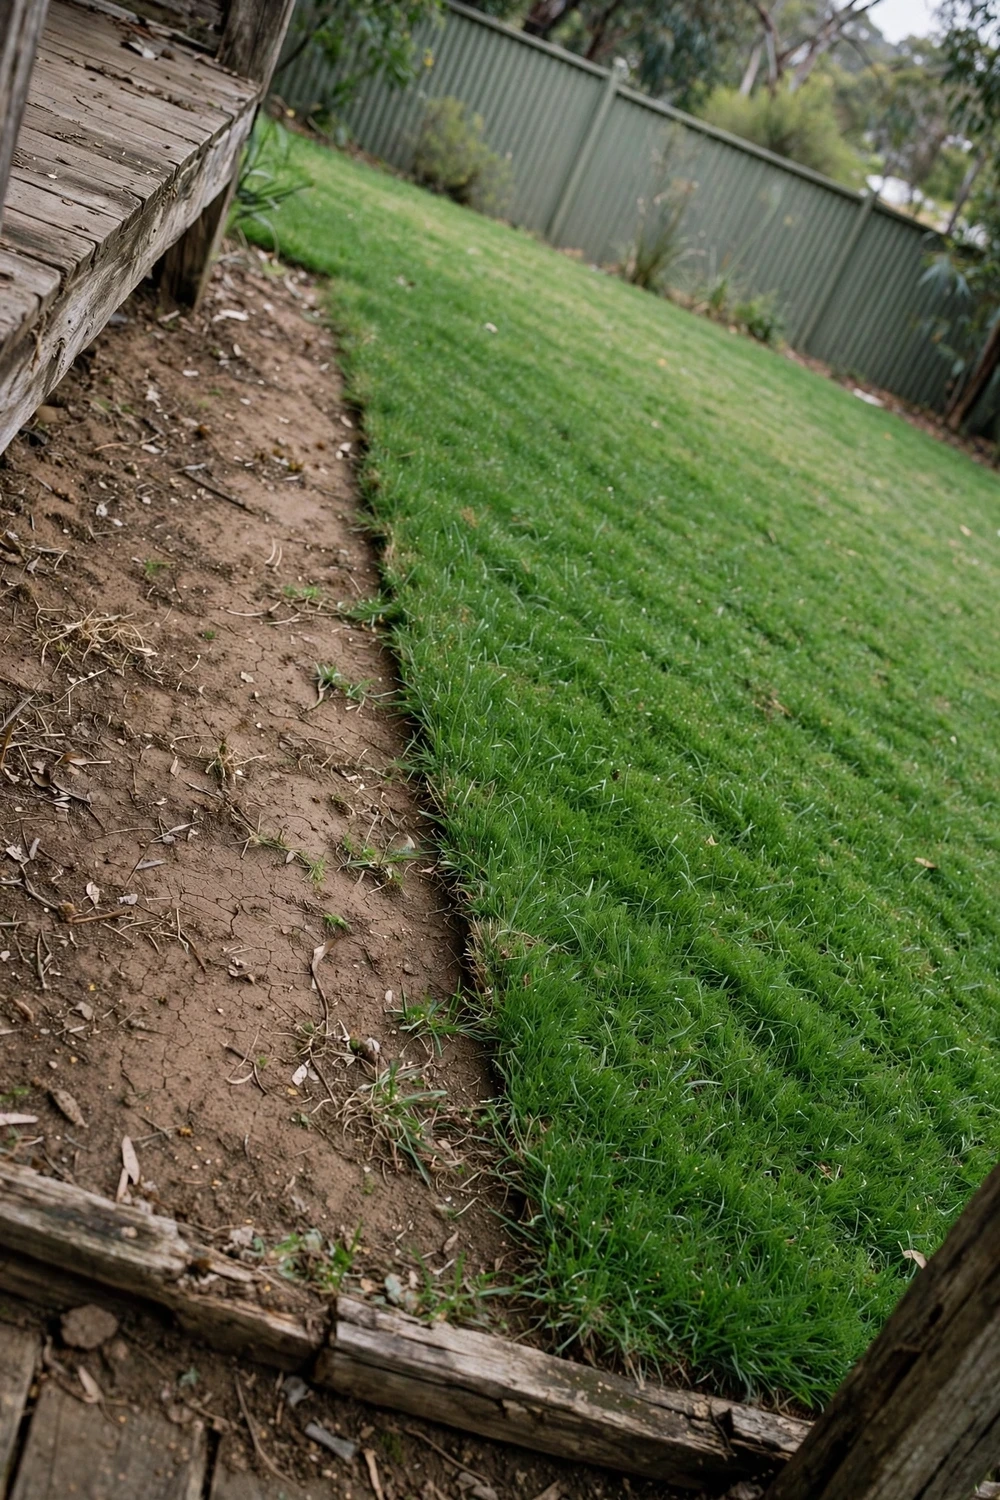

Learning how to fix a patchy thin lawn in Australia starts with two checks: what grass you have, and what made the patch. Fix the cause first, then pick one of four repairs: feed and wait, overseed, plug, or lay turf squares. Most turf patches root in 2 to 6 weeks, according to Lawn.com.au, and seed repairs need steady moisture until the seedlings hold.
I have learned that the cause decides the repair, not the size of the bare patch. The rest of this page is 10 repair moves, from the cause check to the redo call, plus a method table and an aftercare calendar.
Work in the active growing season. Repair in spring or early autumn for cool-season grasses, and in late spring or summer for warm-season grasses. Skip repair in winter dormancy. The grass will not establish while it sleeps.
1. Find the Cause Before You Repair One Patch
Find the cause before you repair one patch, because a repair laid over an unfixed cause fails again in the same spot.
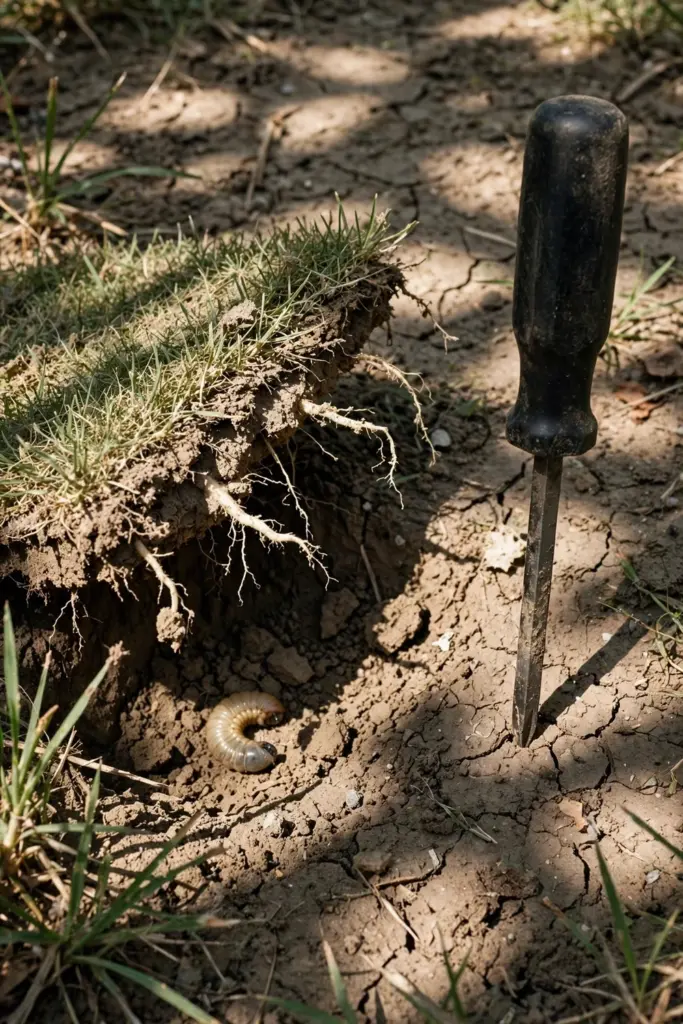
Start with two hands-on tests. Grip a handful of brown grass and tug hard. Roots that hold mean the grass is dormant and can recover, while roots that release mean the grass is dead and the patch needs new material. Next, push a screwdriver into the soil at the patch edge. A screwdriver that stops in the top 5 cm points to compaction, and compacted ground needs aeration before anything else.
Then check light, pets, and pests in one pass. Measure the sun on the patch. A patch under 3 hours of direct sun stays thin no matter how much seed you sow, and Buffalo tolerates as little as 3 to 4 hours, per Lawn Solutions. Yellow centers with green rings point to dog urine, so flush fresh spots with water. Lift a 30 cm square of turf at the patch edge and look for grubs. Grubs mean the repair waits until the grubs are dealt with.
Run the cause check when the lawn is actively growing. A check in dormancy misleads, since dormant grass looks dead everywhere. A check after rain helps too, because wet ground shows drainage patterns and dry ground shows hydrophobic patches. Note what you find. A repair that starts from notes beats one that starts from memory. Compare patches across the yard before you decide. Patches that share one pattern share one cause, and one fix covers them all. Patches that differ need separate repairs, so treat each patch on its own evidence.
Read the shape of the patch before you touch it. A ring of green around a dead center points to dog urine or a fungal patch. A straight line of bare ground follows a mower wheel, a hose path, or a buried obstacle. A patch that fades in from the edges points to shade or thinning, while a patch with a sharp edge points to something spilled or scorched. The shape narrows the cause faster than any product label.
2. Choose the Repair Method That Fits the Patch
Choose the repair method by grass type and patch size, not by what looks fastest.
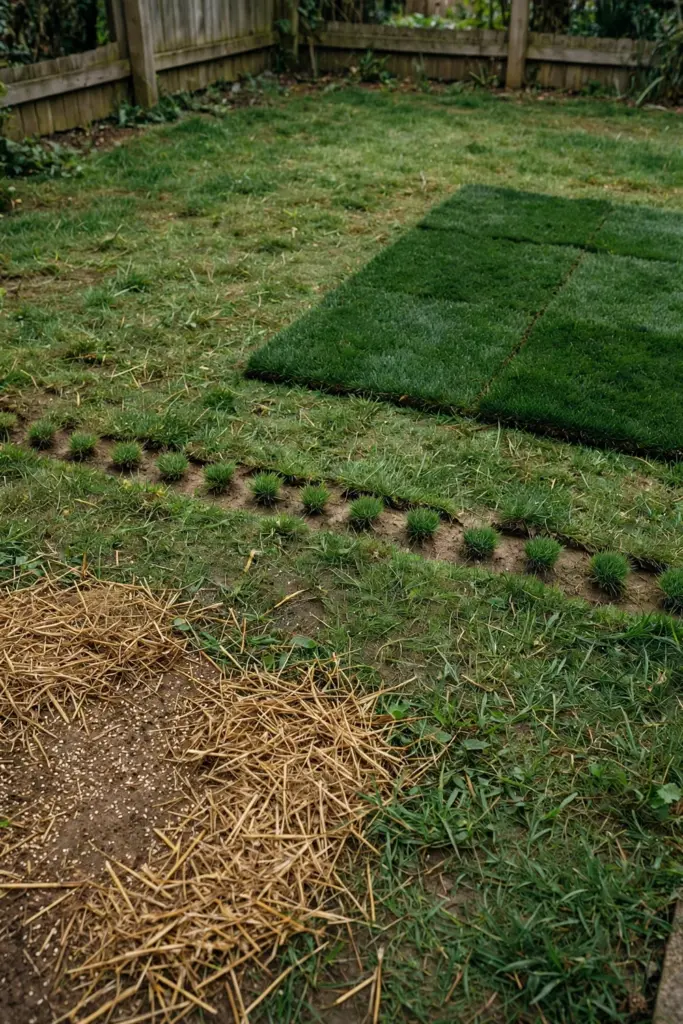
Warm-season grasses spread sideways on runners. Couch, kikuyu, and Buffalo creep into neighbouring bare ground when fed and watered, so small thin areas often recover without seed. Cool-season grasses clump instead of creeping, so thin or bare cool-season lawns need seed. Buffalo needs special handling. There is no buffalo lawn seed on Australian shelves, according to Bunnings, so Buffalo repairs use plugs or turf.
Match the method to the season as well as the patch. Seed and plugs need active growth to root, so a repair laid in the shoulder seasons beats one laid in midsummer heat or winter dormancy. A turf square carries its own roots and tolerates a wider window, which makes it the right call when the calendar is against you. When two methods both fit, pick the one you will actually water. A cheap repair watered daily beats a dear repair left to dry. Cost follows the same logic. Seed costs least and asks most watering. Plugs cost little and ask patience. Turf squares cost most per patch and ask least waiting.
| Method | Best For | Time to Cover |
|---|---|---|
| Feed and wait | Small thin areas in runner grasses | Several weeks of active growth |
| Overseed | Thin areas and small bare patches in seeded grasses | Visible results in 2 to 4 weeks, per McKays |
| Plugs | Buffalo and Couch gaps of any size | One growing season of spreading |
| Turf squares | Large bare patches in any grass | Roots in 2 to 6 weeks, per Lawn.com.au |
| Full re-turf | Dips deeper than 5 cm, or more bare ground than grass | One day to lay, weeks to root |
Spring is the usual repair window for most Australian lawns, and the spring lawn care tips guide sets out the season. Pick the method from the table, then prepare the patch before any seed or turf goes down.
3. Prepare the Patch So Seed or Turf Takes
Prepare the patch before any seed or turf goes down, because seed on hard, dry ground washes away or dries out.
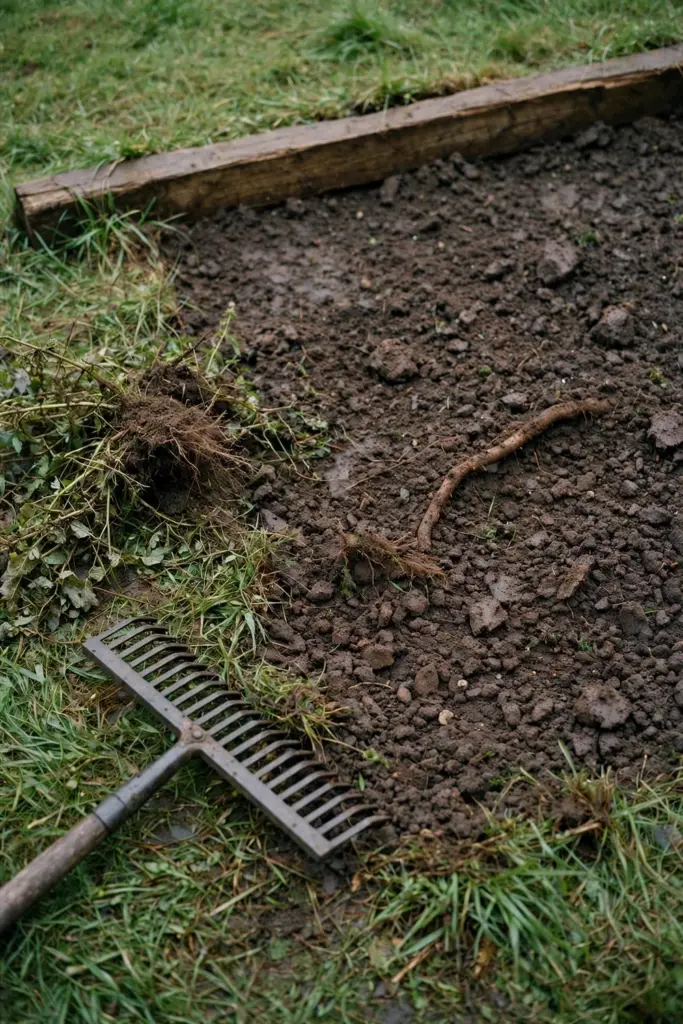
Clear the patch first. Rake out dead grass, weeds, and stones with a lawn rake, then loosen the top 2.5 cm with a fork or rake. Healthy soil holds the repair, and the soil health guide covers tests and structure for ground that keeps failing. Level the surface with fine topsoil so water does not pool in the hollow. A soil test helps when patches keep returning in the same ground. The test shows pH and nutrient levels, and the result tells you whether the patch needs lime, feed, or nothing at all.
Aerate ground that resists the screwdriver. A core aerator pulls plugs about 1.3 to 1.9 cm in diameter, 5.1 to 10.2 cm deep, and 5.1 to 15.2 cm apart, according to the University of Maryland Extension aeration guide. Aerate only when the grass is growing vigorously, and repeat every 1 to 2 years on lawns under heavy foot traffic. Leave the plugs on the surface. The plugs break down within weeks.
Treat dry patch before seeding. Soil that sheds water stays dry under the seed, and Lawn Solutions pairs a wetting agent with irrigation for this exact problem. Apply a liquid or granular wetting agent, then irrigate it in. Top-dress with a light layer 0.3 to 1.0 cm deep when seeding or overseeding, per the Cornell topdressing guide. For levelling, fill dips, water in, let the fill dry, then top-dress, per McKays. Dips deeper than 5 cm need digging out plus reseeding or resodding, per McKays, because a buried lawn dies under the fill. Pull weeds from the patch before any repair goes down. Weeds left in the patch compete with seedlings for water and light, and a weed that sets seed in the repair spreads across the lawn. Hand-pull the weeds, roots and all, and clear the debris before seeding or laying turf.
4. Overseed Thin Areas and Small Bare Patches
Overseed thin areas and small bare patches with the same grass type as the existing lawn.
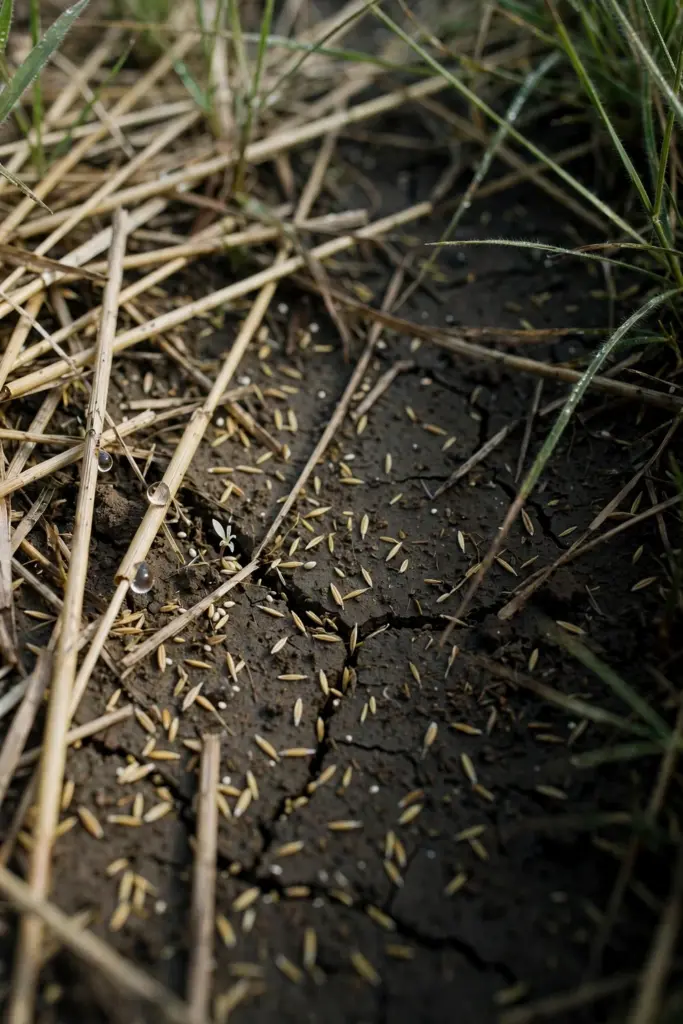
Work the seed into prepared soil. Rake up dead grass and loosen at least the top 2.5 cm of soil, then sprinkle seed over the area, taking care against seeding too heavily, per the University of Maryland Extension renovation guide. Tamp the area with the back of a steel rake and mulch lightly with straw. Water with a fine mist spray. Keep the area moist until the grass establishes. The straw holds moisture and shields seed from birds, and it breaks down under the mower.
Sow at the pack rate, or slightly heavier for repairs, per McKays. Seed-to-soil contact decides germination, so rake the seed in lightly and cover with the thin top-dress layer from step 3. Heavy water washes seed into low spots and leaves clumps, so water gently. Overseed in spring or autumn, per About the Garden, when the grass is actively growing. Check the seed label before you buy. The label names the grass type and the mix, and a blend with a fast short-lived grass plus a slow permanent grass greens fast and lasts. Match the label to the lawn you already have, because a mismatched lawn shows two colors all season.
Water lightly and often for 2 to 3 weeks, per McKays, then shift to deeper and less frequent watering. McKays reports visible overseeding results in 2 to 4 weeks. Mow for the first time at 5 to 7 cm, taking only the top 2 cm, per Bunnings. A first cut that scalps the seedlings sets the repair back weeks. Birds steal seed from open patches. Straw mulch covers the seed and slows the birds, and a light net draped over the patch works when straw is scarce. Lift the net once the seedlings hold, so the mesh never traps a bird. Give germination time. Seed that looks dead in week one often sprouts in week two, and a repair dug up too early wastes the seed that was about to emerge. Judge the repair by the seedlings you can see, not by the bare soil between them.
5. Plant Plugs and Runners Into Buffalo and Couch Gaps
Plant plugs and runners into Buffalo and Couch gaps, because these grasses spread sideways and fill from a planted piece.
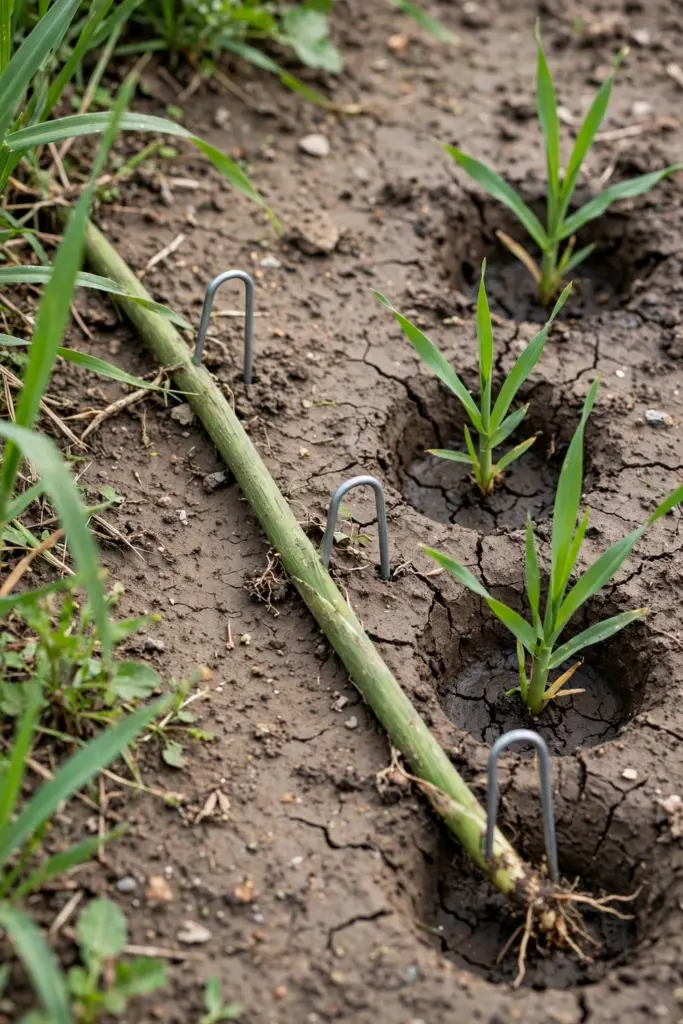
Buffalo plugs go into prepared holes in the bare ground. Firm each plug into the soil so the roots meet moist earth, then water the plugs in. Space plugs close enough that the runners meet within one growing season. Couch plugs work the same way, since Couch spreads by above-ground stolons and below-ground rhizomes. Cut plugs from a healthy corner of your own lawn when bought plugs are scarce. A 5 cm plug cut with a sharp spade carries enough roots to establish, and the donor spot fills back in within weeks when fed and watered.
Runners offer a free repair when the lawn edge is healthy. Peg a healthy runner from the lawn edge into bare soil, pin it with wire pegs, and keep it moist. The runner roots at the nodes and sends new shoots across the gap. This method suits Buffalo well, since Buffalo spreads on above-ground stolons alone and repairs more slowly than Couch or kikuyu.
Water plugs and pinned runners until they hold. Check the soil daily in the first week, then taper as the runners grip. A plug that dries out in its first days dies in the hole, so the watering habit matters more than the planting day. Feed plugs lightly once they show new growth. A small feed at that point pushes runners outward, while a heavy feed before rooting burns the plug. Mow around the plugs, not over them, until the runners meet.
6. Lay Turf Squares Over Large Bare Patches
Lay turf squares over large bare patches when seed would take too long or wash away.
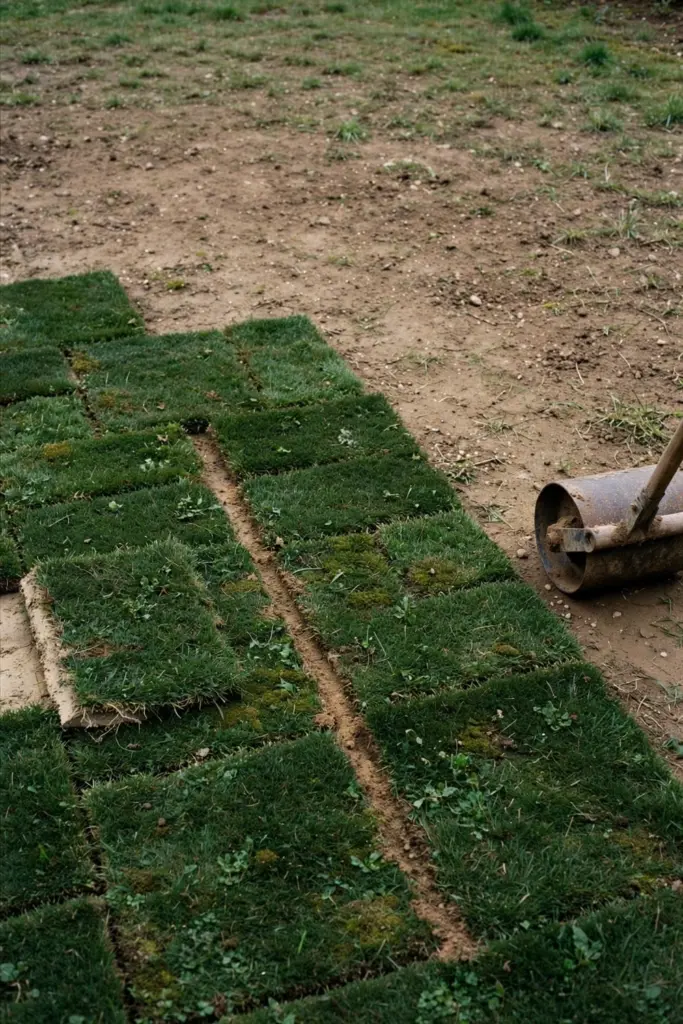
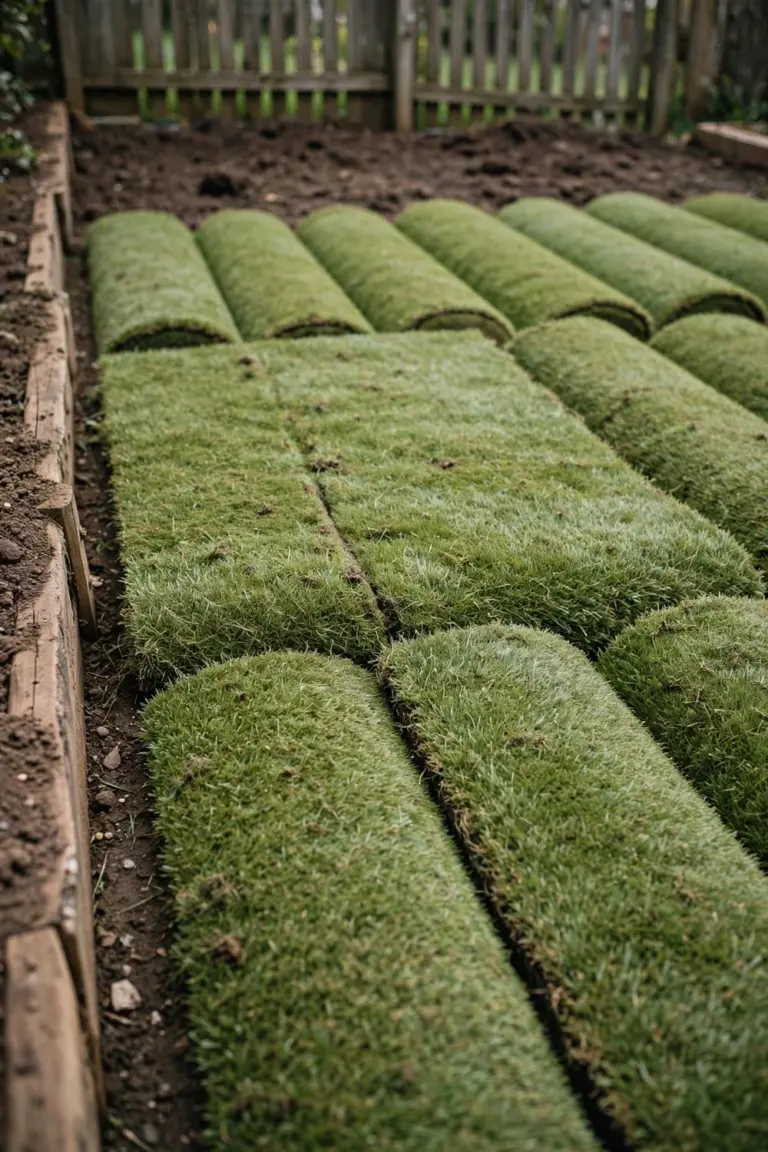
Cut each turf square slightly bigger than the patch, then cut out the same-sized ground beneath it. Loosen the soil, lay the square level, and dress the sides with topsoil or compost. Water the square well on the day it goes down. Lawn.com.au puts rooting at 2 to 6 weeks, and a square that rocks underfoot needs more firming before it roots. Buy turf the same type as the existing lawn, and lay it the day it arrives. Turf on a pallet dries fast, and a square laid a day late starts behind. Check each square before laying. A square with moist soil underneath and green blades on top is fresh. A square with dry soil and yellowing blades is already stressed. Firm each square after laying. Press it down by foot or roll it so the roots meet the soil with no air pocket beneath. A square with air under it dries from below and never roots.
Watering decides whether turf squares live. Water immediately after laying, and keep the soil soft underfoot for the first week, per the Mississippi State University Extension sod guide. Sod starts to tack down within a week during peak growing conditions. After that first week, daily irrigation should suffice. After 2 to 3 weeks, irrigation can drop to every other day. Stagger the seams like brickwork so erosion cannot run down a straight channel. Order a little extra turf to cover trimming and waste.
7. Water the Repair In and Keep It Moist
Water the repair in on the day you lay it, then keep the top layer moist until the roots hold.
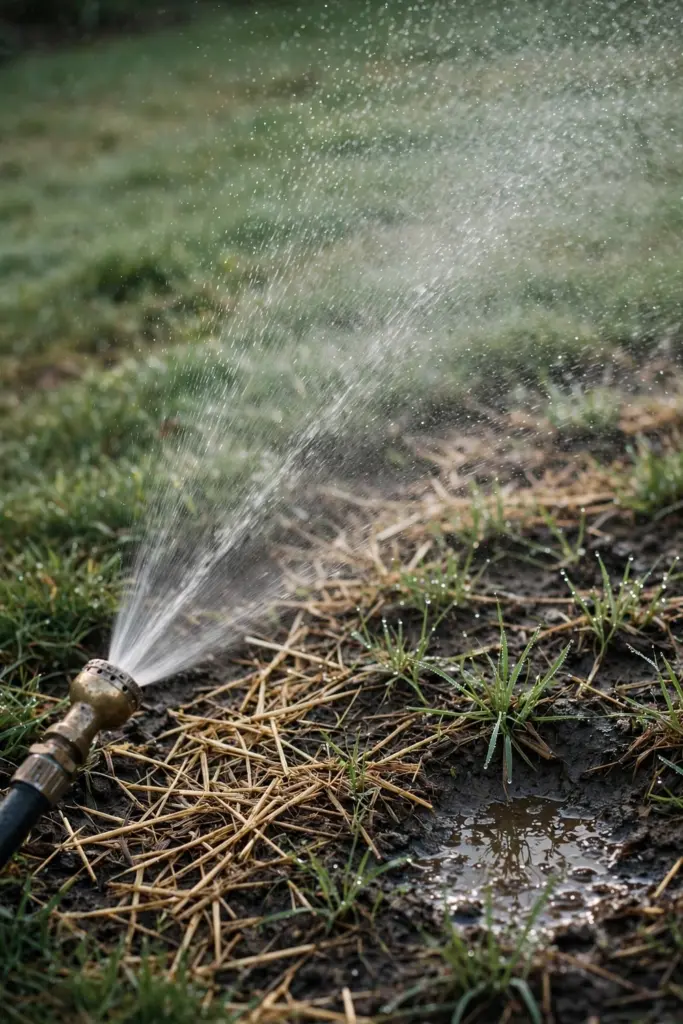
Seed and turf want different schedules. Seed wants light, frequent water for 2 to 3 weeks, per McKays, then a shift to deeper watering. Turf wants daily water for 1 to 2 weeks, per Wirri, then the same shift. The Mississippi State schedule from step 6 gives the same pattern: daily in week one, every other day after 2 to 3 weeks, then deep and infrequent.
Shift to deep watering once the repair holds. Deep, infrequent water trains roots downward, and Seasol pairs it with early-morning watering for less evaporation and less fungal risk. Check moisture with a screwdriver. A screwdriver that pushes to the handle and comes out cool or moist means the soil holds enough water. A screwdriver that stops hard means the patch needs water now.
Watch for the two watering failures. Soil that stays soggy and smells sour is overwatered, and the fix is to skip a day and let air back in. Soil that pulls away from the patch edge and turns pale is underwatered, and the fix is a slow soak that wets the full root zone. Rain changes the schedule. A week of steady rain means the sprinkler stays off, while a hot dry week means the repair gets water even when the rest of the lawn waits. Measure what the sprinkler delivers. A tuna can set on the patch shows the depth in minutes, and the Mississippi State guide uses pie pans or tuna cans to calibrate irrigation the same way. Hand watering suits a single patch better than a sprinkler. A hand-held hose puts water exactly where the repair sits, while a sprinkler wets the whole lawn and the path beside it. A watering can works for a patch the size of a dinner plate.
8. Feed Lightly and Mow High for the First Cut
Feed lightly after the repair takes, and mow high for the first cut so seedlings and new turf are not scalped.
Feed the whole lawn after the repair, not the patch alone. Lawn Solutions pairs an NPK fertilizer with irrigation after dry-patch repair, and the same habit suits any patch repair. Follow the label rates on any bought fertilizer. Spring feeding follows the best time to fertilize lawn in spring guide, which sets the season for the feed. NPK on the bag names nitrogen for leaf growth, phosphorus for roots, and potassium for stress tolerance. A balanced feed suits a repair, while a heavy nitrogen feed pushes soft growth that heat burns first.
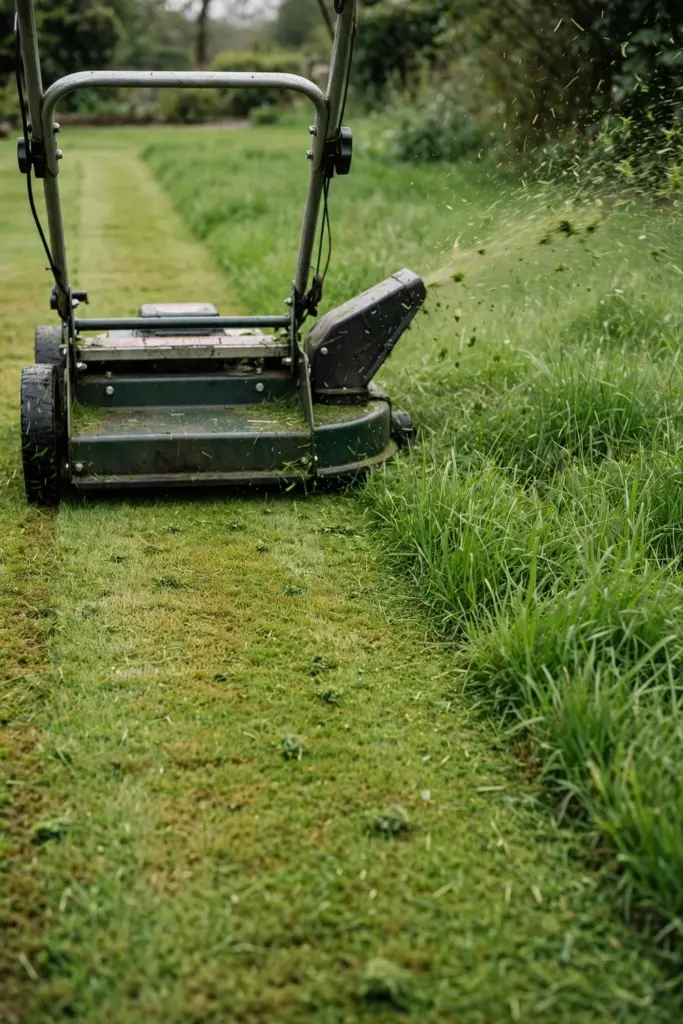
Mow high at the first cut. Take only the top 2 cm when the grass reaches 5 to 7 cm, per Bunnings. A mower that scalps the repair tears seedlings out by the roots. Keep the blades sharp. Small Brother Melbourne lists sharp blades with proper mowing height and a steady watering schedule as the habits that stop patchiness from returning. Mow in a different direction each cut so the wheels never ride the same line. Skip mowing when the ground is wet, since wet wheels tear seedlings and rut soft soil.
9. Keep Feet and Paws Off Until the Repair Holds
Keep feet and paws off the repair until it holds, because one game of fetch undoes a week of rooting.
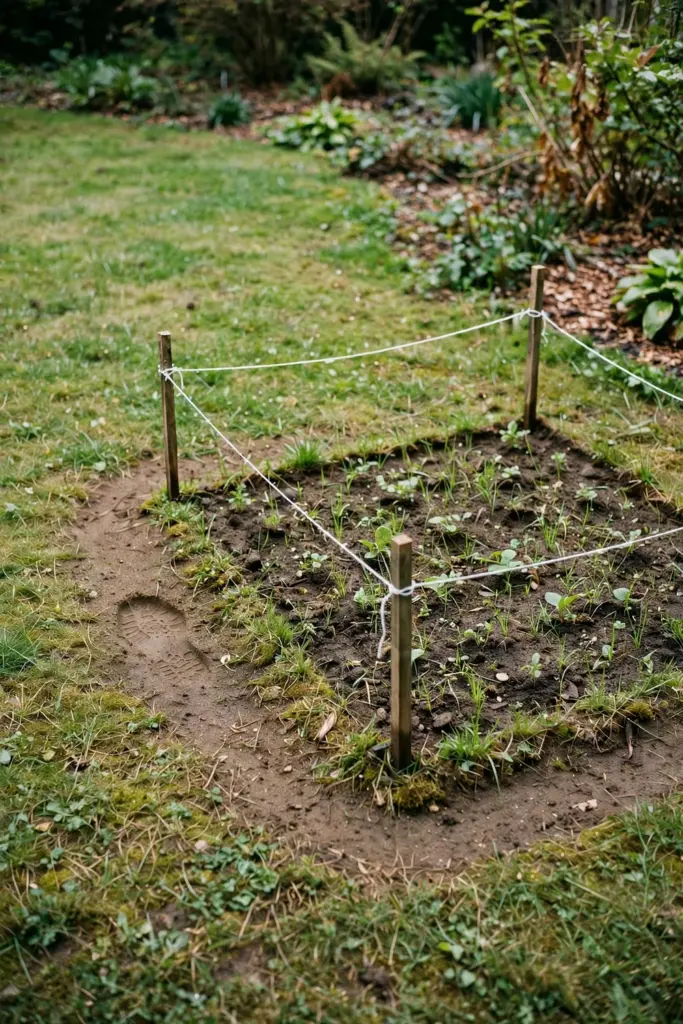
Rope the patch off and redirect traffic around it. Move bins, play equipment, and the washing line path off the repair while it roots. Flush fresh dog urine spots with water so the salts do not burn the new growth. Pets learn a new path in days when the old one is blocked. A temporary fence of stakes and string costs little and saves the repair from one careless shortcut. Children and dogs read a rope barrier better than a bare patch, and the barrier comes down when the roots hold.
| Week | Seed Repair | Turf Repair |
|---|---|---|
| Week 1 | Keep moist with light, frequent water | Keep moist, soil soft underfoot |
| Weeks 2 to 3 | Taper to deep watering | Water every other day, check tack-down |
| Week 4 | First mow at 5 to 7 cm, top 2 cm only | First mow when the square resists a gentle tug |
| Week 6 | Feed lightly, resume normal mowing | Resume normal mowing |
A repair that still lifts at week 4 needs more time. Wait another week, then test again. Traffic returns when the roots hold, not when the calendar says so.
10. Decide When to Redo a Repair or Start Over
Redo a repair when the cause is fixed and the patch is still bare after one full growing season. Start over when the soil or the grass itself is the problem.
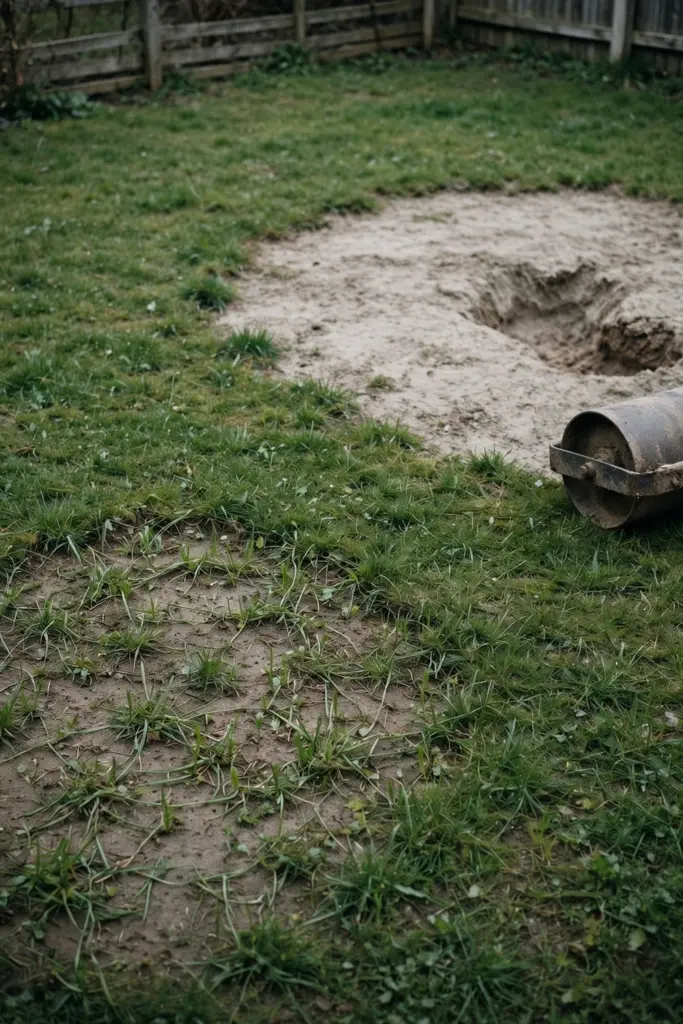
Redo the same method when the first attempt failed on watering or timing. A patch that dried out in week one fails for lack of water, not for lack of seed. Fix the watering habit, then reseed or re-plug the same patch. A patch that keeps failing in the same spot points back to the cause check in step 1.
Live with a patch that is slowly filling. Runner grasses close small gaps over a season, and a second repair on ground that is already closing wastes seed and effort. Watch the edges. Runners reaching into the gap mean the lawn is doing the work.
Start over when the ground will not hold a repair. Dips deeper than 5 cm need digging out plus reseeding or resodding, per McKays. Ground that is more bare than grass, or soil that stays hard and dry after aeration and wetting agent, needs a full re-turf across the whole area, not another patch. A full lay is a different job from a patch repair, and it starts with the same soil preparation in step 3. Call a turf professional when the job outgrows a weekend: large areas, drainage work, or soil that needs replacing all sit past the patch-repair line. A pro quotes the full lay, and the quote tells you whether the patch approach was ever going to work. Keep the quote beside the repair table when you decide.
Frequently Asked Questions
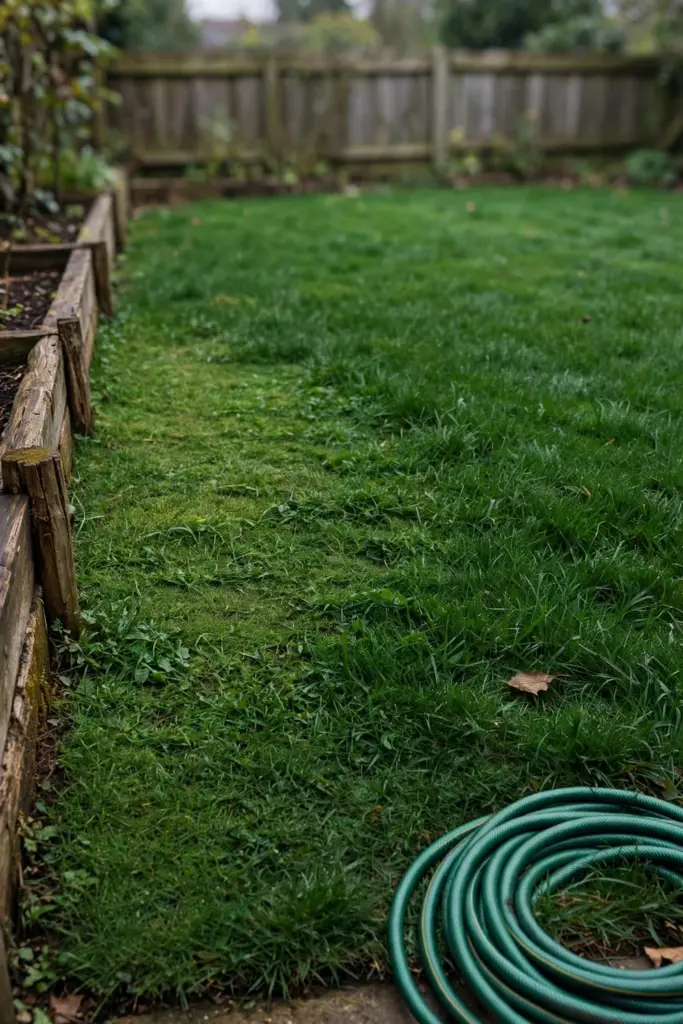
Scatter seed only after preparing the ground, because seed on hard, dry soil dries out or washes away. Rake out dead grass, loosen the top 2.5 cm, and rake the seed in lightly. Cover with a thin top-dress layer and water gently. Seed-to-soil contact decides germination, so a bare scatter onto unprepared ground wastes most of the pack.
Walk on seed repairs after the seedlings hold, usually from week 3 onward, and keep traffic light until the first mow. Walk on turf squares once they tack down, within about a week in peak growing conditions, and test by tugging a corner. A square that lifts needs more time. Heavy traffic, games, and pets stay off both repairs until the roots hold firm.
A repair fails in the same spot when the cause stayed in place. Compaction, shade, grubs, dog urine, and hydrophobic soil each kill new growth the same way they killed the old grass. Run the cause check in step 1 again, fix what you find, then redo the repair. Seed and turf cannot outgrow an unfixed cause.
No. There is no buffalo lawn seed on Australian shelves, according to Bunnings, so Buffalo repairs use plugs or turf. Plant plugs into prepared gaps, or lay turf squares over large bare patches. Buffalo spreads on above-ground stolons, so planted plugs and runners fill the gap over one growing season when watered and fed.
Yes, when the grass is actively growing and you can keep the repair moist. Warm-season grasses repair well in summer, since heat drives their growth. Seed repairs in midsummer heat need daily water and shade from the worst afternoon sun. Turf squares suit summer better than seed, since they carry their own roots. Skip repair in a heatwave. Wait for a cooler stretch, then lay the repair.
Repair during active growth, in spring or early autumn for cool-season grasses and in late spring or summer for warm-season grasses. Overseeding suits spring or autumn, per About the Garden. Skip repair in winter dormancy, since dormant grass will not establish. A repair laid in dormancy sits through winter and fails in spring.
Start With One Patch This Weekend
Start with one patch this weekend. Run the cause check, pick the method from the table, and repair the worst patch first. One patch repaired well teaches the whole lawn. The rest follows the same steps. Photograph the patch before you start, then photograph it again at week four. The two photos show what the daily glance misses, and they tell you whether the next patch needs the same method or a different one. A lawn that was patchy in spring can look even by autumn when each patch gets the repair its cause demands.