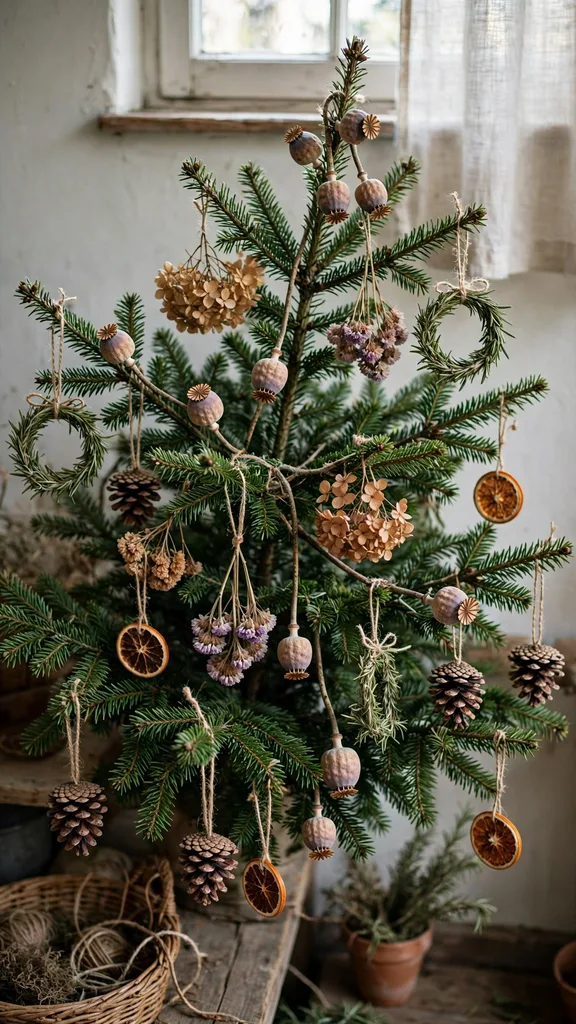
Every ornament in this list grew in a garden first: dried flowers, seed heads, pinecones, herbs, and leaves you grew, dried, and hung yourself. None of them needs a craft shop beyond twine, wire, and glue, and most come together in 5 to 10 minutes once the drying is done. The honest work happens in summer and autumn, when the flowers and pods are picked at the right moment and dried properly; December is just assembly. Work through the five groups in order and you will have a tree dressed entirely from the garden, plus spares for gifts.
Dry everything before it becomes an ornament. Flowers and herbs dry hanging upside down in small bunches in a dark, airy room for two to three weeks; seed heads and cones dry spread on trays; citrus dries in a low oven. Ornaments made from half-dry material mold in storage, so the patience rule runs through every item below: if it still feels cool and heavy, it is not ready. I keep a labeled box per material through autumn, and by December the tree decorates itself out of those boxes.
| Need | Pick | Why |
|---|---|---|
| Fastest ornament | Item 19, Pinecone on a Jute Loop | Twine, glue, two minutes |
| Longest lasting | Item 8, Honesty Silver Discs | Years in storage, no fading |
| Best scent | Item 28, Rosemary Mini Wreaths | Fresh herb scent for weeks |
| Most giftable | Item 33, Dried Orange Slices | Light, flat, posts safely |
| Best for birds | Item 24, Pinecone Suet Ornaments | Decoration that feeds the garden |
The first nine ornaments come from the dried flower box: blooms picked in summer, dried in the dark, and wired or glued into hangable form.
1. Globe Amaranth Baubles
Globe amaranth dries on its own stem with its color intact, which makes it the easiest dried flower ornament in the garden: pick the round heads in summer, dry the bunch, and cluster three heads on a wire stem twisted into a hanging loop. The papery balls read as miniature baubles from across the room.
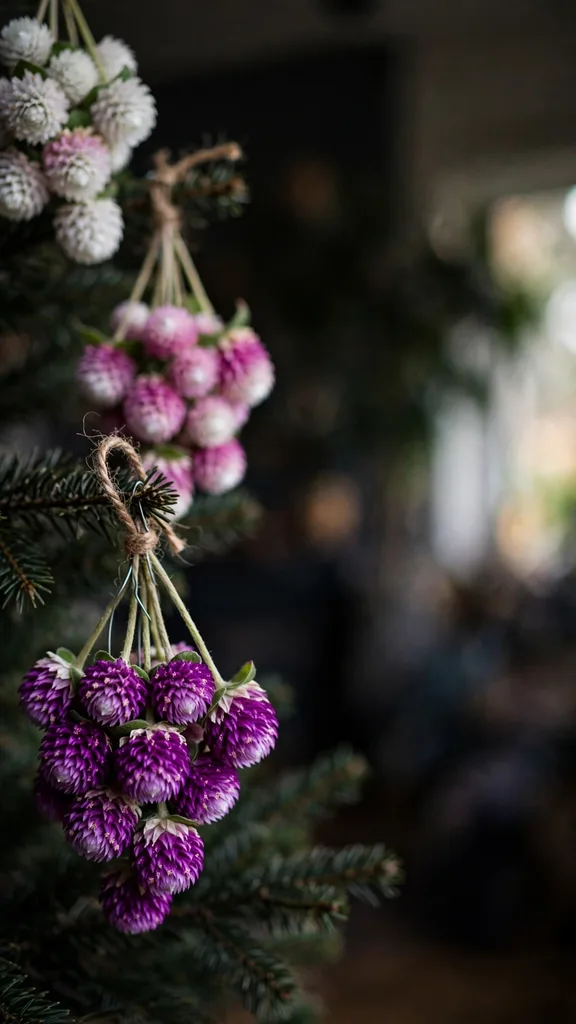
Mix purple, pink, and white heads in one cluster for the full effect. Amaranth dried properly keeps its color for two seasons, so make double and use the spares on wreaths and gift wrap. Store the finished ornaments in a box with tissue between layers; the heads are sturdy but the stems snap.
2. Strawflower Cluster Ornaments
Strawflowers are grown for drying: their petals are papery on the plant. Pick them just before the center opens, wire each head through its base while fresh, dry the wired heads, then twist five or six wires together into a cluster with a loop at the top.
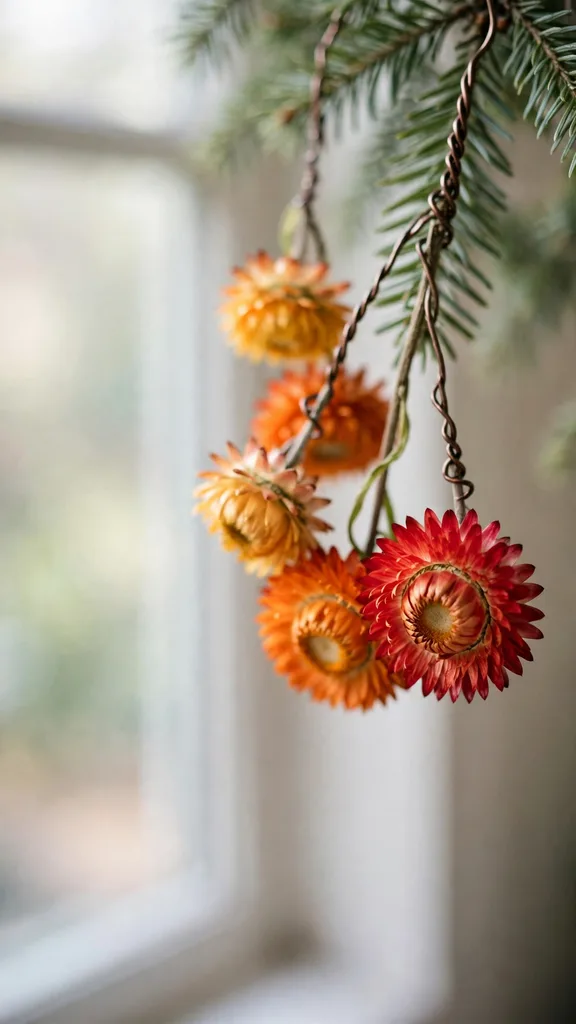
The wired stems make strawflowers the most posable dried ornament; bend the cluster open like a tiny bouquet. Reds, oranges, and yellows hold best. A strawflower cluster at the end of a branch catches light like a small lantern, so place them toward the tree’s outer edges.
3. Statice Sprig Ornaments
Statice dries standing in a vase with no hanging at all, keeping its purple, white, and yellow sprays stiff and bright. Cut a dried spray into four-inch sprigs, bind three sprigs with wire at the base, and finish with a twine loop.
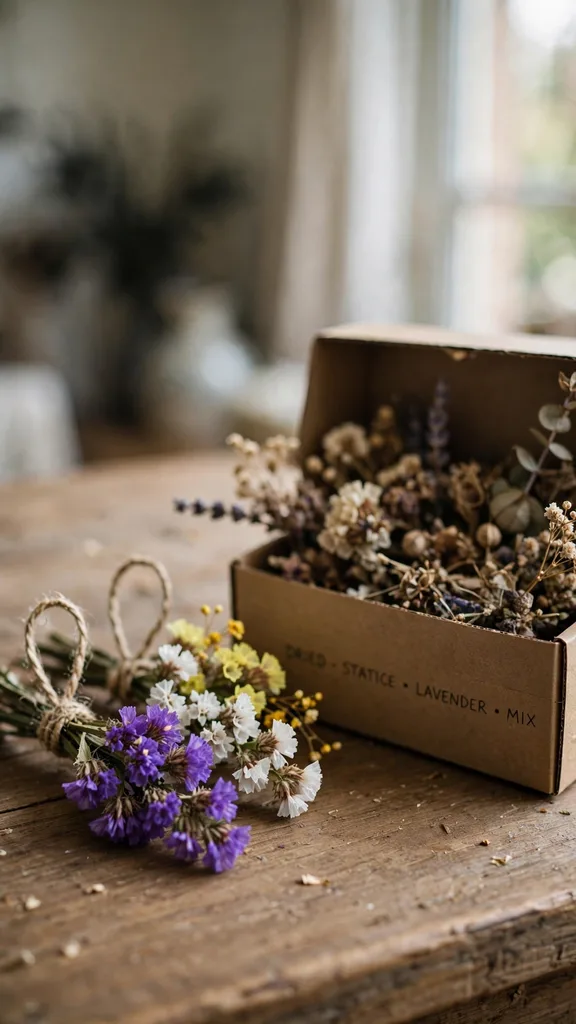
Statice is the filler flower of the ornament box: a sprig tucked behind a pinecone or into a cluster fills gaps and adds color where the browns and greens dominate. It is brittle when dry, so assemble these last and store them on top of the box.
4. Lavender Bundle Ornaments
Tie a small bunch of dried lavender, twelve to fifteen stems, with twine just below the heads, trim the stems even, and tie a second loop for hanging. The bundle scents the tree branch around it for the whole season and perfumes the storage box all year.
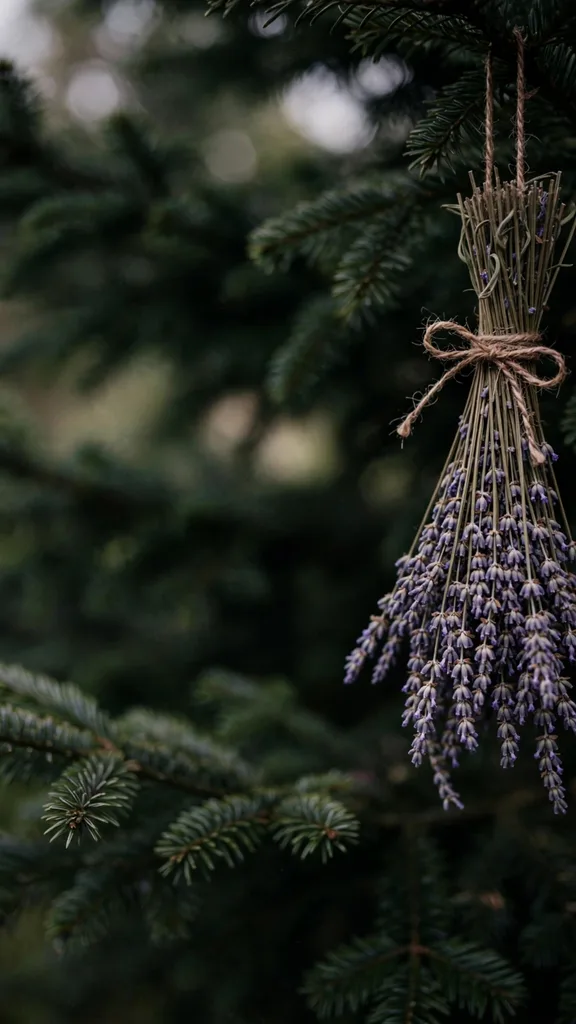
Lavender picked just as the buds color and dried in the dark keeps both scent and purple. Bundles flatten in storage, so hang them on the tree early and store them hanging in a closet between seasons if you can. A lavender bundle tied to a gift is an ornament that gives twice.
5. Hydrangea Globe Ornaments
A dried hydrangea head is a ready-made globe: pick heads in autumn when they turn papery and green-pink, dry them standing, and glue a loop of twine into the top of the flower cluster. One head fills a hand and reads as a full ornament on its own.
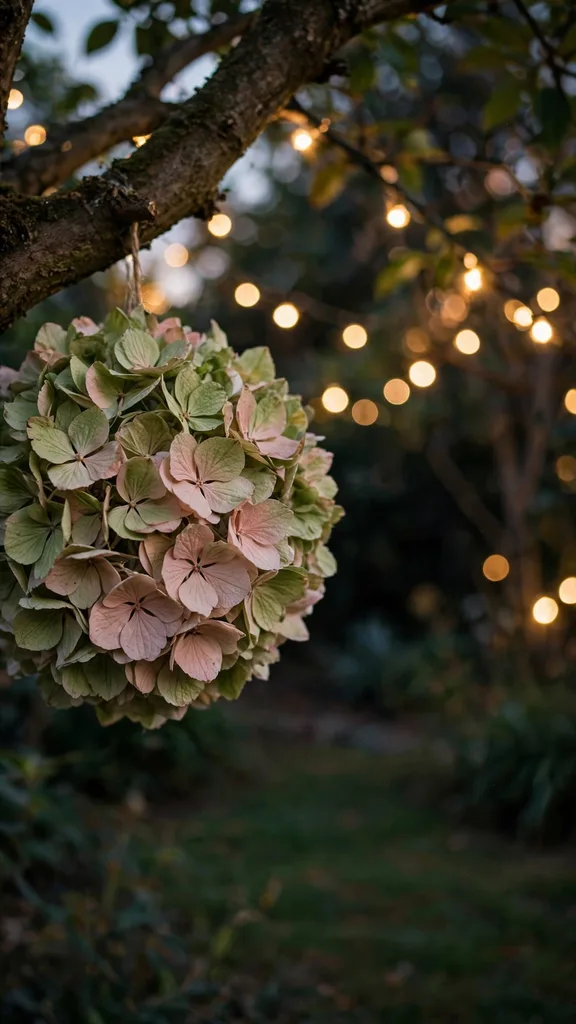
Hydrangea globes are the largest ornaments in this list, so hang them low on the tree where branches are strong and the scale suits. They crush in storage; keep them in a box of their own, no stacking. A dusting of the tree’s lights behind the papery petals is the prettiest effect in the whole list.
6. Dried Rose Head Ornaments
Garden roses dry into small, intricate heads that look carved. Pick buds and half-open blooms, dry them upside down in the dark, then glue each head onto a short wire stem with a loop, or thread three heads onto twine as a hanging strand.

Dark red roses dry deepest and keep their shape best. The dried heads are fragile at the petal edges, so handle them by the stem and hang them where the tree will not be brushed past. Rose ornaments mixed with lavender bundles carry the summer garden straight into December.
7. Celosia Plume Ornaments
Cockscomb and plume celosia dry with their velvet texture and crimson, orange, and gold colors almost unchanged. Wire the dried plumes singly for a flame-shaped ornament, or cluster three short plumes into a bouquet tie.
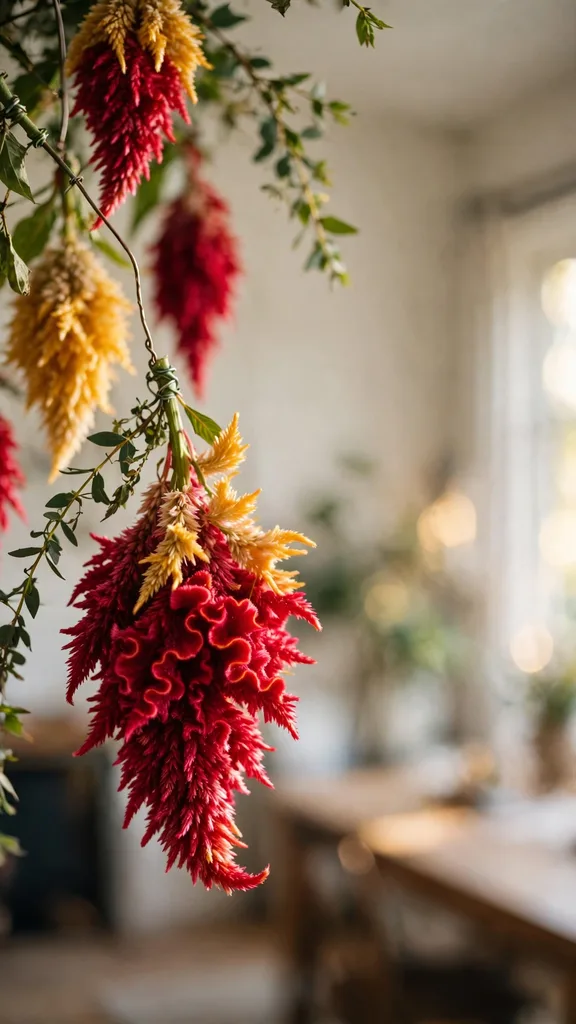
Celosia is the texture ornament: against smooth cones and glossy leaves, its crested surface catches the eye. It fades in sunlight, so dry it in the dark and hang the finished ornaments away from the window side of the tree. Seeded celosia replants itself, so next year’s ornaments are already in the soil.
8. Honesty Silver Disc Ornaments
Honesty, the money plant, makes the garden’s own silver coins: rub the outer casing from the dried seed discs and the translucent silver membrane remains. Thread a needle through the top of three or four discs on a stem, or glue single discs onto twine loops.
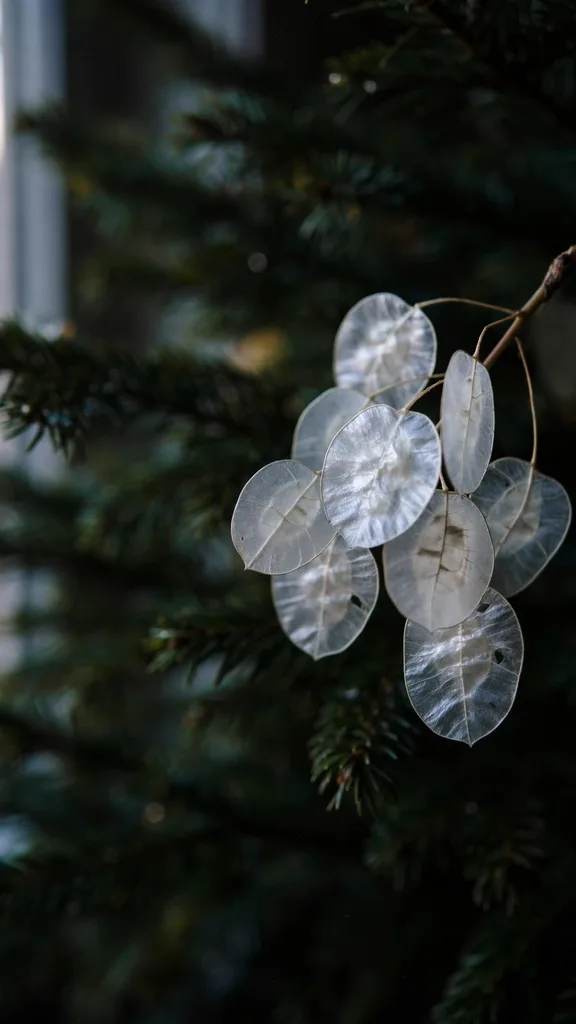
These are the longest-lasting ornaments in the list; the membranes do not fade, mold, or crumble, and a box of them serves for years. They shimmer against dark evergreen like small moons. Every garden should grow one honesty patch for the ornament box alone, biennial and self-seeding once established.
9. Yarrow and Goldenrod Discs
Flat yarrow heads dry into stiff discs that take a hanging hole cleanly: dry the heads, punch or drill a small hole near the edge, and thread twine through. Goldenrod plumes dried upright add the same gold in a softer shape, wired as small sprays.
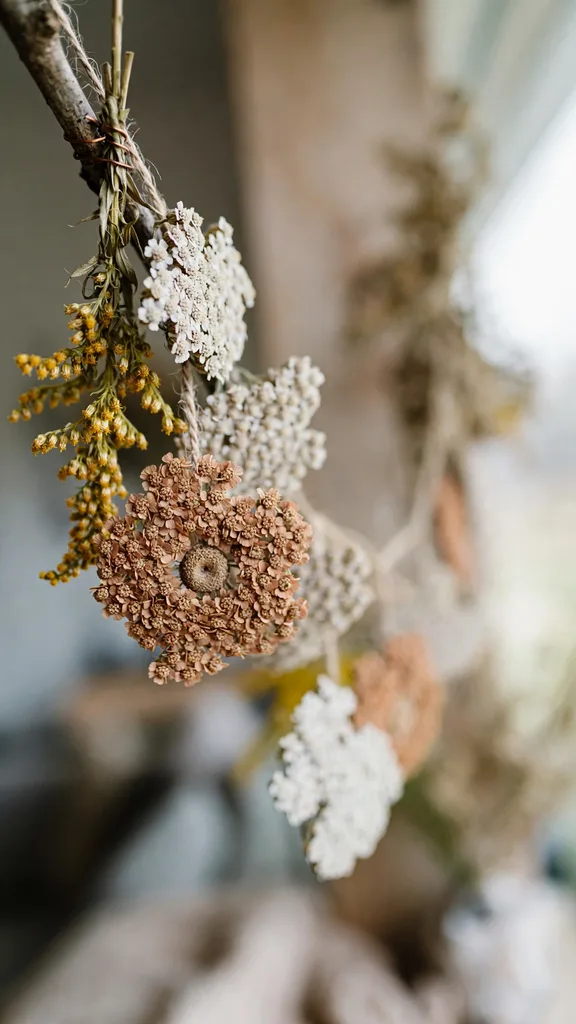
Yarrow in white, yellow, and terracotta gives a rustic, meadow look grouped along one branch. Both plants are garden perennials that need cutting back anyway, so the ornament box and the tidy border happen in the same autumn hour. These are sturdy ornaments that survive storage without special care.
Seed heads and pods are the garden’s winter architecture, picked after the flowers finish and dried on the tray. Nine ornaments follow.
10. Poppy Pod Rattle Ornaments
Breadseed poppy pods dry into perfect rattles with the seeds singing inside. Pick the pods when they turn tan and the pores open under the cap, dry them upright, and wire a loop around the stem below the pod.
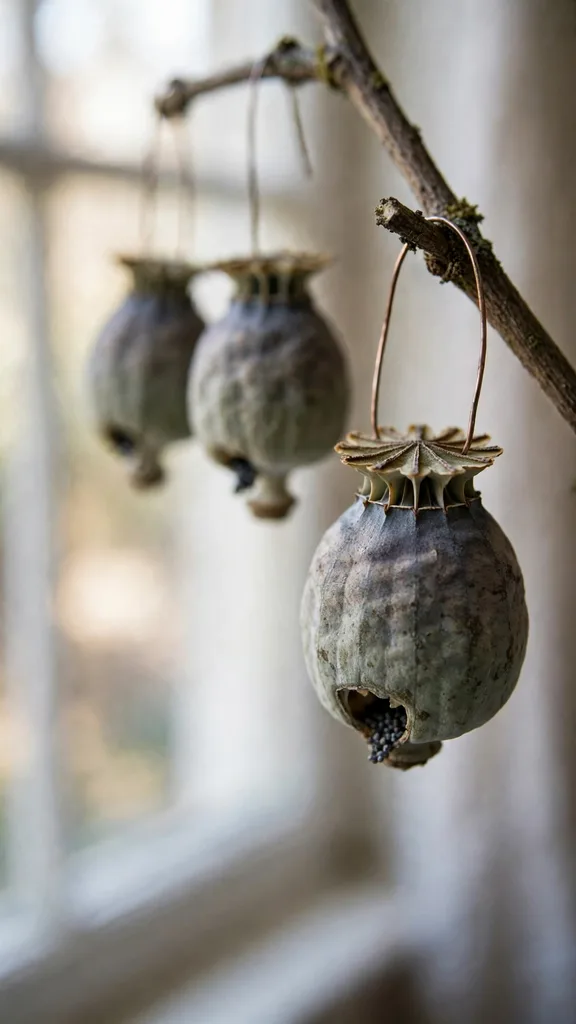
Hang poppy pods where they will be knocked and heard; the gentle rattle is half the charm. Shake the seeds out into an envelope first if you want next year’s patch, and leave a few pods full for the sound. The pods’ gray-green color is the coolest tone in the ornament box.
11. Nigella Pod Ornaments
Love-in-a-mist leaves striped, balloon-shaped pods that dry into ornaments with no work beyond picking and a wire loop. The pods’ green and burgundy stripes and horned tops look designed rather than grown.
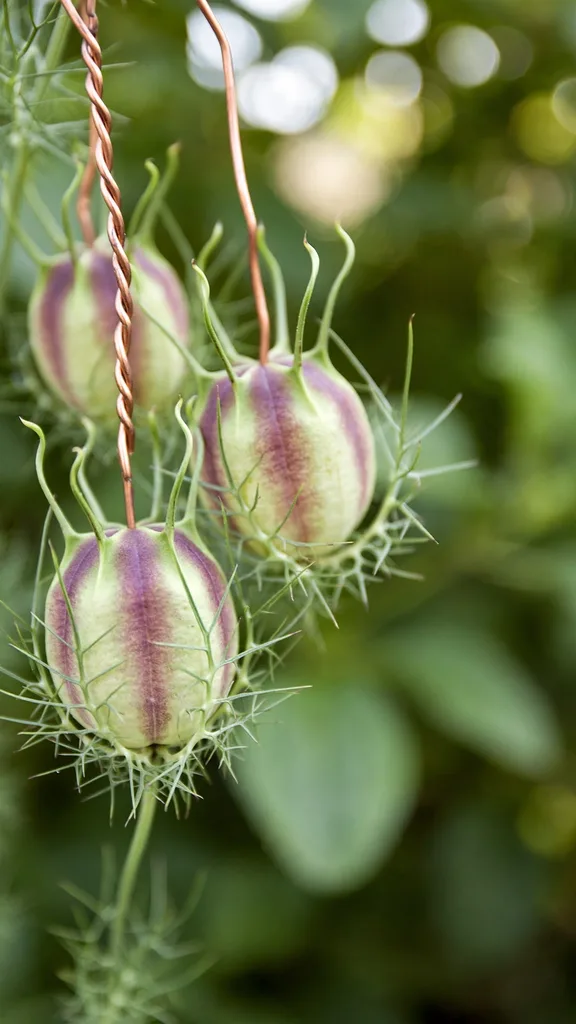
Nigella pods are small, so cluster three on one wire for presence. They self-seed as freely as the flowers did, which gardeners either love or spend springs editing. Dry the pods before they split fully, or the seeds scatter through the storage box and every ornament comes out dusted.
12. Allium Star Ornaments
A dried allium head is a firework frozen mid-burst: dozens of star flowers on radiating stems. Cut the heads when they dry on the stalk, keep the stem long, and hang the head from its own stem tied with twine; no wire needed.
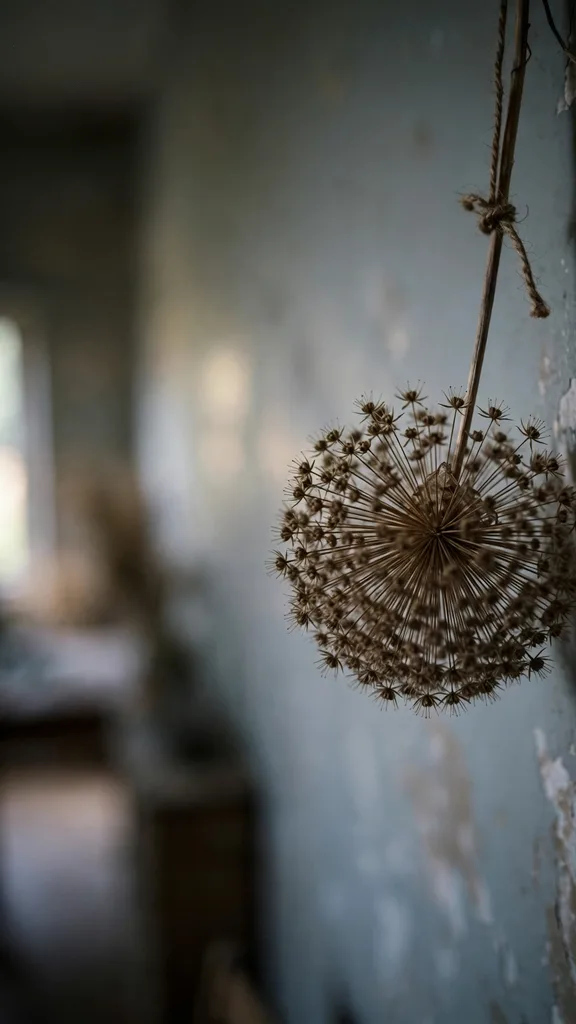
Large allium heads make statement ornaments for the tree’s top half; the small drumstick alliums cluster well. A coat of nothing at all is the right finish, since the structure is the decoration. Store heads upright in a tall box; the radiating stems bend if they are laid under weight.
13. Teasel Head Ornaments
Teasels dry into architectural cones of interlocking bracts, handsome and genuinely spiky. Cut the heads with a long stem in late summer, dry them upright, and wire the stem into a loop, or glue a twine hanger into the top.
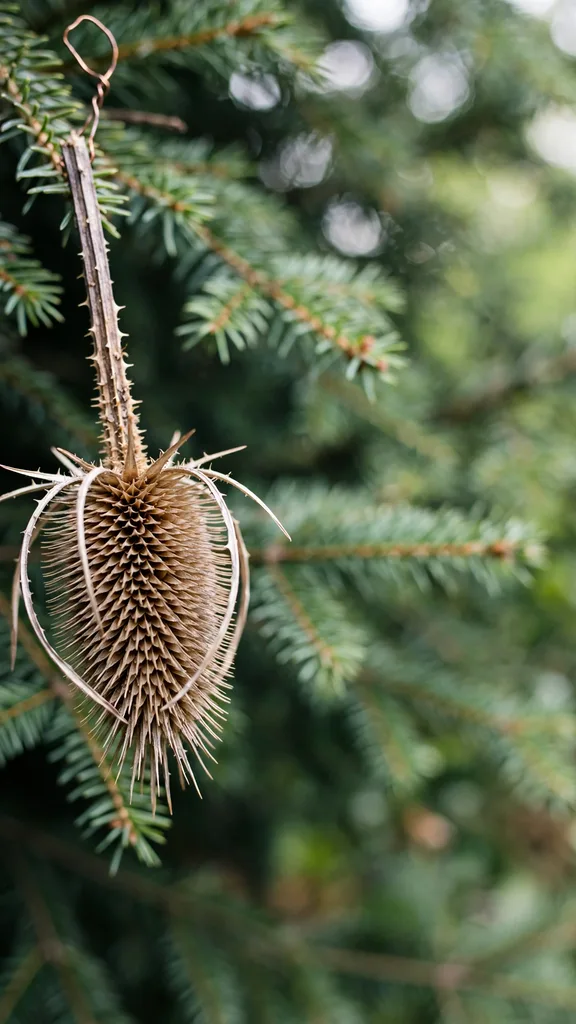
Hang teasels where they will not be grabbed by small hands; the prickles are real. In return, they are among the most striking shapes on the tree, and goldfinches will take the seeds from any you hang outdoors. One teasel plant supplies a whole branch of ornaments.
14. Sweetgum Ball Ornaments
The spiky balls that litter lawns under sweetgum trees are ready-made rustic ornaments: gather them dry, shake out the seeds outdoors, and glue a twine loop into the top dimple of each ball.
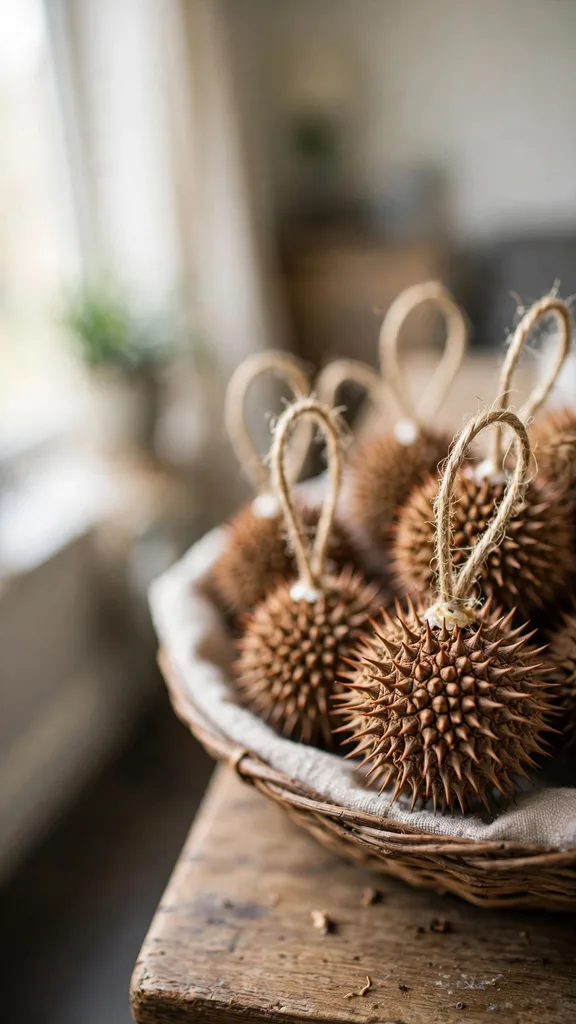
Sweetgum balls take glue, paint, and glitter better than any other item here, but plain is the garden way; their geometry needs no help. They are nearly indestructible in storage. Children who find cones boring will collect a hundred of these, so the gathering is its own autumn activity.
15. Acorn Cluster Ornaments
Glue three to five acorns, caps on, into a cluster around a twine loop, or wire single large acorns as drops. Bake gathered acorns at a low heat first to end any weevil surprises, cool them, then glue.
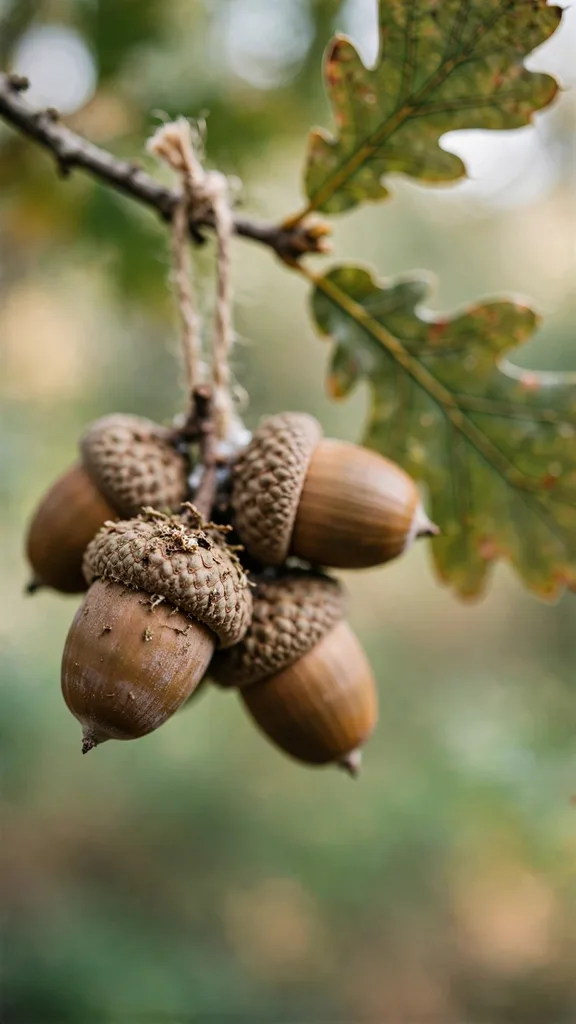
Acorn clusters suit the woodland tree and tie in with cones and pods around them. Burr oak acorns are the giants; pin oak the neat small ones. The caps alone, glued in a ring, make a tiny wreath ornament from the same gathering trip.
16. Milkweed Pod Ornaments
Dried milkweed pods split into boat shapes with a pearly inner surface that catches light like shell. Pick pods just as they begin to split, dry them flat, and glue a loop inside the top of each half-pod.
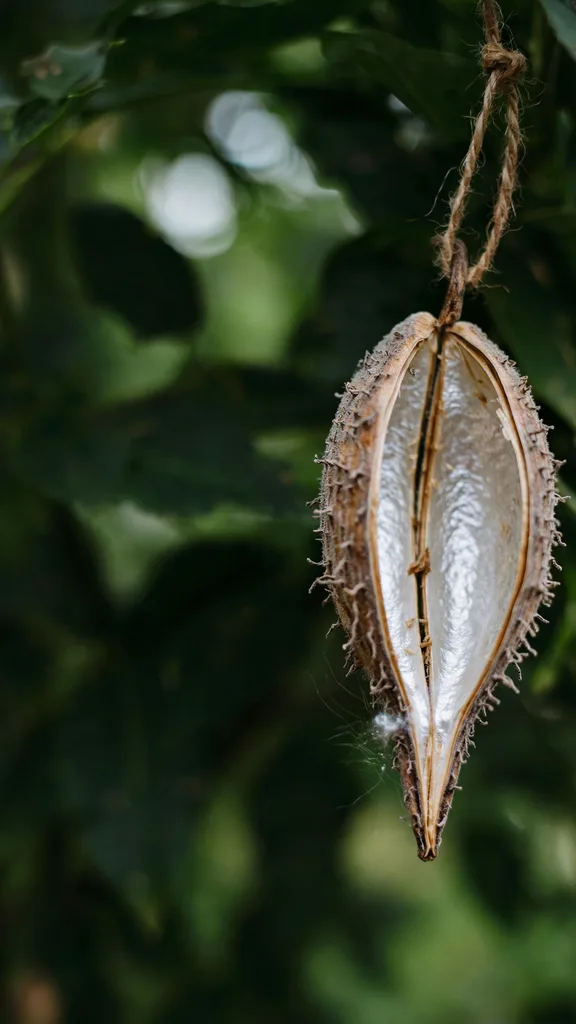
Hang milkweed boats with the shining side out. The seeds and floss go to the garden for the monarchs or into a pillow project; the pods go to the tree. Common milkweed spreads, so the ornament harvest doubles as patch control, a deal every gardener accepts.
17. Okra Pod Ornaments
Okra pods left to dry on the plant turn into ridged, tapering ornaments with a natural point. Pick the dry pods, keep the stem as the hanger, and tie twine at the top; the pods’ ridges cast striped shadows in tree lights.
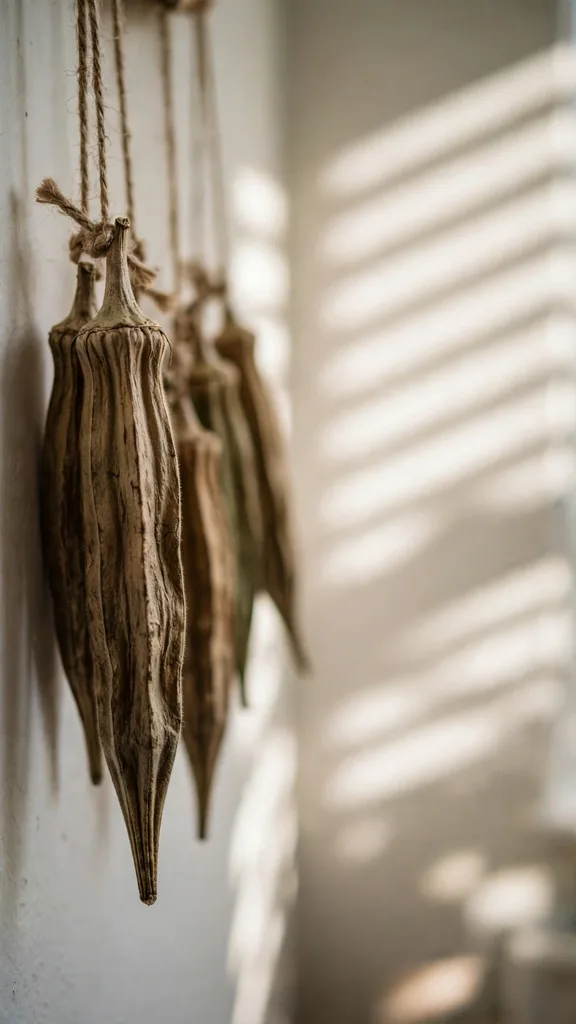
Red-podded okra varieties dry with a burgundy tint. The pods are light and strong, ideal for the tree’s upper branches. Any gardener who let the okra get ahead of the kitchen in August owns a supply of these already, which makes them the most satisfying rescue in the list.
18. Seed Head Bouquet Ornaments
The mixed ornament: bind a small bouquet of whatever the autumn tray holds, a poppy pod, an allium, two nigella pods, a sprig of dried grass, into one wired bunch with a twine loop. No two come out alike, which is the point.
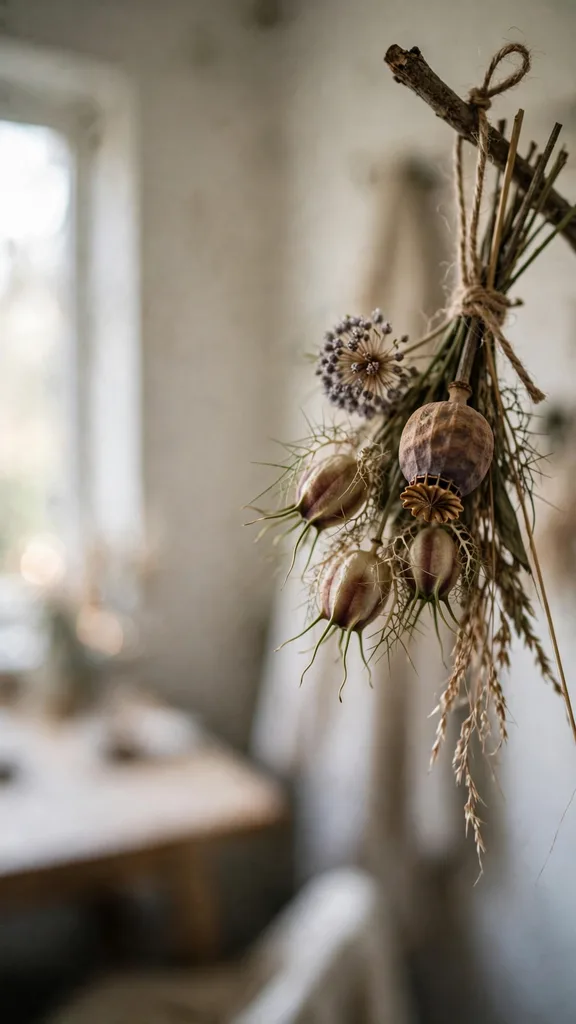
Bouquets use up the singles and the broken stems that cannot stand alone. Build them at the table in December from the whole tray, composing by shape: something round, something spiky, something soft. They are the ornaments visitors ask about, because each one is a small arrangement rather than a single specimen.
Pinecones are the ornament box’s heavy industry: free, sturdy, and endlessly variable. Nine ways follow.
19. Pinecone on a Jute Loop
The two-minute ornament: screw a small eye screw into the top of a dry, open pinecone, or glue a loop of jute twine down between the top scales, and hang it plain. The cone’s spiral geometry is the whole decoration.
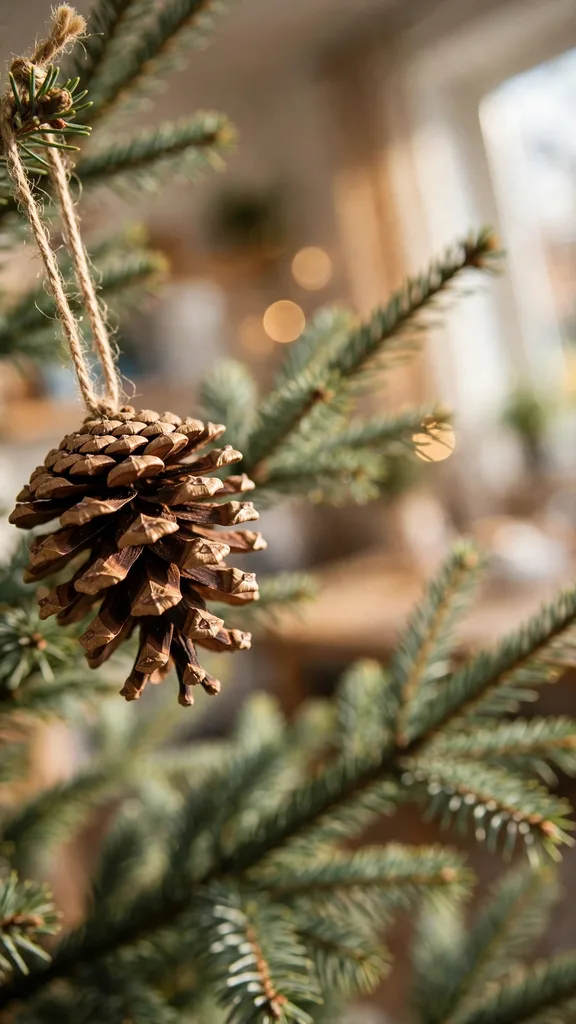
Gather cones dry and open; closed cones from a damp lawn open as they dry indoors and push glue joints apart. One basket of cones makes a tree’s worth of these, which is why every other cone ornament in this list starts from this one’s simplicity and adds one idea.
20. Three-Cone Cluster Ornaments
Wire three cones of graduated size together at their tops, add a twine loop, and the cluster hangs like a bunch of bells. Clusters fill the tree’s mid-spaces better than singles and use the medium cones that look lost alone.
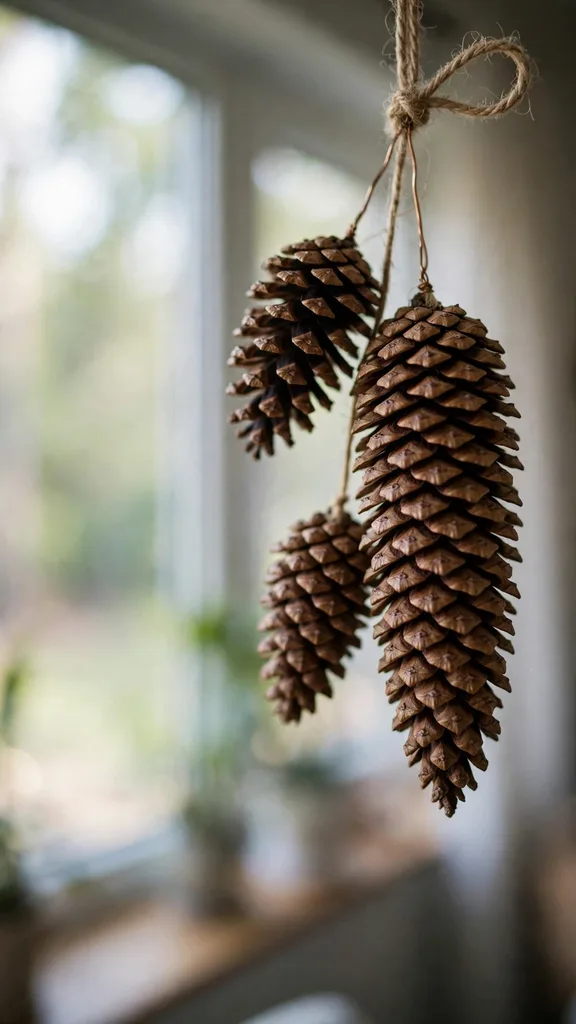
Mix species in a cluster, a long white pine cone with two short spruce cones, for shape contrast. Clusters also sit well in garlands and wreaths, so make extras. The wiring is hidden inside the cluster’s top, keeping the finish clean.
21. Frosted Pinecones With Epsom Salt
Brush the tips of a cone’s scales with glue and roll the cone in Epsom salt crystals; the result reads as frost that never melts. Add the twine loop after the frost dries, and hang frosted cones where the lights will strike the crystals.
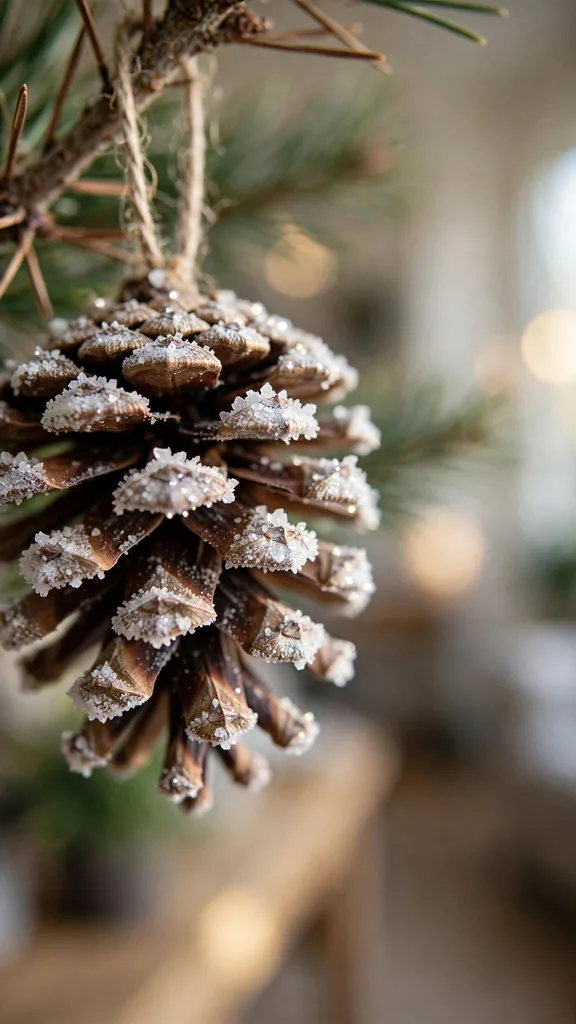
Epsom salt frost sheds a little, so frost cones over a tray and store them in a single layer. The effect suits the white and silver tree and costs almost nothing. Unlike sugar or glitter frosts, Epsom salt will not attract insects in storage, a practical point in its favor.
22. Bleached Pinecone Ornaments
Soak cones in a bucket of water with a generous measure of household bleach for a day, and they emerge pale blonde, tightly closed, opening as they dry into ghost cones. Rinse, dry fully for several days, then add loops.
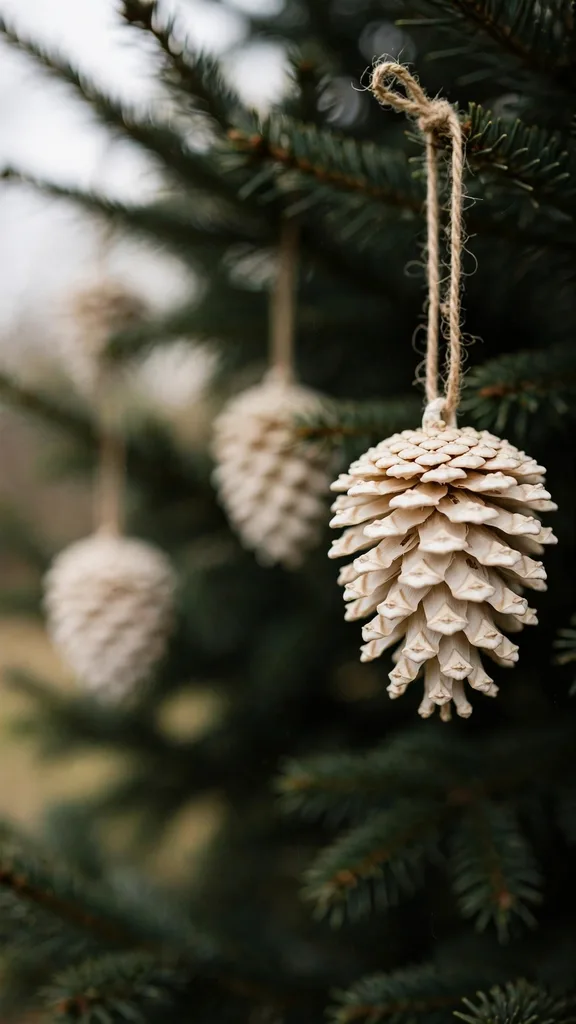
Bleached cones suit pale, Scandinavian-style trees and photograph beautifully against dark green. Work outdoors or in ventilation, and keep the bleach bucket away from plants and pets. The pale cones are the ornament most often mistaken for bought ones, which gardeners may take as praise or insult as they please.
23. Pinecone and Cinnamon Ornaments
Wire a cone and two cinnamon sticks together with a sprig of dried rosemary or a bay leaf, and the ornament scents its branch warmly for the season. The bundle hangs from a twine loop at the top.
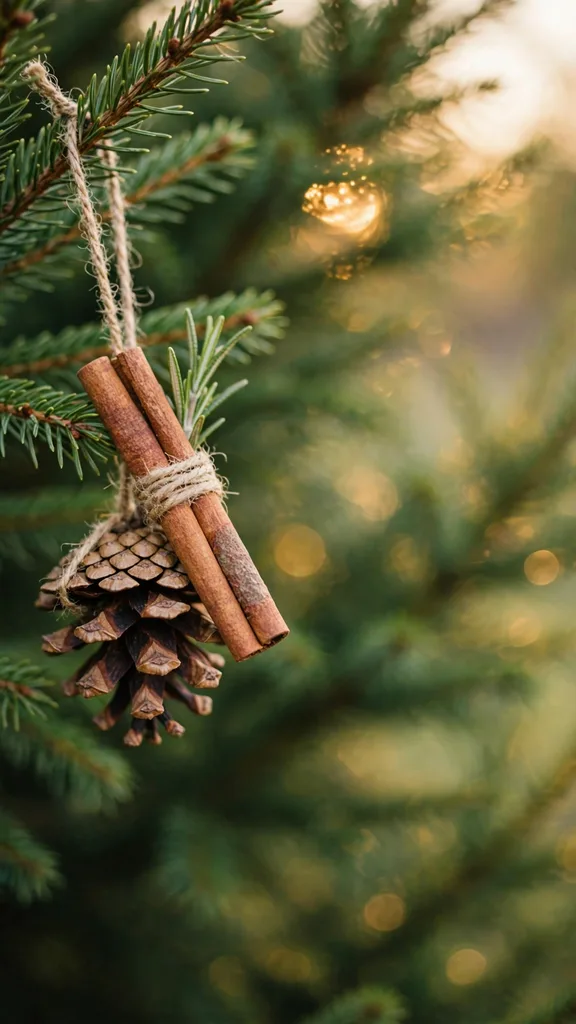
Cinnamon bundles belong near the tree’s center where the lights’ warmth releases the scent. The sticks are the one bought ingredient in this section, and a single pack dresses a dozen ornaments. Refresh tired bundles next year with a drop of the sticks’ own warmth: ten minutes near the lights does it.
24. Pinecone Suet Ornaments for the Birds
Roll a pinecone in soft suet or peanut butter, then in birdseed, tie twine around the top, and hang it on the outdoor tree or a branch by the window. The Penn State Extension guide to winter bird feeding basics covers the seed and suet choices that suit winter birds and the hygiene that keeps feeders safe.
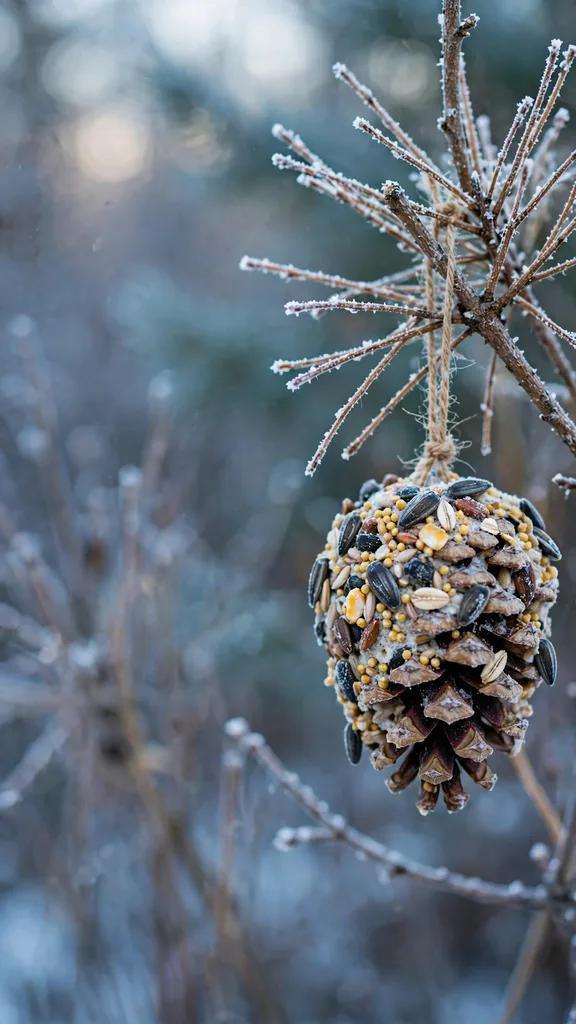
These ornaments decorate twice: once on the branch, and again when the chickadees arrive. Make them fresh through winter rather than storing them. A tree near the window dressed with suet cones and seed heads is the best seat in the house in January.
25. Mini Pinecone Strand Ornaments
The small cones of hemlock, alder, and larch thread onto twine like beads: knot, cone, knot, cone, in strands of six to ten. Hang the strands vertically from branch tips, where they move in the slightest air.
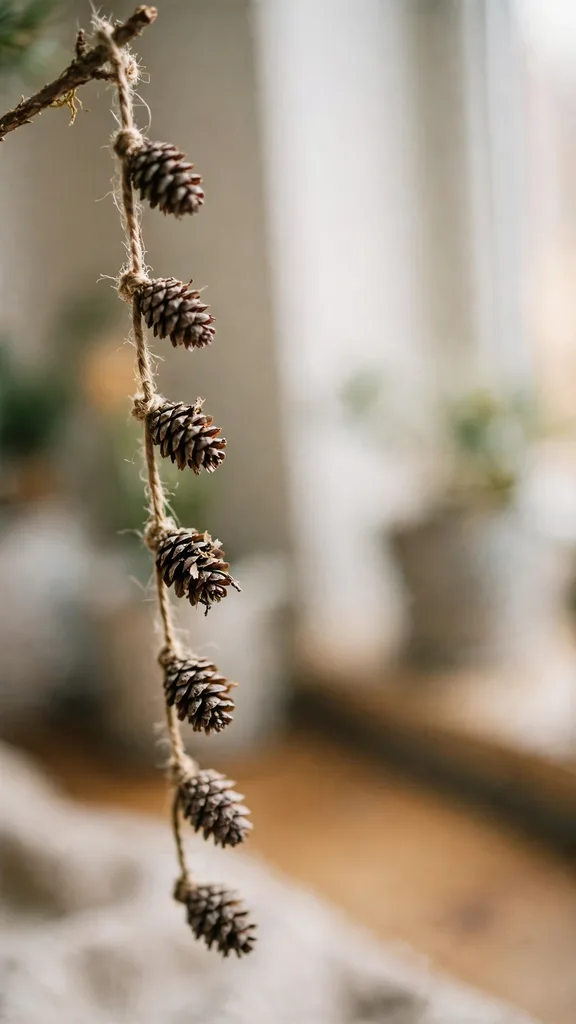
Strands use the cones too small for anything else. A dozen strands along the tree’s edge give it a finished, fringed outline. Alder cones come from a tree most gardeners prune anyway, so the strands are pure profit from the pruning pile.
26. Pinecone With a Dried Orange Mini
Glue a small dried orange or clementine slice against the top of a pinecone and hang the pair from a loop through the slice. Amber fruit against brown cone is the warmest color pairing on the tree.
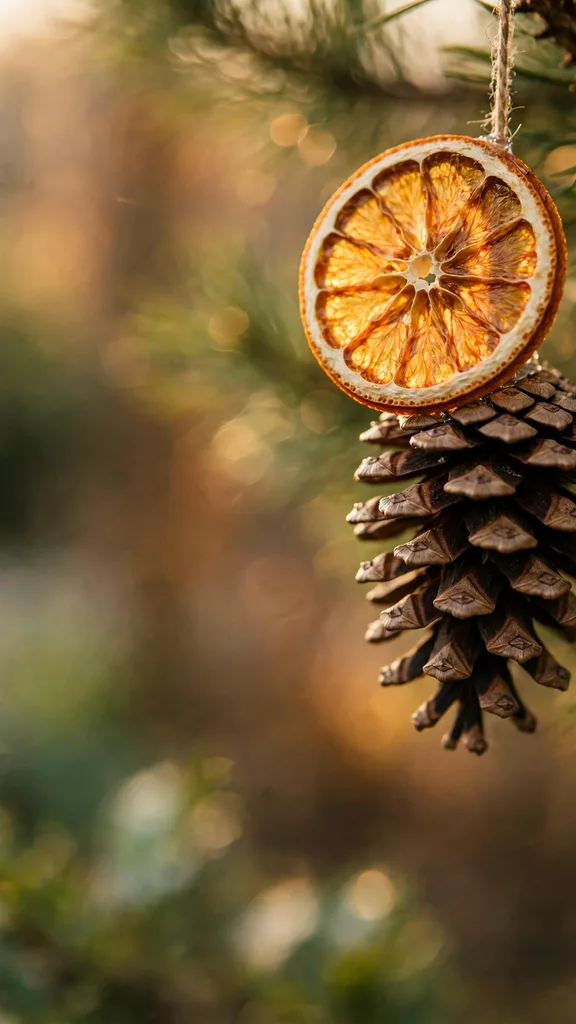
Small slices dry fastest and mold least; dry a tray of clementine slices when the big orange slices go into the oven for garlands. The pairing reads well in clusters, so hang three together at different heights on one branch.
27. Pinecone Bell With an Acorn Cap
Glue an acorn cap to the bottom of a small cone and a tiny dried berry or bead under the cap, and the cone becomes a bell shape that hangs from a twine loop at its top. Bell cones ring nothing, but they read instantly as bells.
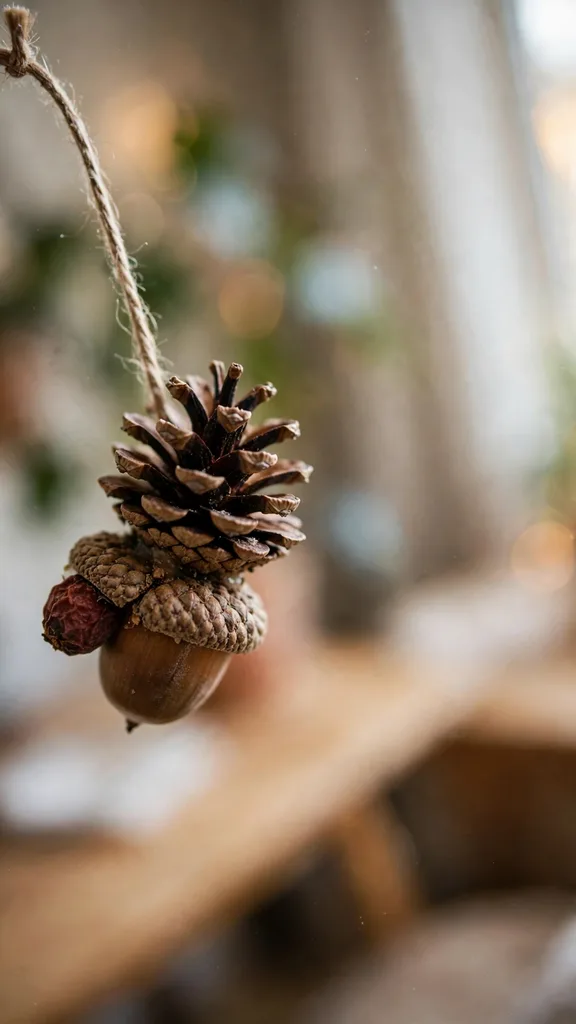
Group bells in threes near the tree’s front. The acorn caps from item 15’s gathering supply the tops. Children assemble these faster than adults, since the gluing is forgiving and the result is charming at any neatness level.
Herbs and the kitchen garden bring scent to the ornament box. Nine ornaments follow, all edible in origin and decorative in fact.
28. Rosemary Mini Wreath Ornaments
Bend a fresh rosemary sprig of eight inches into a small circle, overlap the ends, and bind them with wire or twine; add a tiny bow or a single dried chili at the join. The wreath dries in shape and scents its branch for weeks.
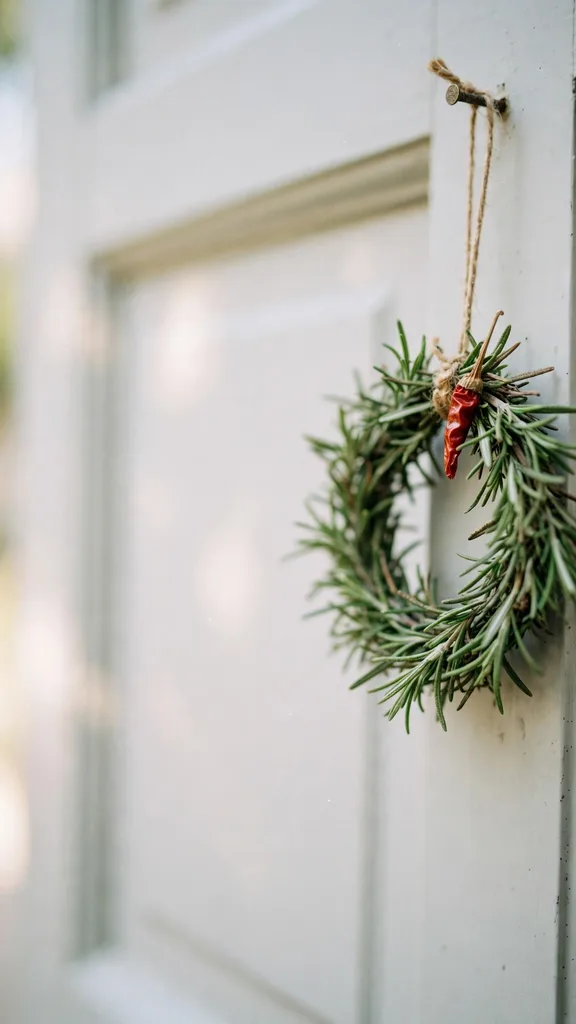
Rosemary wreaths are the most gifted ornaments in this list; they travel on gift wrap and place settings before they ever reach a tree. Make them from the autumn pruning of the rosemary bush, which needs the trim before winter in any case. In mild zones the bush supplies wreaths for the whole street.
29. Bay Leaf Strand Ornaments
Thread dried bay leaves onto twine with a needle through each leaf’s center, alternating with dried cranberries or small cones if you like, in strands of eight to twelve leaves. Bay dries flat, glossy, and deep green, and the strand smells like a kitchen garden.
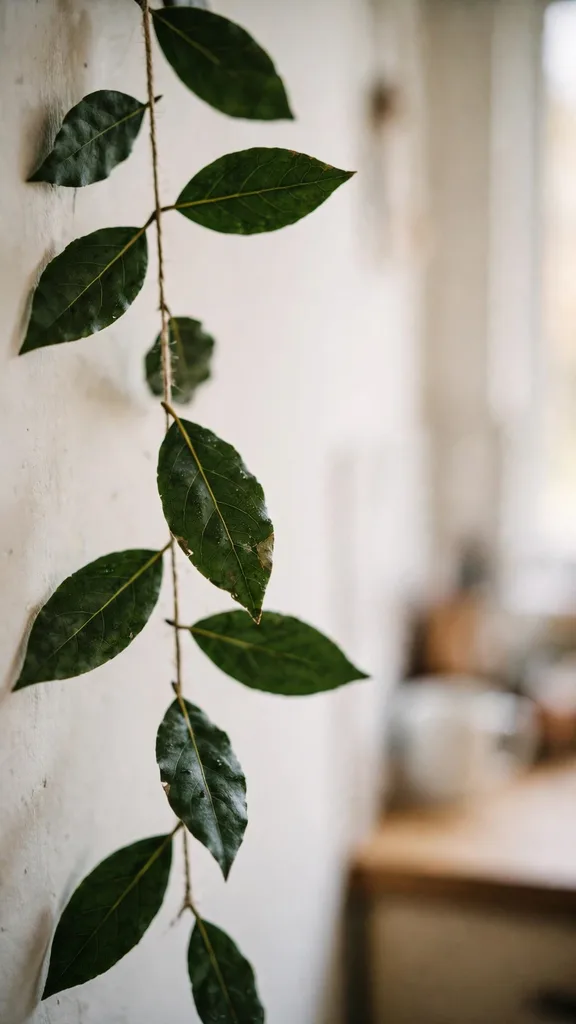
A bay tree or a friend’s bay tree is the supply; the leaves dry in a week on a tray. Strands hang vertically or swag along a branch. Broken leaves go to the soup pot, so the ornament strand grades its own materials as you thread it.
30. Lavender Wand Ornaments
A lavender wand weaves the stems back over the buds: bend fresh lavender stems down over their own flower heads and weave ribbon or twine through them, and the buds sit caged in a green lattice that keeps its scent for years. Dried wands hang by a loop at the top.
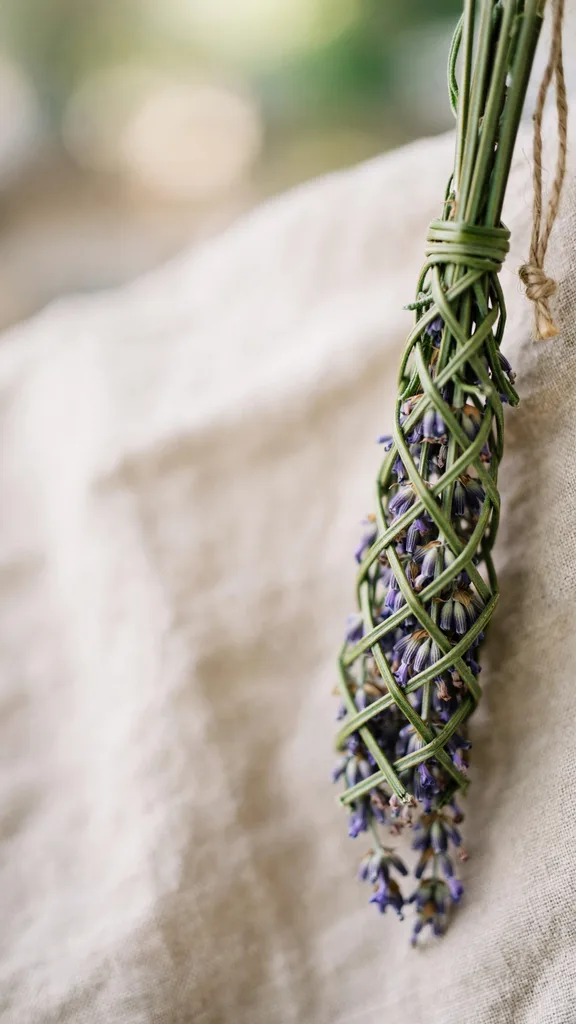
Wands take ten minutes each once the weaving rhythm clicks, and they are the ornament most likely to be lifted down and sniffed by guests. Make them in summer when the lavender is fresh; dried stems snap instead of bending. A wand in the linen closet between Christmases is standard practice.
31. Dried Chili String Ornaments
Thread a needle through the stems of small dried chilies and string twenty or more into a ristra strand; hang it on the tree, the kitchen doorway, or both in turn. Red chilies against green branches are the boldest color in this list.
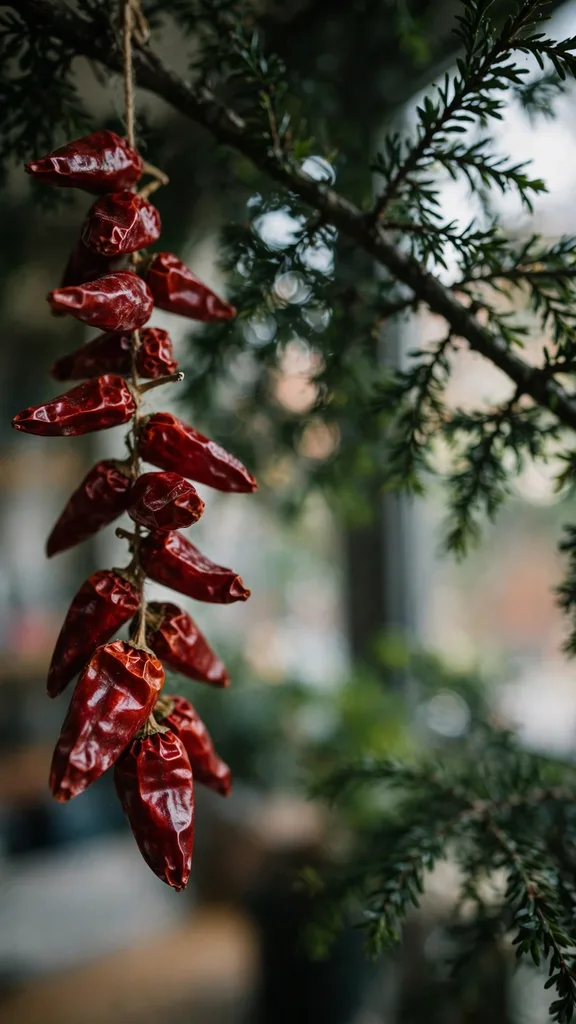
Grow a compact chili variety for the string and the kitchen shares the harvest. Gloves while threading dried chilies save rubbed eyes later. The strands keep for years and fade slowly to a deep brick red that suits the tree just as well.
32. Dried Apple Ring Ornaments
Slice apples across the core into rings, soak them briefly in lemon water, and dry them in a low oven or dehydrator until leathery; the star-shaped core pattern shows in every slice. Thread each ring on twine with a cinnamon stick or star anise at its center.
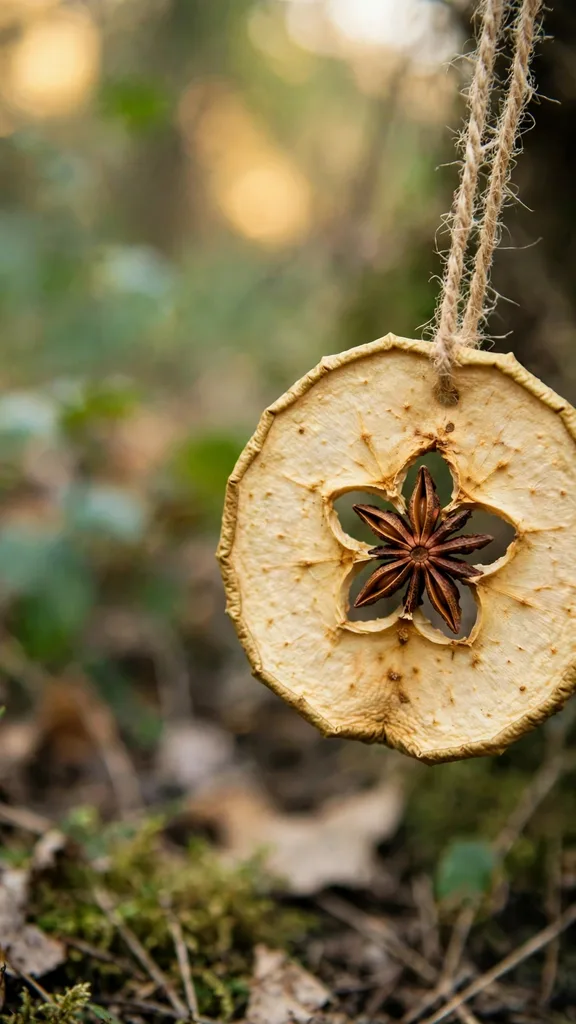
Apple rings are pale gold and translucent at the edges, lovely against dark green. Windfall apples with blemishes slice fine for ornaments; cut the bad spots out. Dry them thoroughly or they darken and soften in storage, the same patience rule as everything else in the box.
33. Dried Orange Slice Ornaments
The classic: slice oranges across into rounds, dry them low and slow, and hang each slice by twine through its rind. The Clemson Extension guide to drying oranges for holiday decorations gives the working numbers: slices about 1/8 inch thick, a 175°F oven, flipping every 30 minutes, three to five hours in all.
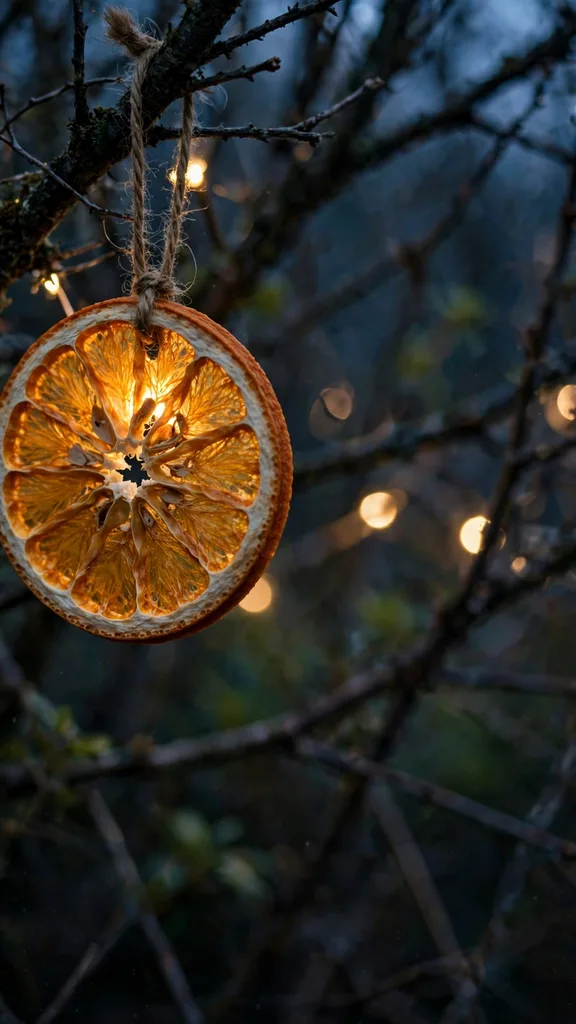
Backlit by tree lights, an orange slice glows like stained glass, which is why this ornament anchors so many garden trees. Slices post flat in a card, making them the most mailed ornament in the list. Blood oranges dry to a deeper red and are worth growing a small tree for in warm zones.
34. Star Anise Cluster Ornaments
Glue three star anise pods around a tiny cone or a wooden bead, add a twine loop, and the cluster hangs as a small, sculptural star with a warm liquorice scent. Star anise holds its shape and scent for years in storage.
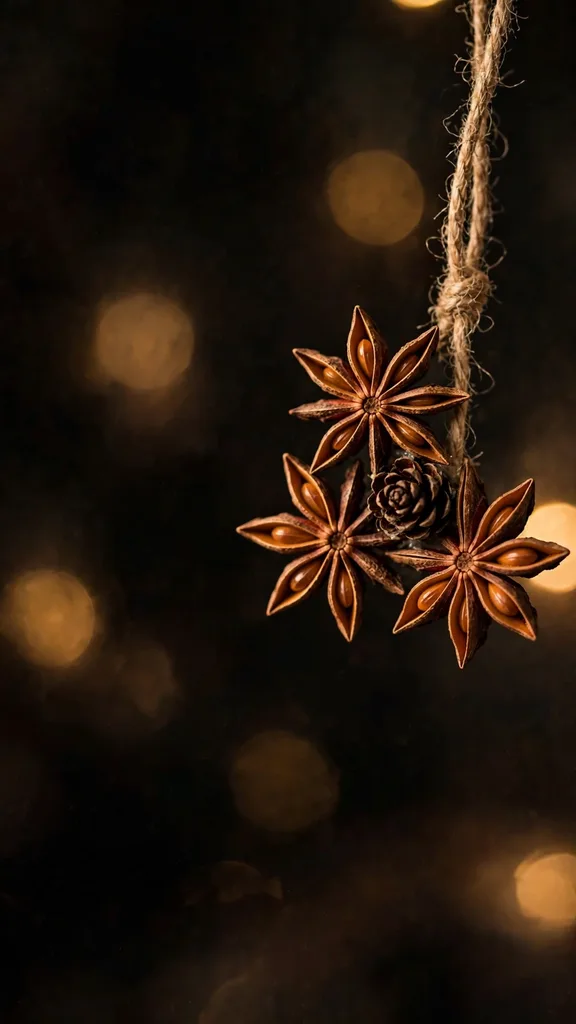
The stars suit the spice-themed branch with the cinnamon cones and chili strings grouped nearby. Star anise is a bought spice for most gardeners, though the tree grows in zone 8 and warmer; the pods keep so long that one purchase dresses several Christmases.
35. Sage and Thyme Bundle Ornaments
Tie small bundles of dried sage leaves or flowering thyme stems with twine, finished with a loop; the gray-green of sage and the tiny thyme sprigs give the tree its softest, palest notes. Bundles dry in a week and keep their scent into spring.
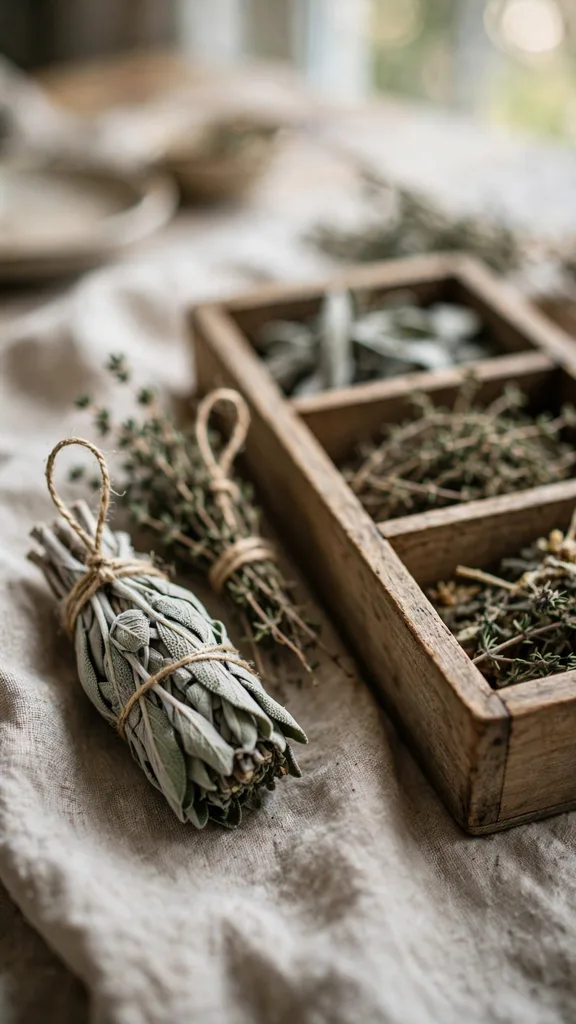
Sage bundles double as smudge-style gifts and kitchen presents, so make more than the tree needs. The big leaves of clary sage dry into dramatic single-leaf ornaments threaded on twine. Herb bundles hang best in the tree’s inner branches, where their subtlety rewards a close look.
36. Herb Sachet Ornaments
Fill small squares of muslin or linen with dried lavender, rosemary, and rose petals, tie the corners up with twine into a small pouch, and hang the sachets through the tree. The scent releases whenever the tree is brushed or the room warms.
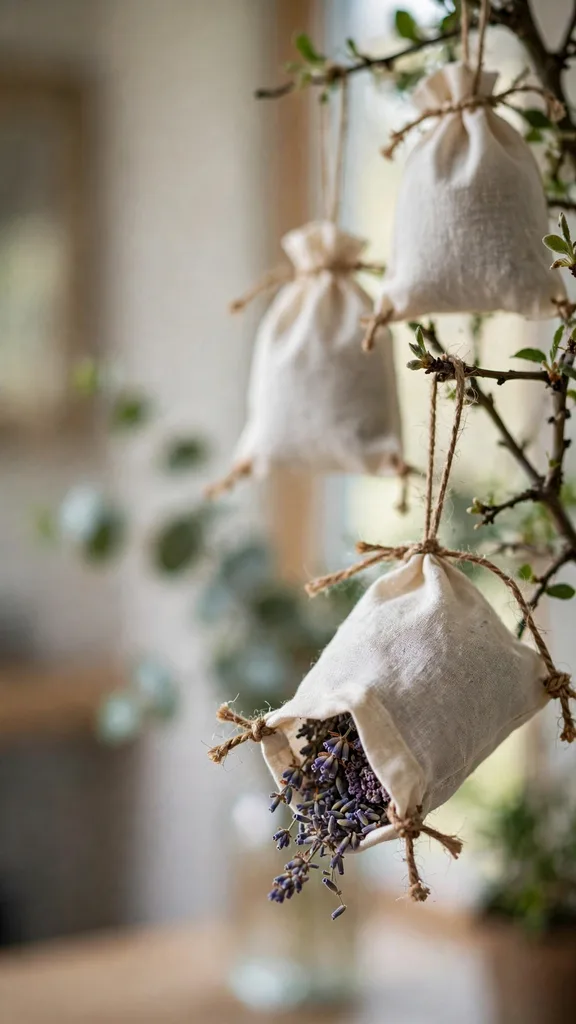
Sachets use the sweepings of the herb box, the loose buds and petals that cannot be bundled. After Christmas they migrate to drawers and closets, the only ornaments in the list with a second job. Sewing is optional; the tied-corner version takes a minute each.
The last nine ornaments come from leaves, twigs, vines, and shells: the garden’s structure, dried and hung.
37. Pressed Leaf Ornaments
Press autumn leaves flat for two weeks, then seal each leaf between two sheets of clear contact film or in a small wooden hoop with the leaf held under glassine; thread a loop at the top. Colored leaves, maple, oak, ginkgo, keep their autumn fire for one season and fade gently after.
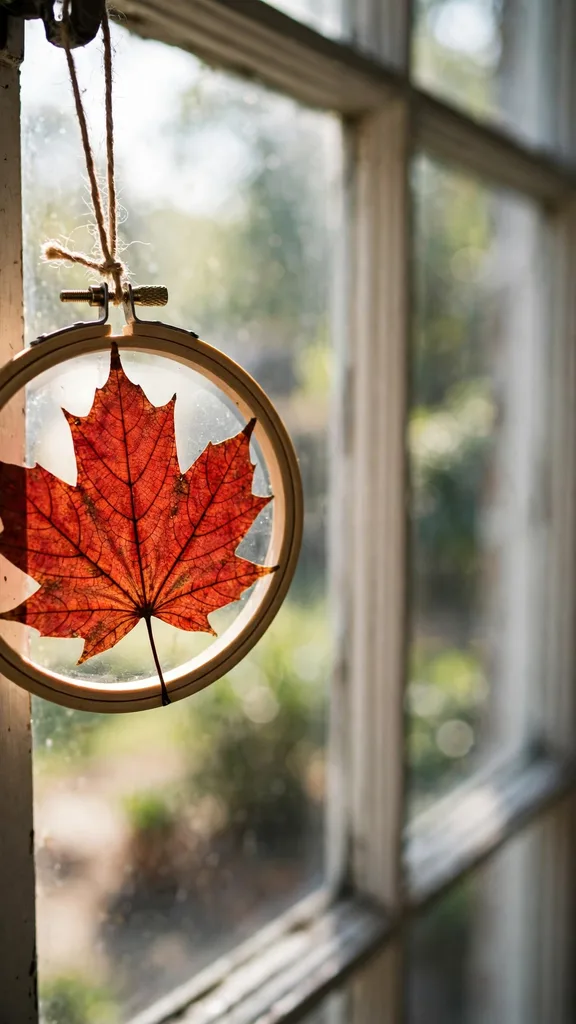
The pressing method is the same book-pressing used for the pressed flower cards elsewhere on this site, so one skill covers both crafts. Ginkgo leaves, fan-shaped and gold, are the standout; fern fronds press into green lace. Hang leaf ornaments against the light where their color glows through.
38. Magnolia Leaf Star Ornaments
Cut dried magnolia leaves into star shapes with sharp scissors, or fold and glue five whole leaves point-out around a center cone; the leaves’ copper undersides give the star its two-tone face. A twine loop at one point finishes it.
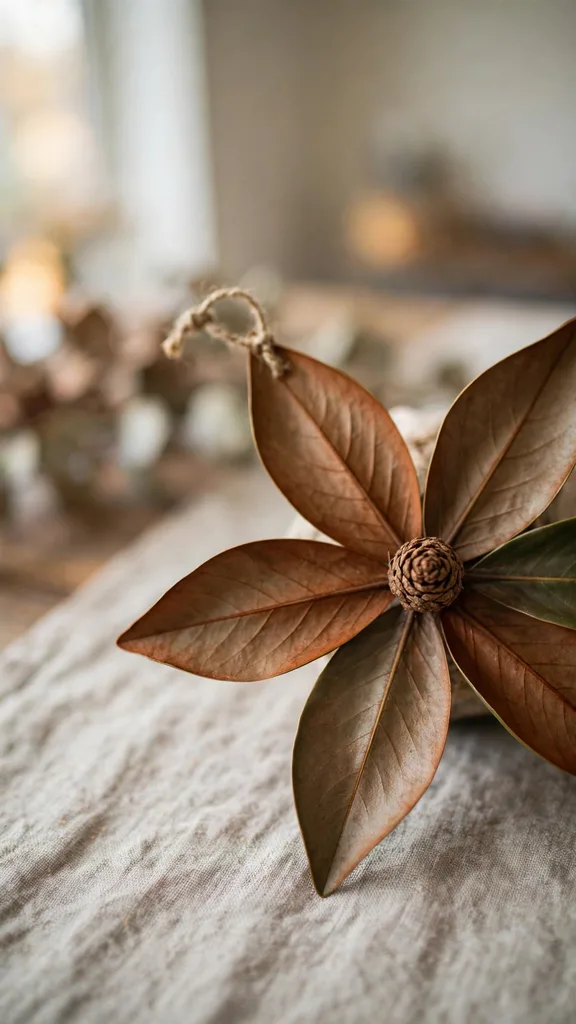
Magnolia leaves are thick enough to cut cleanly and hold an edge, unlike most foliage. Stars made in November keep through Christmas and soften after; they are a one-season ornament, and the tree supplies more leaves than December needs. Group three stars of different sizes on one branch.
39. Twig Star Ornaments
Bind five straight twigs of equal length into a star with twine at each crossing point, the oldest ornament design in the garden. Willow, dogwood, and birch twigs all serve; red dogwood stems give a colored star without paint.
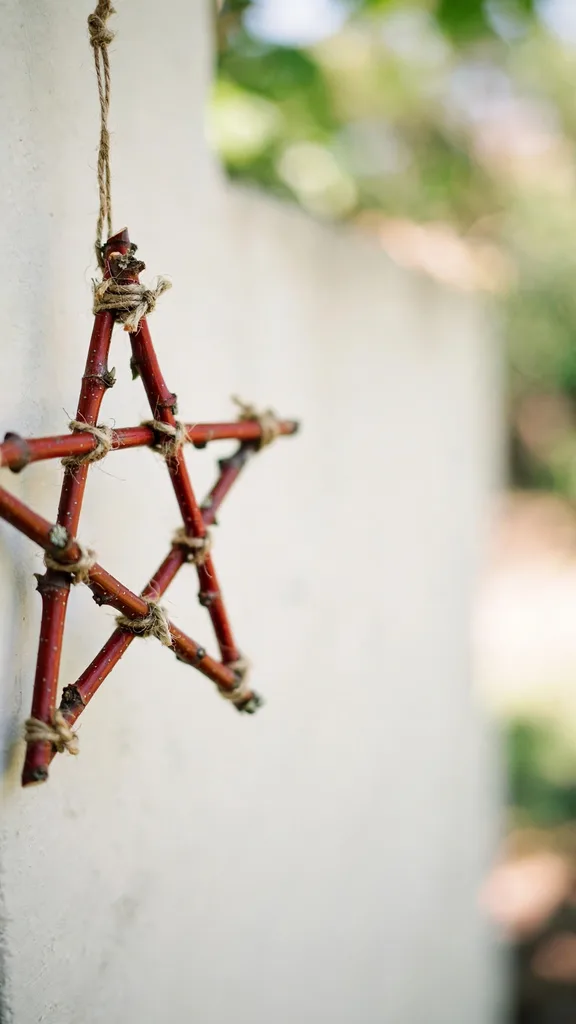
Twig stars scale from three inches for the tree to three feet for the wall, all from the same winter pruning pile. Small stars hang singly; medium ones cluster. The binding takes a minute per point once the star is laid out on the table and held with a thumb.
40. Grapevine Mini Wreath Ornaments
Wind a fresh grapevine or wisteria pruned stem into a three-inch circle, weaving the end back through the turns, and let it dry in shape. Decorate the mini wreath with one dried flower, a tiny cone, or a berry sprig wired on.
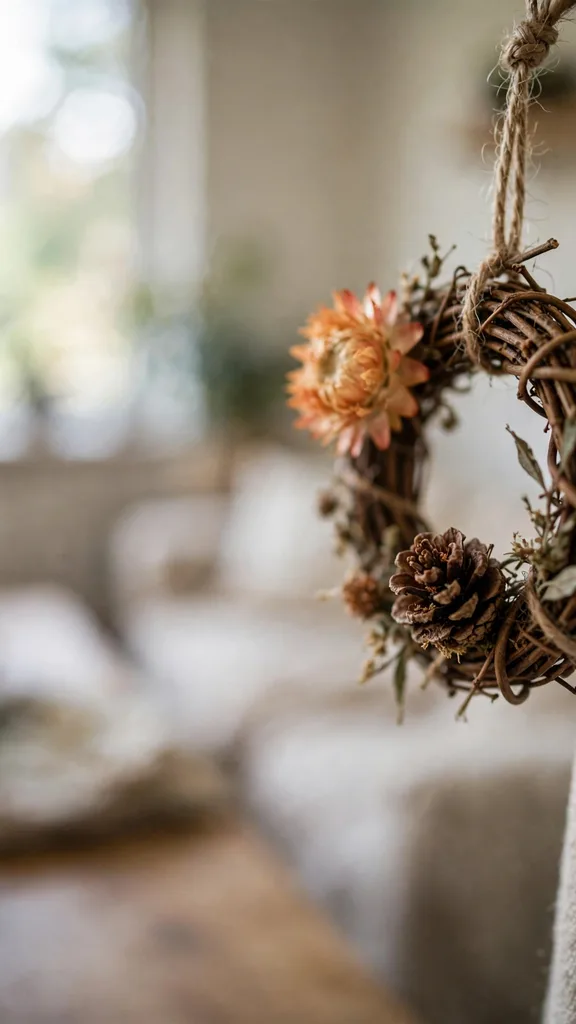
The autumn vine pruning supplies dozens of these; the plain wreaths also serve as napkin rings and candle rings, so they earn storage space all year. A set of six matching mini wreaths makes a boxed gift that looks like a morning’s shopping rather than a pruning session.
41. Birch Bark Curl Ornaments
Peel curls of bark from fallen birch logs, never from living trees, and the curls hold their spiral shape dry. Glue a twine loop into the top of each curl; the white bark with its dark markings is the palest natural ornament in the box.
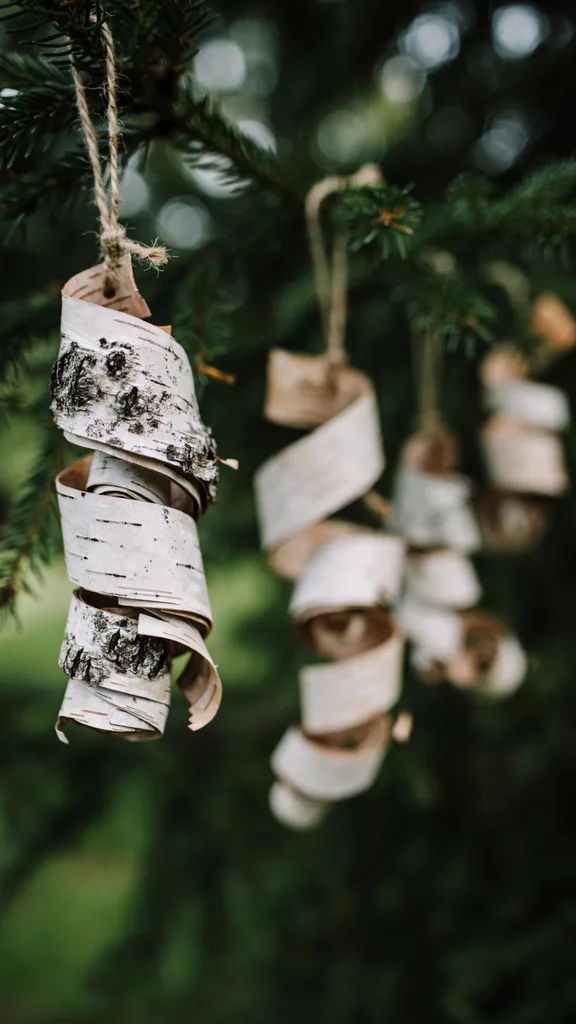
Birch curls suit the white, silver, and woodland trees. They are feather-light, ideal for the weakest branch tips. A fallen birch after a storm is a year’s supply; the curls store flat-ish in a box without damage and spring back when hung.
42. Dried Mini Gourd Ornaments
Mini ornamental gourds and small bottle gourds dry over winter into hard, light shells that hang by their own stems tied with twine. Grow a row of the mixed mini gourds in summer and the autumn harvest is an ornament crop, each one a different shape and mottling.
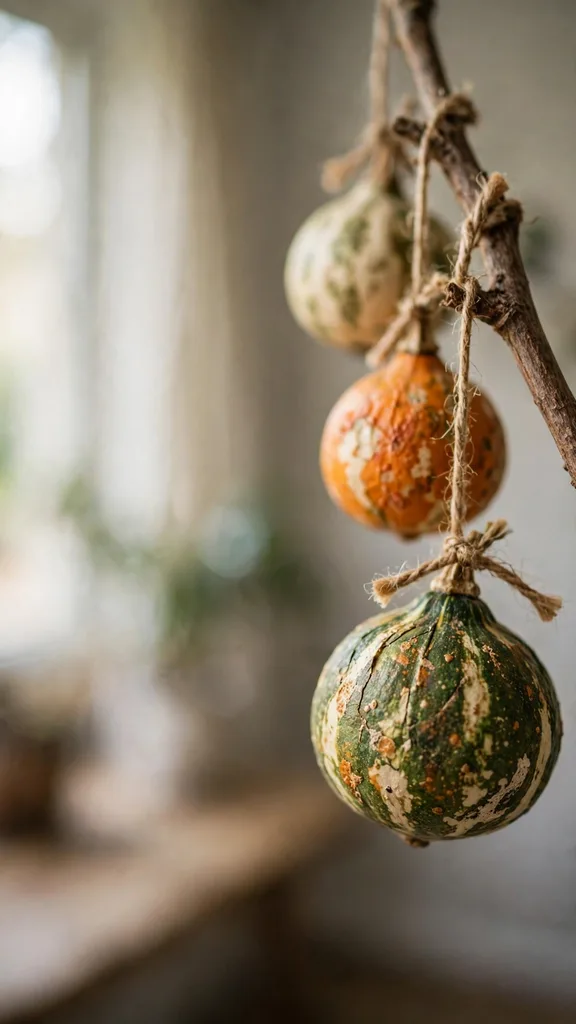
Gourds take months to dry fully; start them in a airy spot in autumn and test by the shake, seeds rattling, in December. The dried shells last for years. Large gourds graduate to birdhouses, so the ornament row feeds two crafts.
43. Walnut Shell Ornaments
Crack walnuts carefully into halves, eat the nut, clean the shell, and glue the halves back together around a twine loop, or hang half shells as tiny baskets holding a dried flower head or an acorn. The shells’ carved interiors are small sculptures.
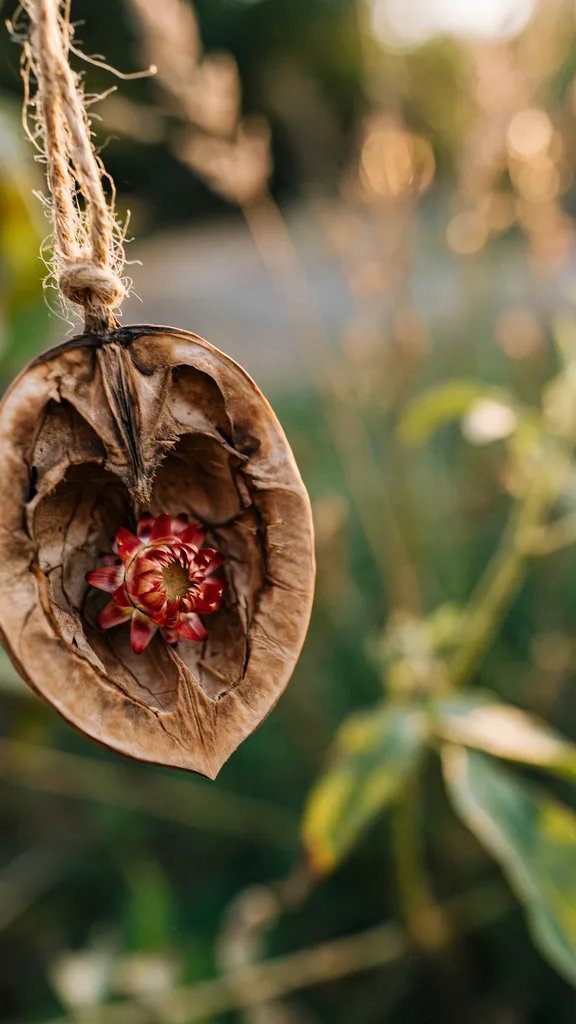
Black walnuts from the garden tree work too, with thicker, darker shells. Half-shell baskets suit the miniature end of the tree. A walnut shell with a tiny strawflower inside is the ornament that gets photographed, every year, without fail.
44. Ivy and Berry Sprig Ornaments
Wire a short sprig of ivy with a cluster of holly or winterberry berries into a small spray, add a loop, and hang it fresh in December; the ivy stays green for weeks on the tree and the berries hold their color. Make these last, in the week of decorating, since they are fresh rather than dried.
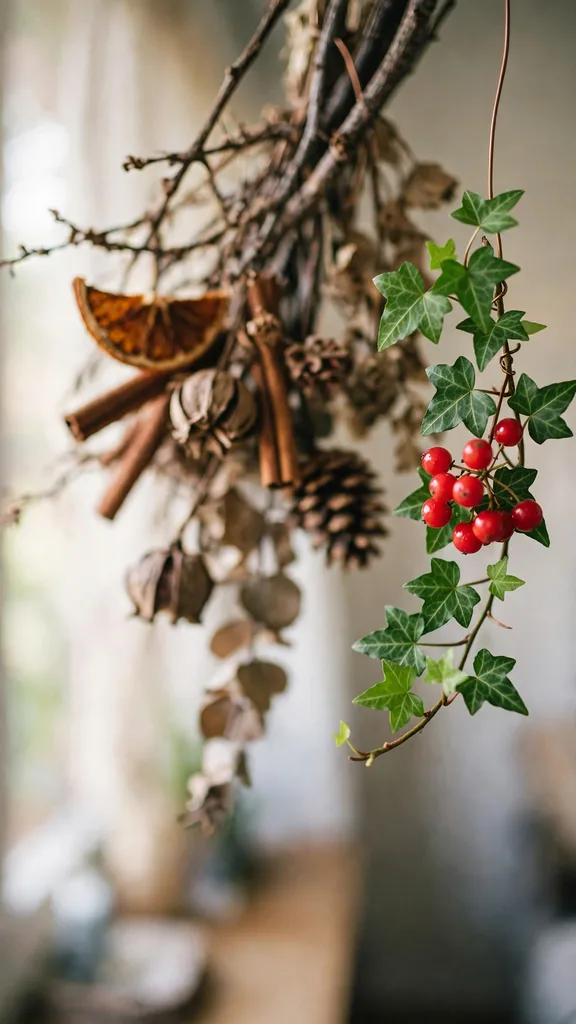
Ivy sprigs root in water if the ornament comes down into a glass in January, turning one decoration into next year’s plant. Keep berry sprigs away from the reach of pets and small children, as holly berries are not food, and hang them high. The fresh green of ivy against the dried box’s browns and golds wakes the whole tree up.
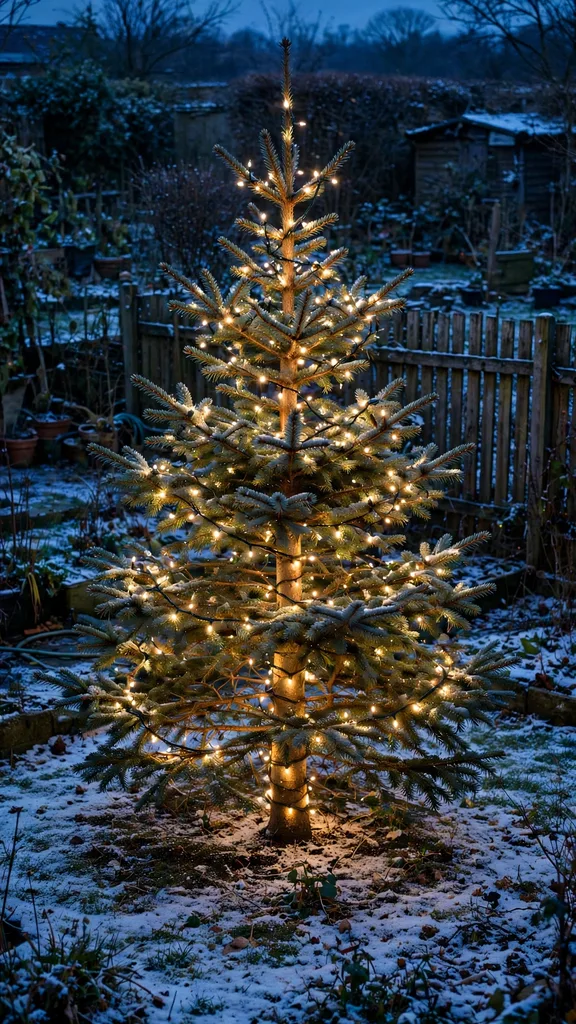
45. The Finished Garden Ornament Tree
The last ornament is the tree itself: stand back when the boxes are empty and read what the garden grew this year. A tree dressed entirely from the garden has a coherence no shop can sell, all browns, golds, reds, and greens from the same soil, and every ornament on it has a season’s story behind it.
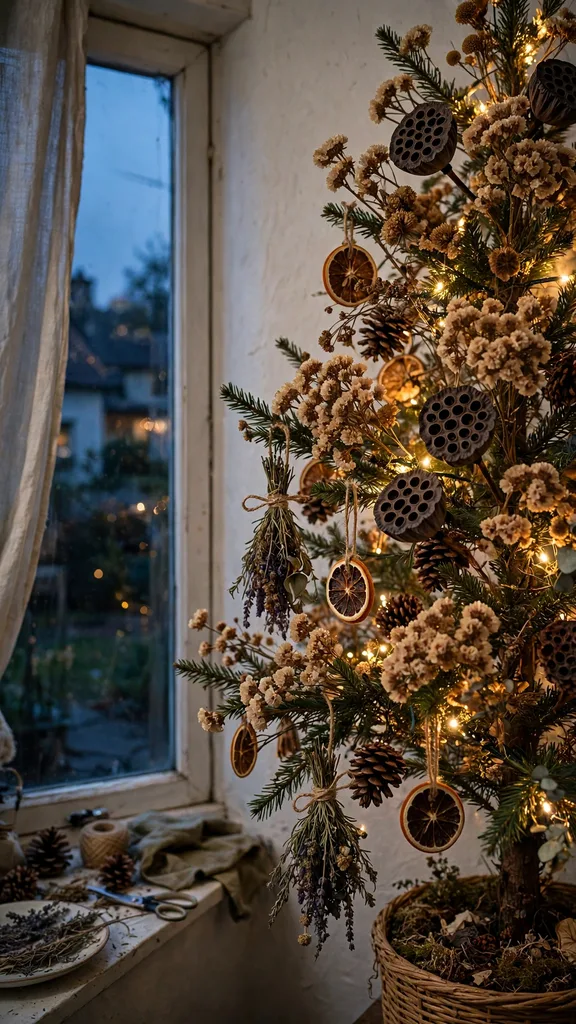
Photograph the finished tree in daylight and by its own lights at night; the two trees in one are the record of the garden year. Families building the same tradition will find the Christmas garden crafts for kids projects stock the same boxes with younger hands helping, and the Christmas garden ideas pillar gathers the whole season’s projects in one place.
Frequently Asked Questions
Most ornaments in this list are made from material dried in summer and autumn, assembled in November or December. Dried flowers, pods, cones, and herbs keep for months in dry boxes, so the making spreads across the year rather than crowding December. Fresh items, the ivy and berry sprigs, are made in decorating week. The work that cannot be rushed is the drying itself: two to three weeks for flowers and herbs, longer for gourds.
Cones, pods, honesty discs, and gourds last for years stored dry in closed boxes. Dried flowers and herbs give two good seasons before colors fade and scent thins, and lavender keeps its scent longest. The enemies are damp, which molds, and sunlight, which bleaches; a cool, dark cupboard defeats both. Check boxes in autumn when you add new stock, and compost anything that smells musty rather than risking the tree.
Globe amaranth, strawflowers, statice, lavender, and celosia are the reliable five: all hold color and shape with simple bunch drying in the dark. Hydrangeas and roses dry well with a little more care in picking time. Flowers with thick, watery petals, tulips and daffodils among them, dry poorly and are better pressed. Pick flowers for drying just before full open, since they open a little more as they dry.
Most are: cones, pods, dried flowers, and herbs are garden material with no treatment beyond drying. Keep holly and other ornamental berries out of reach, since they are not food, and hang small, swallowable items high on the tree. Bleached cones should be rinsed and fully dried before use. When in doubt about a plant, check its identity before it goes on the tree; the ornament box is not the place for unknowns.
The material went into storage still holding moisture, or the storage was damp. Flowers should feel papery and rustle before boxing; if a bunch feels cool or heavy, it needs more drying days. Dry in a dark, airy room rather than a humid shed, box with tissue or paper to wick moisture, and add new stock only when it is fully dry. Moldy items go to the compost, not back into the box with the clean stock.